How To Sew A Hoodie Stretch Dress
Jump to InstructionsOverview
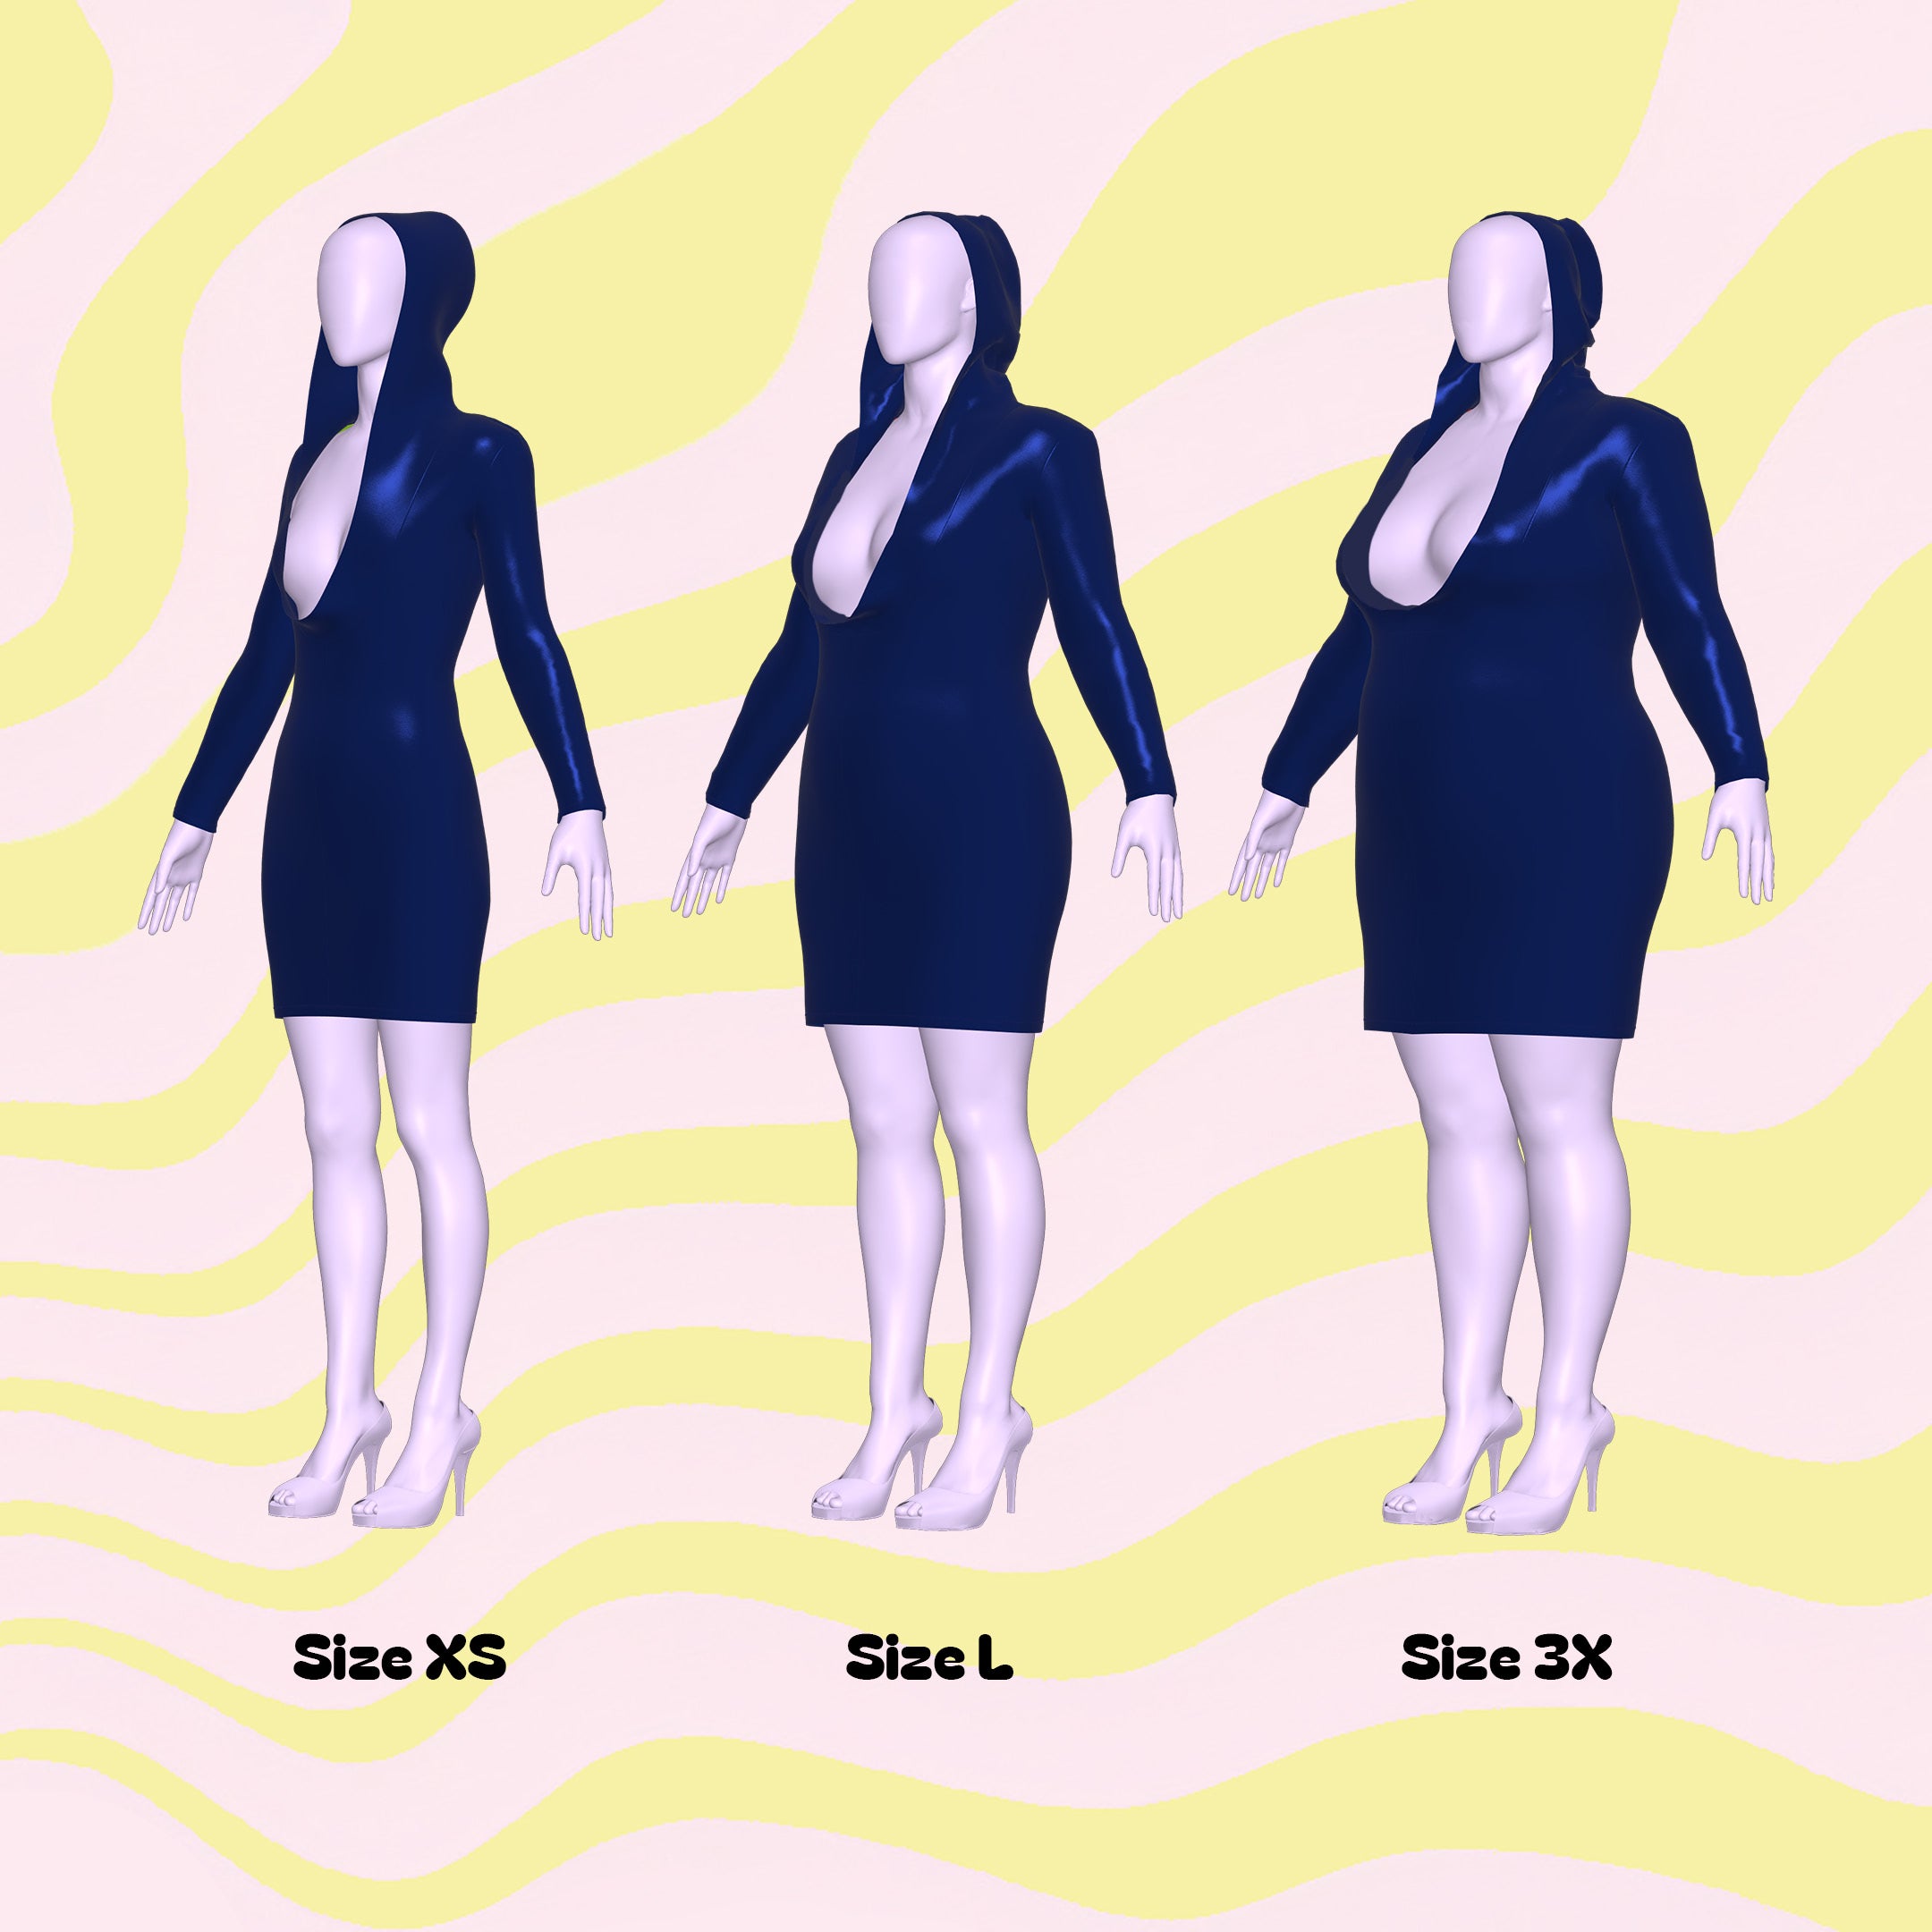
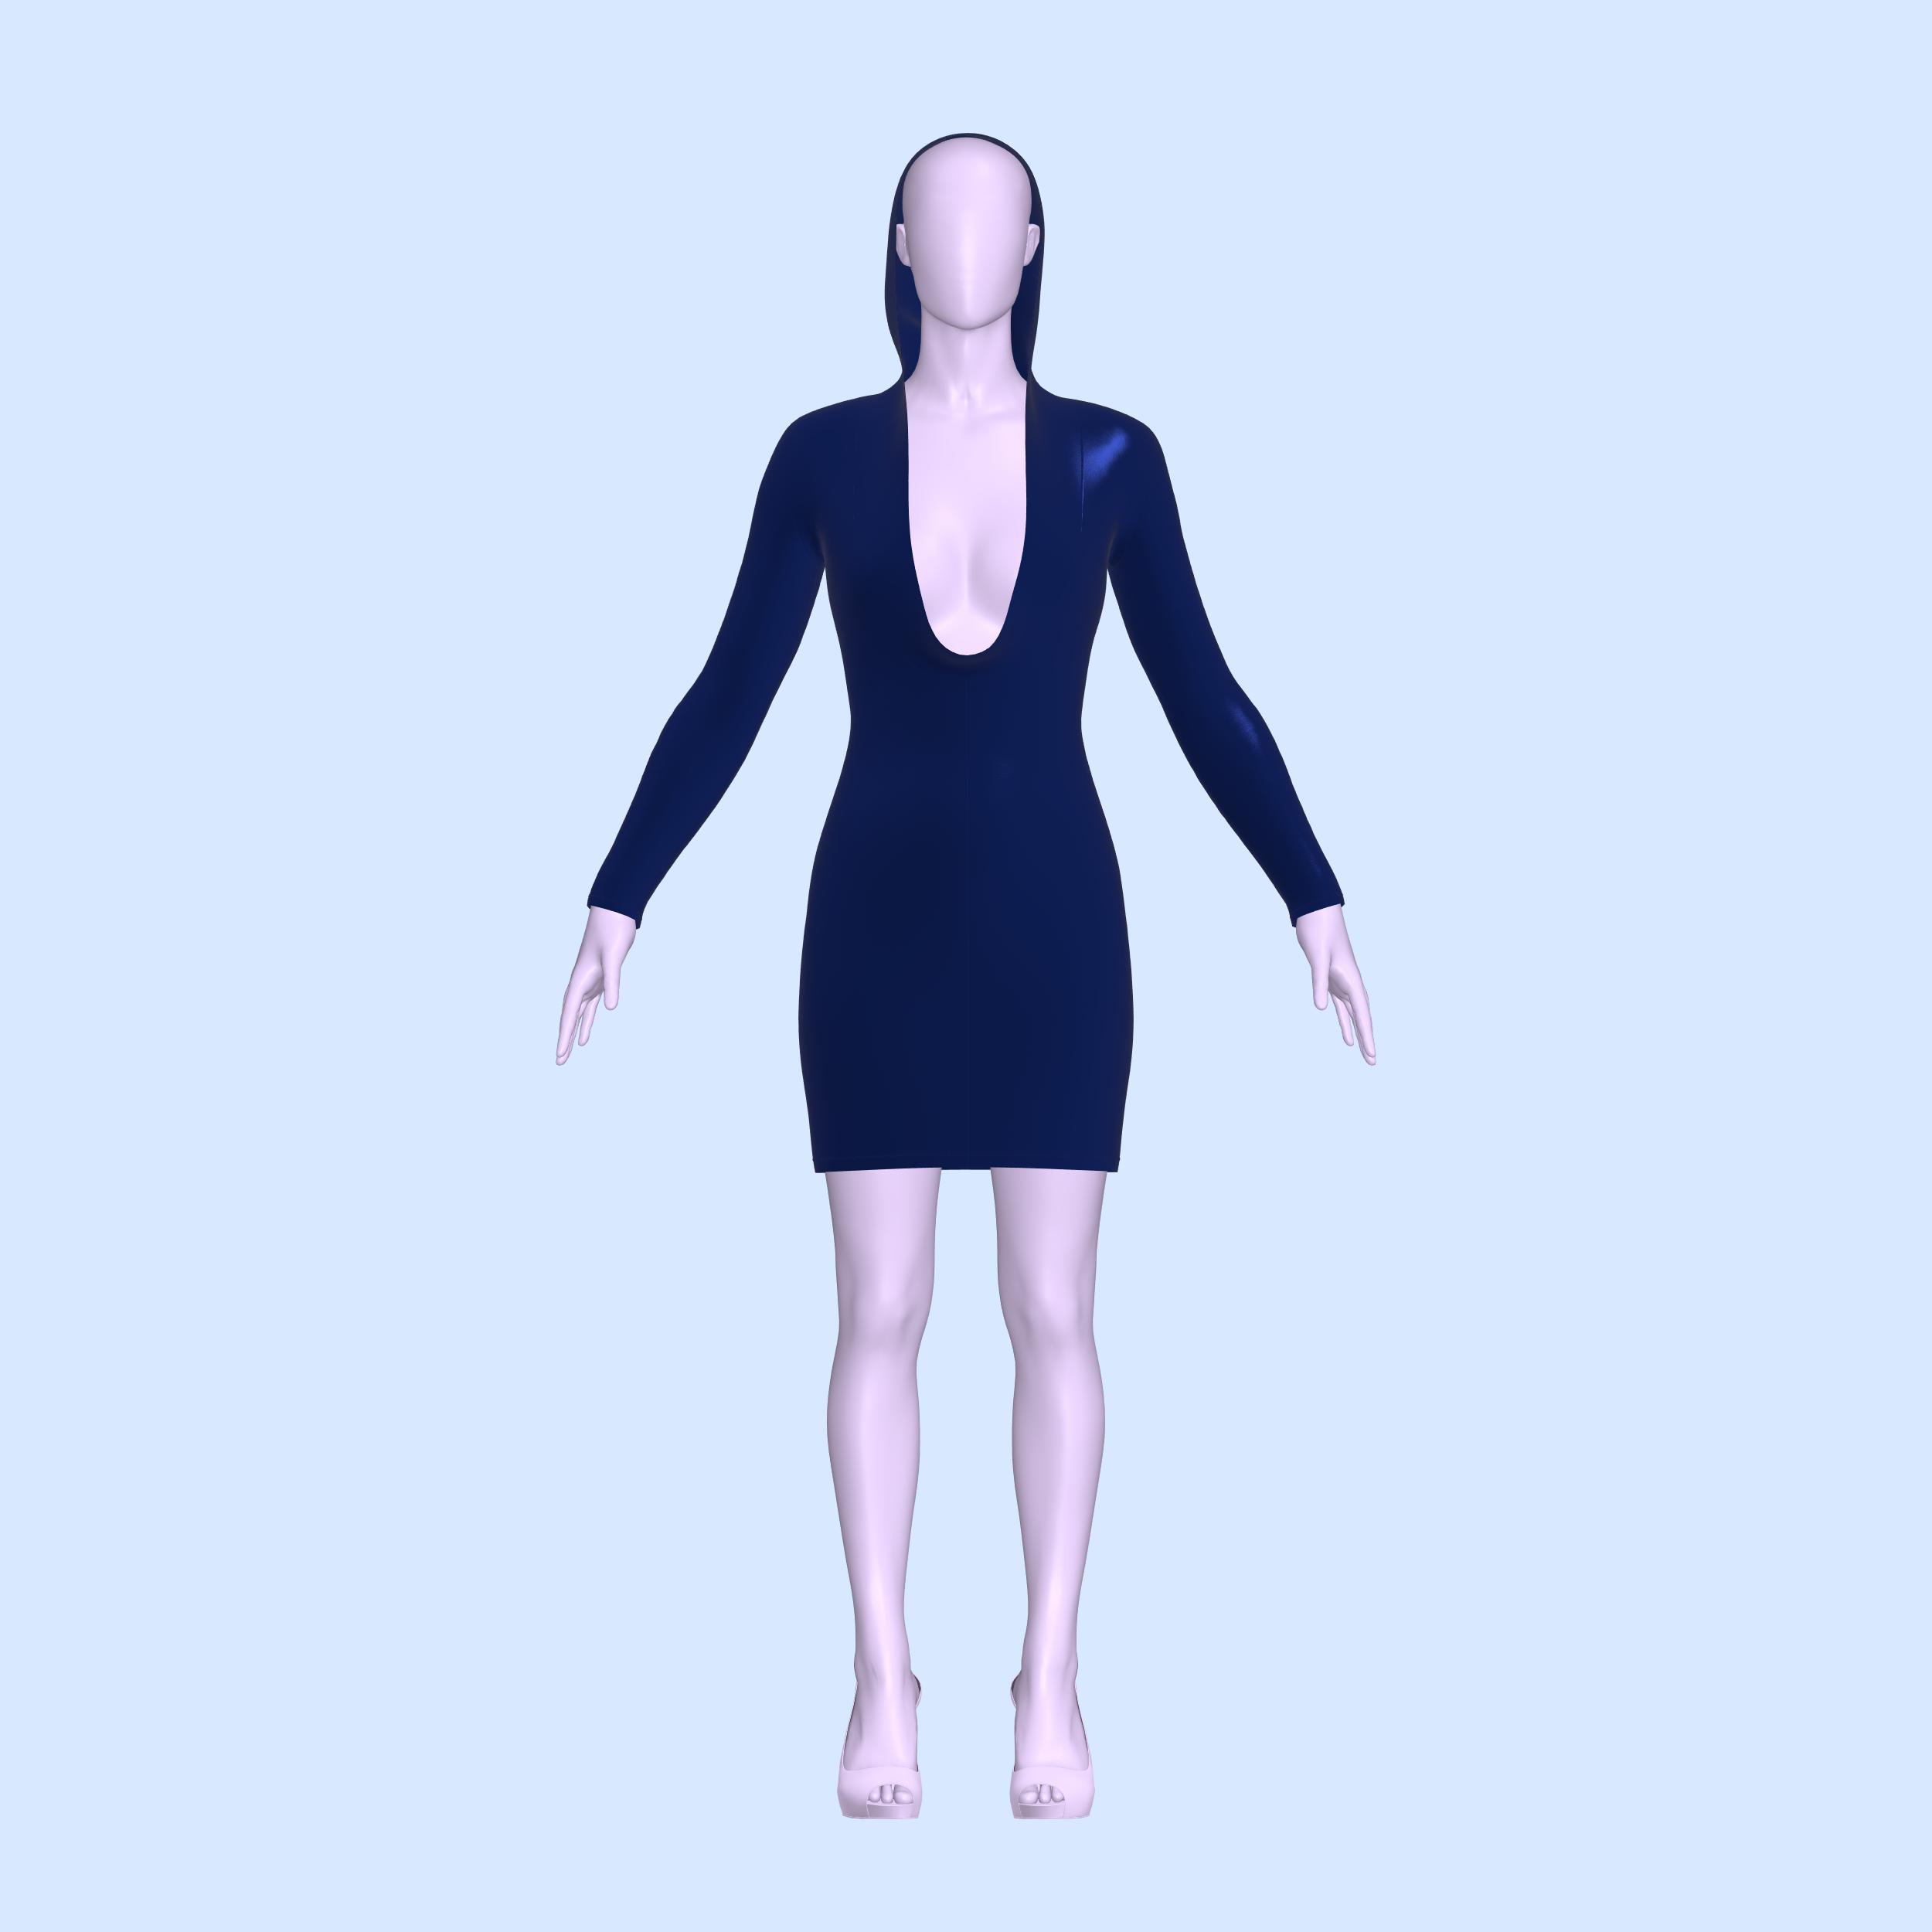
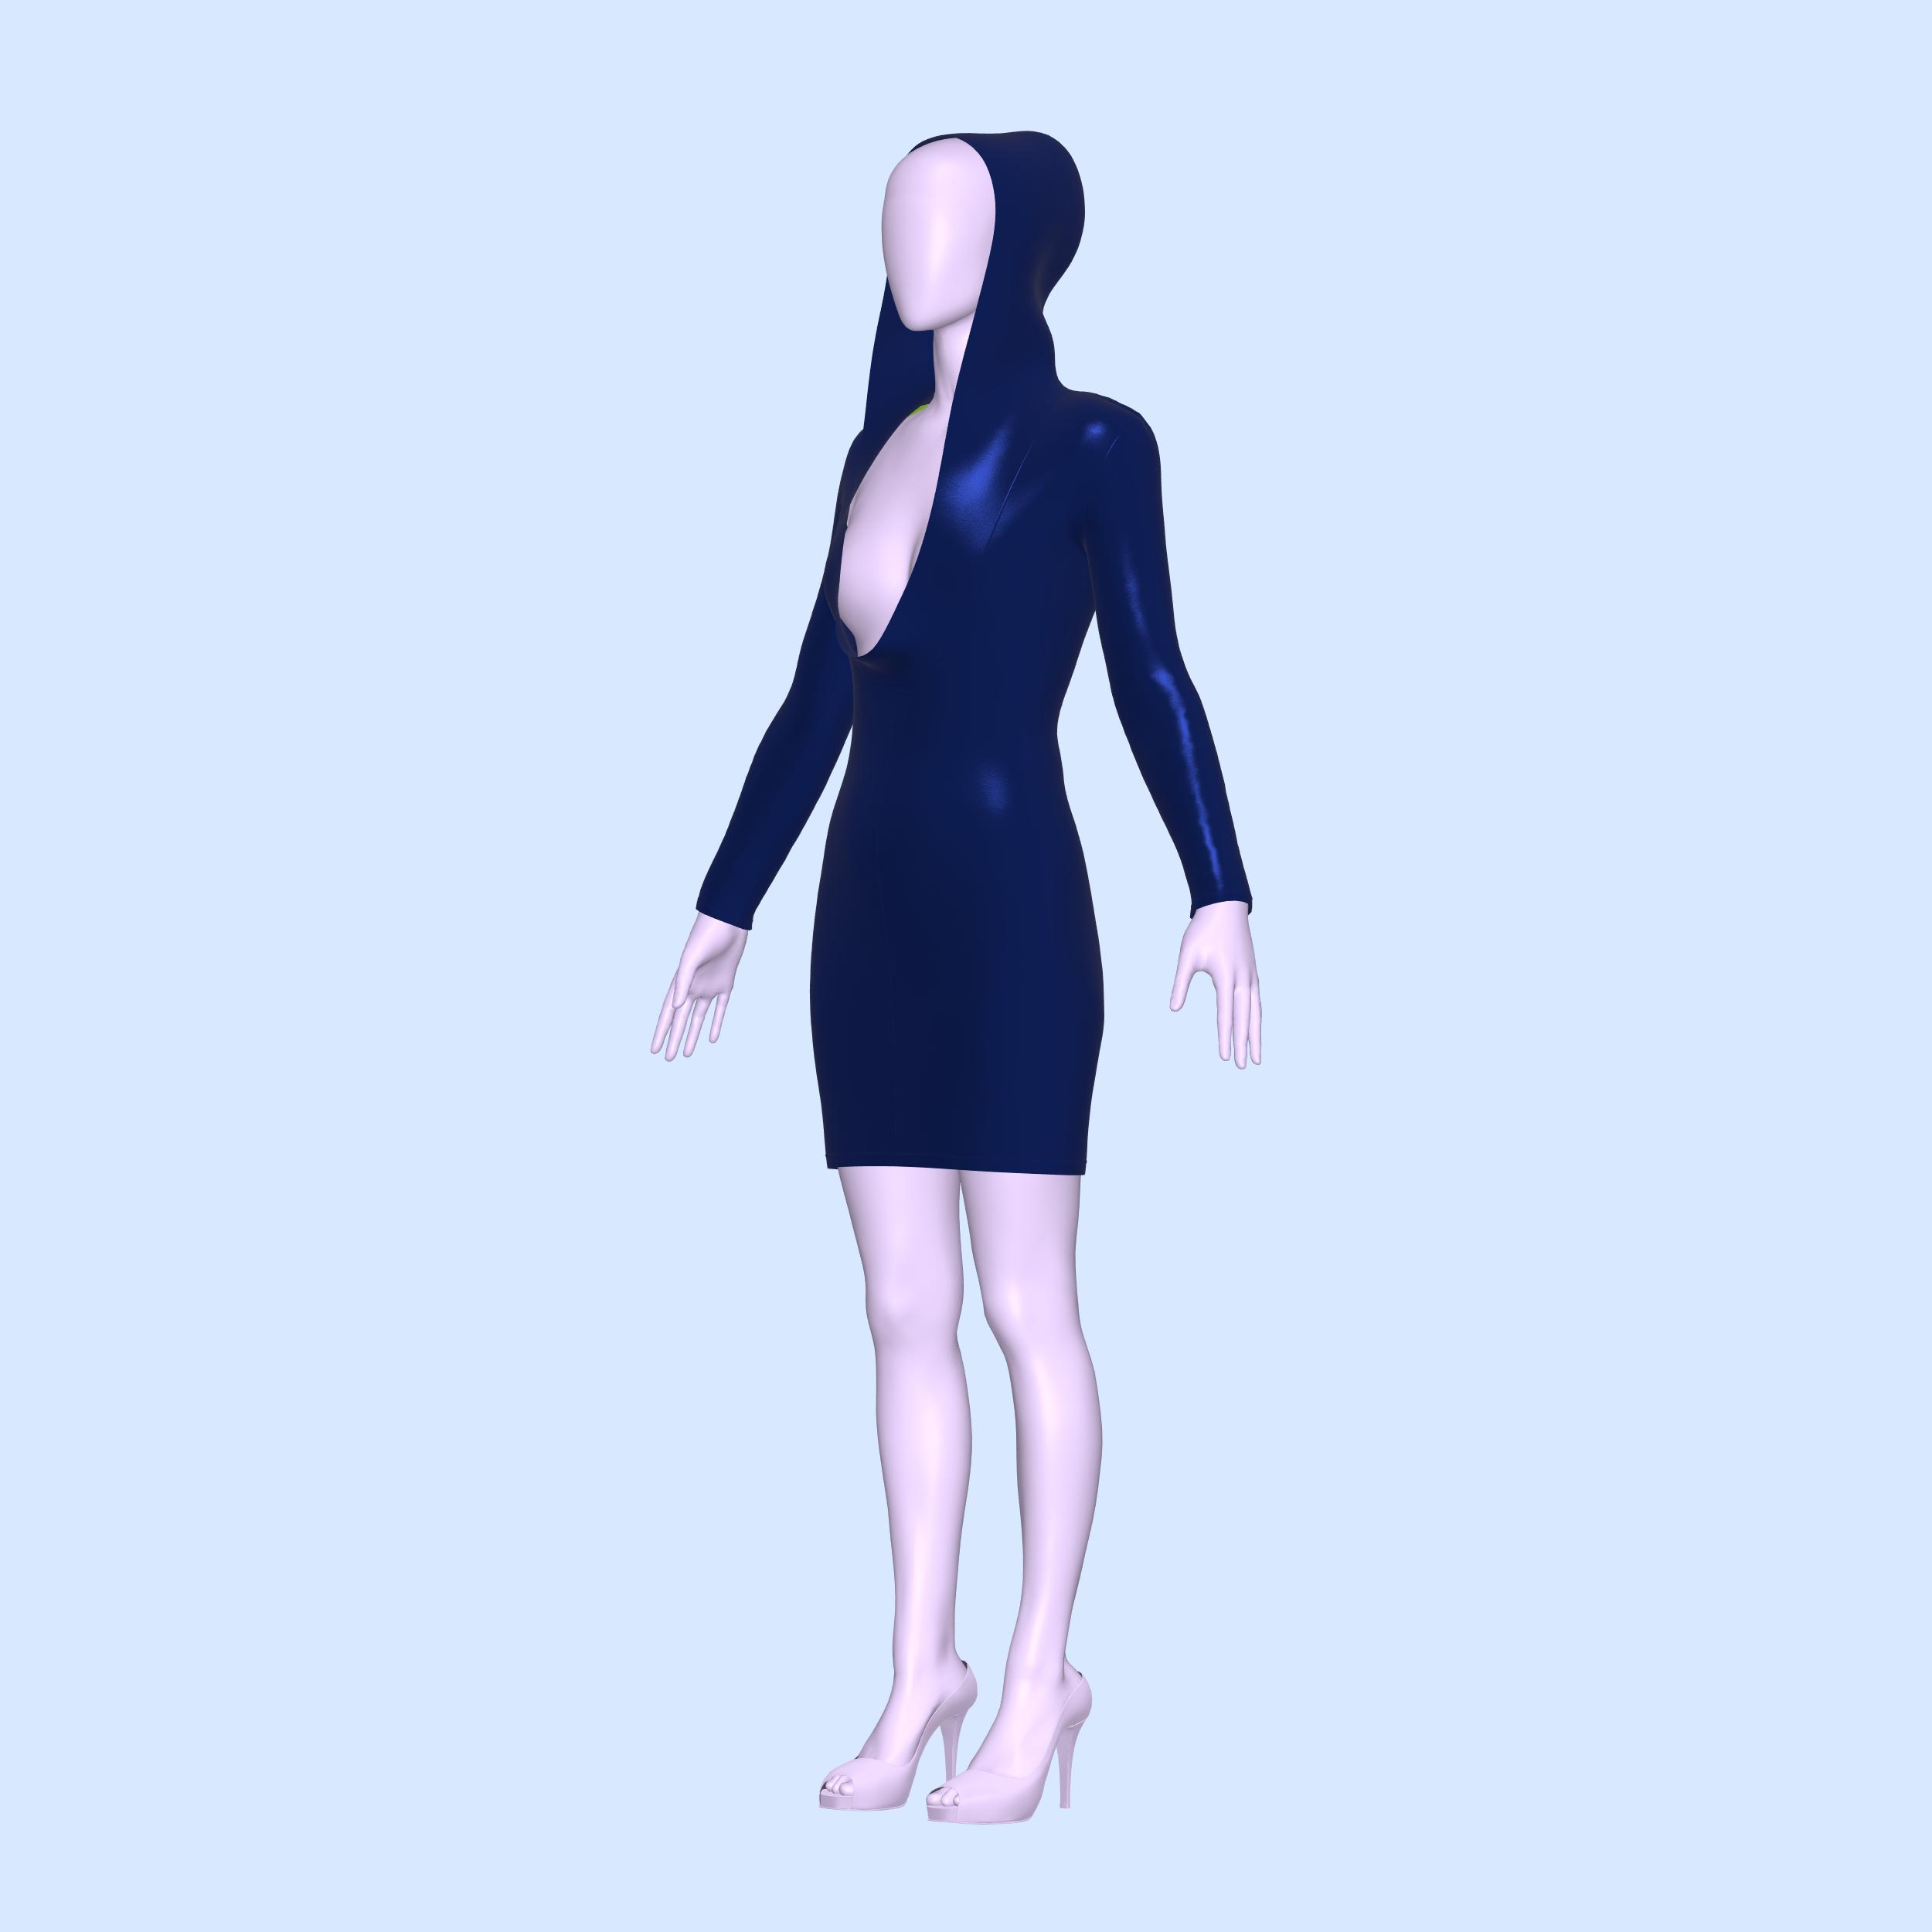
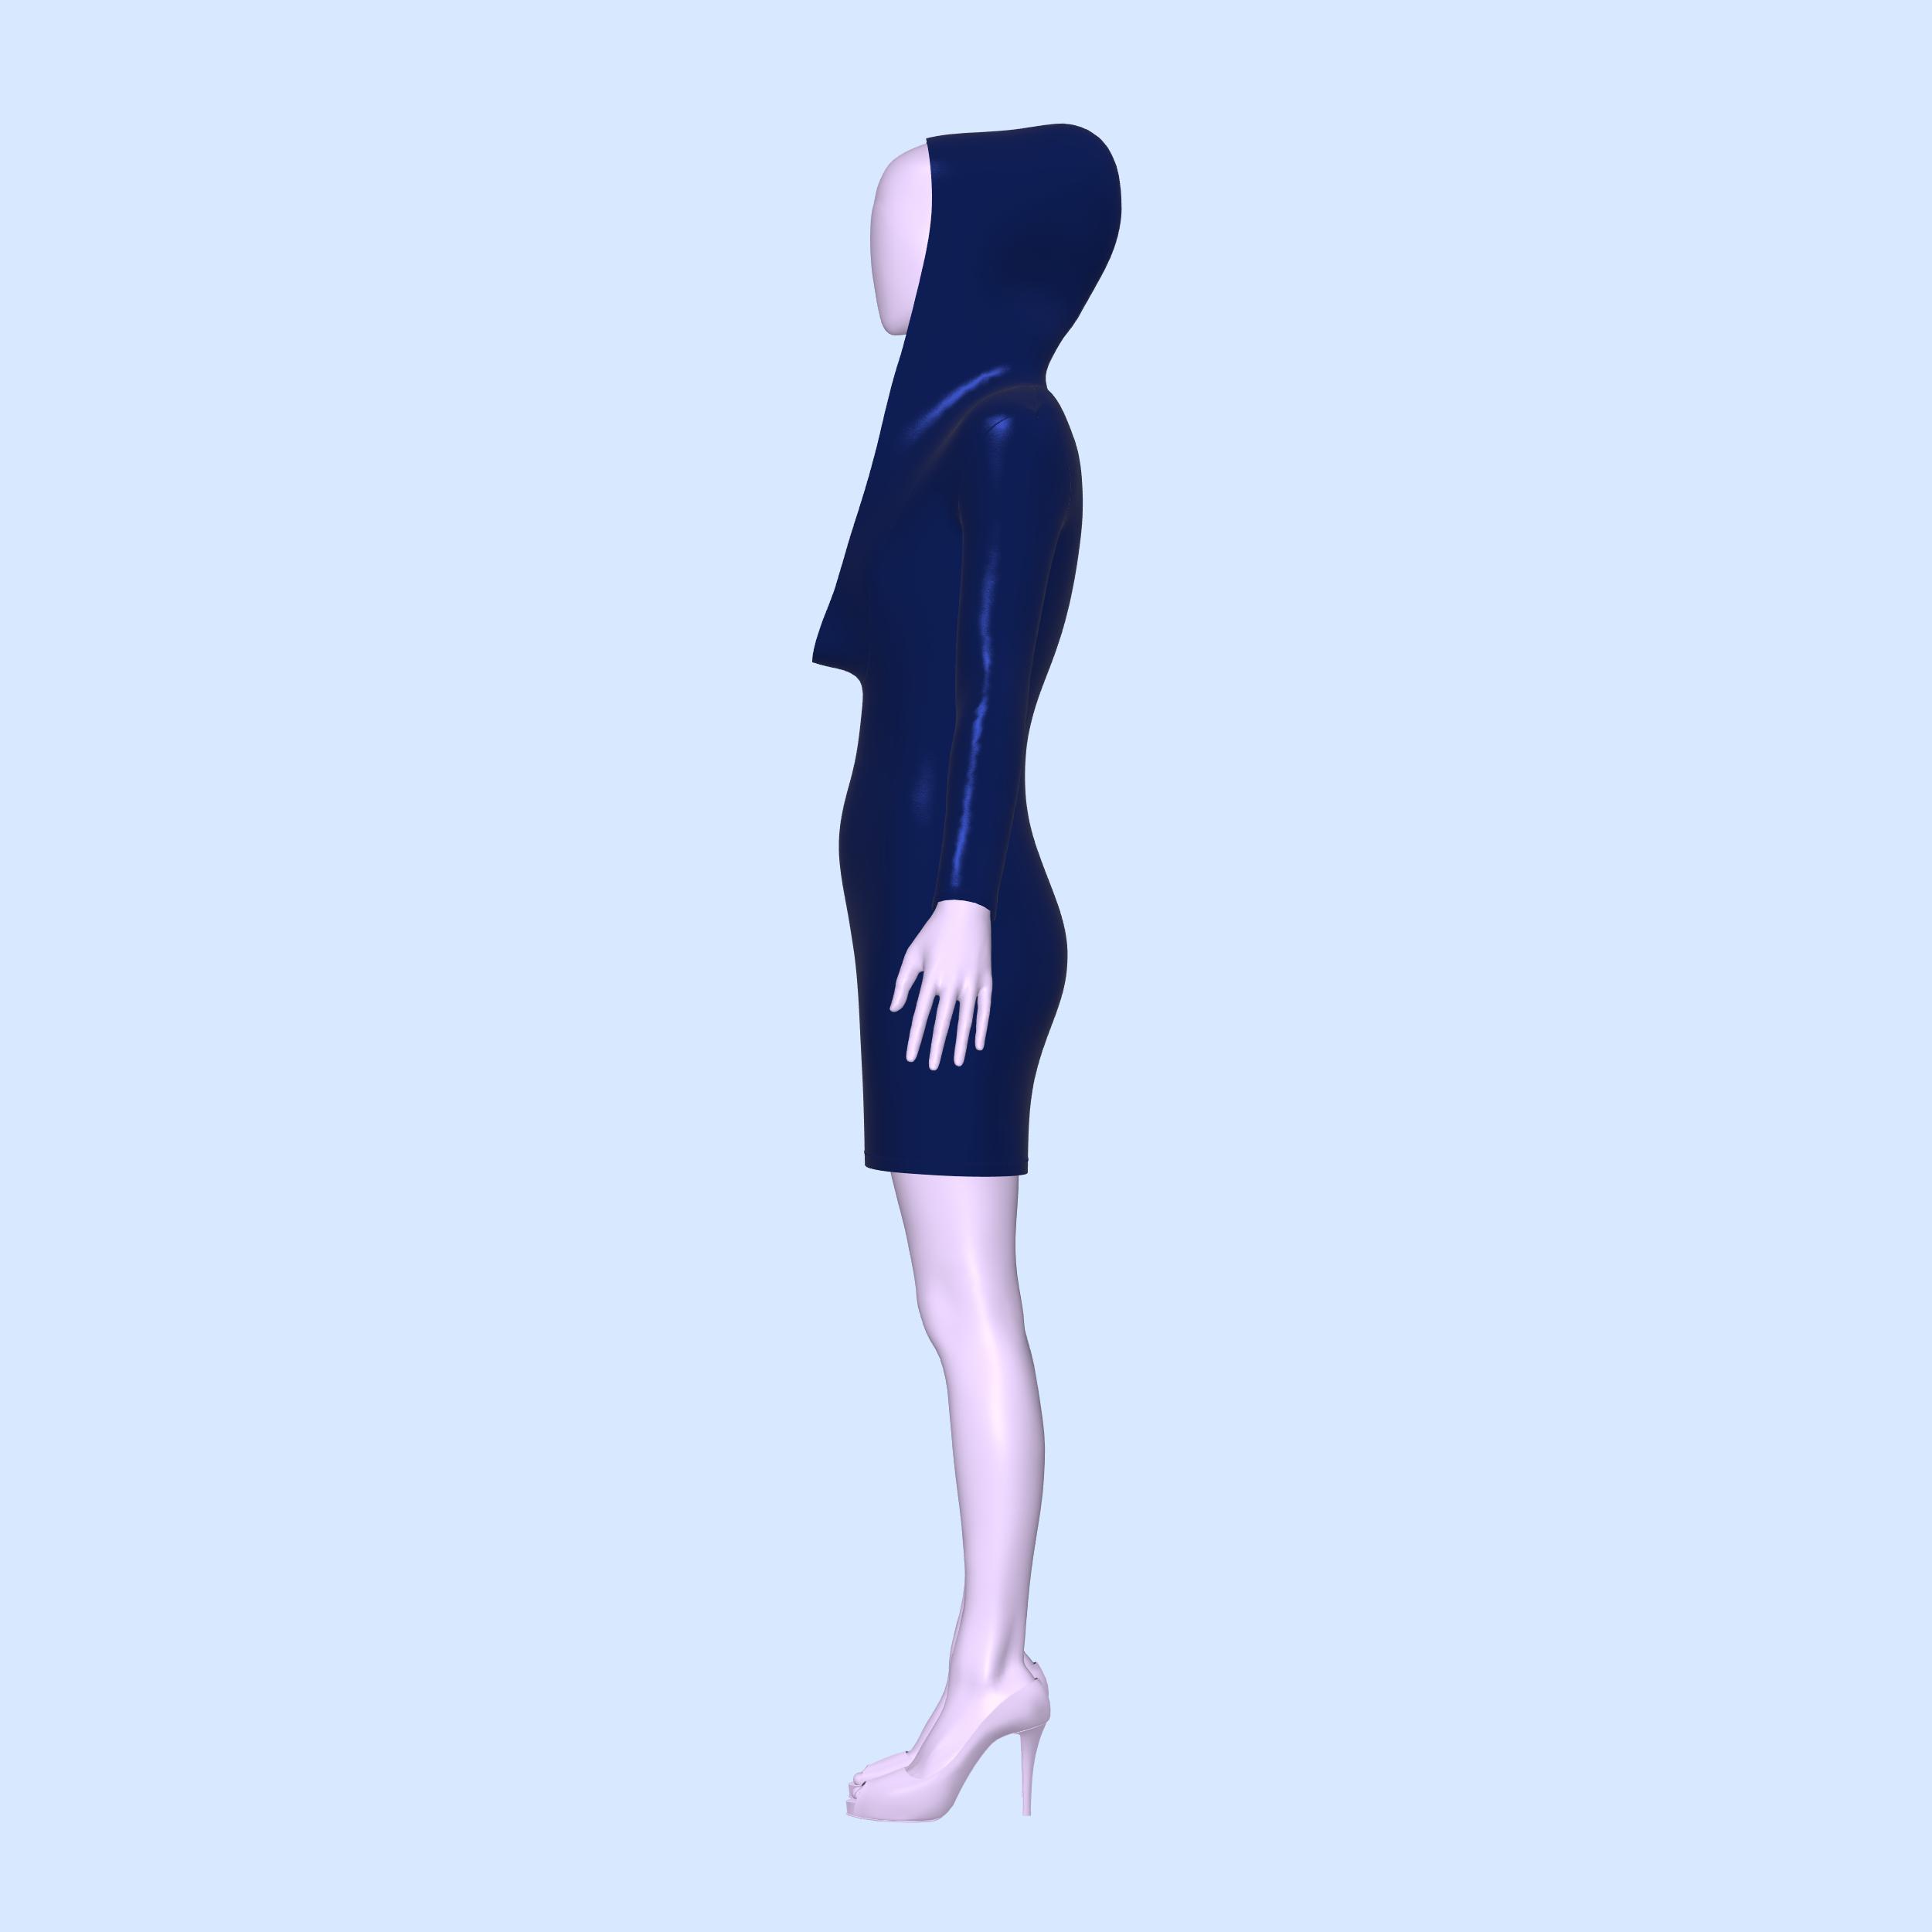
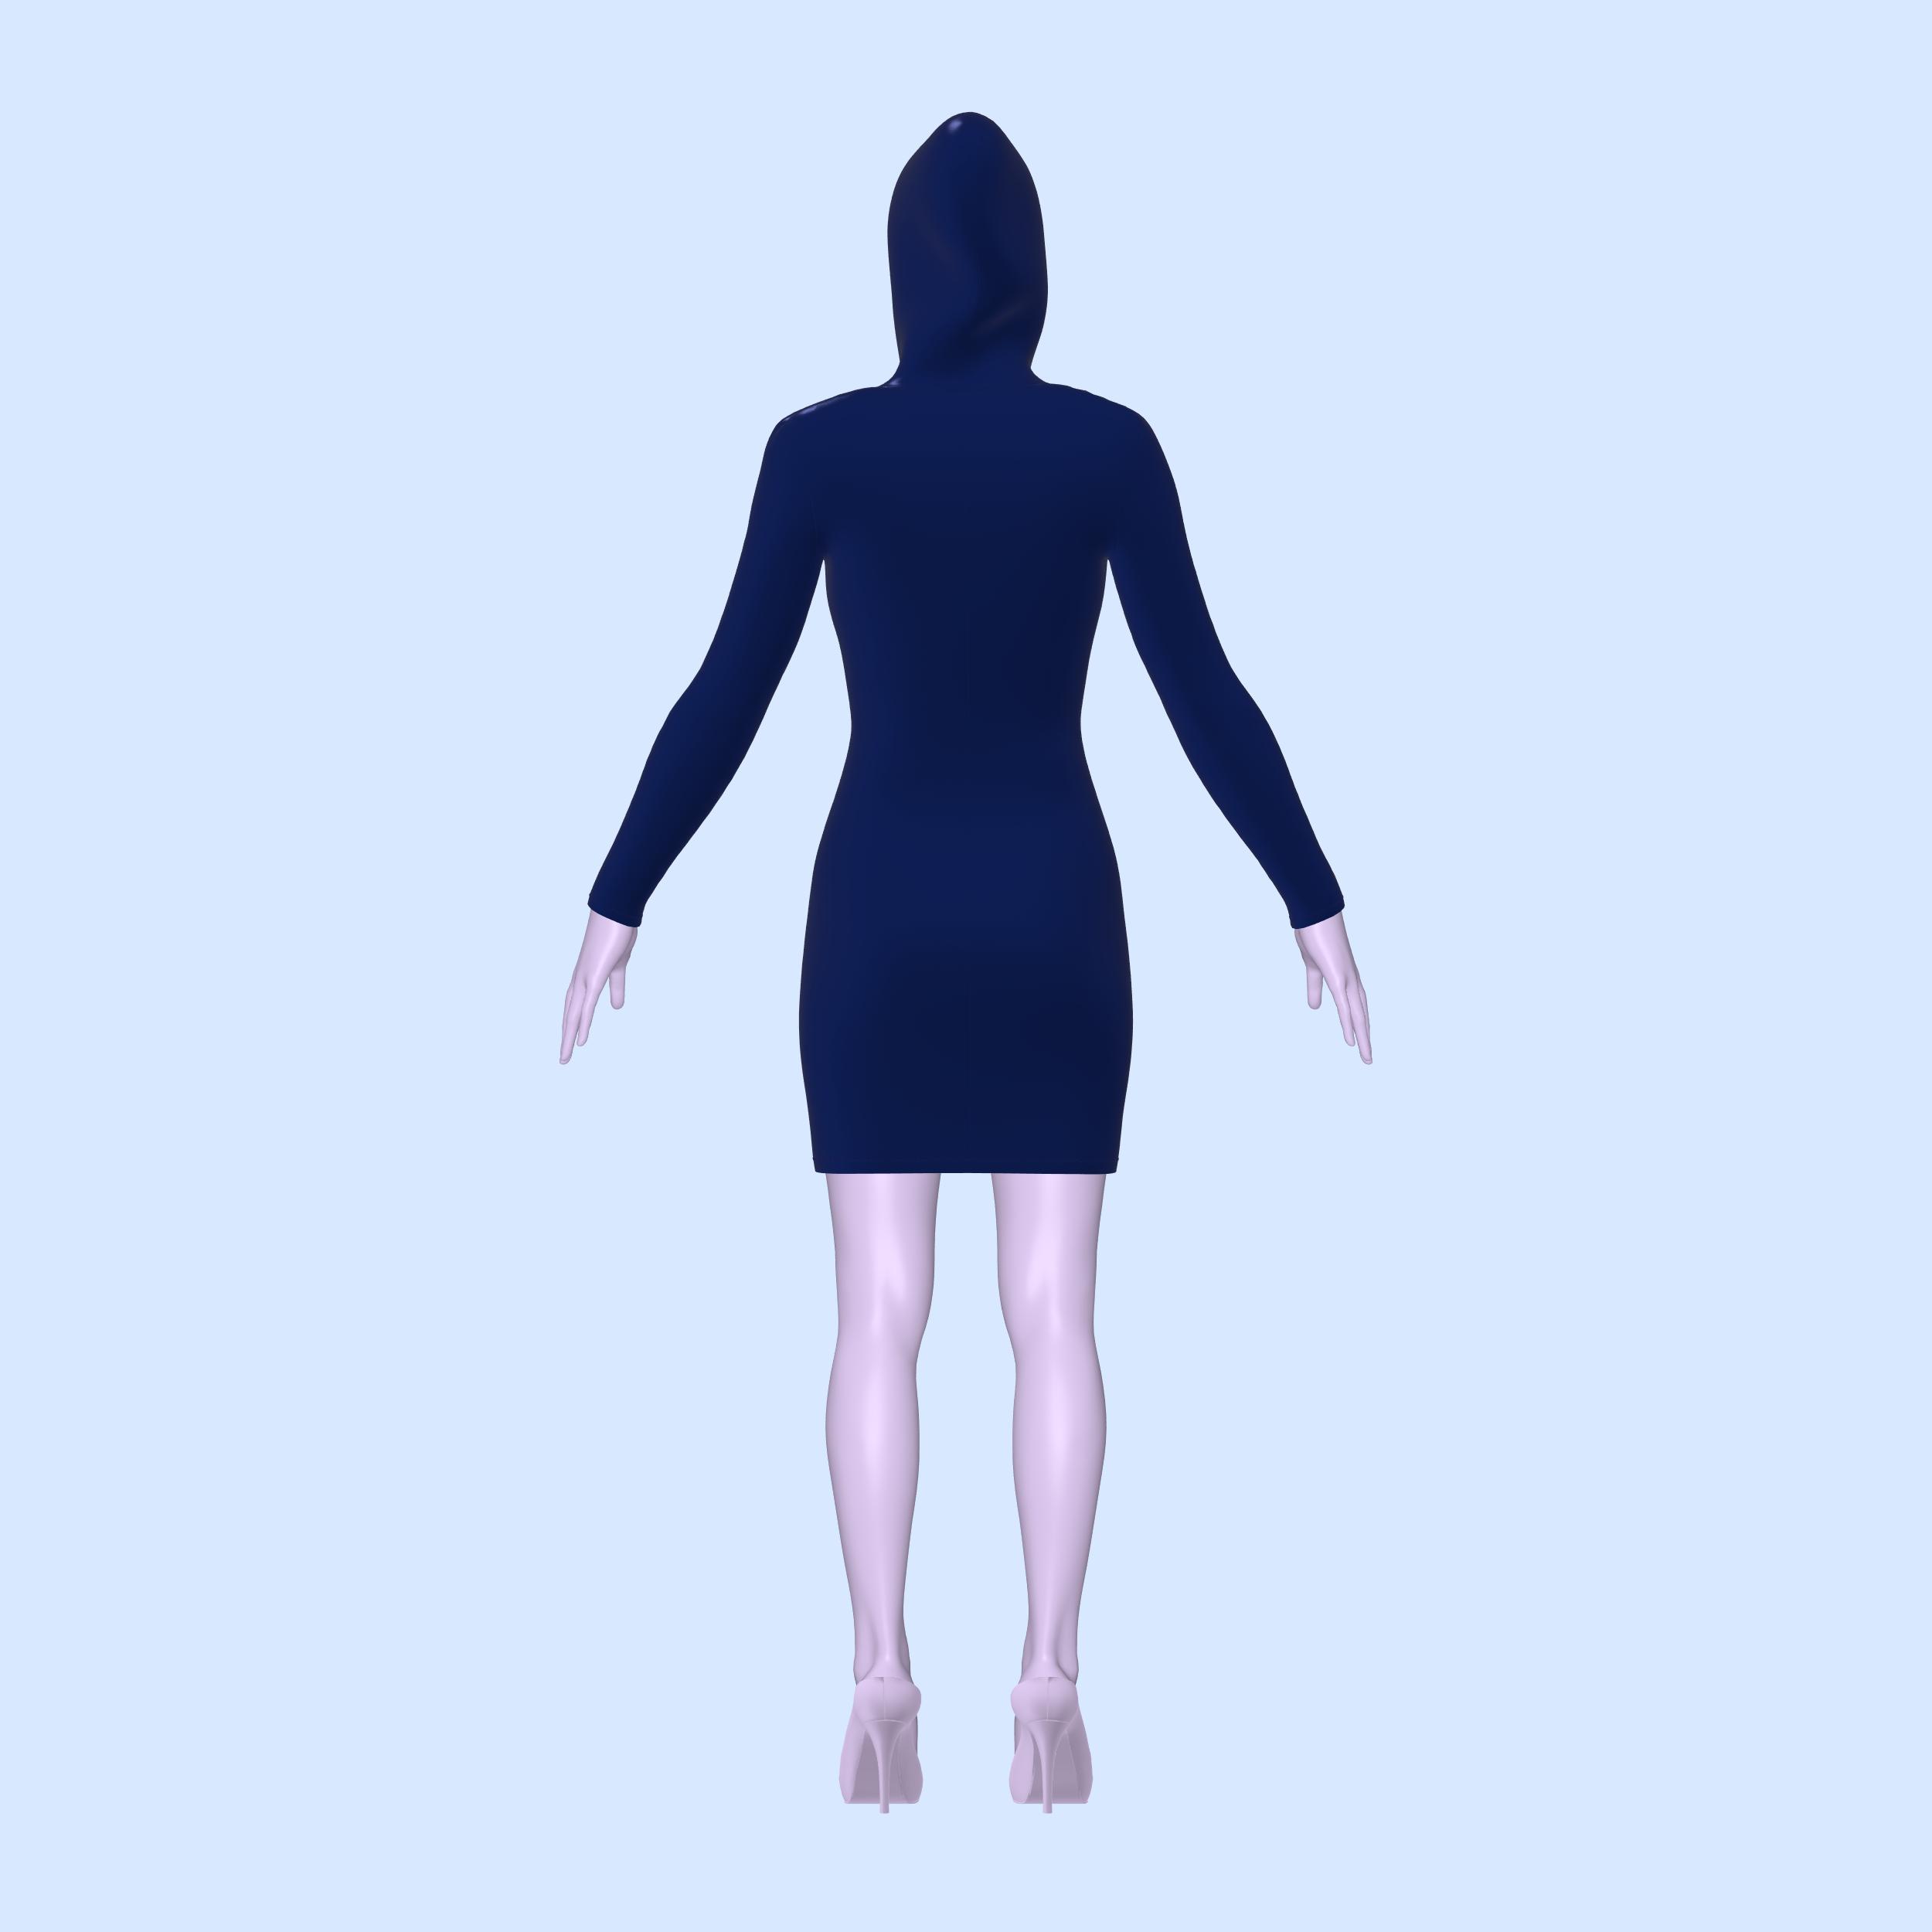
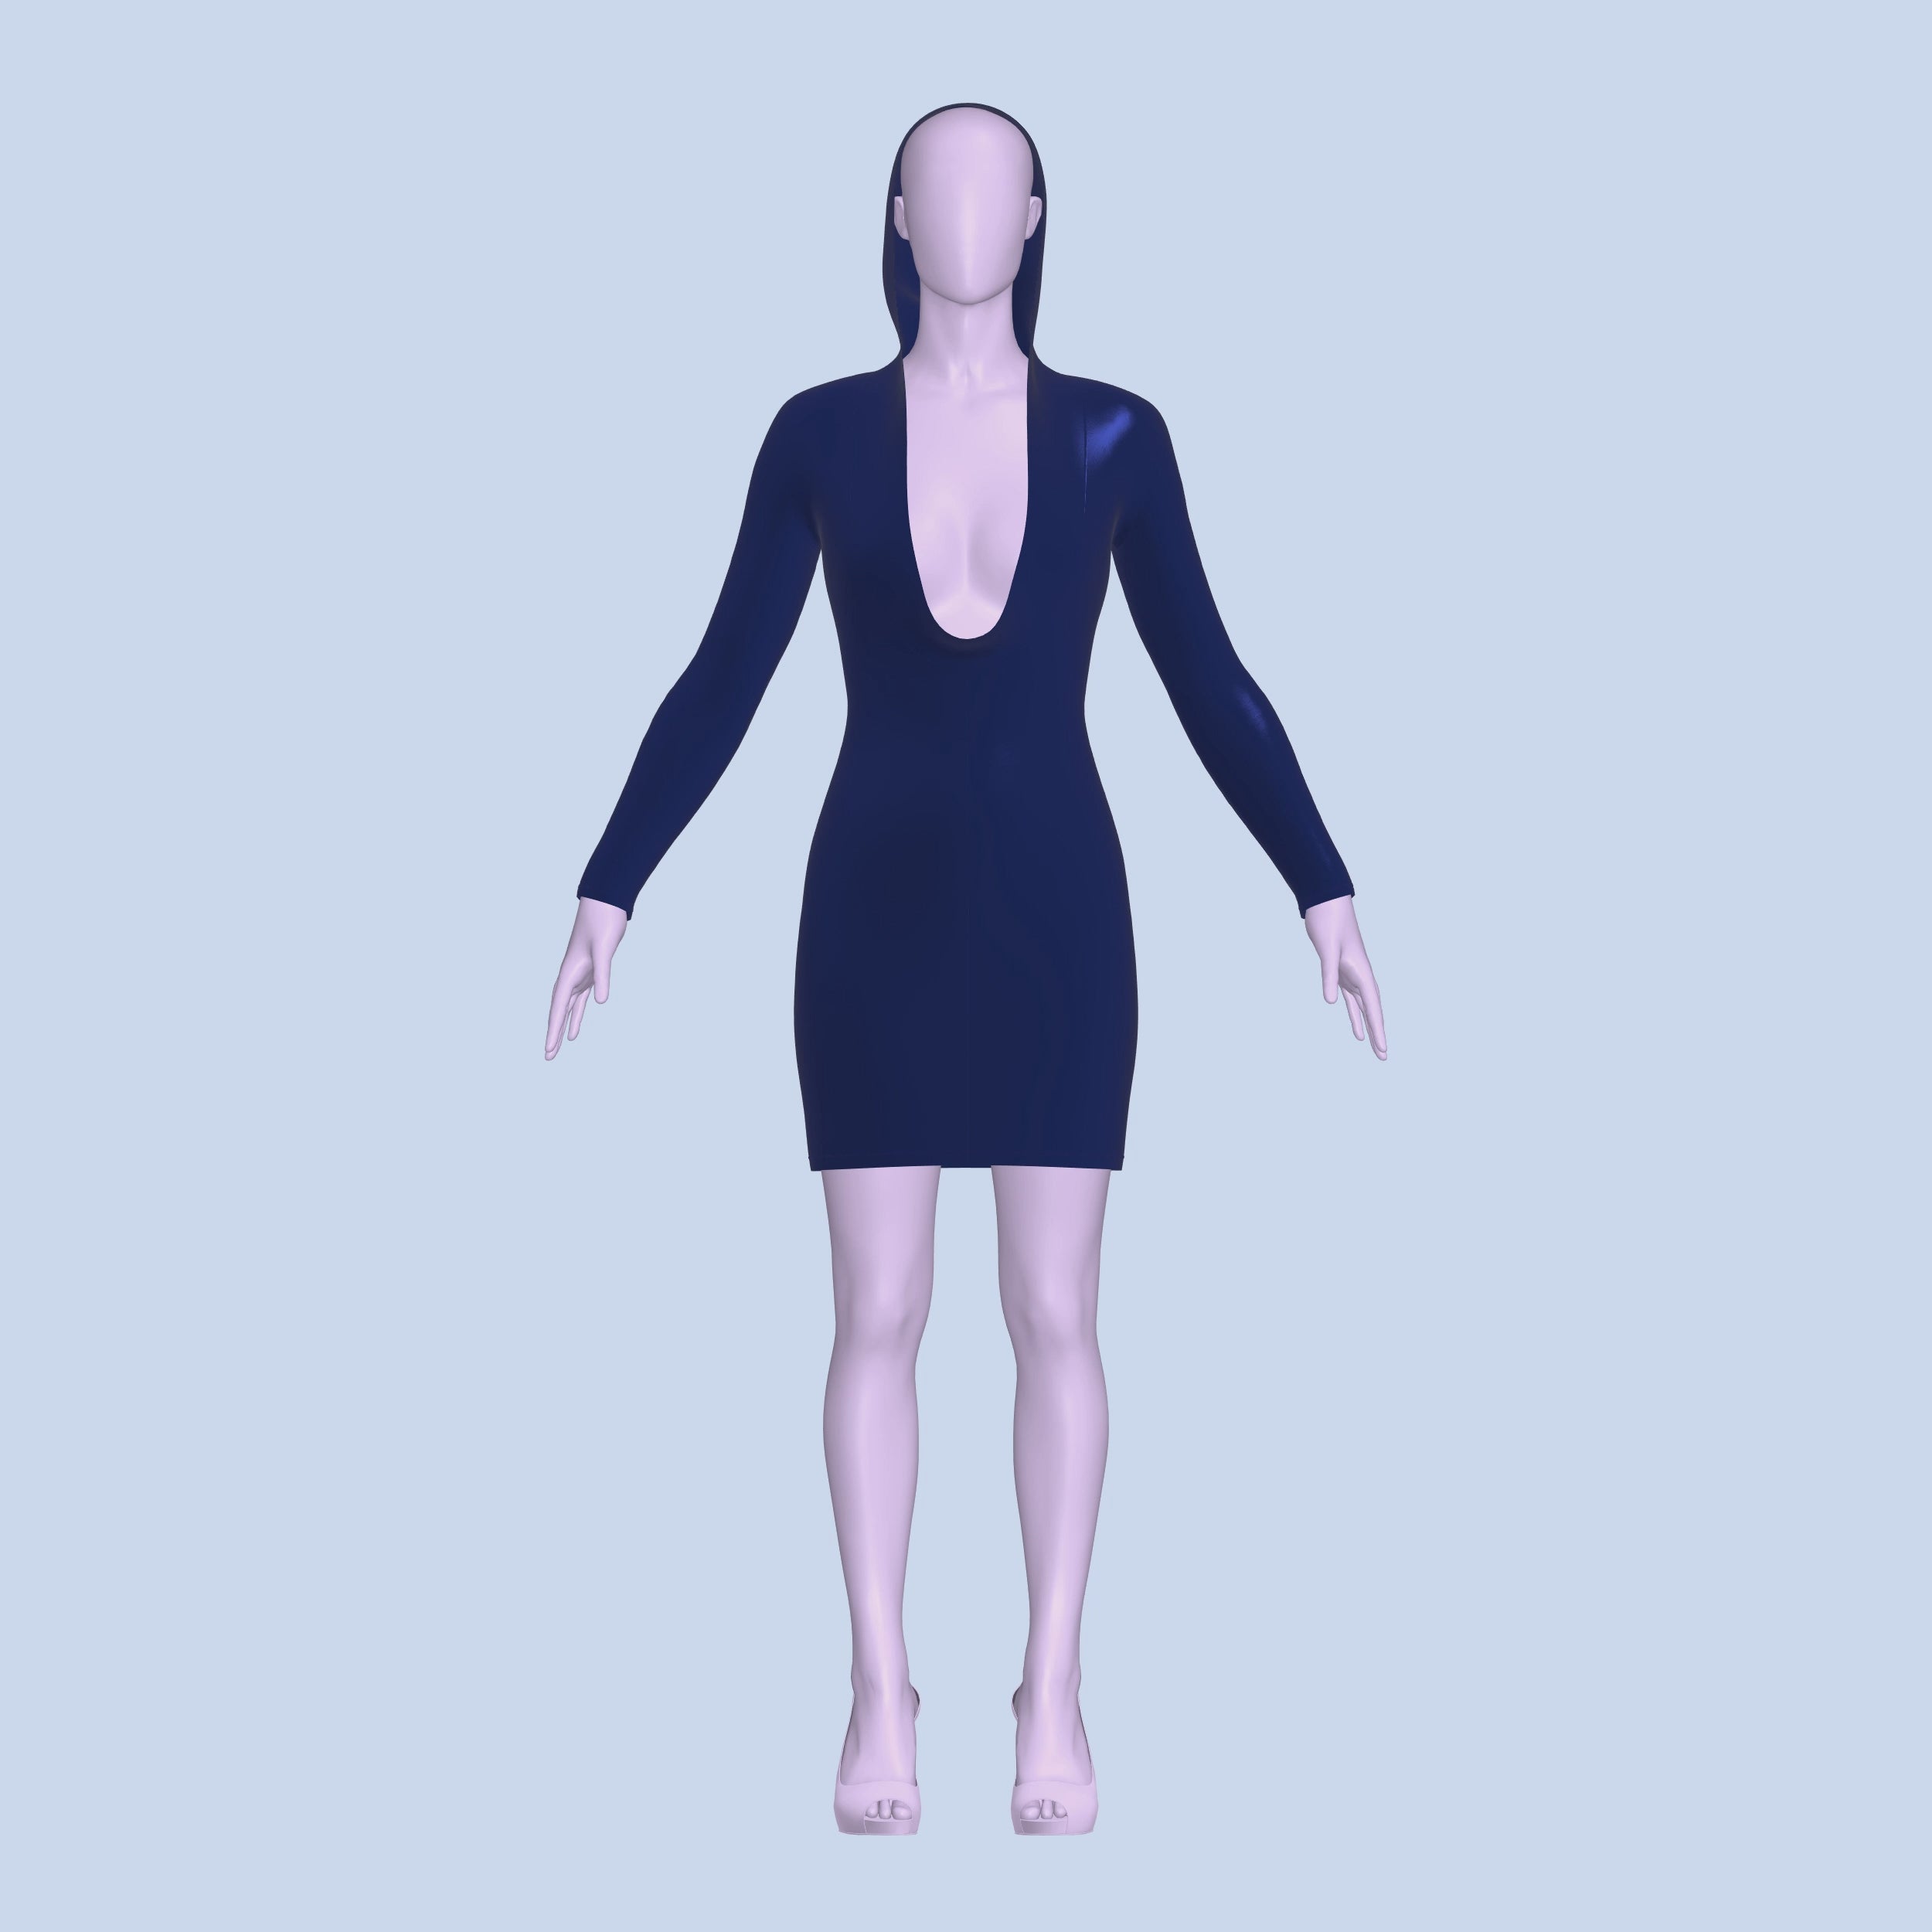
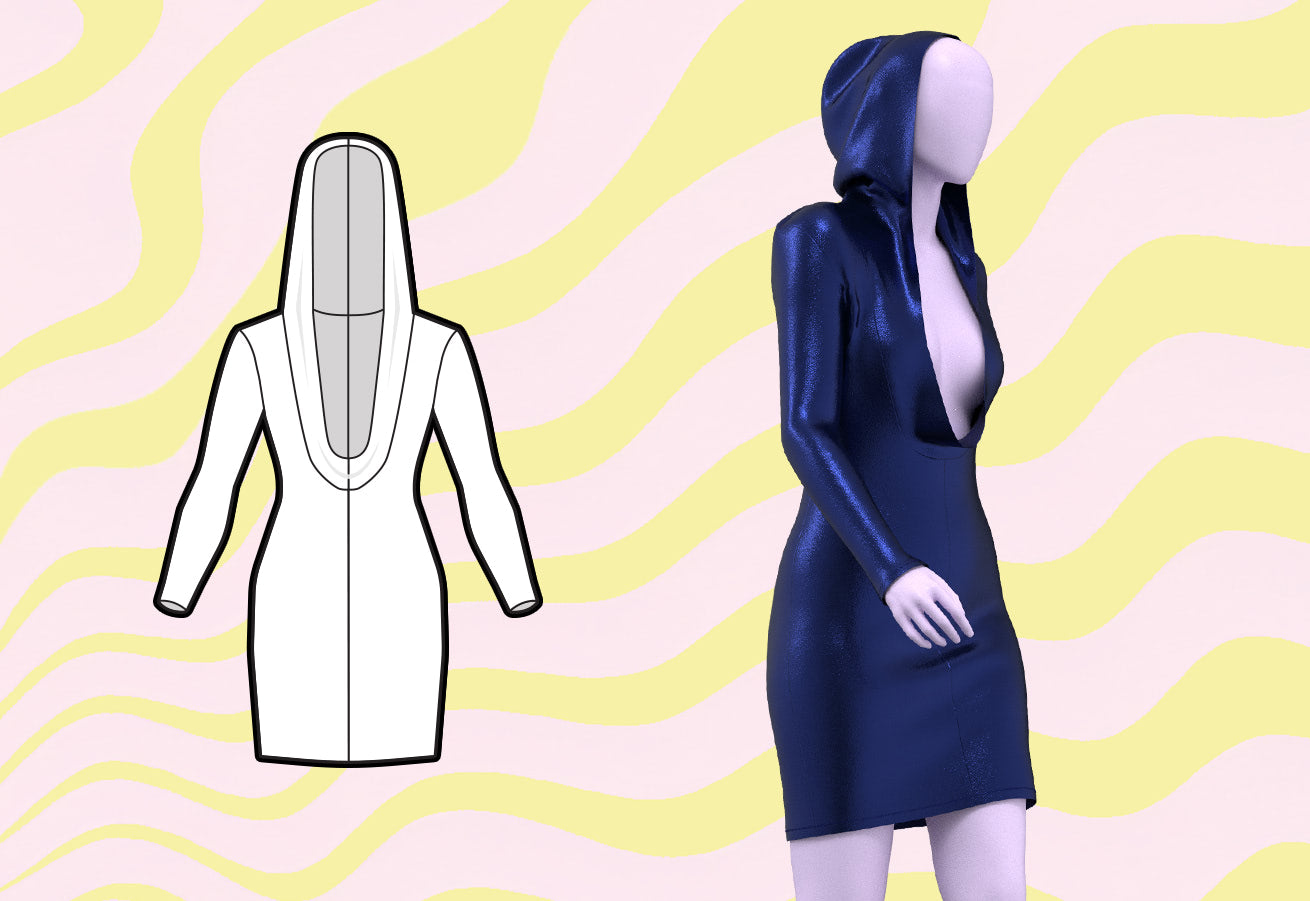
Get ready to slay the scene with our Hoodie Stretch Dress Sewing Pattern, designed to make every drag queen feel like a superstar. Featuring a hoodie that connects to a plunging neckline, with long sleeves this dress is the ultimate homage to Y2K and 2010s fashion, perfect for channeling your inner Lady Gaga vibes. For the full effect, pair it with a sexy glitter bra and get ready to steal the show.
Pattern Difficulty: For Beginners
Fabric Yardage
This pattern requires the use of a shell fabric with a lining fabric and interfacing. Suitable for lightweight non-tretch fabric. Please find the yardage needed for each size below.
| Size | Fabric Yards (58” Width) | Batting (20” Width) |
|---|---|---|
| XS | 2 yards | 0.5 yards |
| S | 2.25 yards | 0.5 yards |
| M | 2.25 yards | 0.5 yards |
| L | 2.5 yards | 0.5 yards |
| XL | 2.5 yards | 0.5 yards |
| 2X | 2.75 yards | 0.5 yards |
| 3X | 2.75 yards | 0.5 yards |
| 4X | 2.75 yards | 0.5 yards |
For information on converting inches to meters, please check out our conversion guide.
Fabric & Notions
Suitable for 4-way stretch fabrics:
- Spandex
- Milliskin
- Lycra
- Stretch Vinyl
- Stretch Knits
- Shoulder pads or make your own with batting and interfacing.
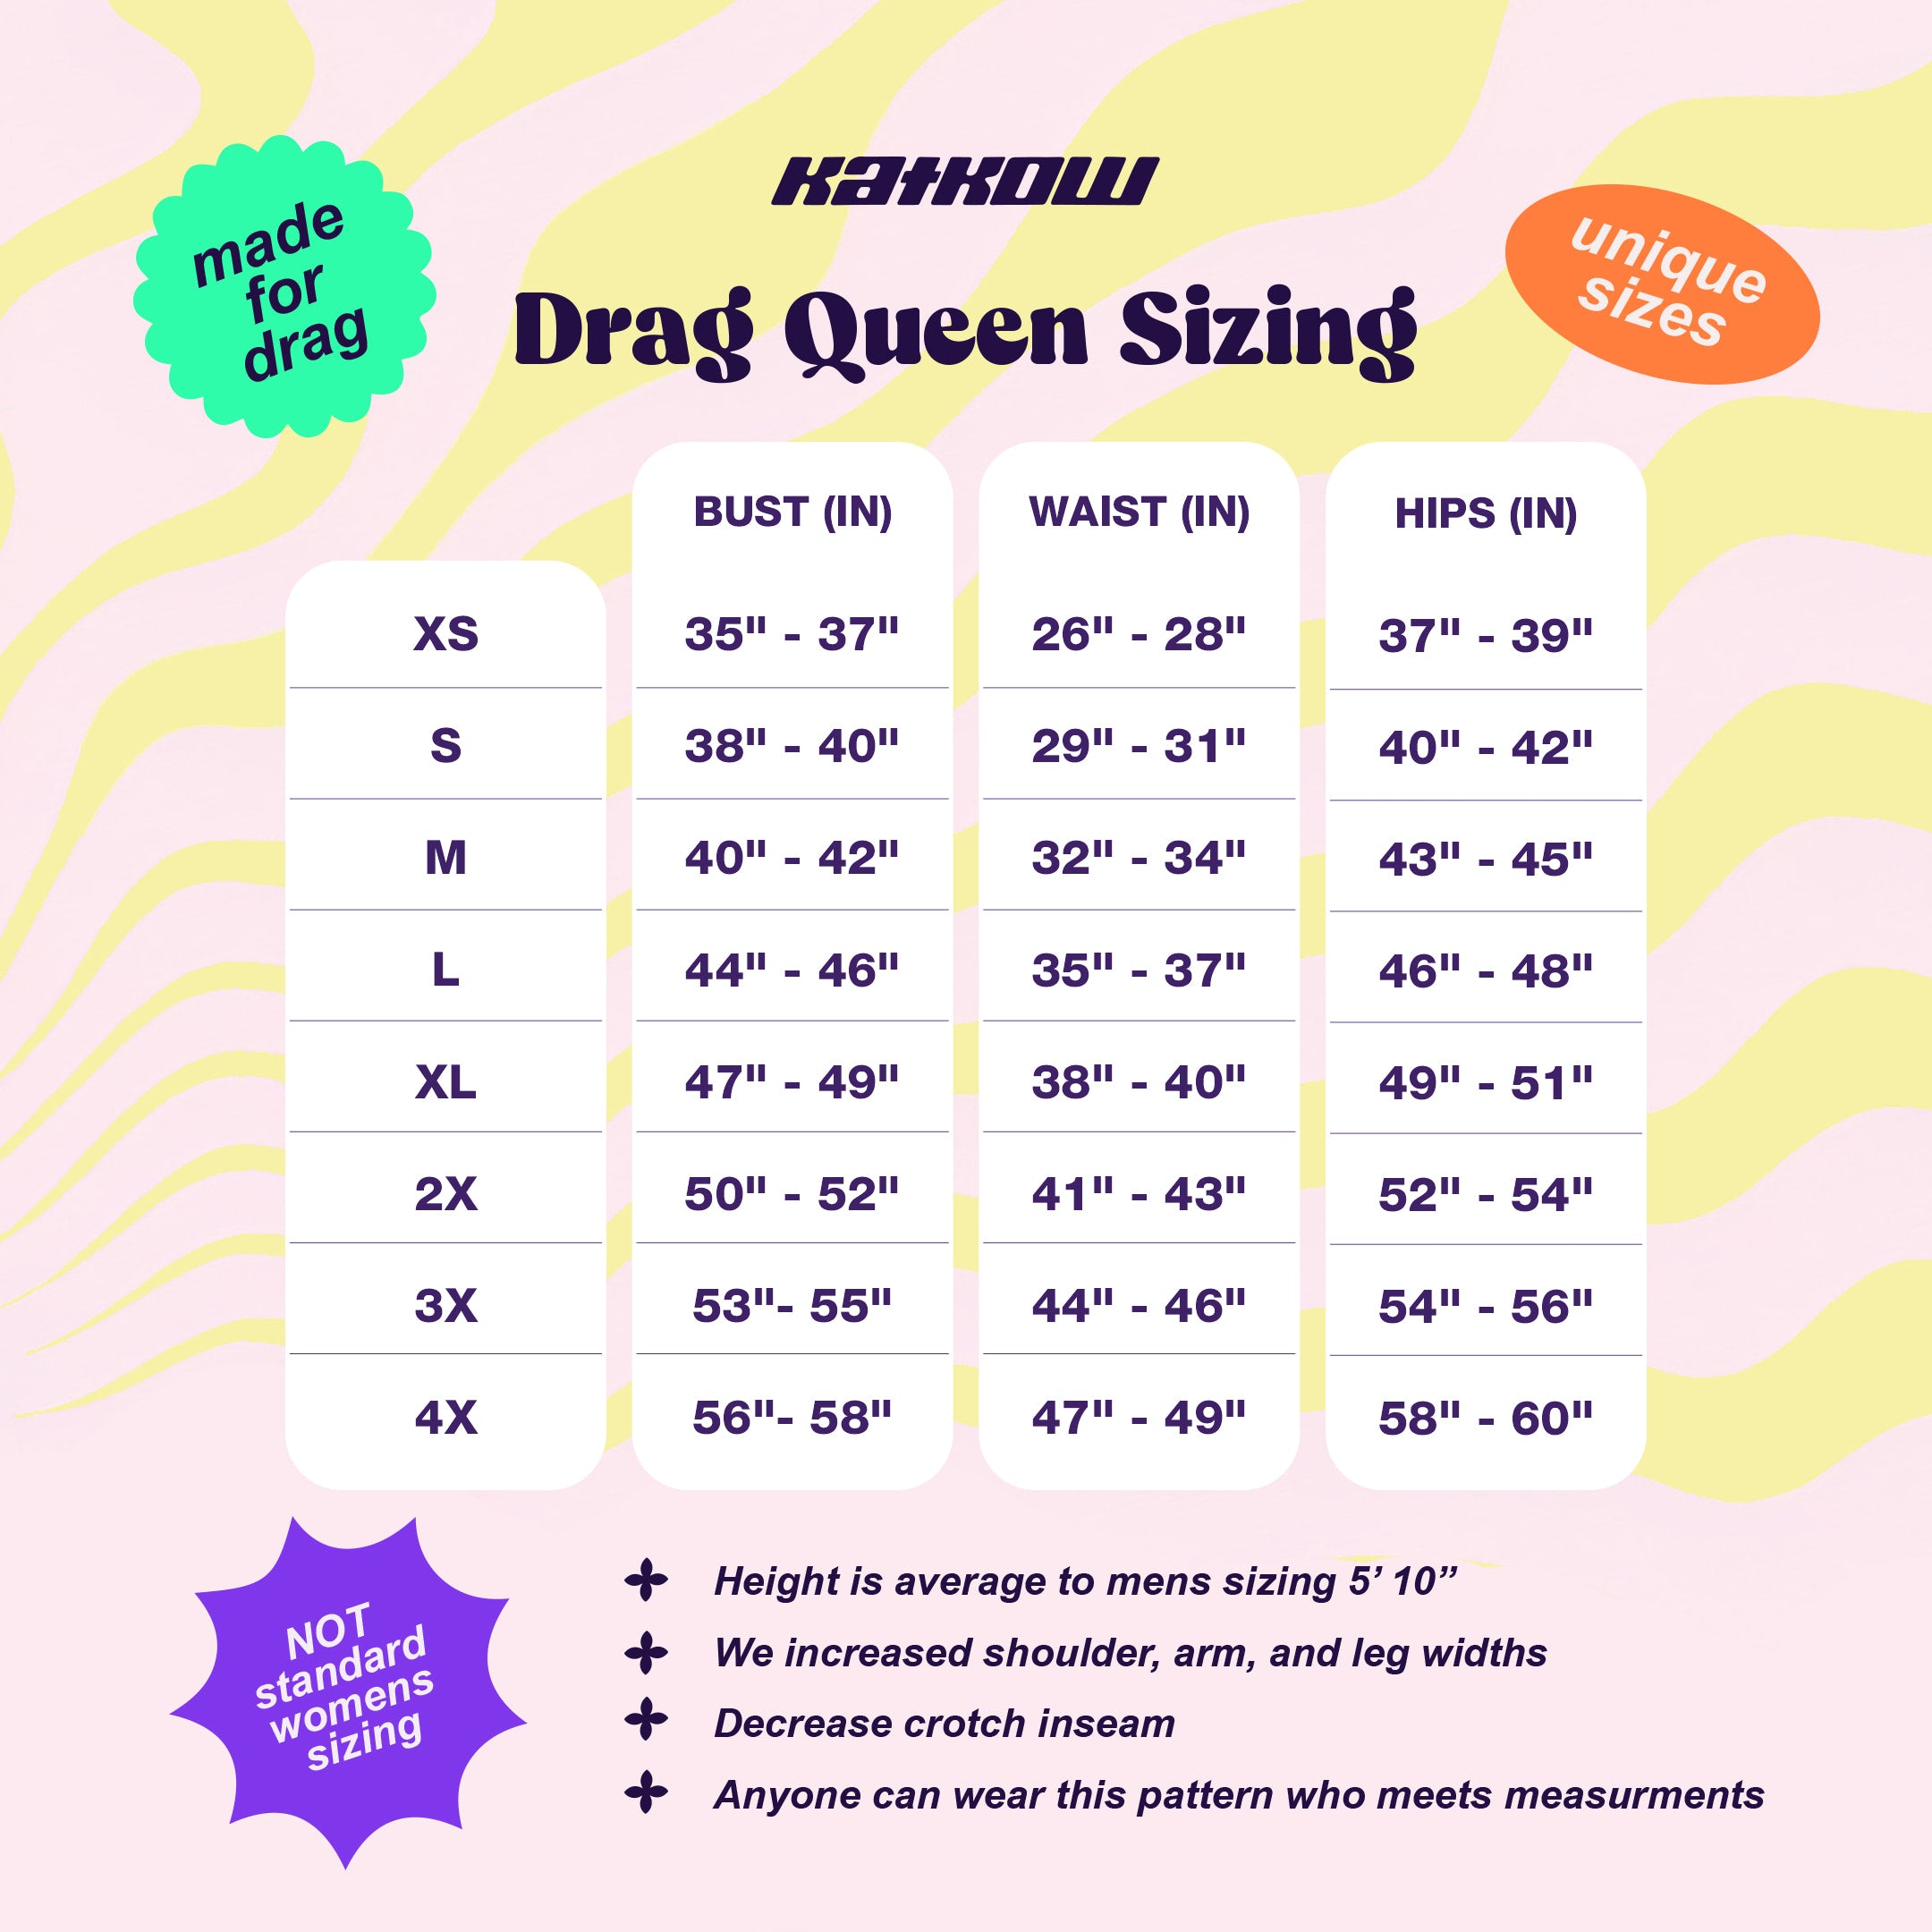
Sizing Details
This pattern is available in our unqiue drag queen sizes (XS-4X). Please review our sizing guide for more information on our size measurements.
Sewing Instructions
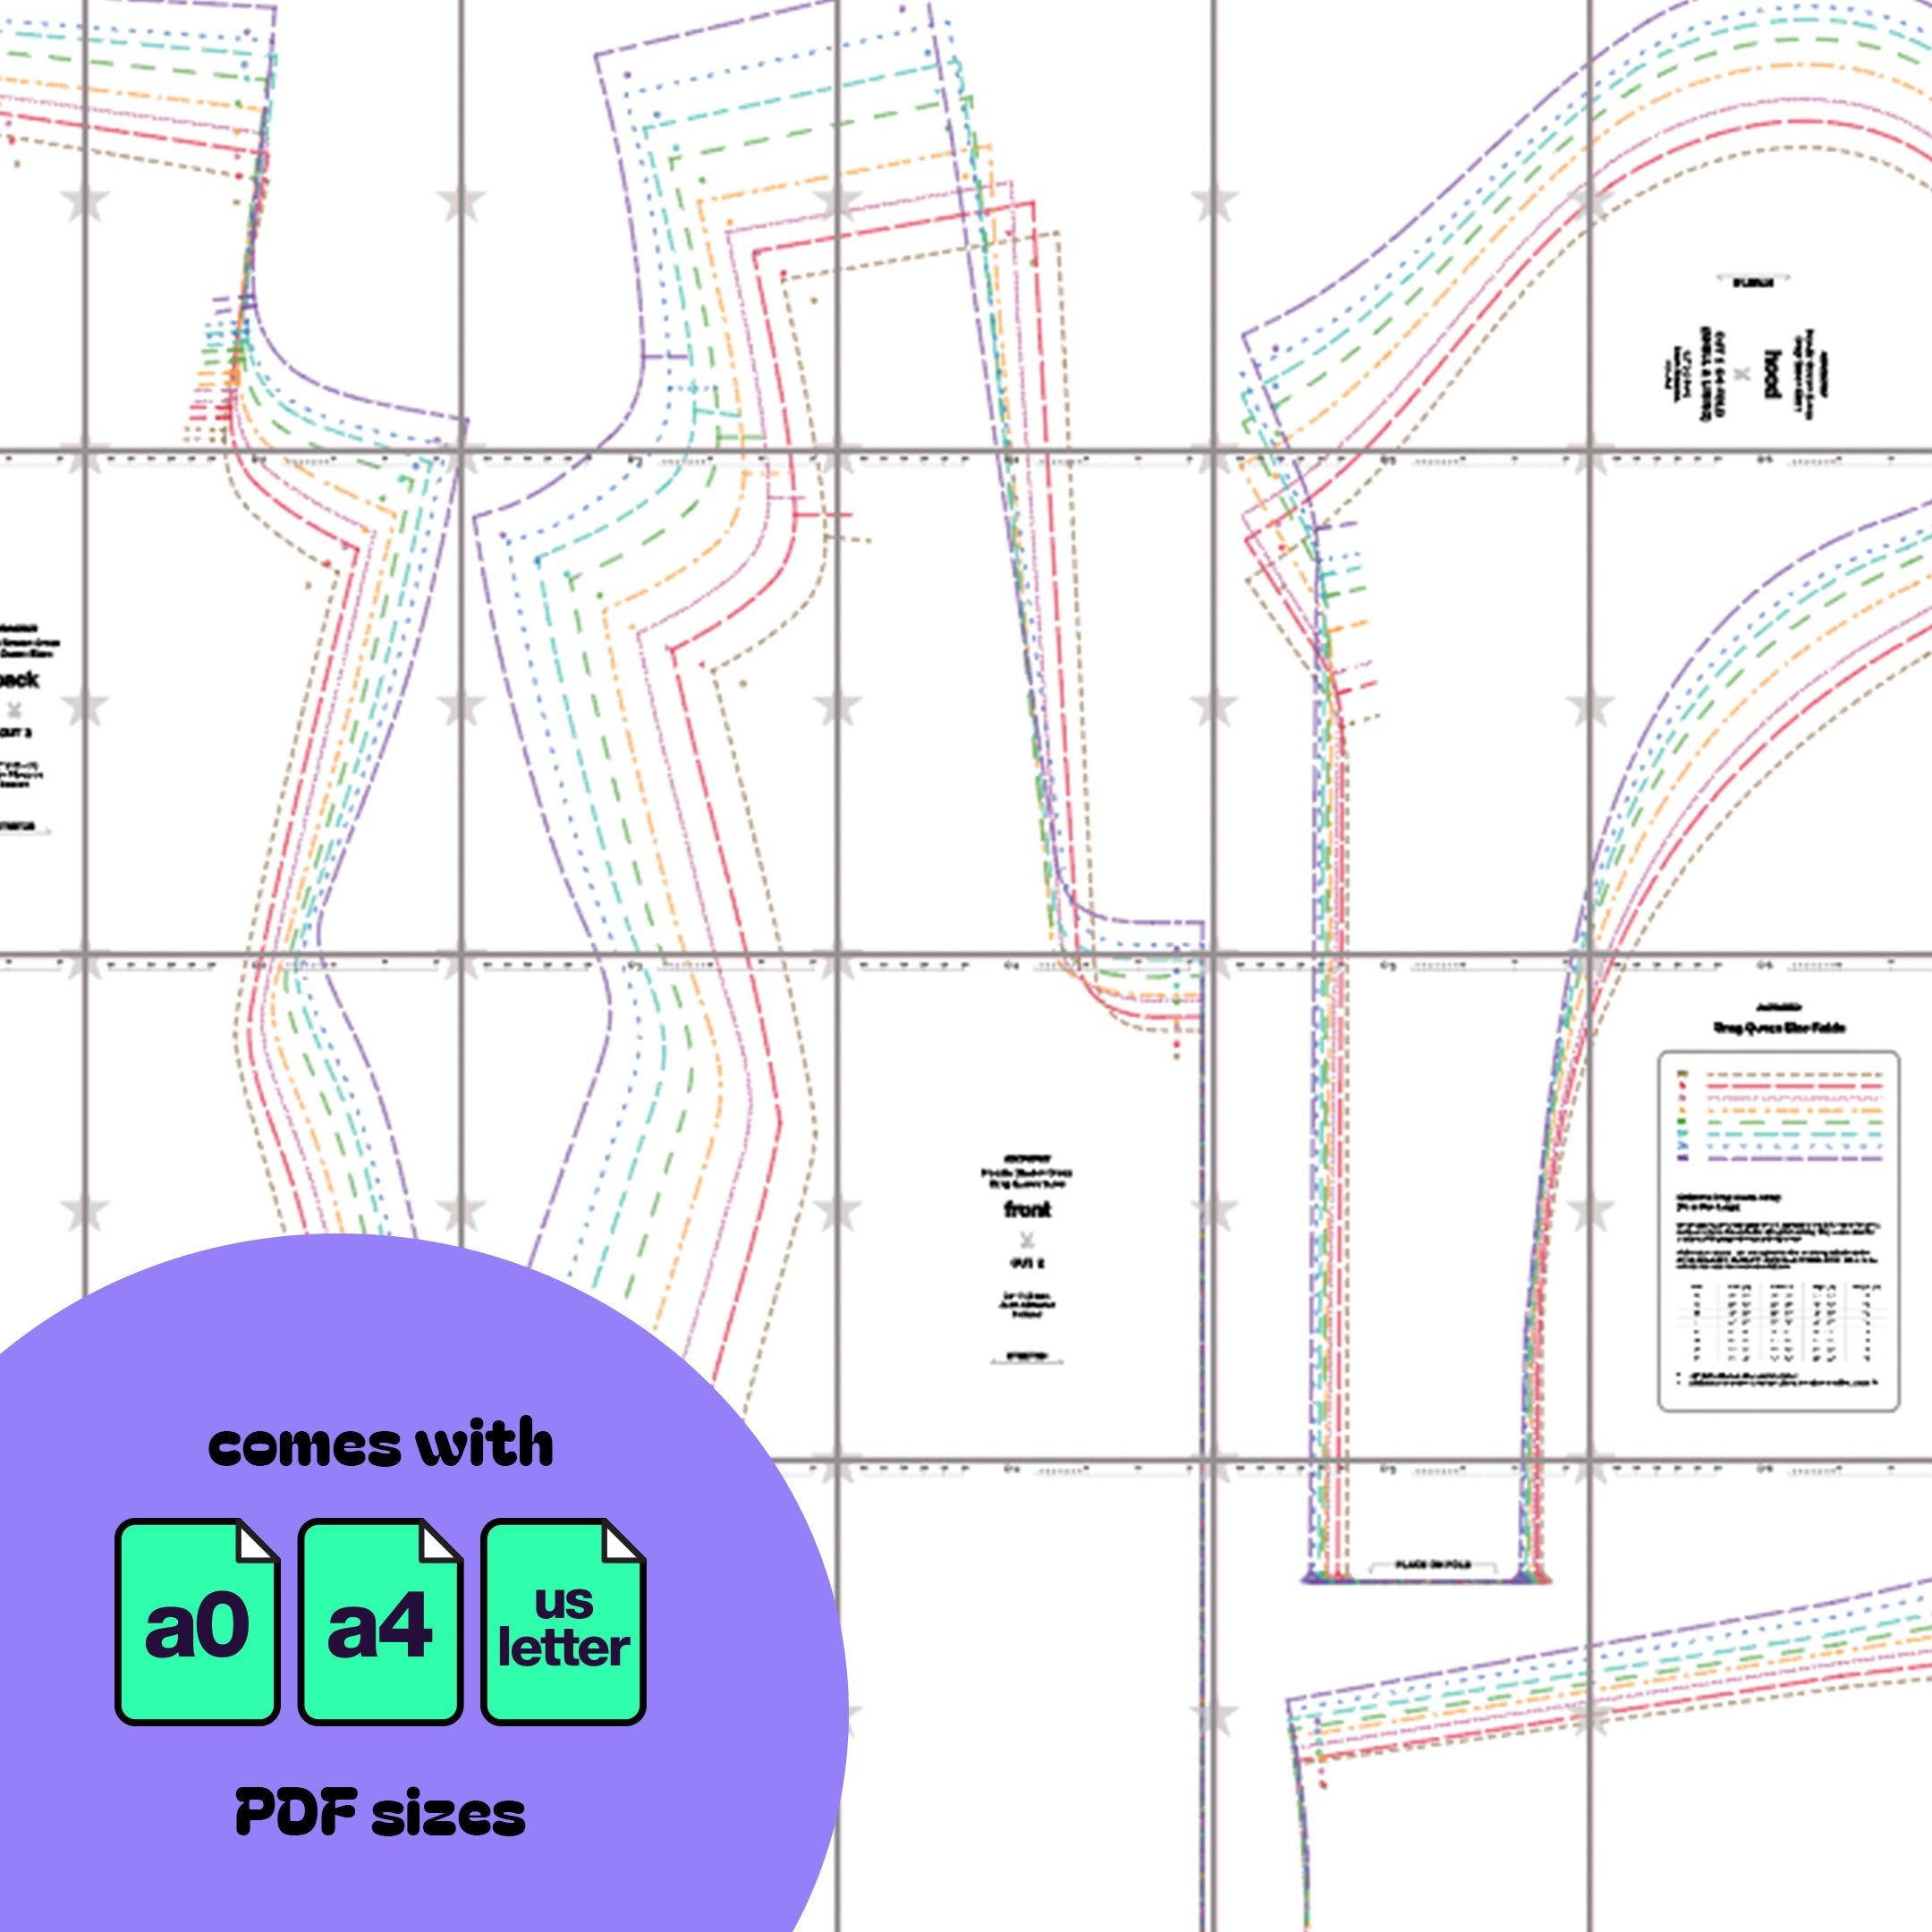
Fabric Pieces
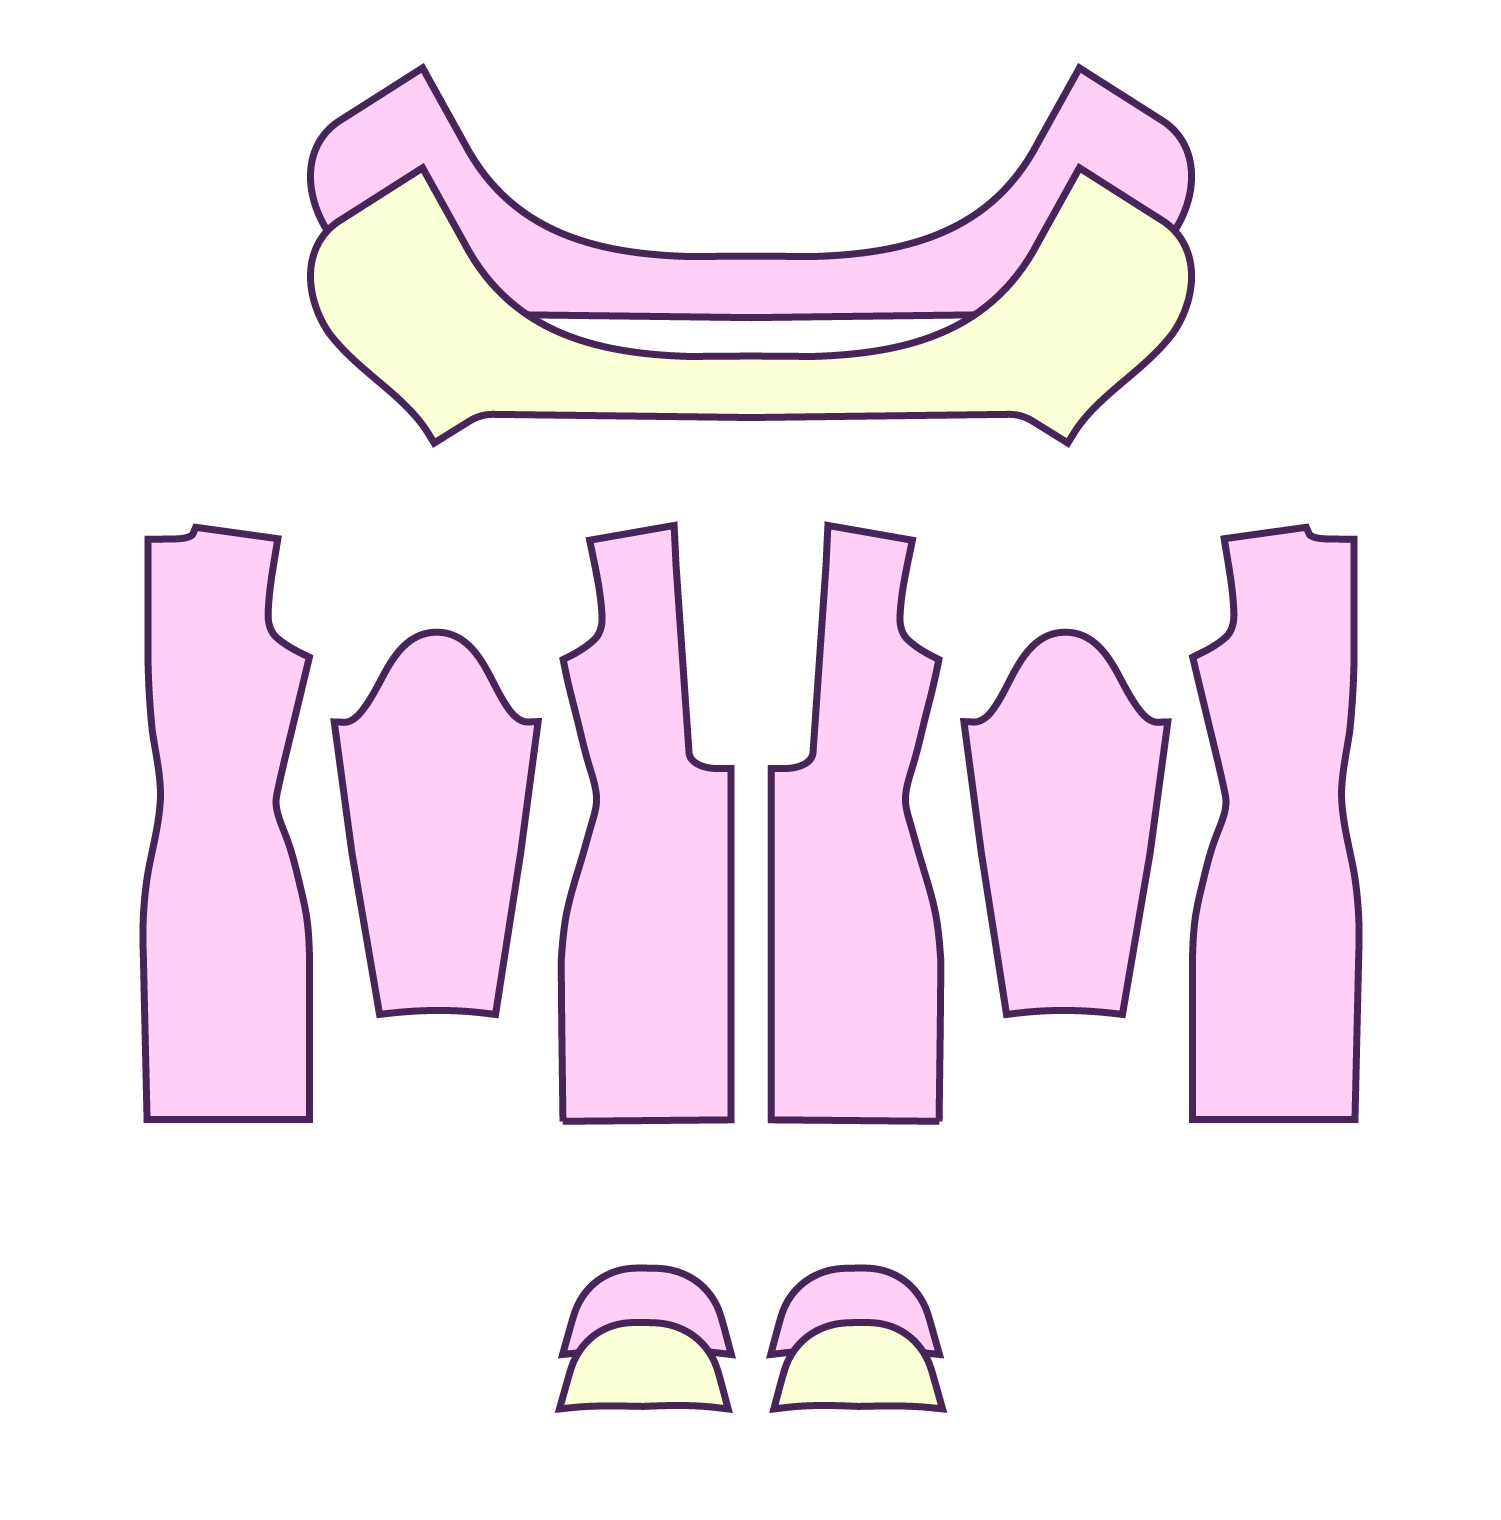
Once your fabric is cut you should have two hood layers (shell and lining), two front pieces, two back pieces, two sleeves, and one set of shoulder pads.

Stitches
For this project, it's recommended to use a serger overlock stitch, a stretch stitch, or a zigzag stitch. Avoid using a straight stitch as it may cause the threads to snap.
STEP 1
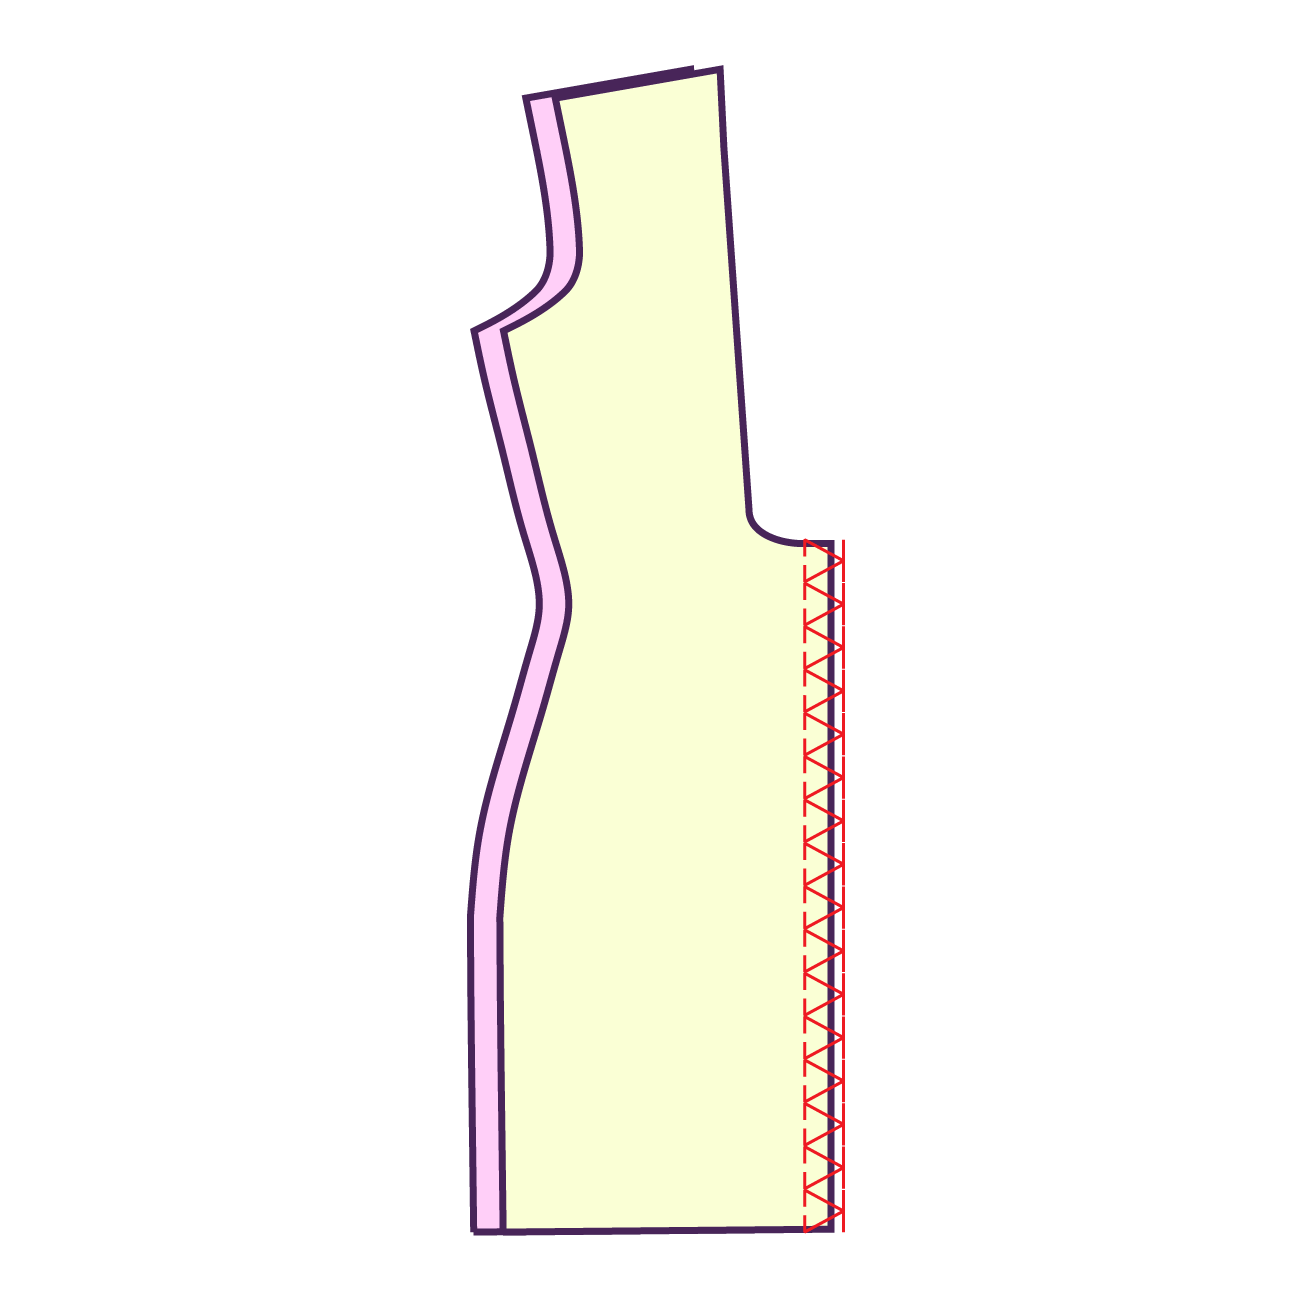
Take the 2 front pieces, right sides facing each other, and sew them along the center seam.
STEP 2
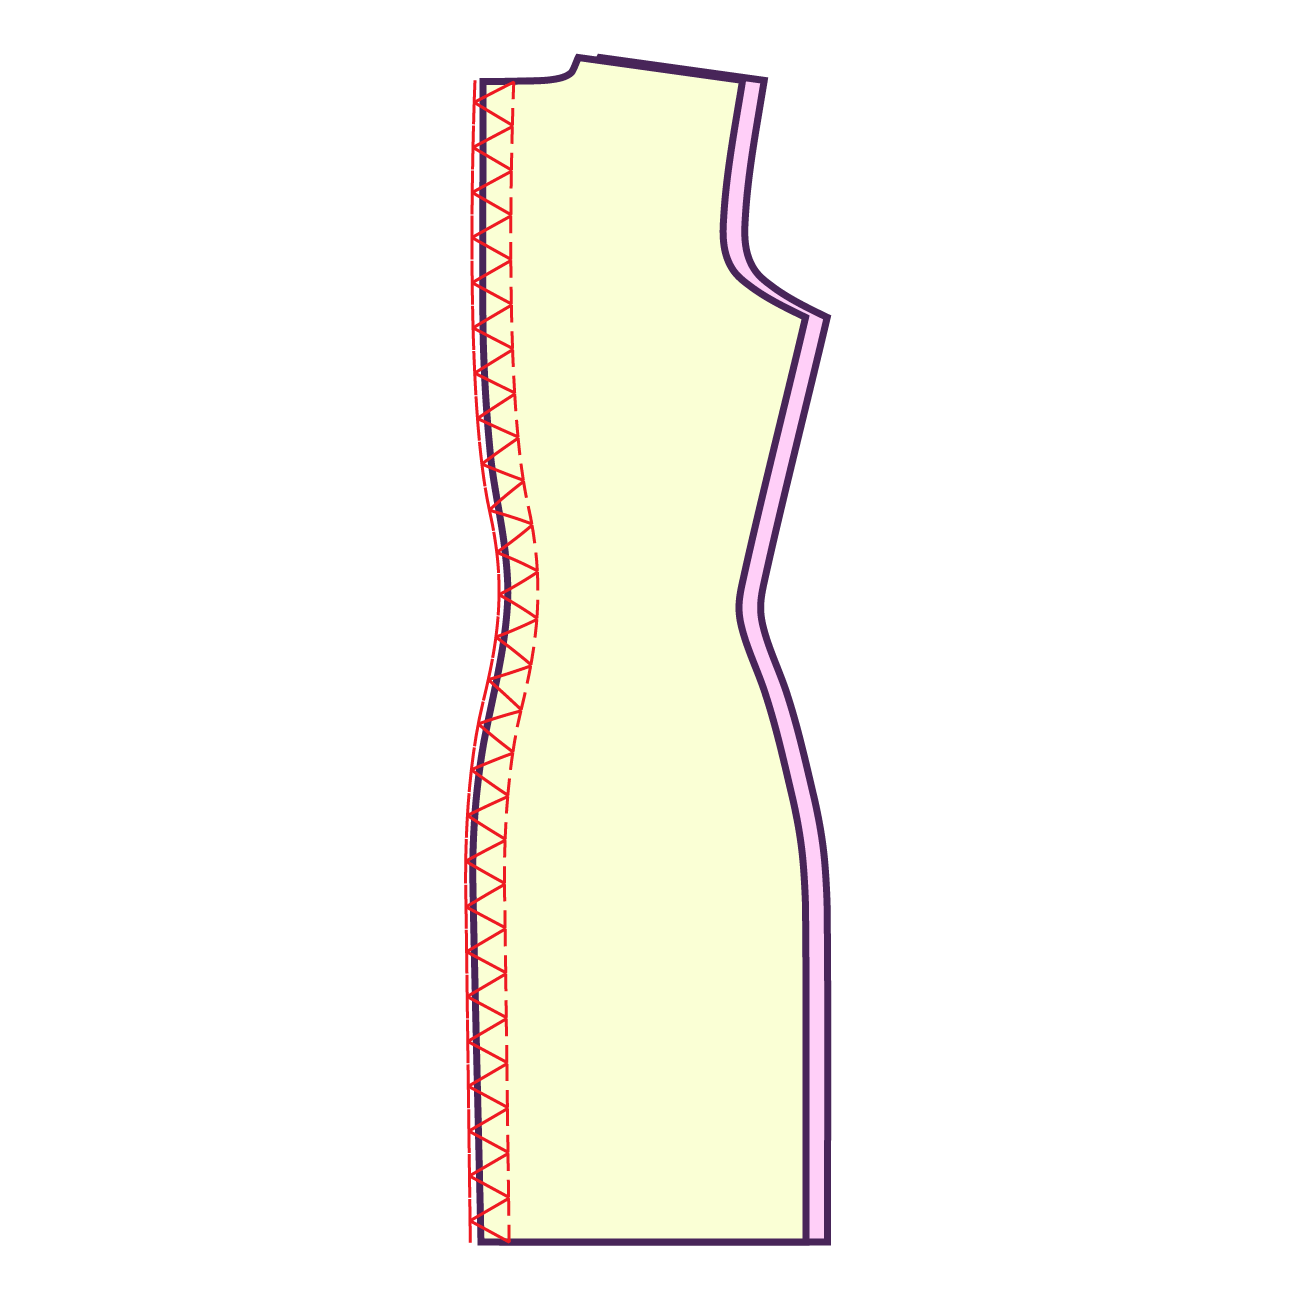
Take the 2 back pieces, right sides facing each other, and sew them along the center seam.
STEP 3
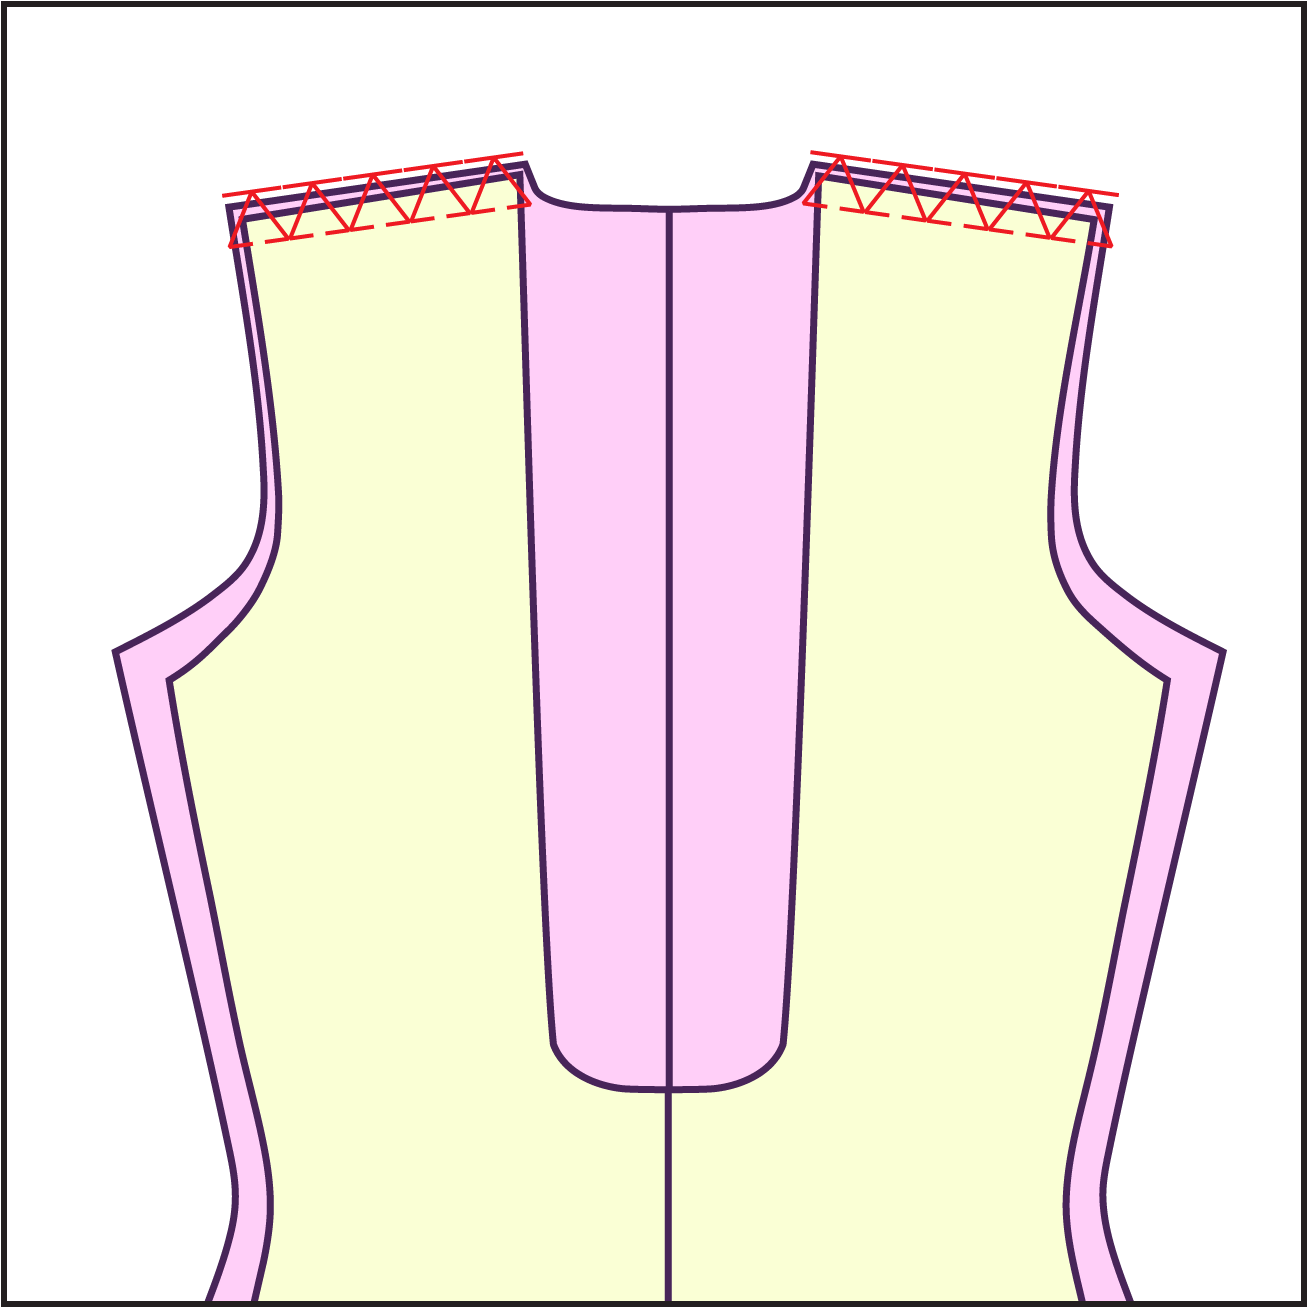
Stack the front and back pieces, right sides facing each other, and sew them along the shoulder seams.
STEP 4
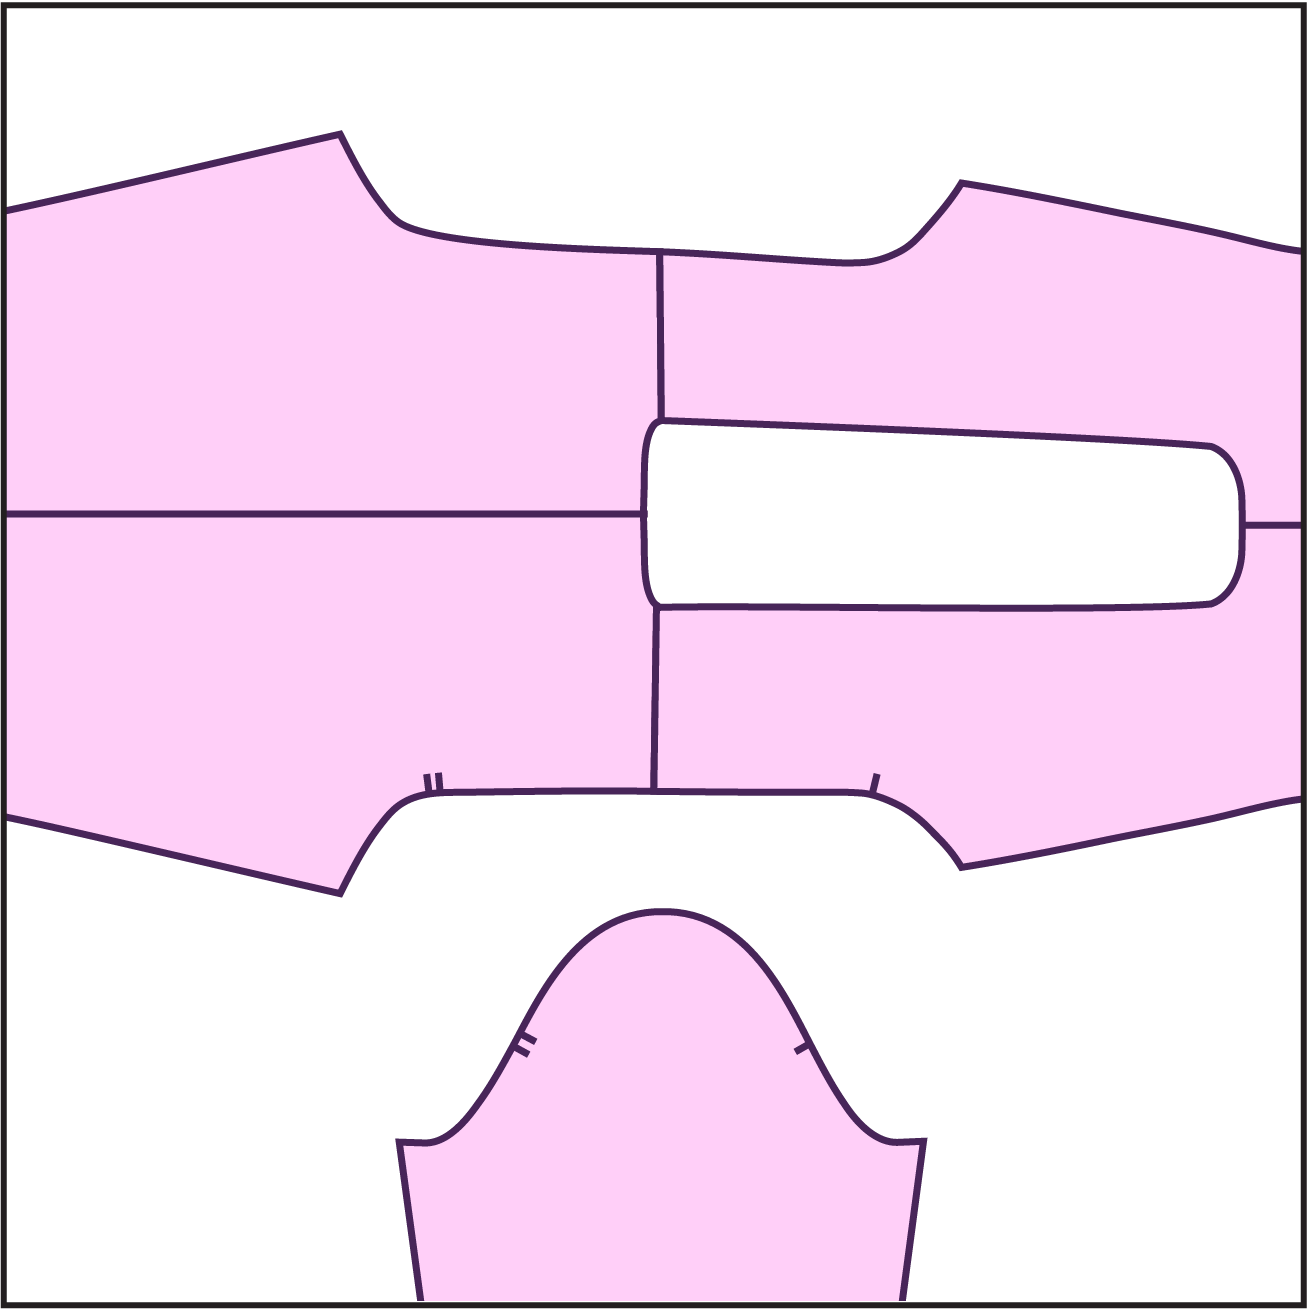
Lay out the front and back right side up and gather your sleeves.
STEP 5
Align and pin the sleeves around the armholes, right side of the sleeve facing the right side of the garment, using notches as a guide. Serge or sew the sleeves in place and repeat for the other side.
STEP 6
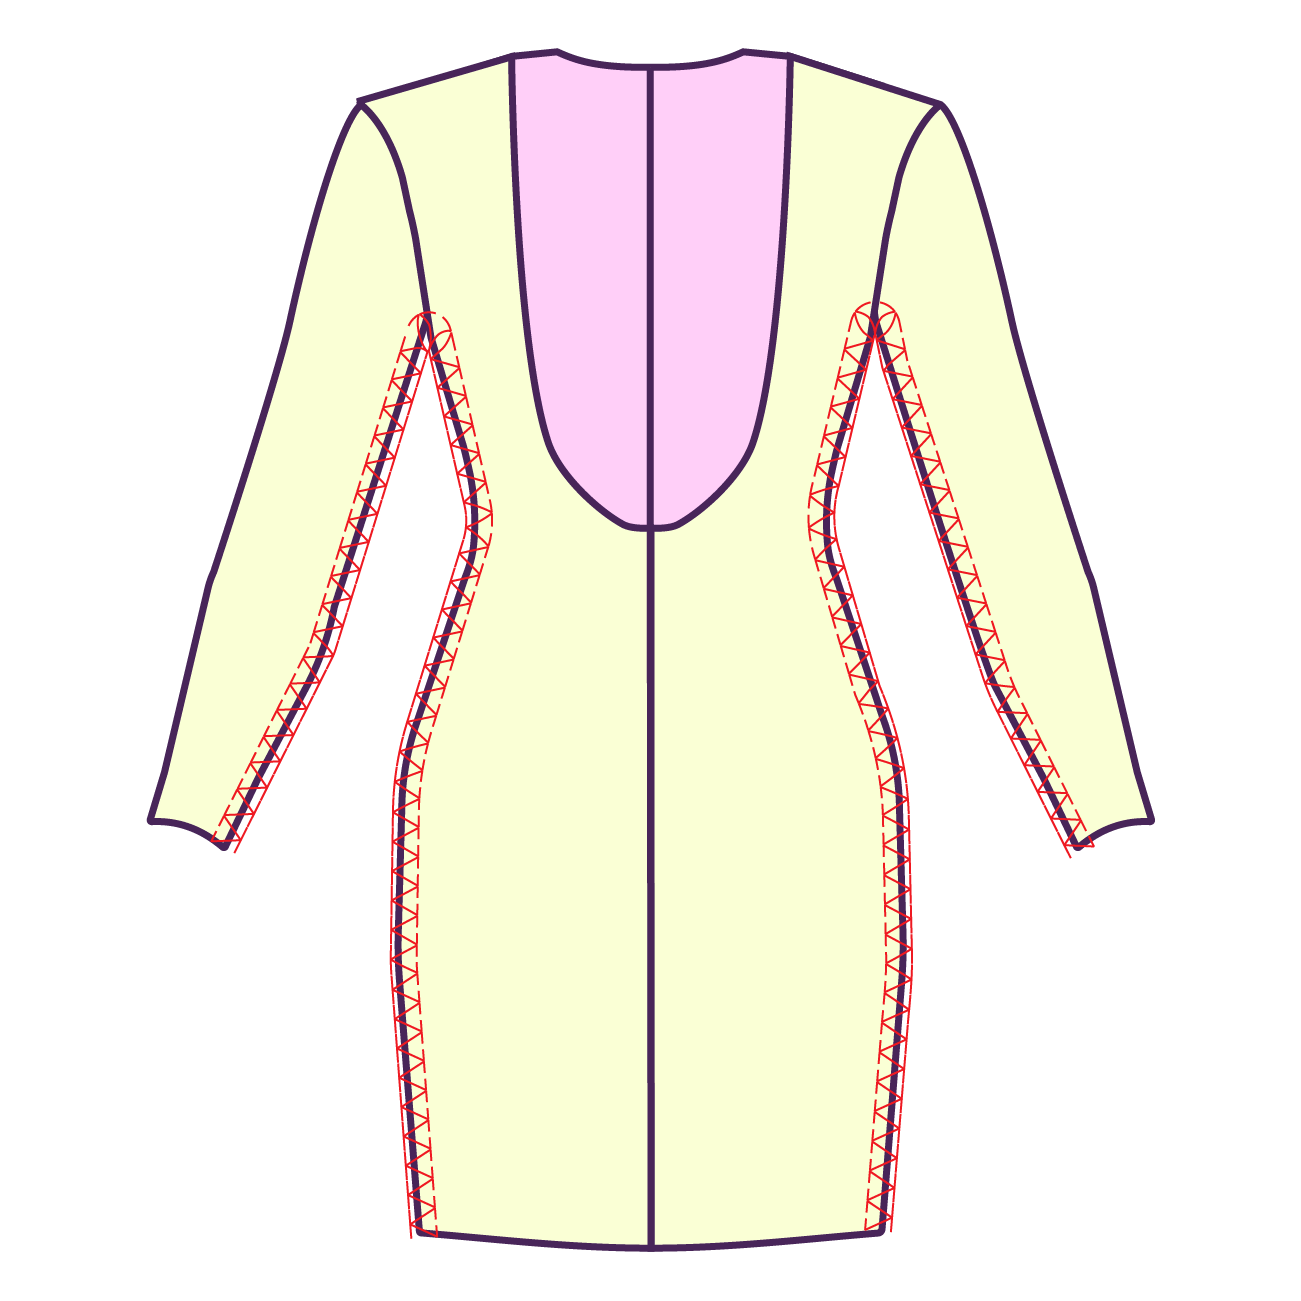
Turn the garment wrong side out and sew the inner sleeve seams closed, continuing down the sides of the garment.
STEP 7
Purchase premade shoulder pads or create your own shoulder pads out of batting, bra foam or ultra firm interfacing.
If you choose to create your own, you need a minimum of 2 layers for a more pronounced shoulder. If you do add layers, the layers will need to be sewn together by sewing around all edges with a zig zag stitch.
STEP 8
To attach the shoulder pads, flip the garment wrong side out. Press open the shoulder and sleeve seams. The shoulder pads should be hand sewn and only attached to the seam allowance fabric.
Line up your shoulder pad to the edge of the armhole. Sew an X along the center front curve of the shoulder pad on the shoulder seam.
Then sew a running stitch along the flat edge around the sleeve seam and secure the ends closed. Repeat for the other shoulder.
STEP 9
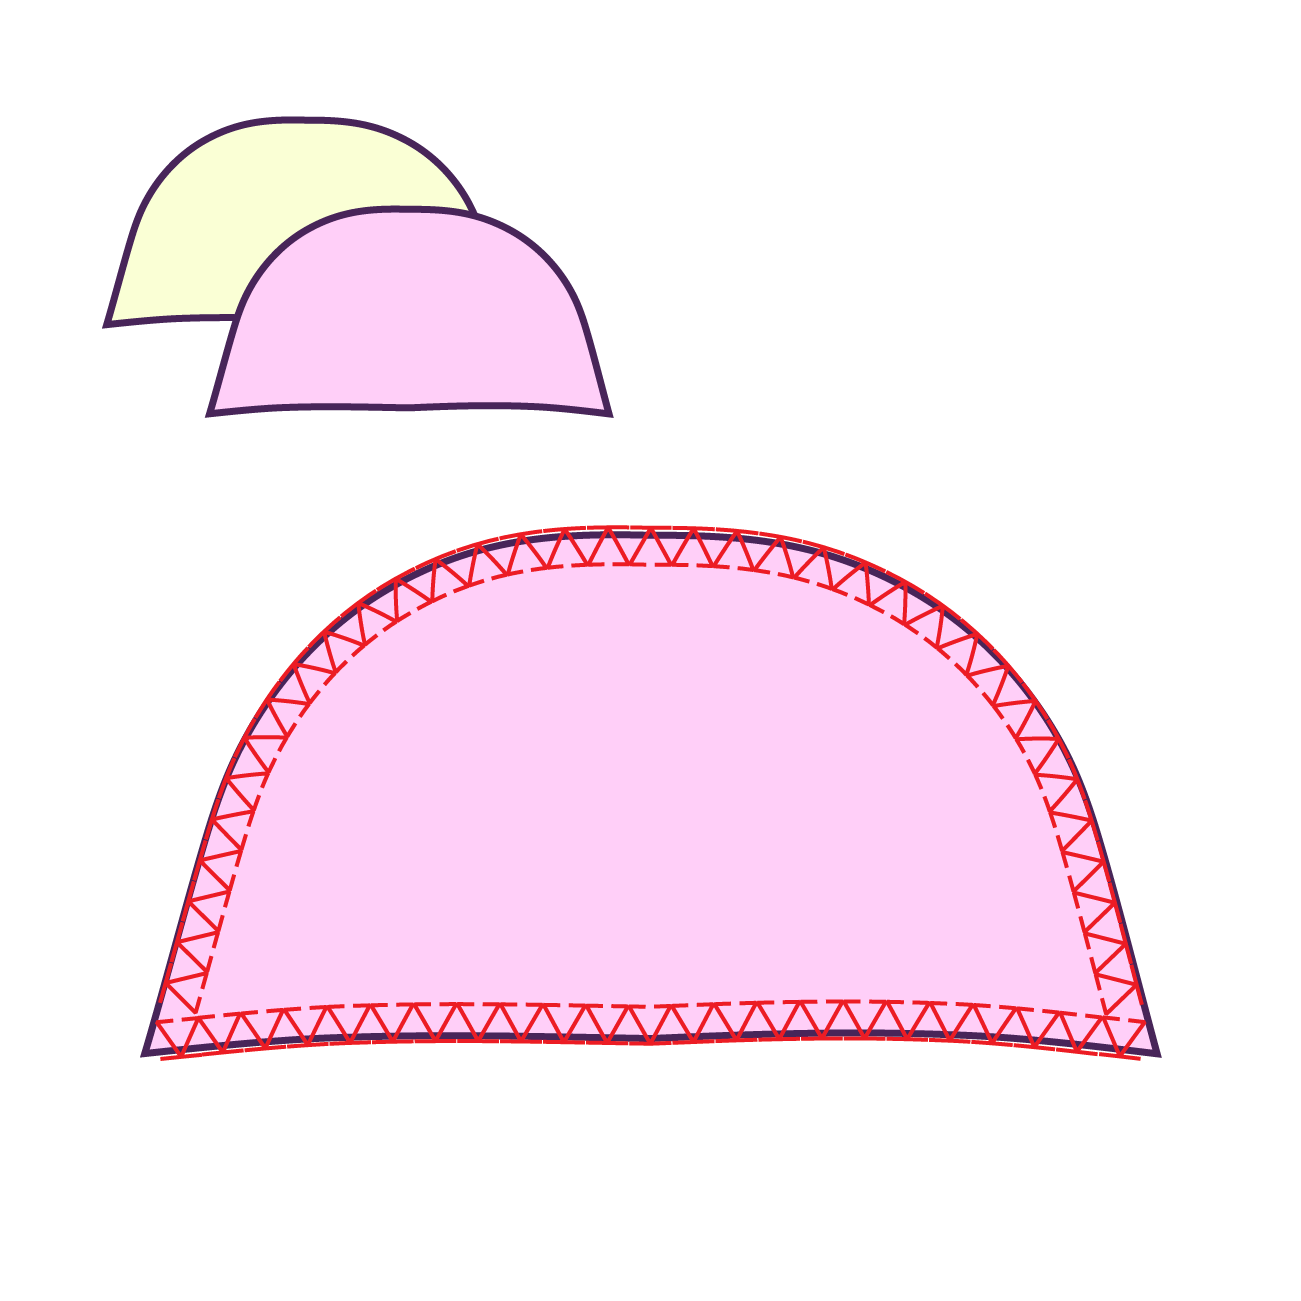
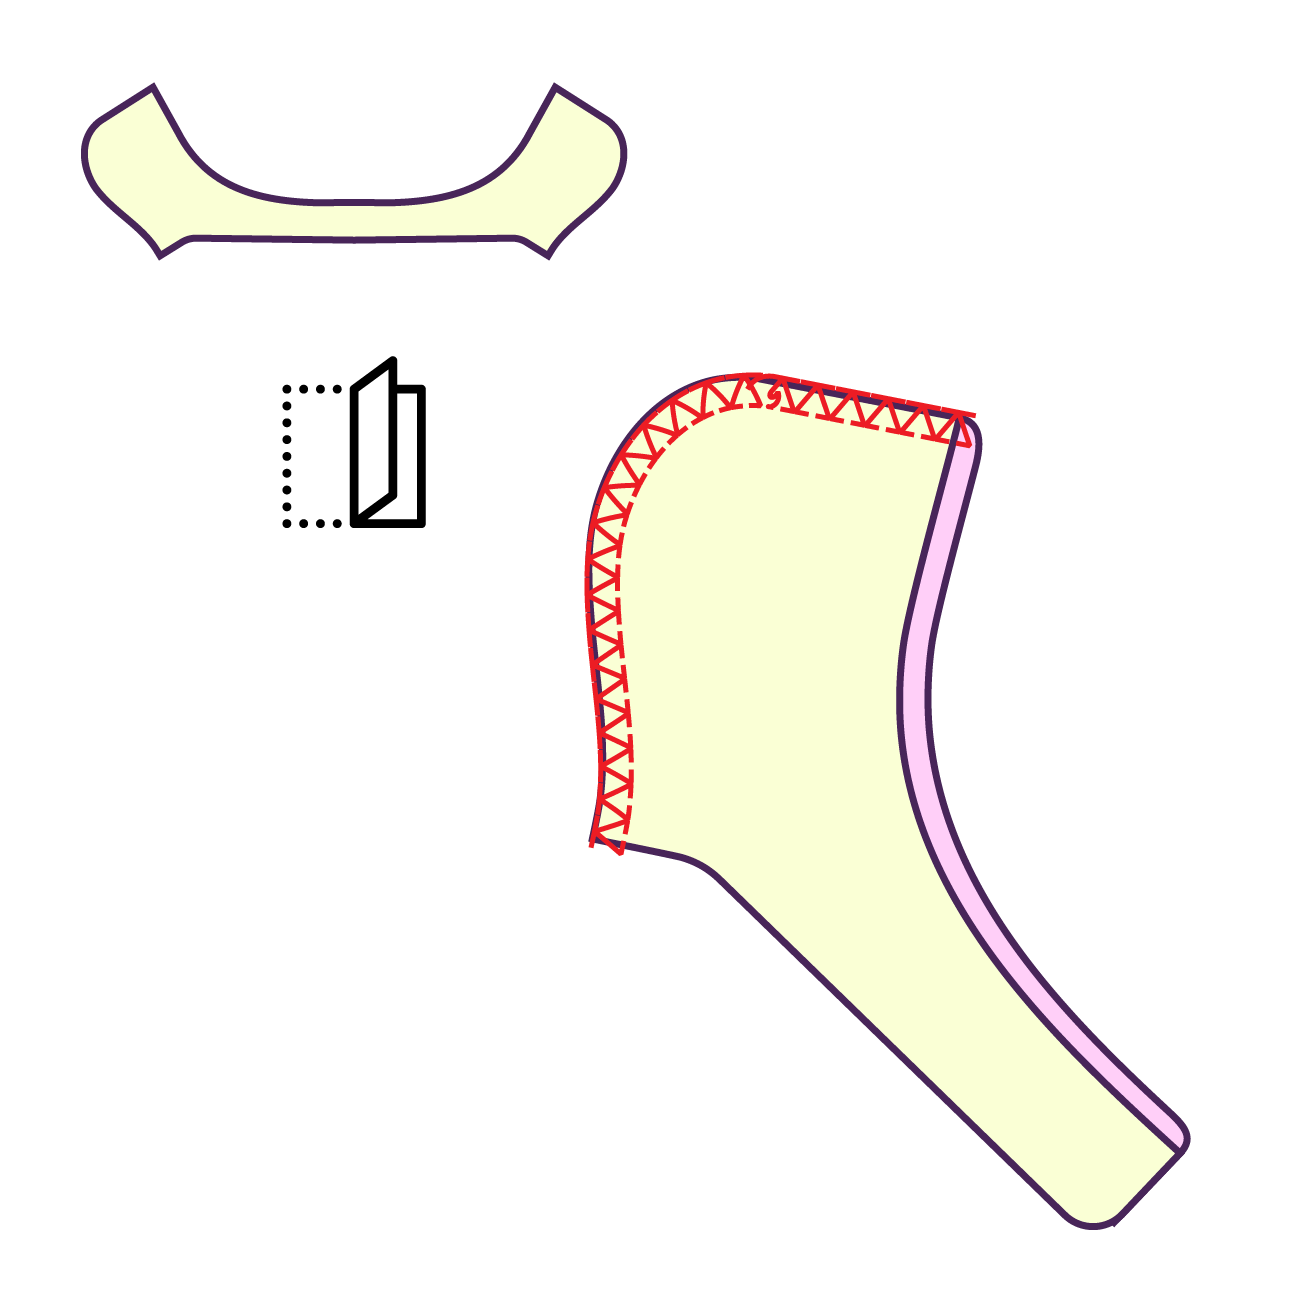
Gather the hood shell piece. Fold horizontally along the center front, right sides facing each other. Then sew together along the curve for the back of head. Repeat for lining.
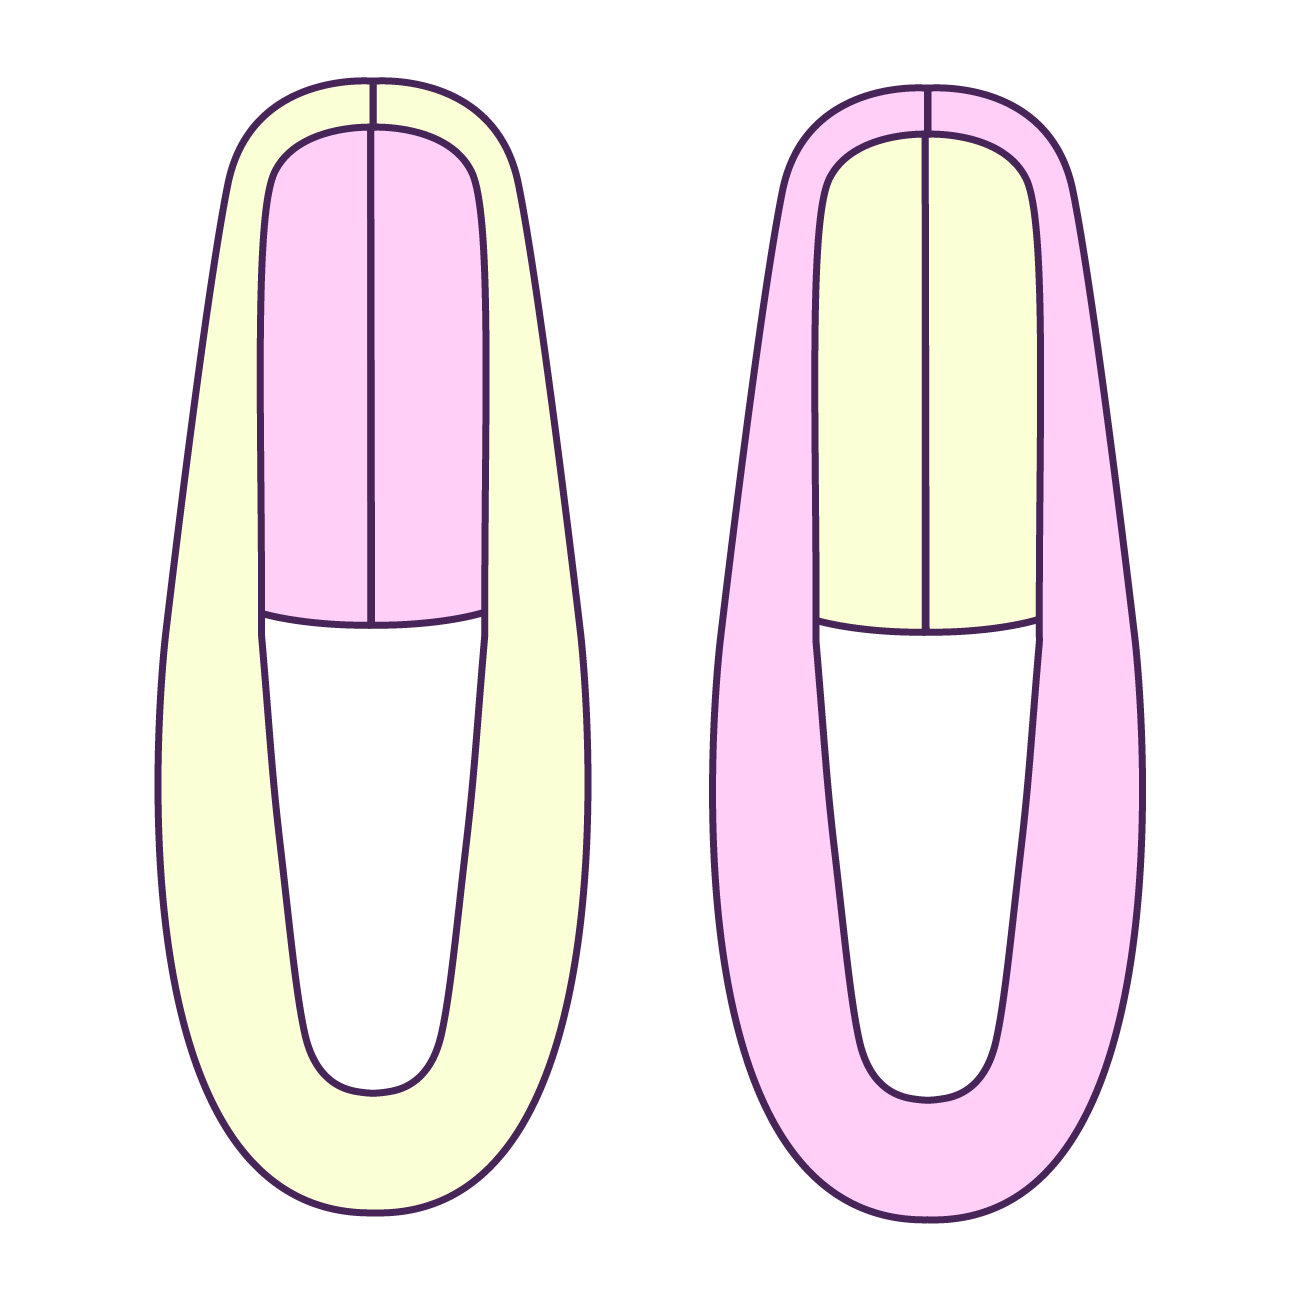
STEP 10
Repeat Step 9 for your lining hood piece. Gather your shell and lining hoods.
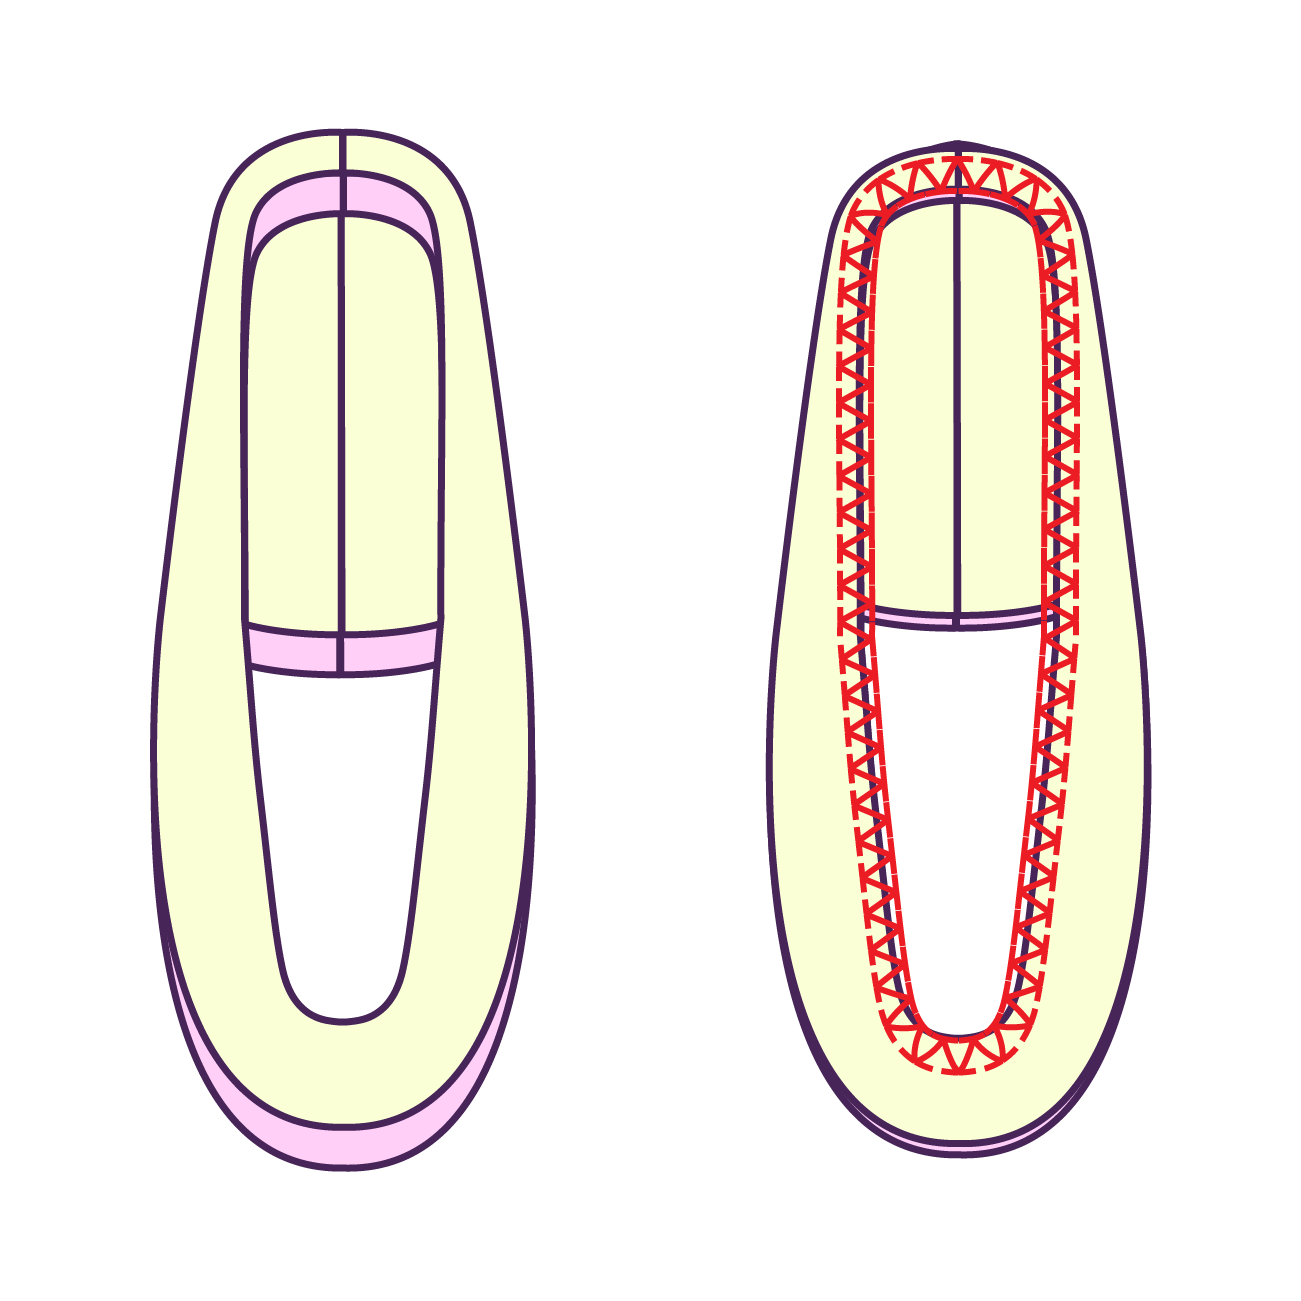
STEP 11
Stack the hood shell and lining together right sides facing each other, and sew around the face and neckline curve.
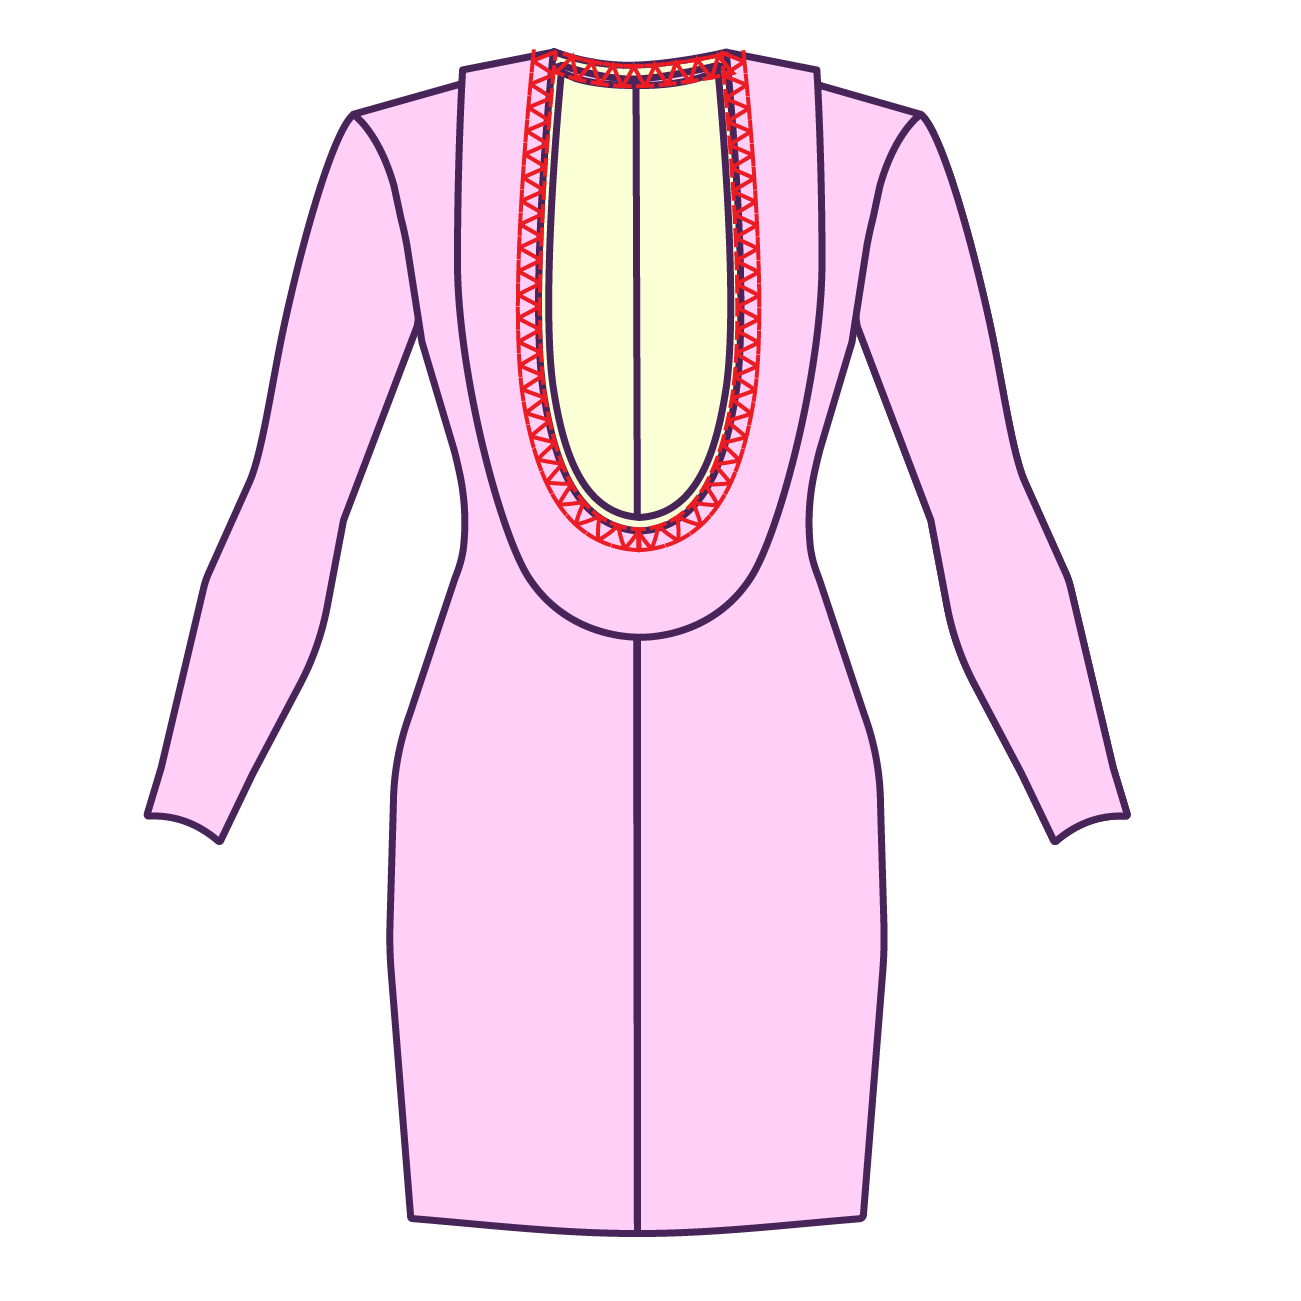
STEP 12
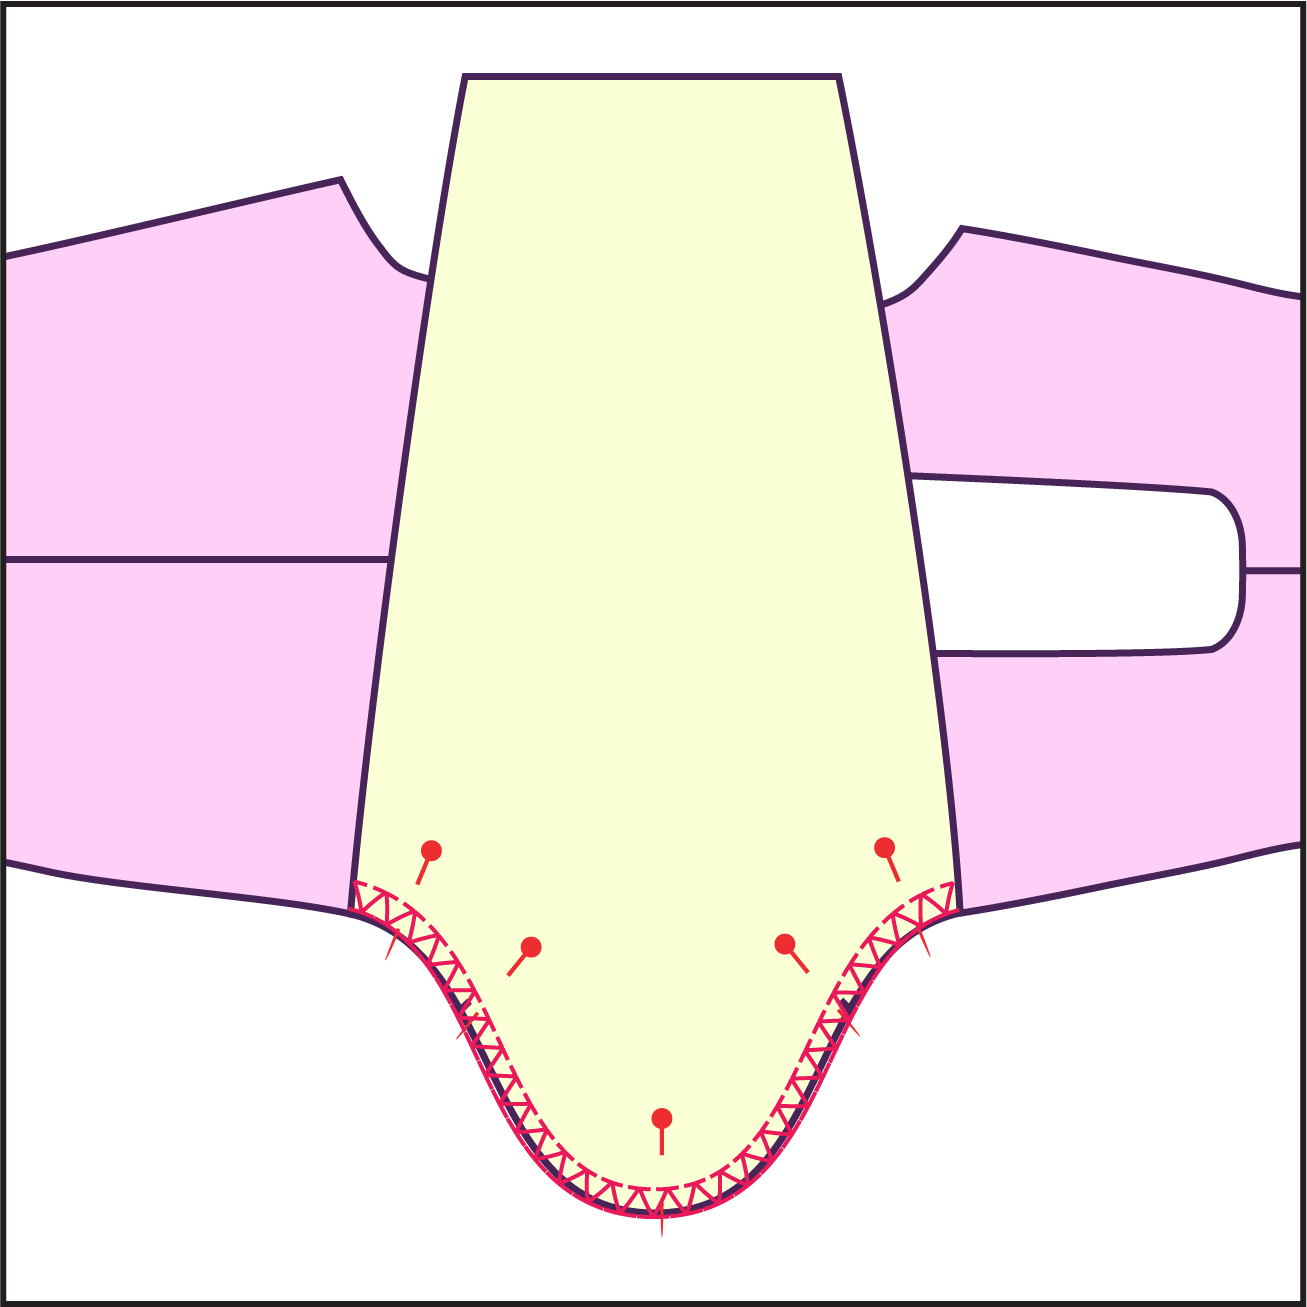
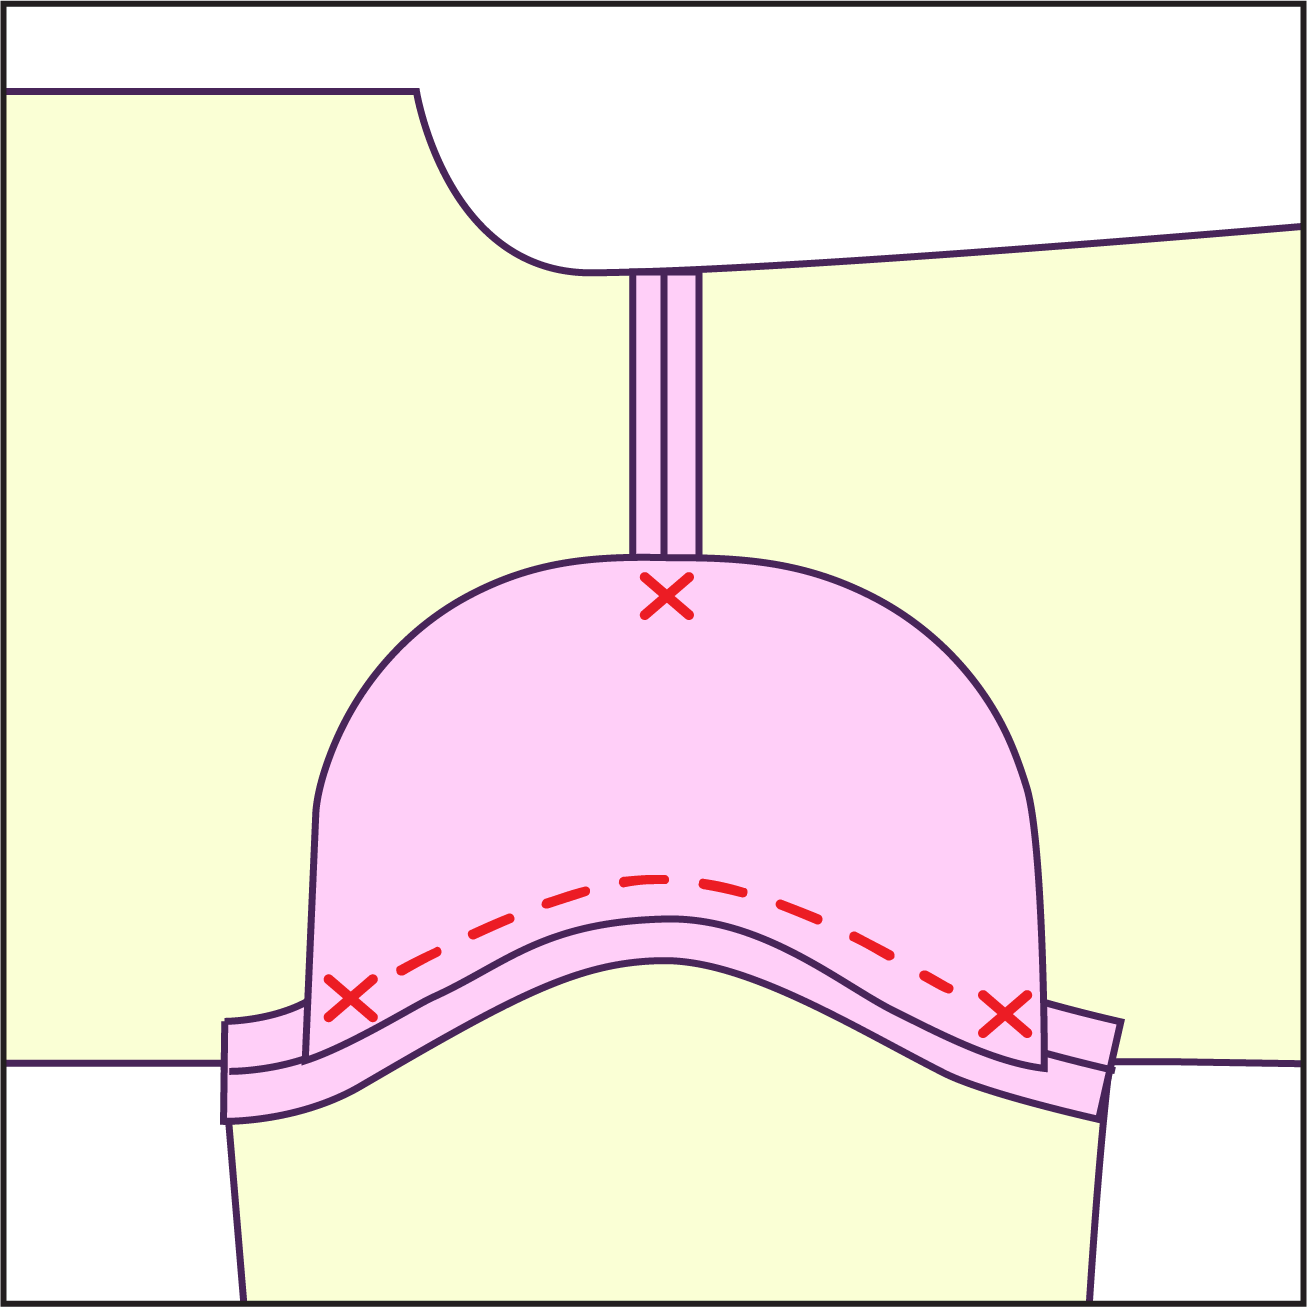
Flip the hood layers right side out. You can add pins along the un-sewn edge to keep layers aligned. Pin the hood around the neck line of the garment, right sides facing each other, with the back seam of the hood lined up with the center back seam of the collar. Then sew all around the front and back of the neckline. Lastly, flip the hood over, hiding the seams.
STEP 13
Hem the sleeves and the bottom of the dress using a zig zag stitch or fold over twice for a rolled hem effect with a stretch stitch.
Get the Pattern