How to Sew an Off-Shoulder Blazer
Jump to InstructionsOverview
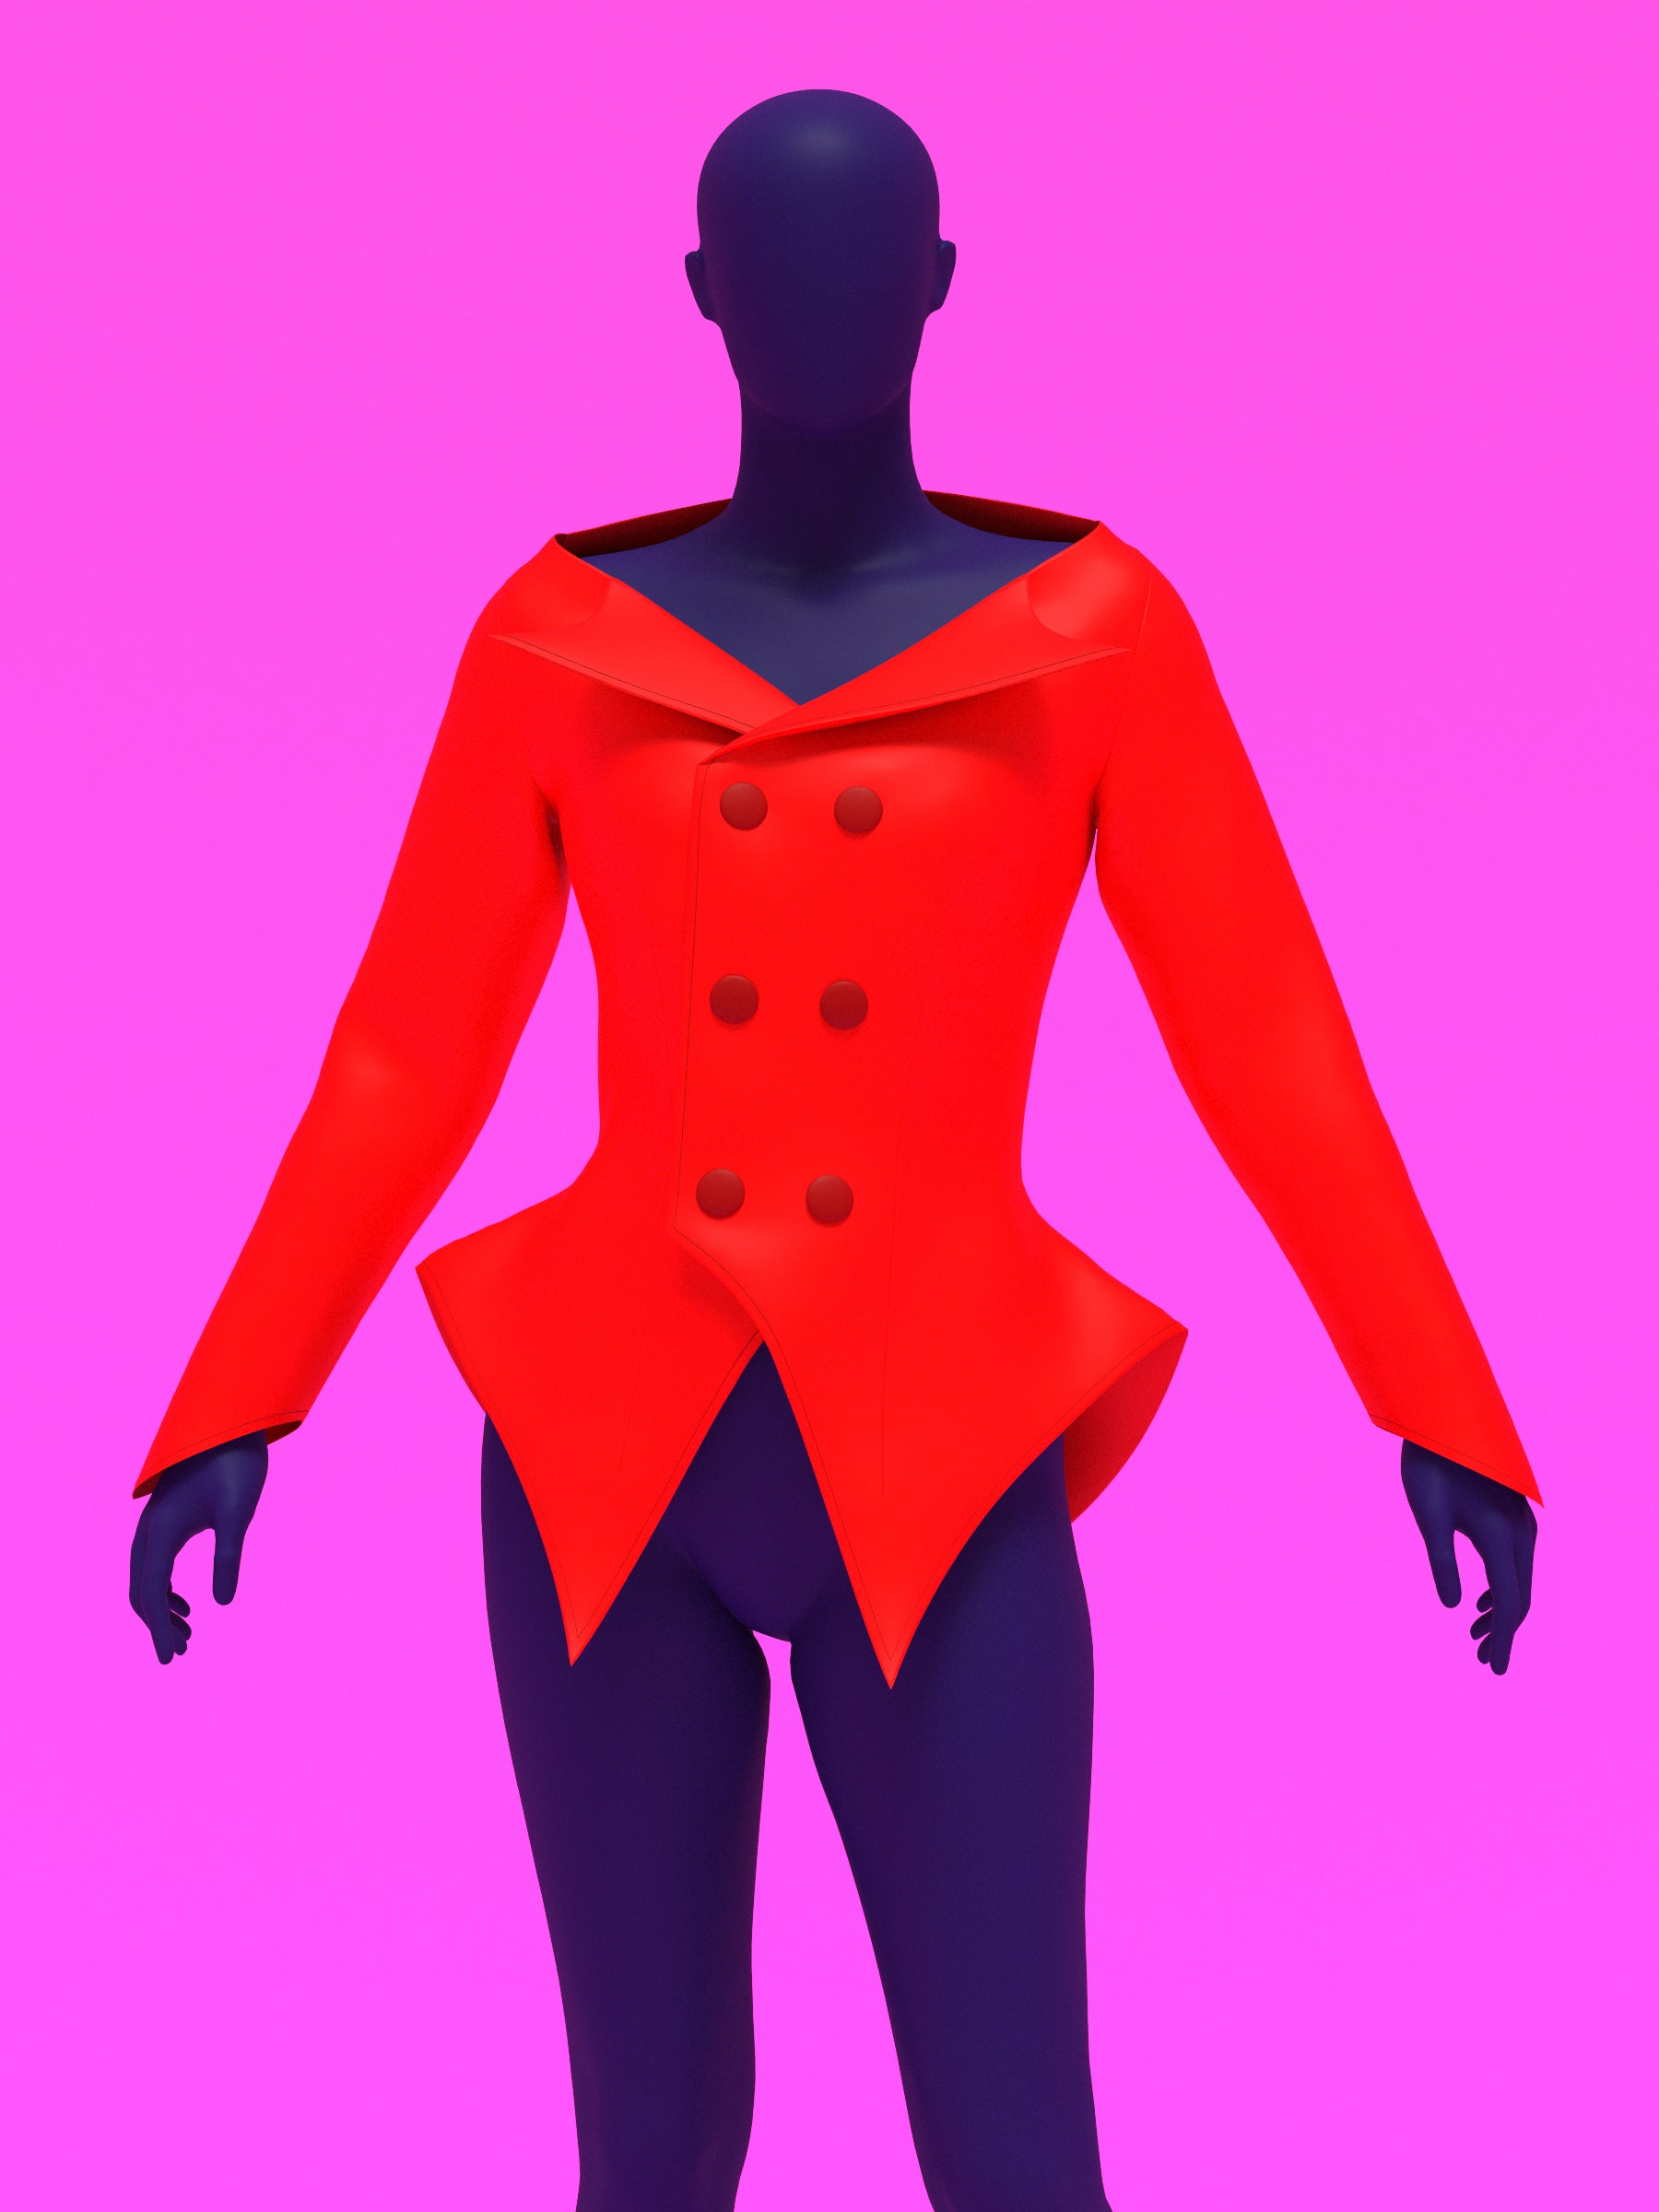
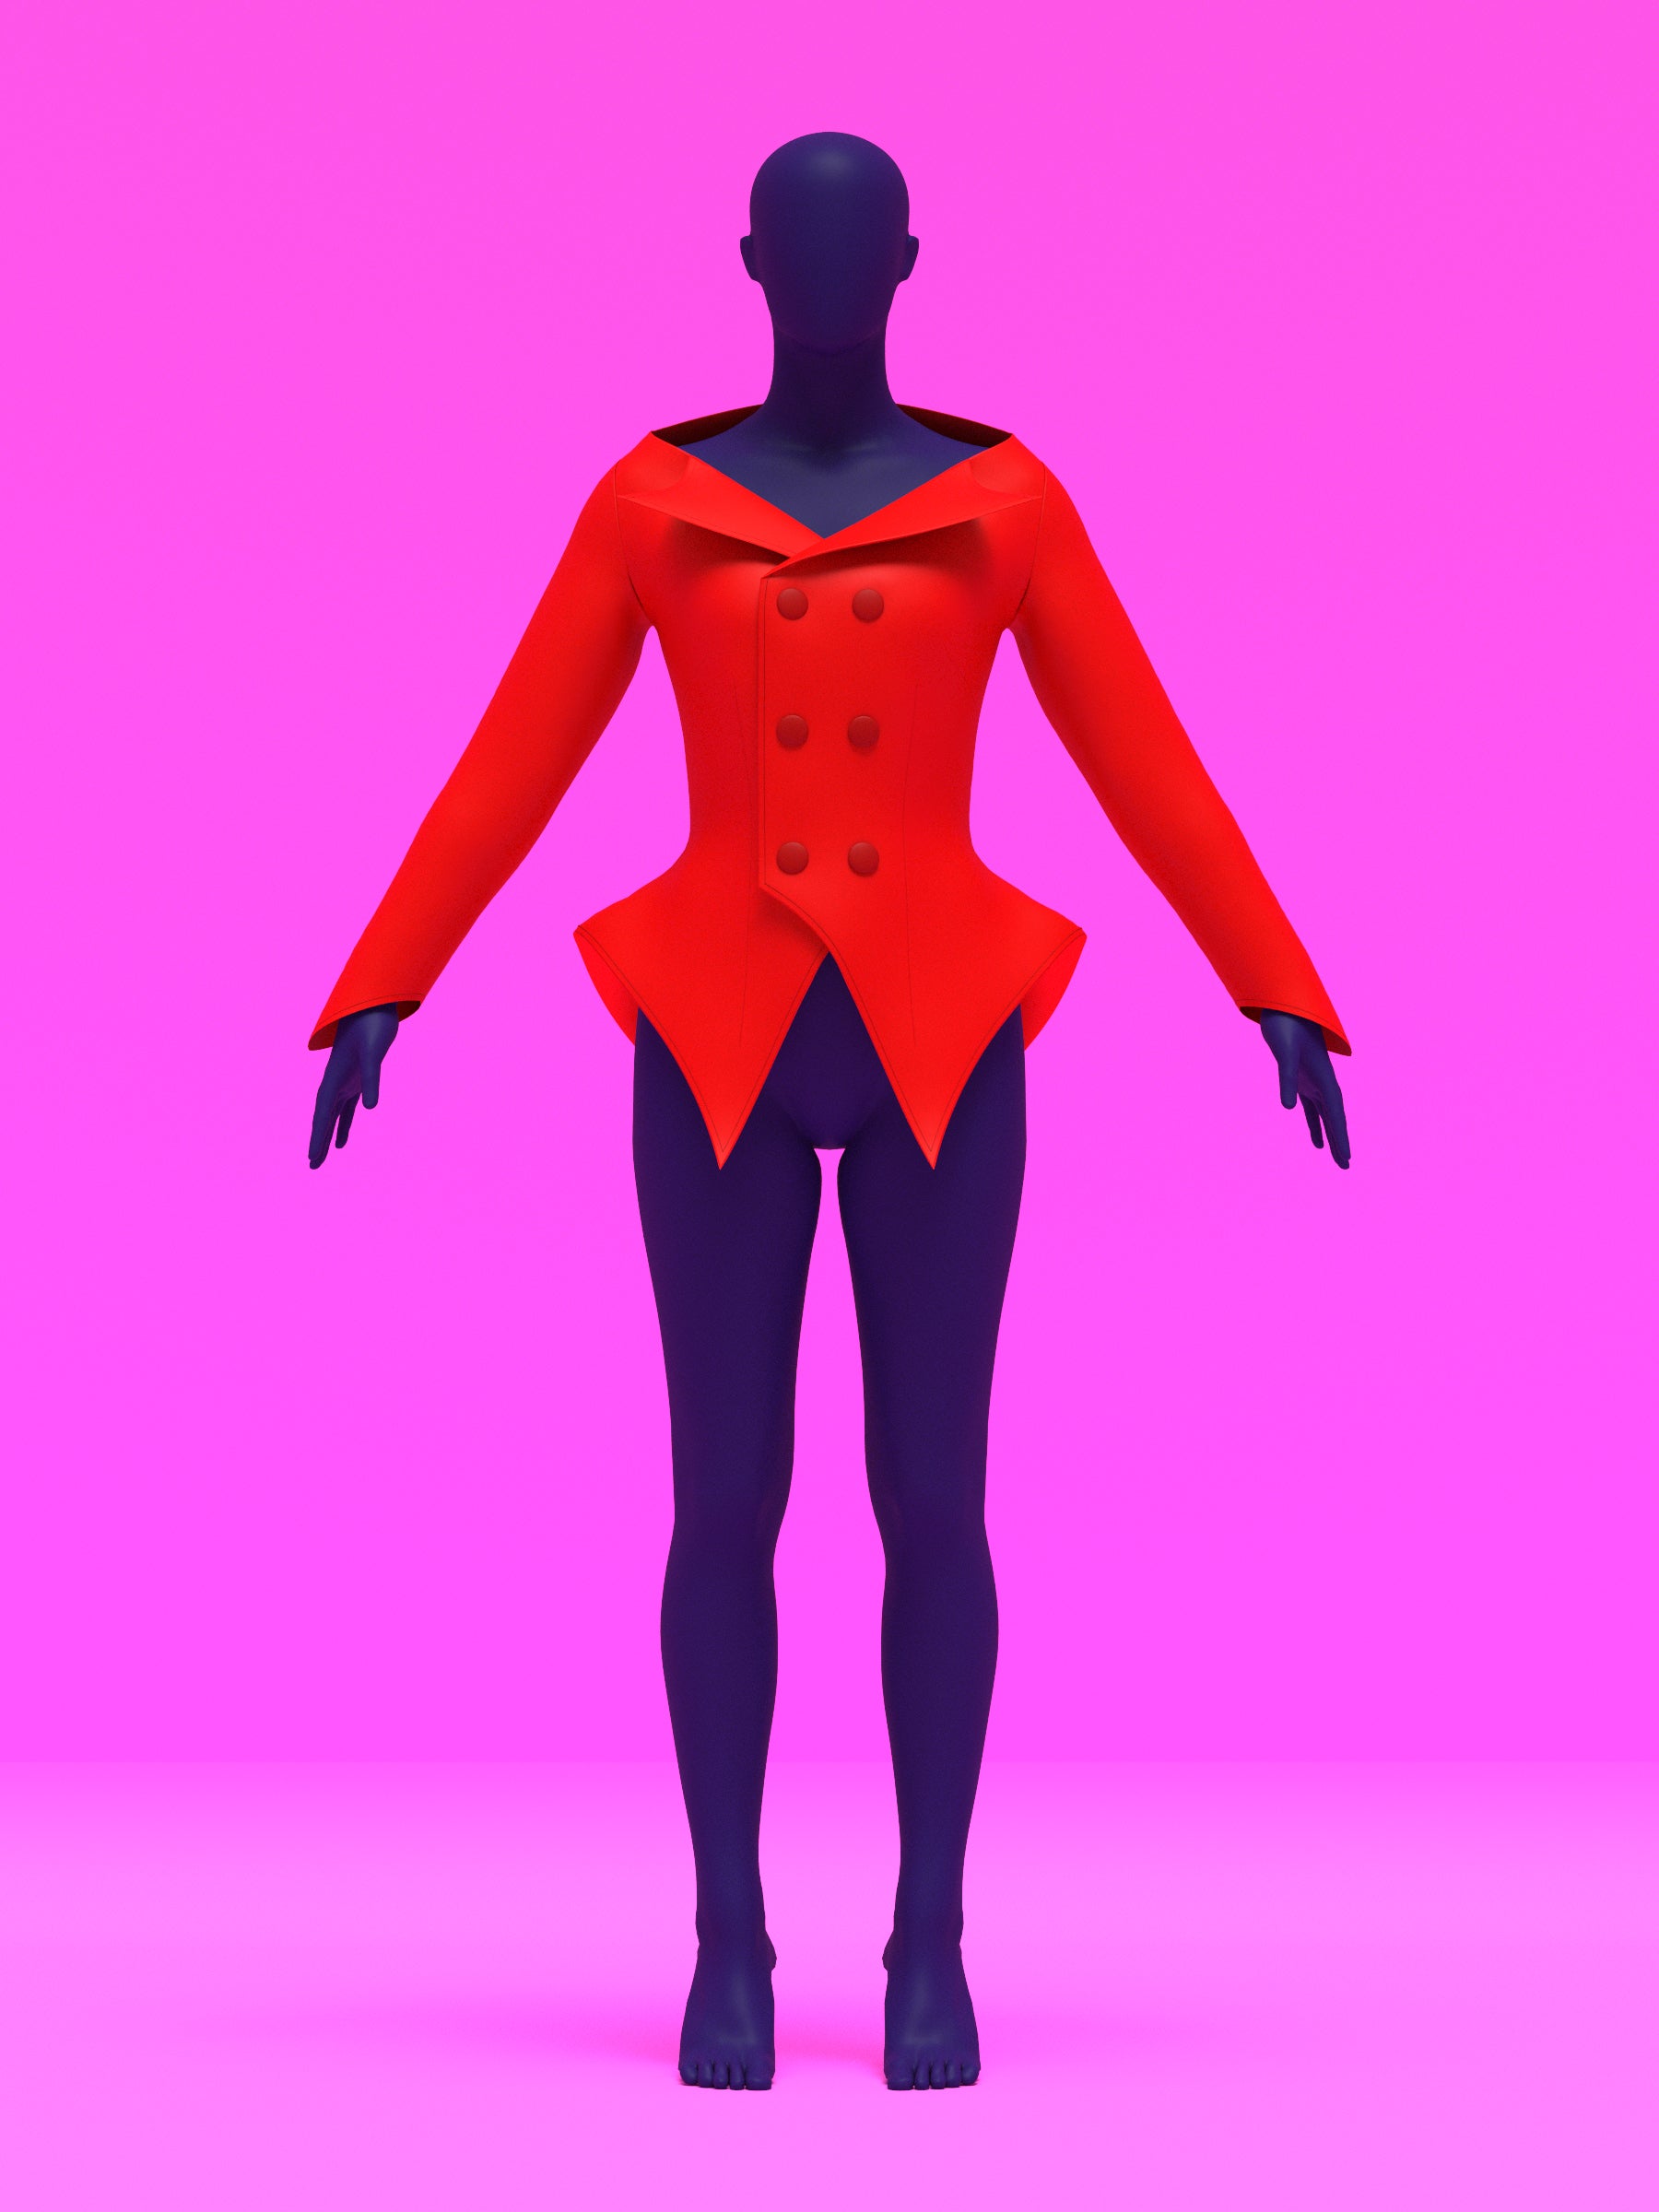
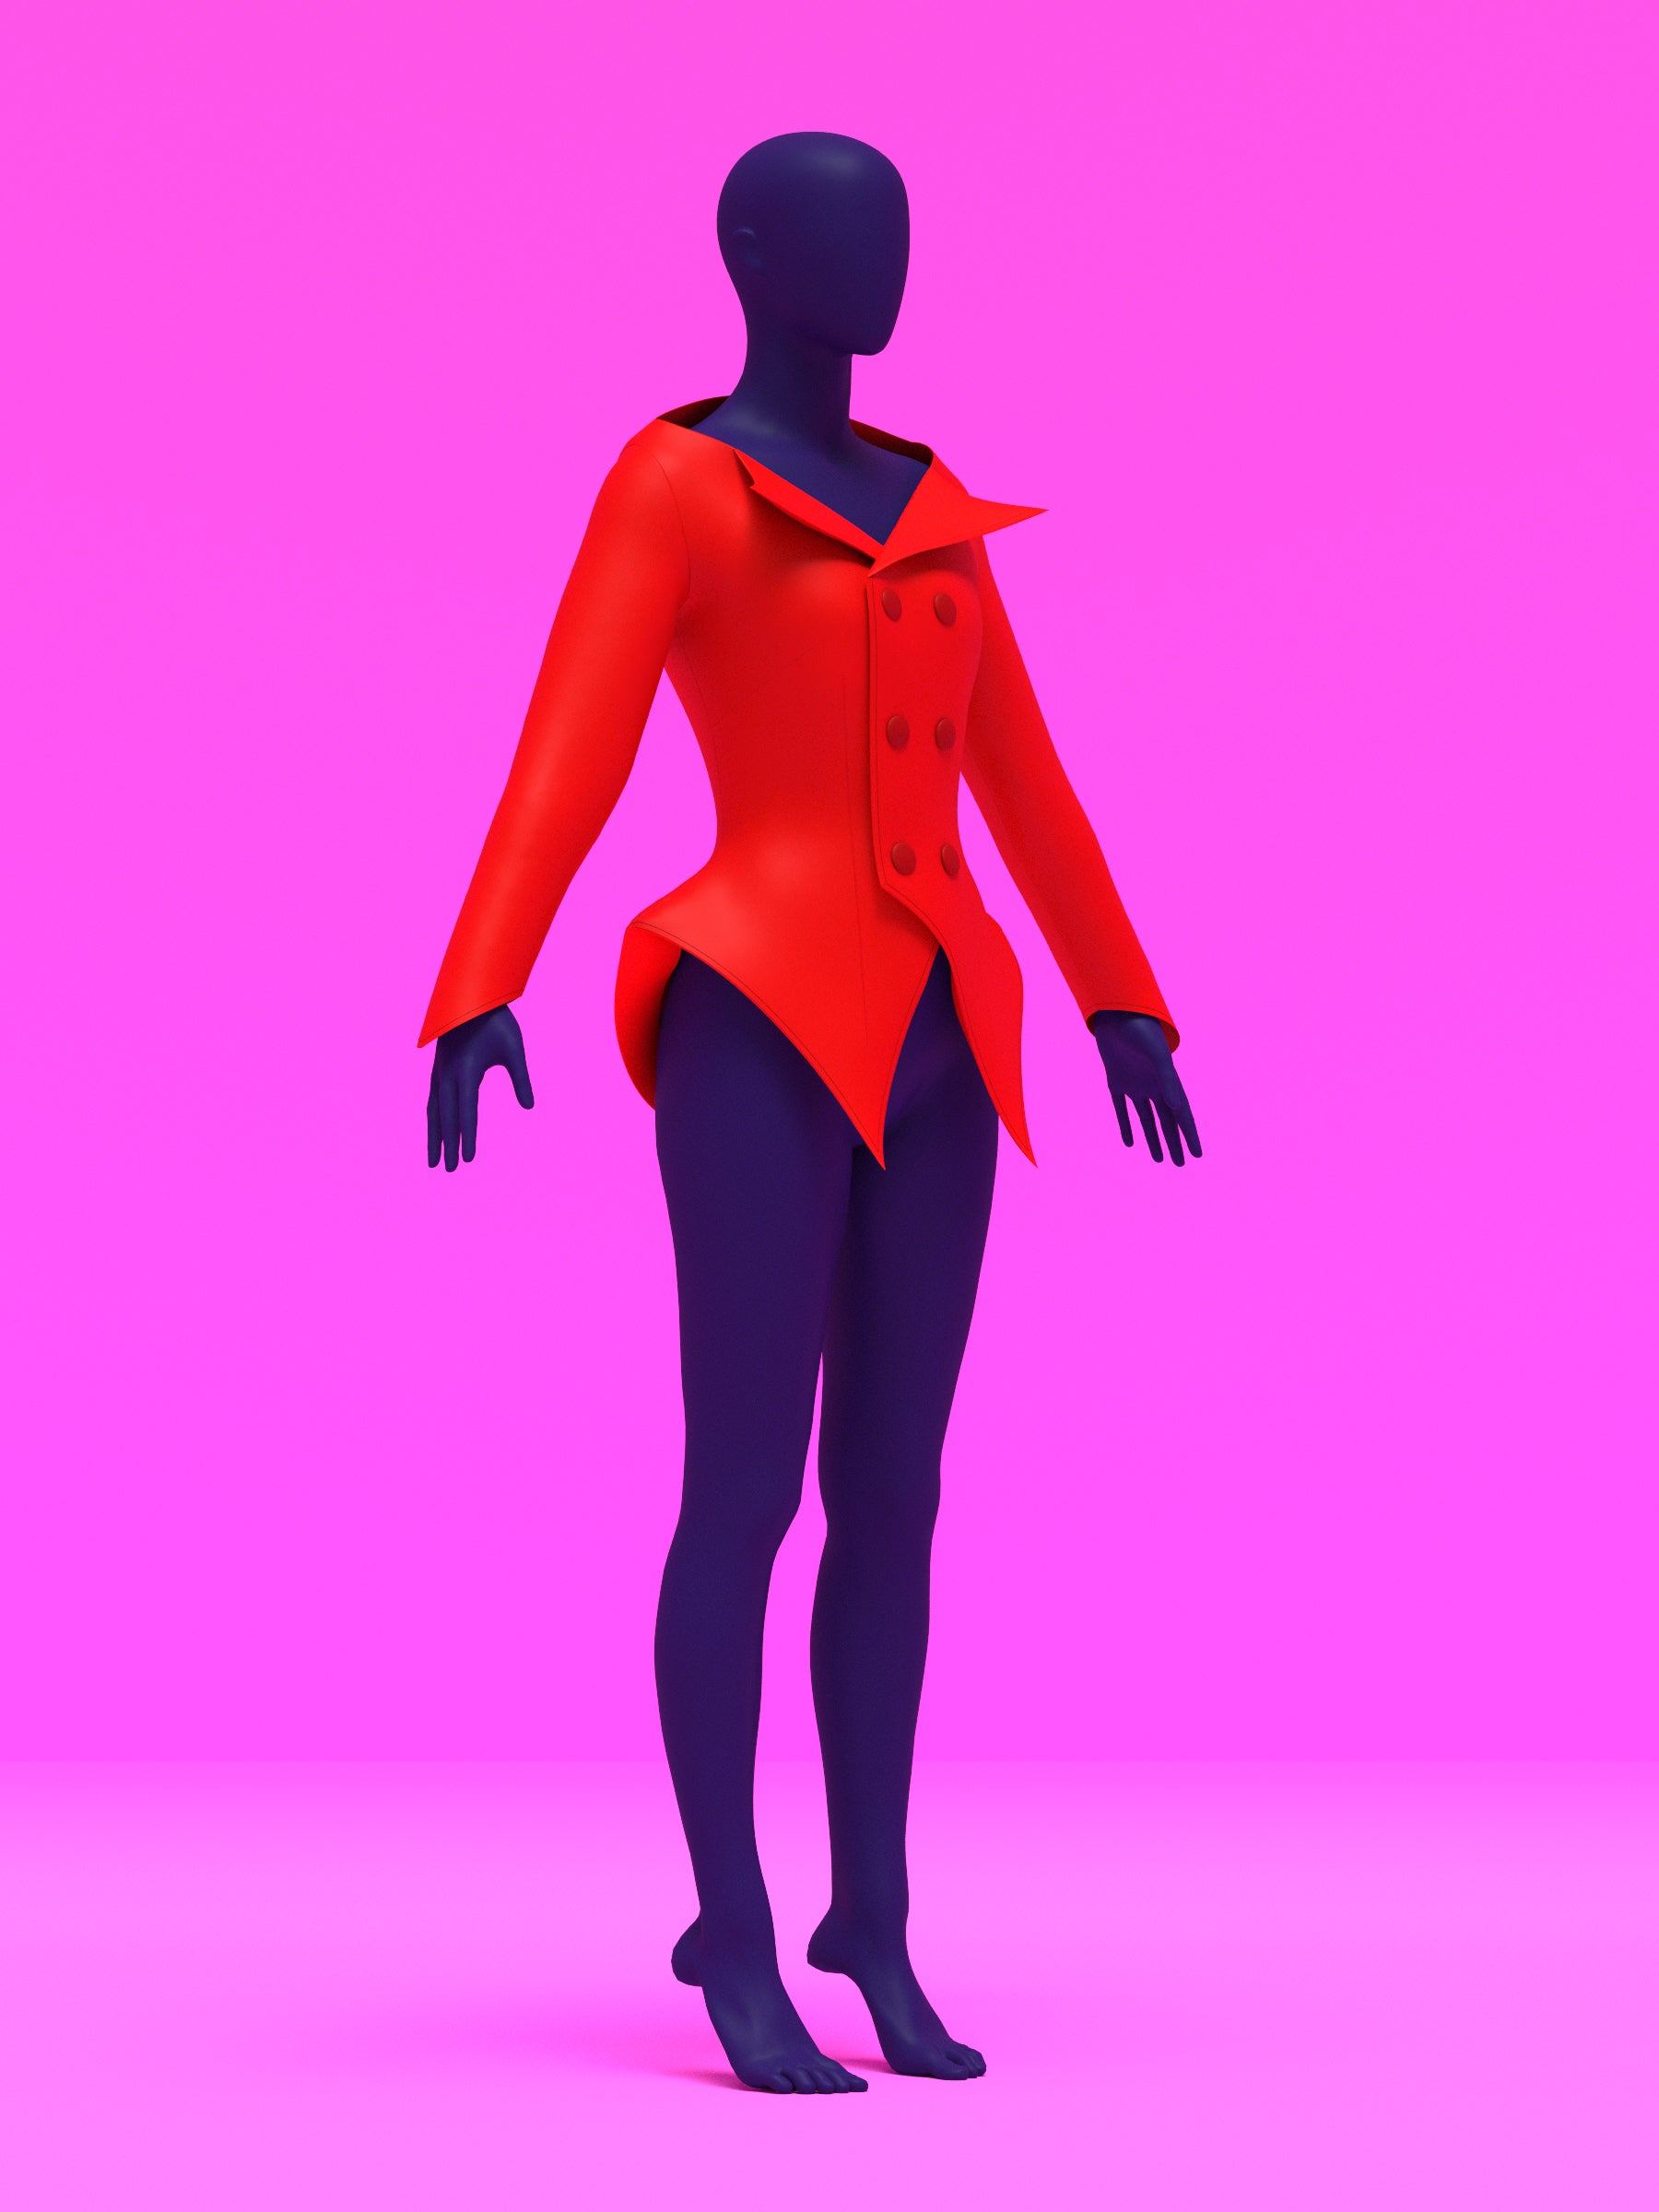
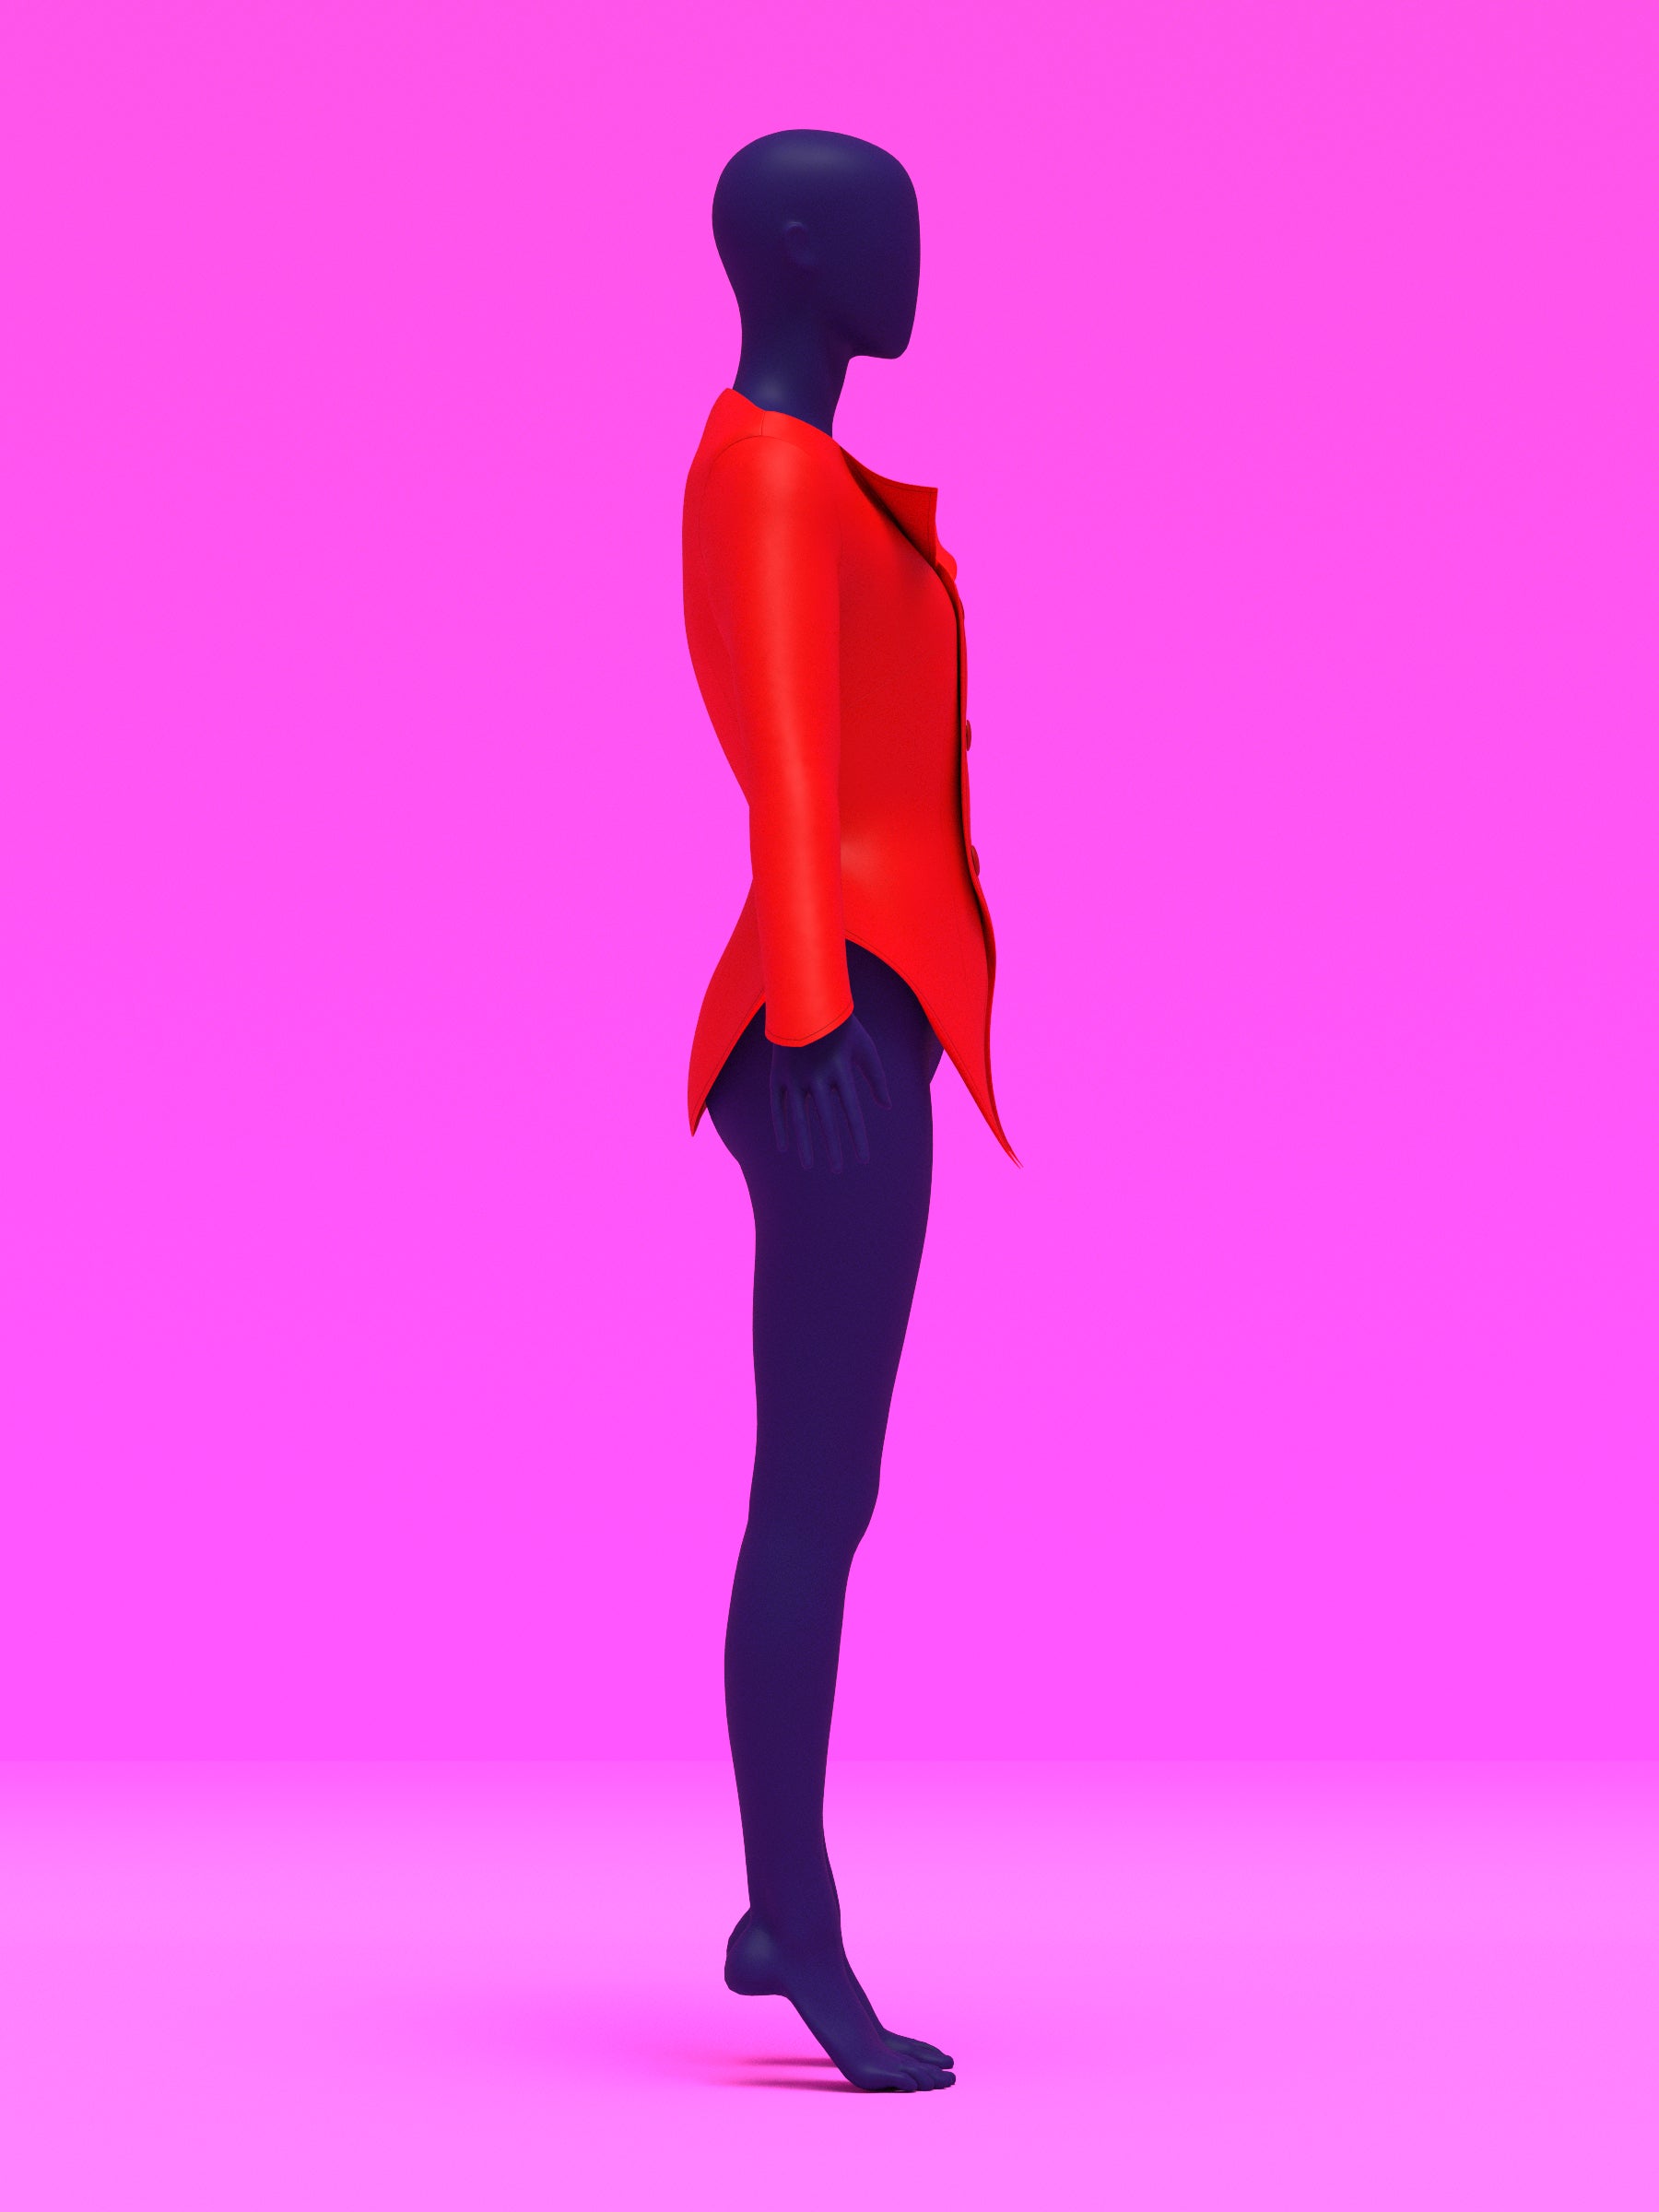
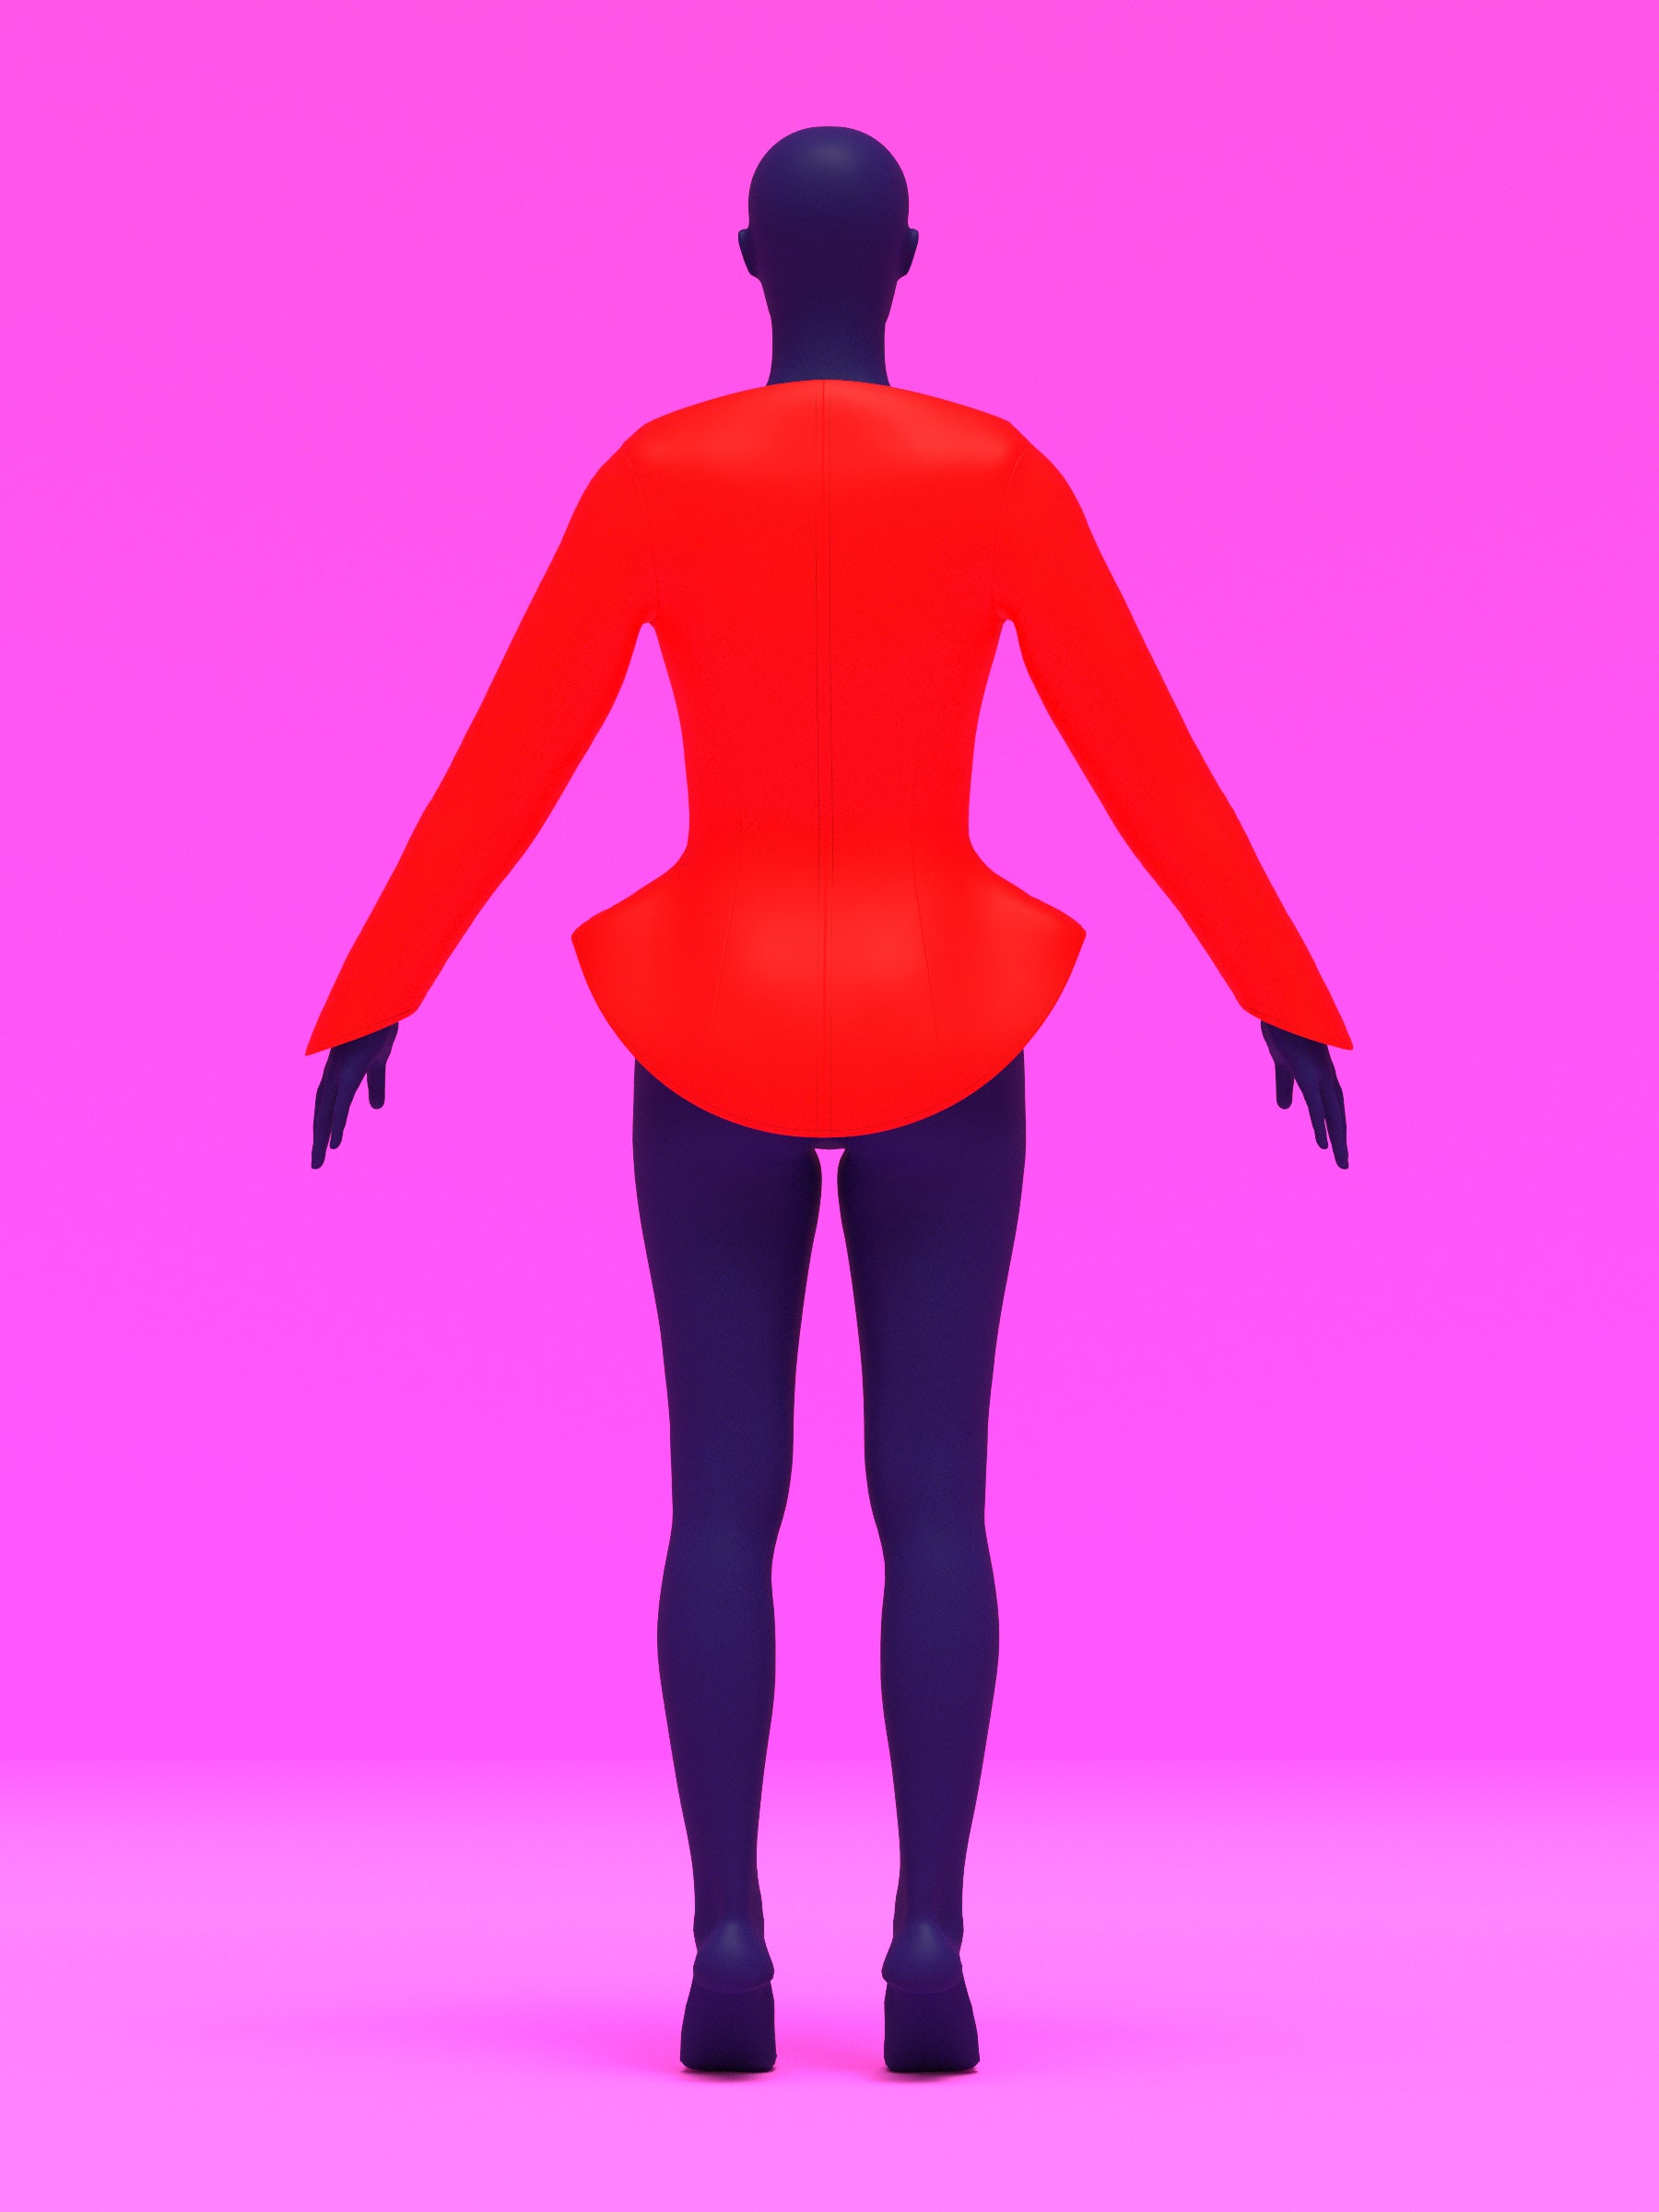
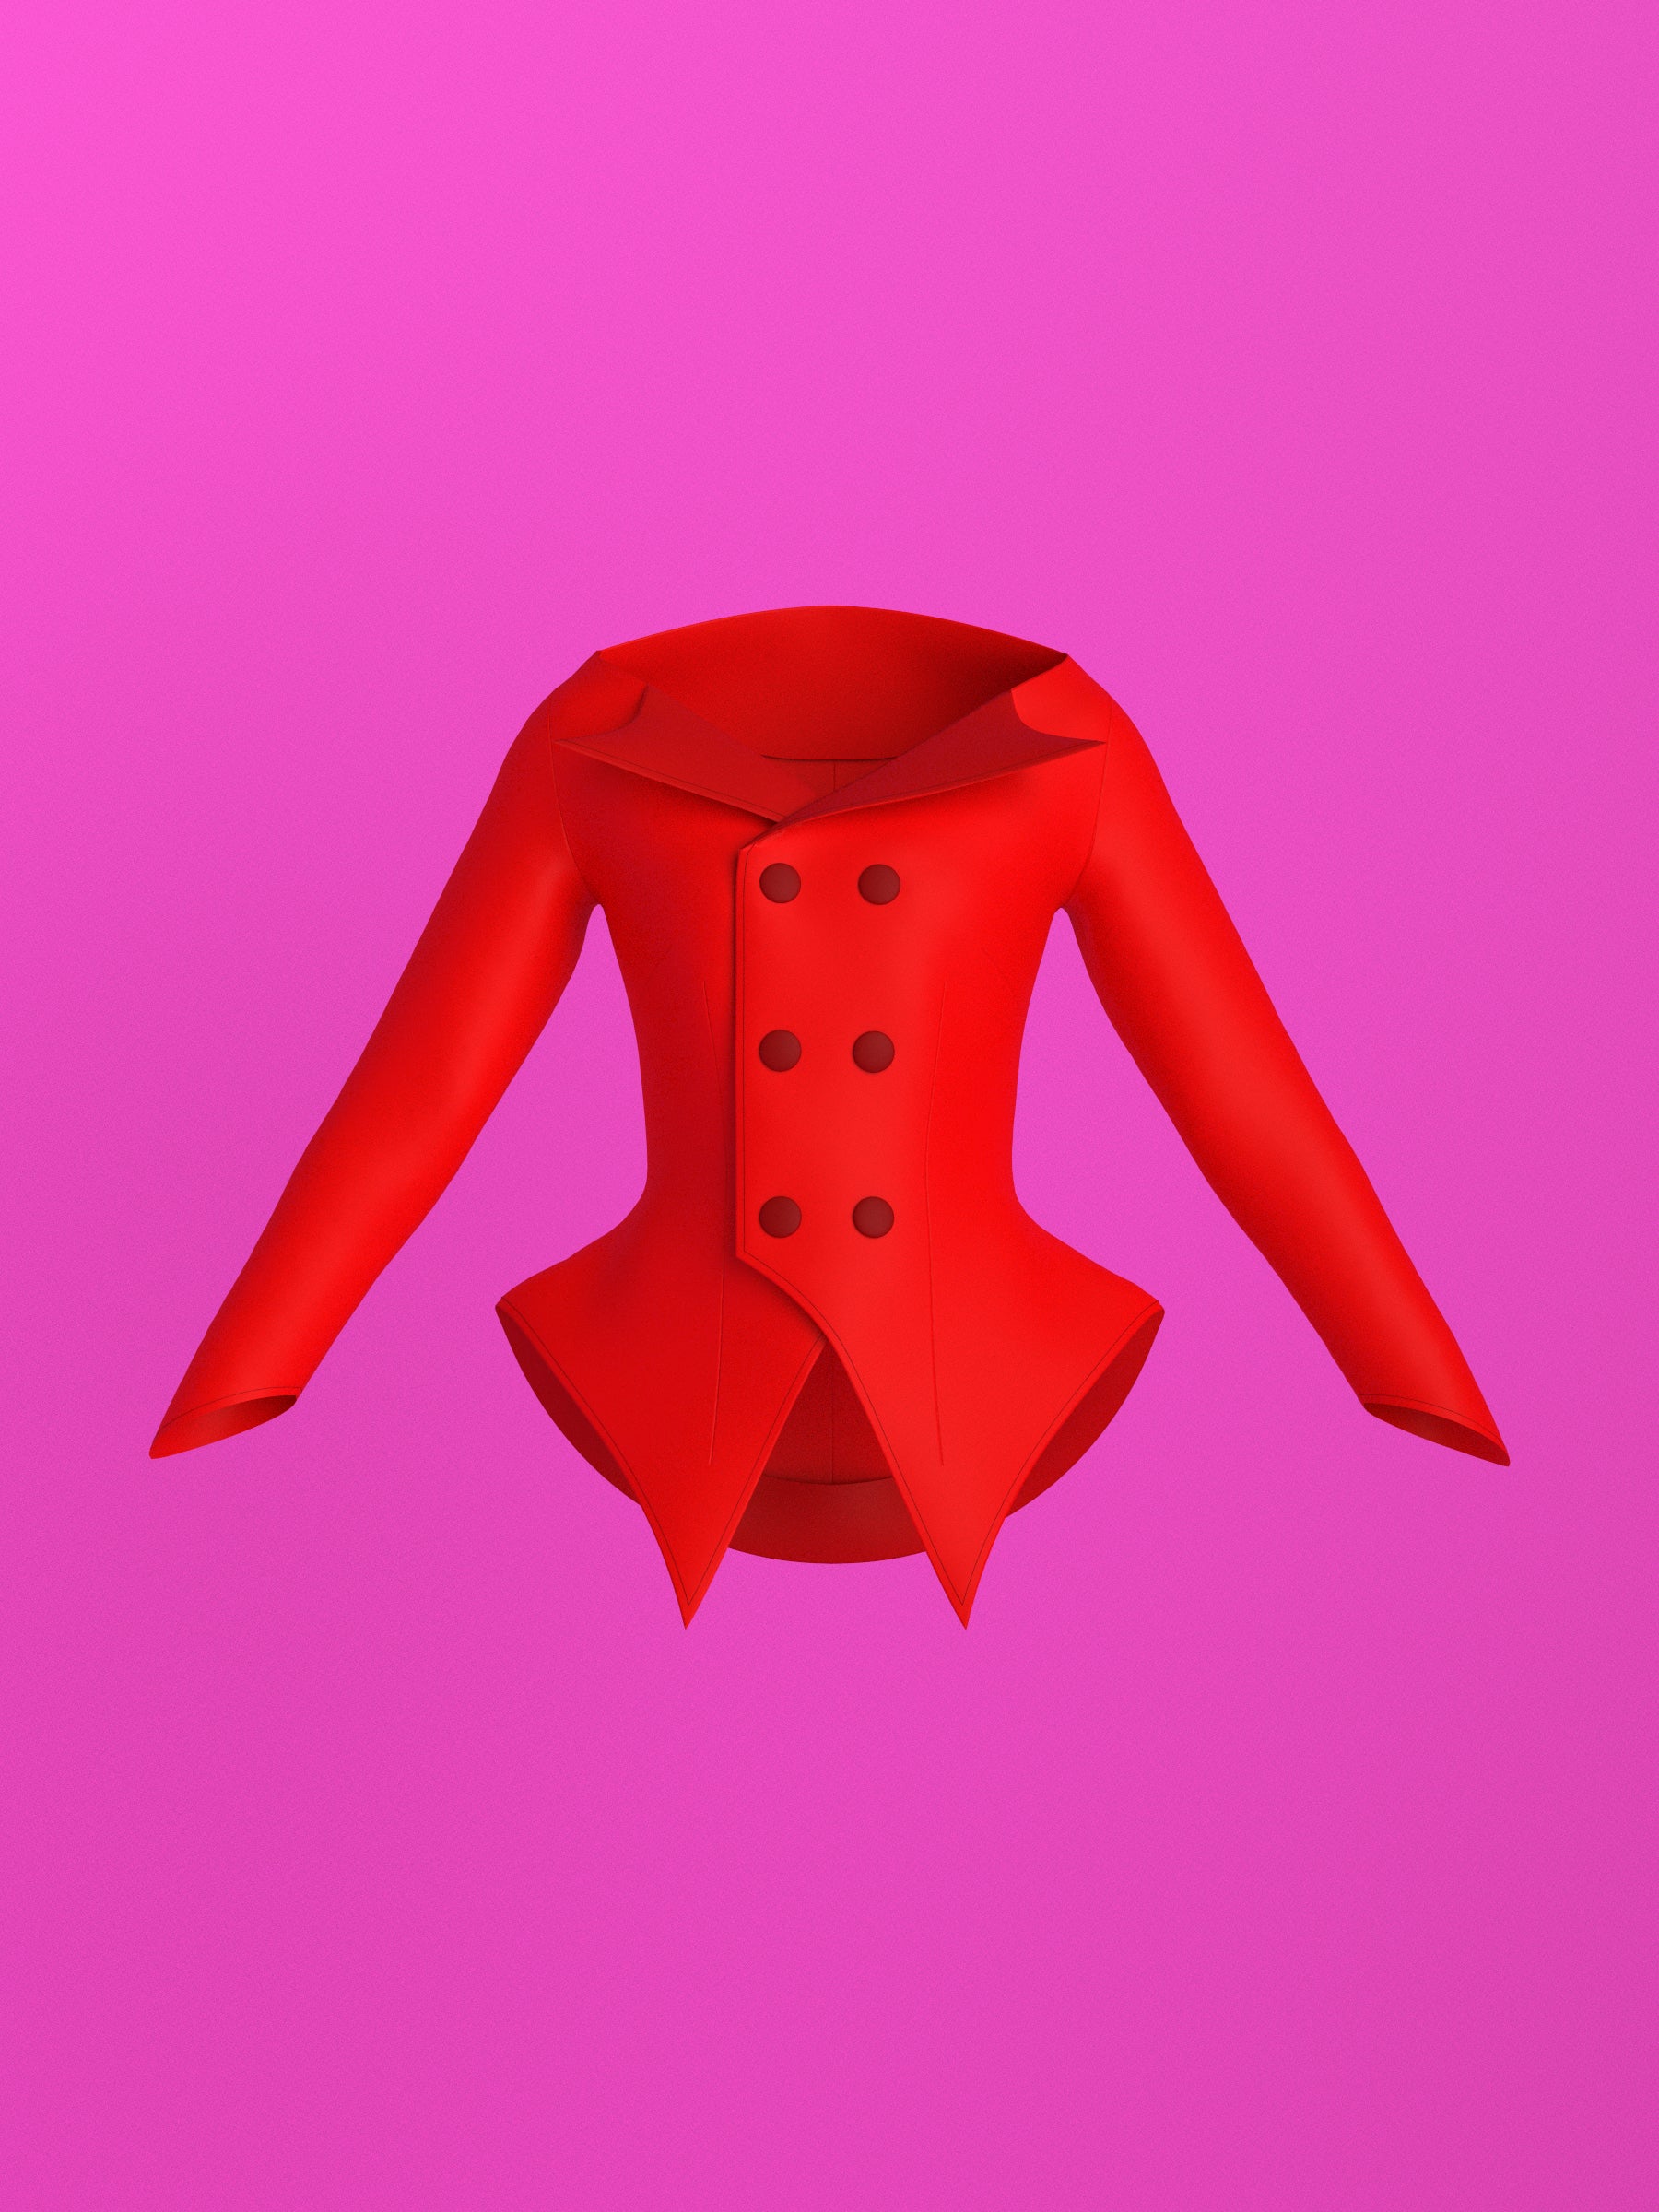
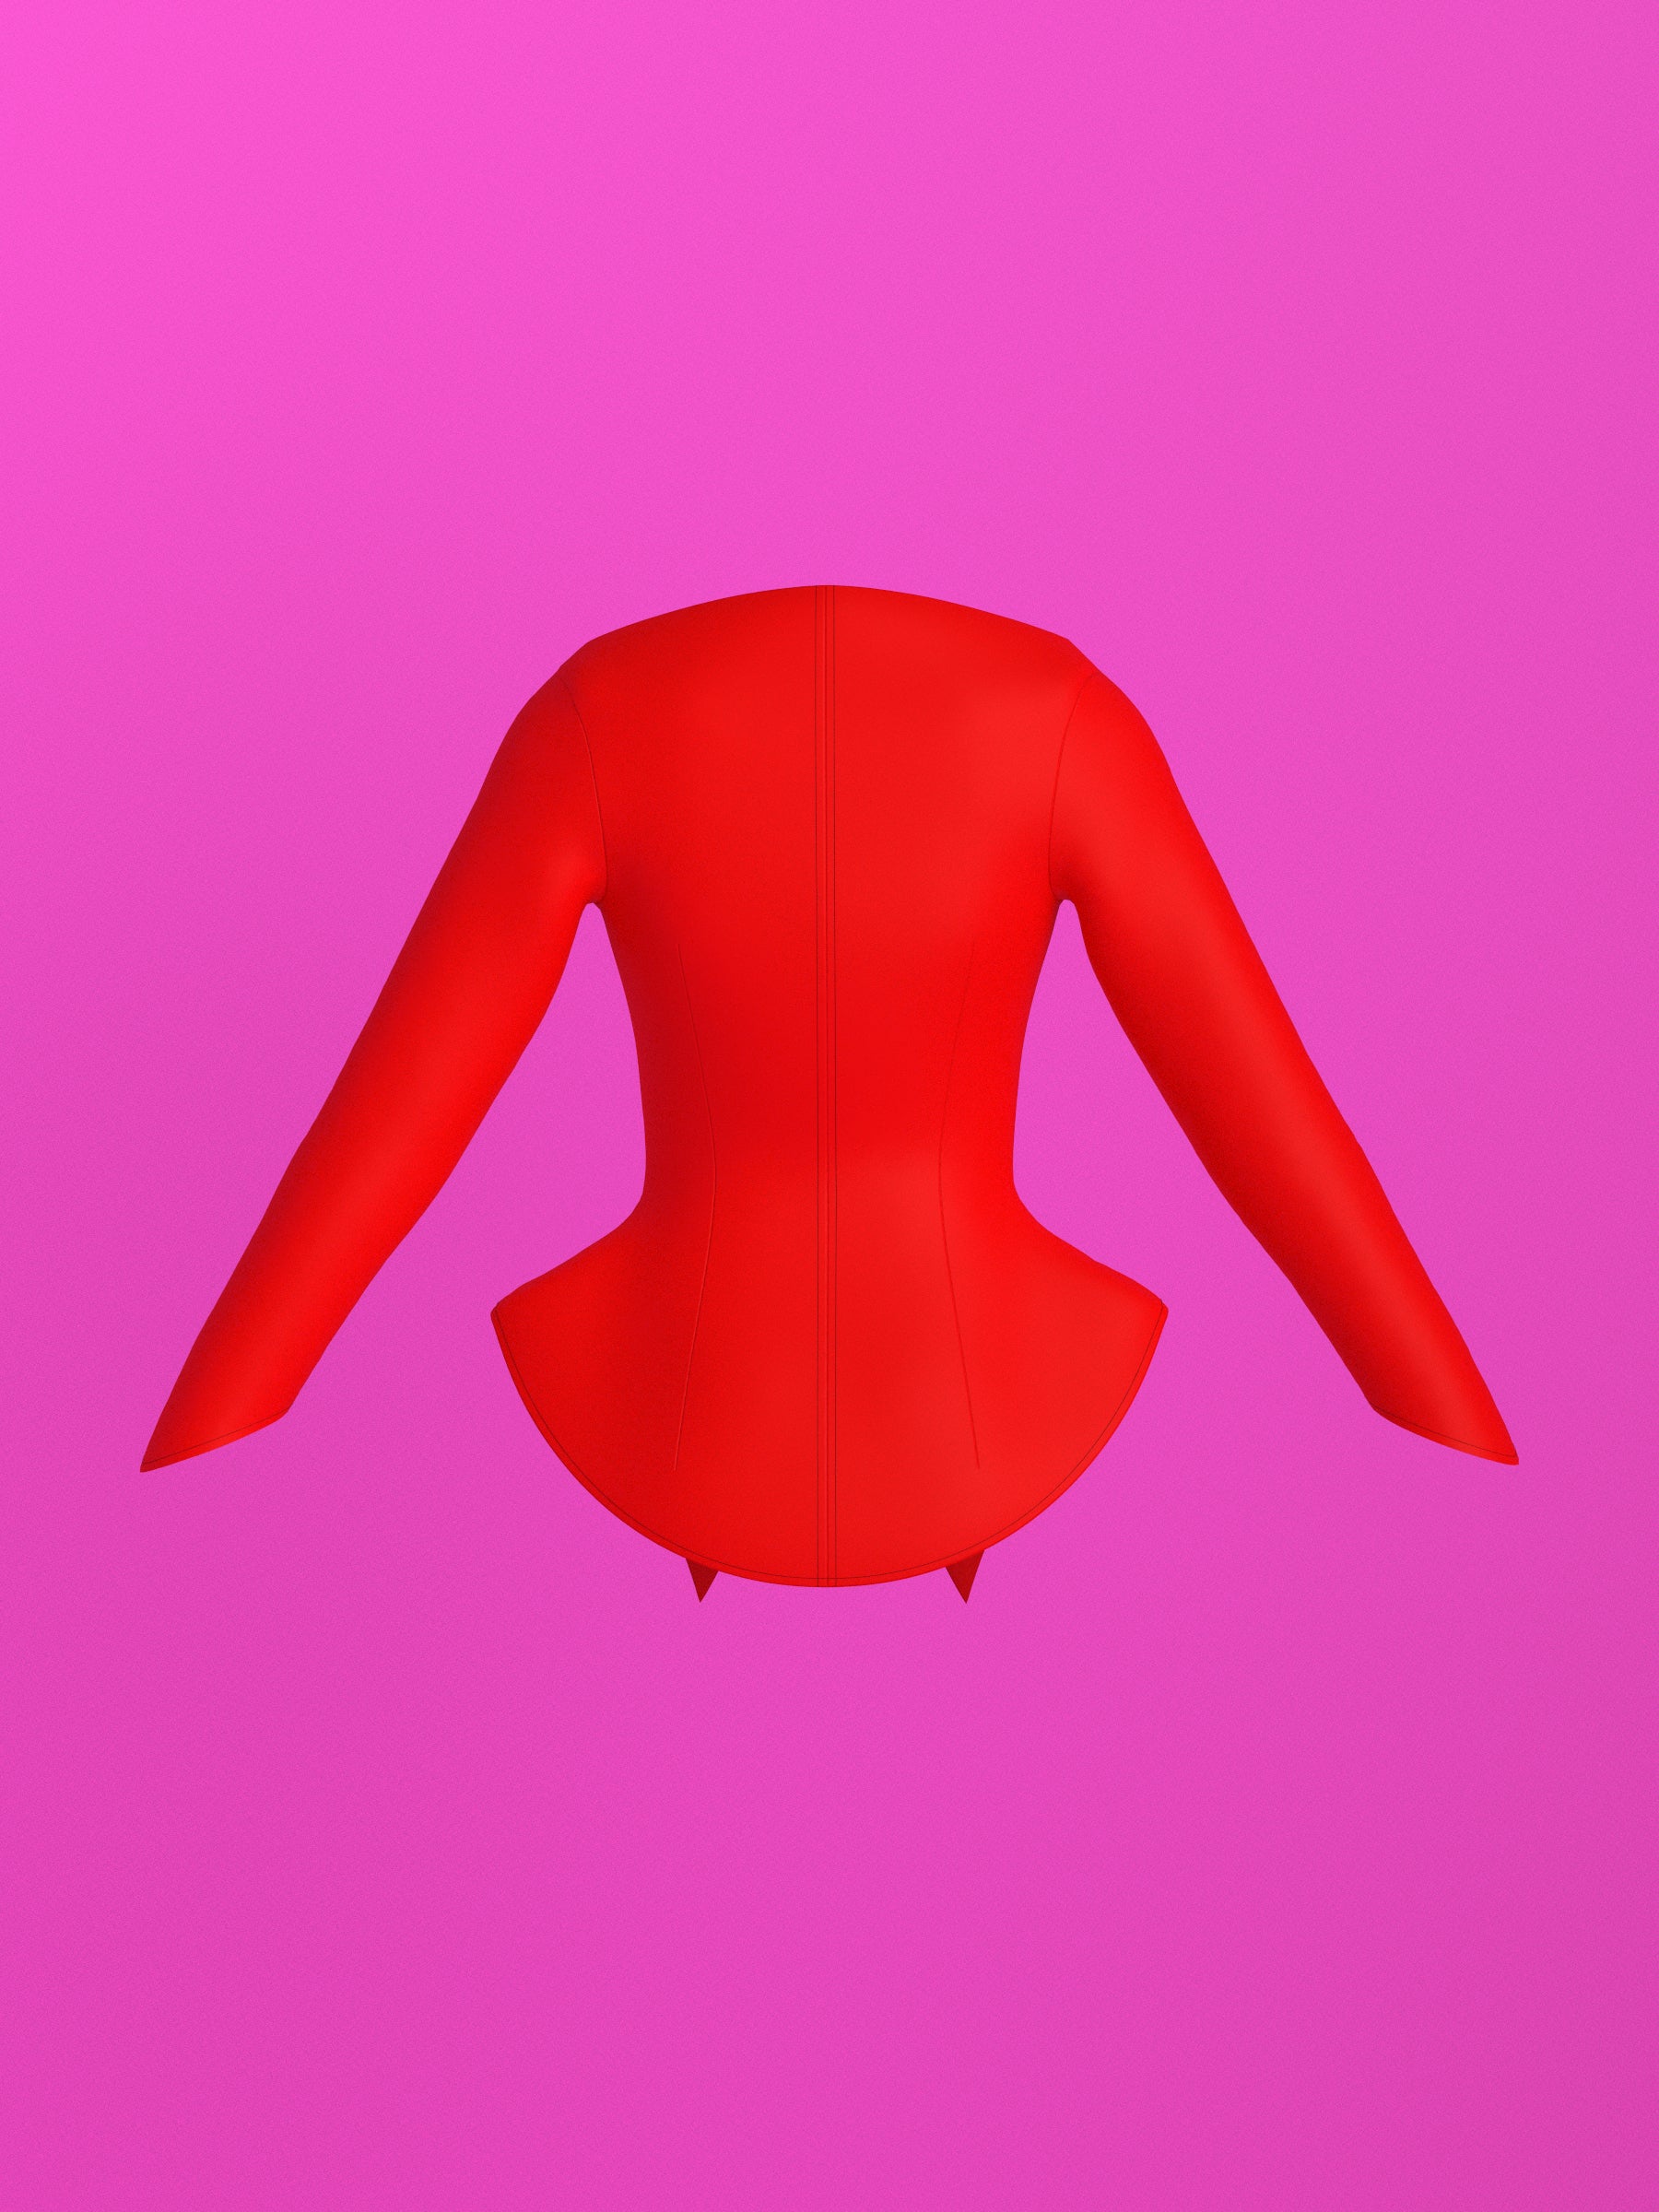
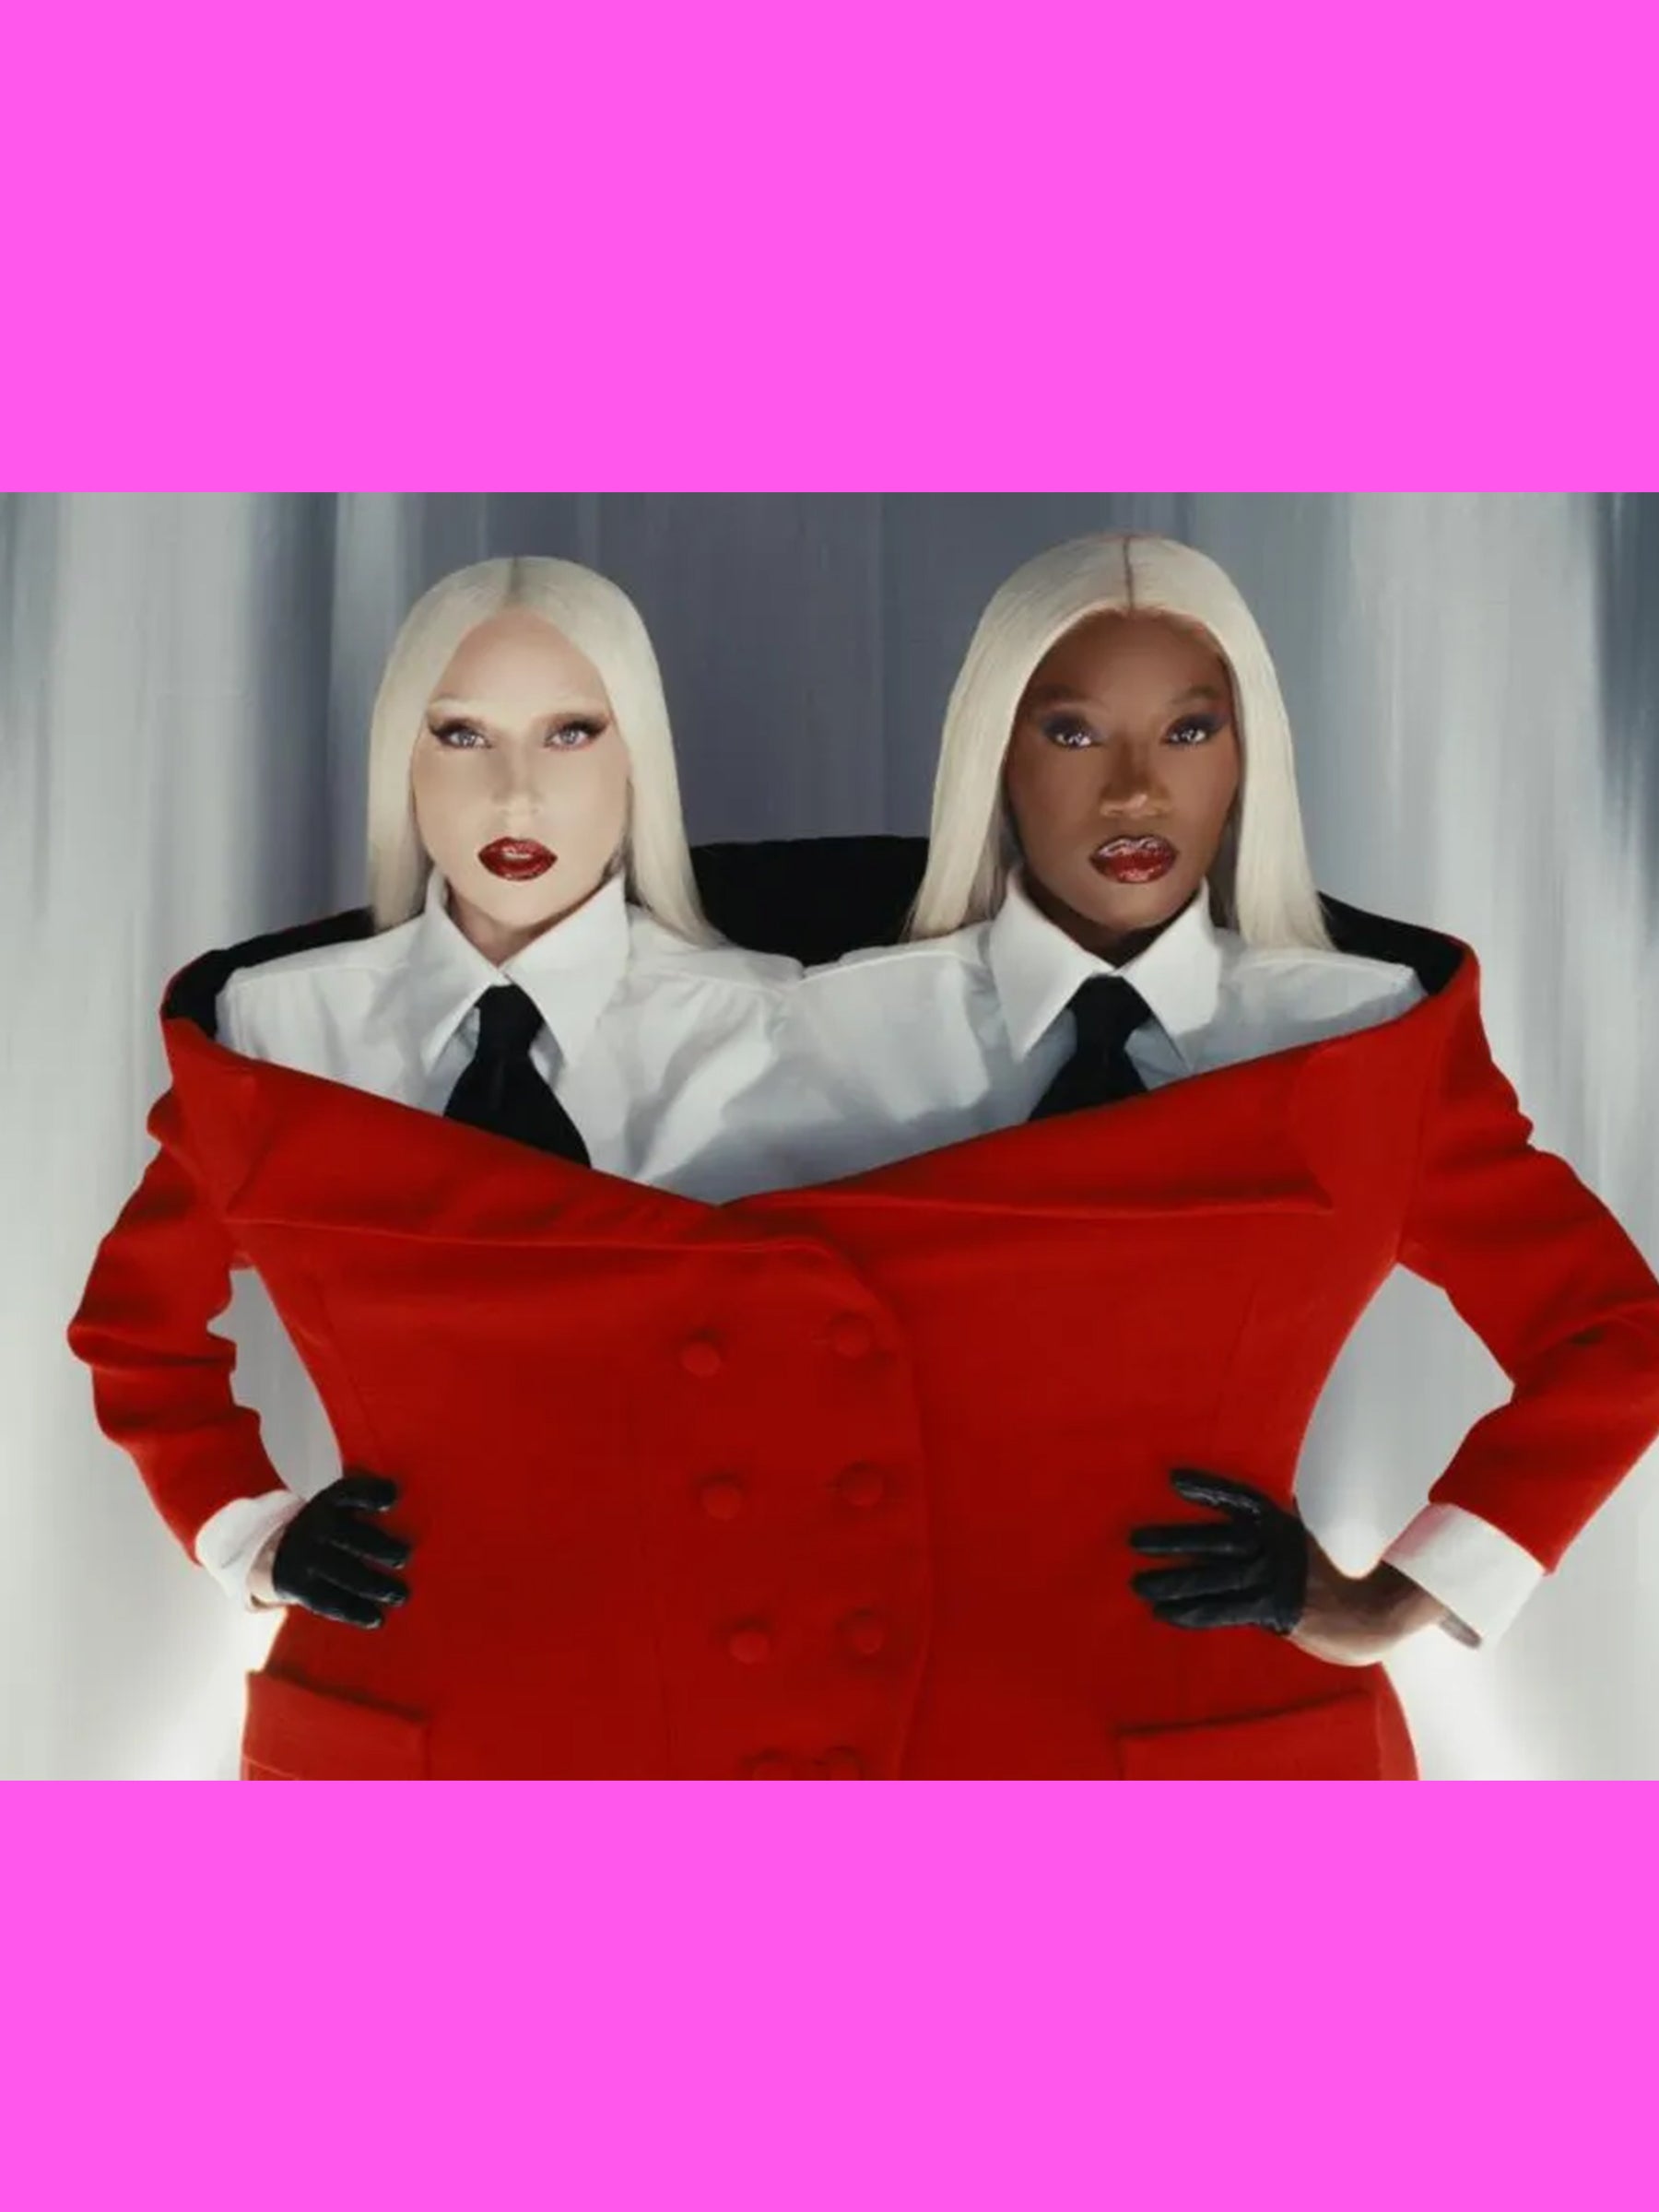
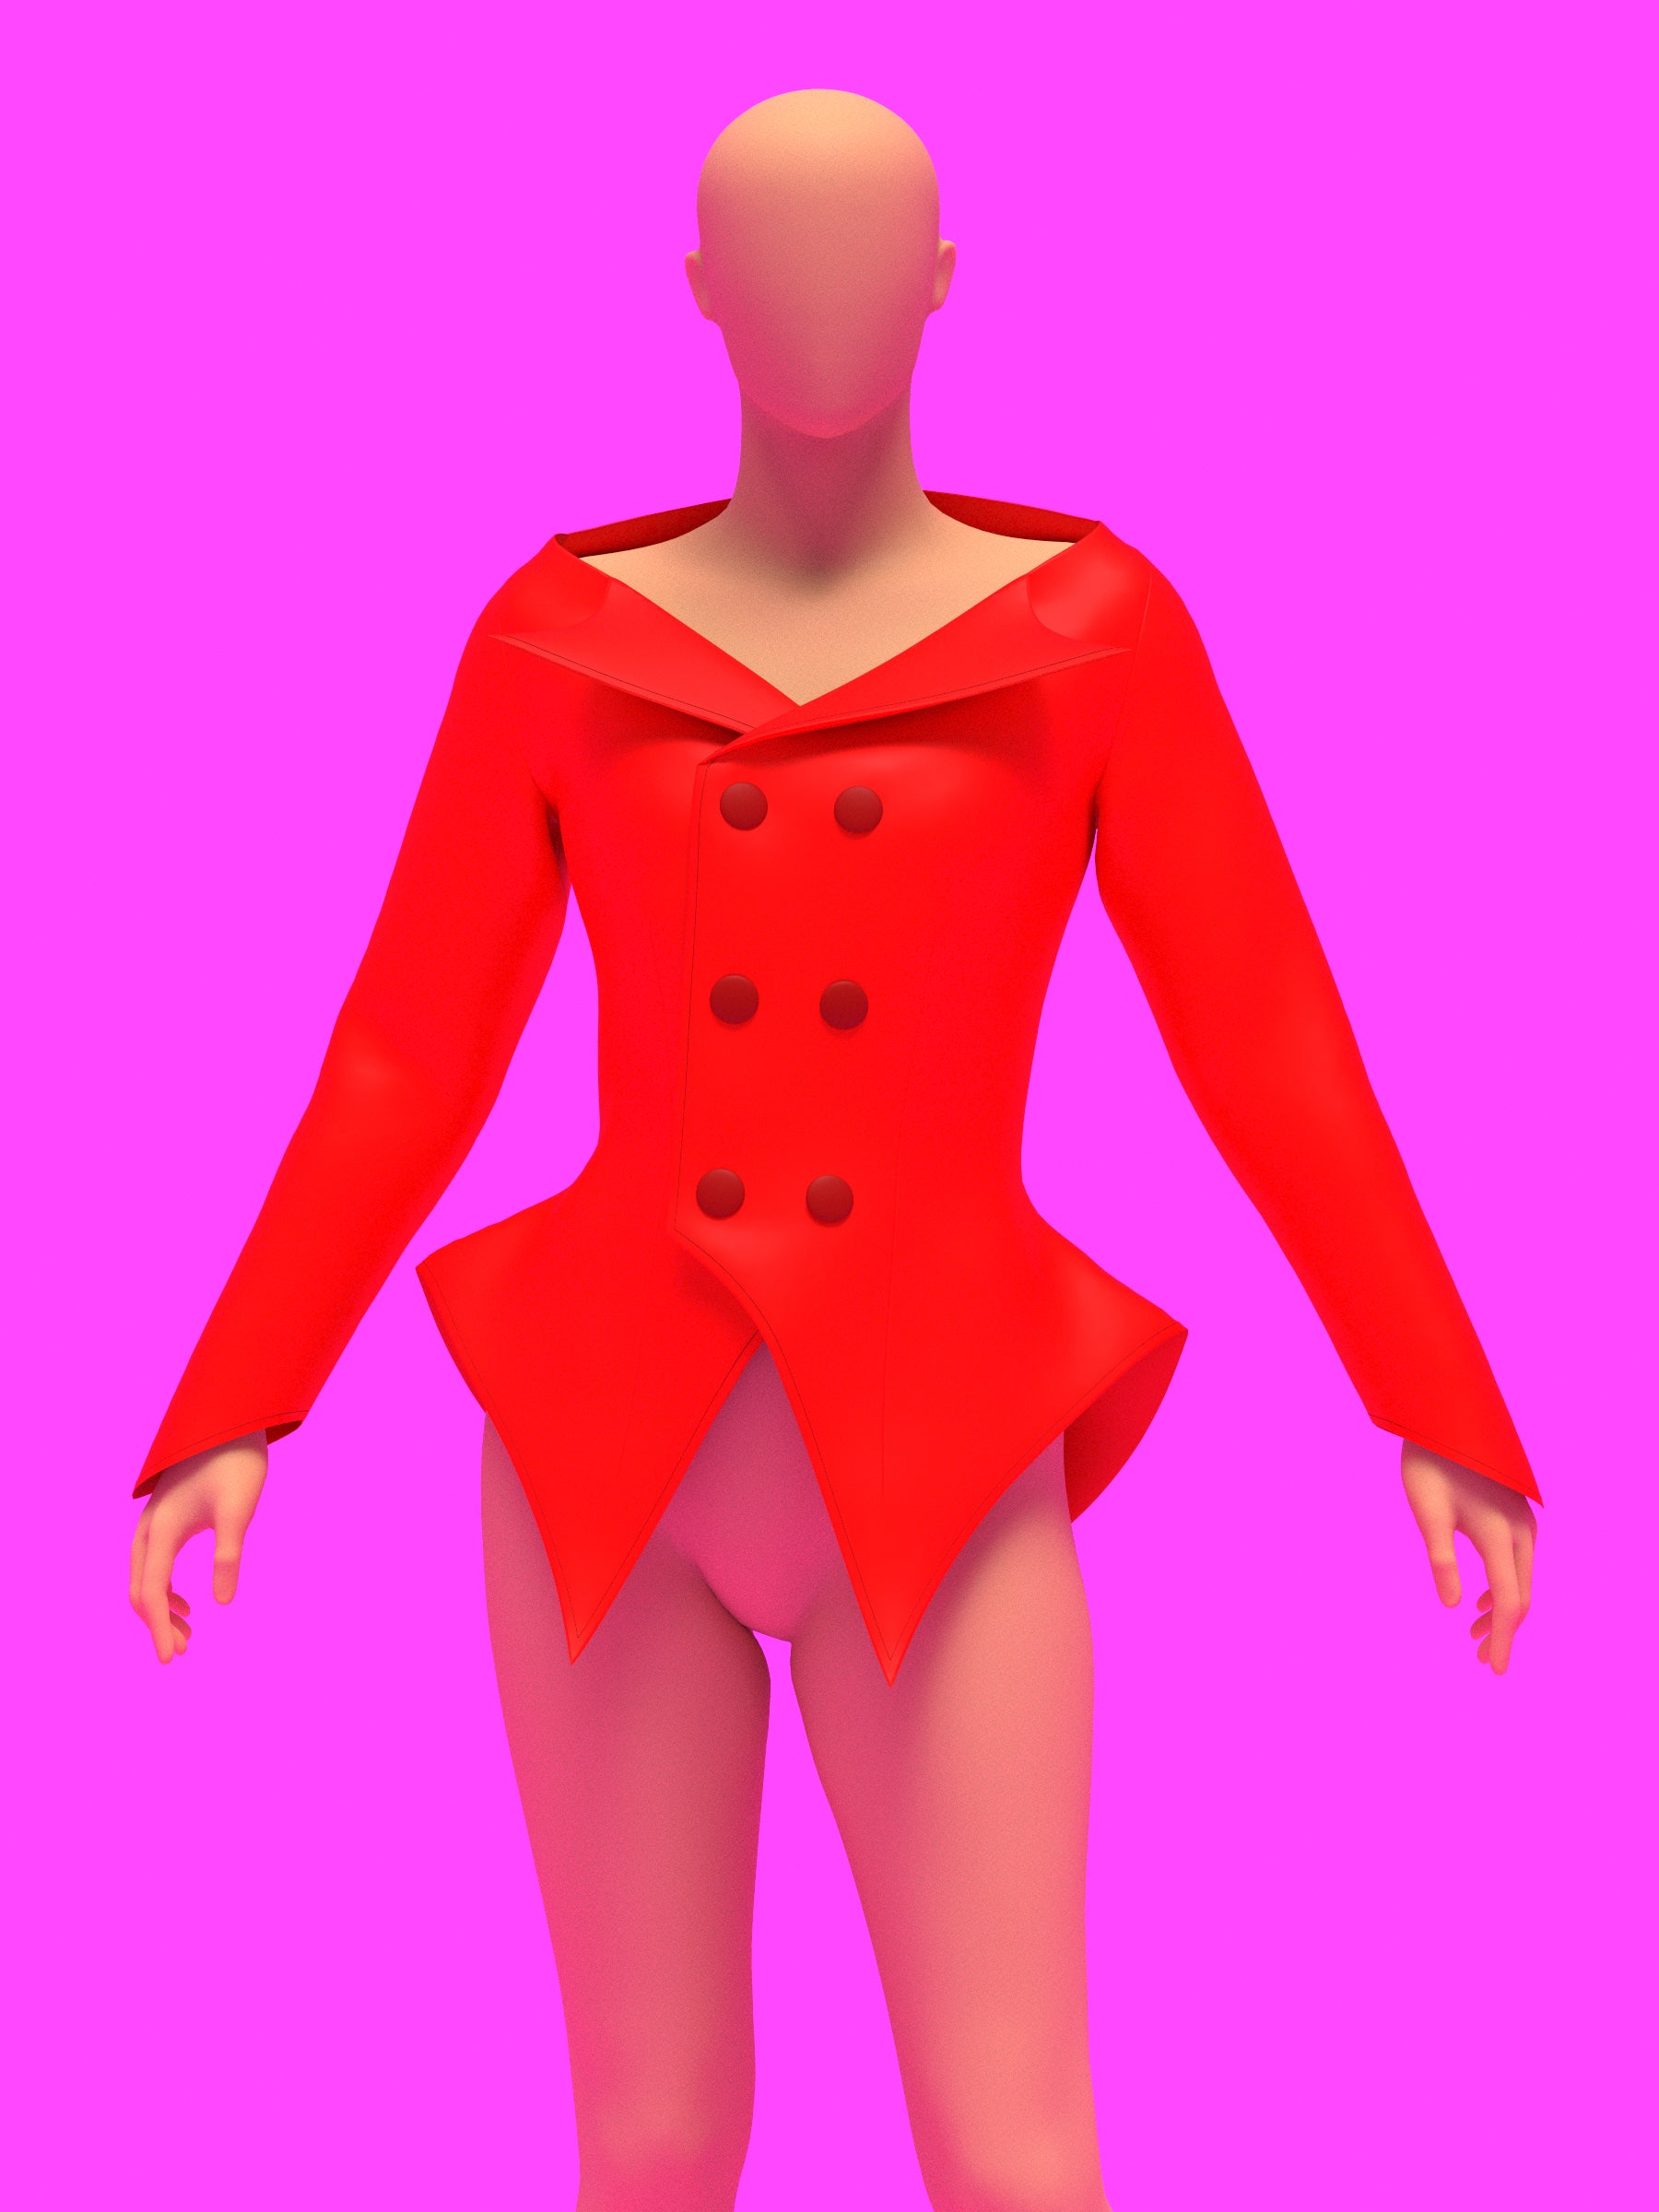
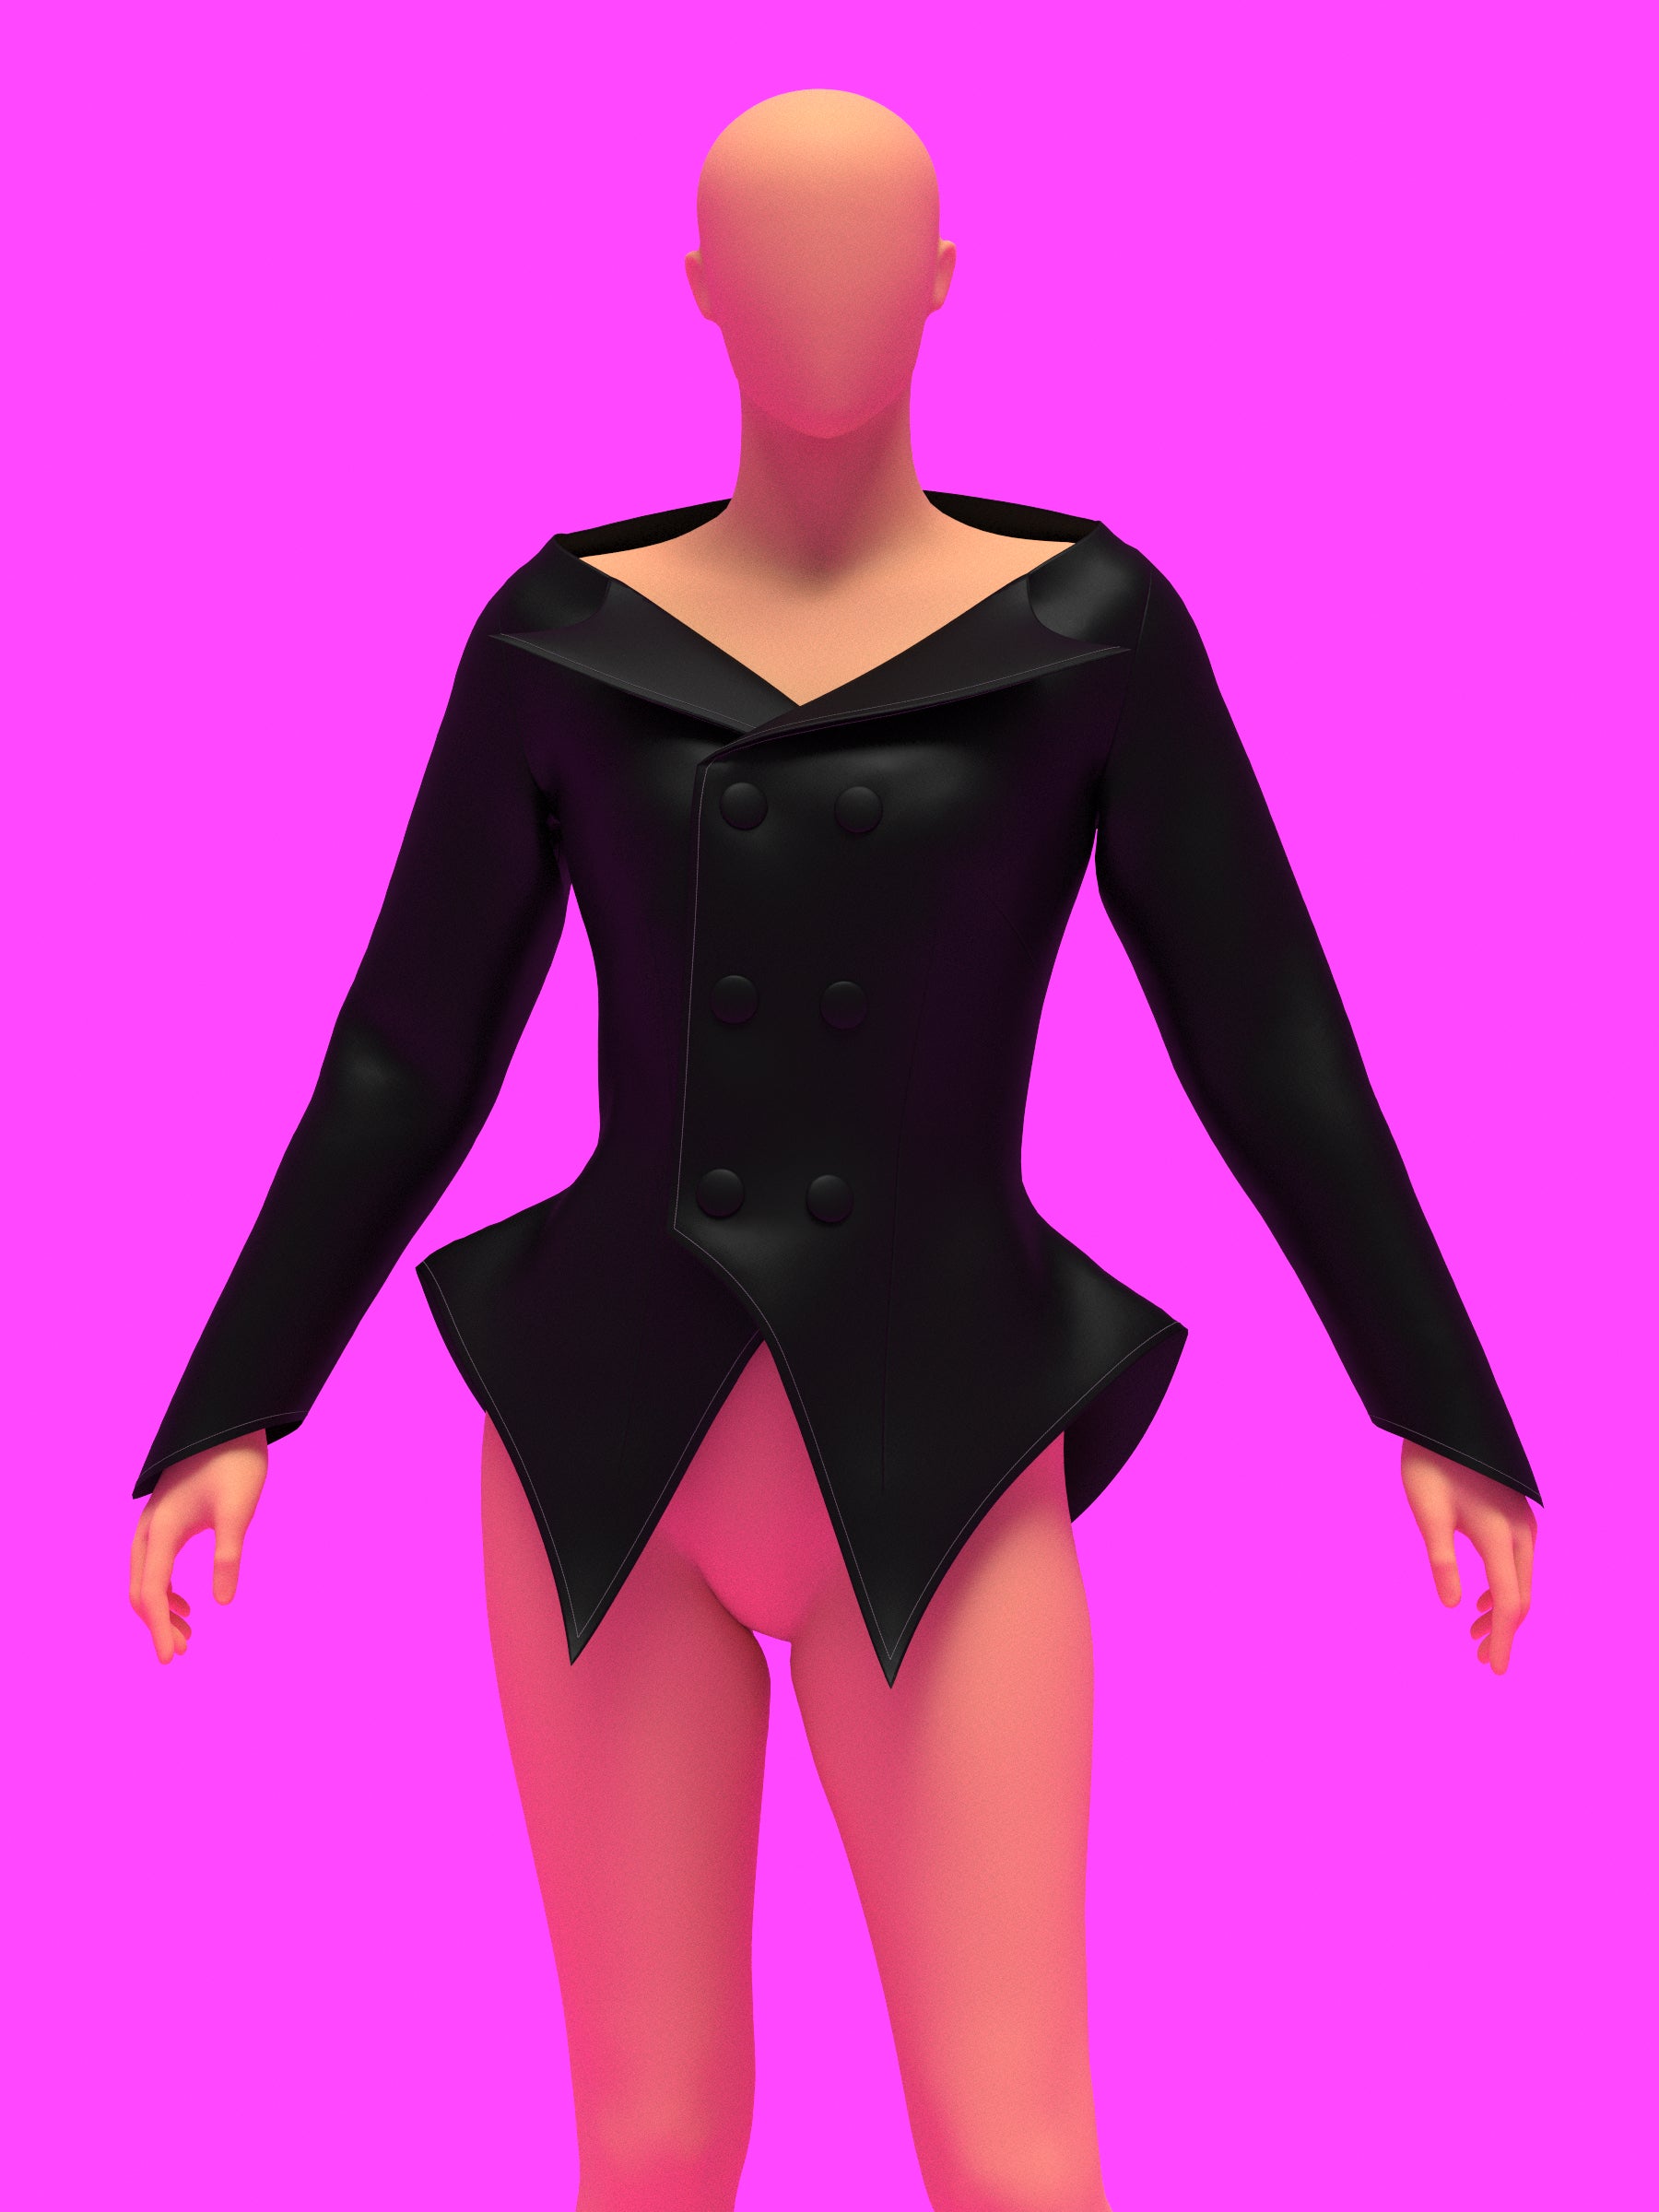
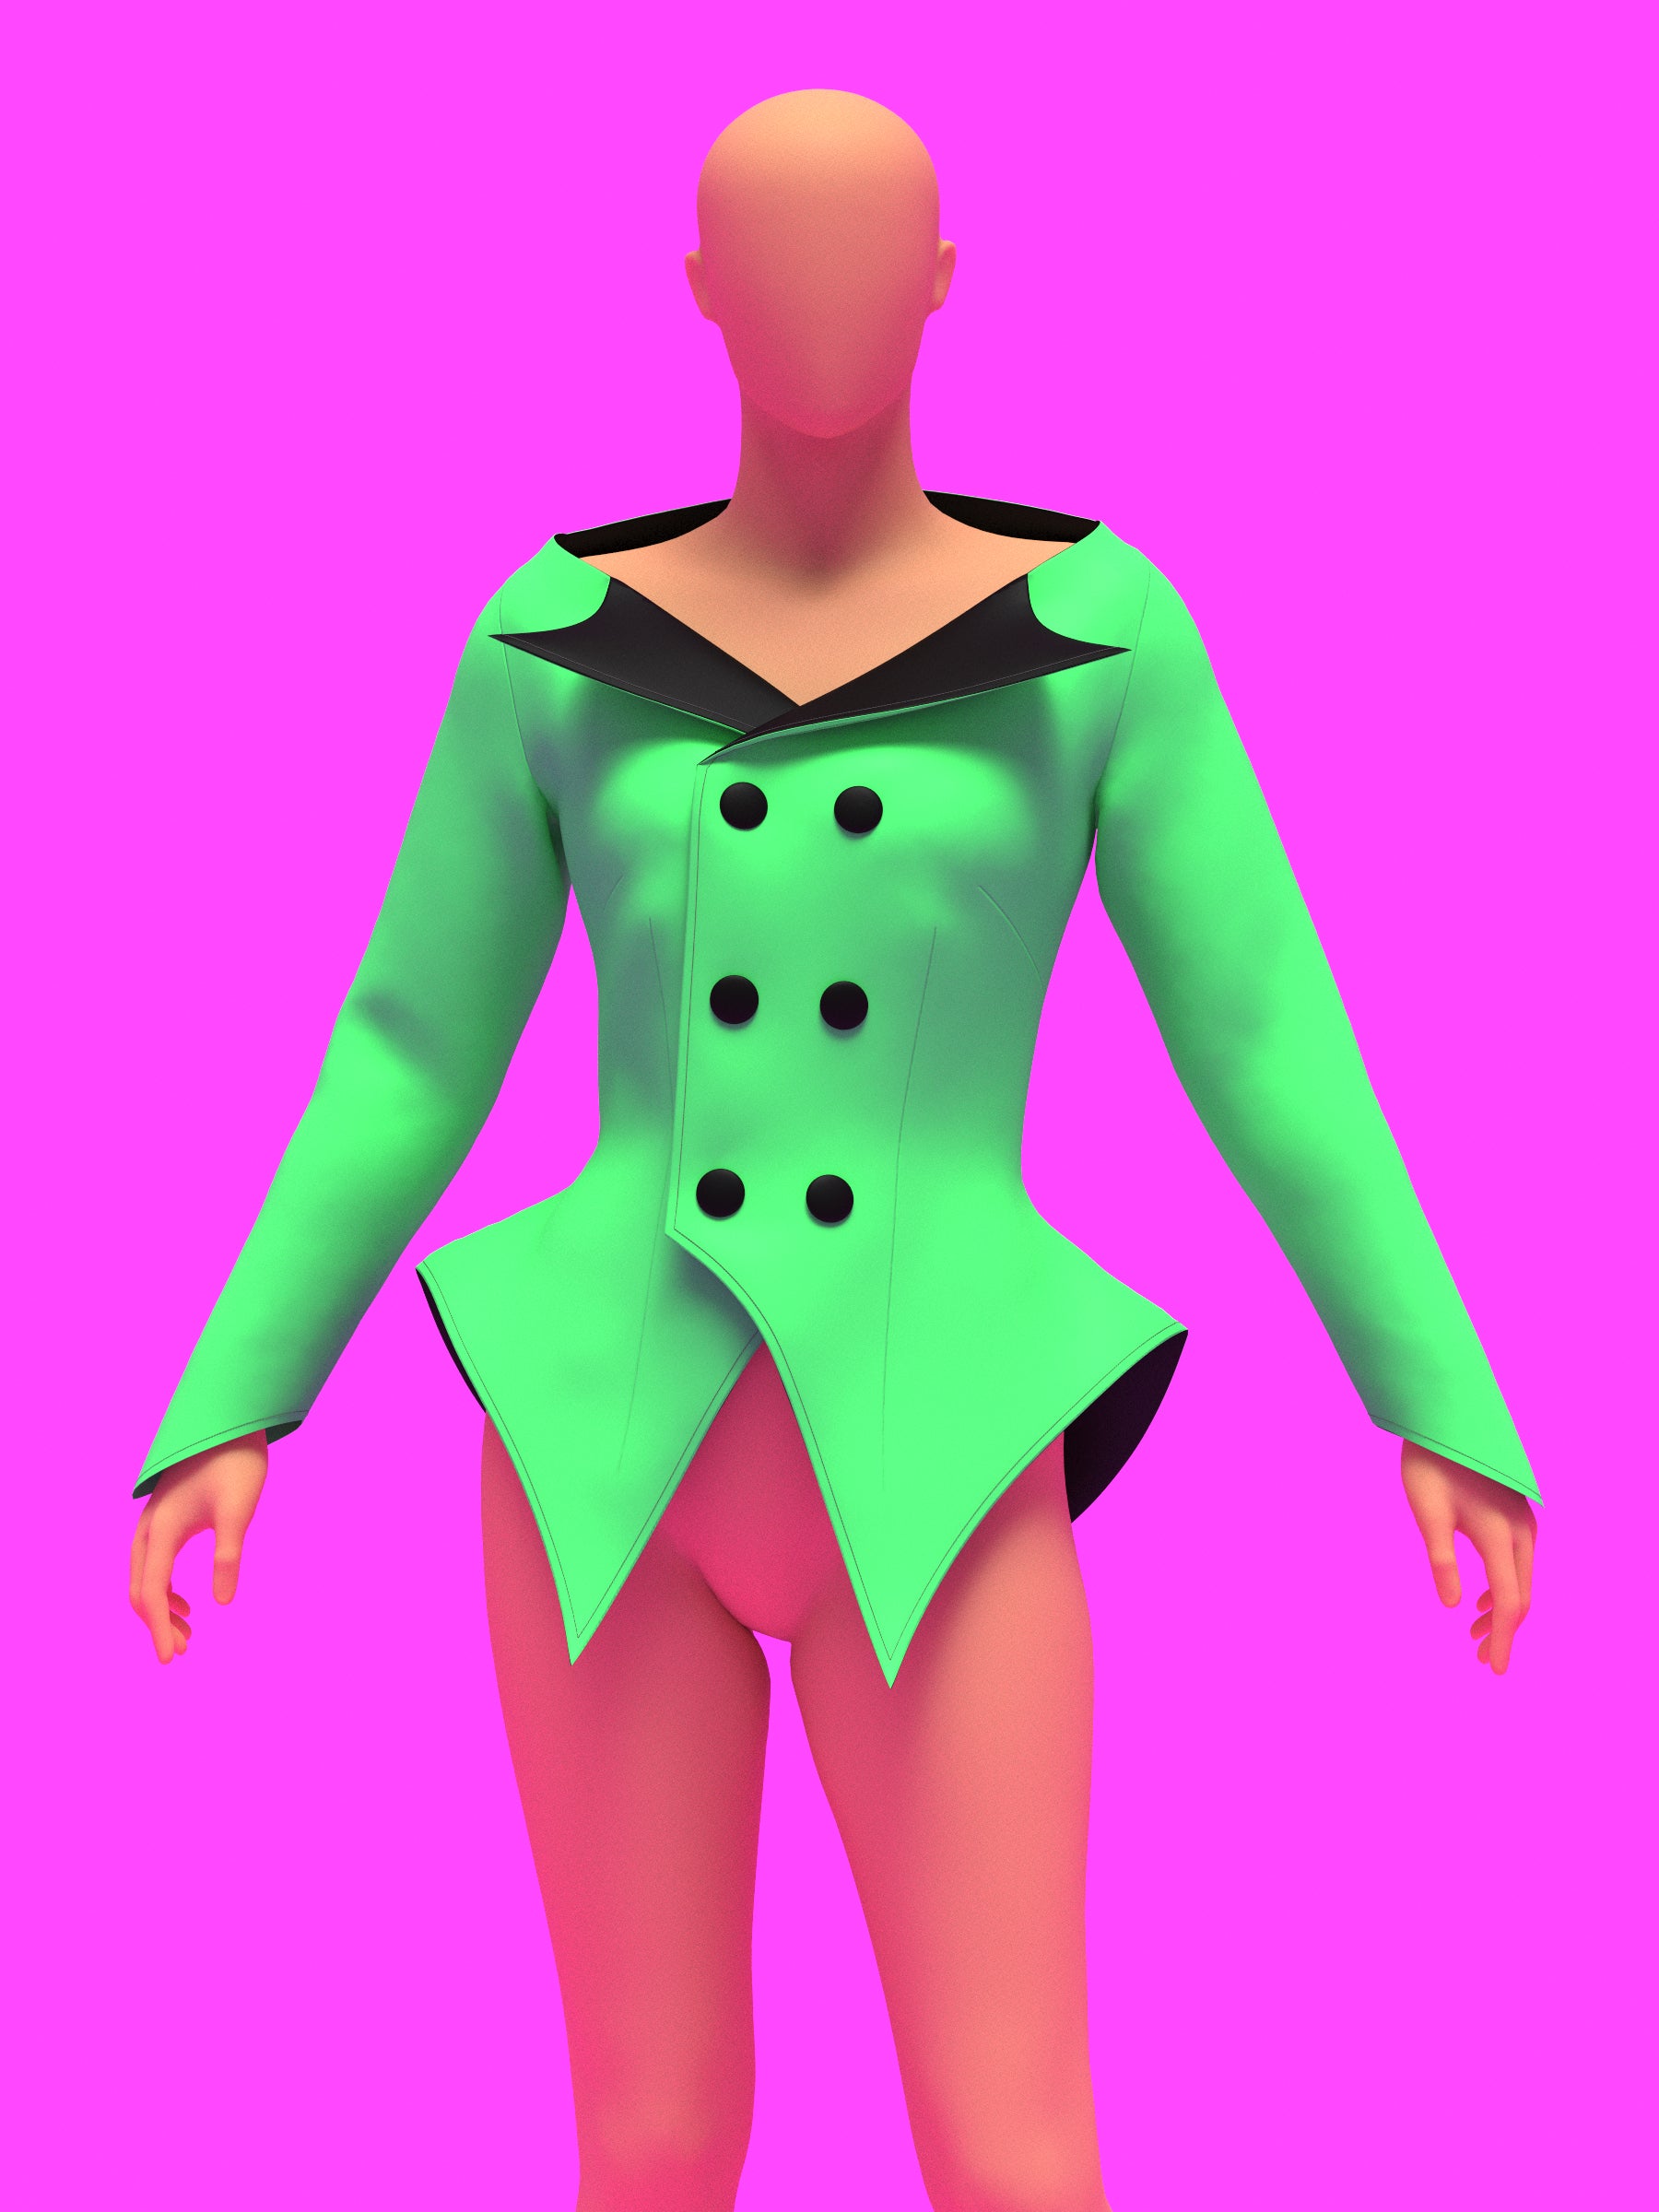
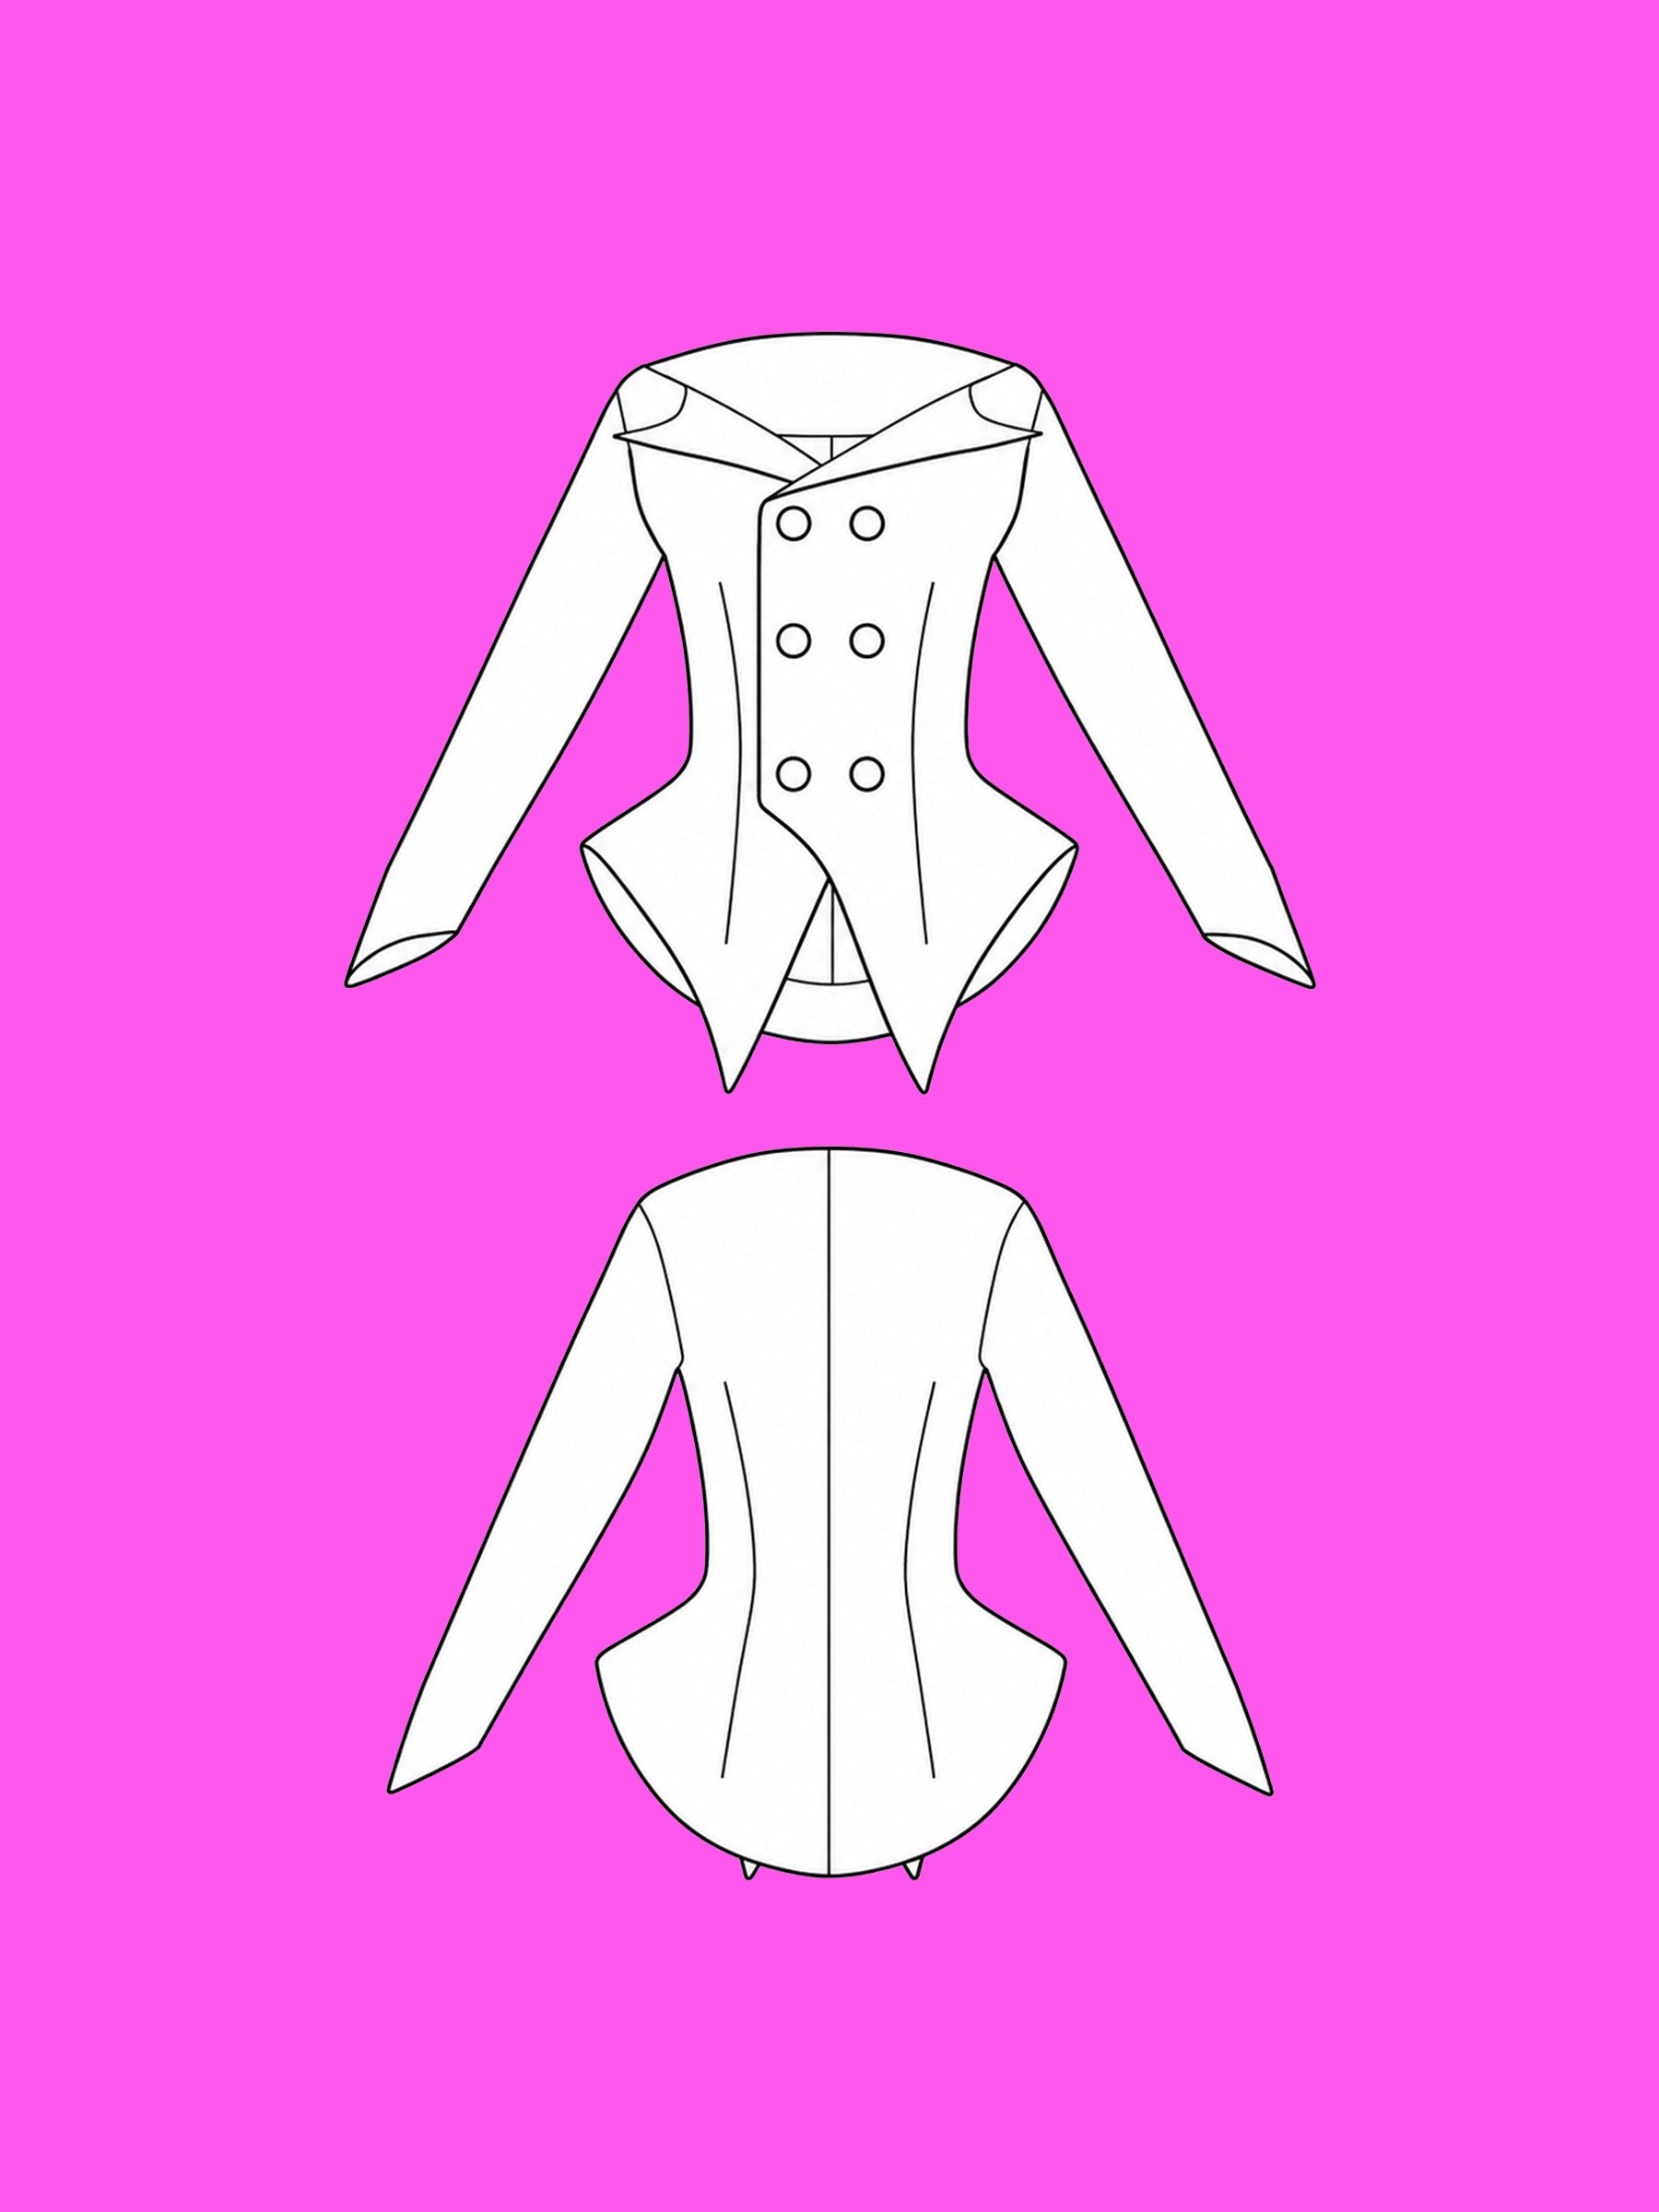
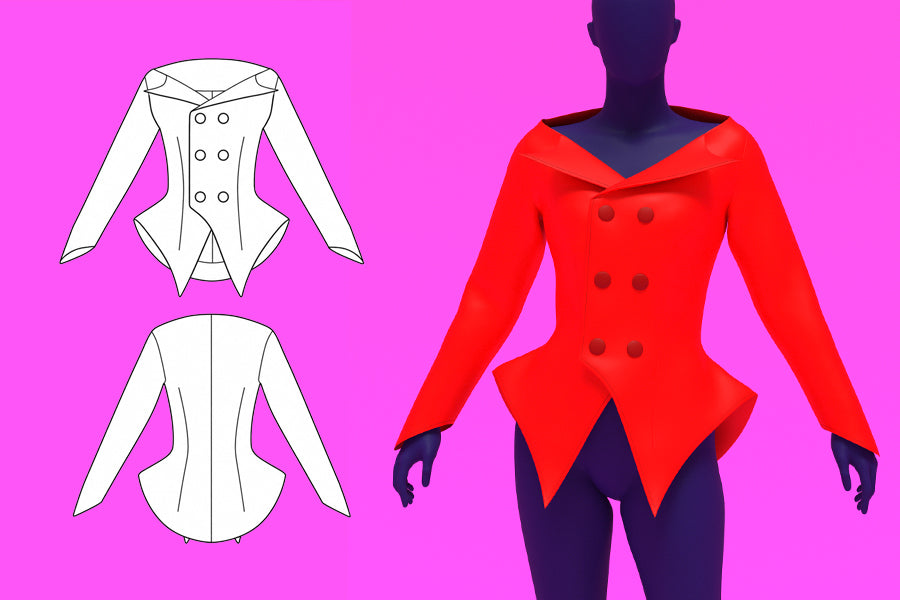
Learn how to sew our off-shoulder double-breasted blazer sewing pattern, designed with exaggerated hips, lapels, and sharp structured shaping. Made for drag queens, performance looks, editorial fashion, and stage reveals, this statement blazer features optional buttonholes or use a hidden velcro closure for quick changes and dramatic reveals. Inspired by iconic couture aesthetics seen in the worlds of Lady Gaga, Thierry Mugler, and bold avant-garde drag styling.
Fabric Yardage
The fabric yardage below is based on non-stretch fabric bolt widths of 54" or wider.
| Size | Fabric | Interfacing |
|---|---|---|
| XS | 2y | 1y |
| S | 2y | 1y |
| M | 2y | 1y |
| L | 2.25y | 1y |
| XL | 2.5y | 1y |
| 2XL | 2.5y | 1y |
Fabric & Notions
Fabric
- Use non-stretch fabrics, preferably thick materials to maintain structure like Neoprene fabric, medium-weight thick fabrics with very light stretch.
Notions
- 6 Shank Buttons or buttons of choice.
- Medium-weight Interfacing
- Optional: 6-8mm Rigilene Boning, horsehair braid, snap fasteners or Velcro for quick reveal instead of buttons.
Sizing Details
This pattern is drafted in our exclusive drag queen sizes from XS to 2XL, created to fit padded bodies with broader shoulders, arms, and legs. While this pattern is made with drag performers in mind, it can be worn by any gender who matches the size measurements provided below.
Drag Queen Sizing
If you’re doing drag, be sure to measure yourself with your padding on for the bust and hips. Look for your natural waist measurement in the size charts below to choose the correct size. Wrap the measuring tape snugly around your body—it should feel not too loose or too tight.
| Size | Mens Chest | Drag Chest (Padded) | Mens Waist | Drag Waist (Corseted) | Mens Hip | Drag Hip (Padded) | Height |
|---|---|---|---|---|---|---|---|
| XS | 33-35 | 36-38 | 27.5-29.5 | 24.5-26.5 | 32.5-34.5 | 38-40 | 70 |
| S | 35-37 | 38-40 | 29.5-31.5 | 26.5-28.5 | 34.5-36.5 | 40-42 | 70 |
| M | 39-41 | 42-44 | 33.5-35.5 | 30.5-32.5 | 38.5-40.5 | 44-46 | 70 |
| L | 43-45 | 46-48 | 37.5-39.5 | 34.5-36.5 | 42-44 | 47.5-49.5 | 70 |
| XL | 47-49 | 50-52 | 42.5-44.5 | 39.5-41.5 | 45-47 | 50.5-52.5 | 70 |
| 2XL | 51-53 | 55-57 | 47.5-49.5 | 44.5-46.5 | 48-50 | 54.5-56.5 | 70 |
Sewing Instructions
Color Guide

Fabric Pieces
After cutting your fabric, you should have the following pieces:
Shell:
Piece 1, the front of the blazer, is cut on folded fabric. Cut 2 mirrored.
Piece 2, the back of the blazer, is cut on folded fabric. Cut 2 mirrored.
Piece 3, the sleeve, is cut on folded fabric. Cut 2 mirrored.
Piece 4, the front facing, is cut on folded fabric. Cut 2 mirrored.
Piece 5, the back facing, is cut 1 on fold.
Piece 6, the front hem facing, is cut on folded fabric. Cut 2 mirrored.
Piece 7, the back hem facing, is cut 1 on fold.
Interfacing:
Piece 4, the front facing, is cut on folded fabric. Cut 2 mirrored.
Piece 5, the back facing, is cut 1 on fold.
Piece 6, the front hem facing, is cut on folded fabric. Cut 2 mirrored.
Piece 7, the back hem facing, is cut 1 on fold.

Interfacing
Gather the two “4” pieces (Front facing), the “5” piece (Back facing), the two “6” pieces (Front hem facing) and the “7” pieces (Back hem facing) and the corresponding interfacing pieces.
Iron the interfacing onto the wrong side of the pieces to ensure their stability.

Assembling the Body
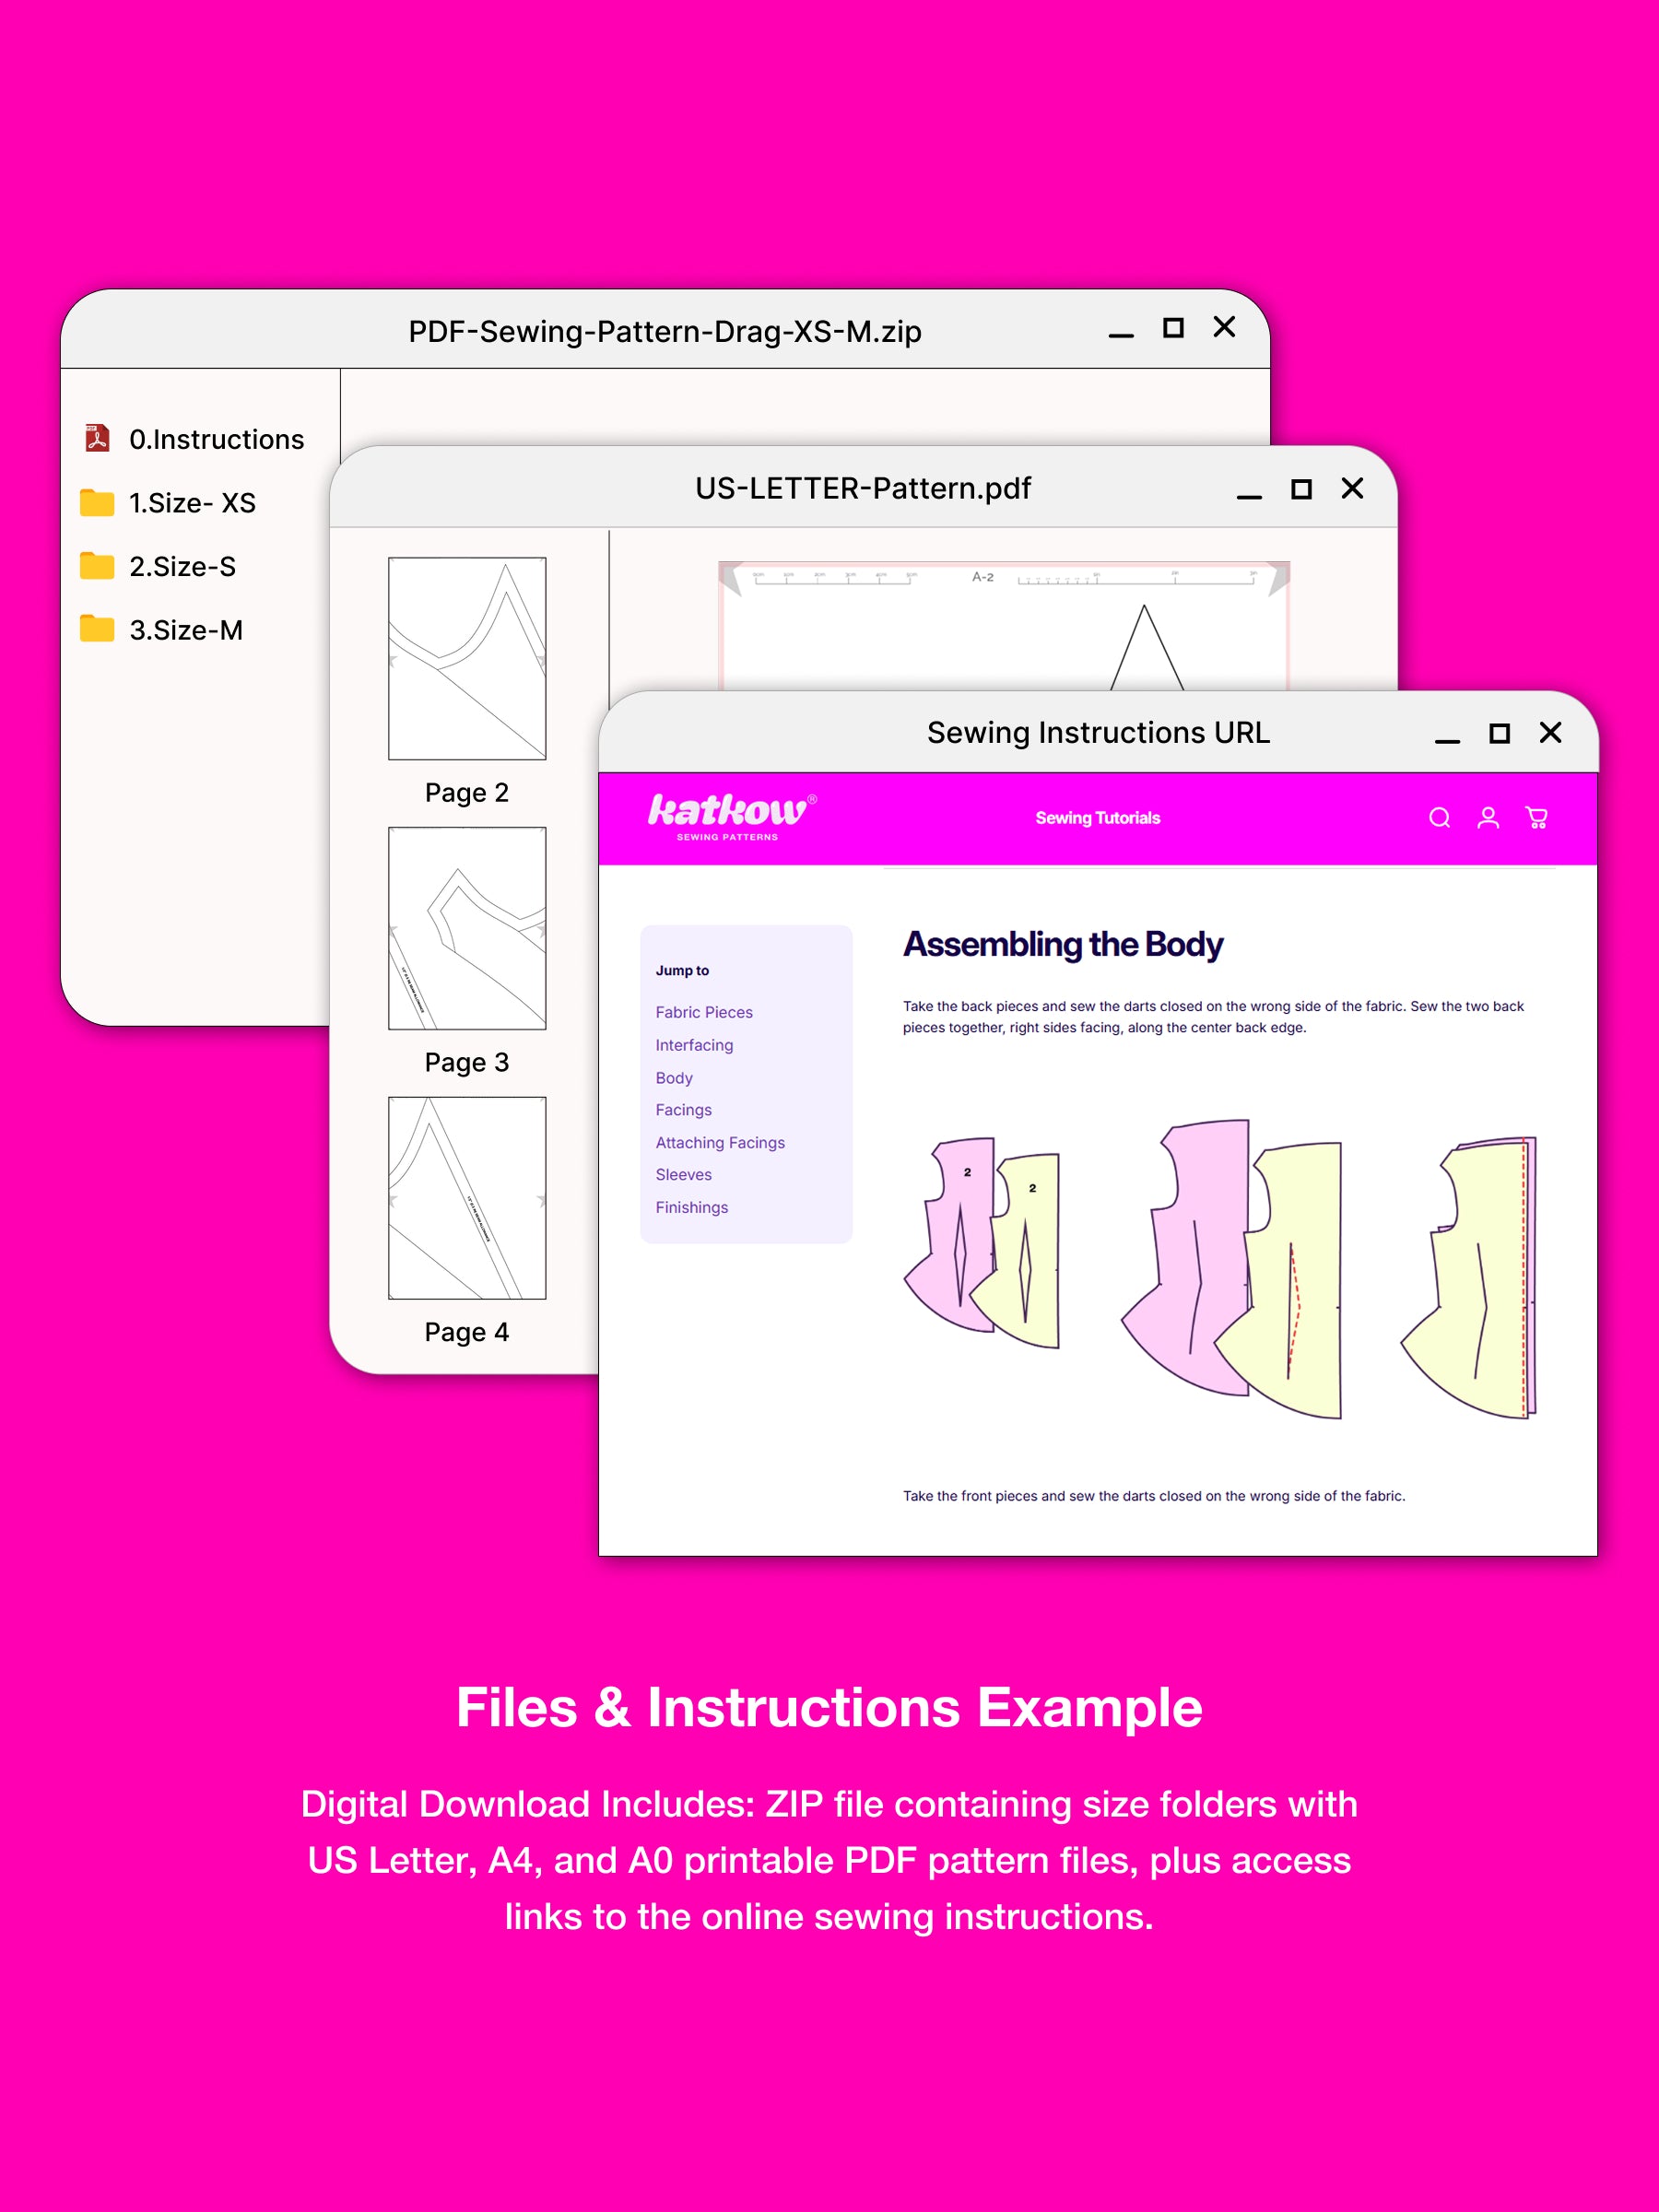
Take the back pieces and sew the darts closed on the wrong side of the fabric. Sew the two back pieces together, right sides facing, along the center back edge.

Take the front pieces and sew the darts closed on the wrong side of the fabric.

Stack the front pieces, right sides facing the back, and sew along the shoulder seams. You can choose to top stitch along the shoulder seams and center back seam to help flatten out those edges.

Now sew along the side seams.

To give the garment more structure, you can optionally add boning along the side seams and darts. For more help, watch this video: How to sew boning.
Assembling the Facings
For the inner facing pieces, first gather the two front facing pieces and the back facing. Stack them right sides together and sew along the shoulder seams.

Now, gather the two front hem facing pieces and the back hem facing. Stack them right sides together and sew along the side seams.

To finish assembling the facing, stack the two pieces together and sew the seam between the front facing and the front hem facing. Now you have a continuous facing running along the front, collar and hem of the blazer. Serge the outer edge of the facing (that won’t be sewn to the shell of the blazer).

Attaching the Facing
Stack the facing with the front and back assembly right sides facing each other and pin them along the collar, the center front edge and the hem. Sew along this edge. Snip the seam allowance on the curves and trim off any excess seam fabric on the corners.

Turn the garment right side out and press, pressing lapels down. To give the garment more structure, topstitch along this seam. You can also sew horsehair braid around the hem facing to make it stand out even more.

Installing the Sleeves
Take the sleeve piece. Fold the sleeve in half vertically with right sides facing each other. Sew at the inner sleeve seam to close the sleeve. Once stitched, finish the raw edges together on the wrong side using an overlock machine to serge the seam allowance.

Hem the sleeve with a rolled hem by folding the raw edge twice, then topstitching it.

Pin the sleeve cap evenly along the armhole, aligning the notches. Sew the sleeve all around the armhole with a straight stitch...Repeat with the other sleeve.

Finishing the Blazer
Once both sleeves are attached, you can hand tack the facing along the shoulder seams, the center back and the side seams, just to keep it in place. Take small stitches through the seam allowance only so they do not show on the outside.

Install the buttons. You can use them as a proper closure, in this case you will need to place buttonholes on the other side. Another option: using buttons as decorations and closing the front with snaps or Velcro for a quick reveal.

Finish any exposed or raw edges using a serger, and your garment is now finished.
Get the Pattern