Cómo coser un vestido mini con pañuelo
Saltar a instruccionesDescripción general
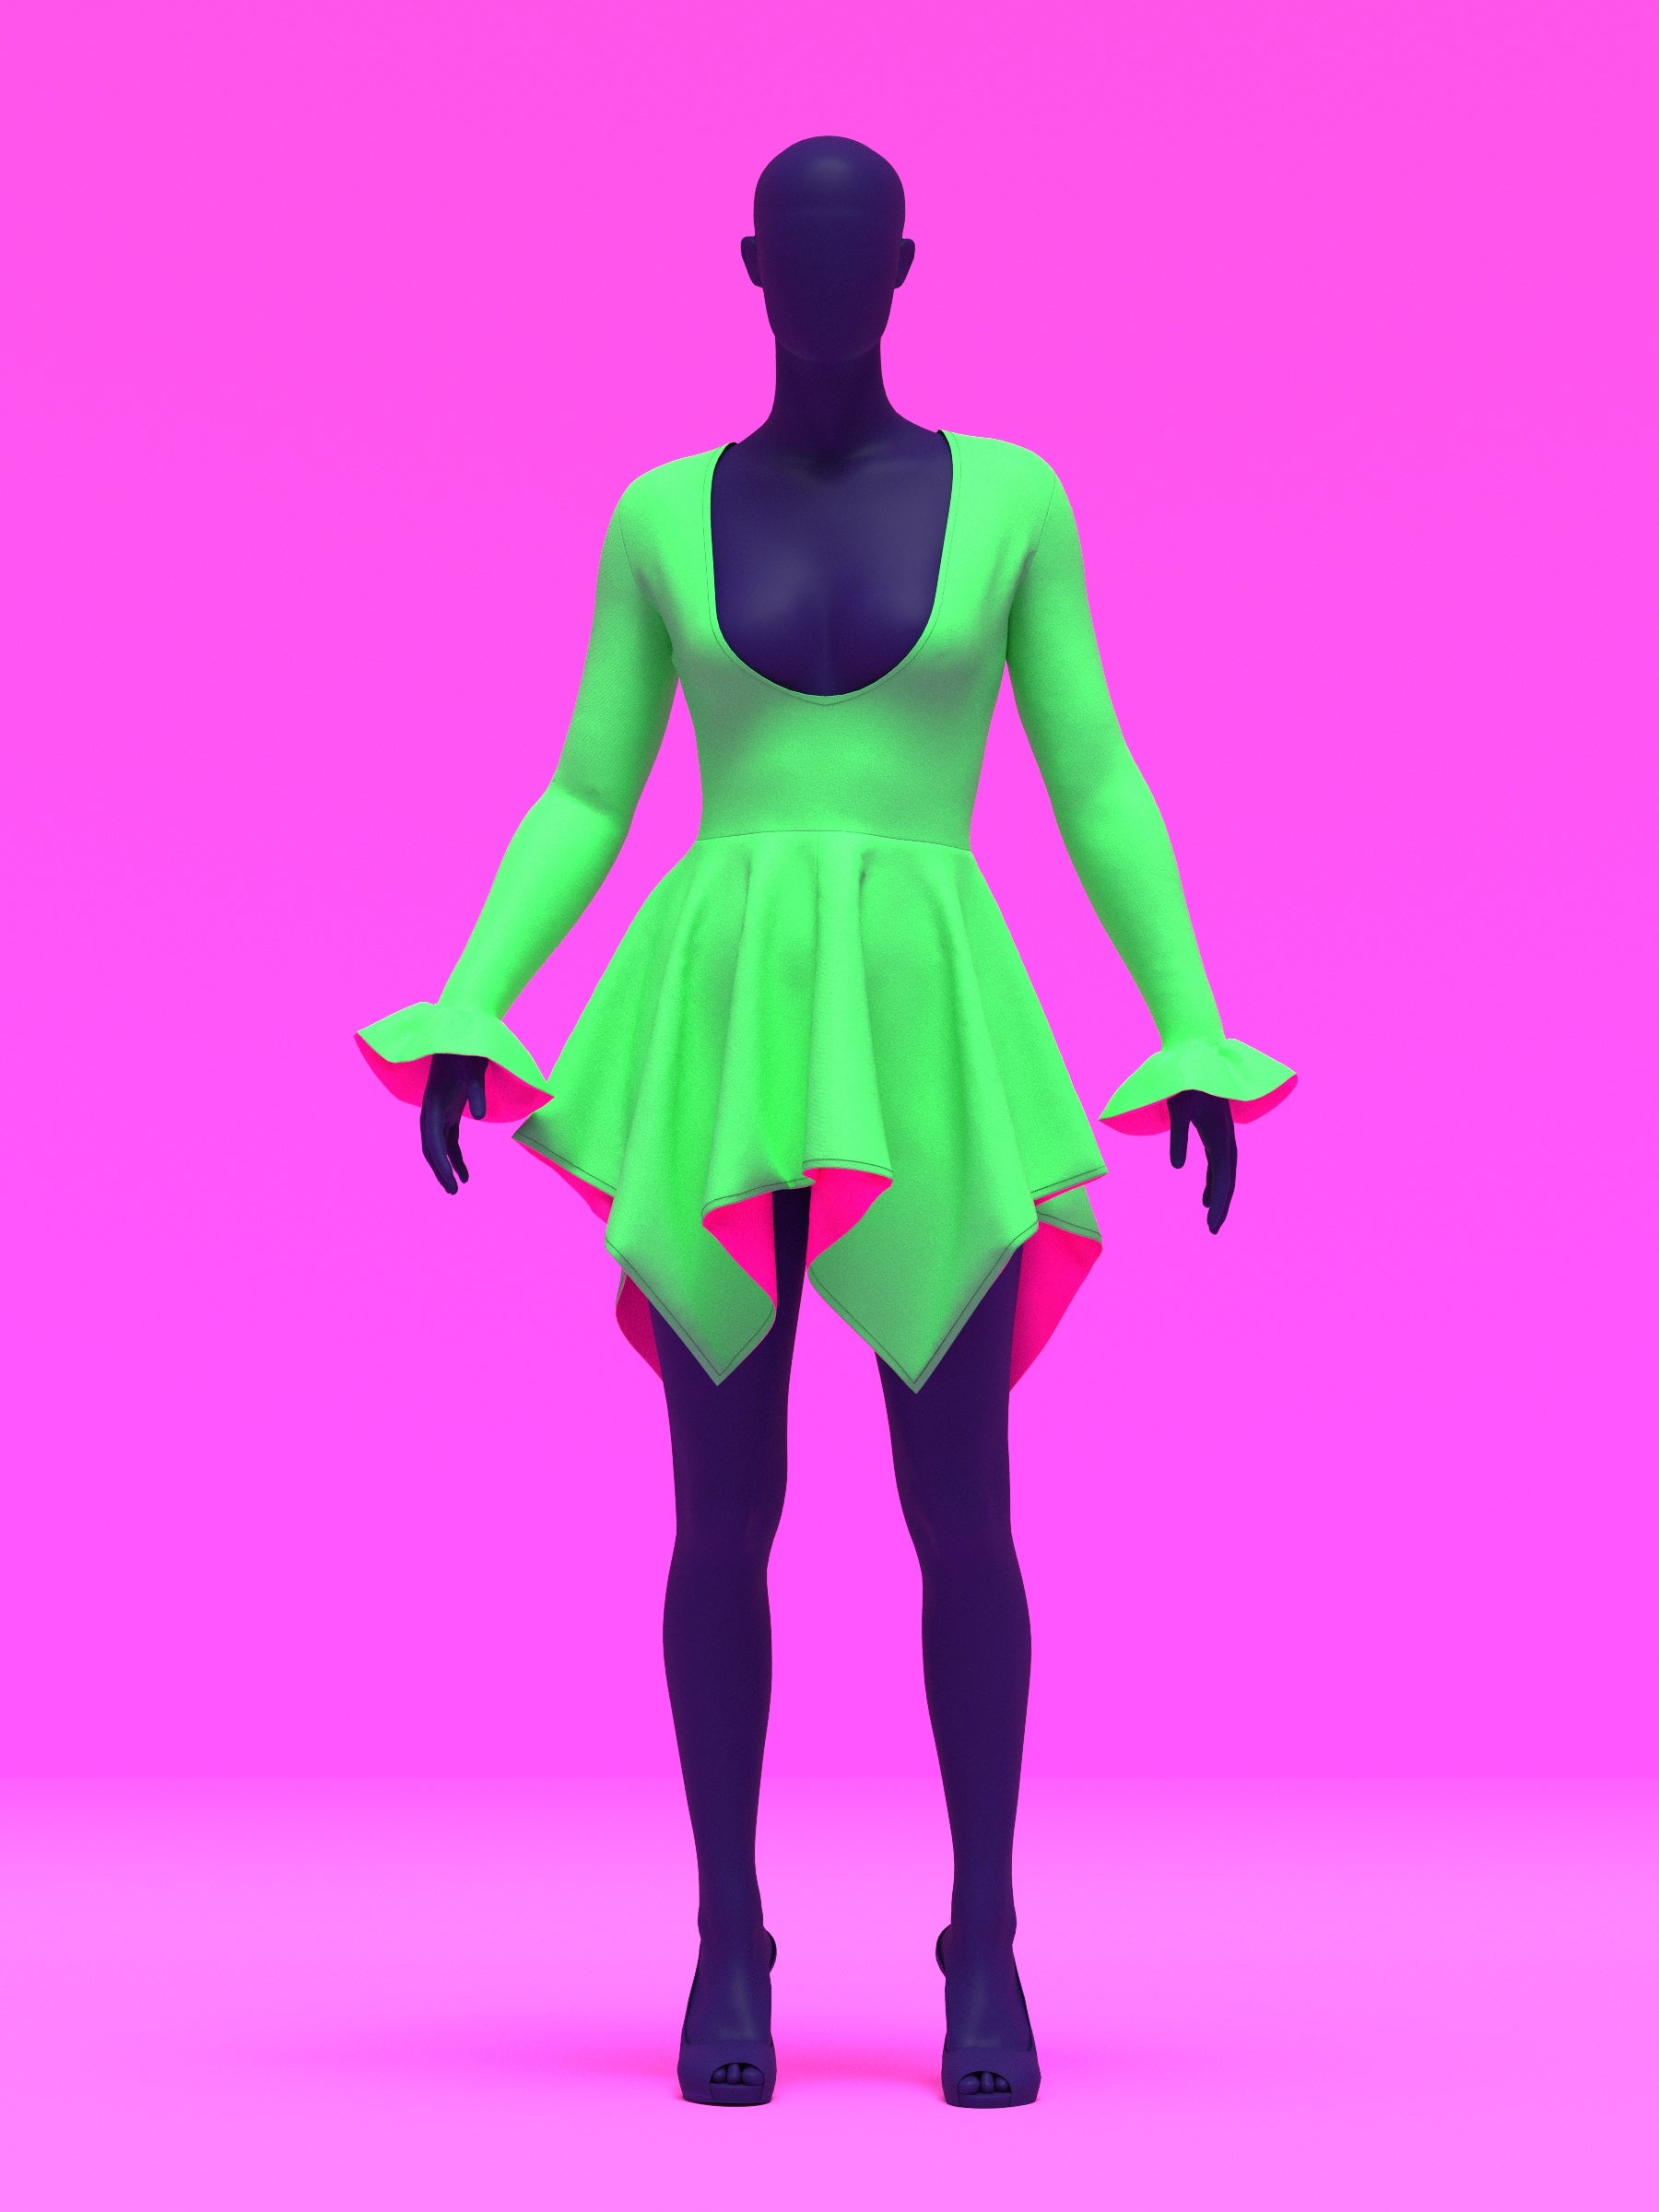
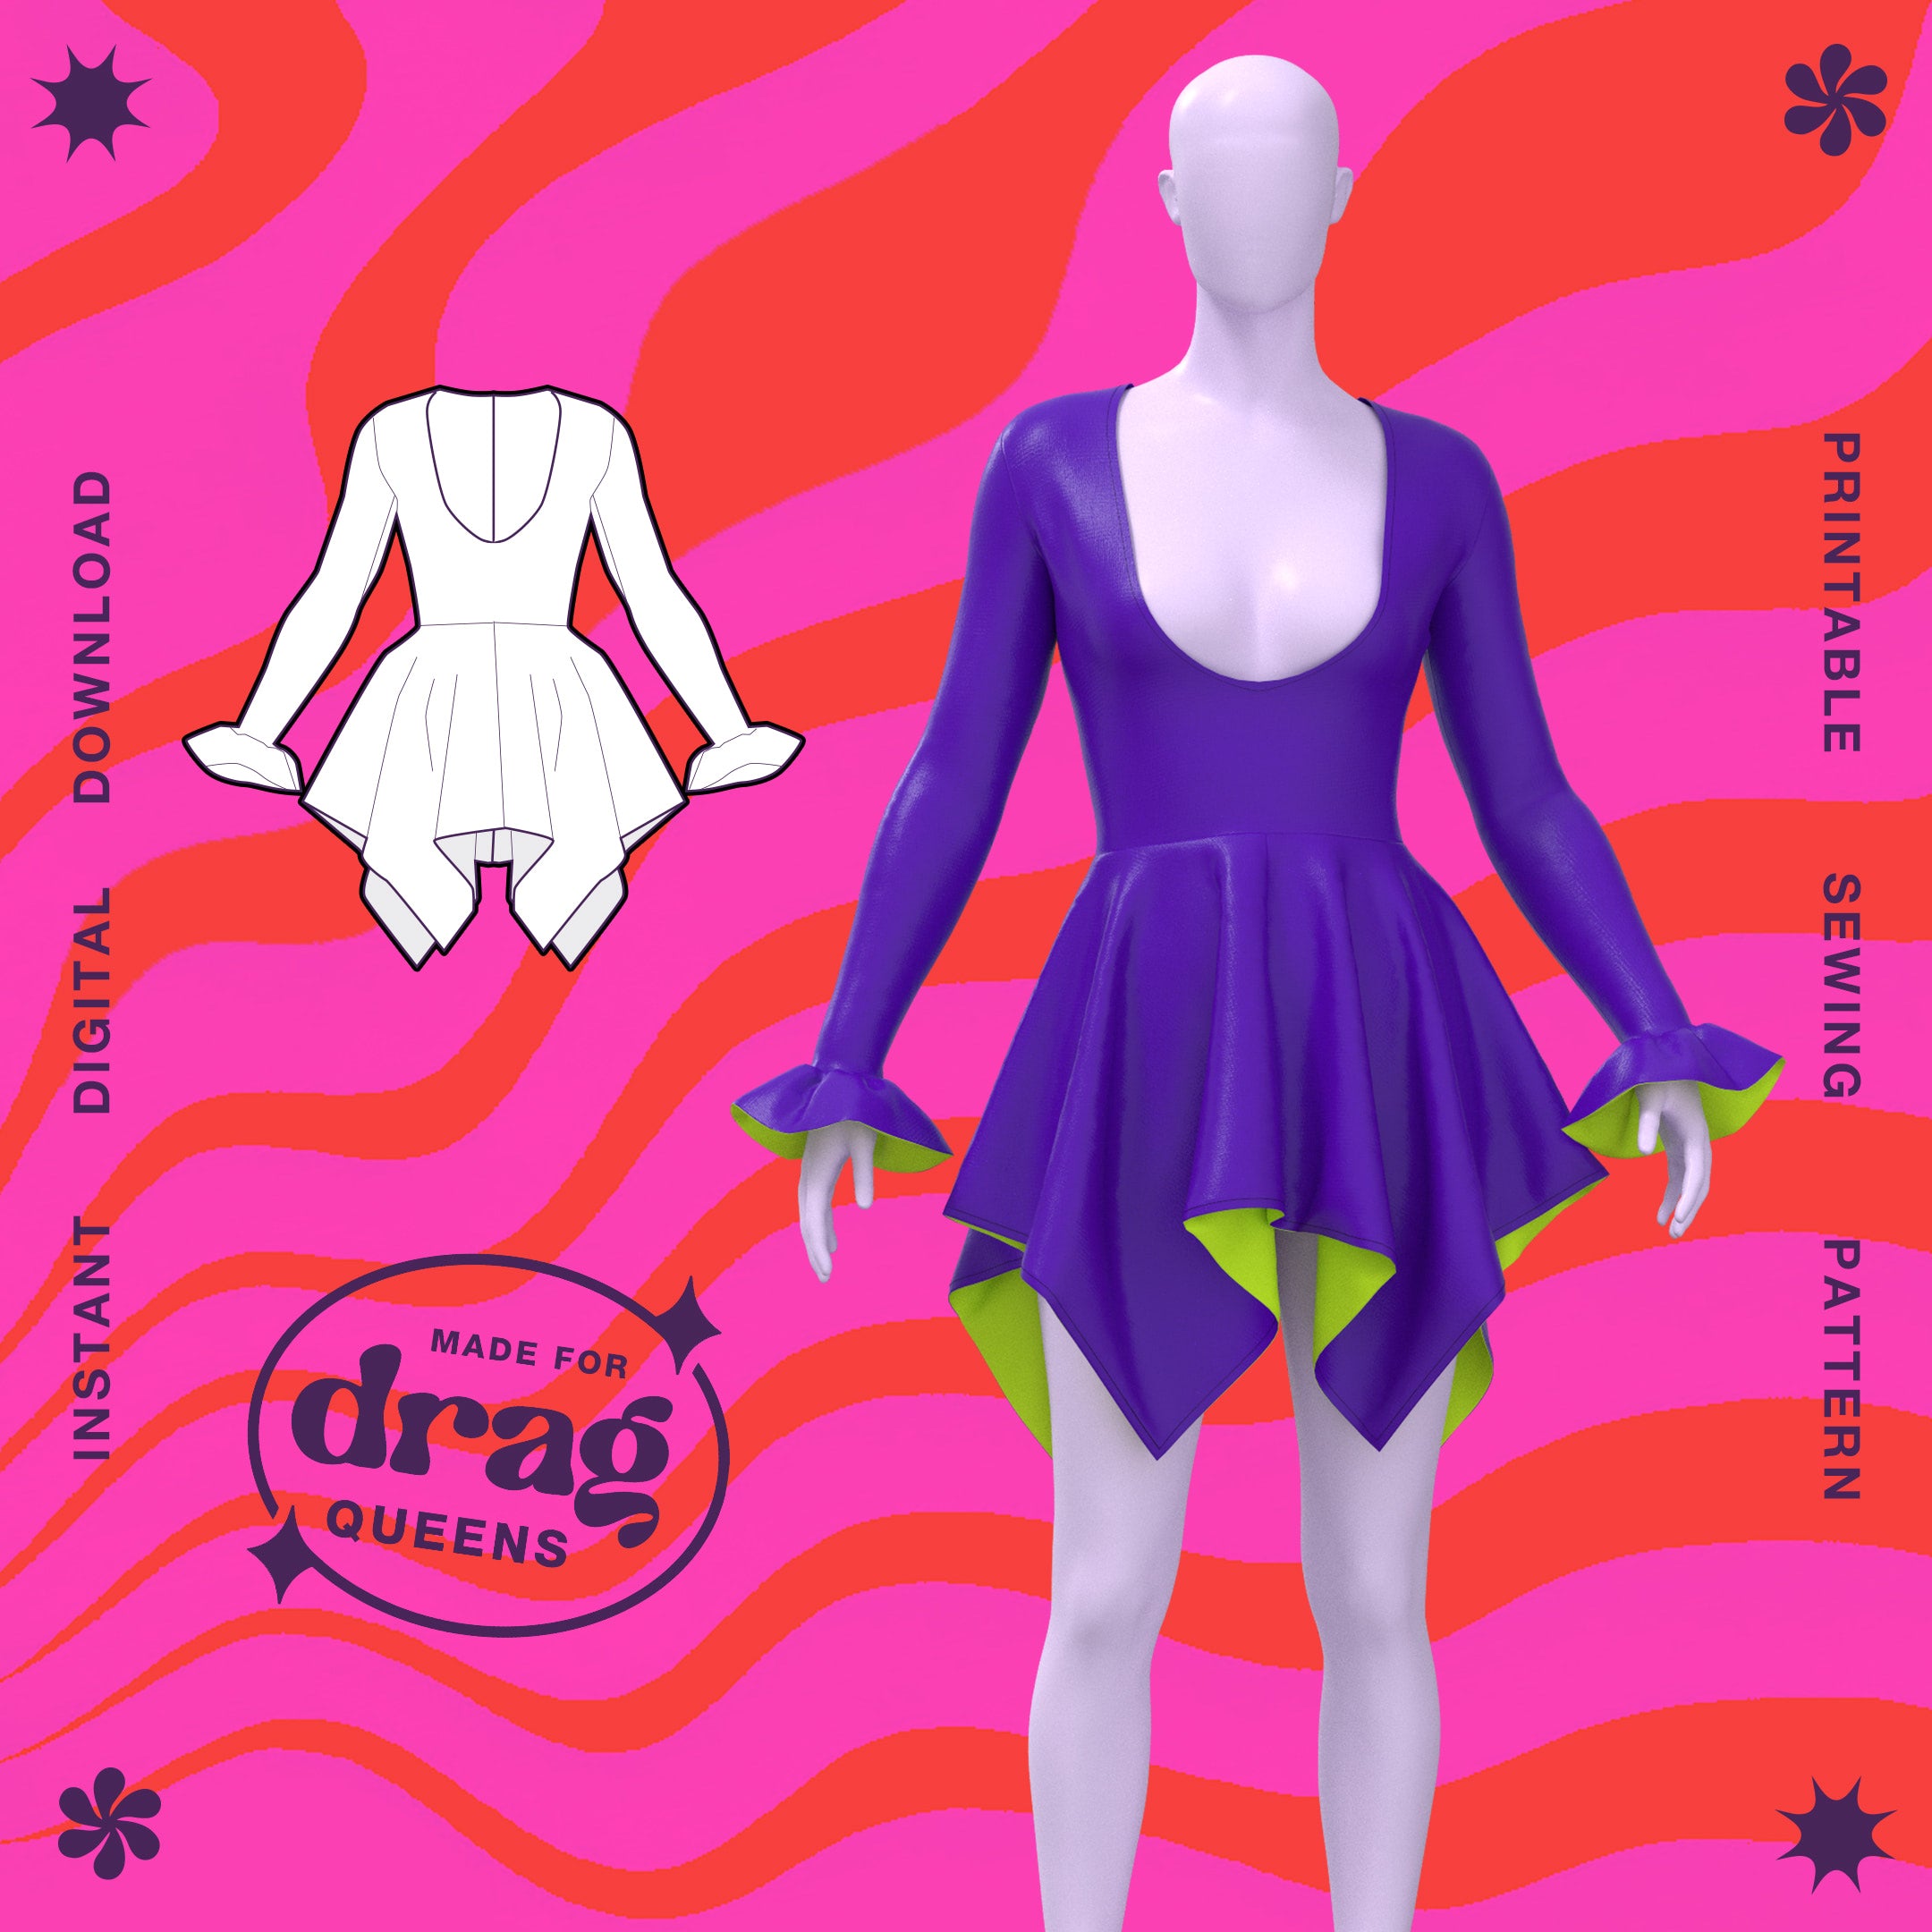
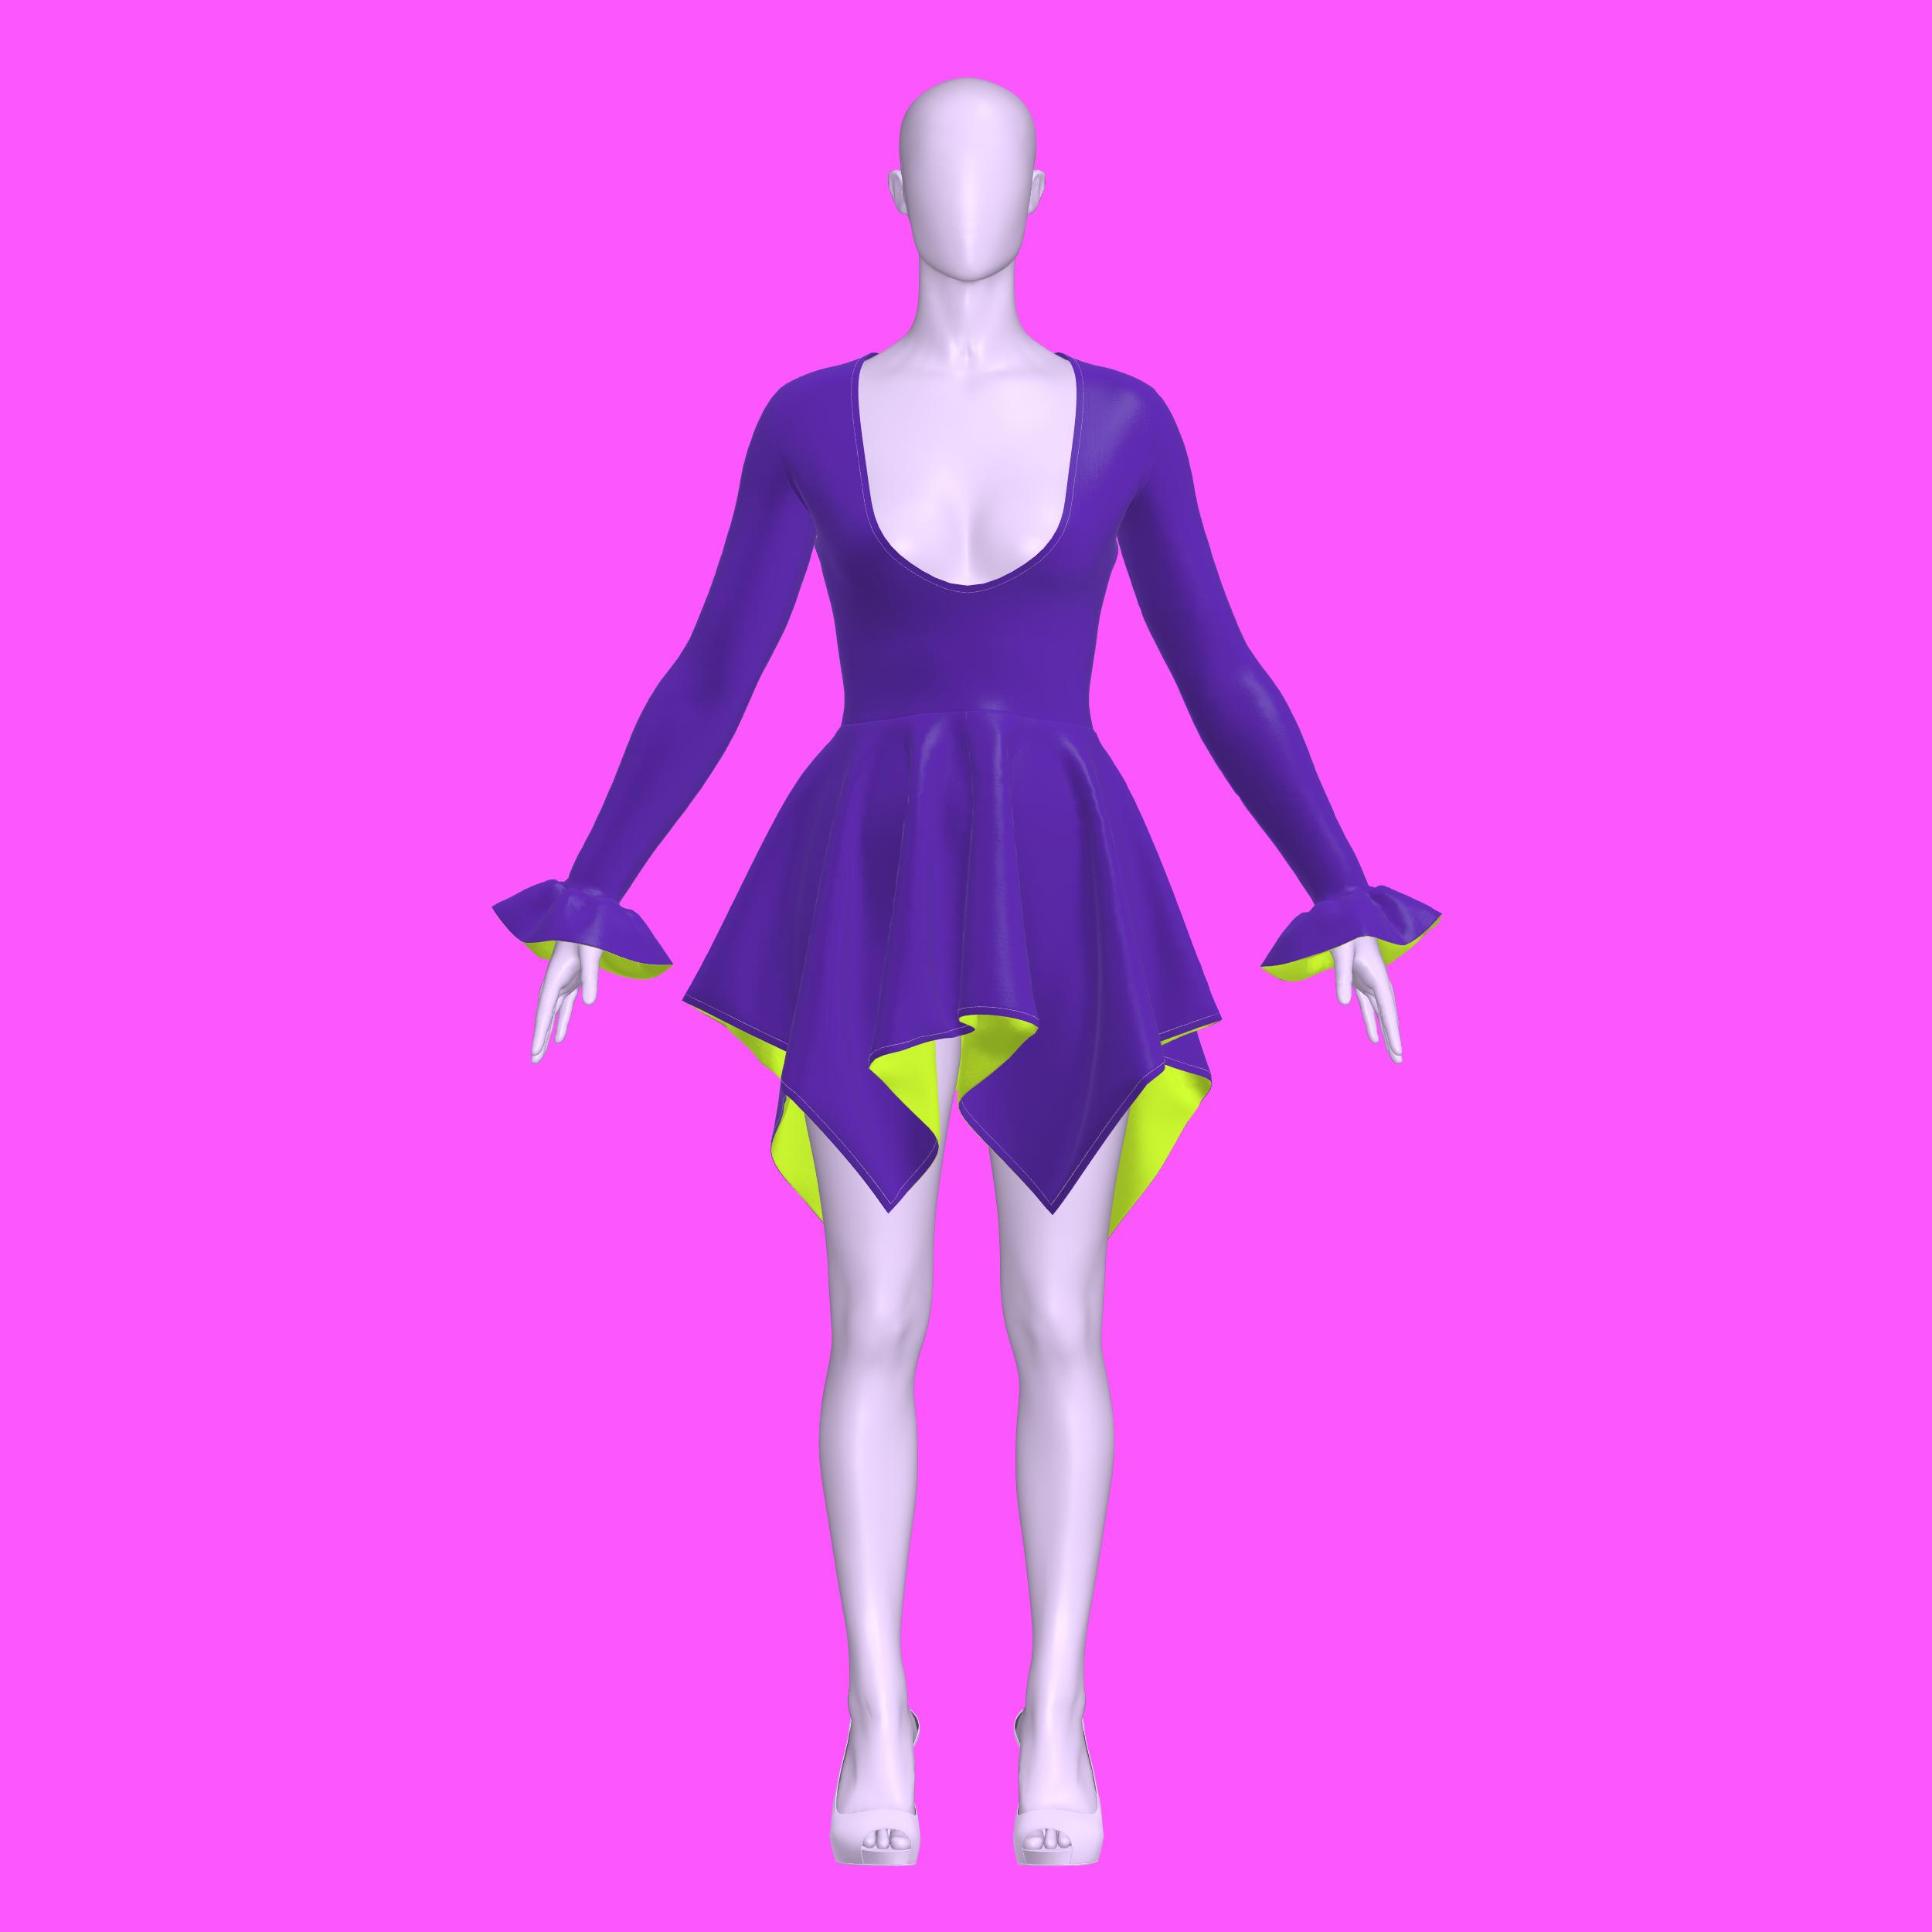
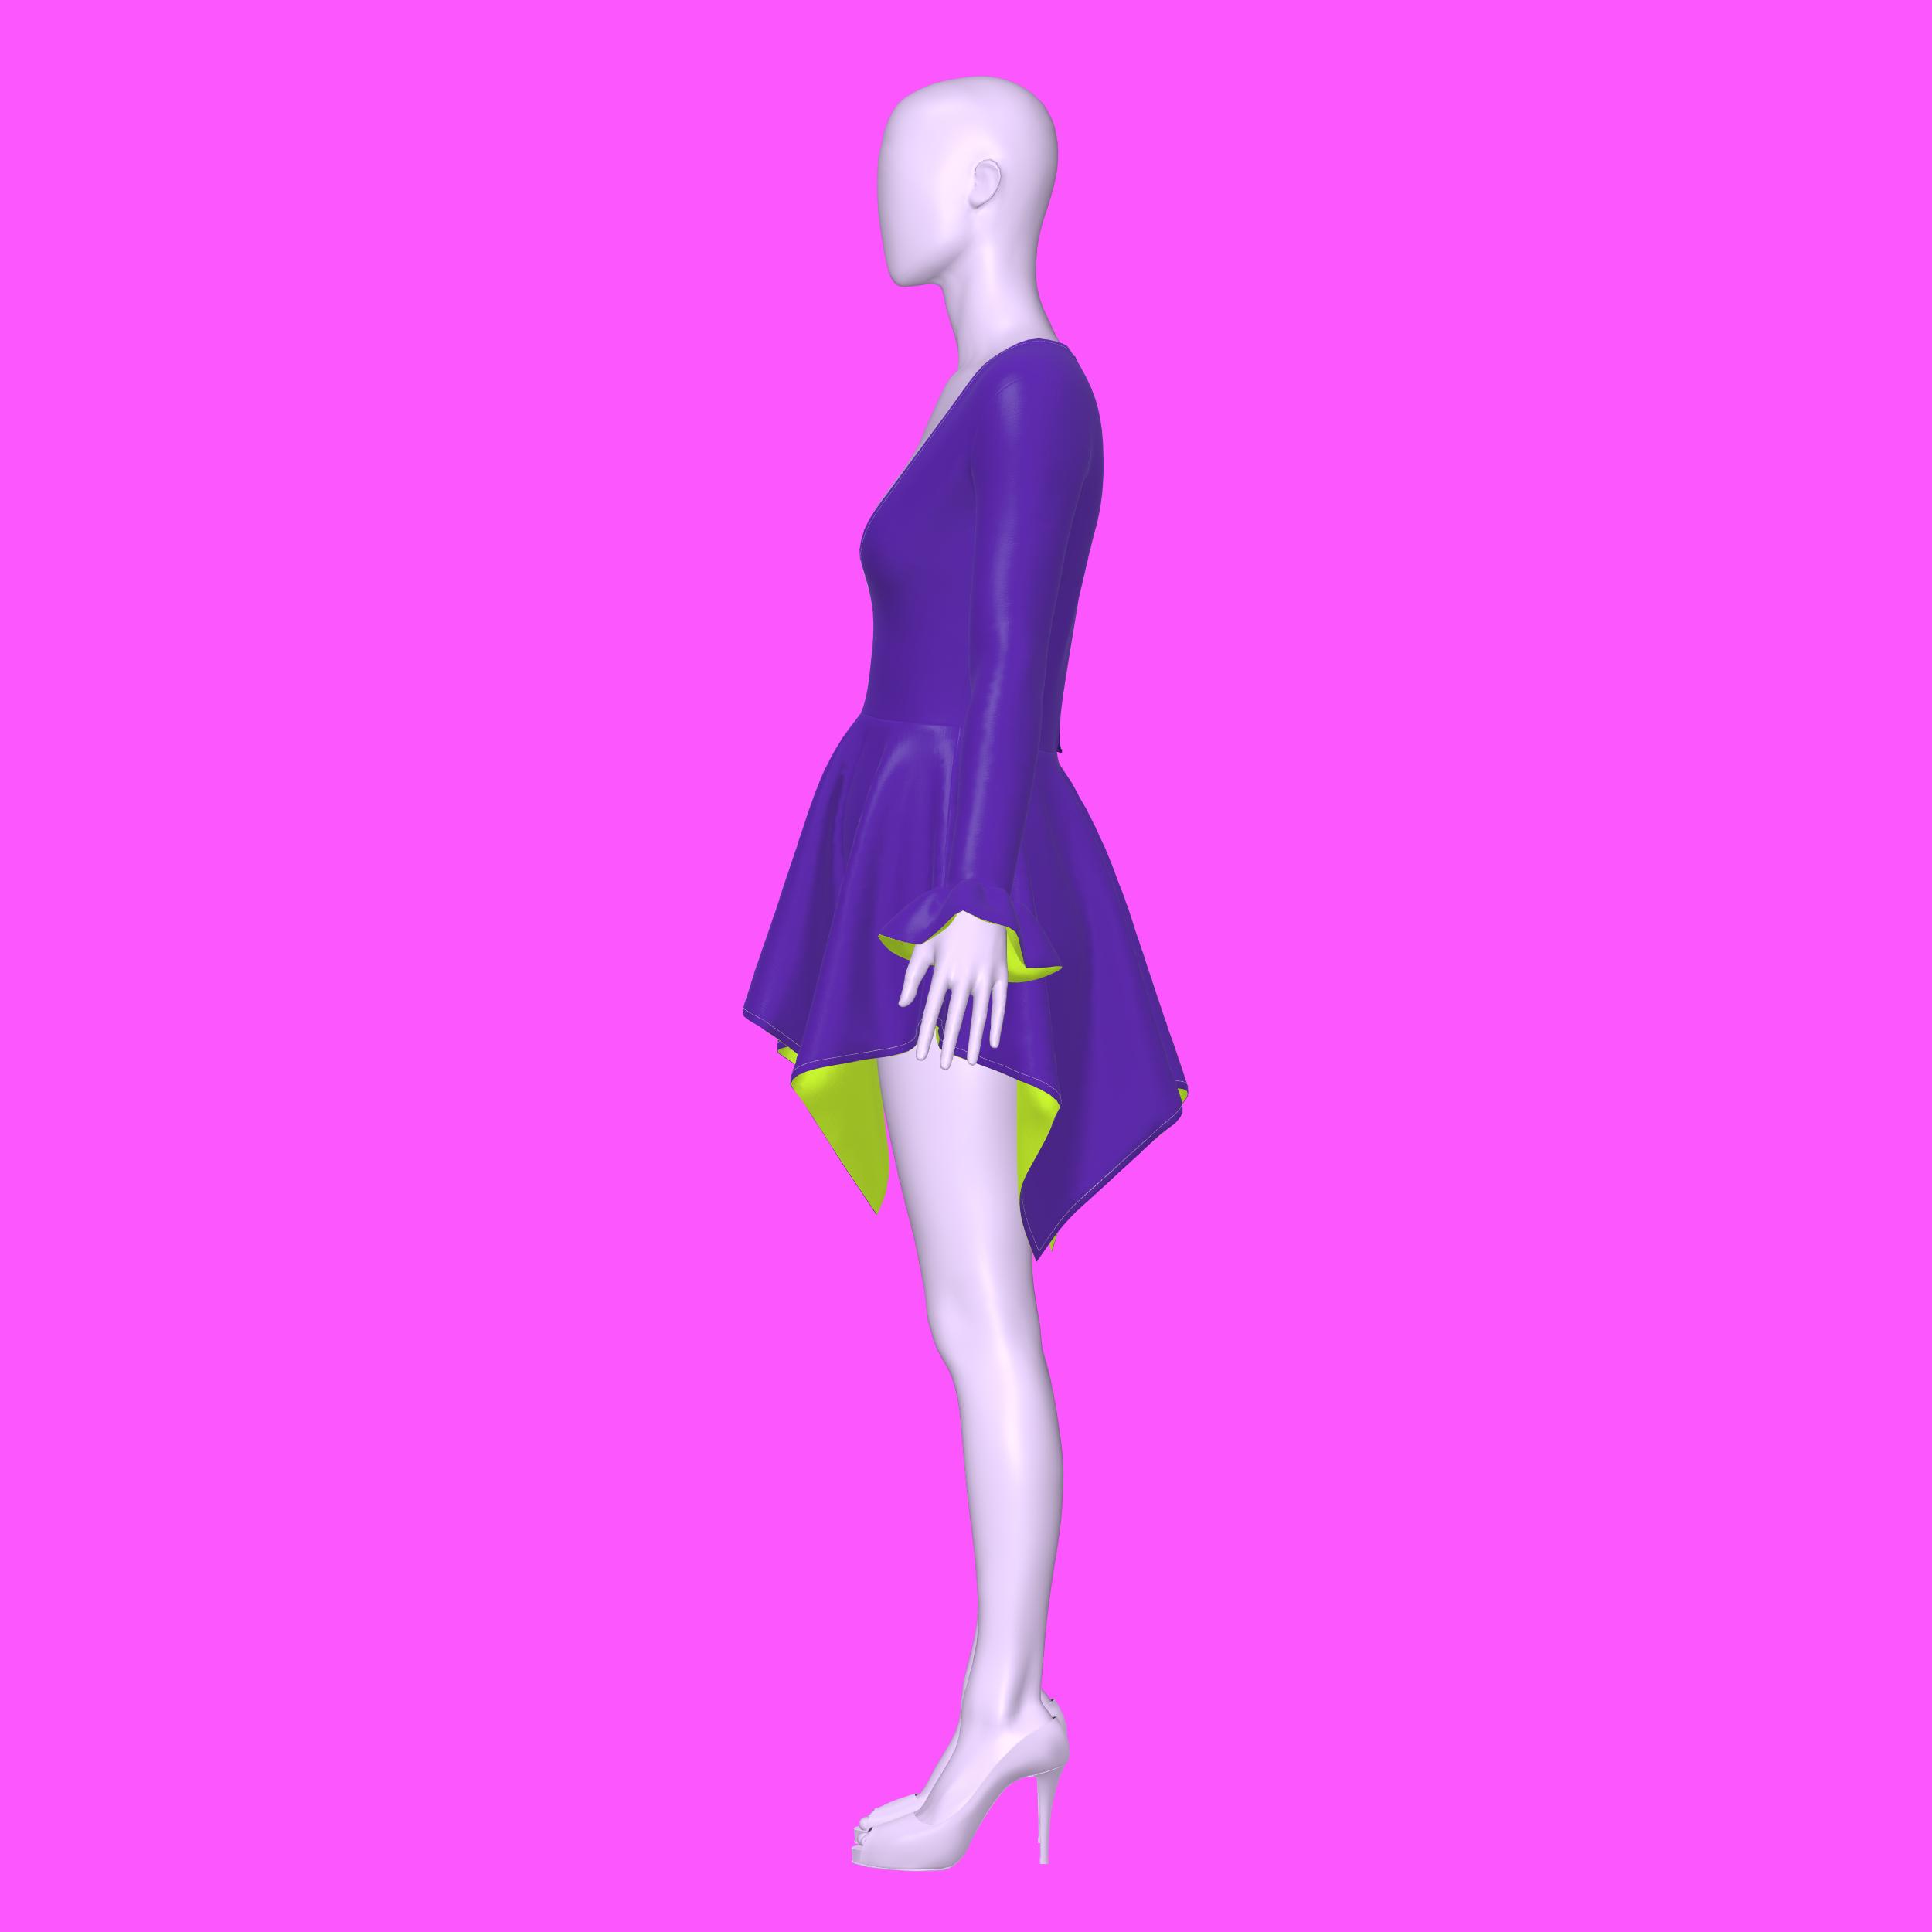
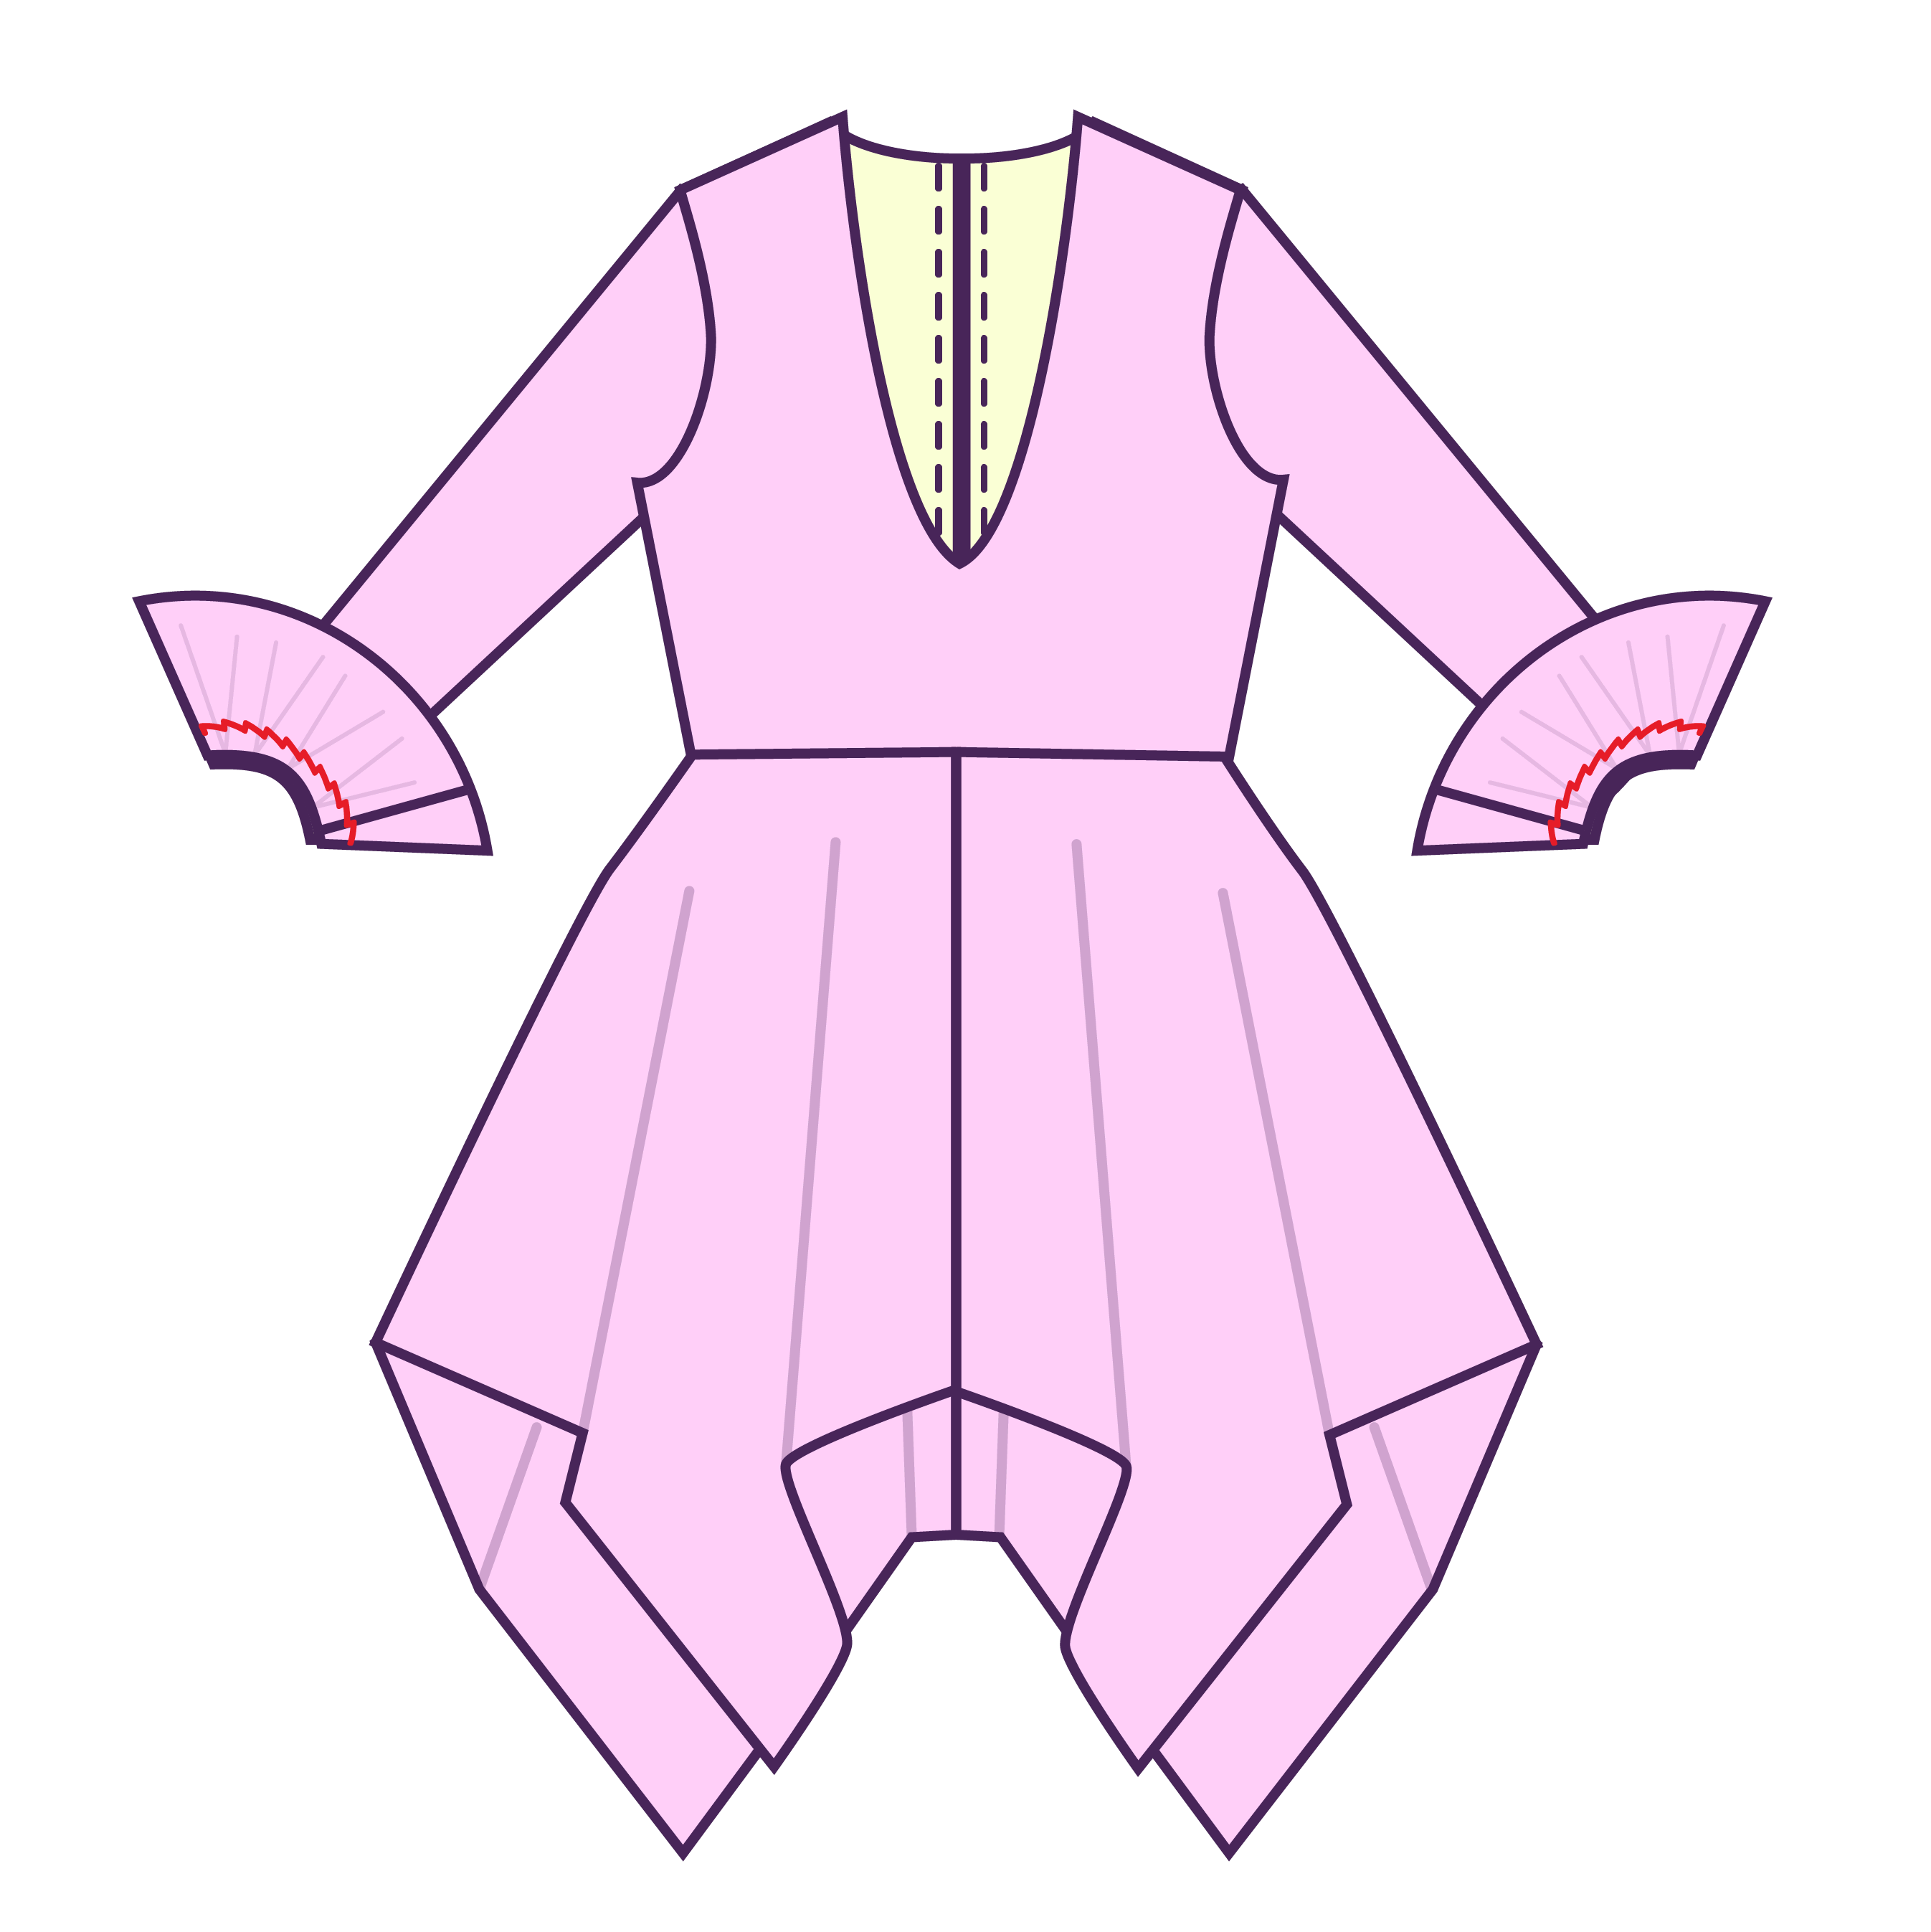
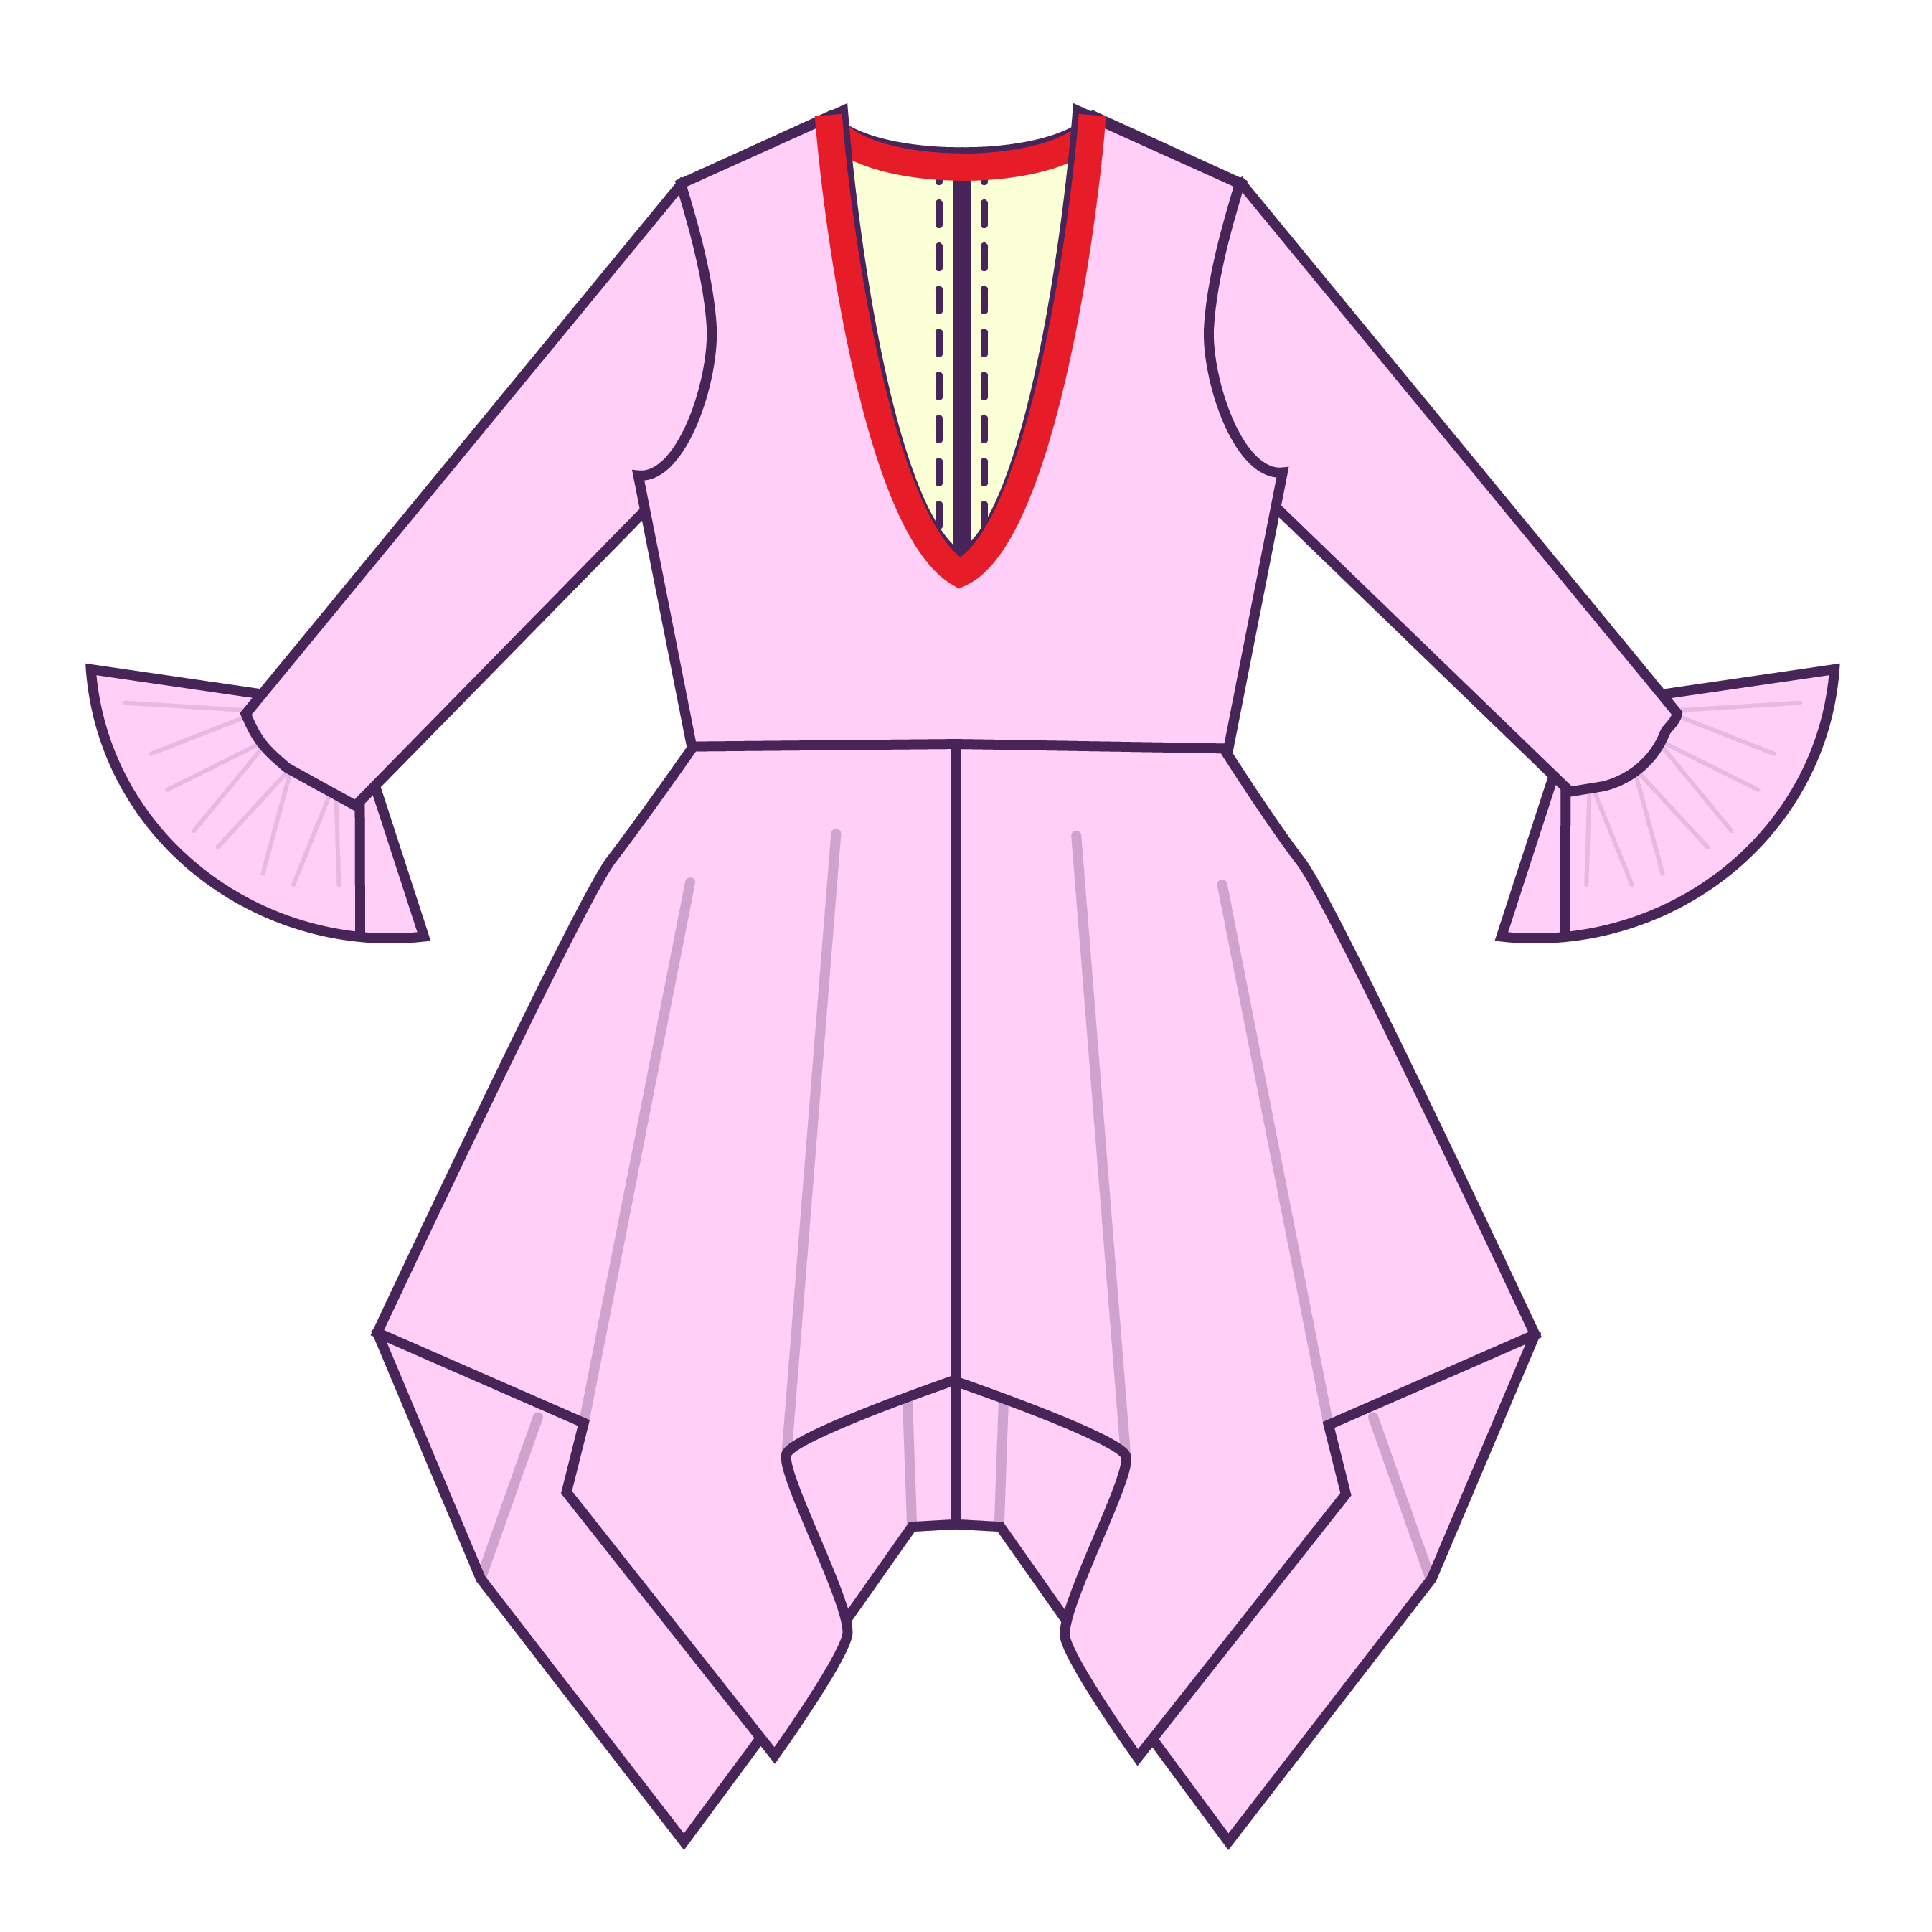
Presentamos nuestro patrón de costura para vestido Mini Handkerchief, especialmente diseñado para drag queens que buscan hacer una declaración audaz. Este atrevido diseño presenta un escote en V profundo y mangas largas, perfecto para captar la atención en el escenario o en cualquier evento. Ya sea que estés adoptando una estética drag moderna, deslumbrando al público en las presentaciones, sumergiéndote en reinos de fantasía o encarnando a tus personajes favoritos en eventos de cosplay, esta prenda versátil es tu opción ideal. Diseñado exclusivamente para telas elásticas, este patrón garantiza un ajuste cómodo y favorecedor que se mueve con tu cuerpo, lo que te permite bailar, actuar y expresarte con confianza y facilidad. Eleva tu personalidad drag con el patrón de costura para vestido Mini Handkerchief y entra en el centro de atención con estilo y estilo.
Dificultad del patrón: Para principiantes
Yardas de tela
Este patrón requiere el uso de tela elástica. A continuación, se indican las yardas necesarias para cada talla. Se debe agregar forro debajo de la falda y los puños de las mangas.
| Tamaño | Patios de conchas (ancho de 58”) | Patios de revestimiento (ancho de 58”) |
|---|---|---|
| XS | 1.5 | 1.25 |
| S | 1,75 | 1.25 |
| METRO | 2 | 1.25 |
| yo | 2 | 1.25 |
| SG | 2.25 | 1.5 |
| 2X | 2.25 | 1.5 |
| 3 veces | 2.5 | 1.5 |
| 4 veces | 2.5 | 1,75 |
Para obtener información sobre la conversión de pulgadas a metros, consulte nuestra guía de conversión.
Telas y artículos de mercería
Adecuado únicamente para tejidos elásticos:
- Spandex
- Miliskin
- Licra
- Vinilo elástico
- Tejidos de punto elásticos
- Cremallera invisible de 16" a 20"
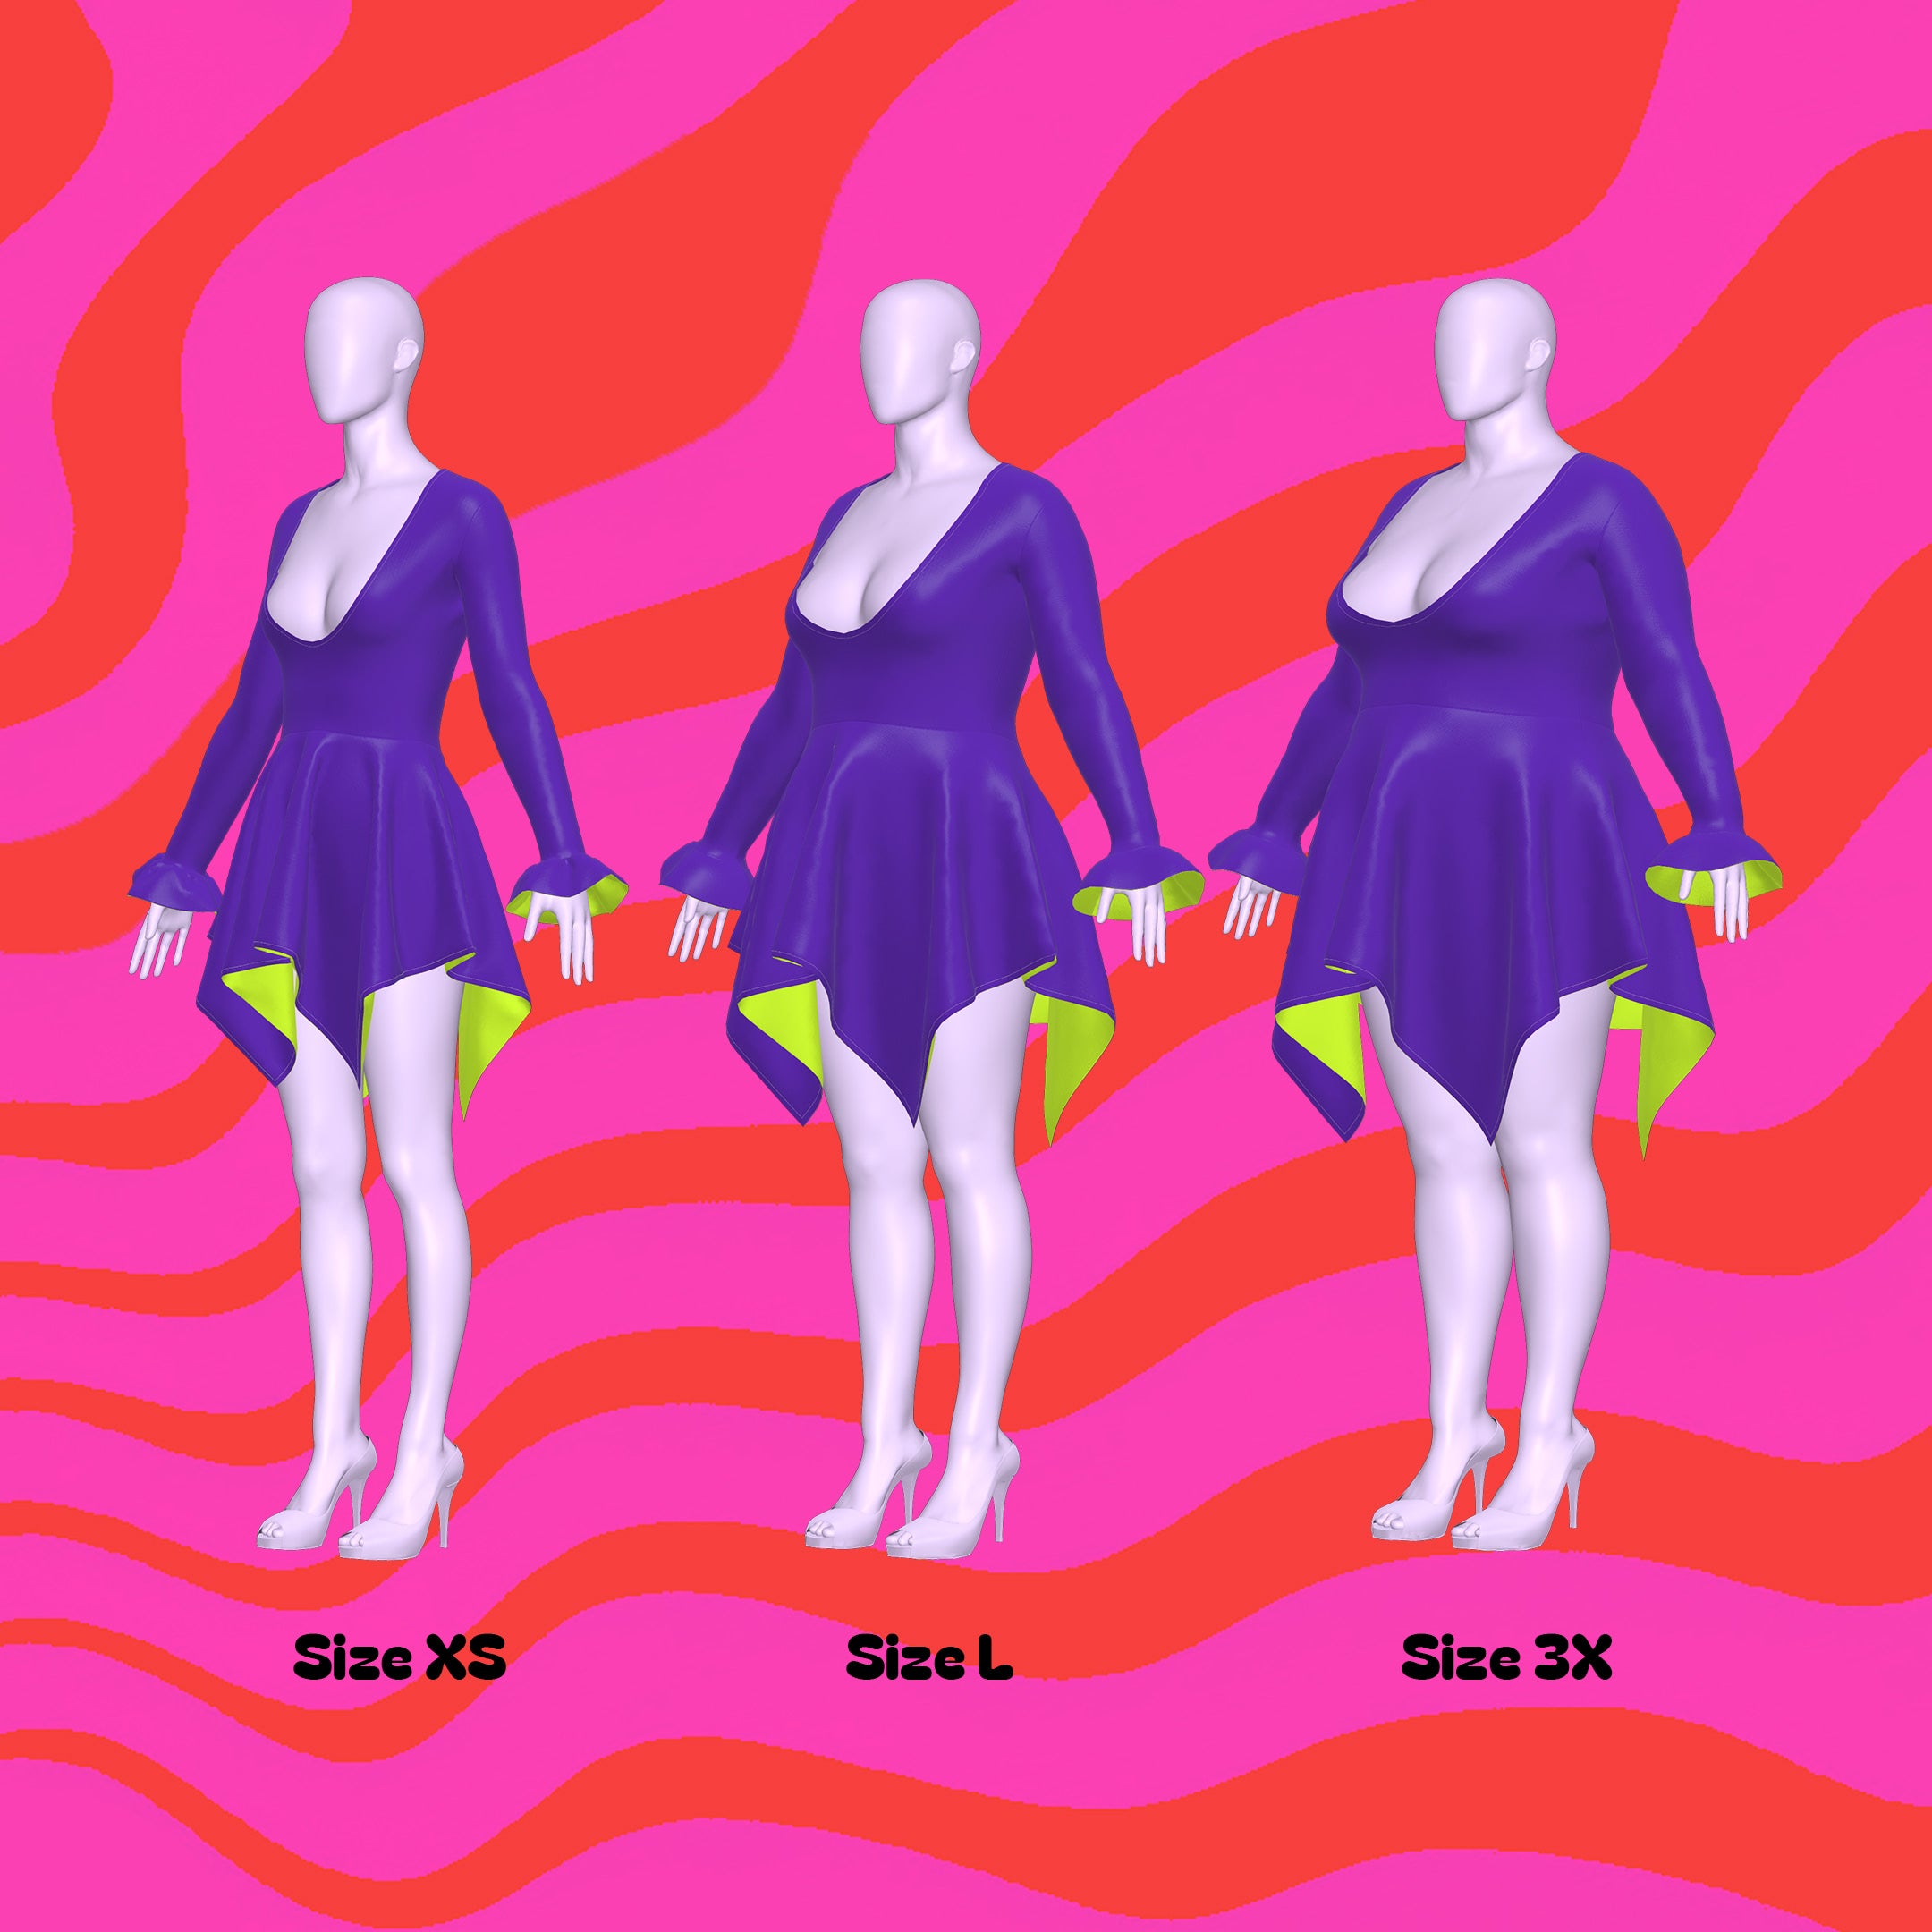
Detalles de tallas
Este patrón está disponible en nuestros exclusivos talles Drag Queen (XS-4X). Consulta nuestra guía de talles para obtener más información sobre nuestras medidas de talle.
Instrucciones de costura

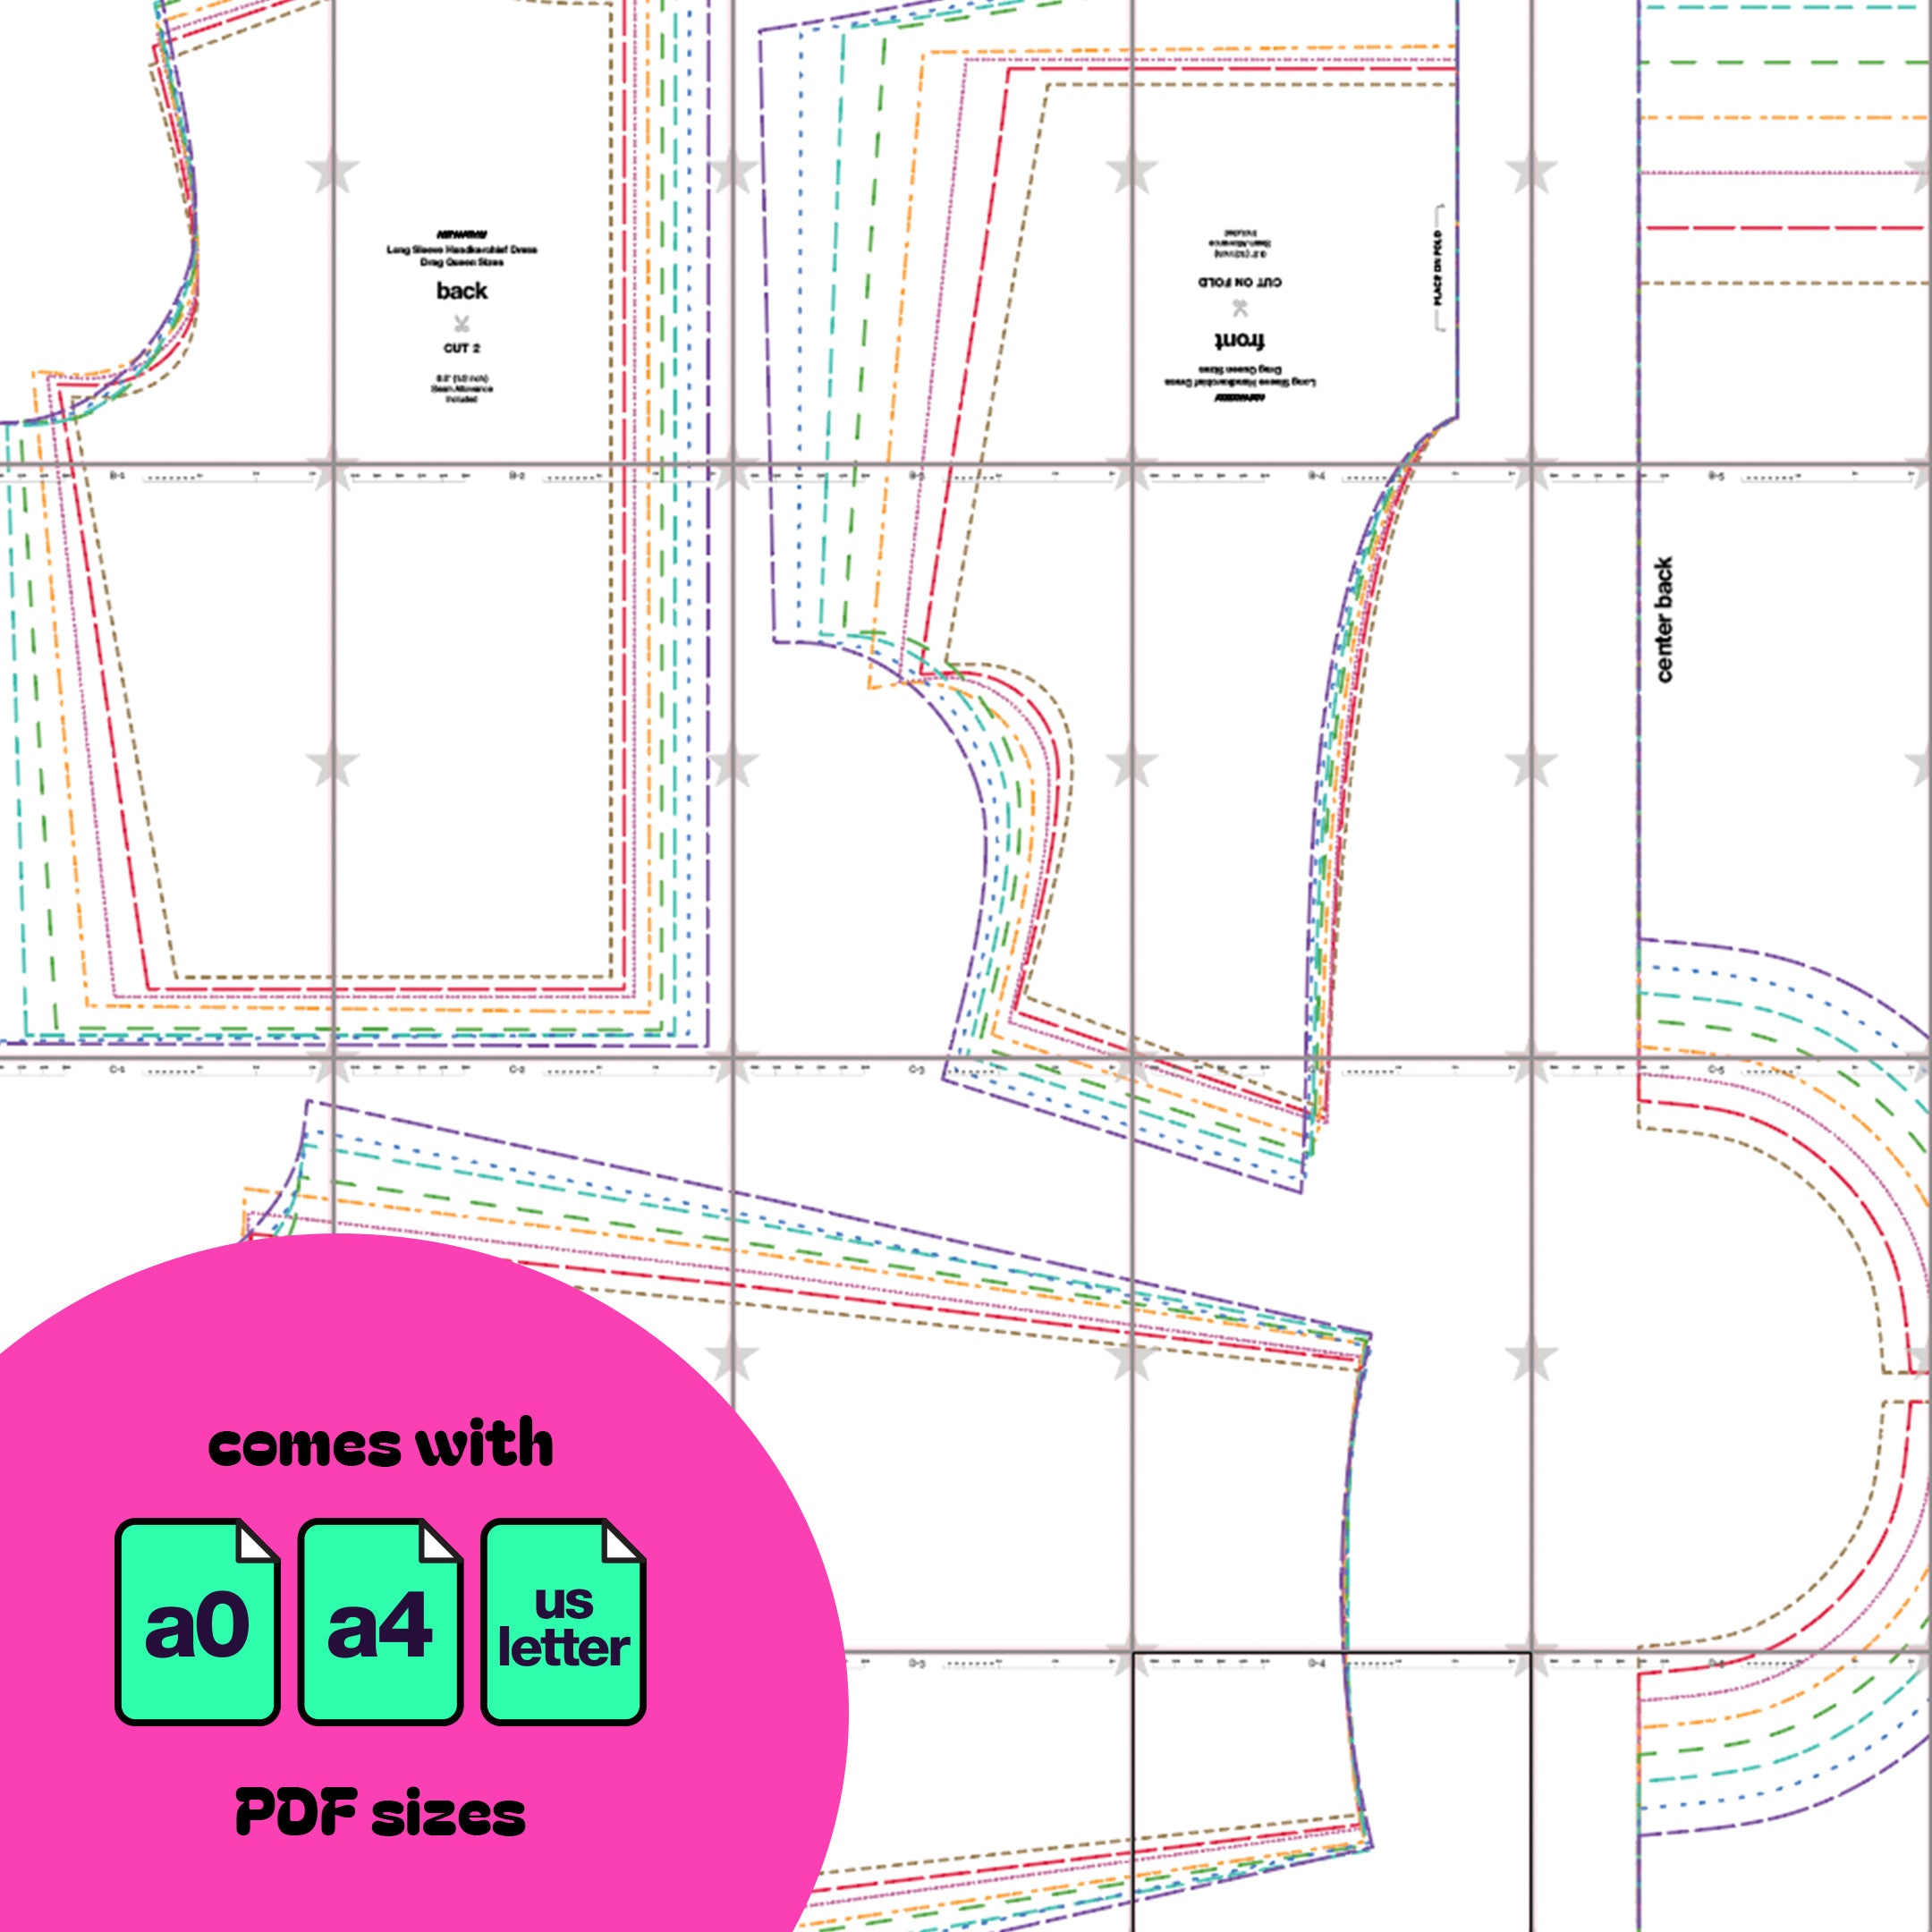
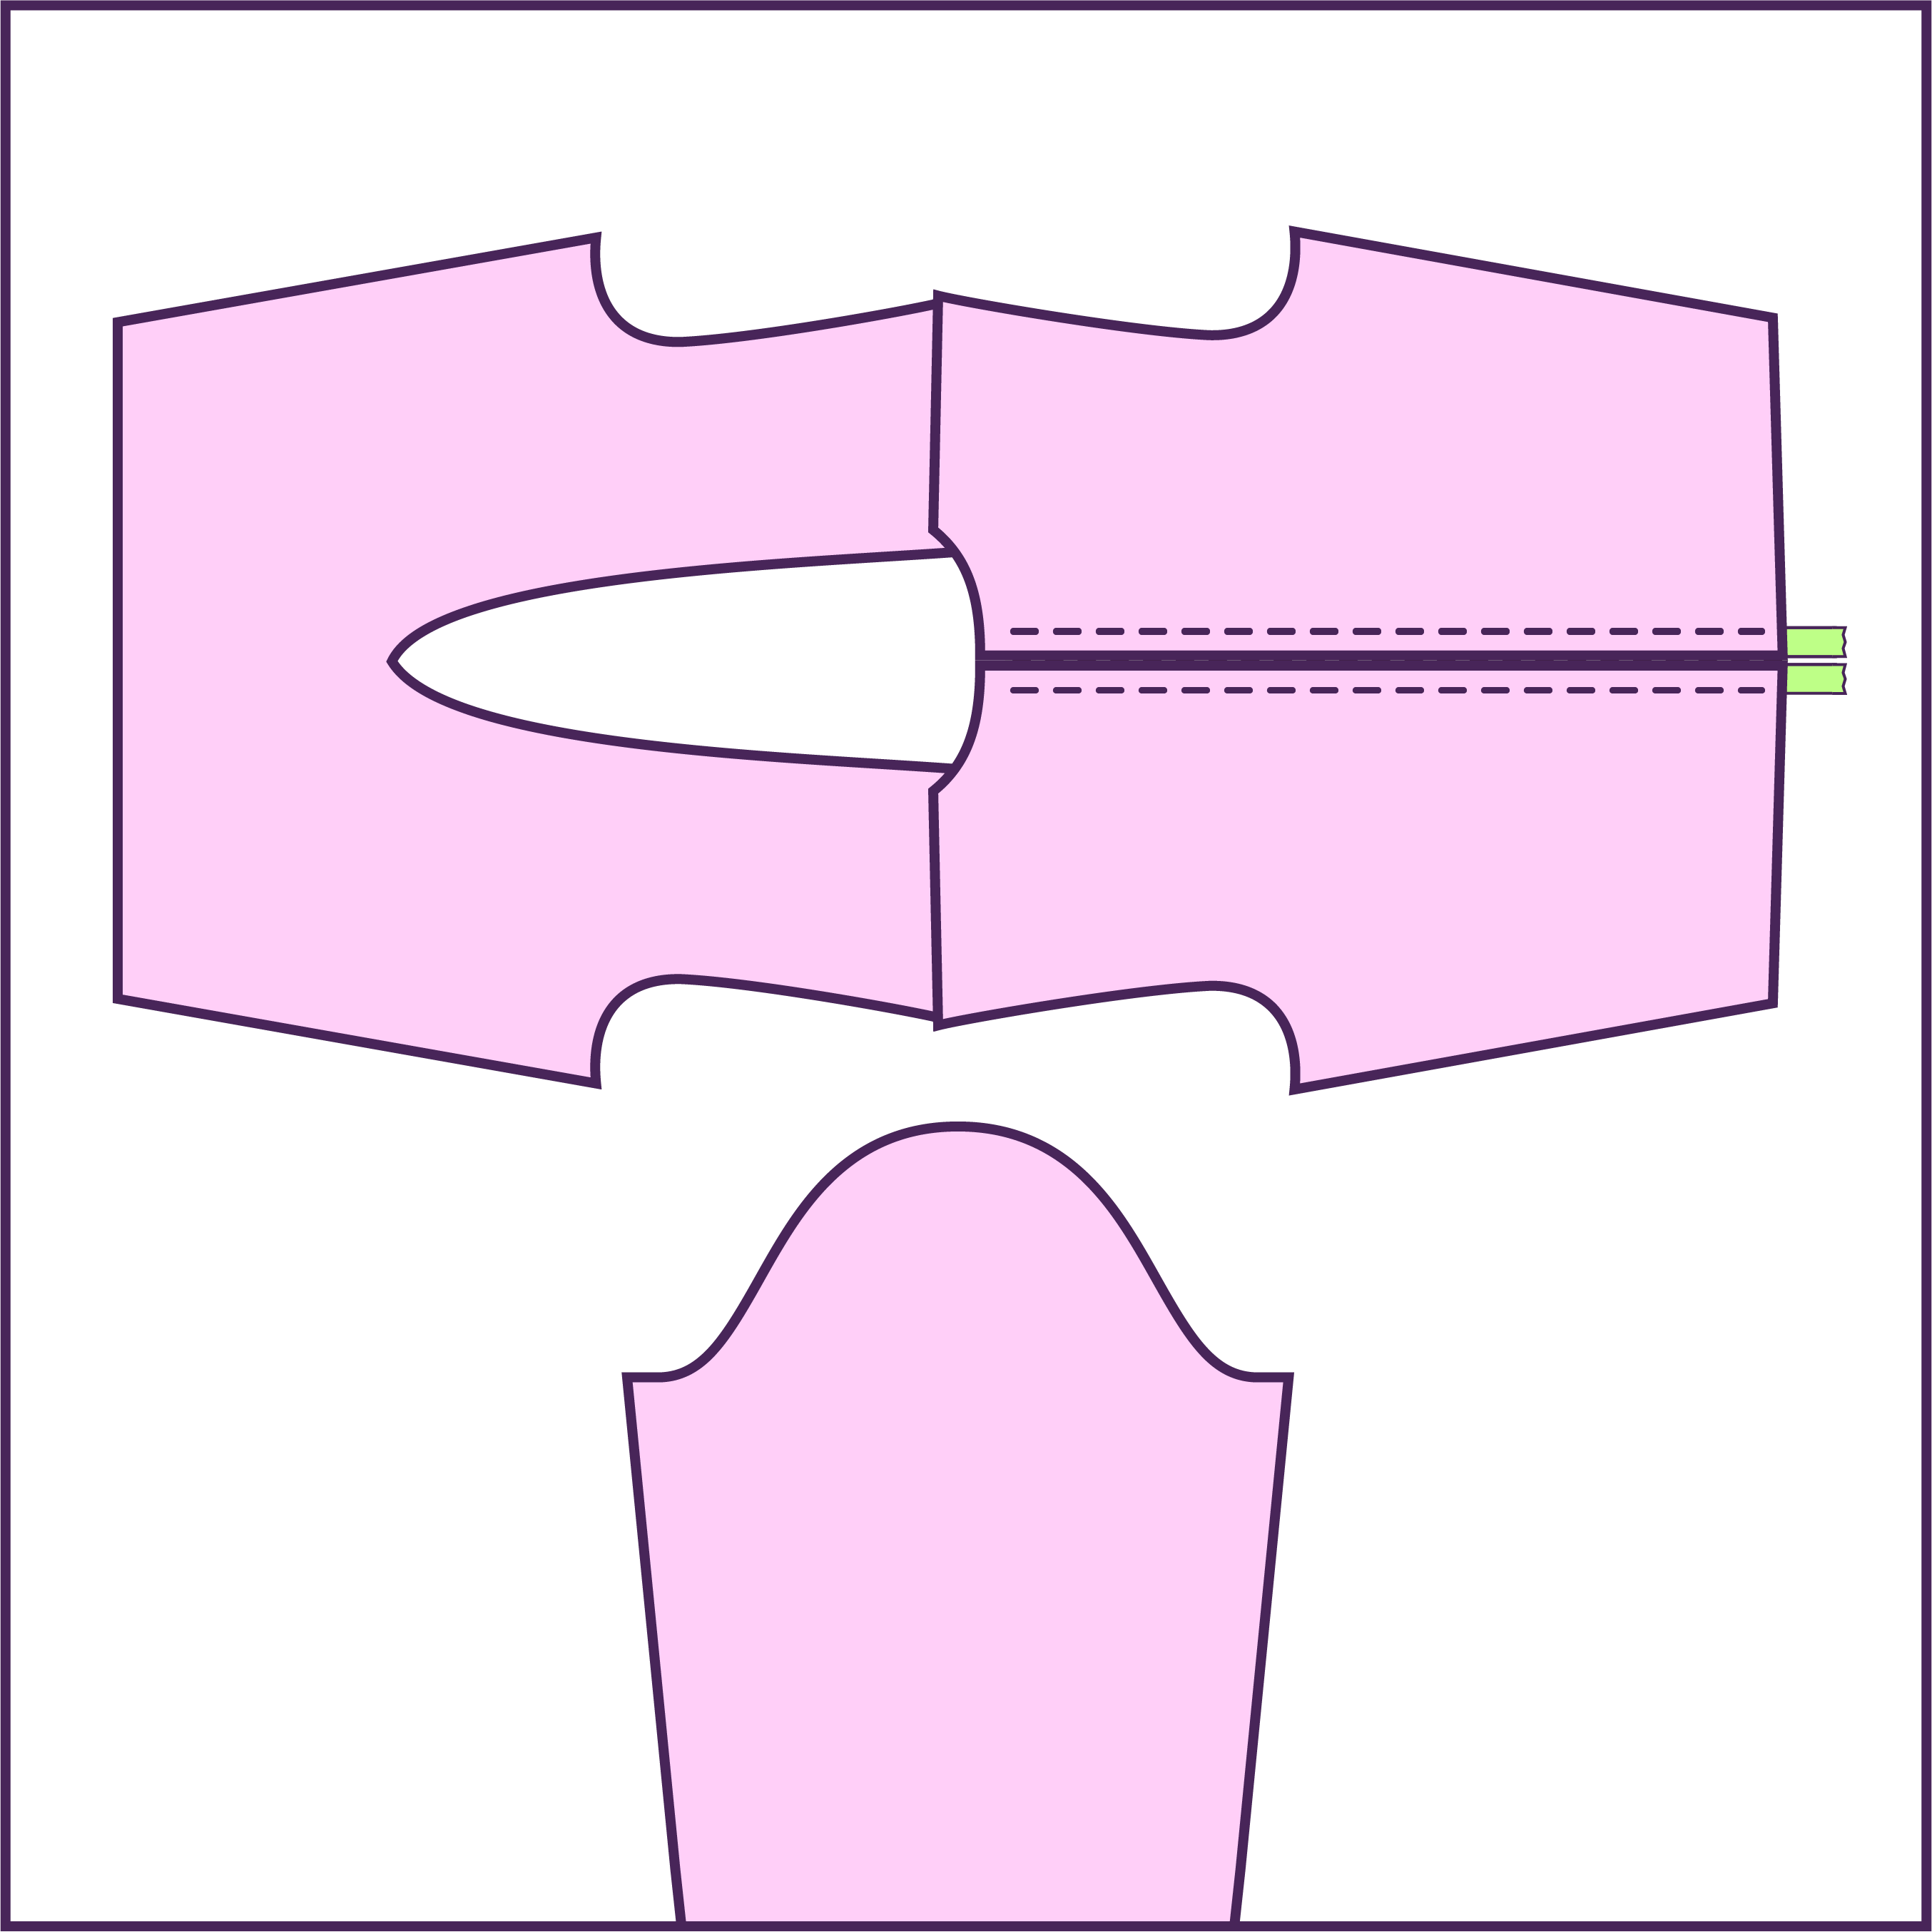
Fabric Pieces
After cutting your fabric, you should have the following pieces: one seamless front, two sleeves, and two back pieces.

Stitches
For this project, the recommended stitches are a serger overlock stitch, a stretch stitch, or a zigzag stitch for the top of the garment. You can use straight stitches for the skirt peices and zipper.
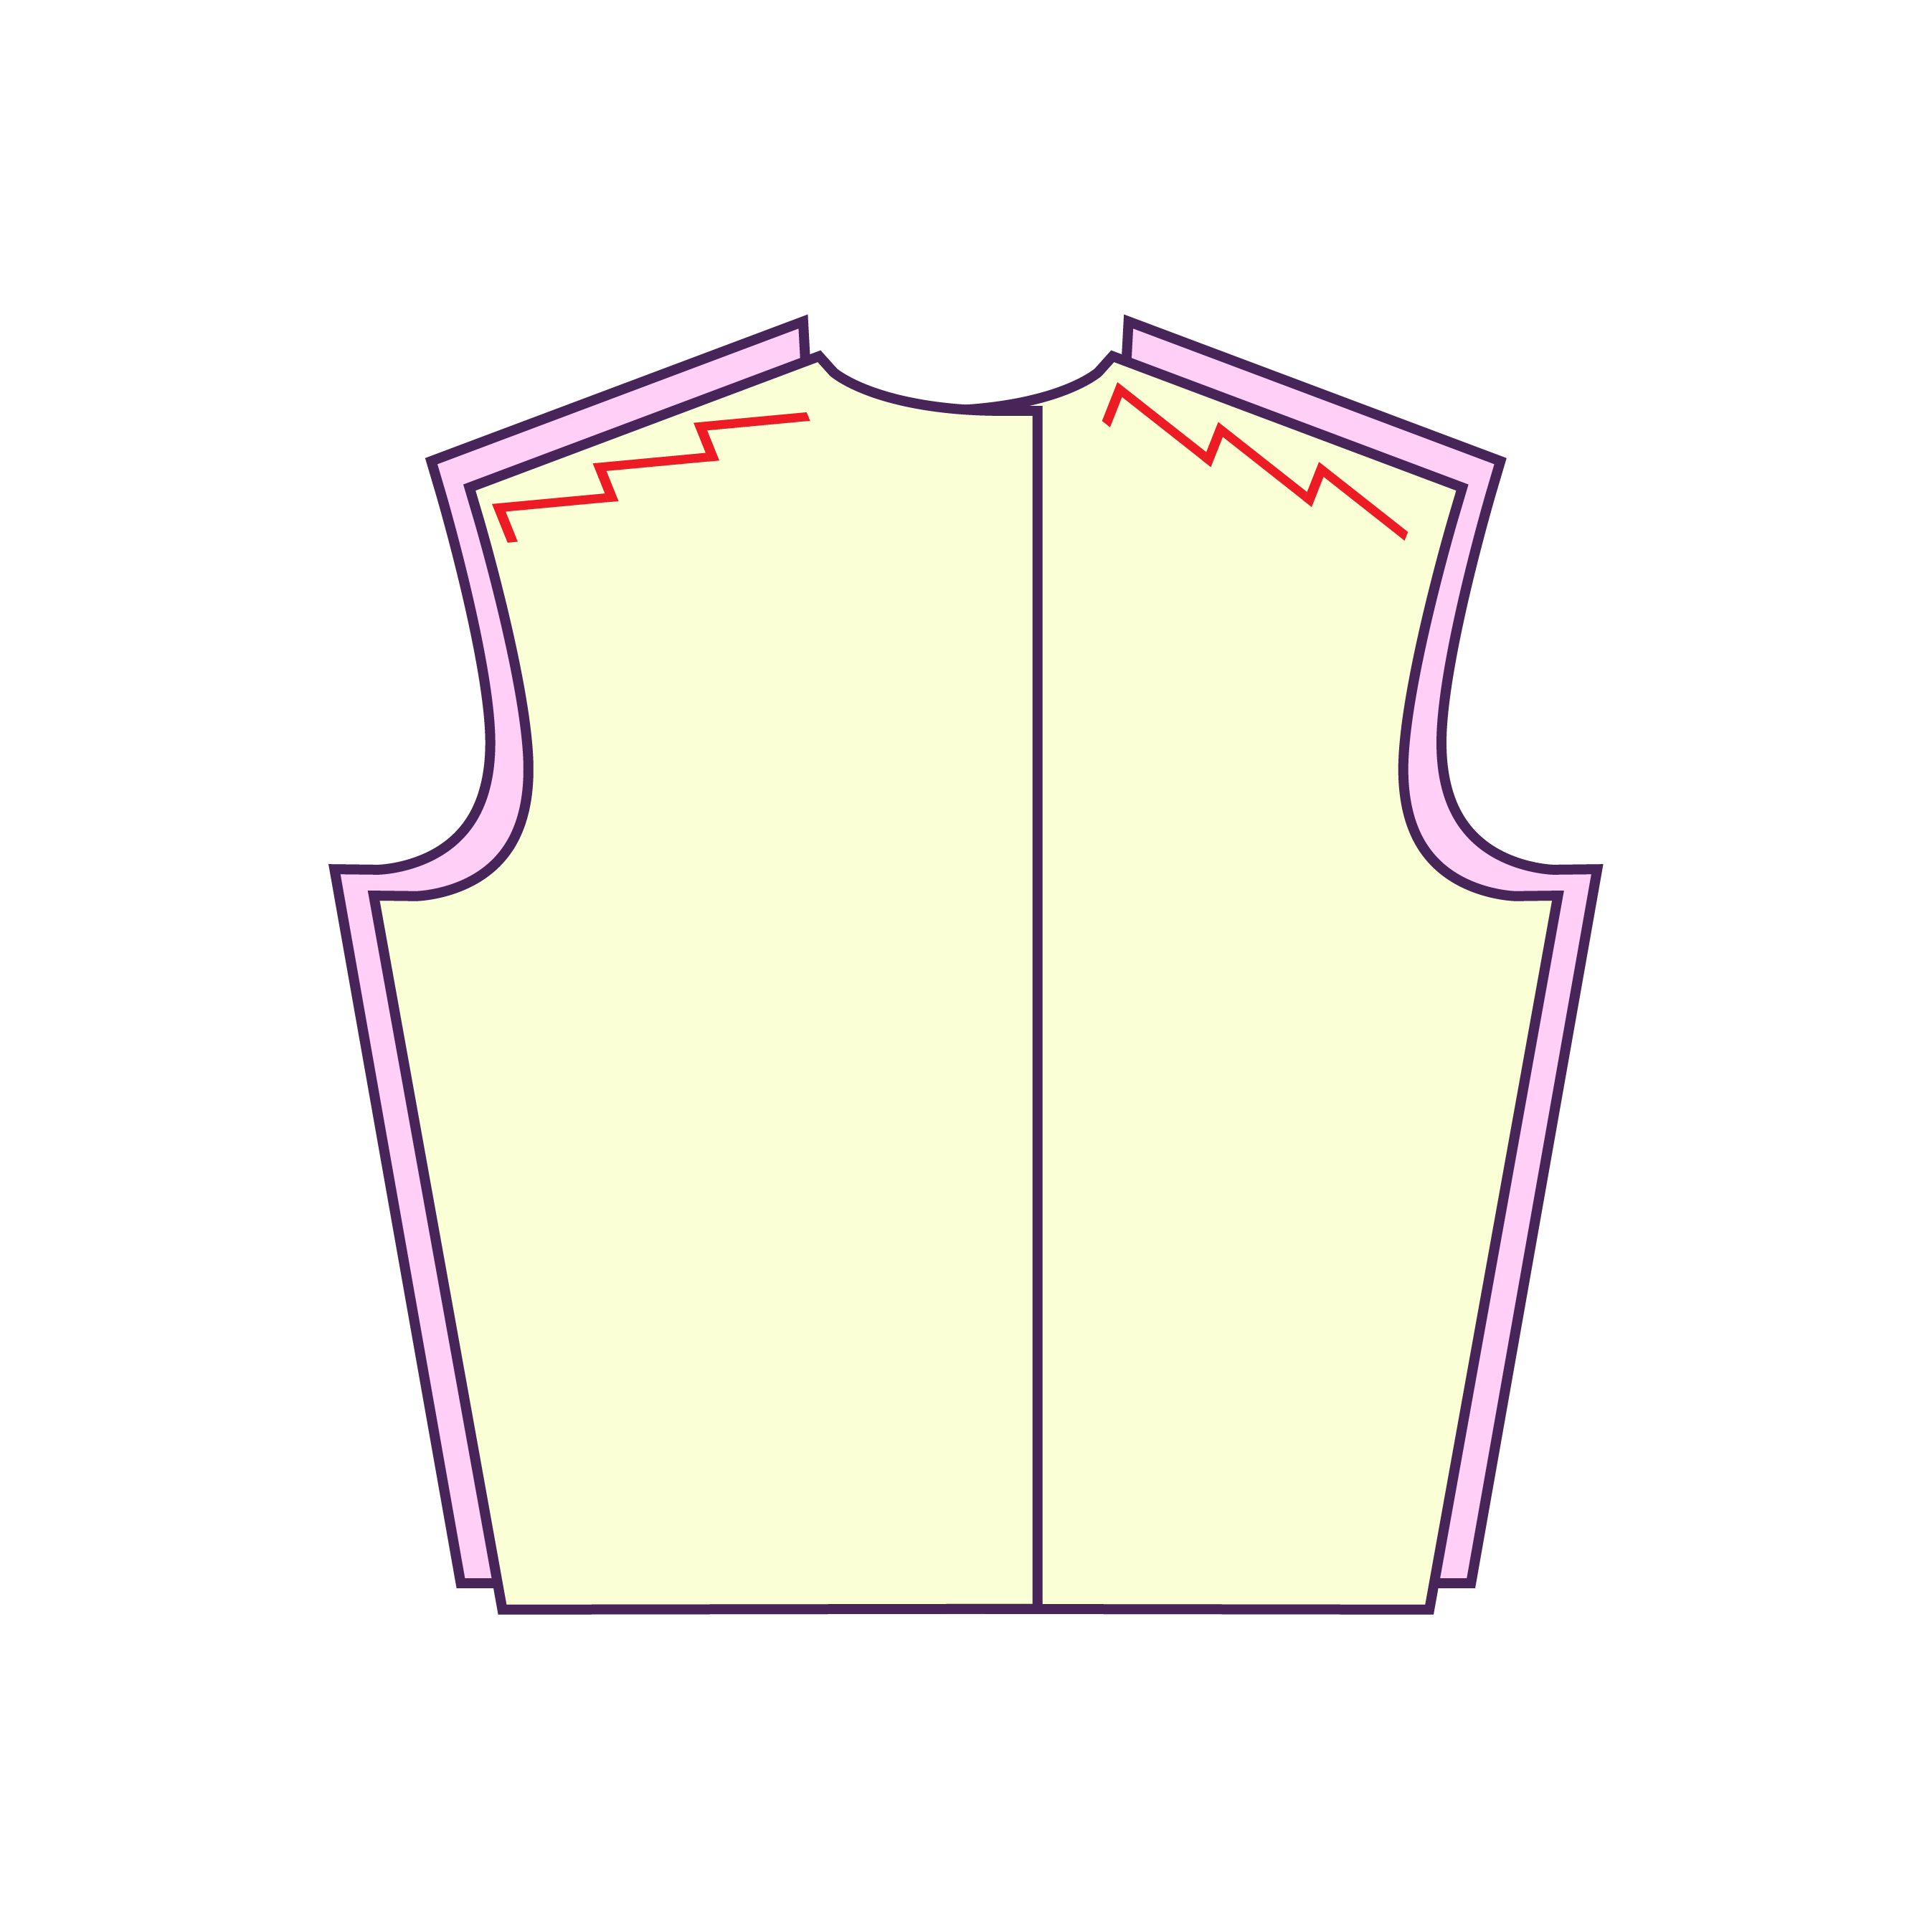
STEP 1
Stack the front and back pieces, right sides facing each other, and sew them together along the shoulder seams.
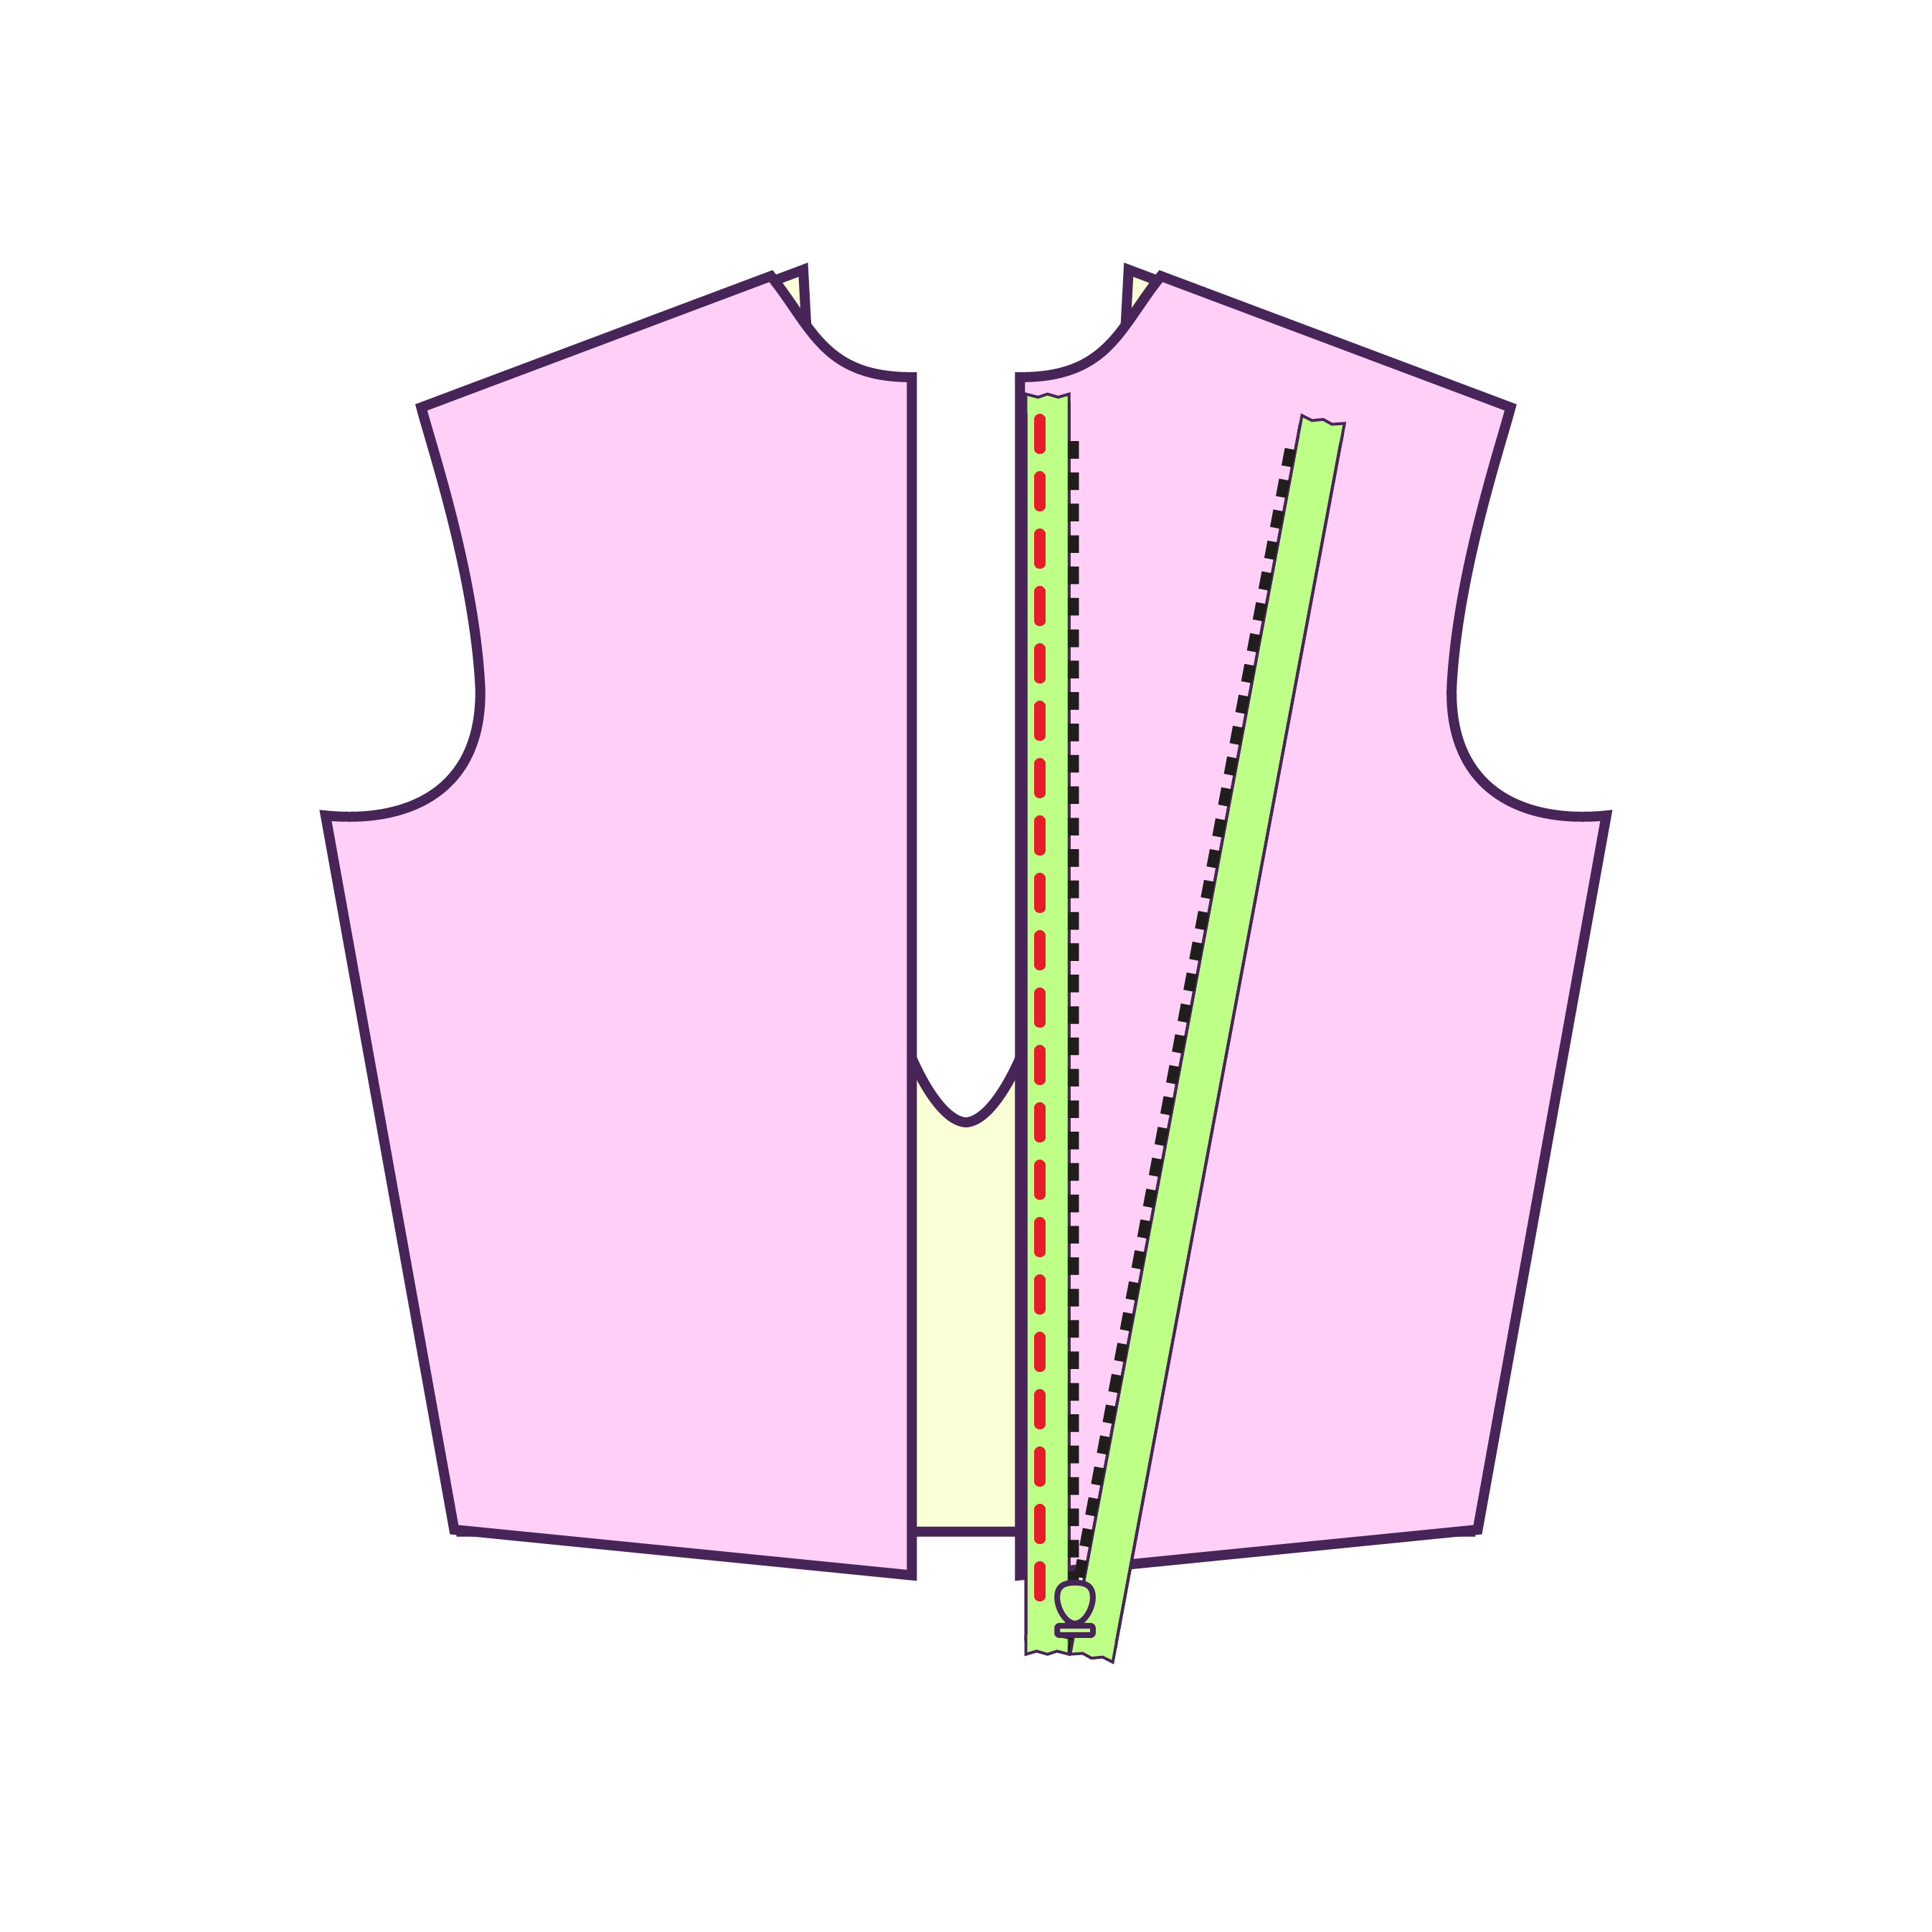
STEP 2
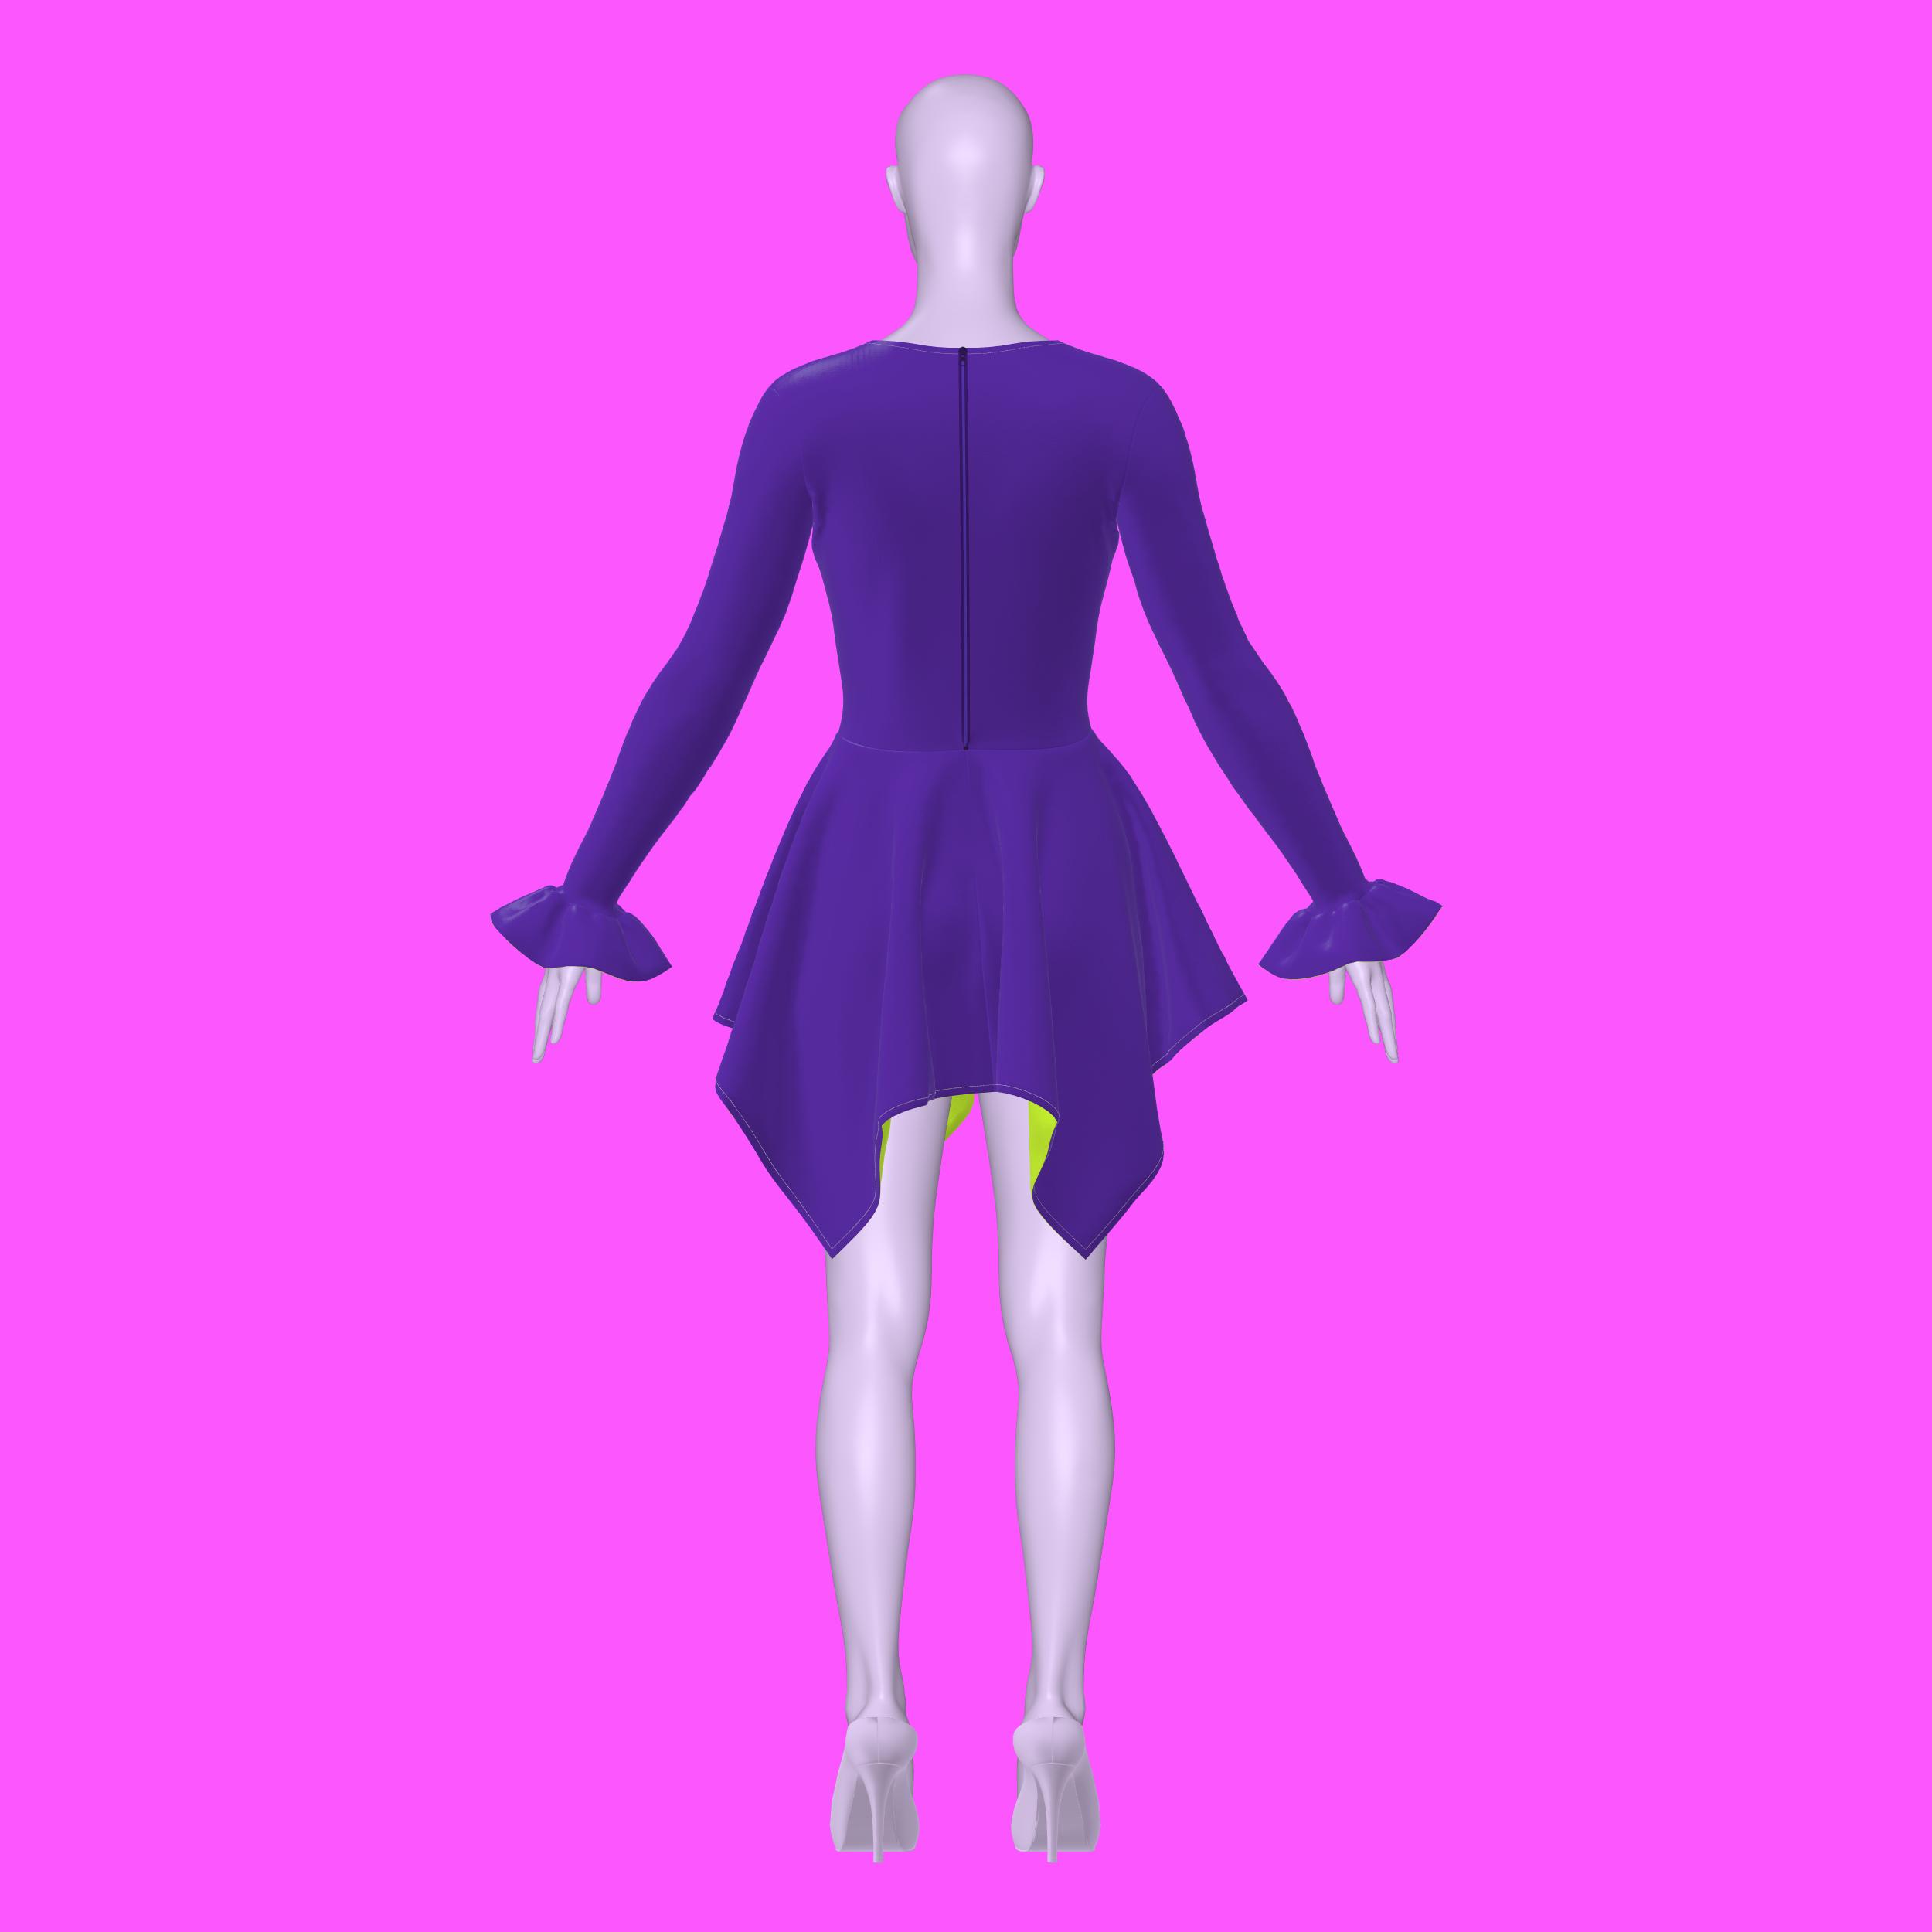
Sew a 16-20 inch invisible zipper along the center back opening leaving space at the top for hemming. Ensure the right side of the zipper faces the right side of the fabric. Use a straight stitch with a zipper foot for sewing. For a flat zipper finish, you may use a tear-away stabilizer between the zipper and the fabric.
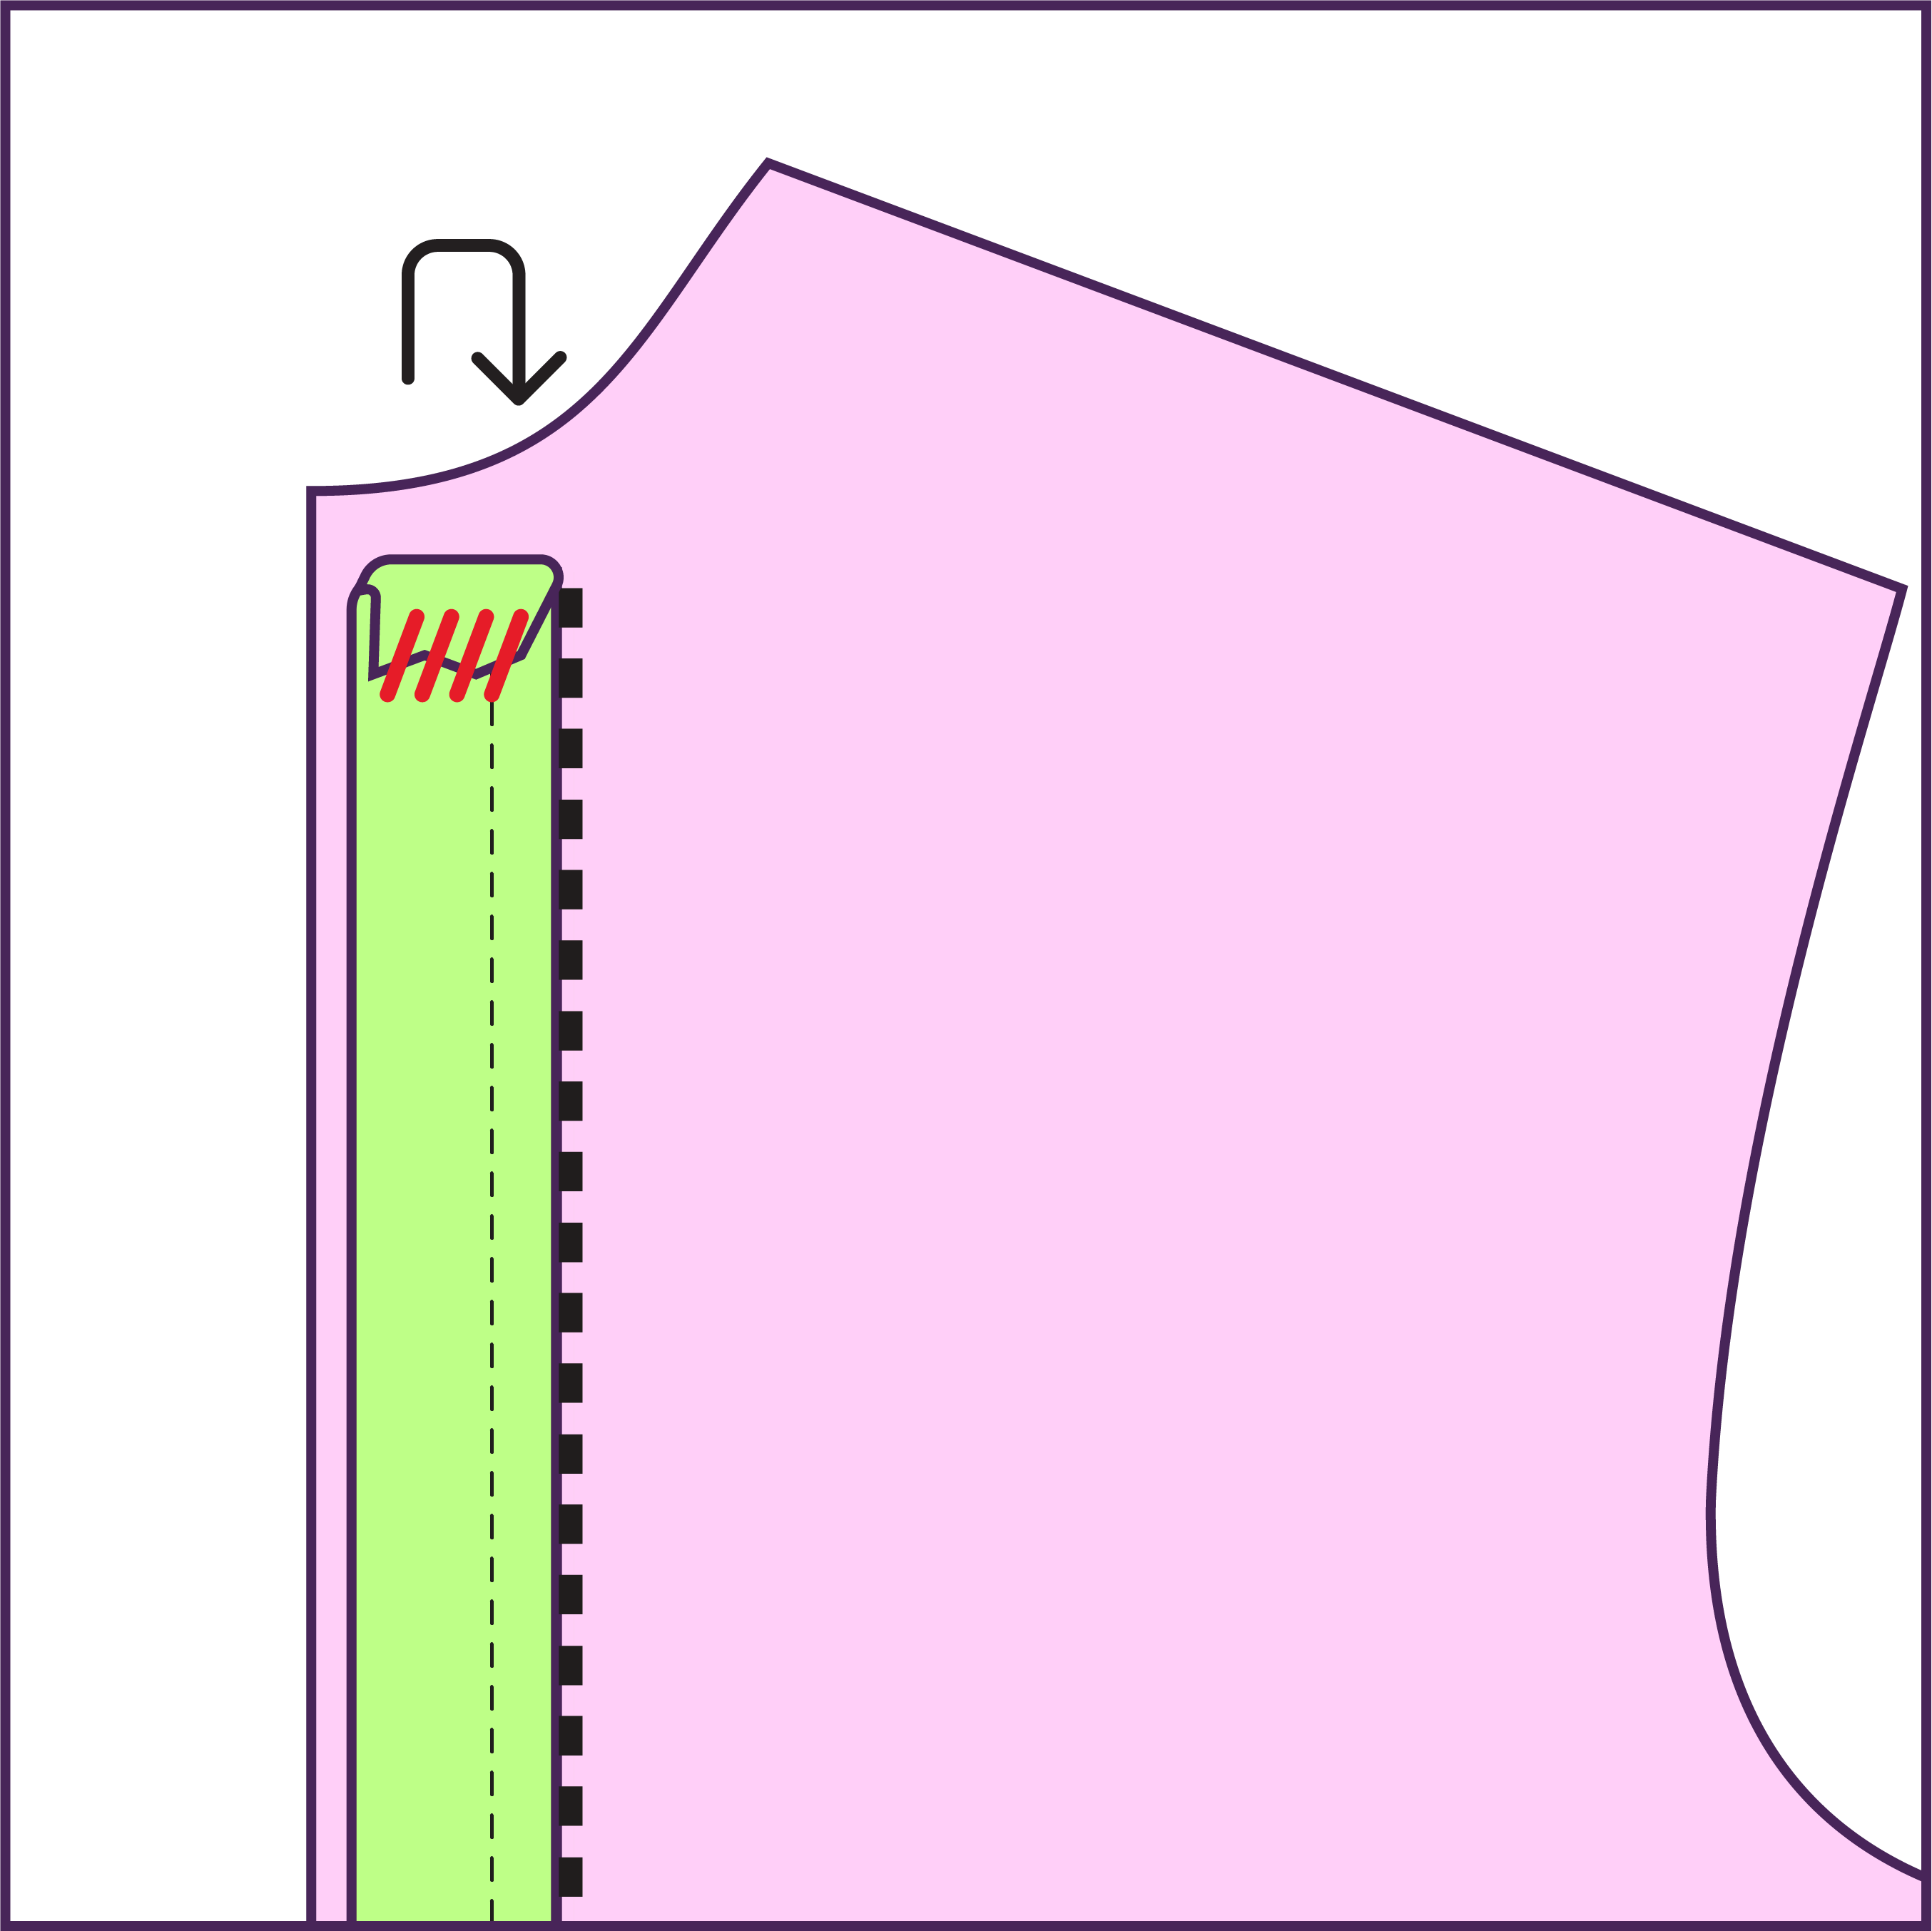
STEP 3
After attaching the zipper, fold the excess fabric at the top of the zipper vertically and hand-stitch it down to secure this fold before proceeding.
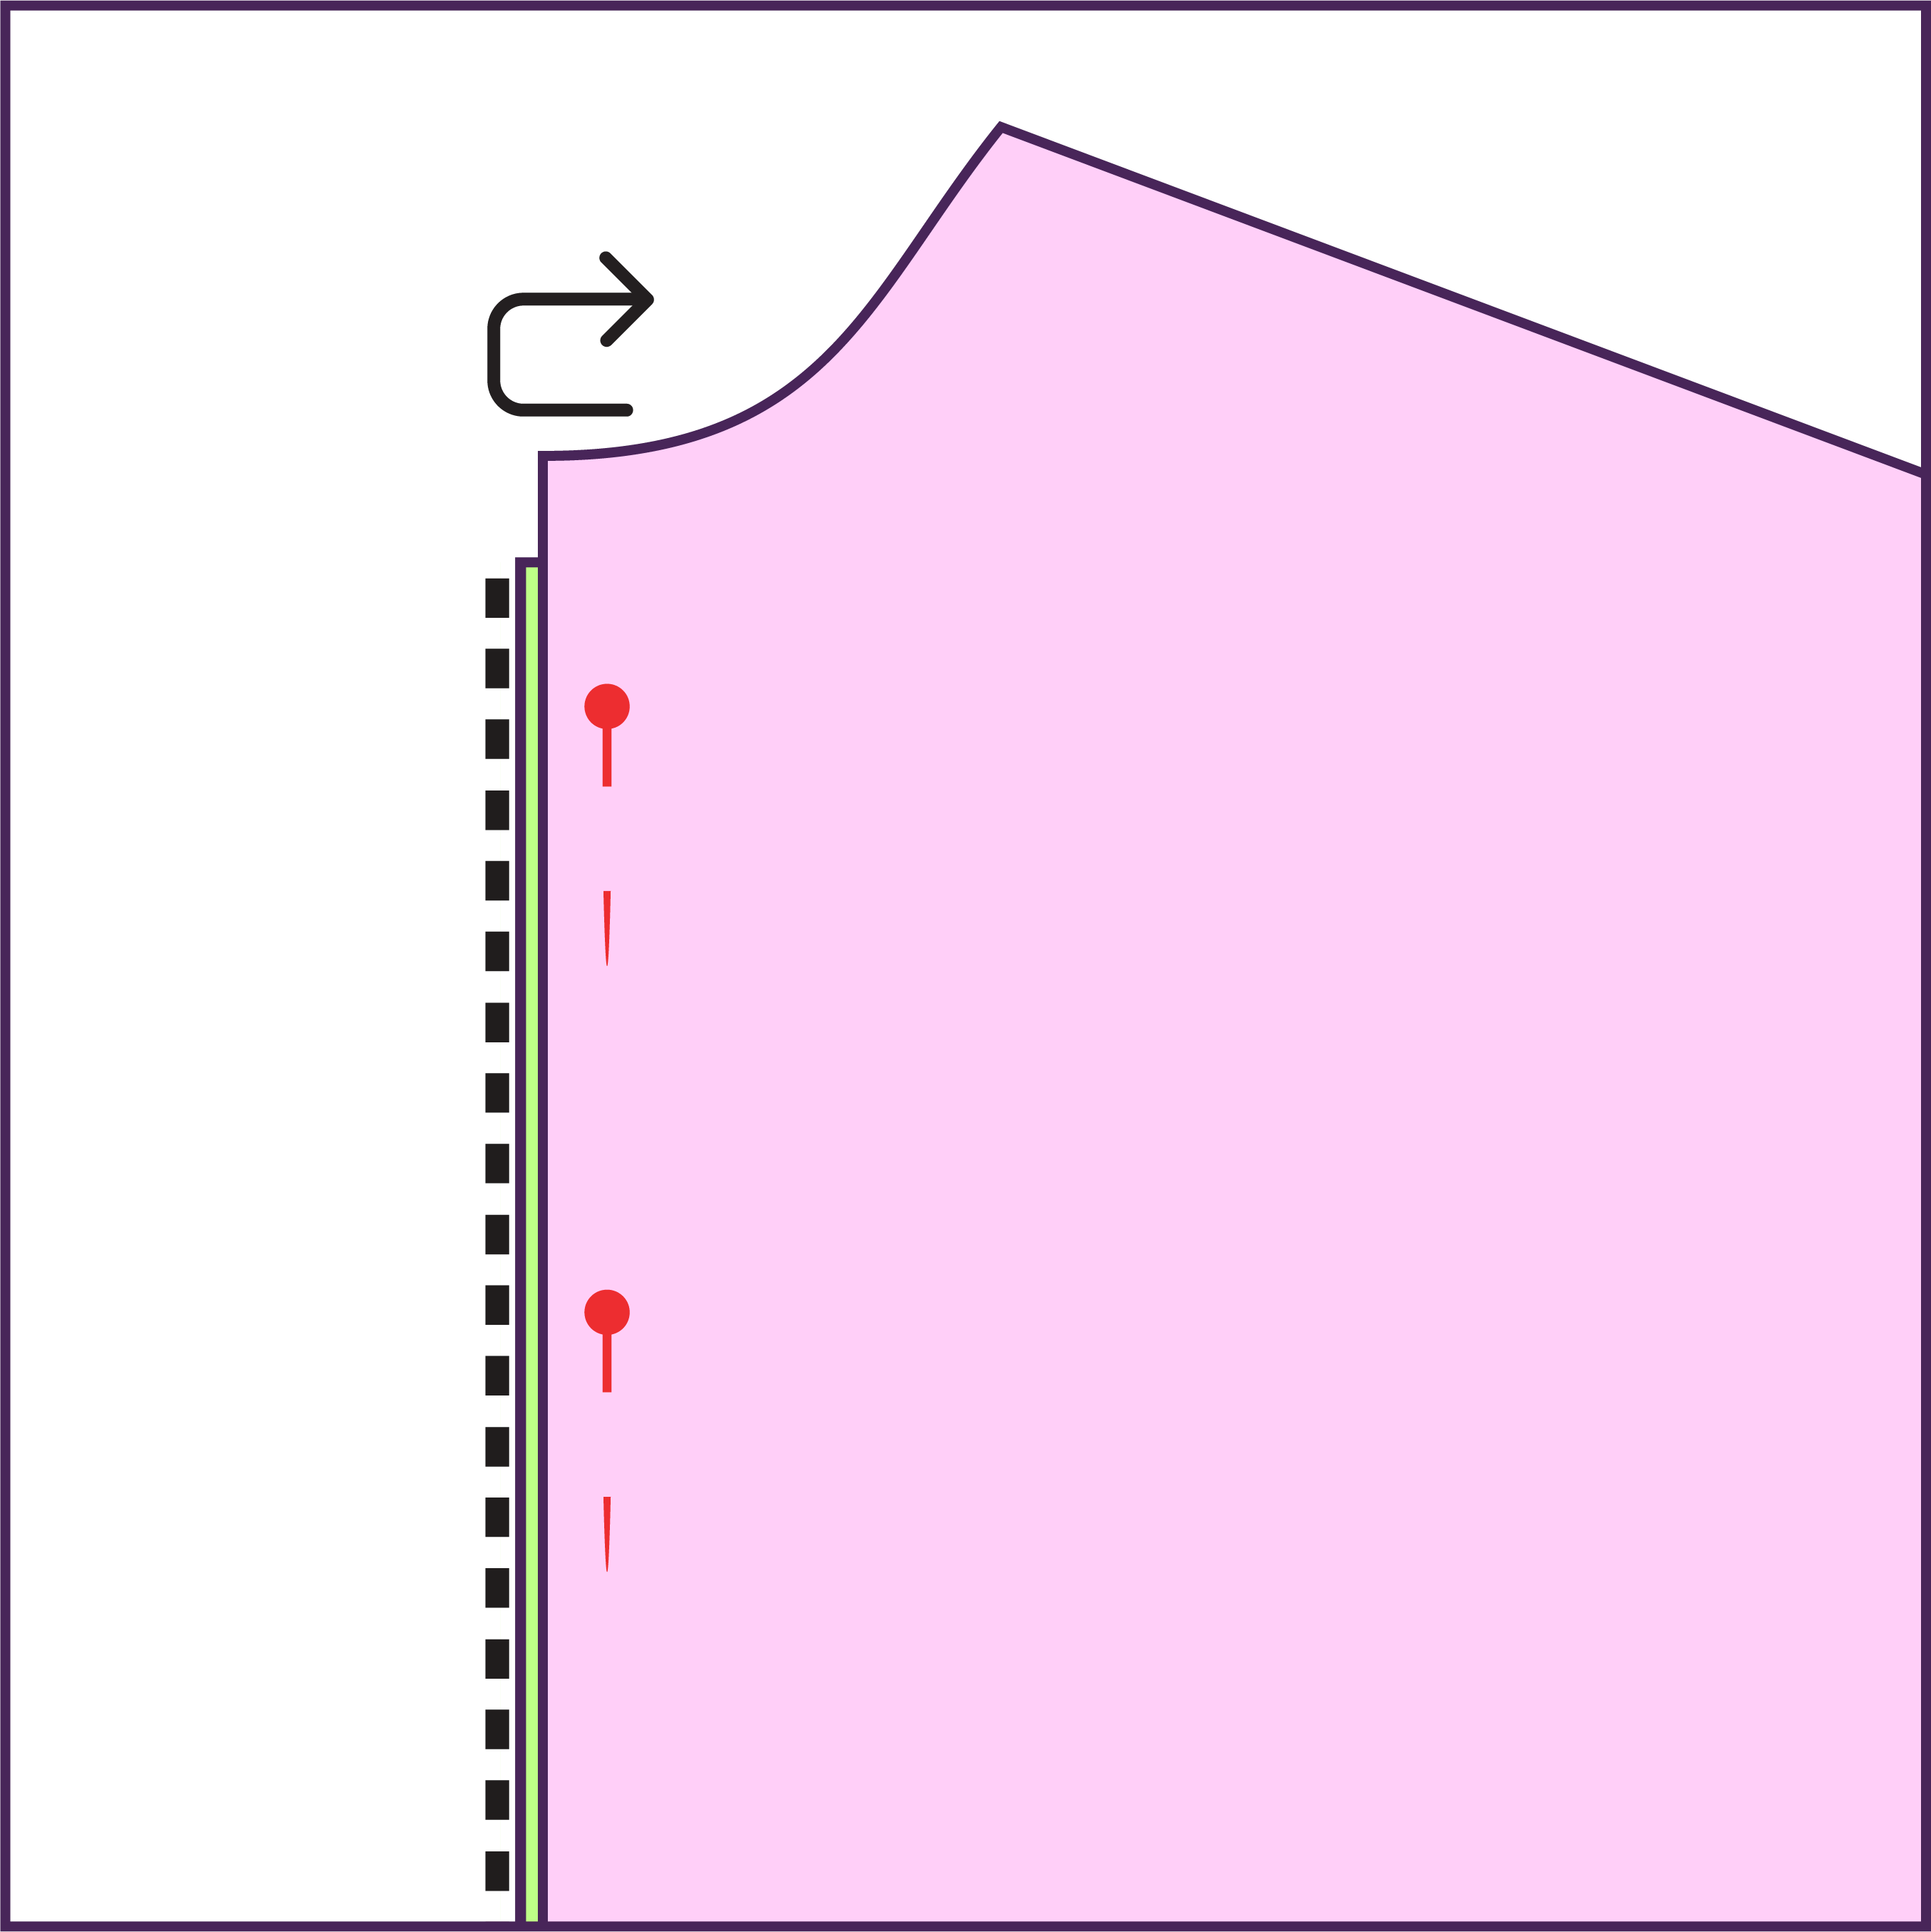
STEP 4
Next, fold over the zipper tape horizontally and pin it in place, ready for topstitching. Repeat the same steps on the opposite side.
STEP 5
Topstitch around the zipper sides to reinforce and neatly finish the edges.
STEP 6
Spread out the front and back pieces right side up and gather your sleeves.
STEP 7
Align and pin the sleeves around the armholes, right side of the sleeve facing the right side of the front and back, using notches as a guide. Each sleeve curve is symmetrical, so there's no designated front or back. Serge or sew the sleeves in place and repeat for the other side.

STEP 8
Turn the garment wrong side out and sew the inner sleeve seams closed, continuing down the sides of the top.
STEP 9
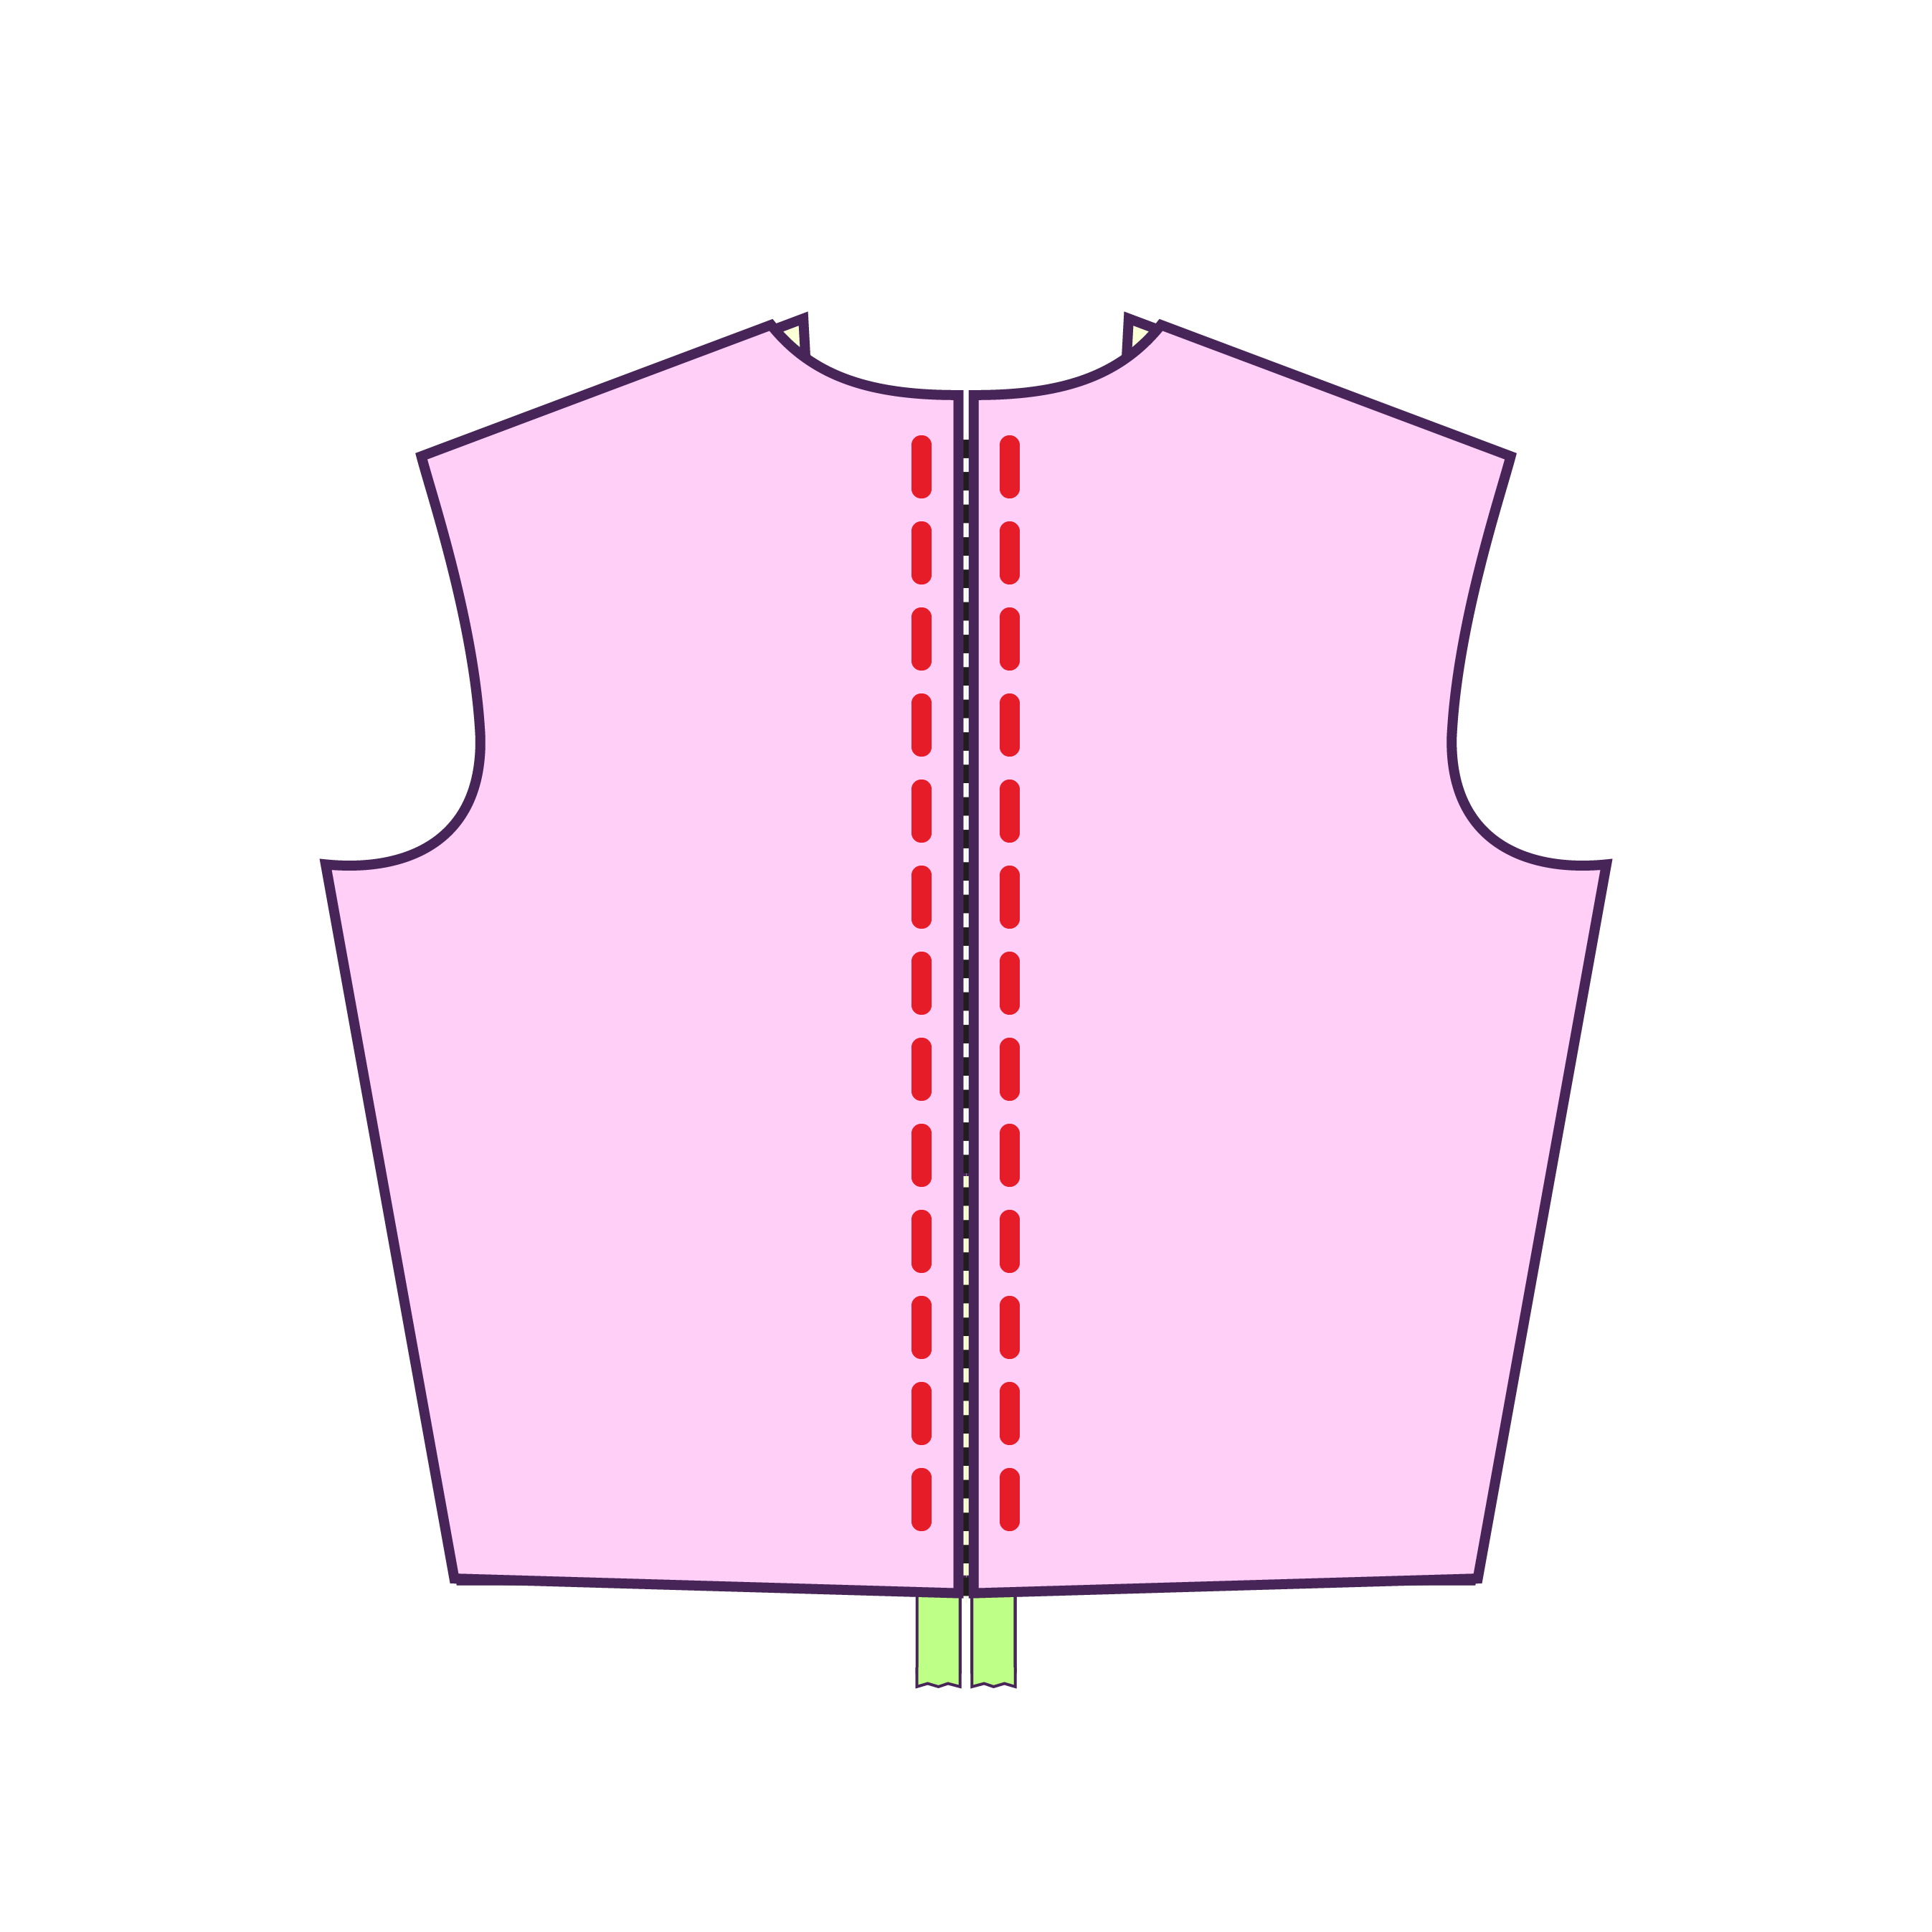
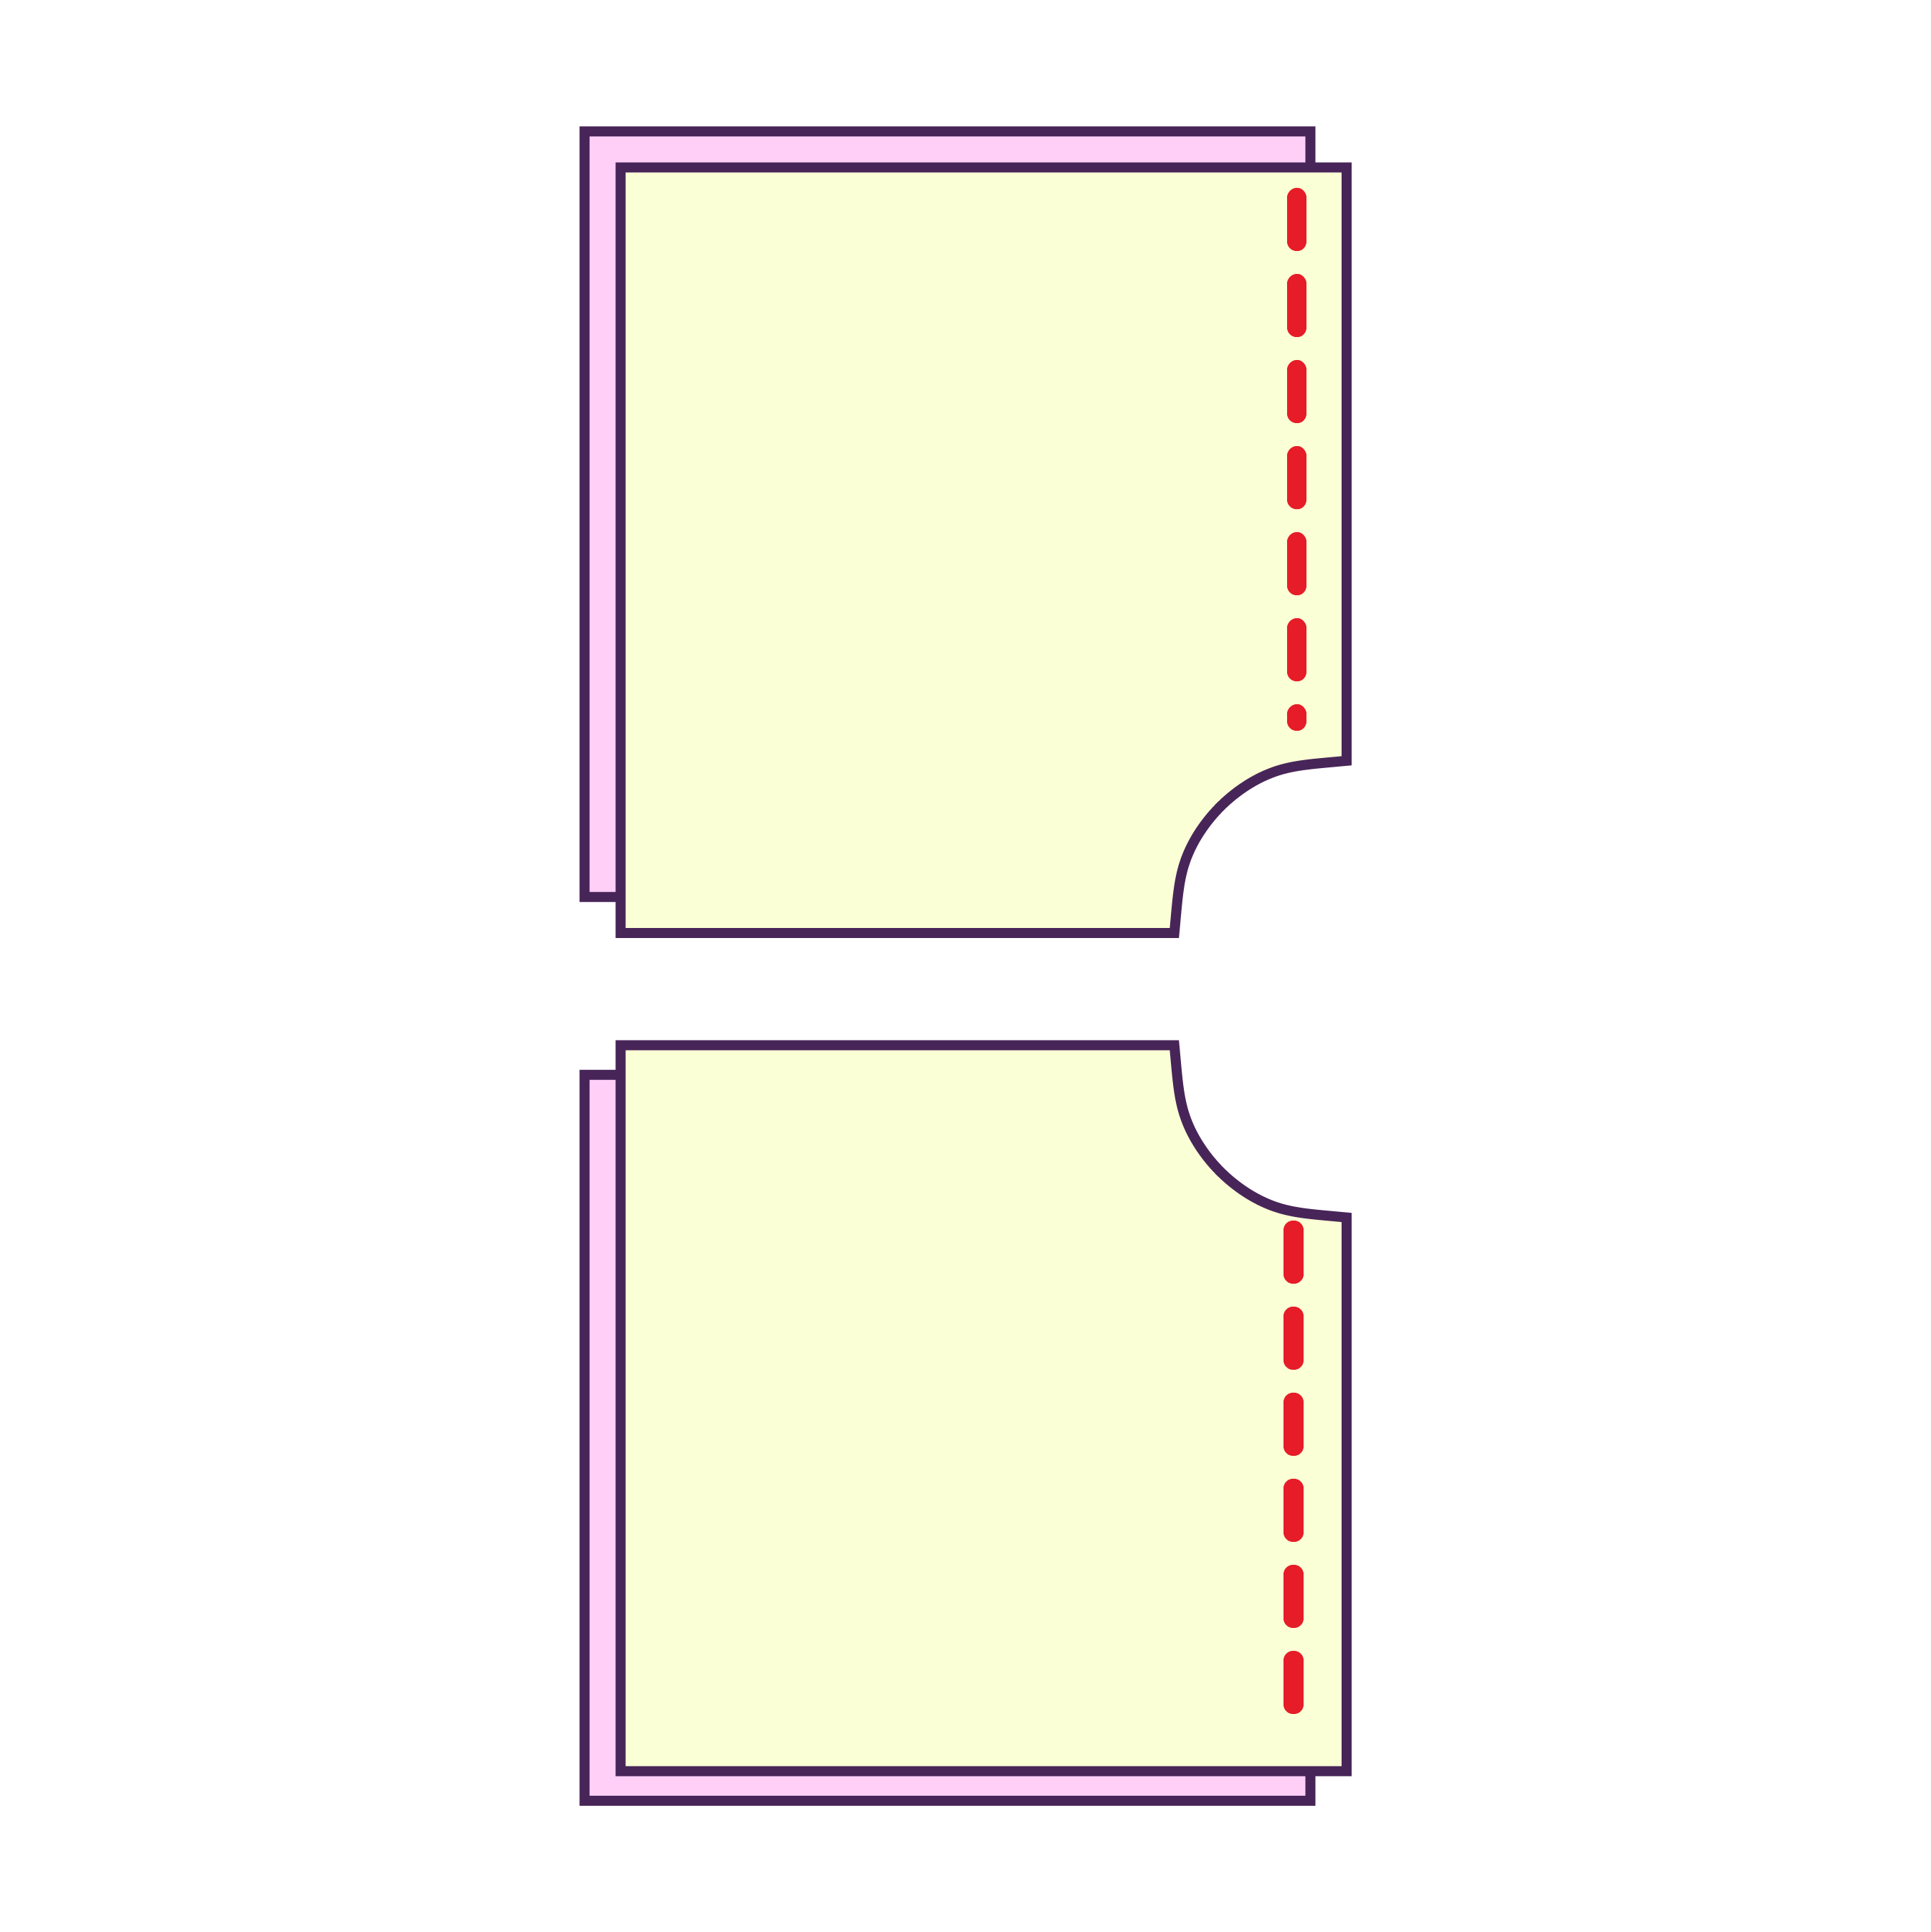
Gather your front dress and back dress shell pieces. The front dress pieces are slightly shorter than the back pieces.
Stack the two front pieces, right sides facing each other, and sew them together along the center front seam. You can use a straight stitch here. Repeat with the back dress pieces.

STEP 10
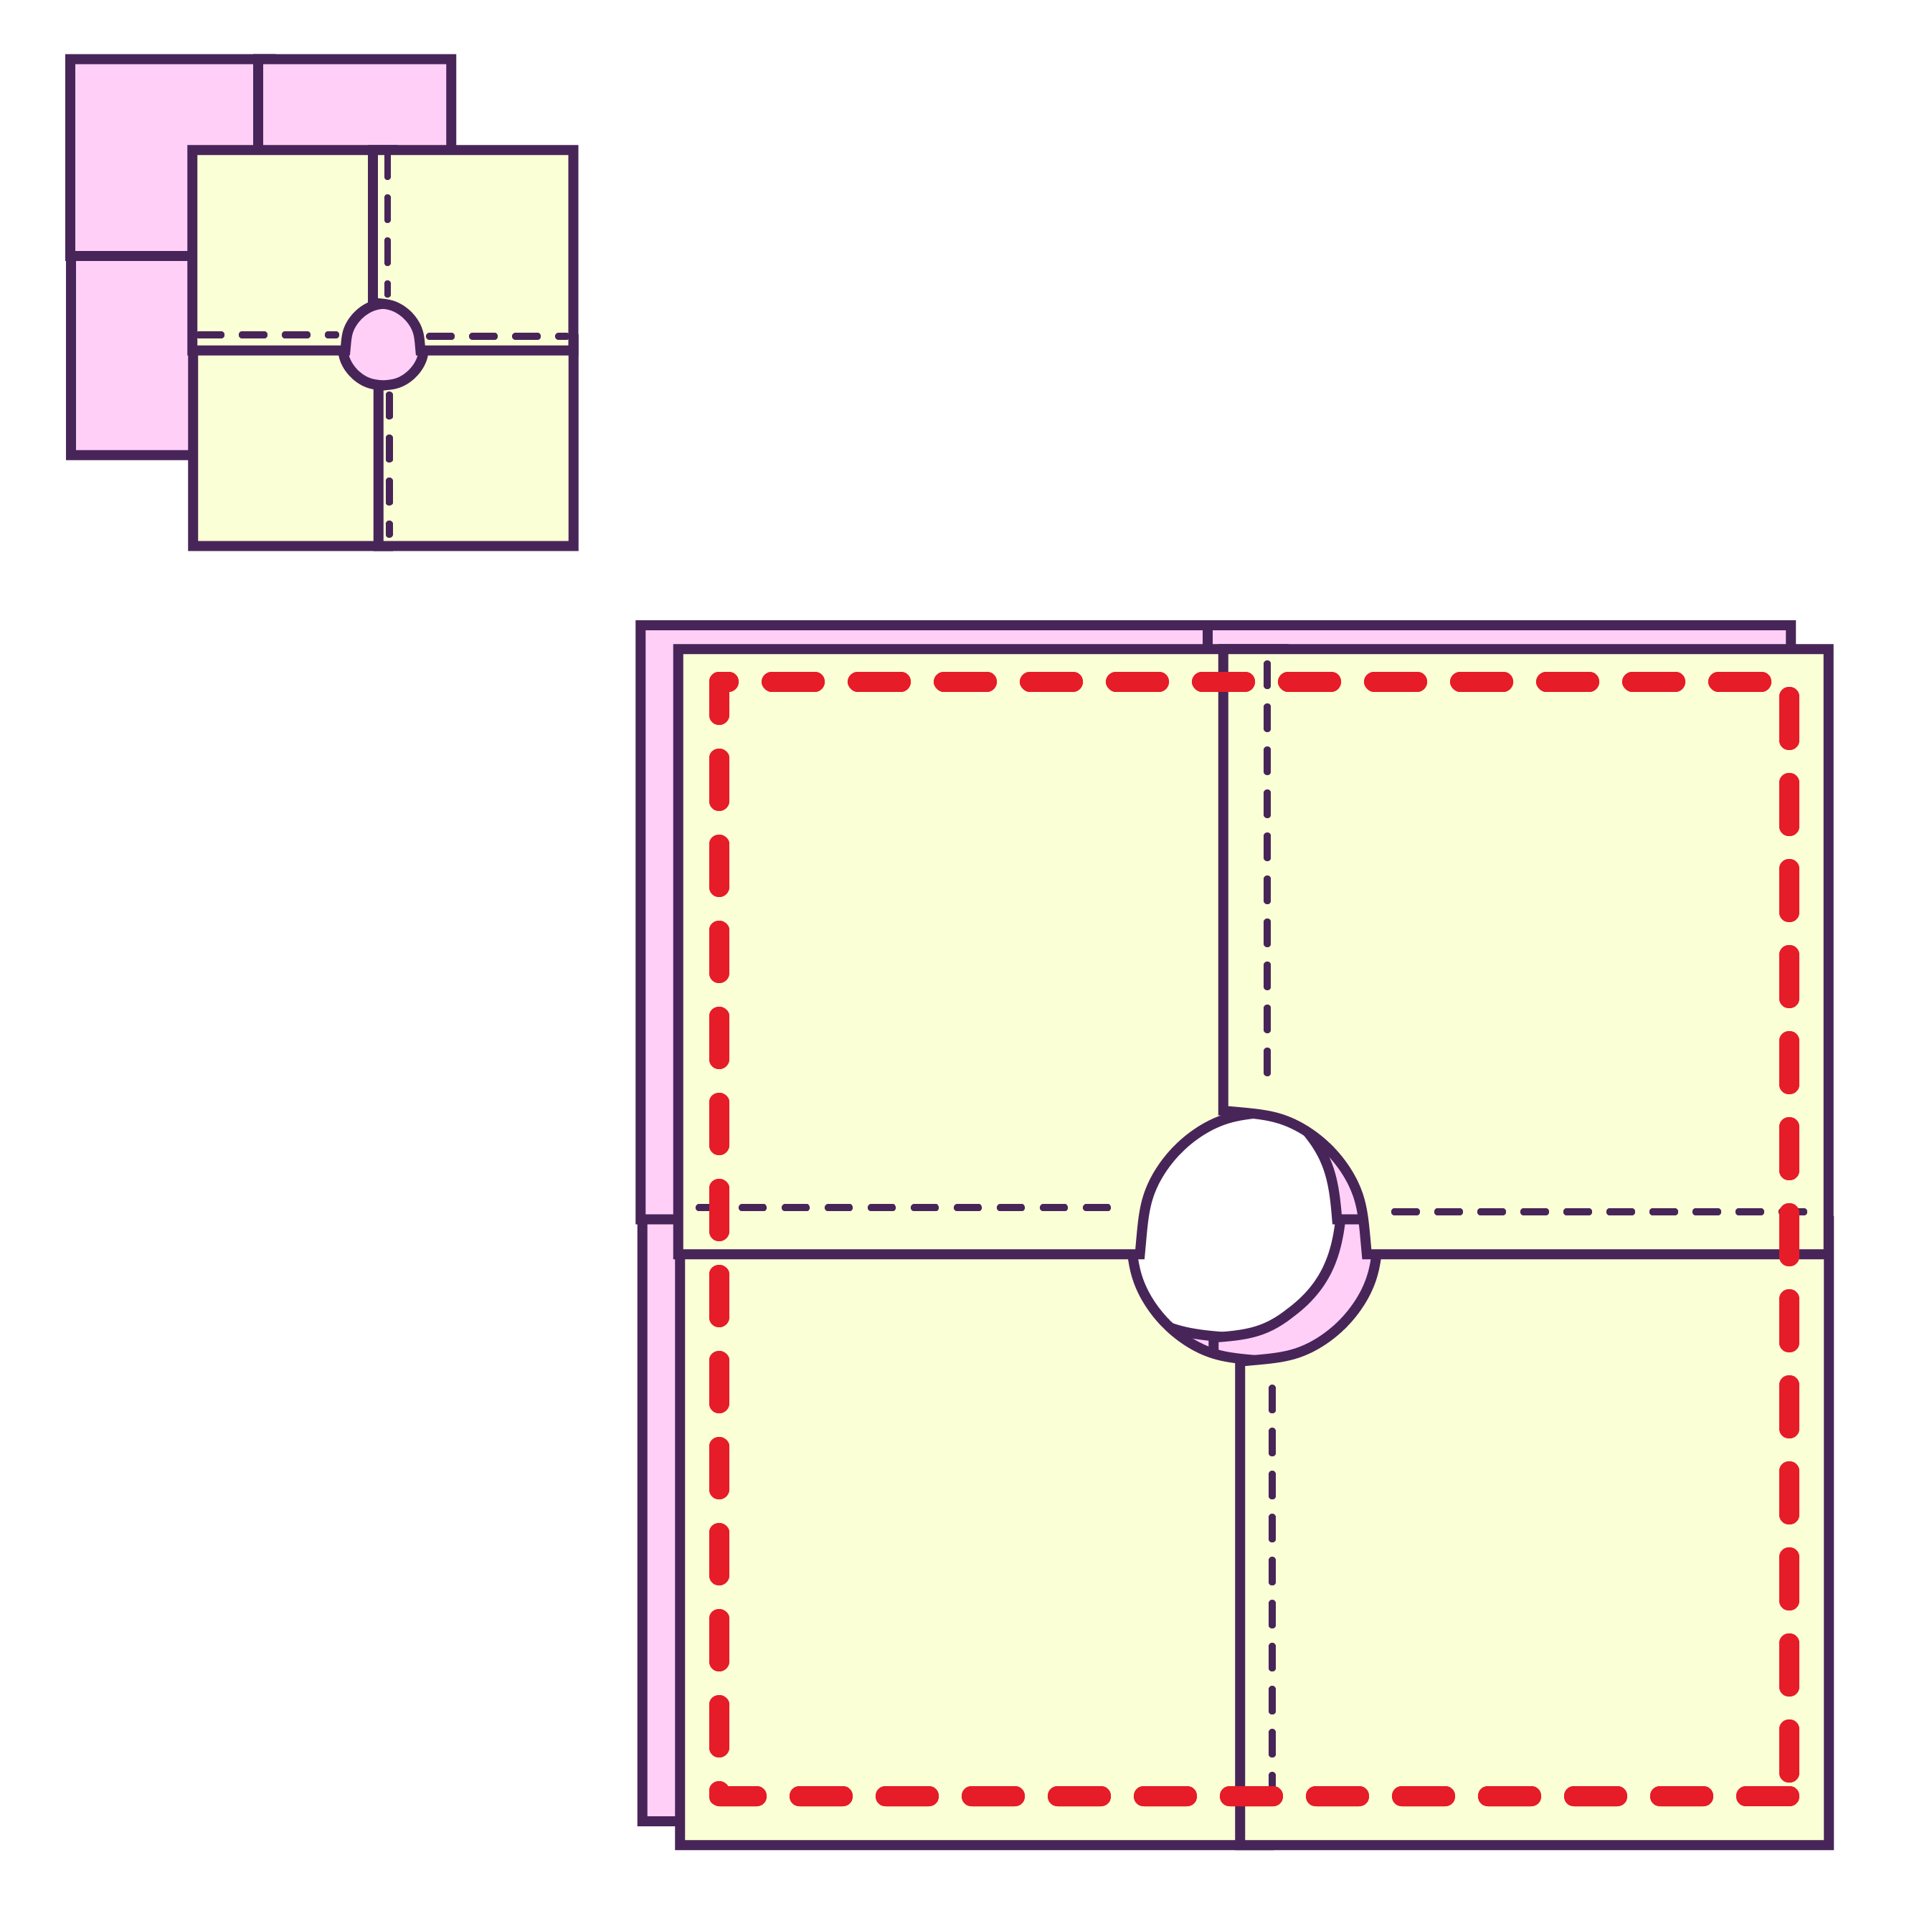
Sew the front and back pieces together along the side seams, right sides facing each other, with a straight stitch.
STEP 11
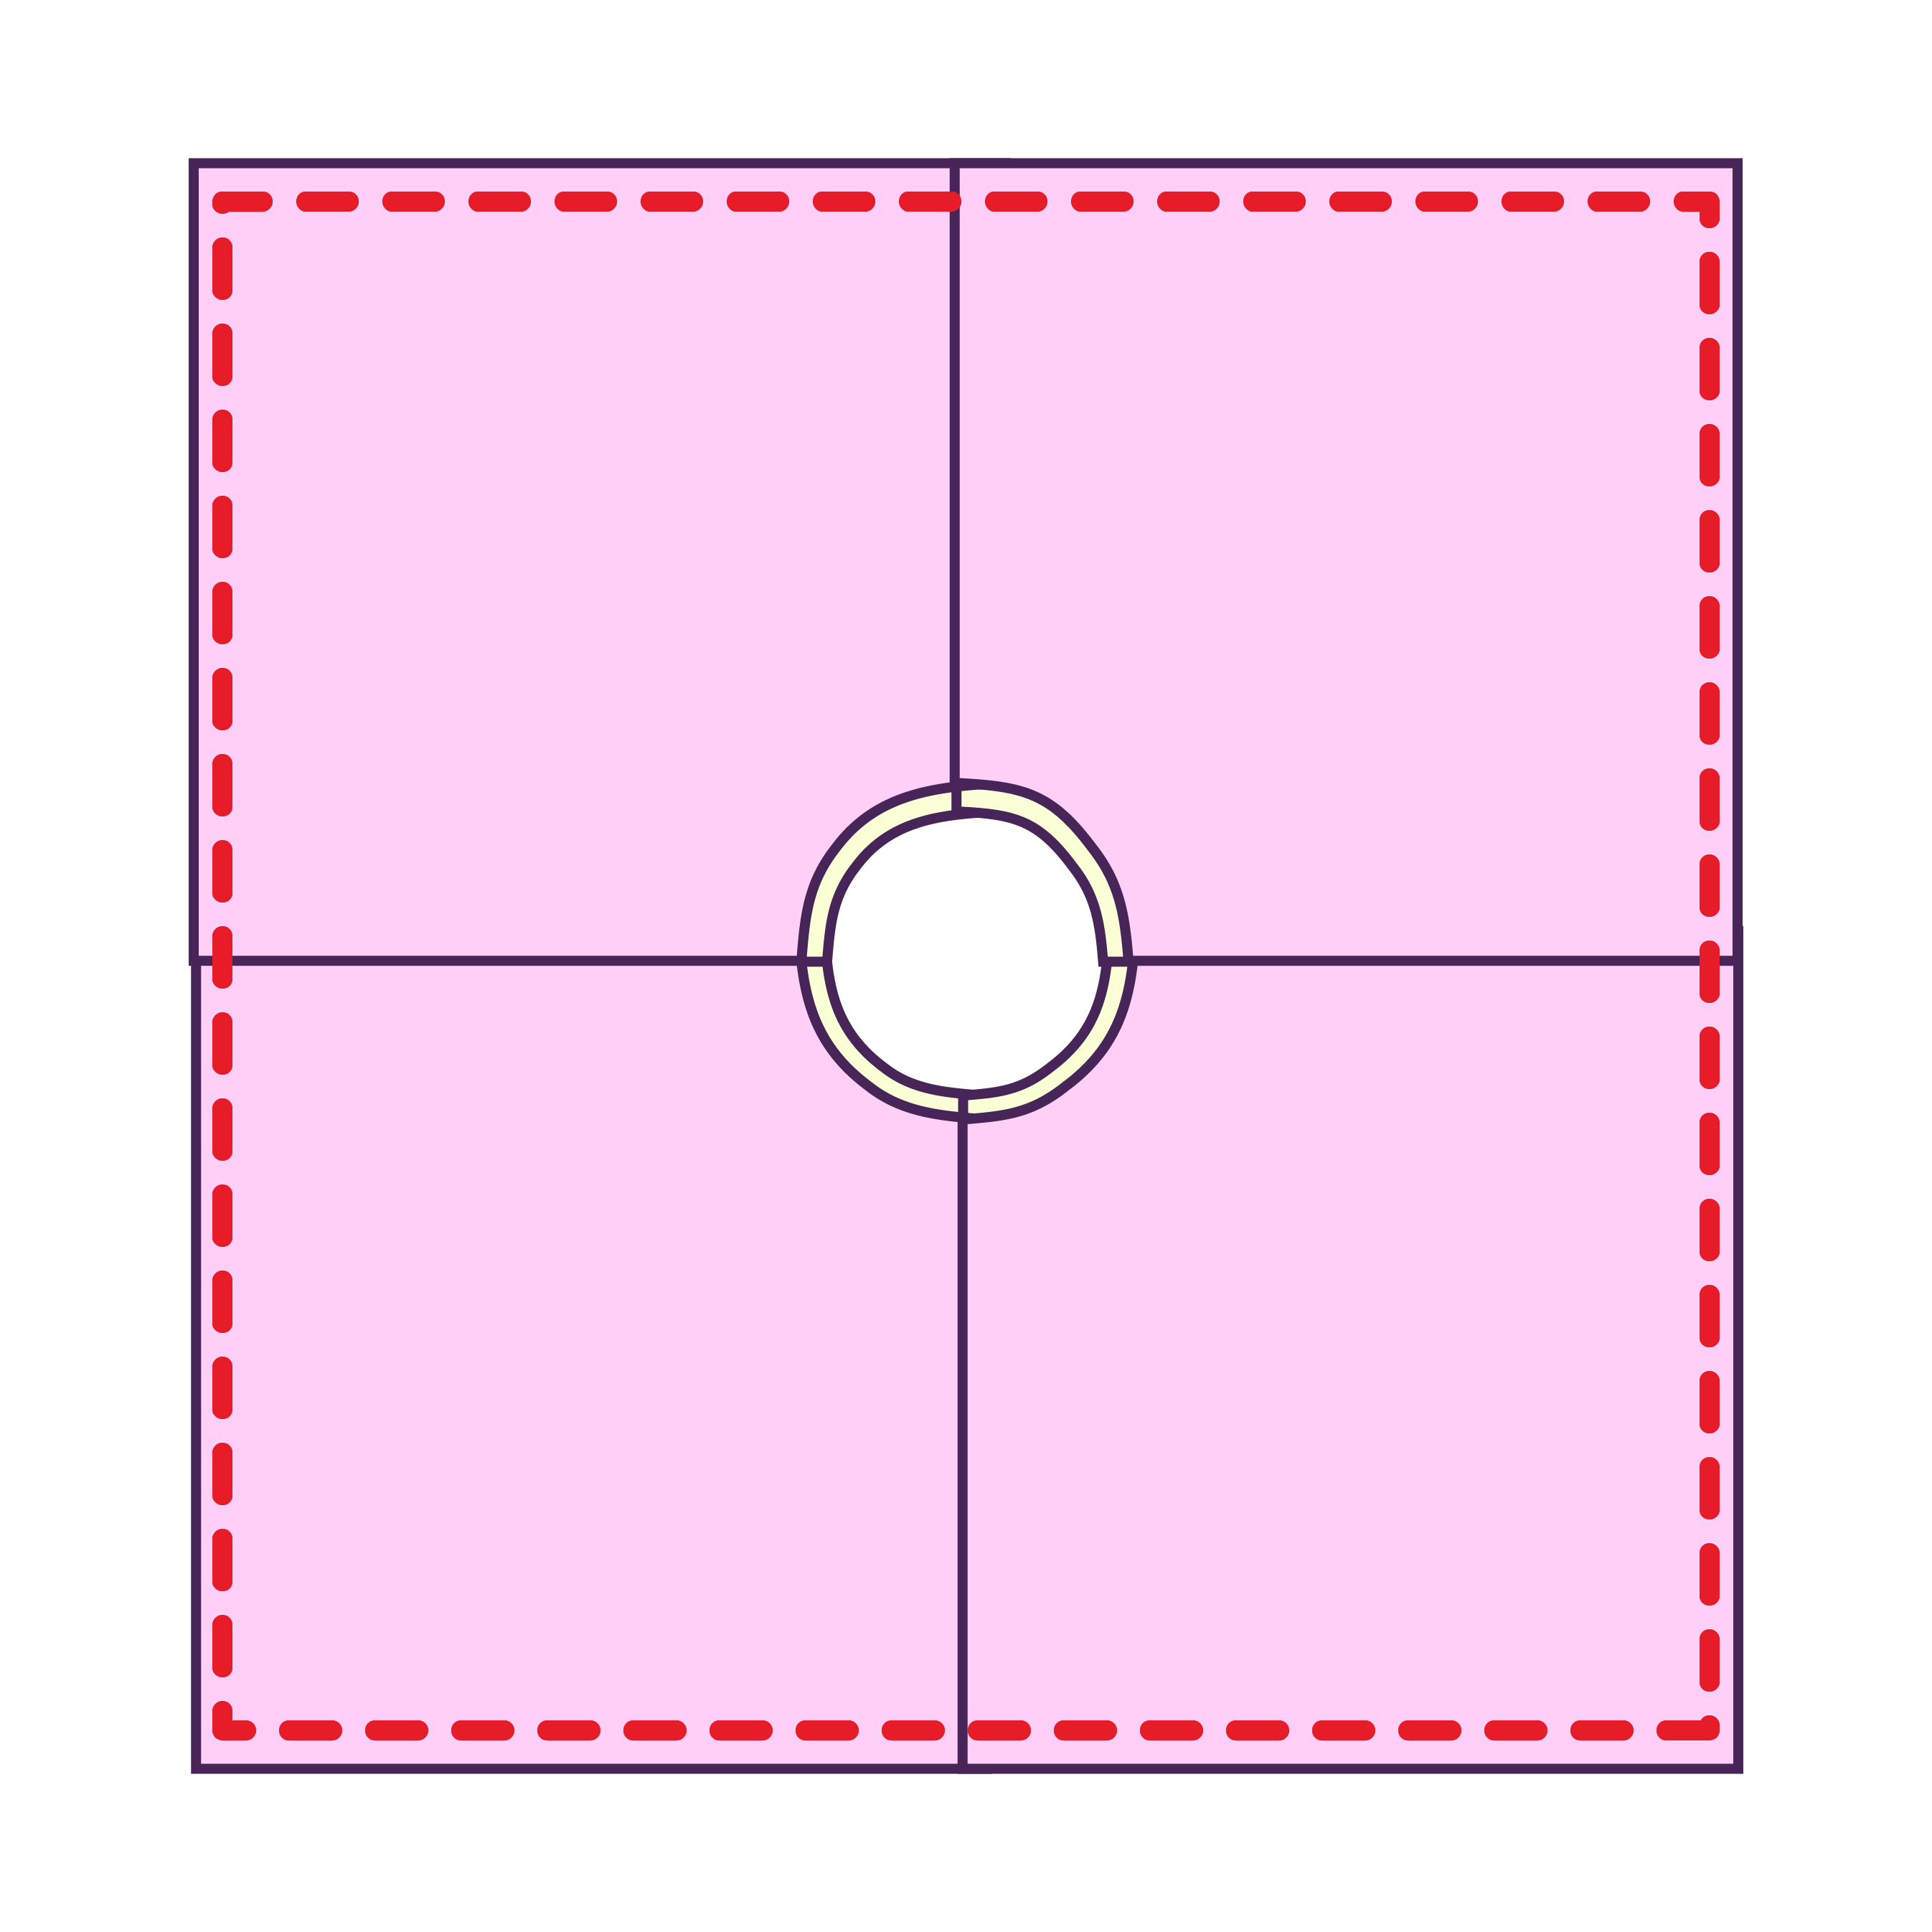
Repeat steps for the dress lining. Then stack the shell and lining, right sides facing each other, and sew along the outer edges.
STEP 12
Flip dress right side out and top stitch around the outer edge of the dress.
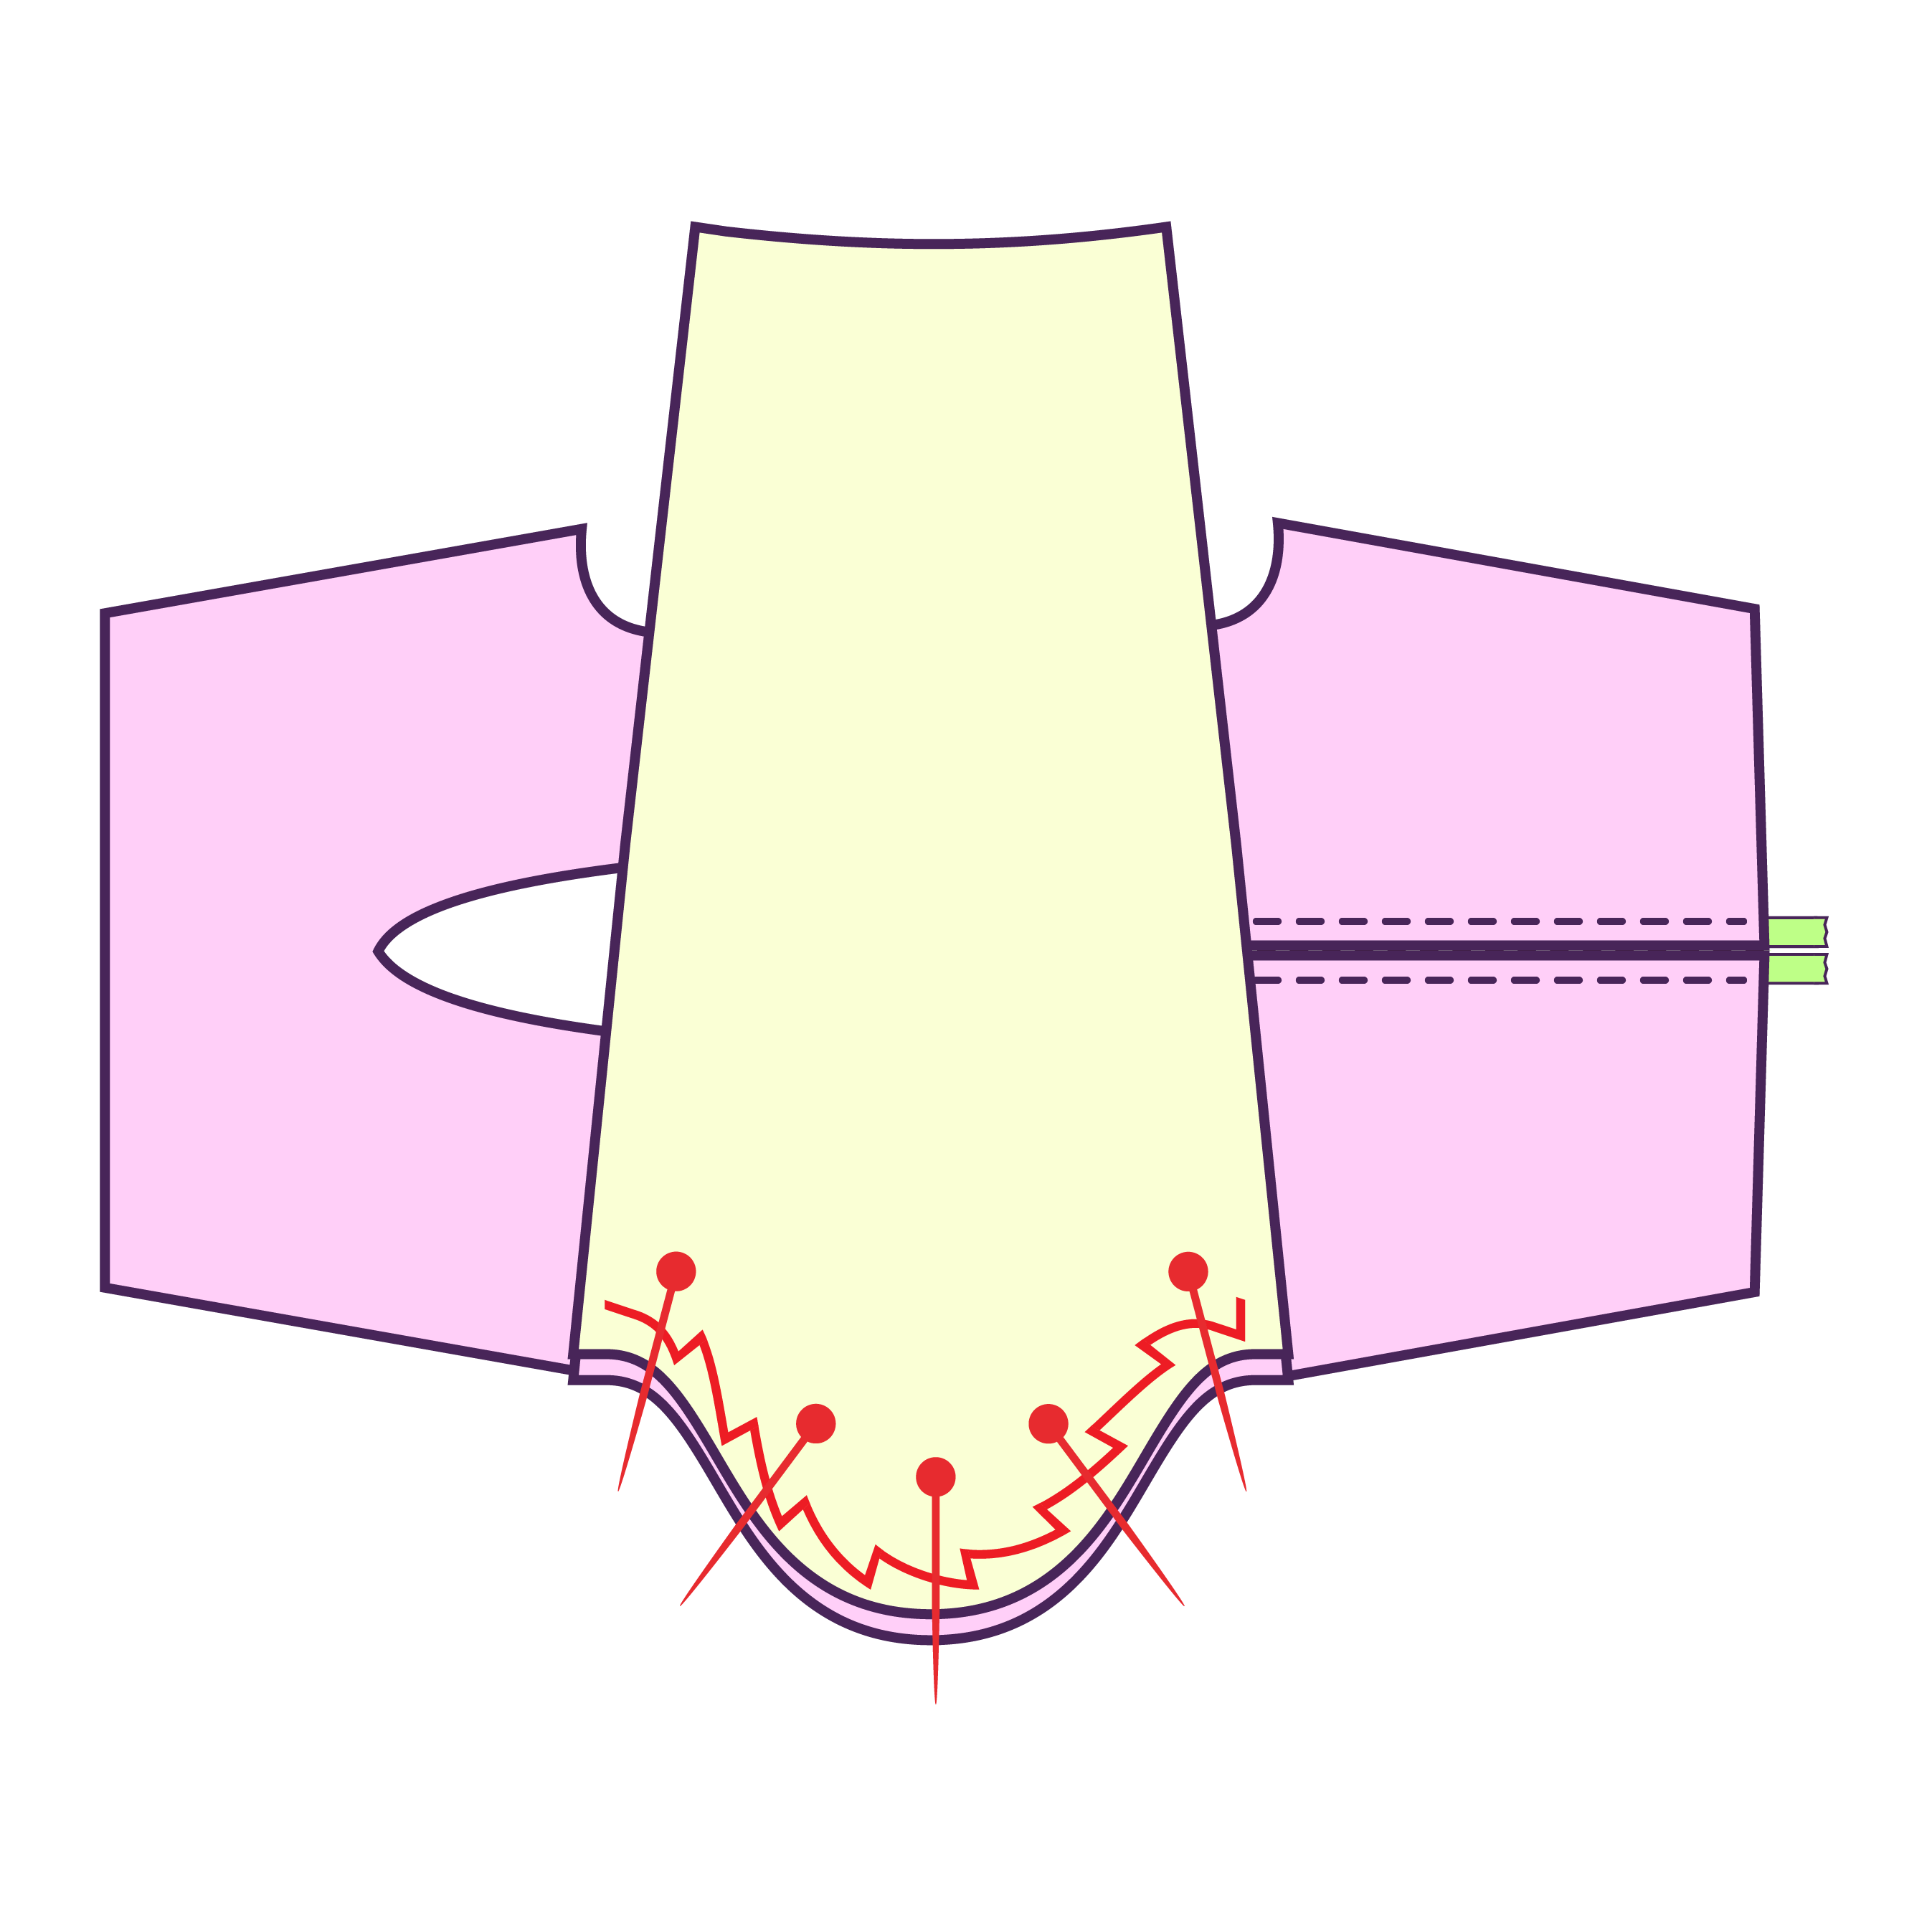
STEP 13
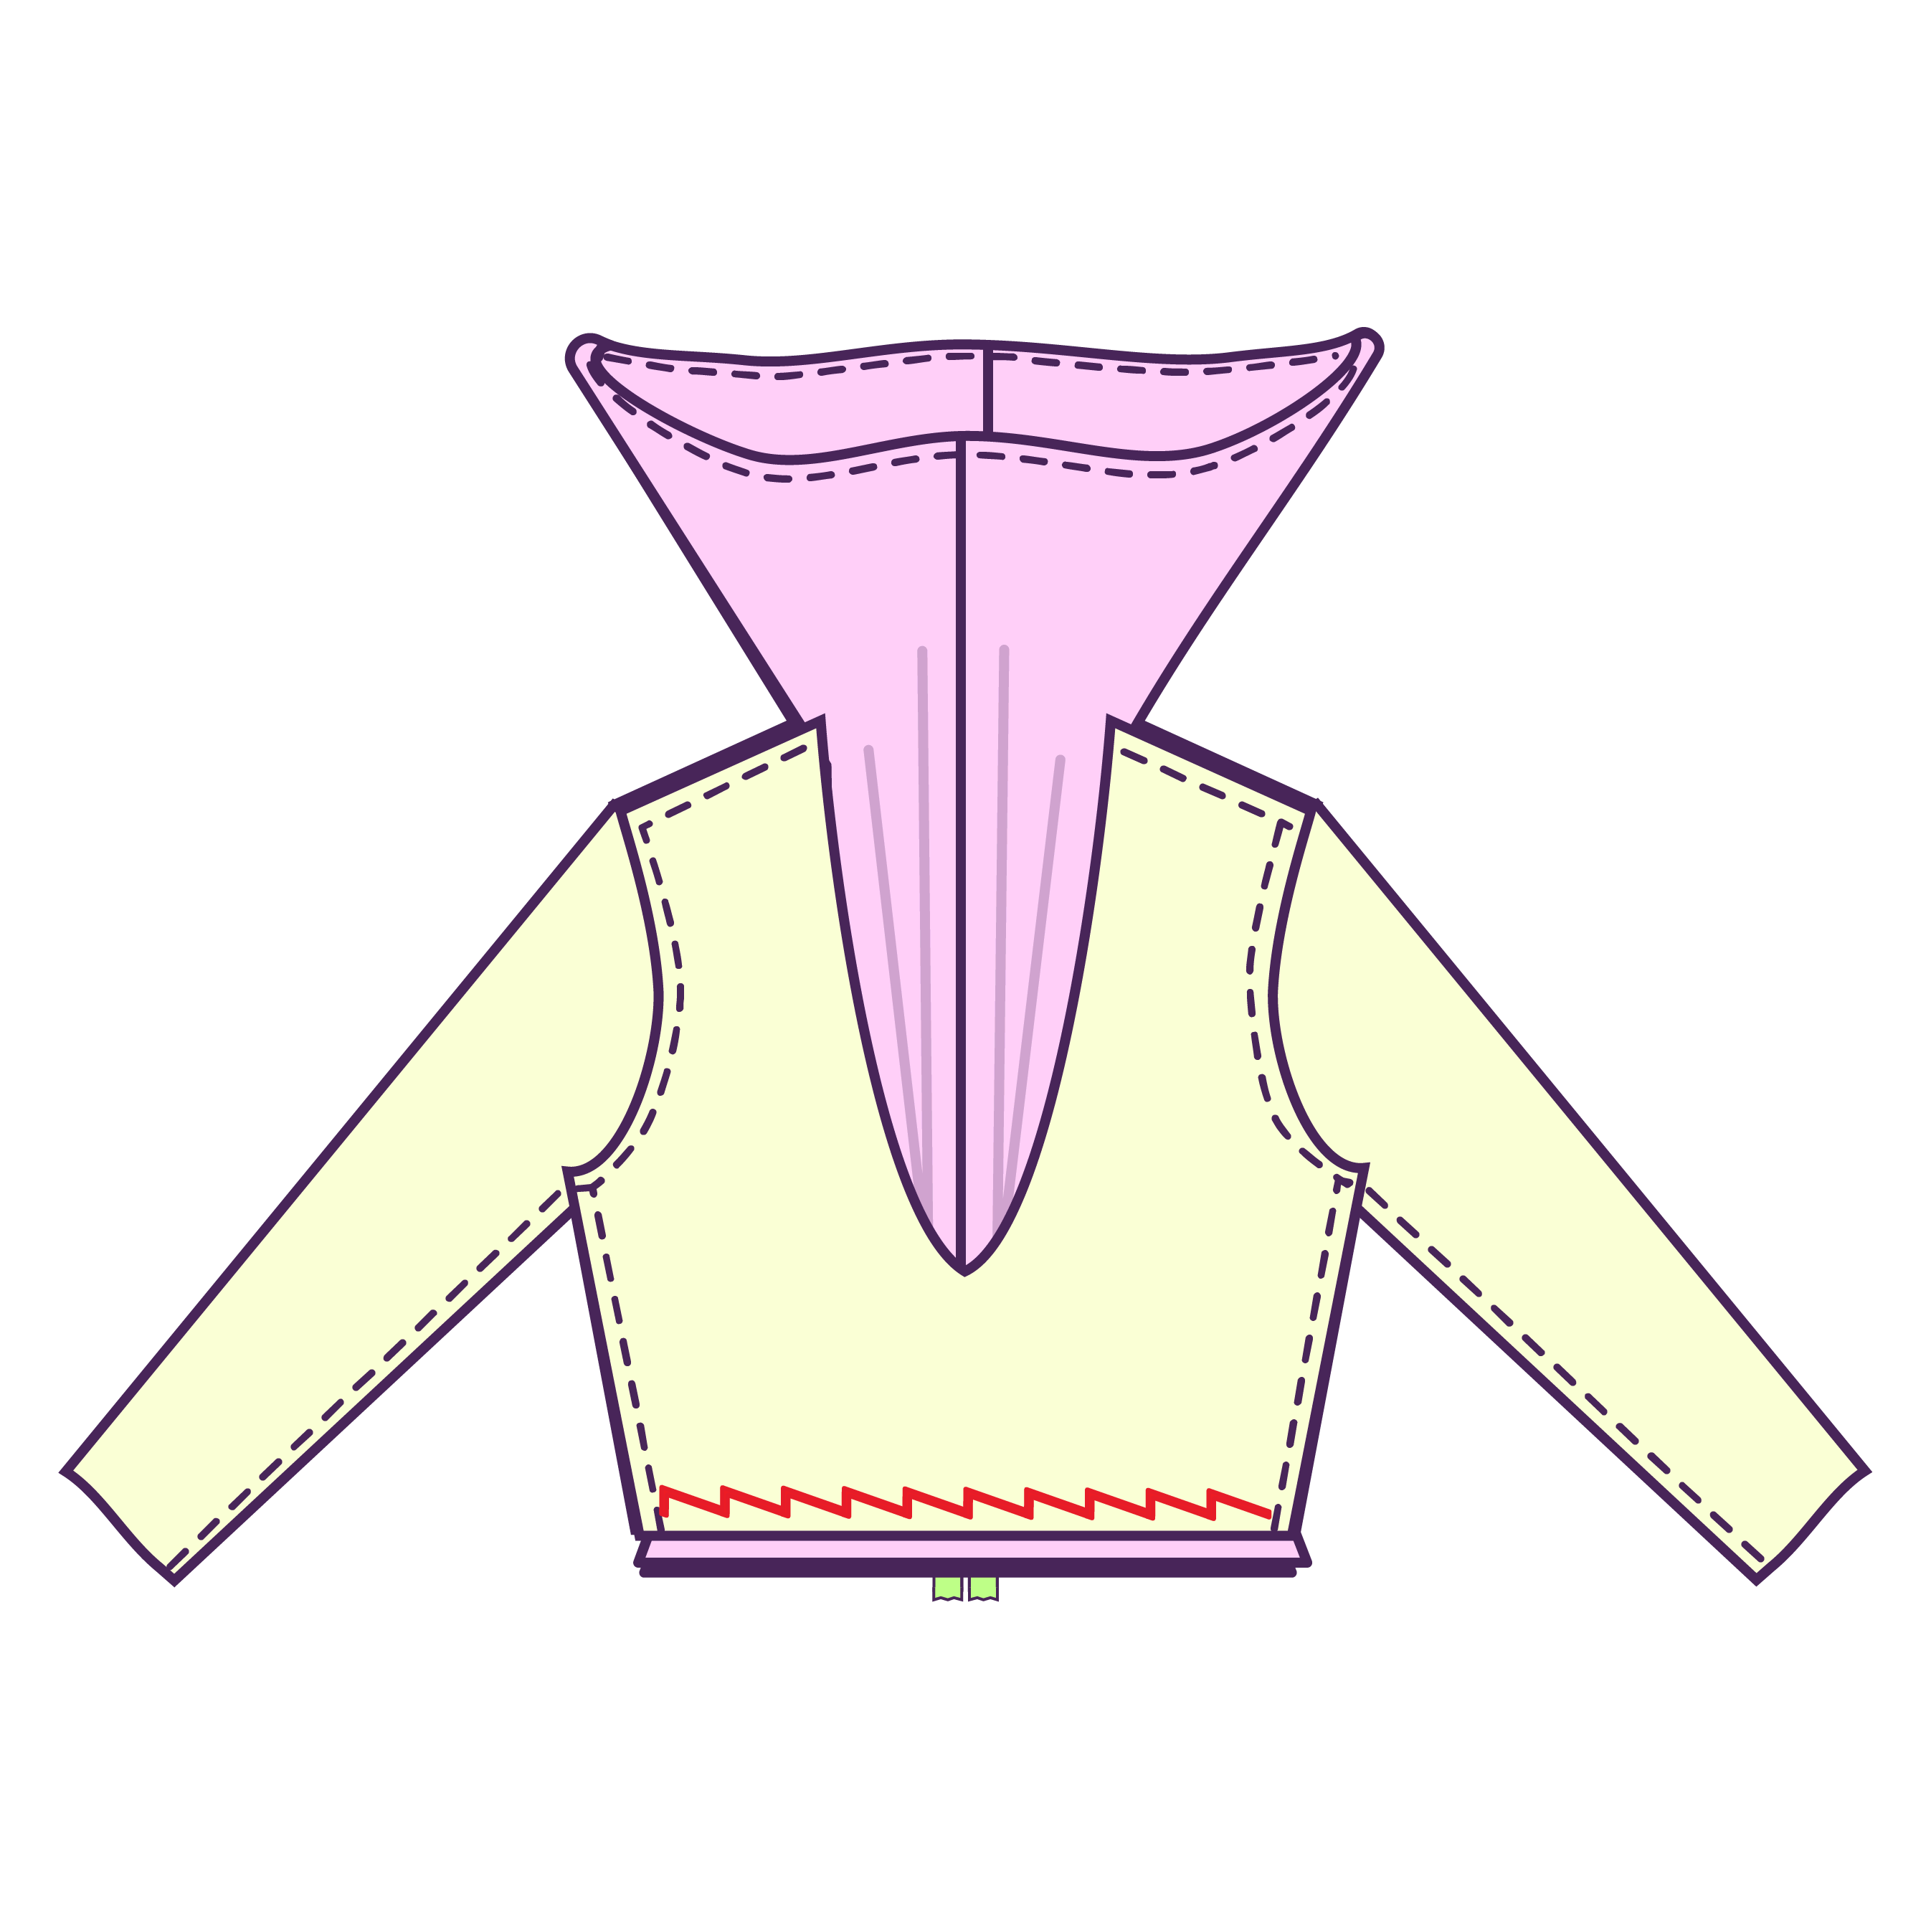
Pin the skirt around the waist of the top, right sides facing each other, and sew the skirt to the top with a stretch, zig zag stitch or serger.

STEP 14
Gather your sleeve cuffs. Stack the lining and shell right sides facing each other and sew along the outer curve with a straight stitch.
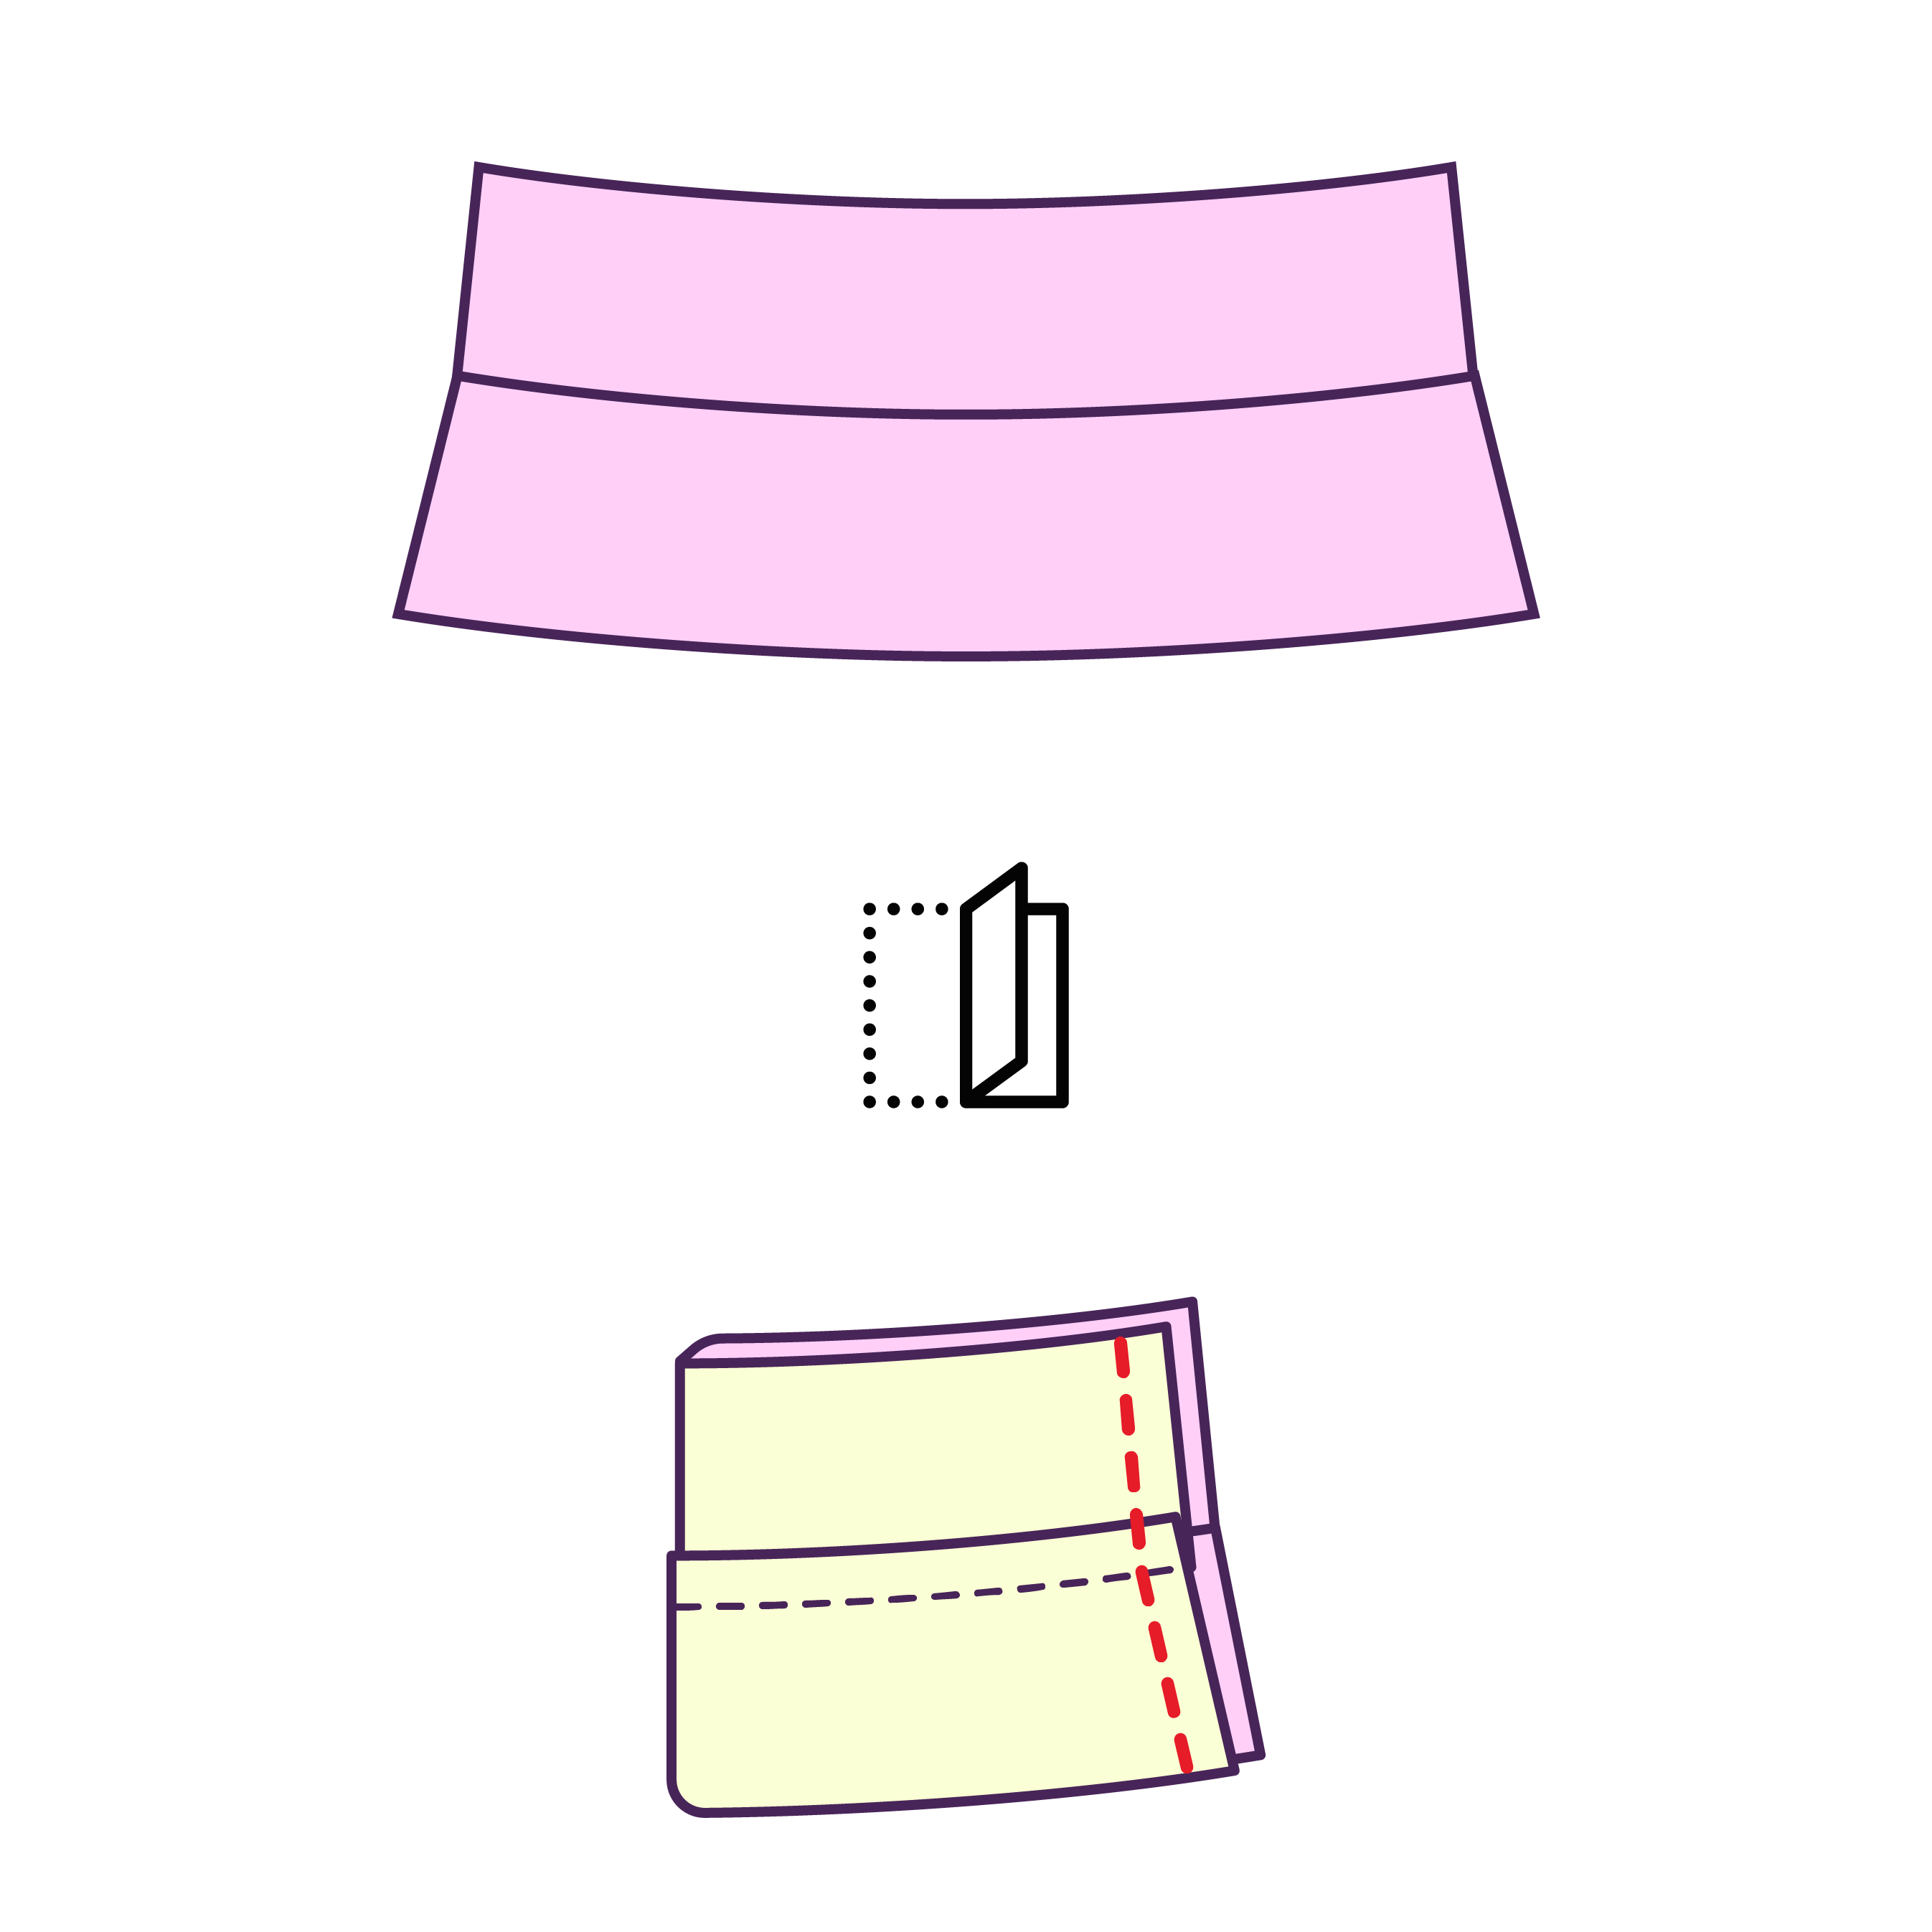
STEP 15
Layout the cuff, right side up, and flip it vertically in half so the wrong side is facing up. Then sew the ends together with a straight stitch.
STEP 16
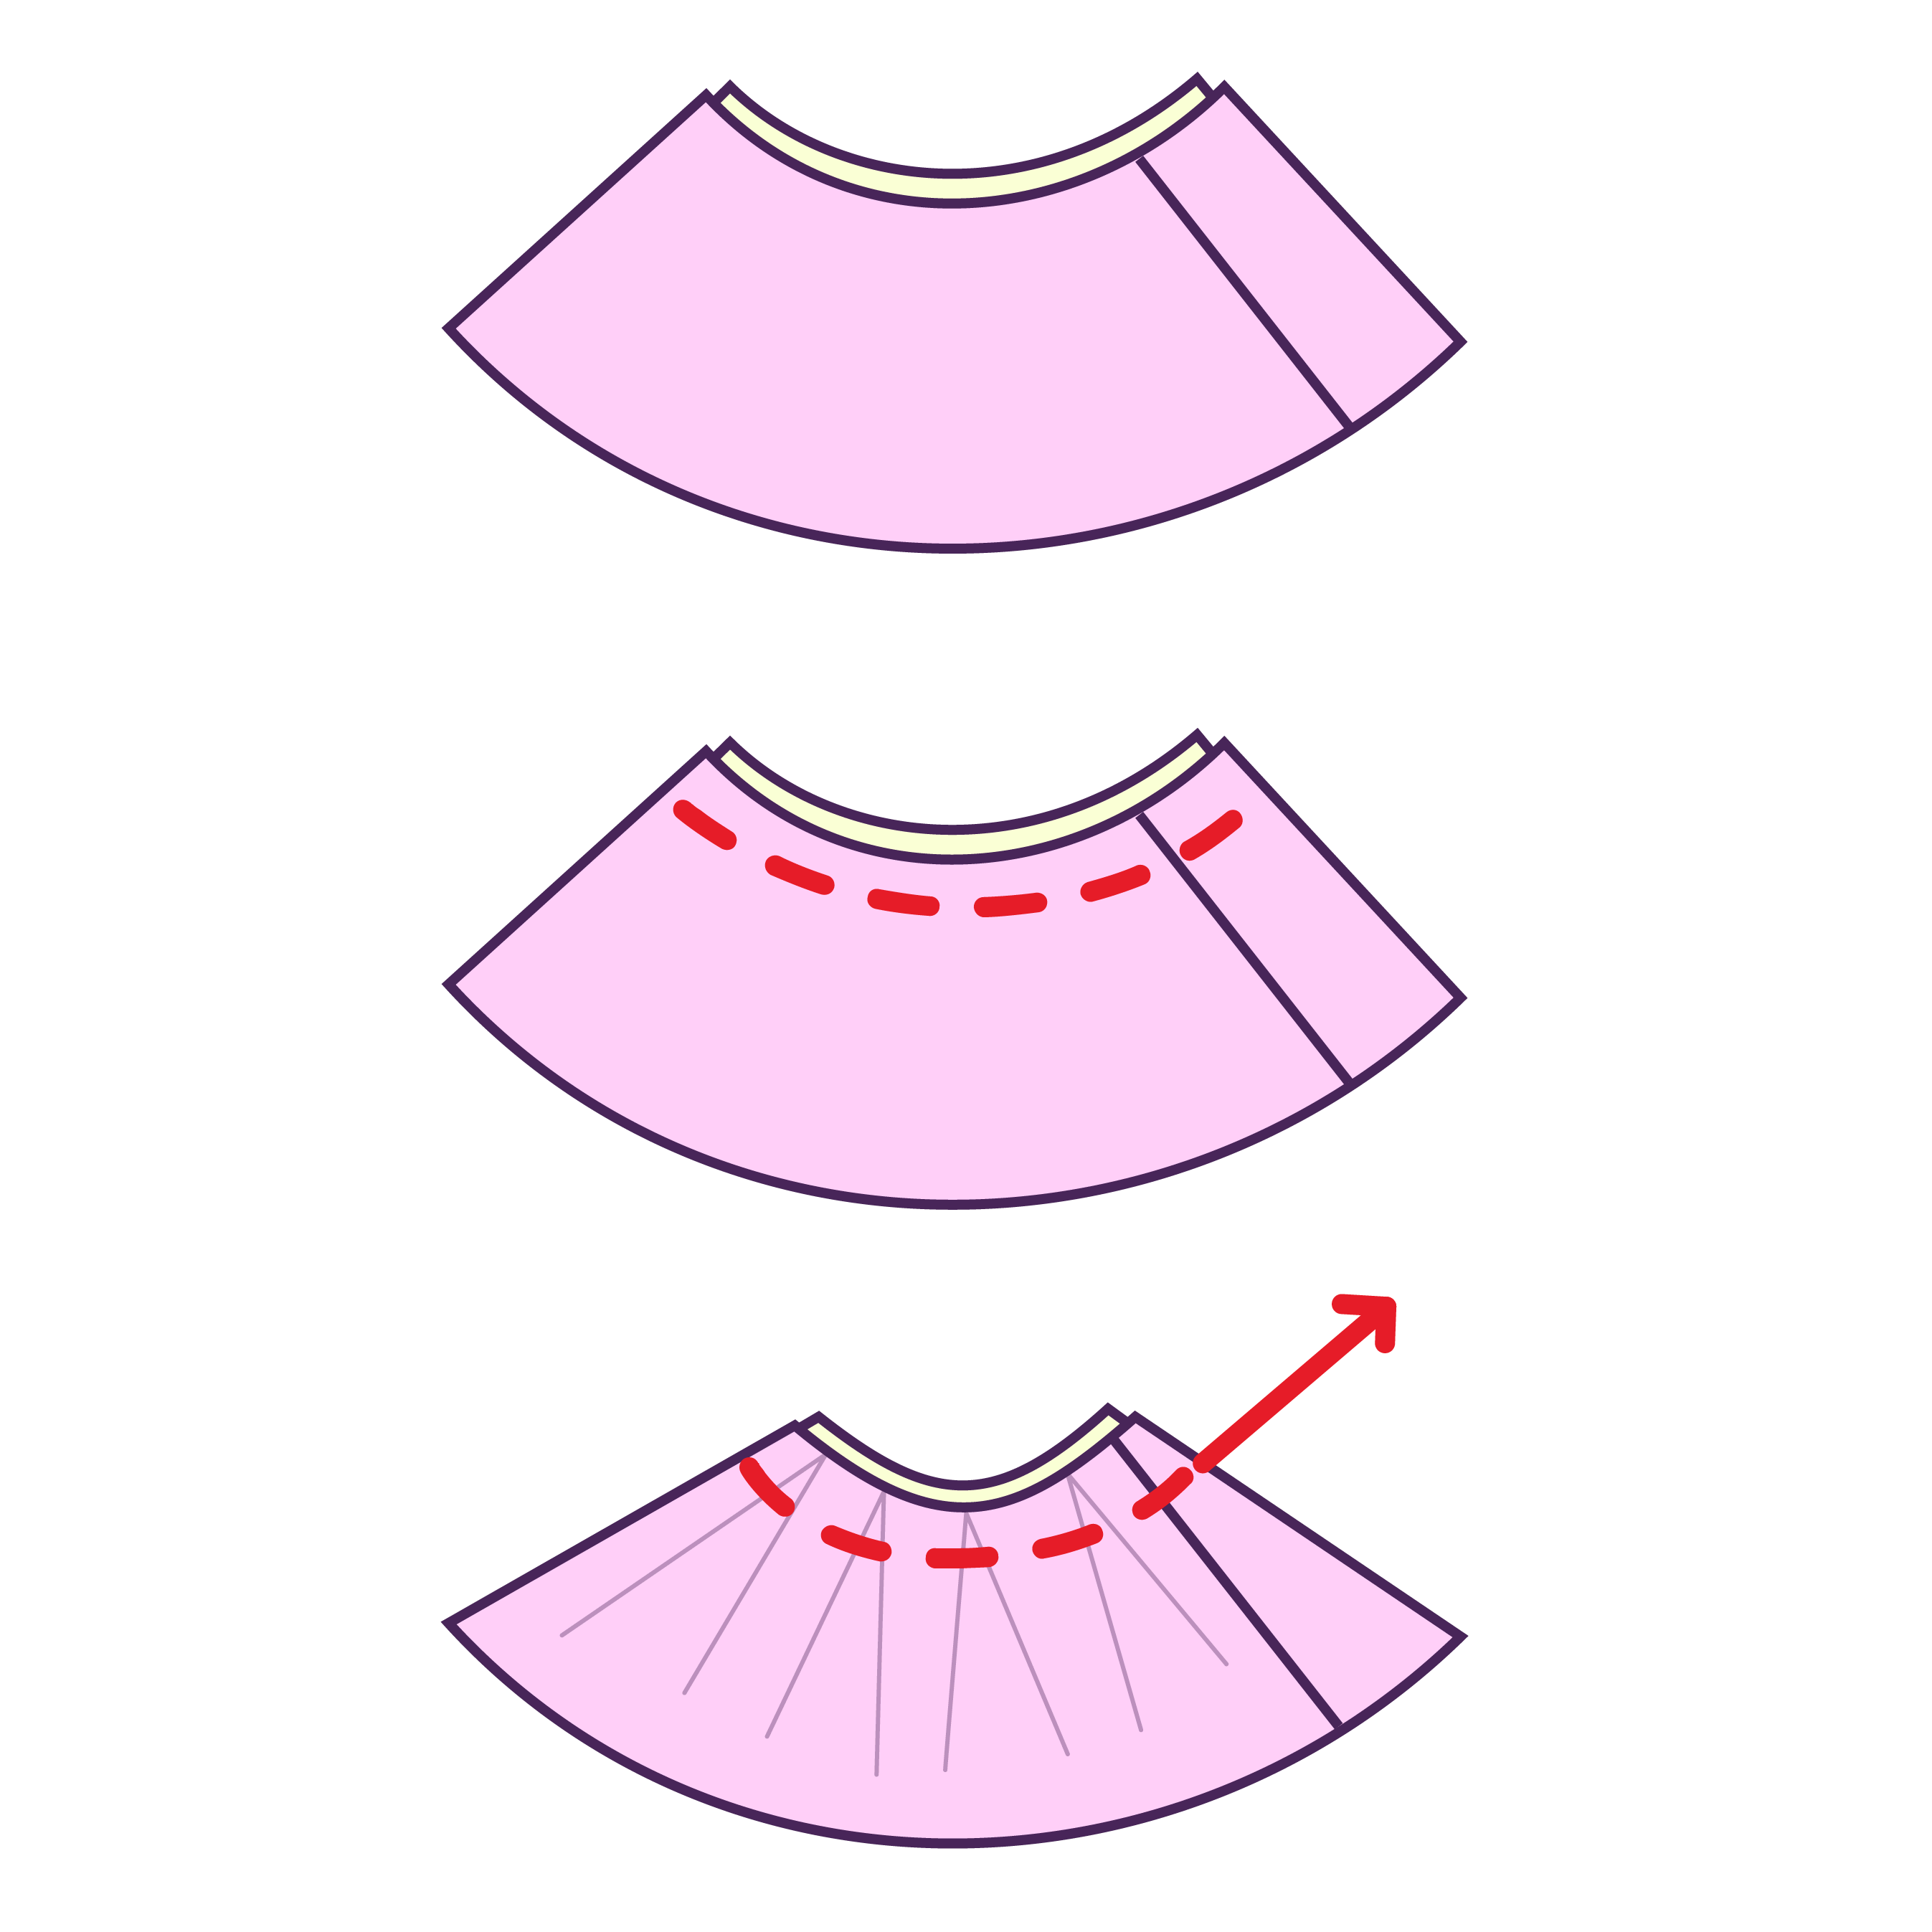
Roll and flip the cuff right side out. Then, along the open end, add a base stitch to help you gather the fabric to match the length of the sleeve openings. Repeat for other cuff.
STEP 17
Pin and sew cuffs to the sleeves with a stretch, zig zag stitch or serger.
STEP 18
Hem around the front and back of the neckline using a rolled hem, stretch stitch, or zigzag stitch.
Obtén el patrón