Cómo coser un bolso en forma de corazón
Saltar a instruccionesDescripción general
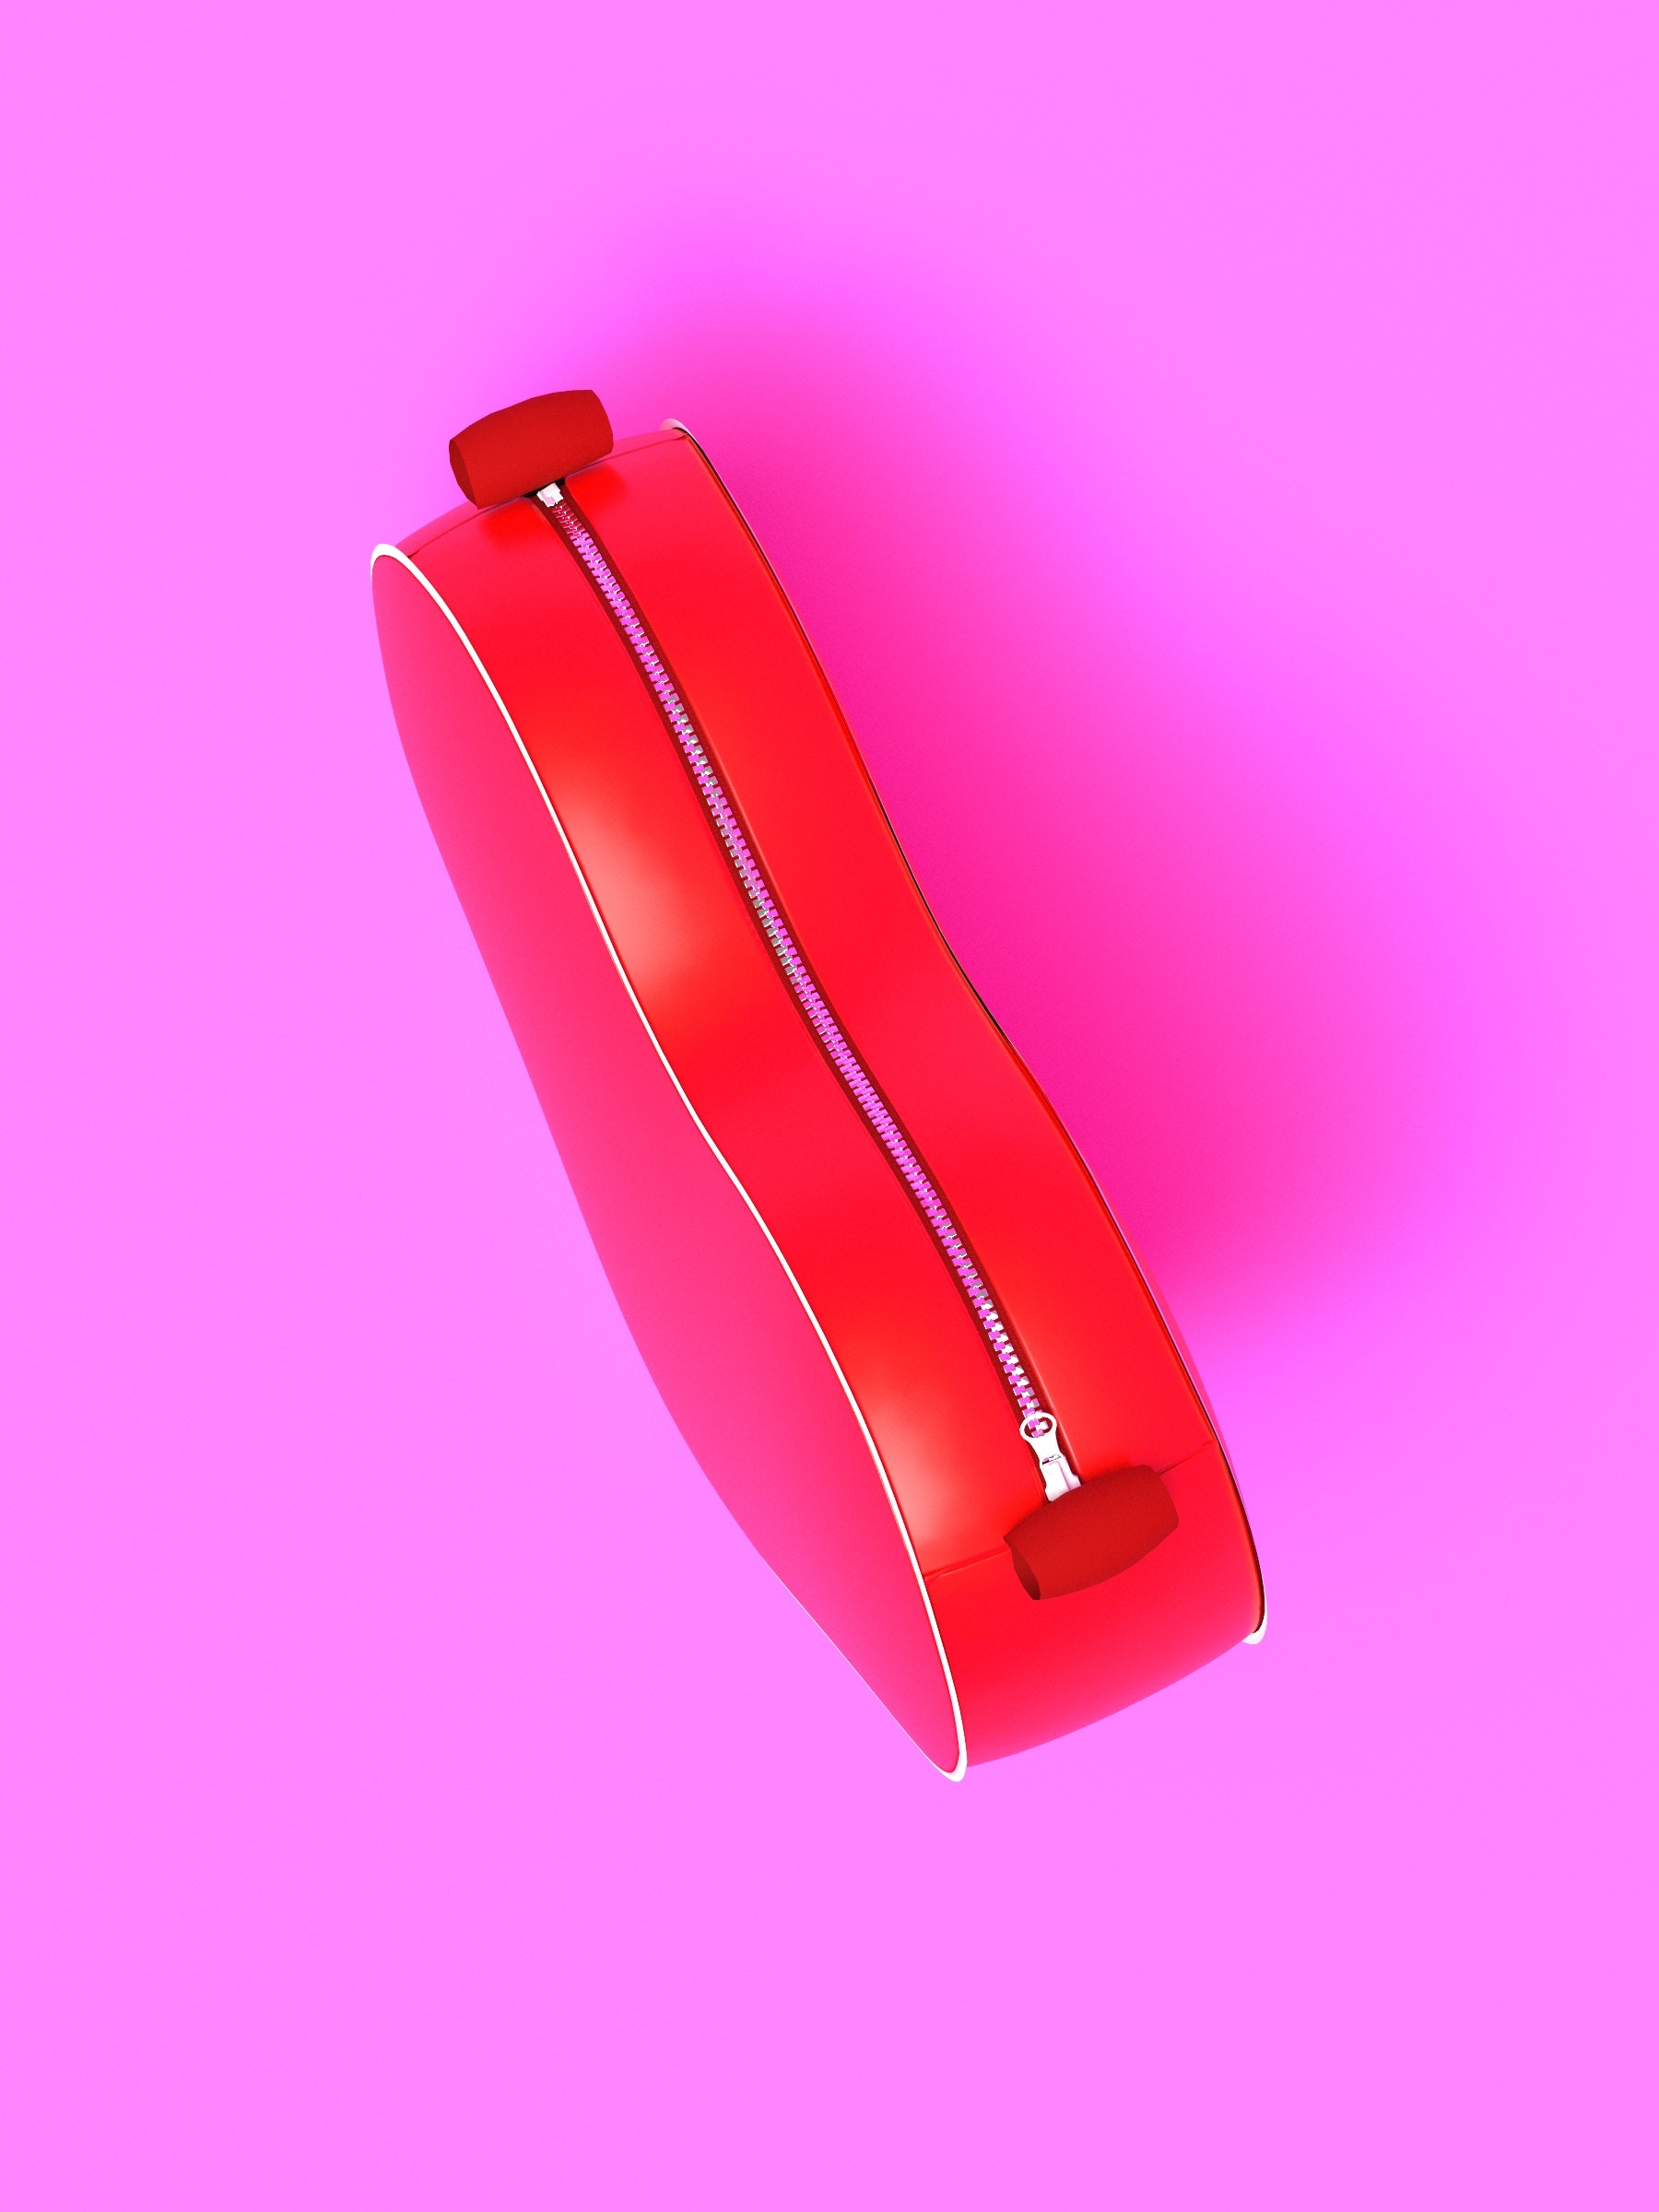
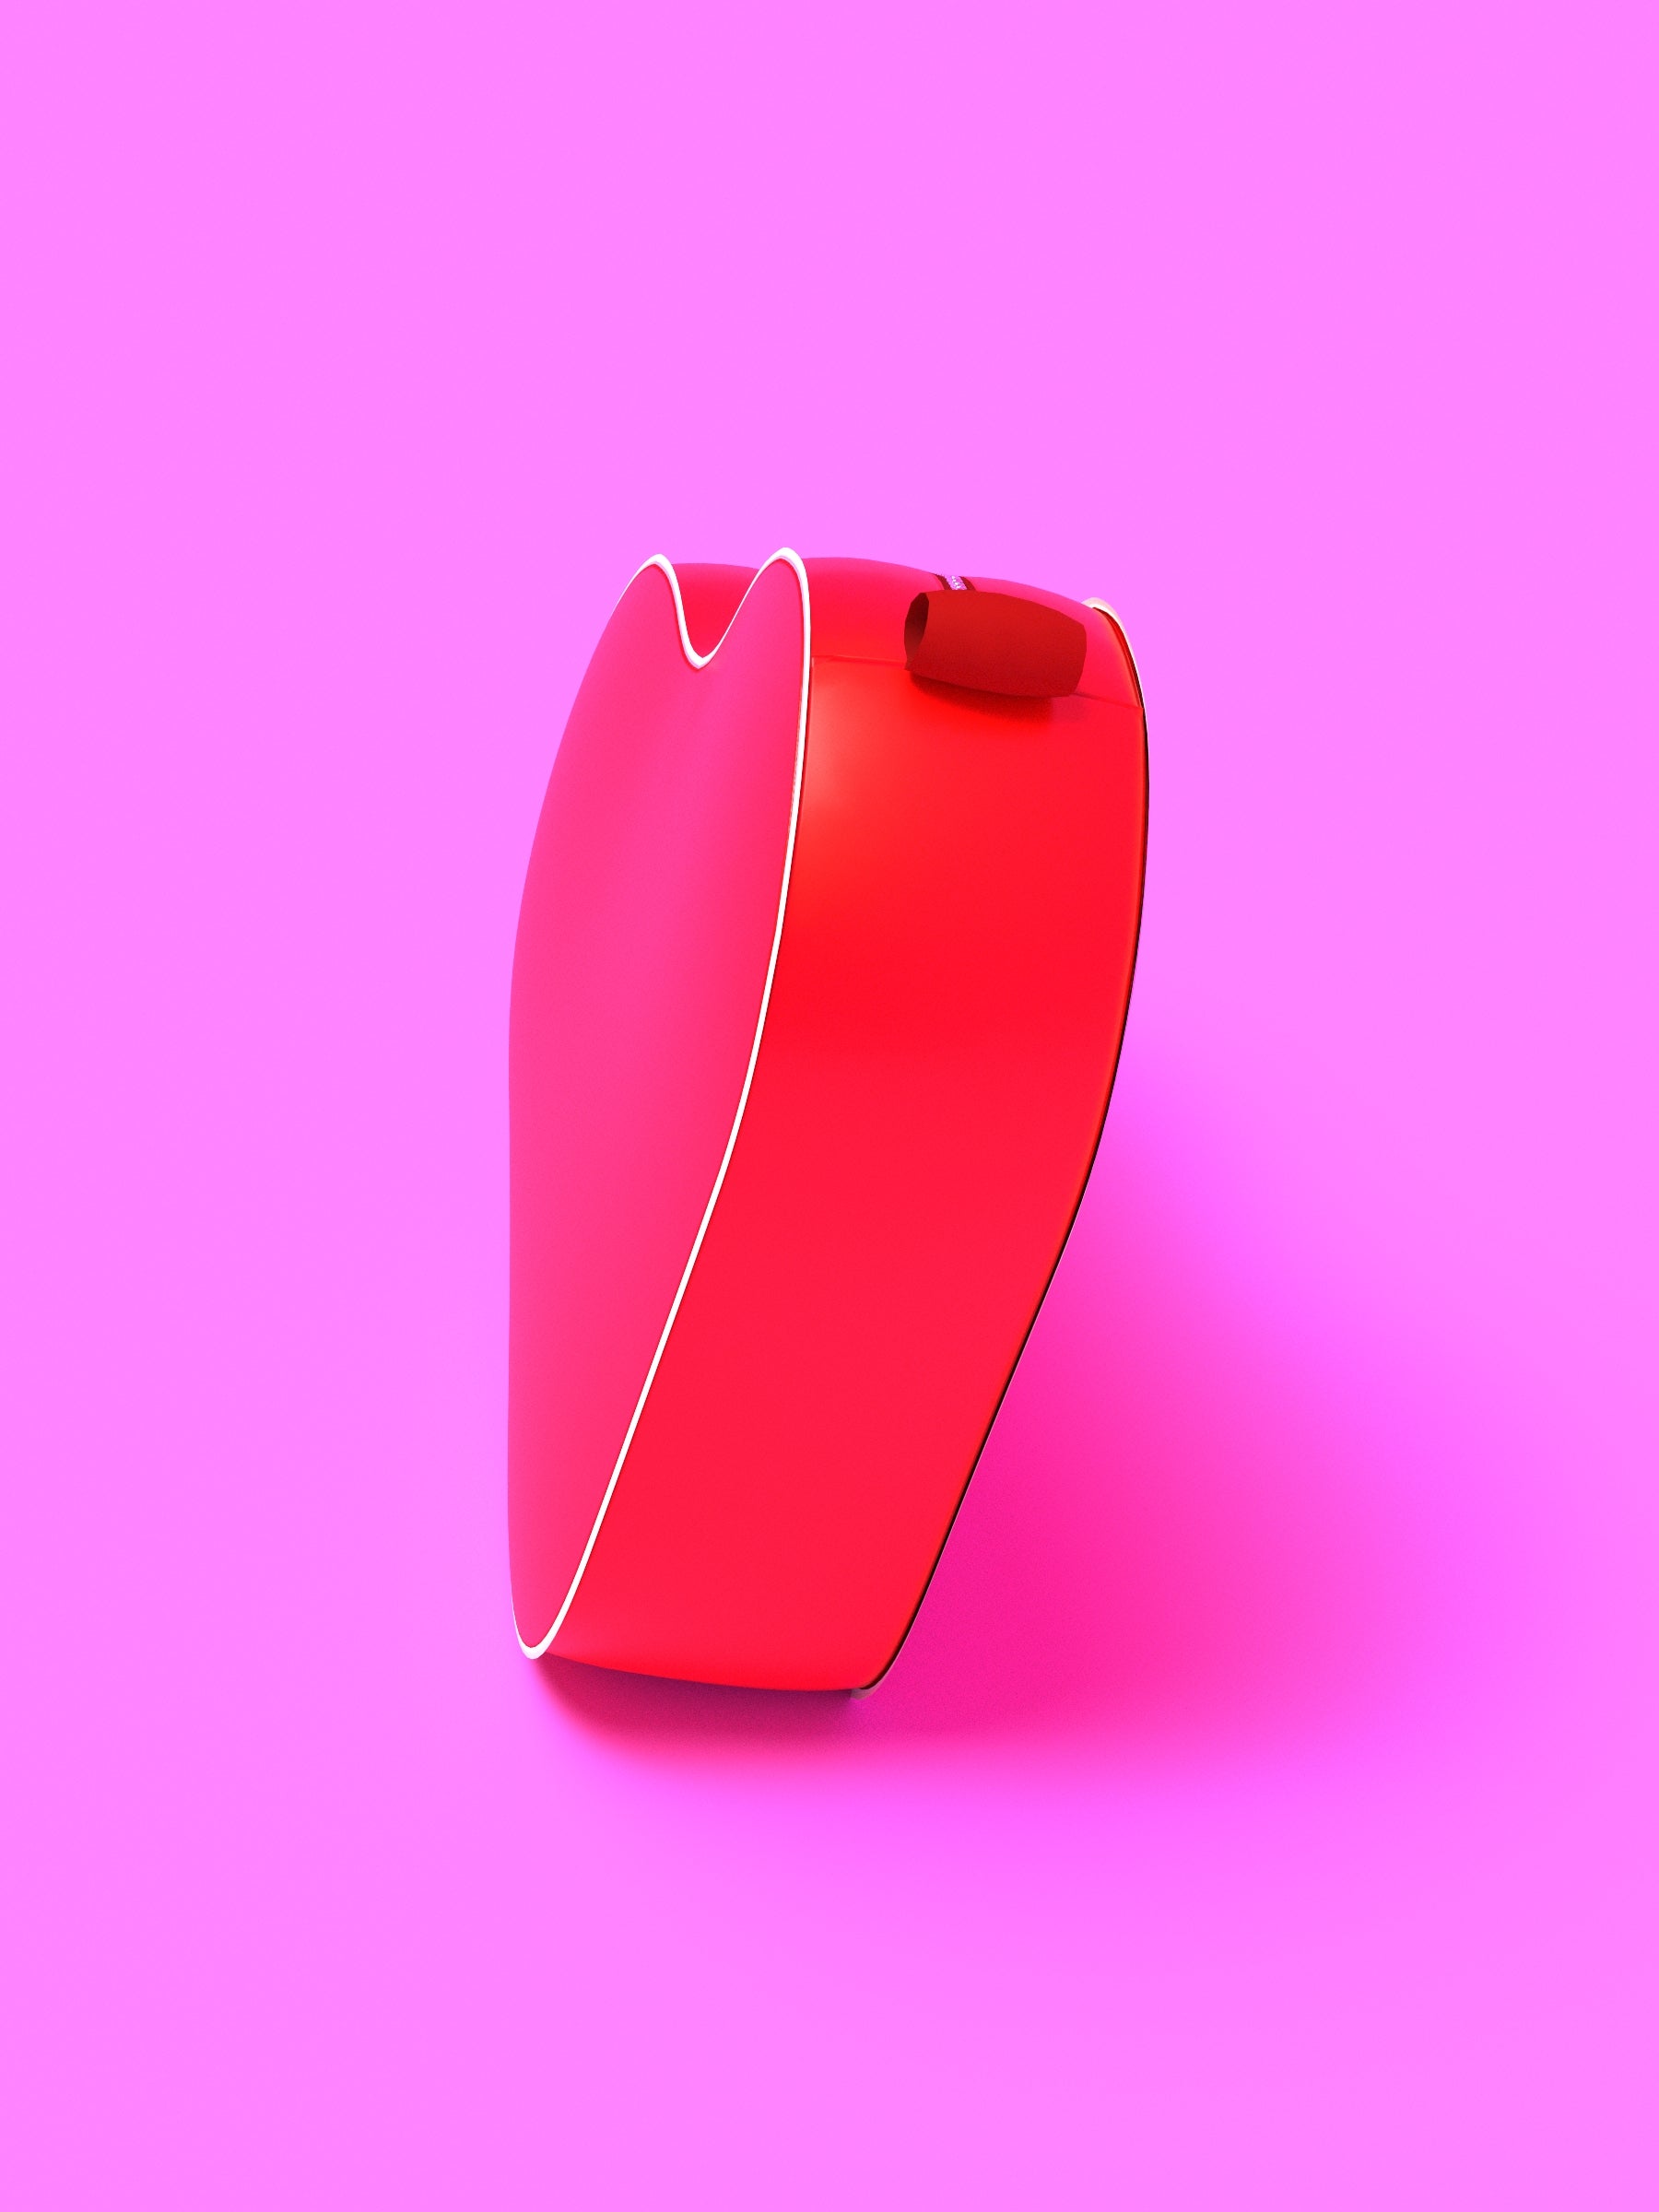
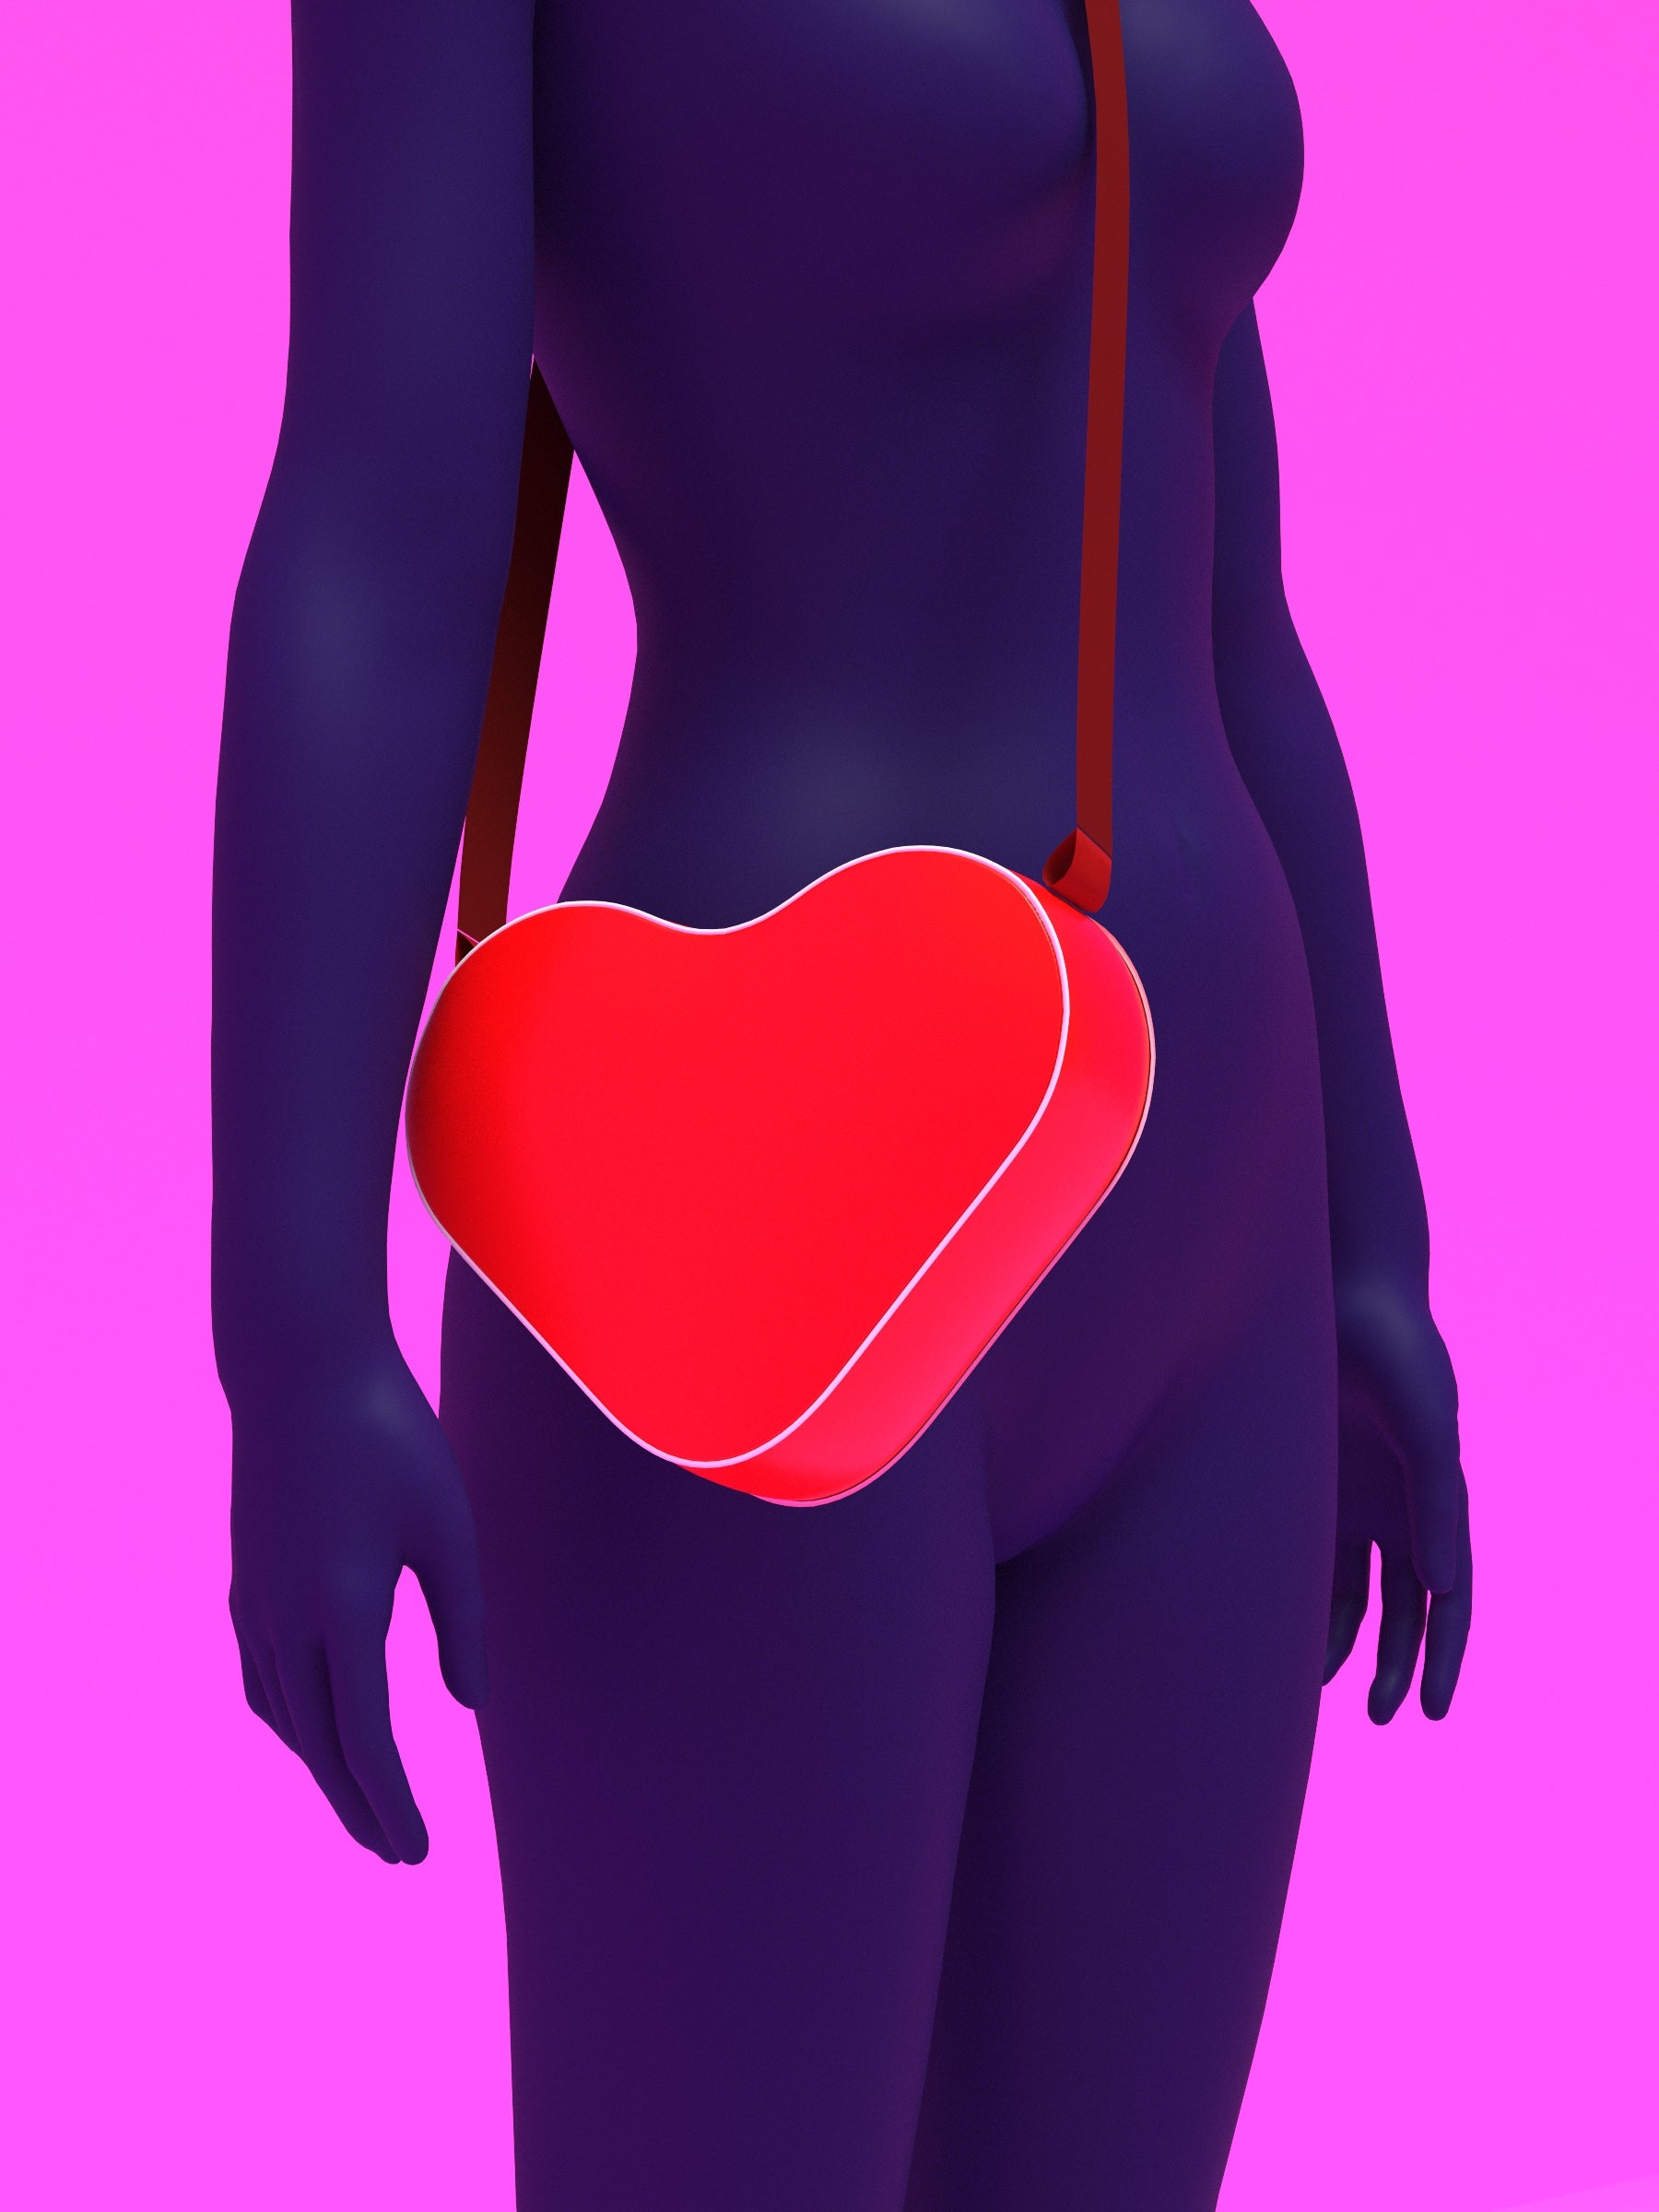
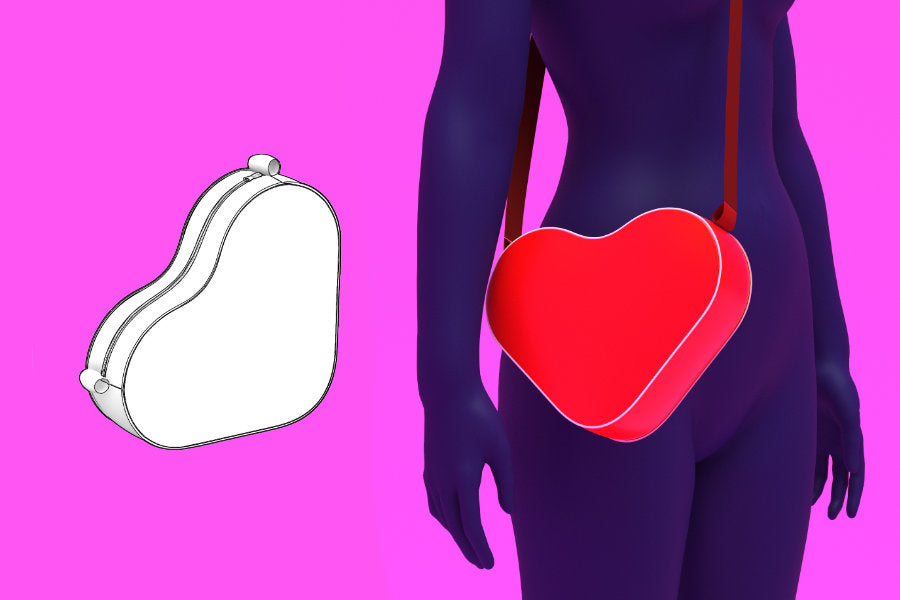
Aprende a coser un bolso en forma de corazón con cierre de cremallera y ribete opcional. Este proyecto, ideal para principiantes y de talla única, es perfecto para San Valentín, para uso diario o como complemento ideal para un look drag de San Valentín. El tutorial abarca el forro, la instalación de la cremallera, el montaje del refuerzo y acabados interiores impecables con técnicas de costura sencillas.
Yardas de tela
La tabla de telas a continuación muestra el metraje recomendado según el tipo de tela. El metraje indicado corresponde a rollos de tela de 54" o más de ancho.
| Tamaño | Caparazón | Recubrimiento |
|---|---|---|
| Talla única | 0,25 años | 0,25 años |
Detalles de tallas
Telas y artículos de mercería
Tela
- Telas no elásticas de peso medio, como lona, mezclilla, cuero sintético, vinilo o tela de tapicería.
- Tejido de forro como algodón, sarga, popelina o poliéster ligero.
Nociones
- 1 cremallera resistente de 10 pulgadas de largo
- 2 anillos en D, de 1 pulgada o más grandes, para sujetar los extremos de la correa
- Cinta al bies o ribete doblado dos veces, doblado a 0,5 pulgadas de ancho, para unir costuras interiores
Correa ajustable opcional
- Cinta de nailon de 1,5 pulgadas de ancho y aproximadamente de 47 a 55 pulgadas de largo
- 1 deslizador de correa ajustable, 1,5 pulgadas de ancho
- 2 ganchos giratorios de 1,5 pulgadas de ancho para una correa desmontable
- Cinta de nailon de 1 pulgada de ancho para pequeñas lengüetas de correa o extensiones, opcional
Instrucciones de costura
Color Guide

Fabric Pieces
After cutting your fabric, you should have the following pieces: two body pieces for the front and back in shell fabric, two body pieces for the front and back in lining fabric, one side piece in shell fabric, one side piece in lining fabric, two zipper side pieces in shell fabric, two zipper side pieces in lining fabric, and one closed end zipper with the same width as the zipper opening.

Interfacing
If you're using a light fabric you may want to add fuse interfacing to your fabric first. Place the sticky or glue side of the interfacing against the wrong side of either the lining or shell fabric, depending on your preference. Press to fuse before beginning assembly.
Body Assembly
Stack one body piece with its lining, wrong sides together. Edge stitch around the perimeter to secure the lining in place. Repeat with the opposite body piece.

Piping
Piping is optional and can be made by cutting bias strips and wrapping them around a piping cord. Use cotton piping cord, cotton rope, or soft nylon cord. Choose a size between 3 mm and 5 mm depending on how bold you want the edge to look. Stitch close to the cord using a zipper or piping foot to create the piping.

To attach the piping, align the piping along the right side edge of the bag body panels with raw edges matching and the raw piping edges, and the cord side facing inward. Baste it in place or sew using a zipper or piping foot. Then cut small clips into the seam allowance along the curved edges so the piping follows the shape smoothly.

Zipper
To install the zipper, place the zipper between one shell zipper side piece and one lining zipper side piece, with right sides facing and the zipper tape aligned with the raw edges. Sew along the zipper using a zipper foot. Flip the pieces right side out and topstitch close to the zipper.

Repeat the same steps to attach the remaining shell and lining zipper side pieces to the other side of the zipper.

Attaching the Side/Gusset
Gather the side shell and lining pieces together, wrong sides facing. Sandwich one end of the assembled zipper panel between the side pieces, aligning all raw edges.
For connecting a strap, insert the folded nylon loops with D rings between the layers at this time. Sew across the end to secure.


Align the opposite ends of the side pieces with the other end of the zipper panel, making sure everything stays evenly matched. Sew to attach the remaining end.

Flip the bag right side out and topstitch around the edges to finish and add structure.

Bag Assembly
With the front body piece right side up, pin the assembled zipper and side piece around the edges, matching notches to keep everything aligned evenly. Clip into the side piece seam allowance along curves if needed to help it ease around the shape. Sew all the way around the perimeter, leaving part of the zipper open so the bag can be turned right side out later.
Trim the seam allowances, then finish the raw edges on the inside of the bag using bias tape or folded nylon trim. Repeat the same steps to attach the back body piece, completing the bag assembly.

Strap
This sewing pattern does not include pattern pieces for an adjustable strap, but you can make one using nylon webbing, two swivel hooks, and one adjustable slider. A standard strap width is 1 inch to 1 1/2 inches. Cut the nylon webbing to an average length of 47 to 55 inches for a crossbody strap, or 28 to 35 inches for a shoulder strap. Adjust as needed for your preference.
Attach one end of the webbing to a swivel hook and stitch it securely in place using a box stitch or several rows of straight stitching. Thread the opposite end through the adjustable slider, then through the second swivel hook, and back through the slider to create an adjustable strap. Attach the finished strap to the D rings on the bag, or use any pre made strap you already have.
Strap Video
Here is a helpful video showing how to make a detachable adjustable strap using nylon webbing, swivel hooks, and a slider: Watch the video tutorial
Instead of adding a strap, you can create a detachable handle by clipping a short handle directly onto the D rings for a handbag style look. This is a great option if you prefer to carry the bag by hand or want a cleaner silhouette. You can also swap the handle for a longer strap at any time, or use any pre made strap you already own.
Videotutorial relacionado
Mire nuestro video tutorial relacionado: sigue un proceso de construcción similar y es una excelente referencia.