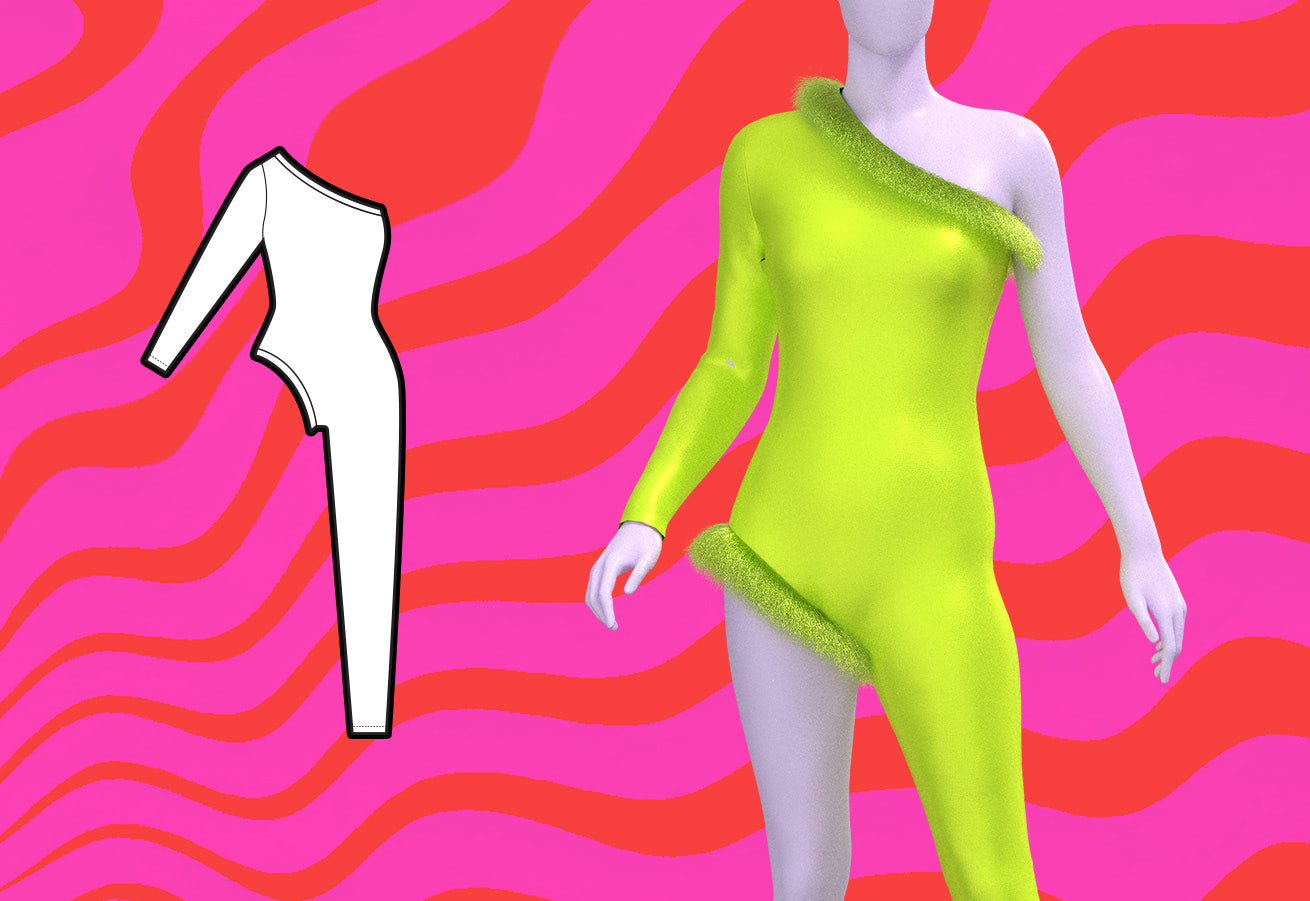
How to Sew an Asymmetrical Catsuit
Jump to InstructionsOverview
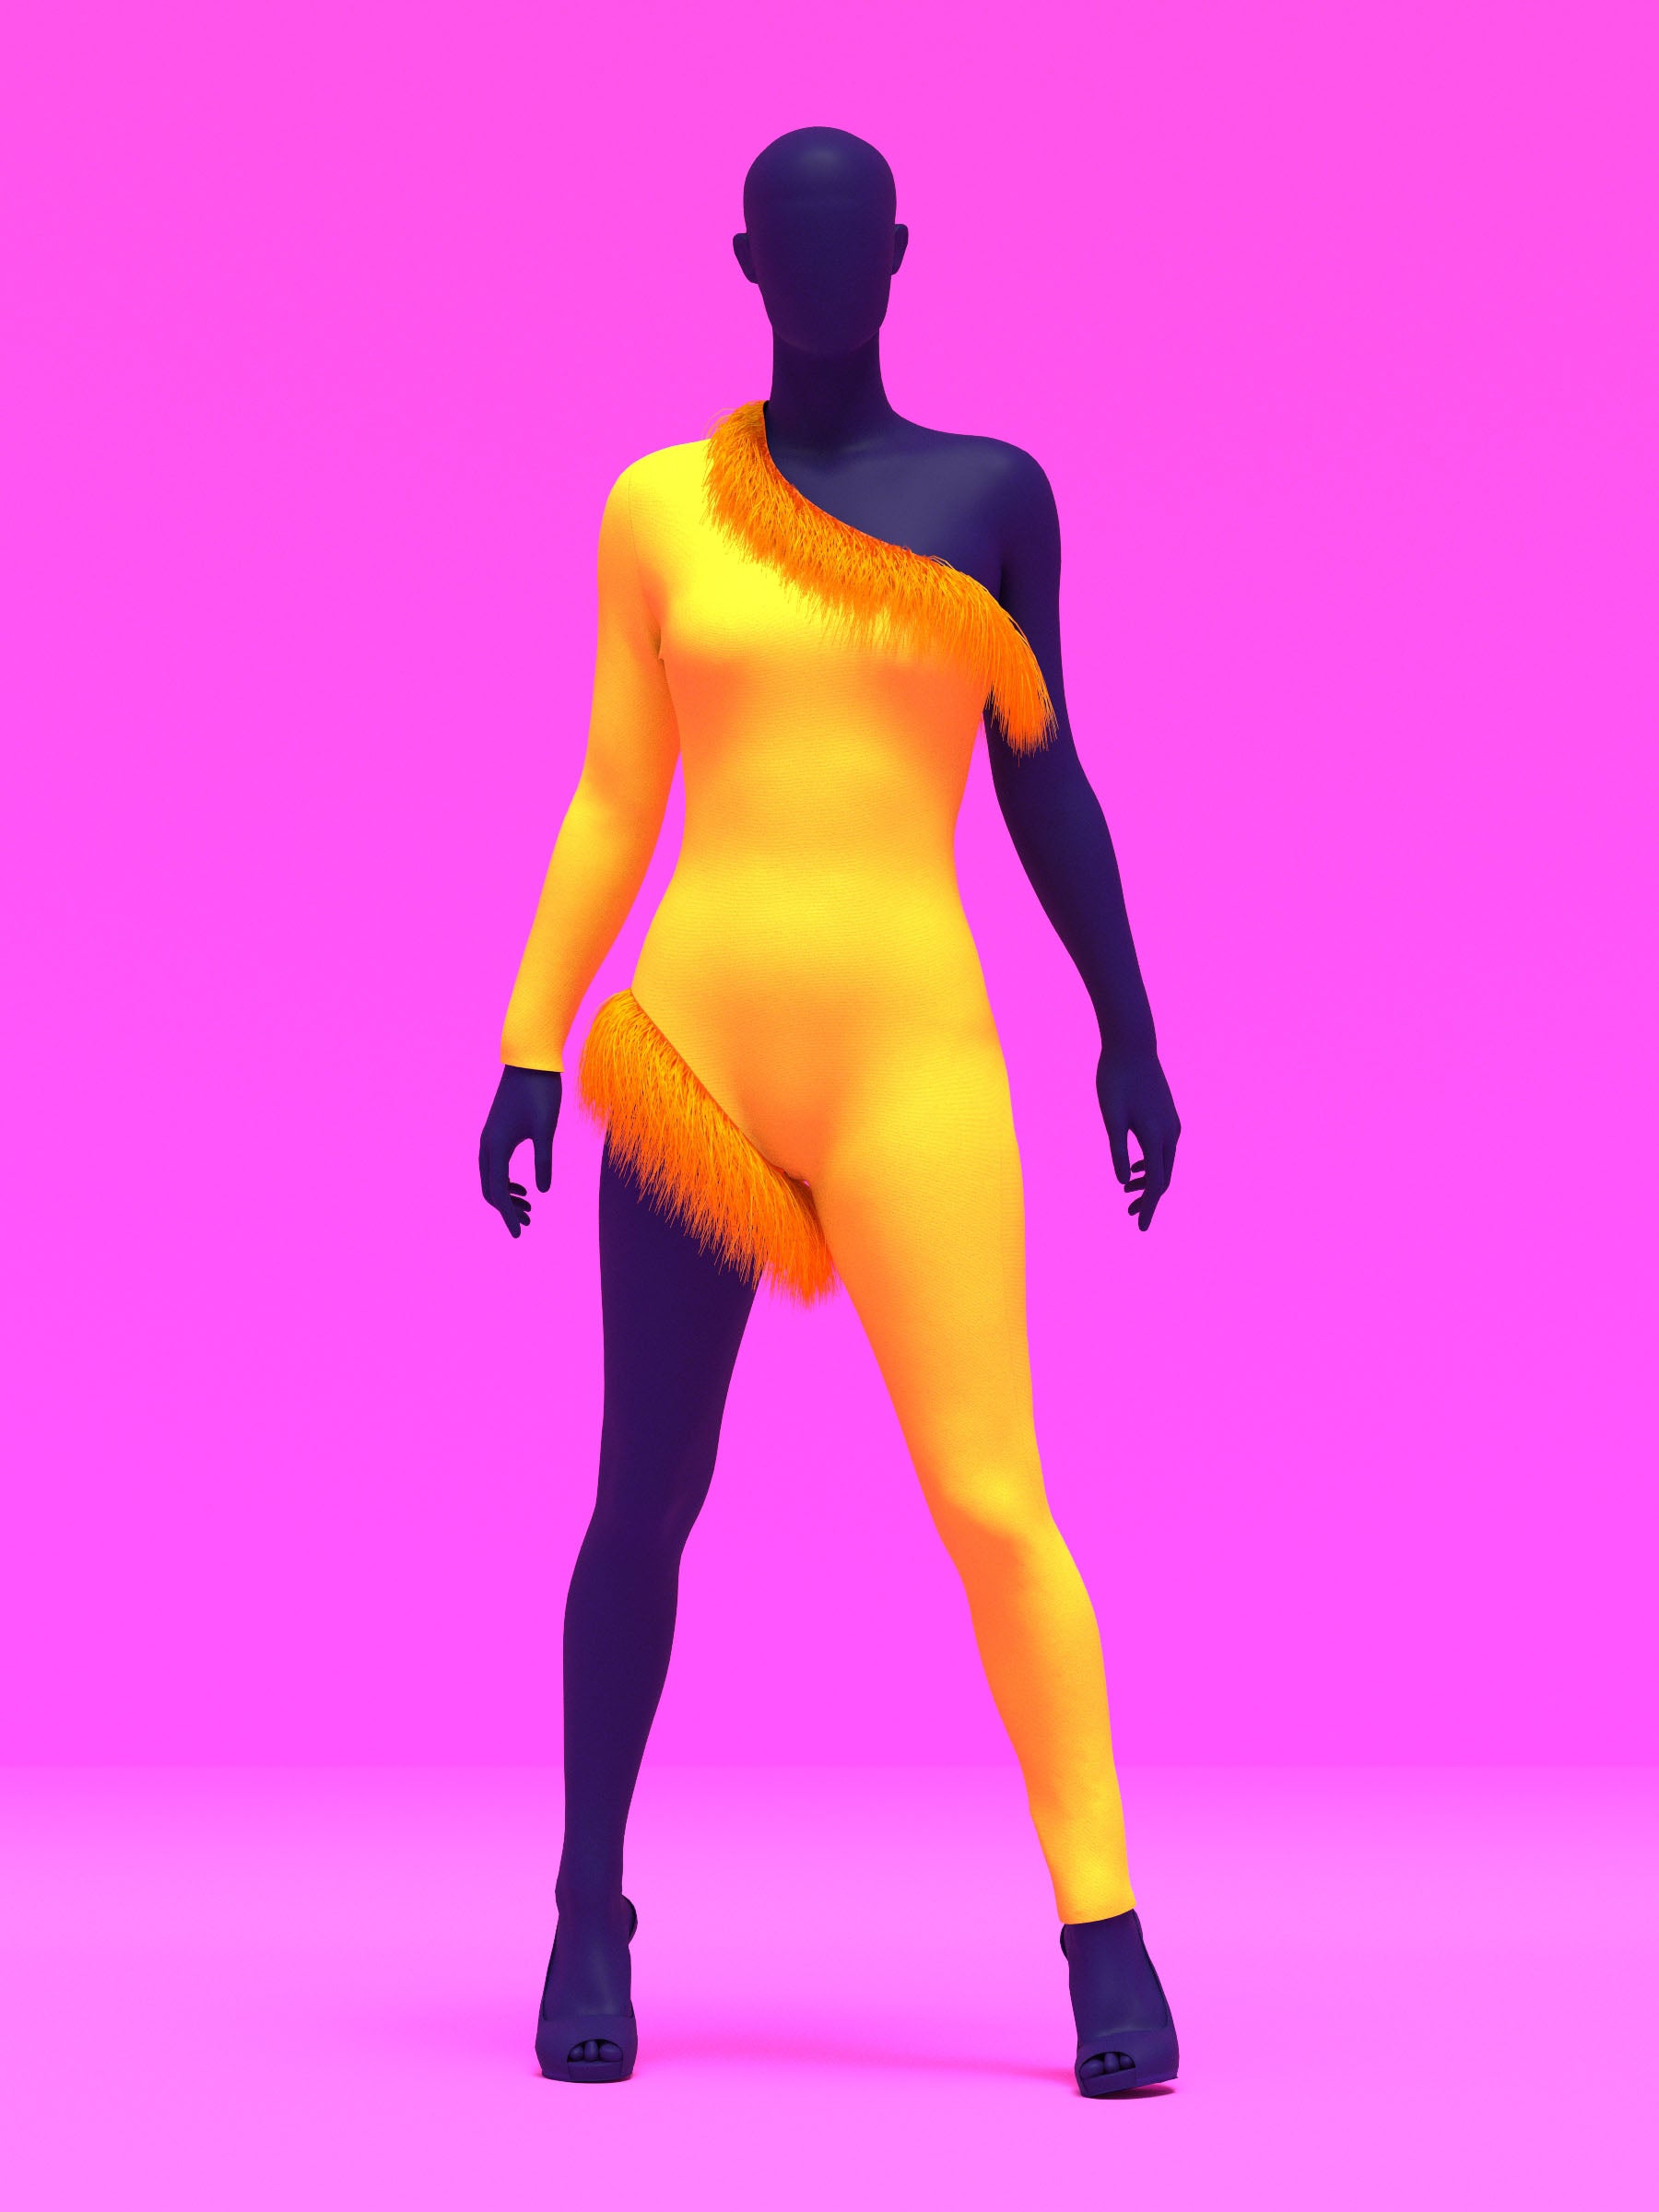
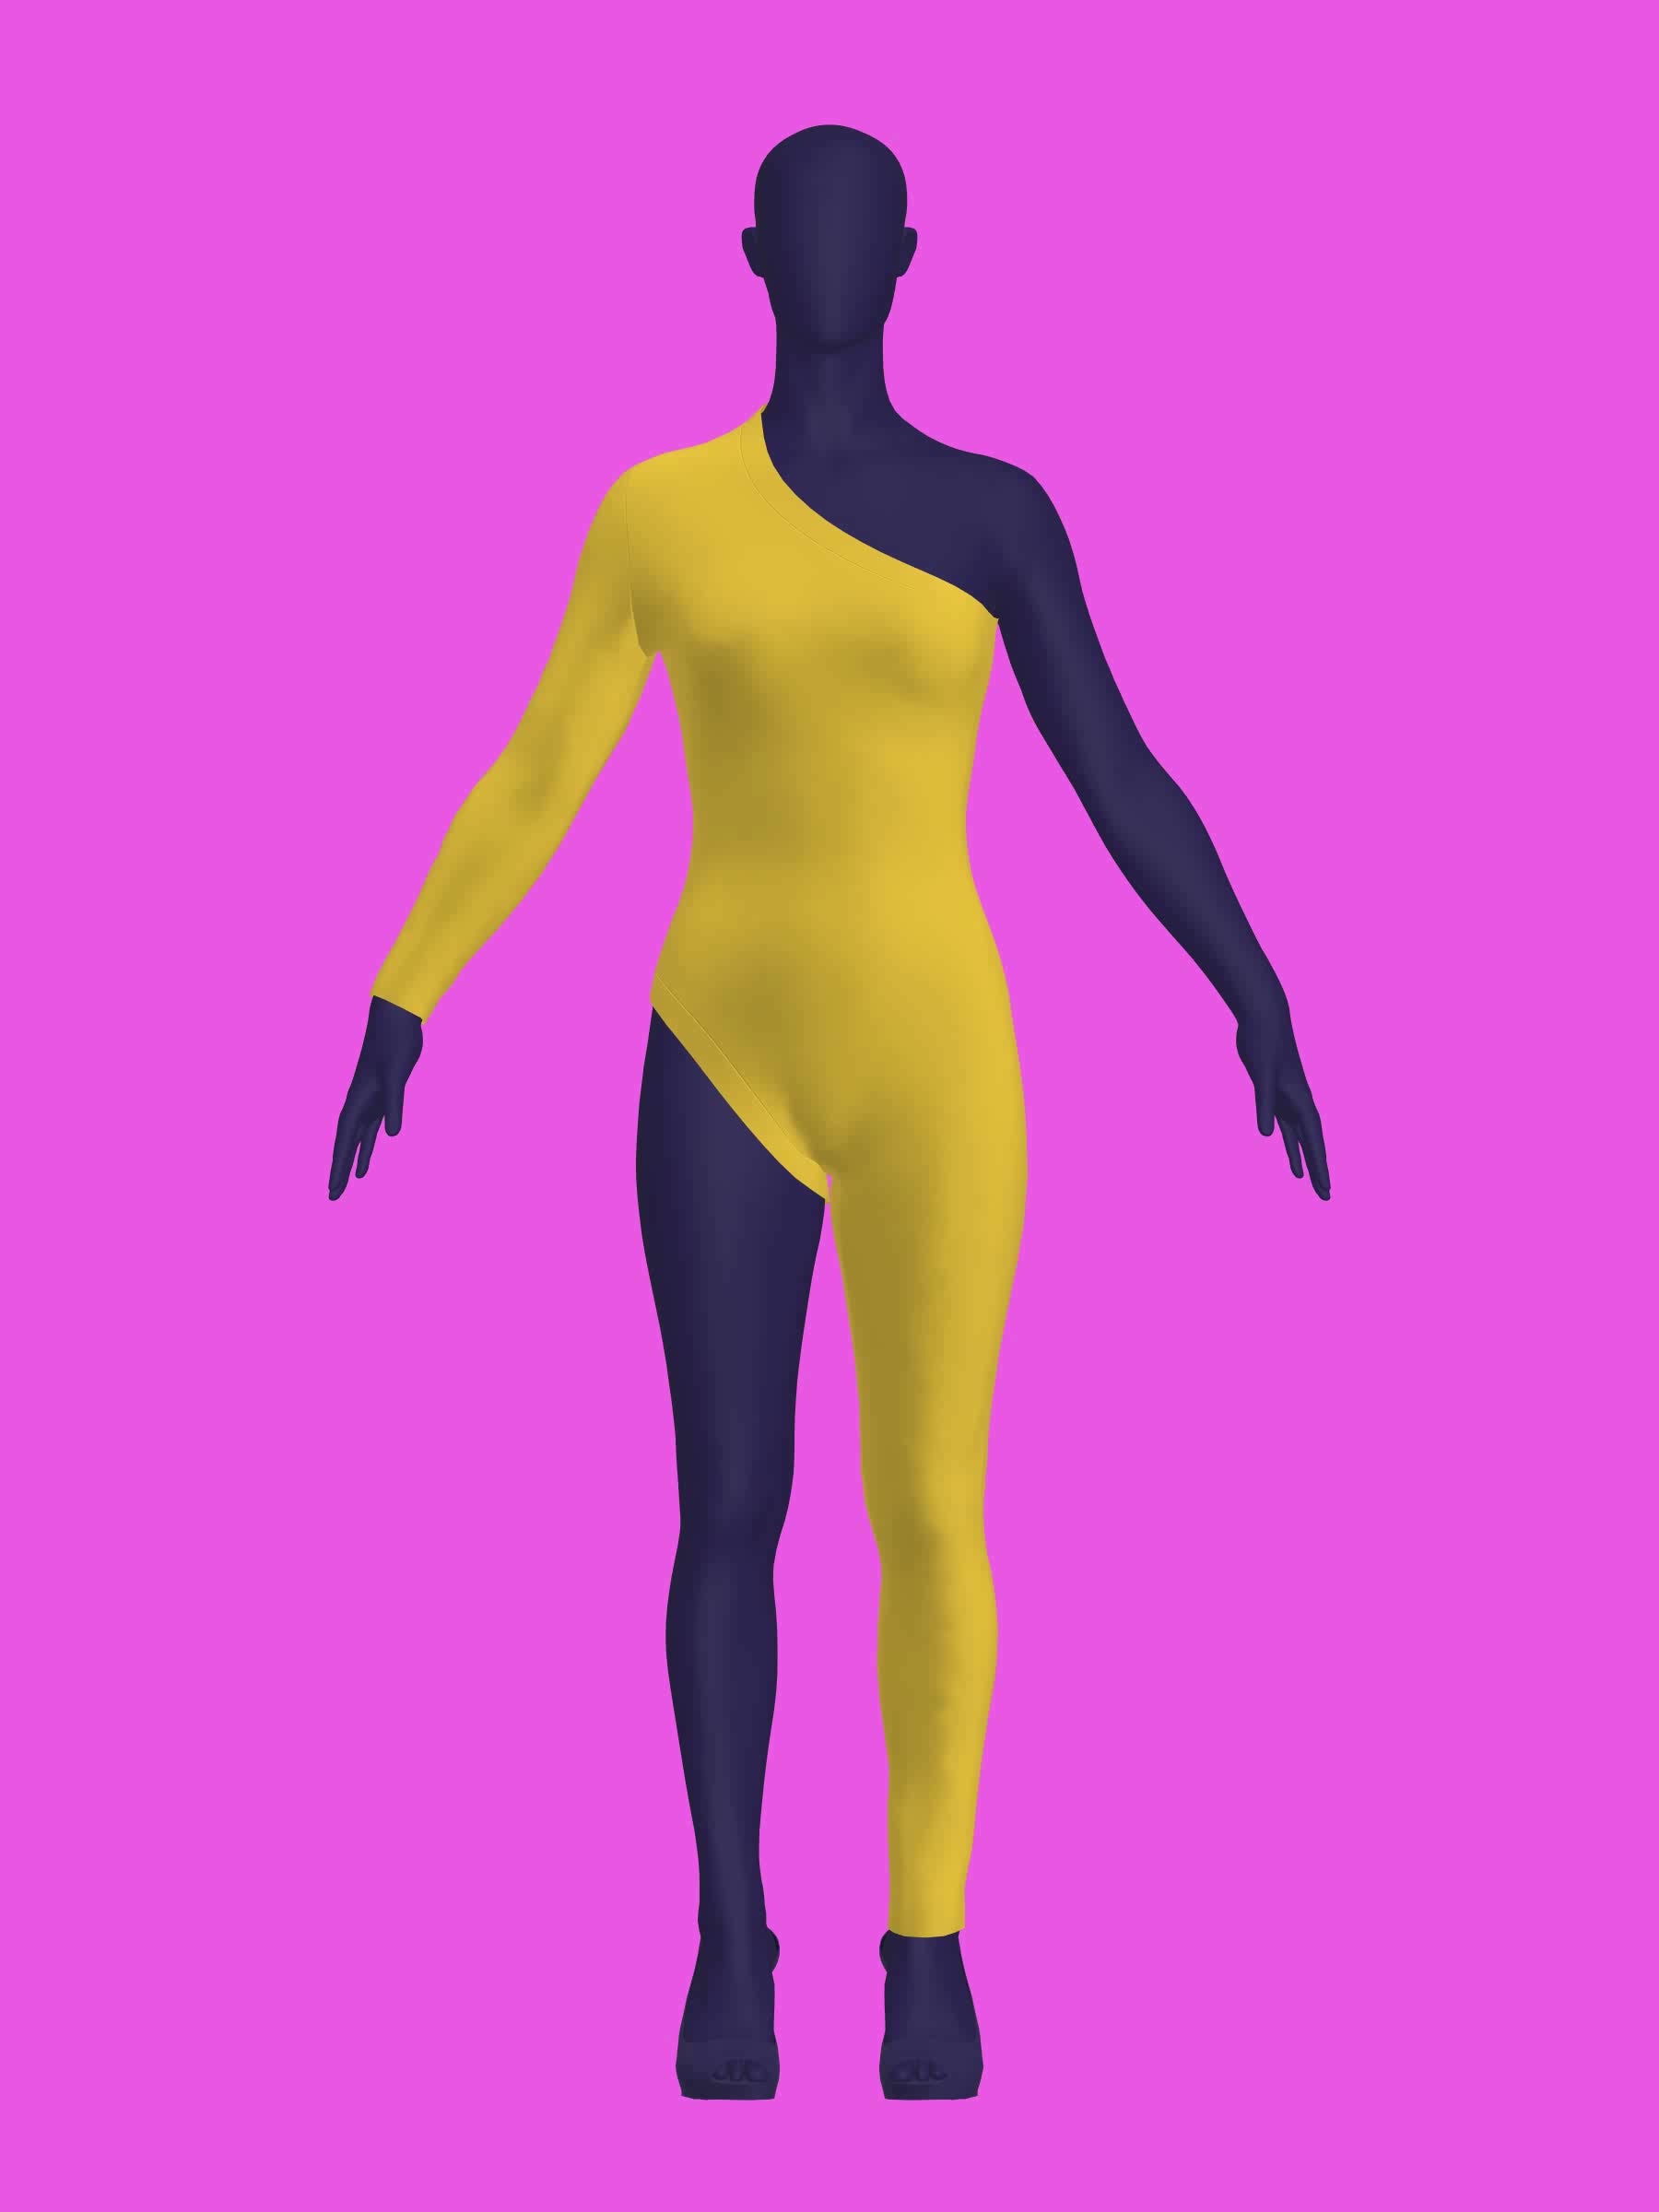
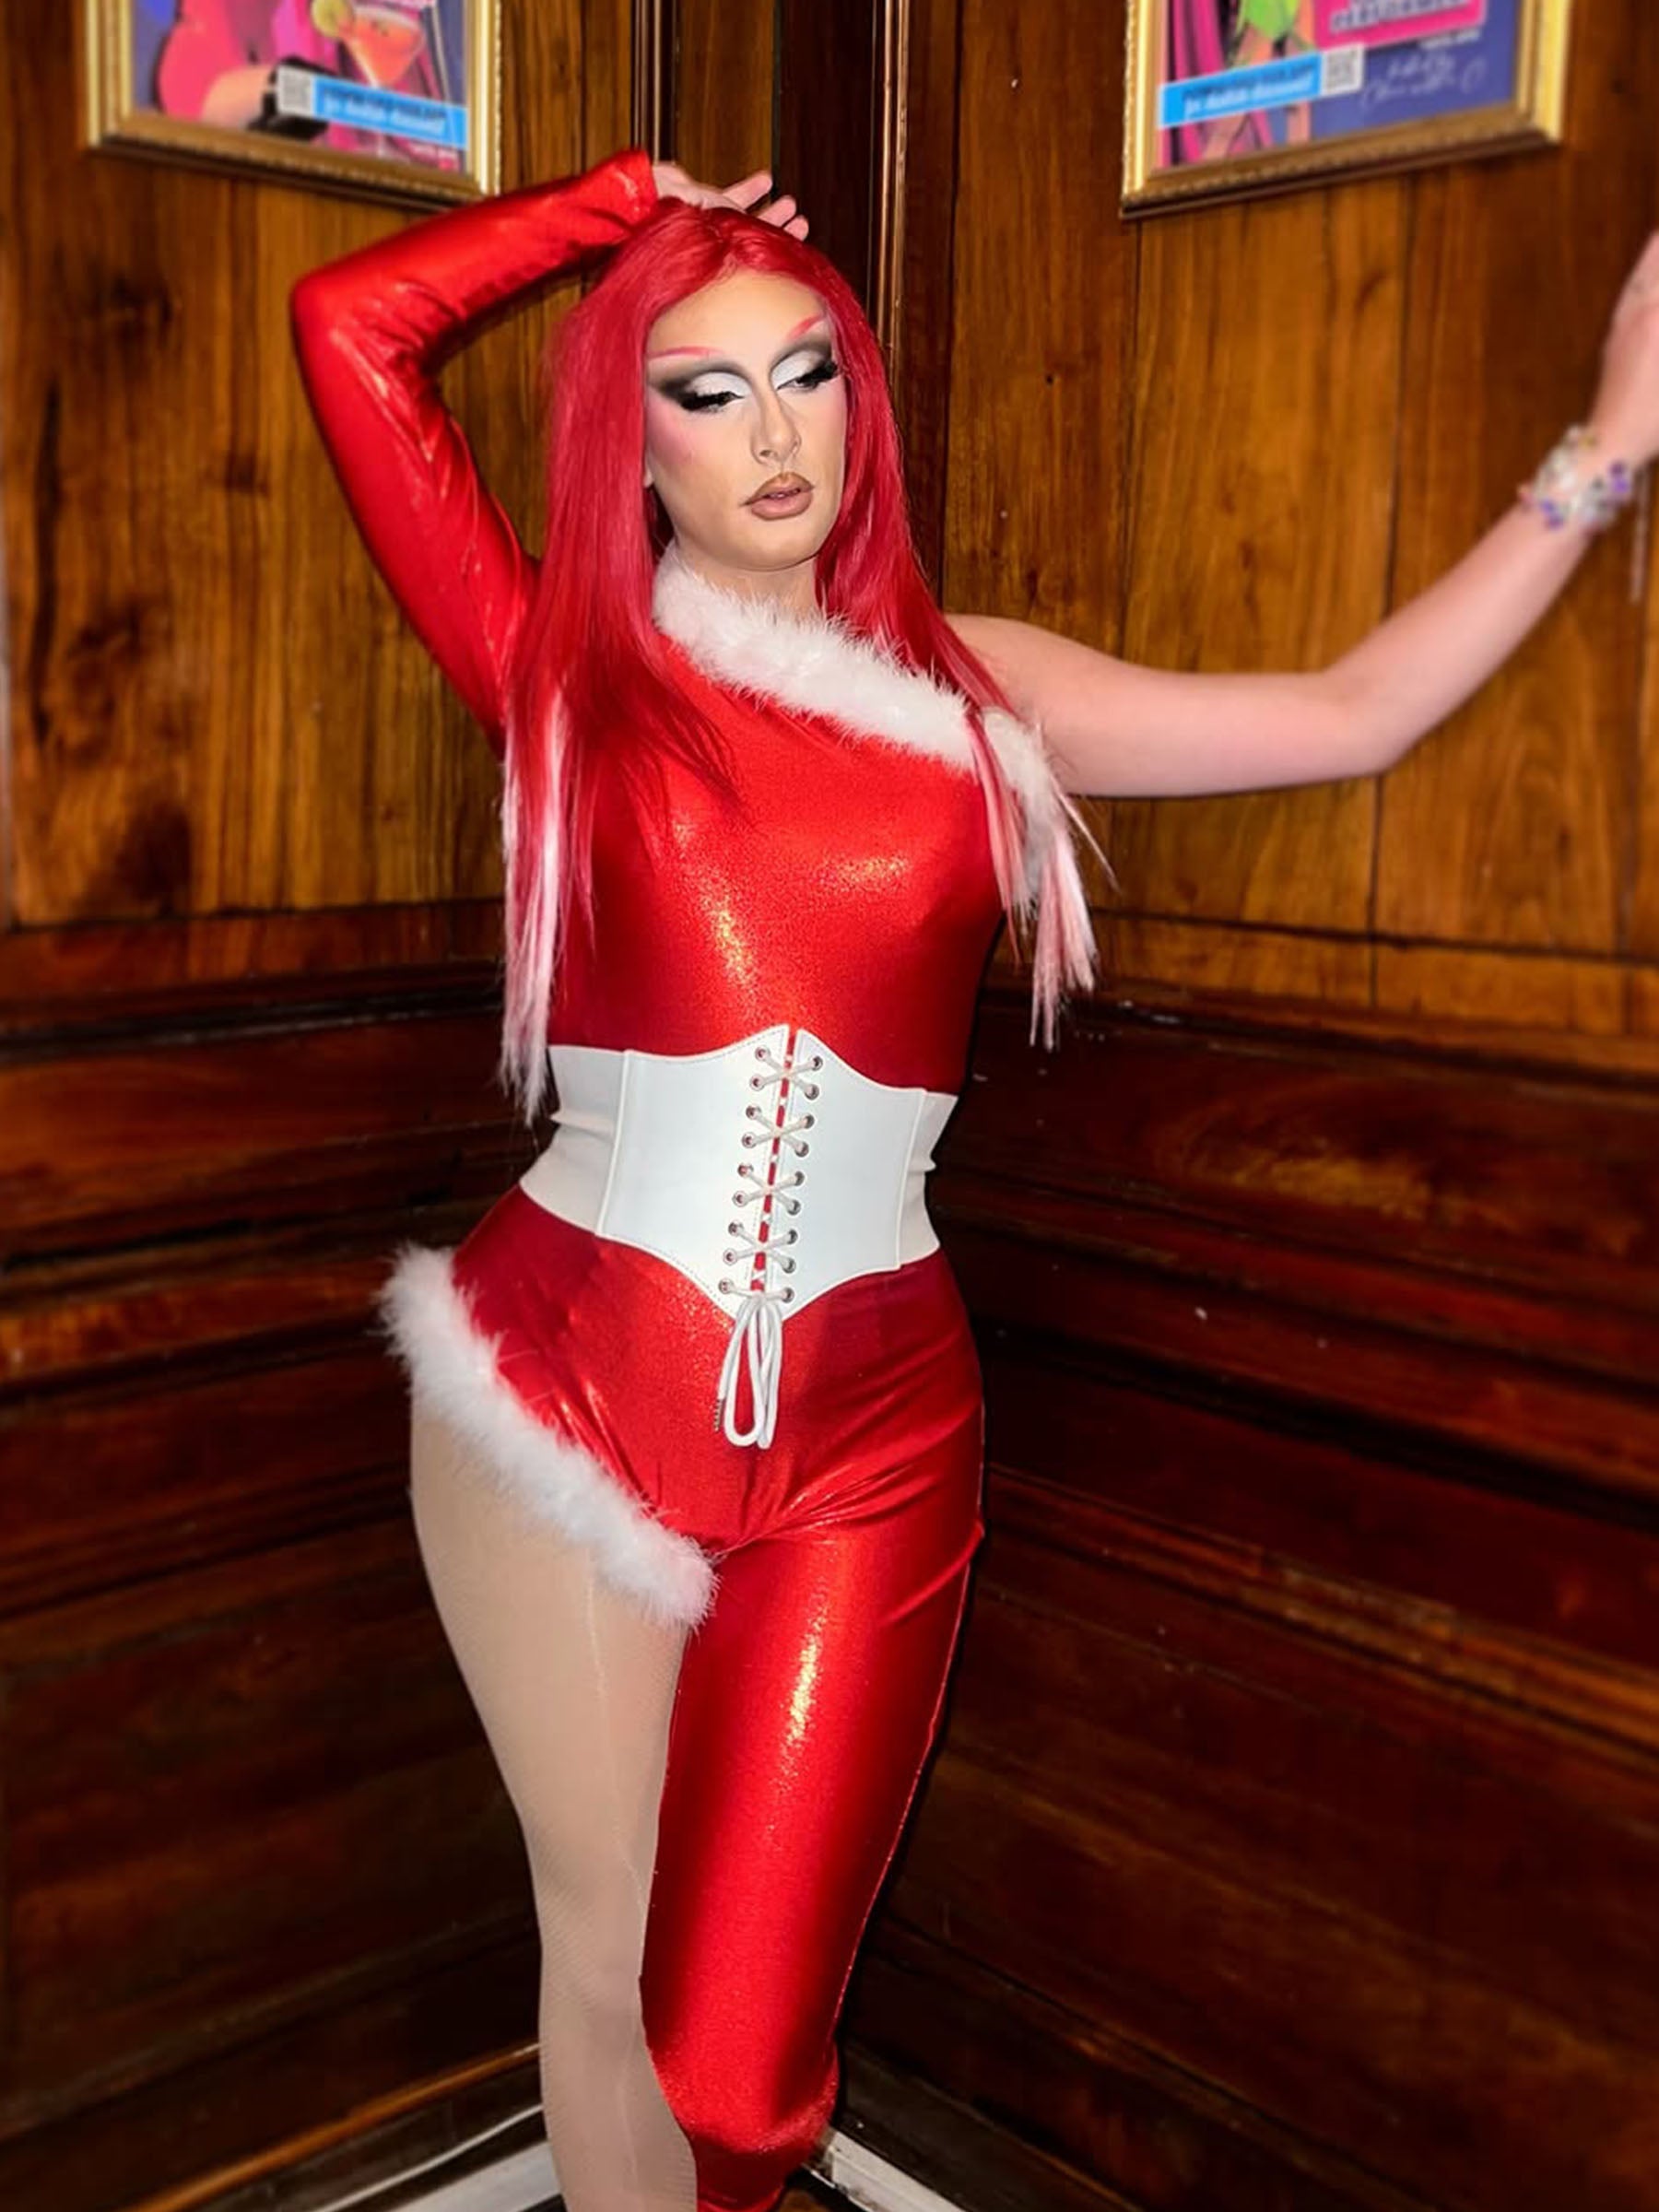
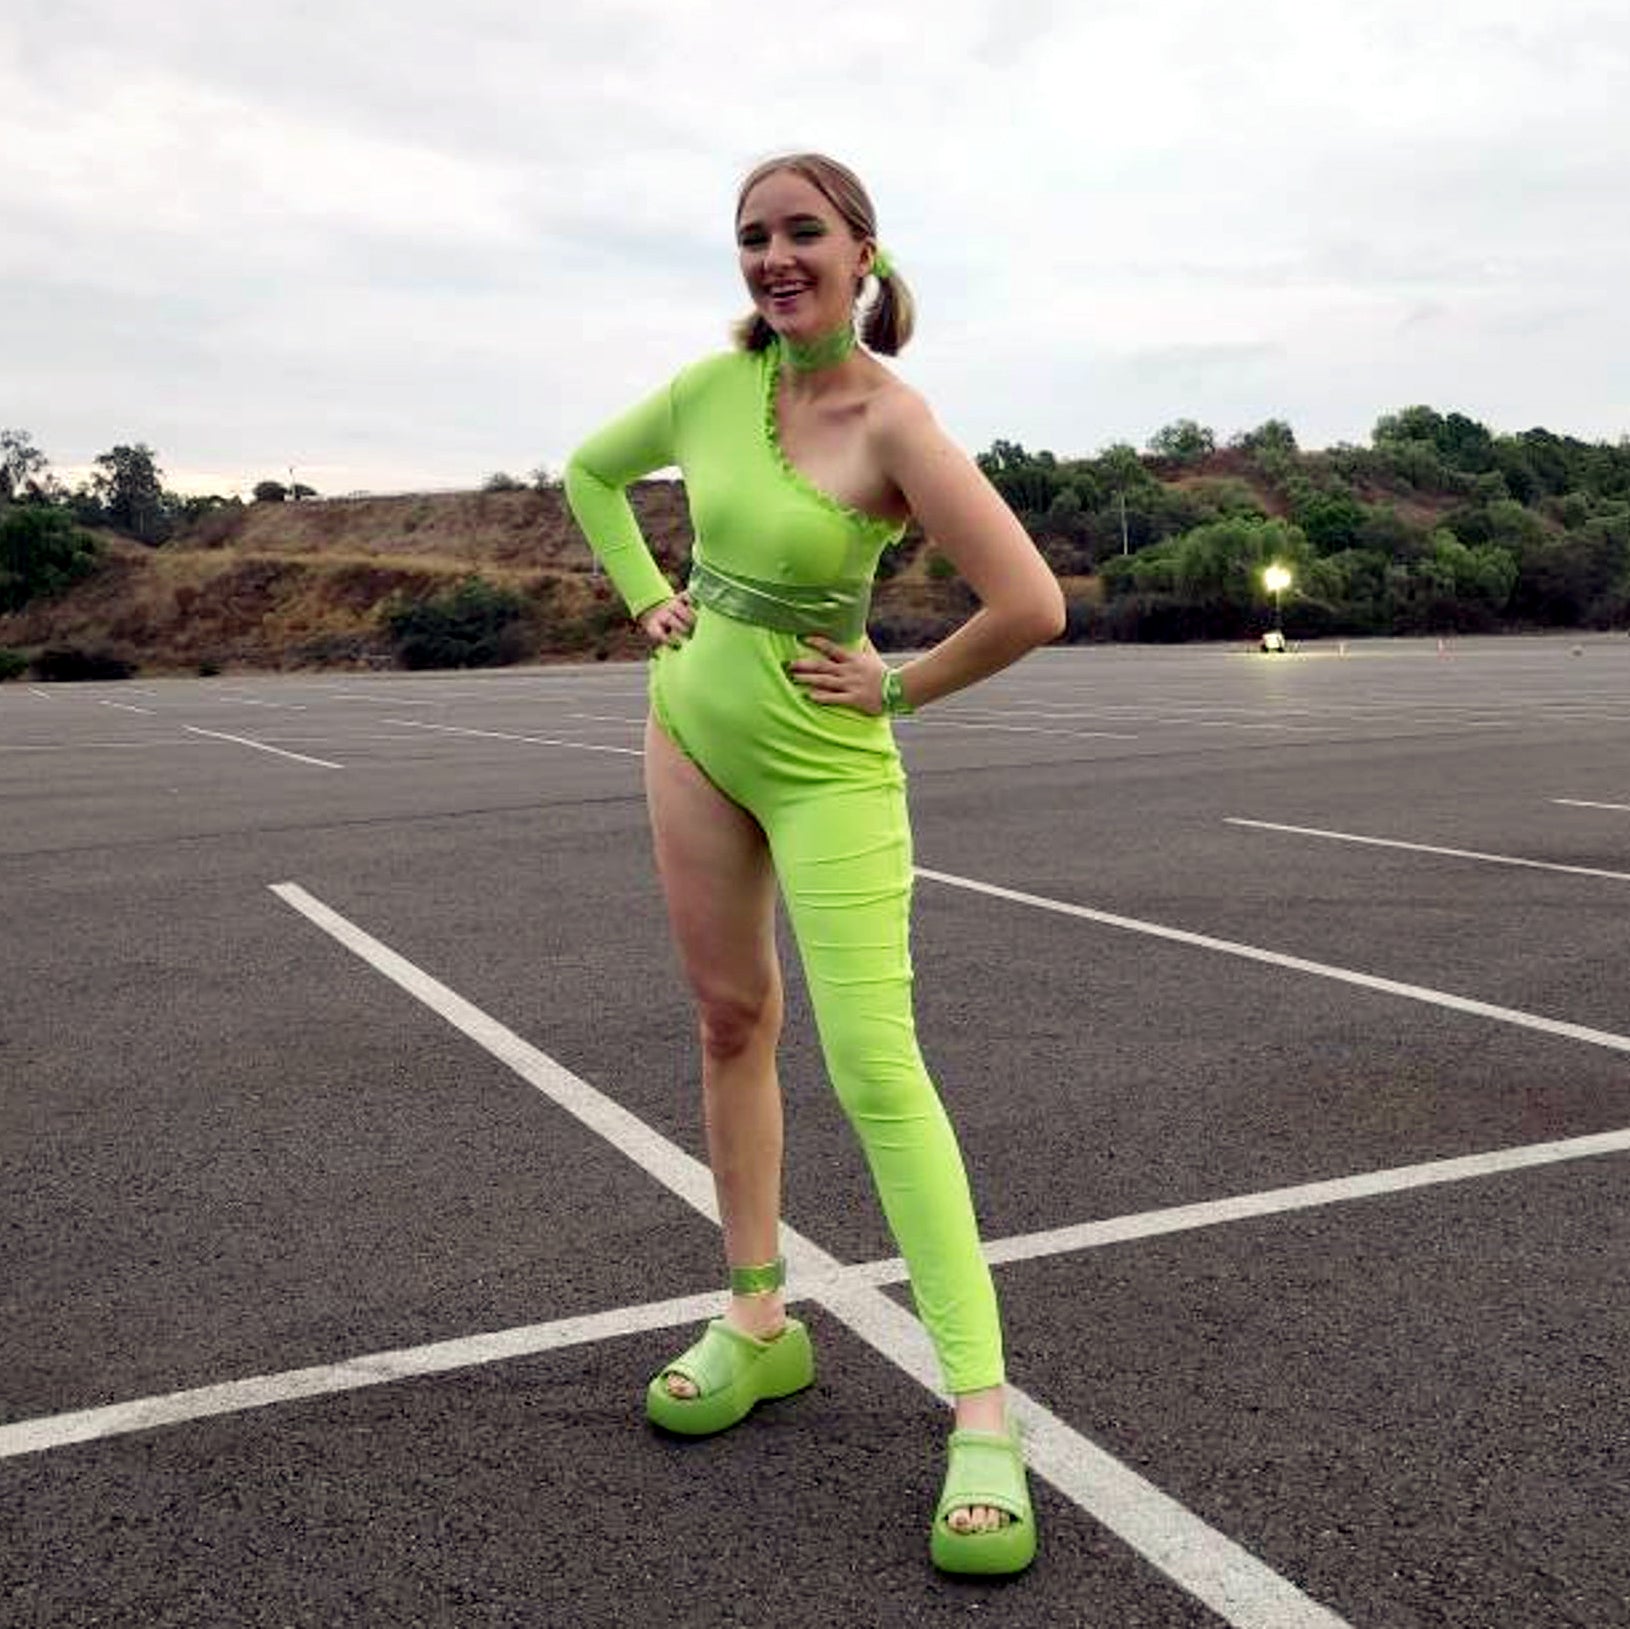
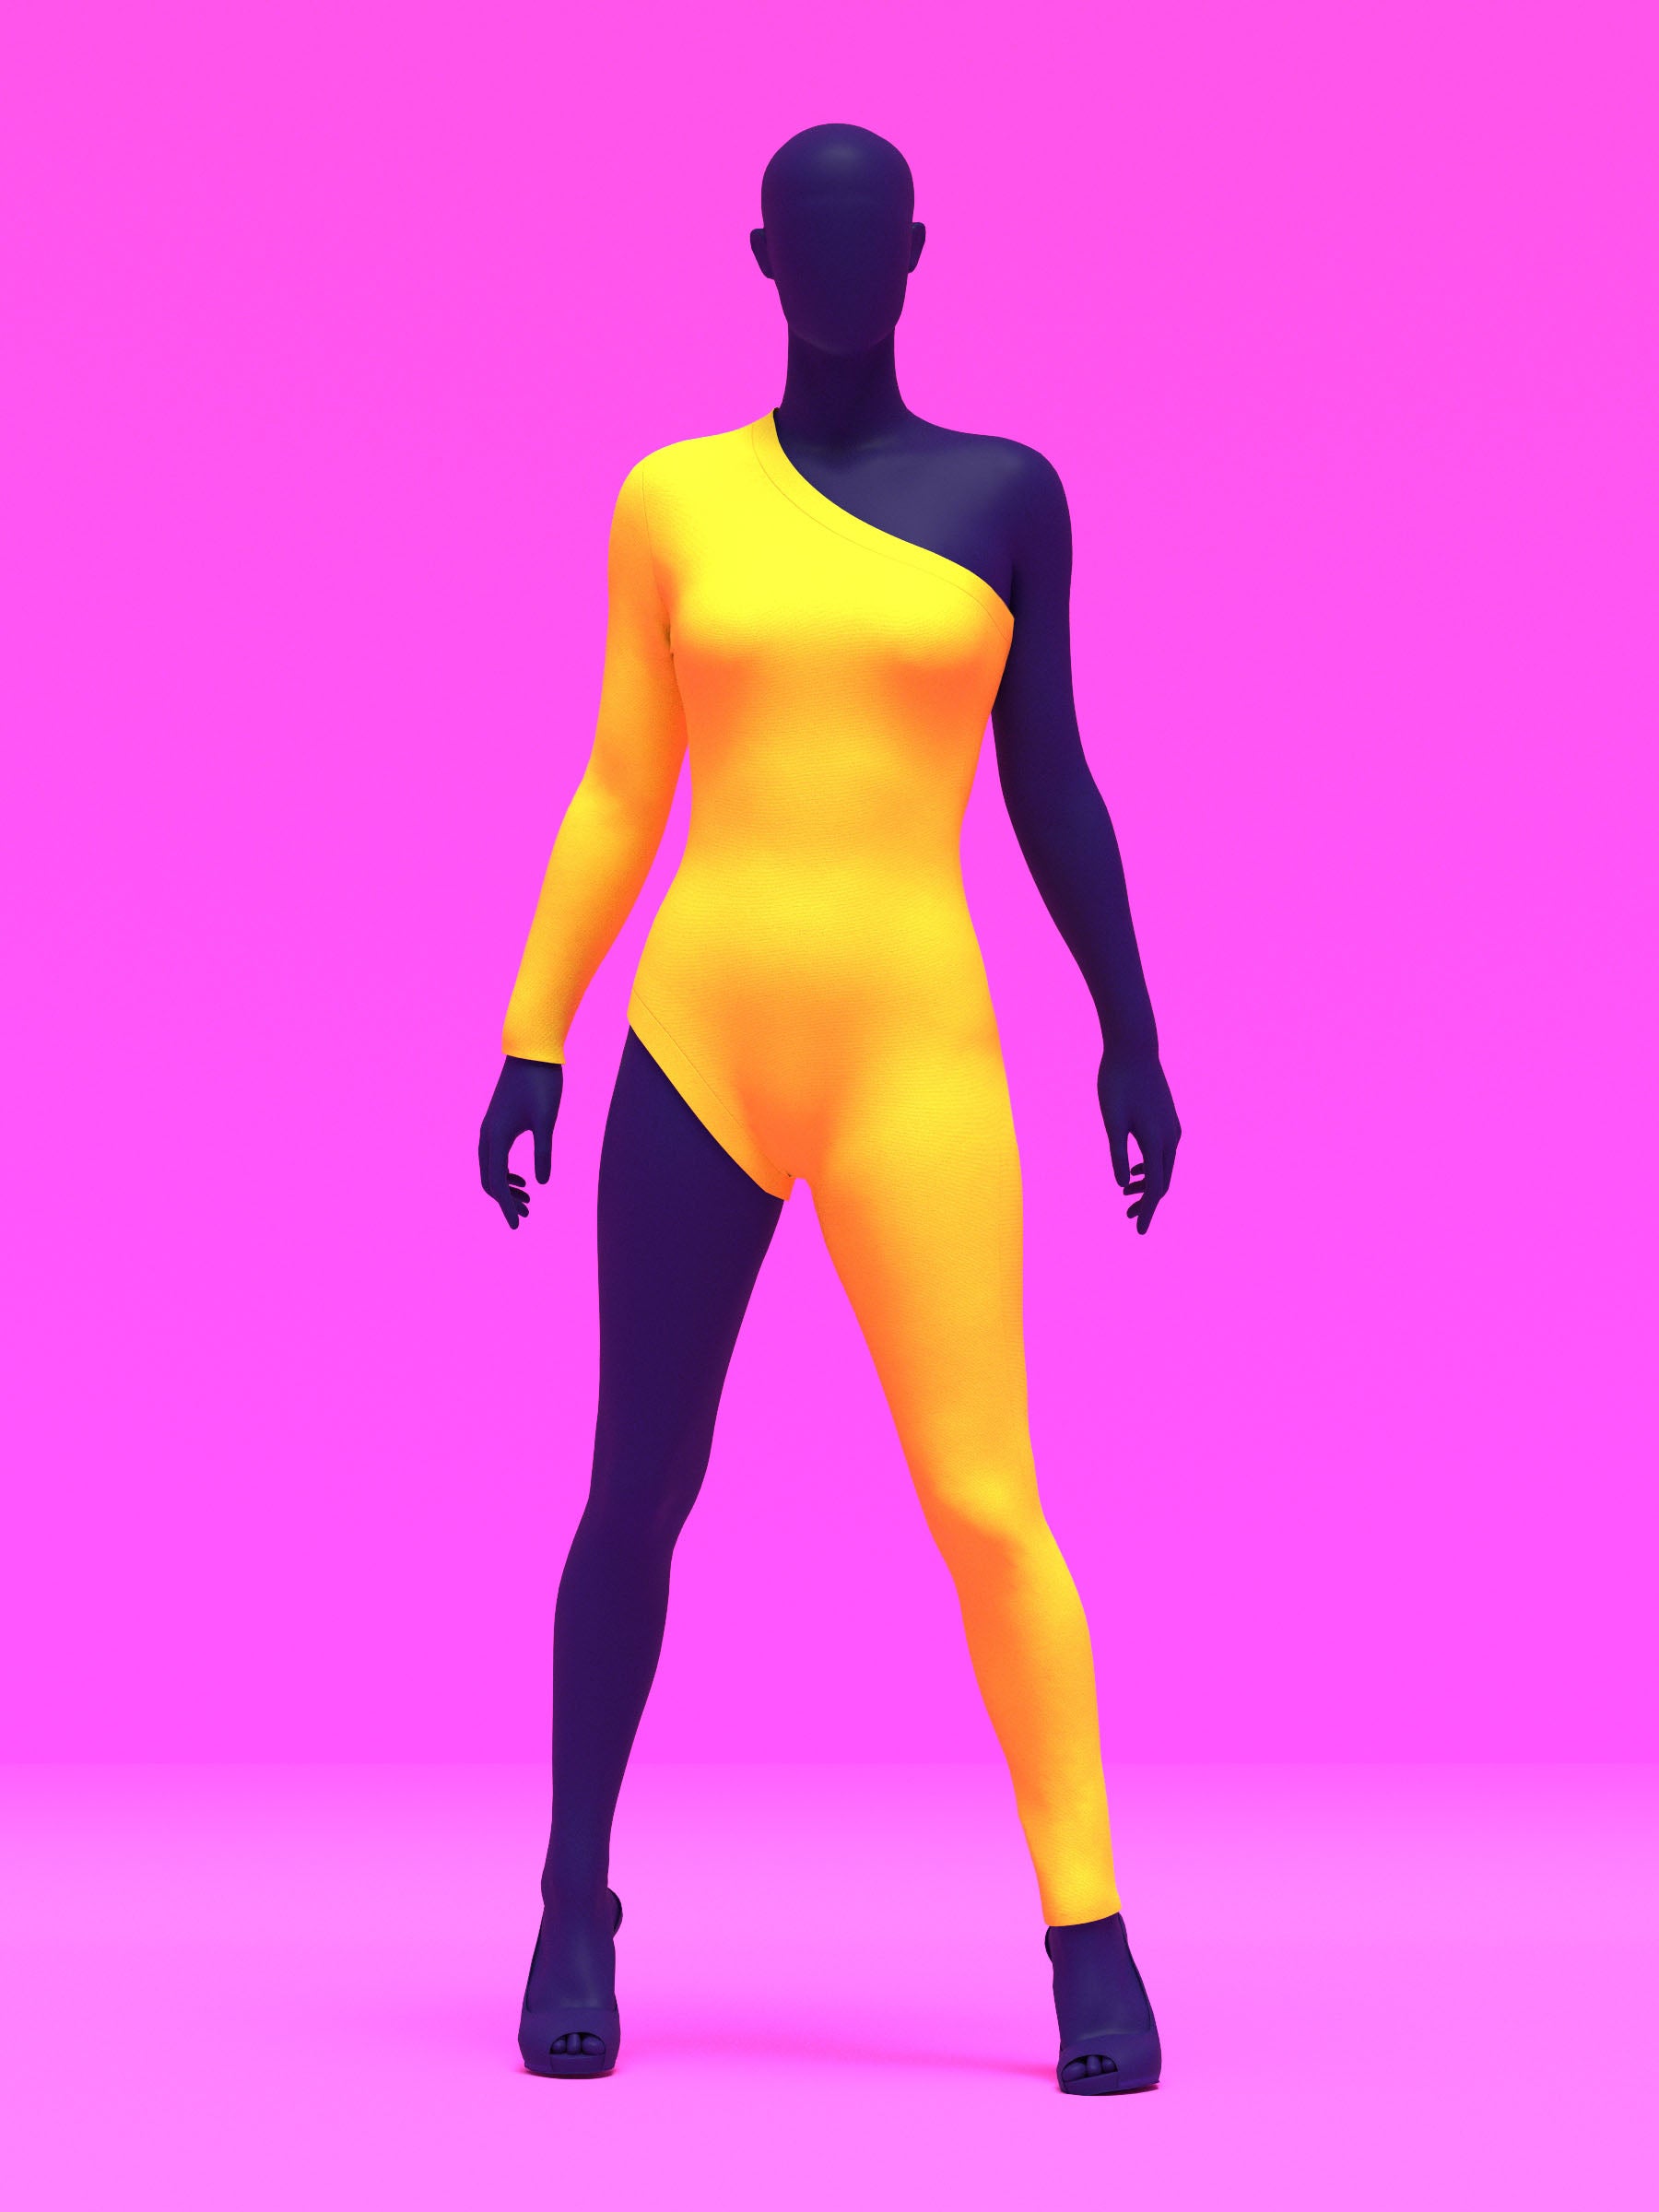
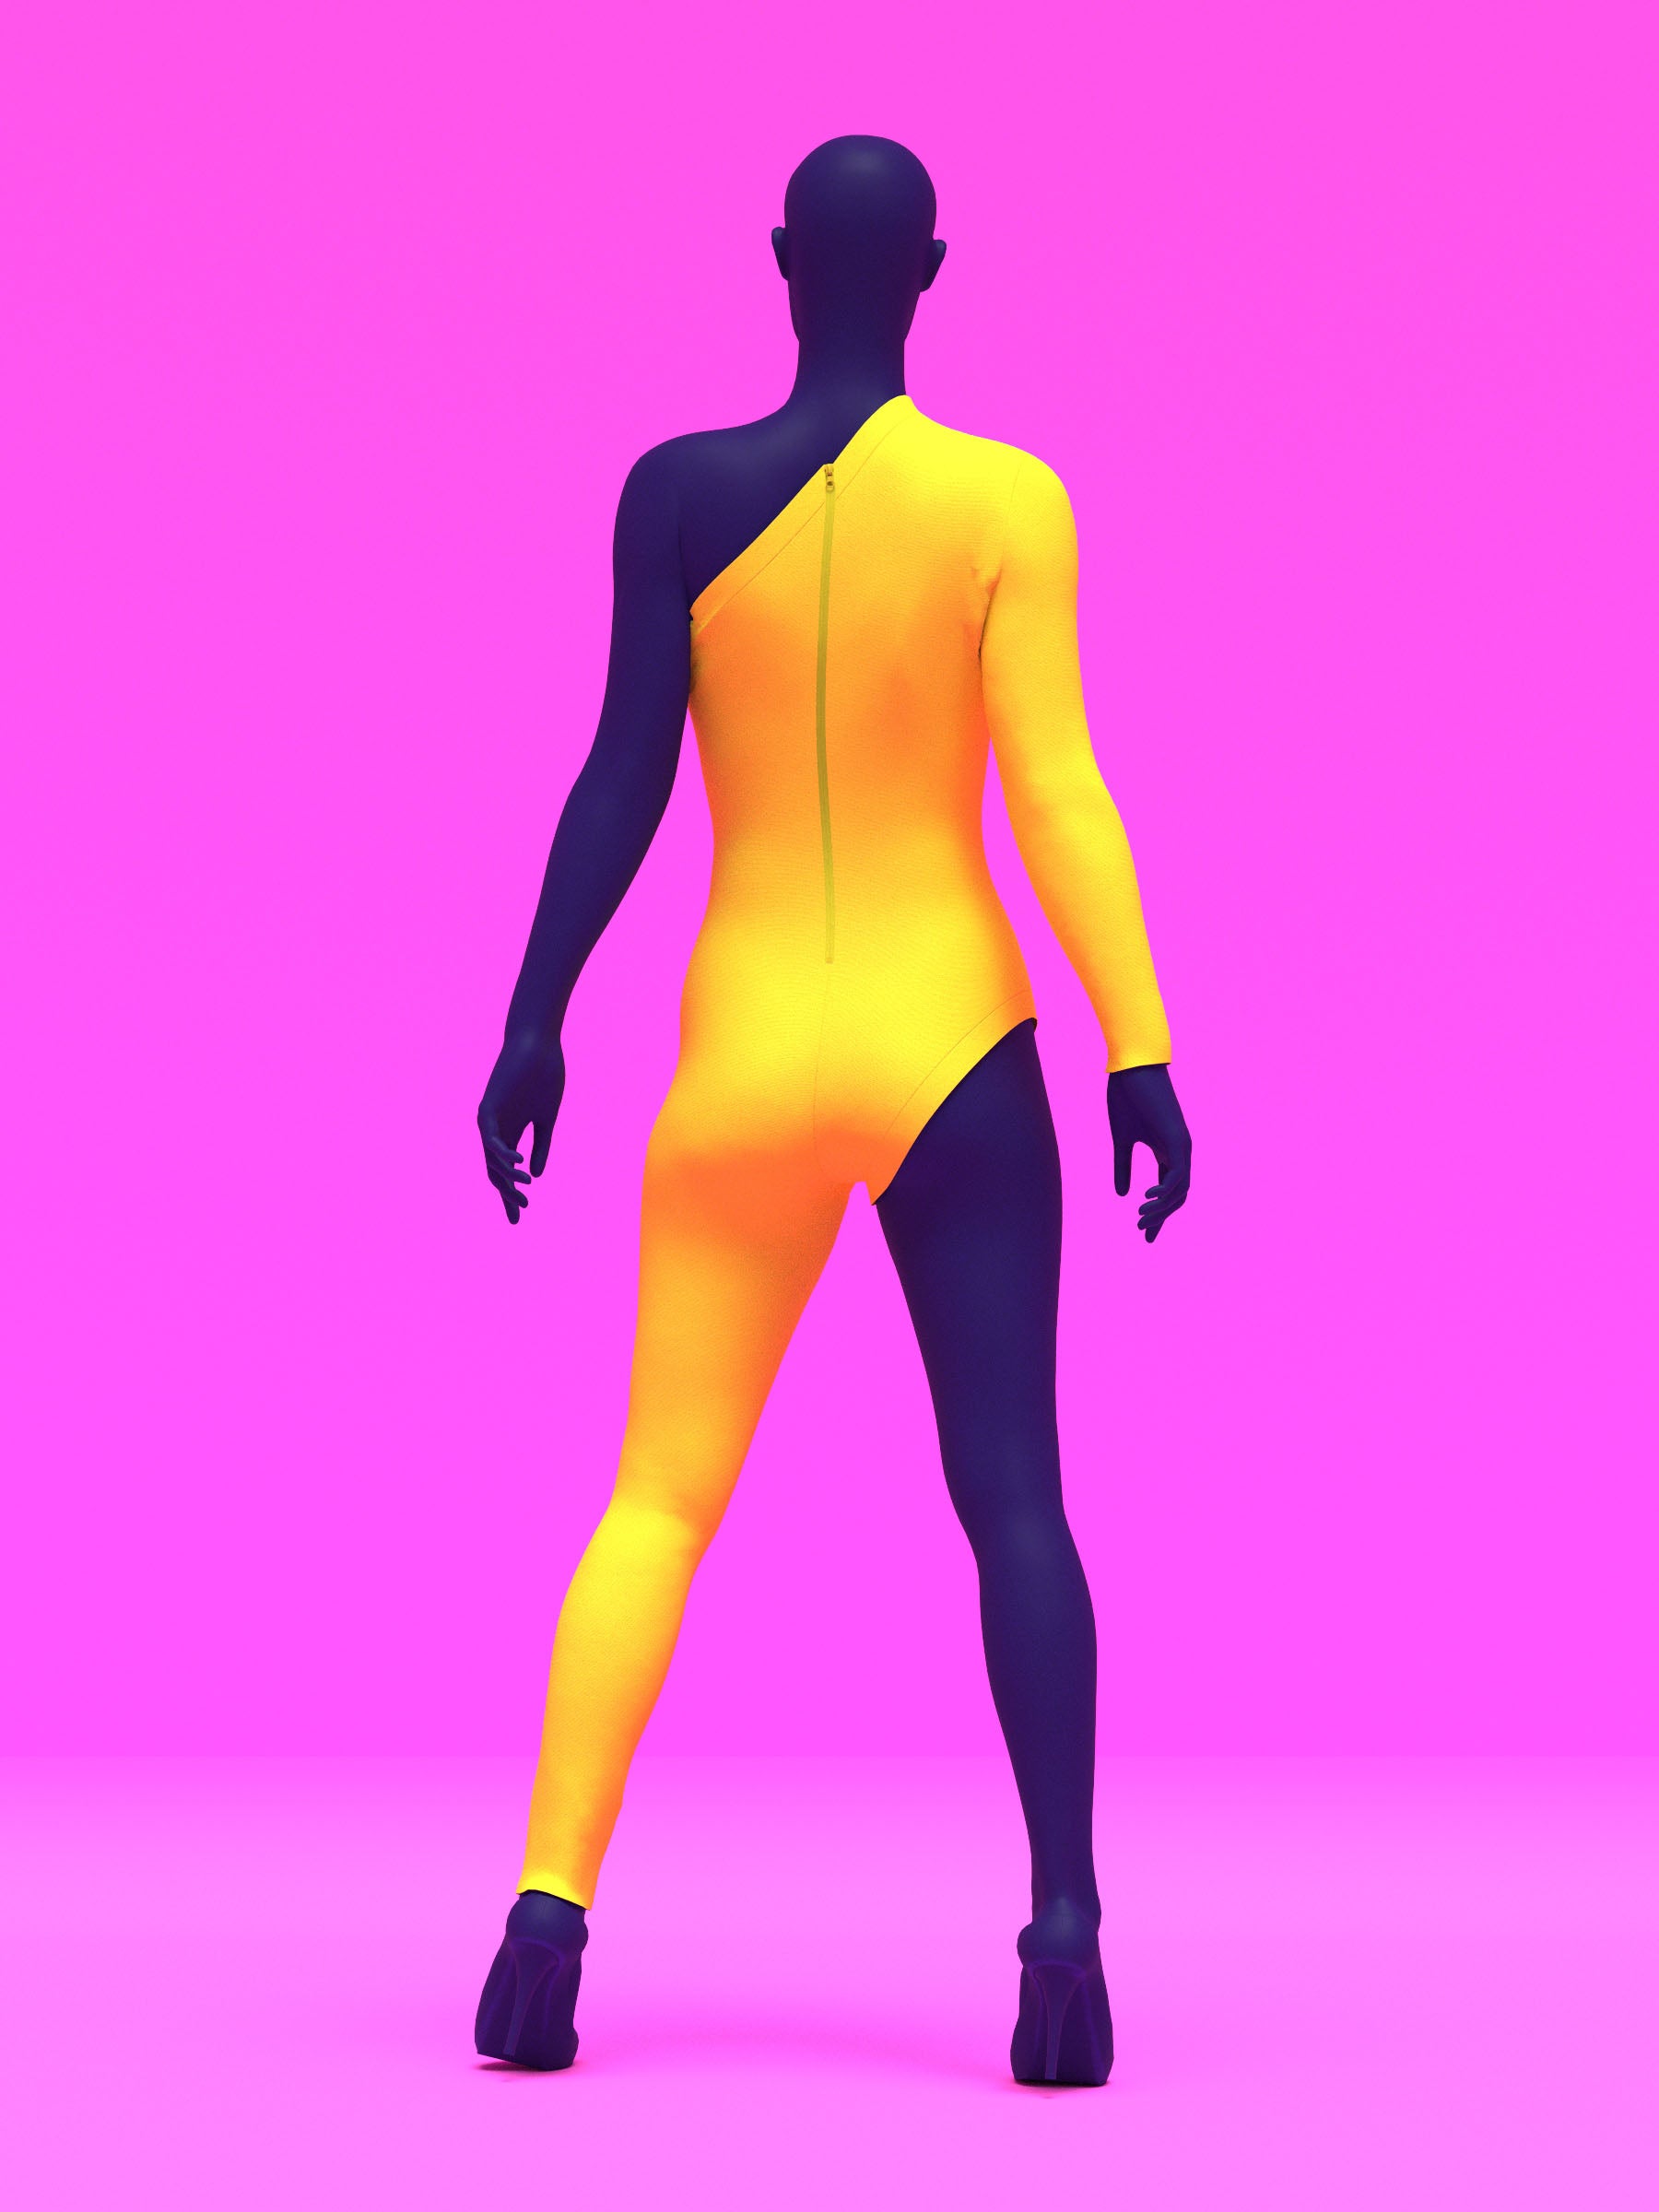
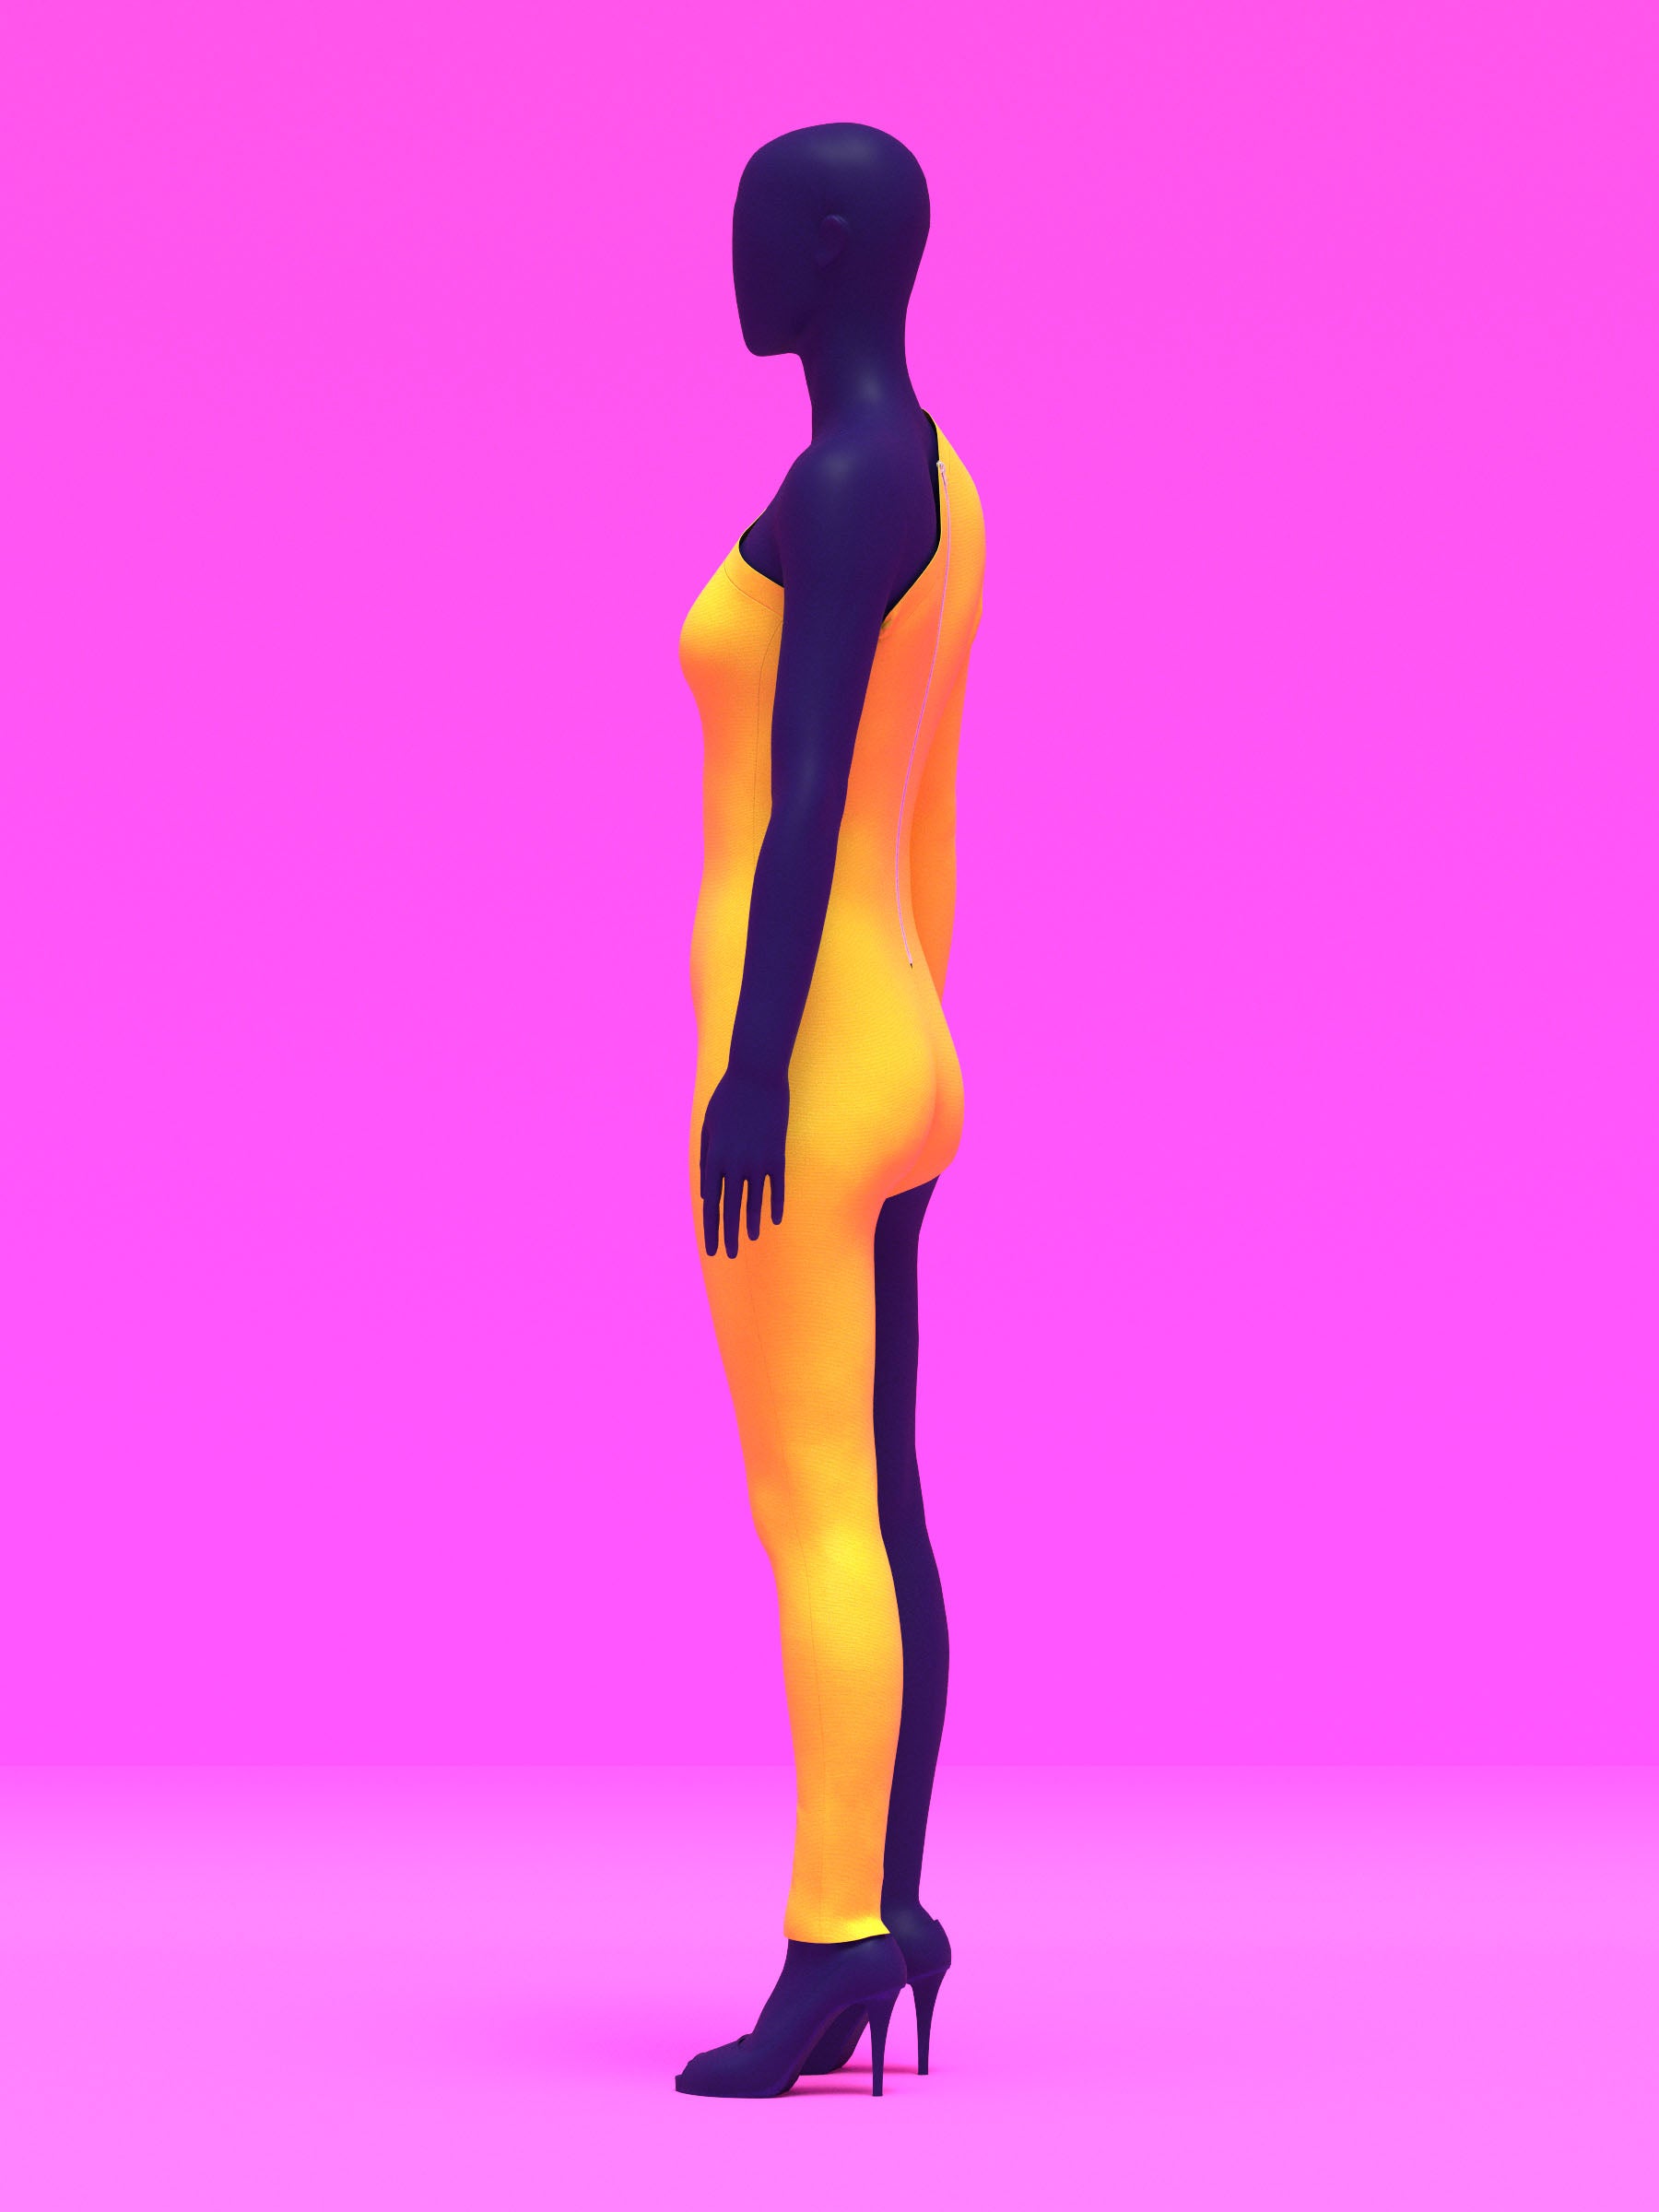
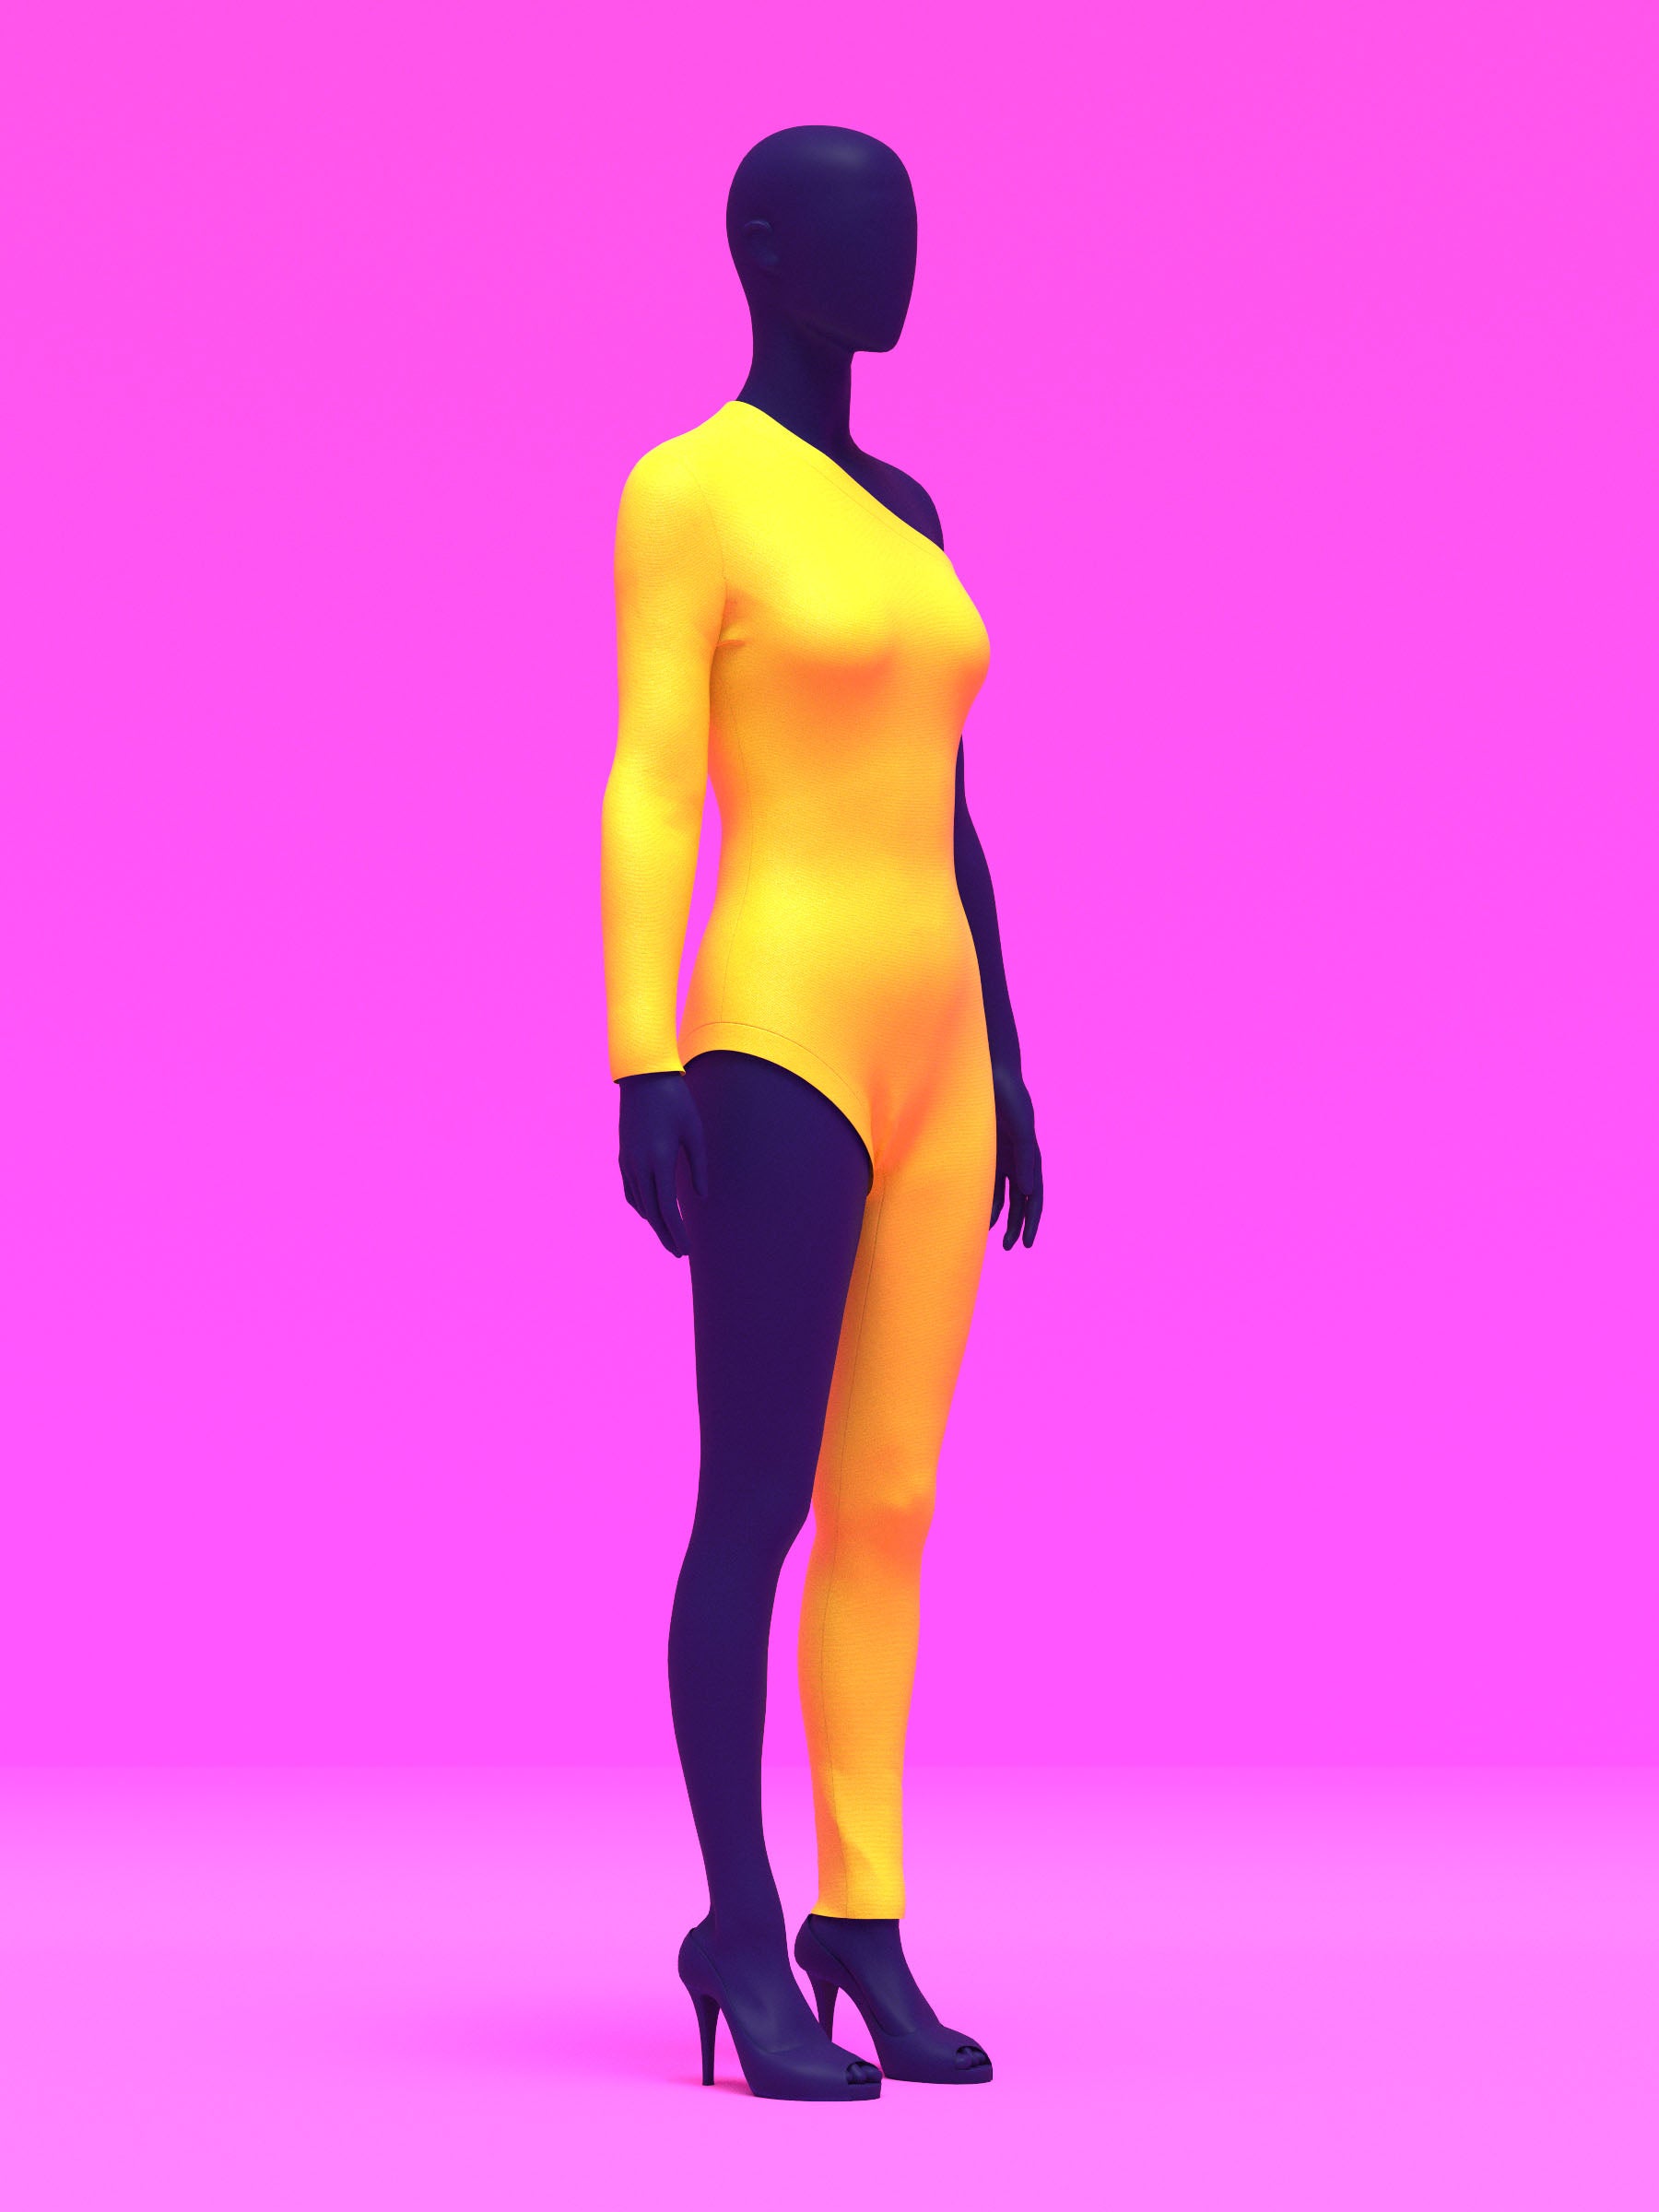
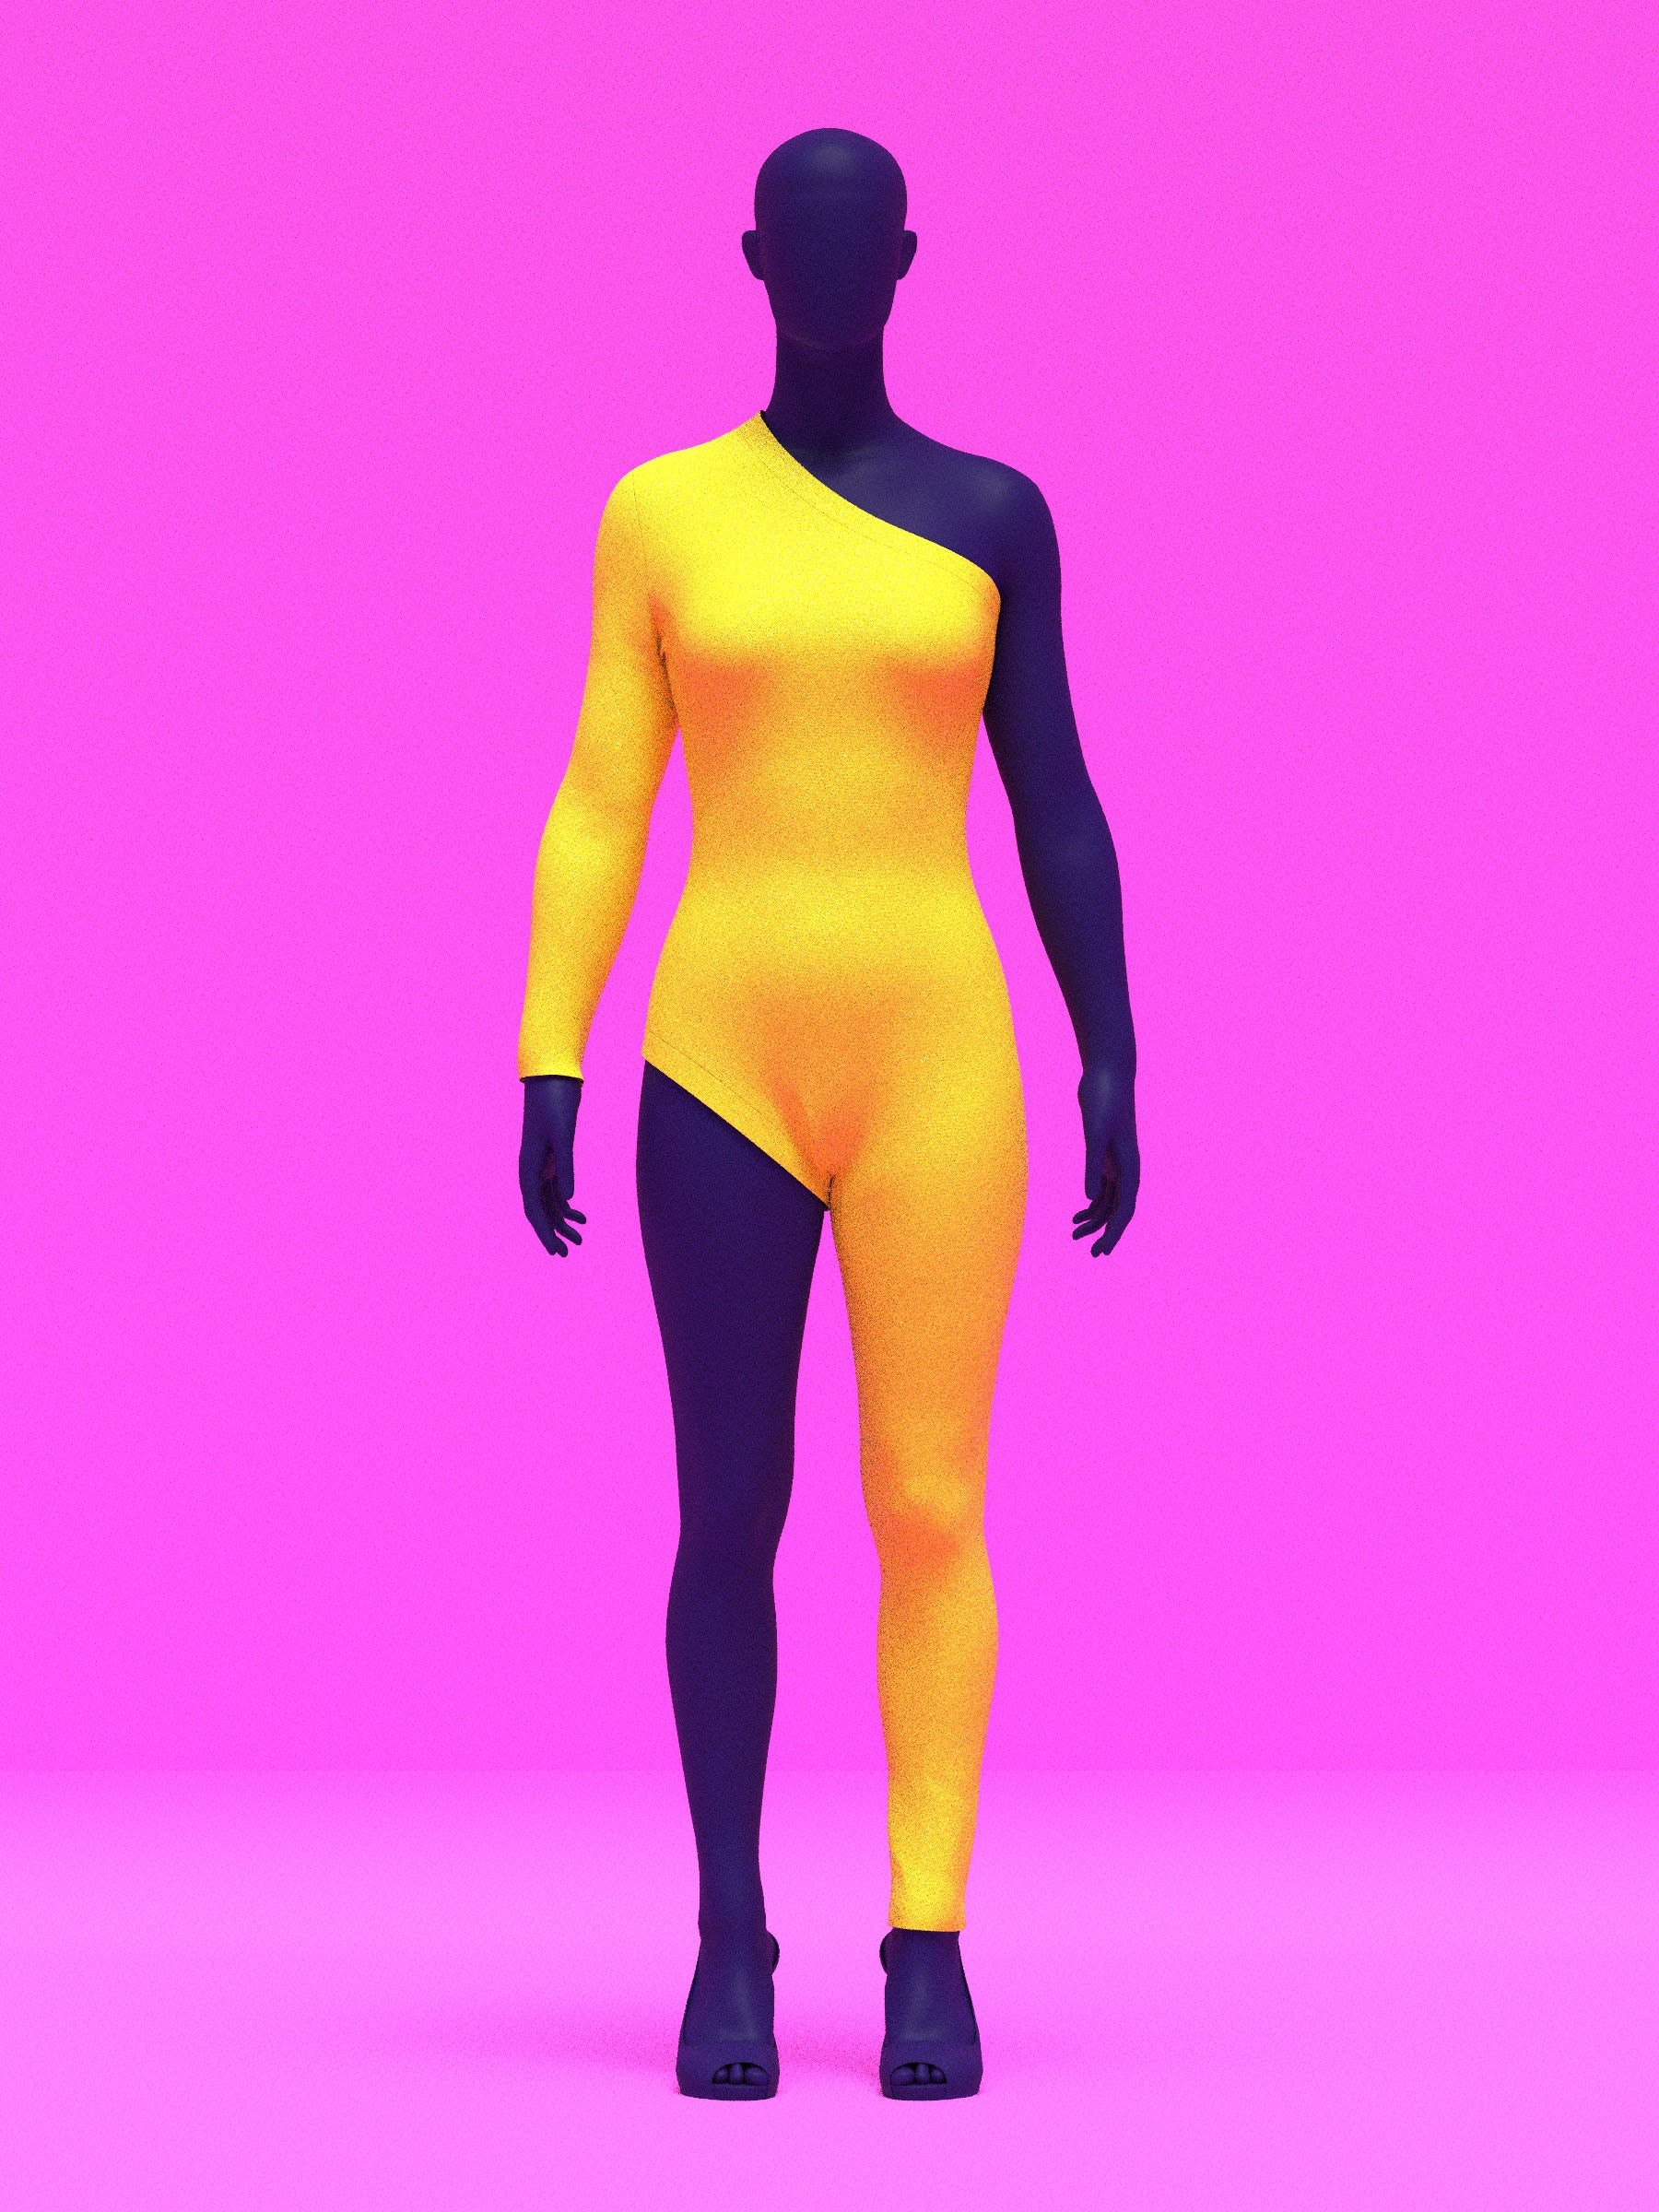
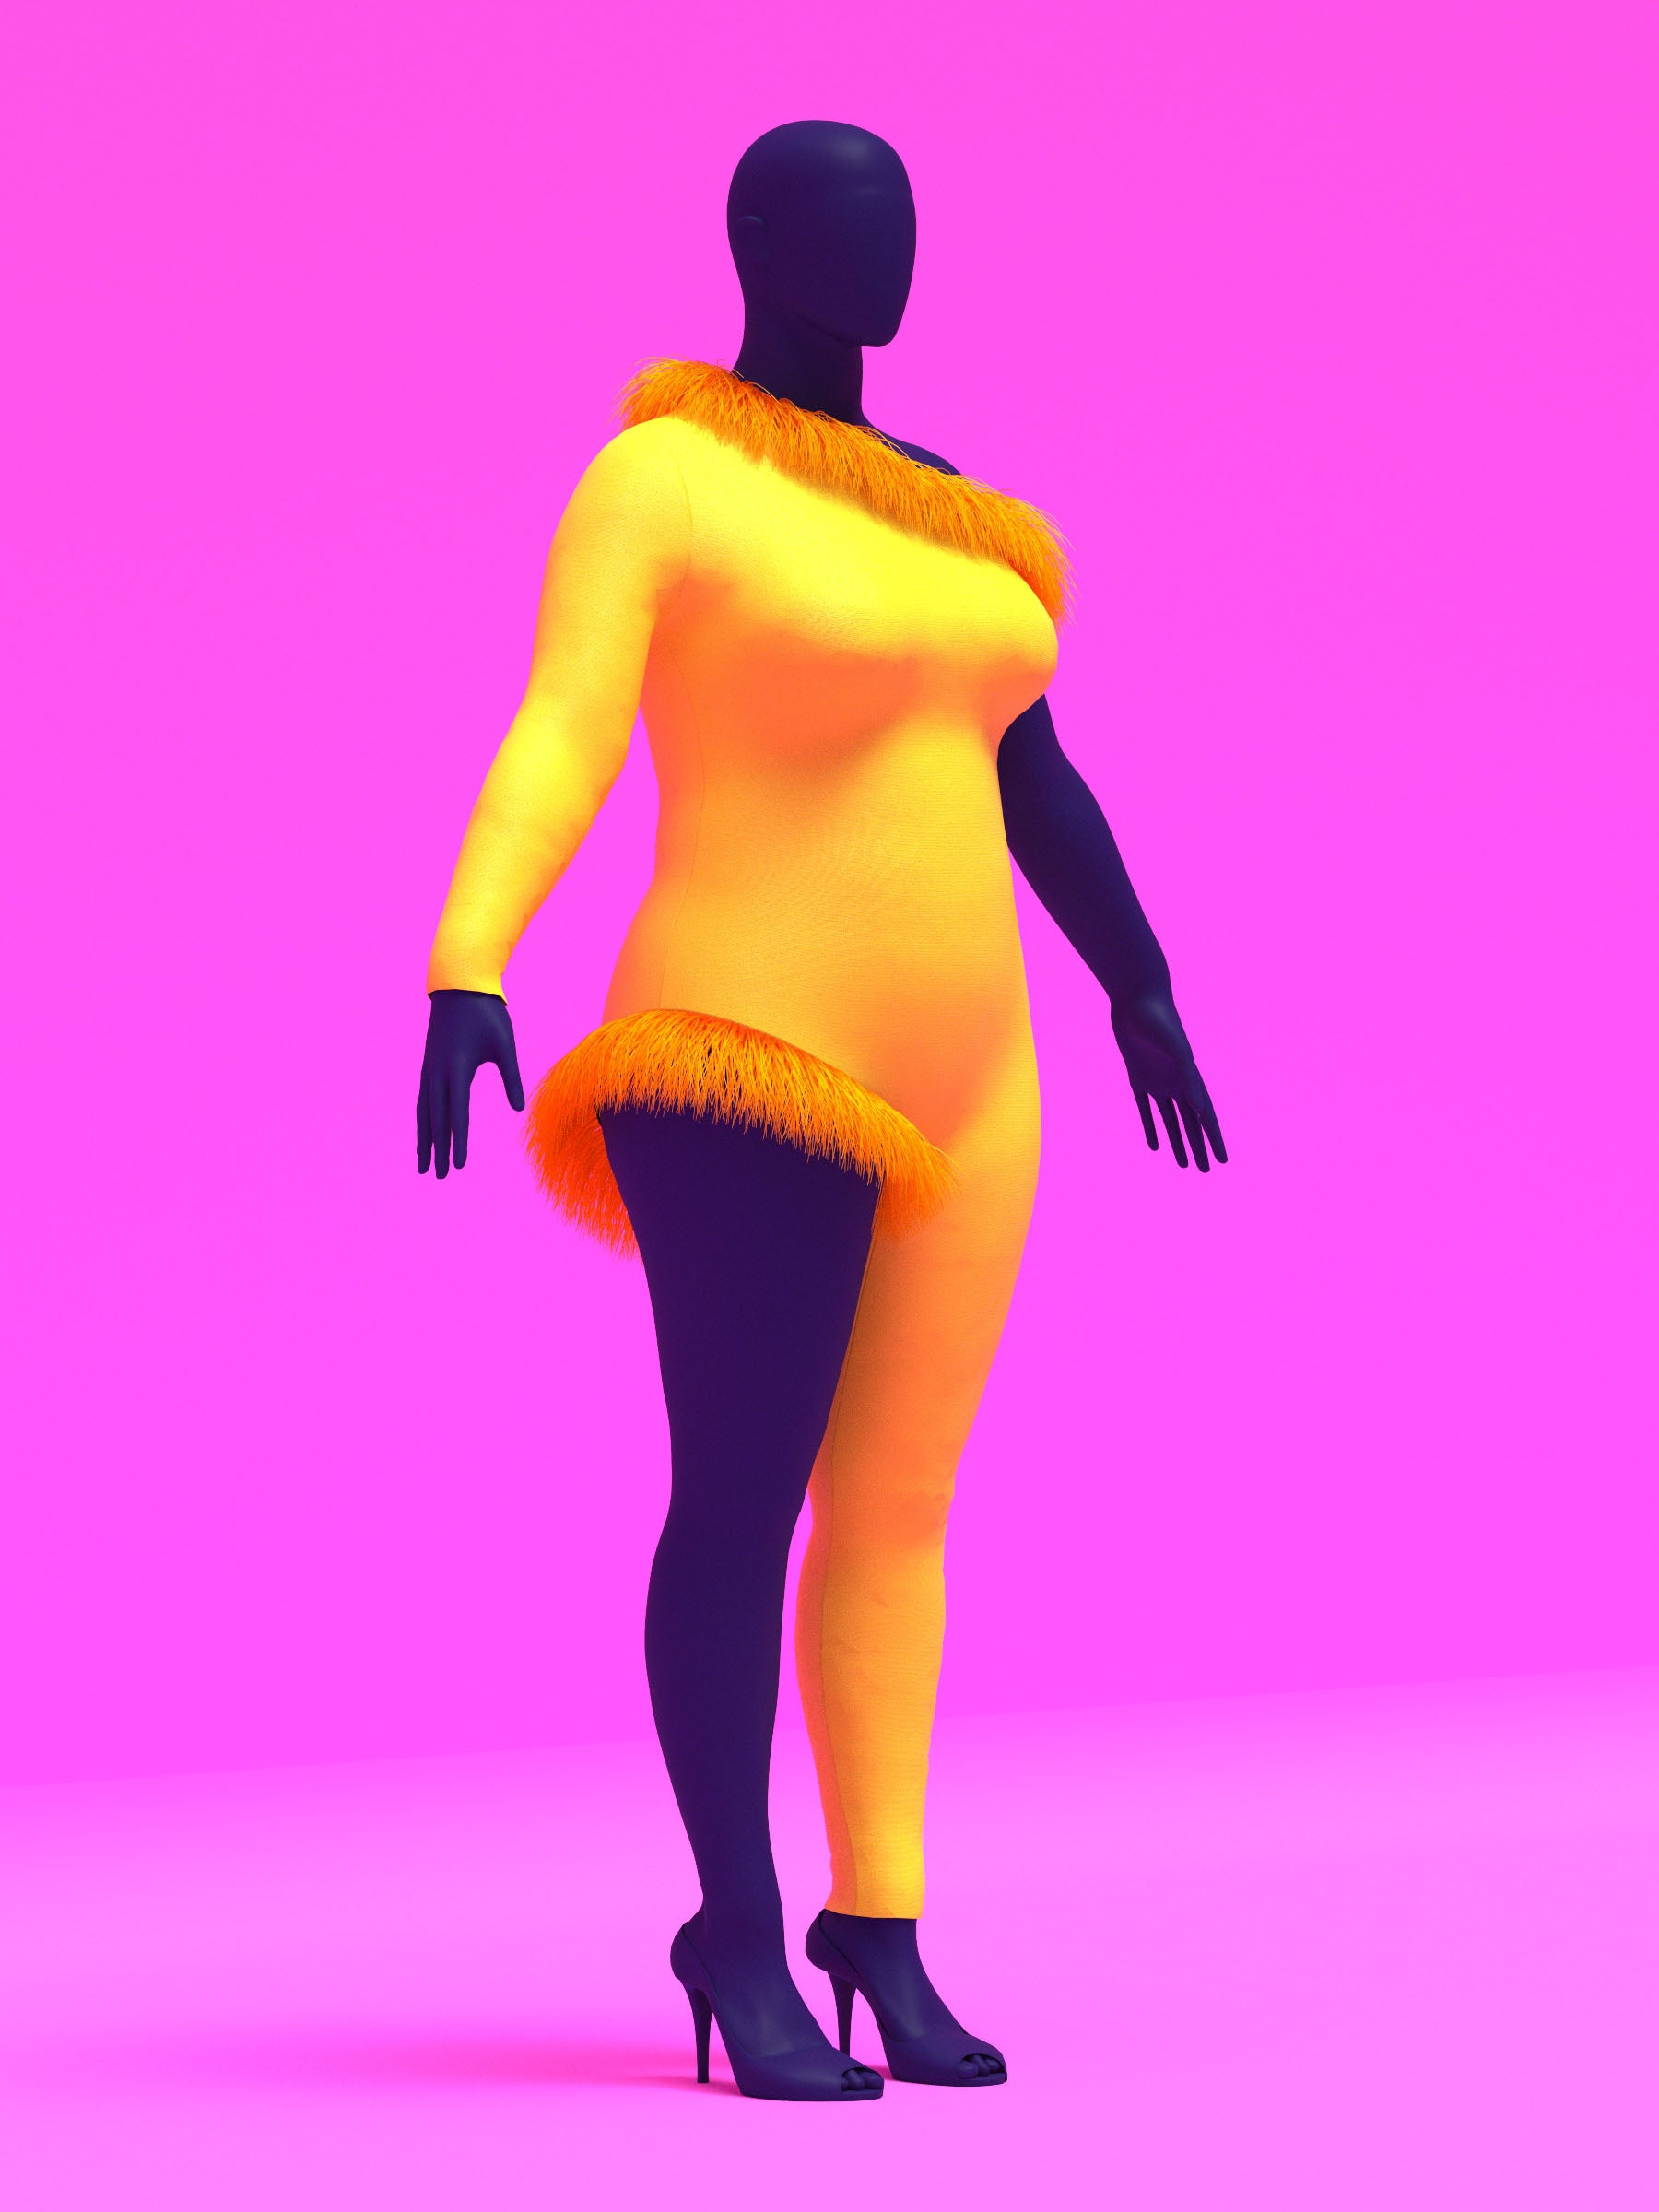
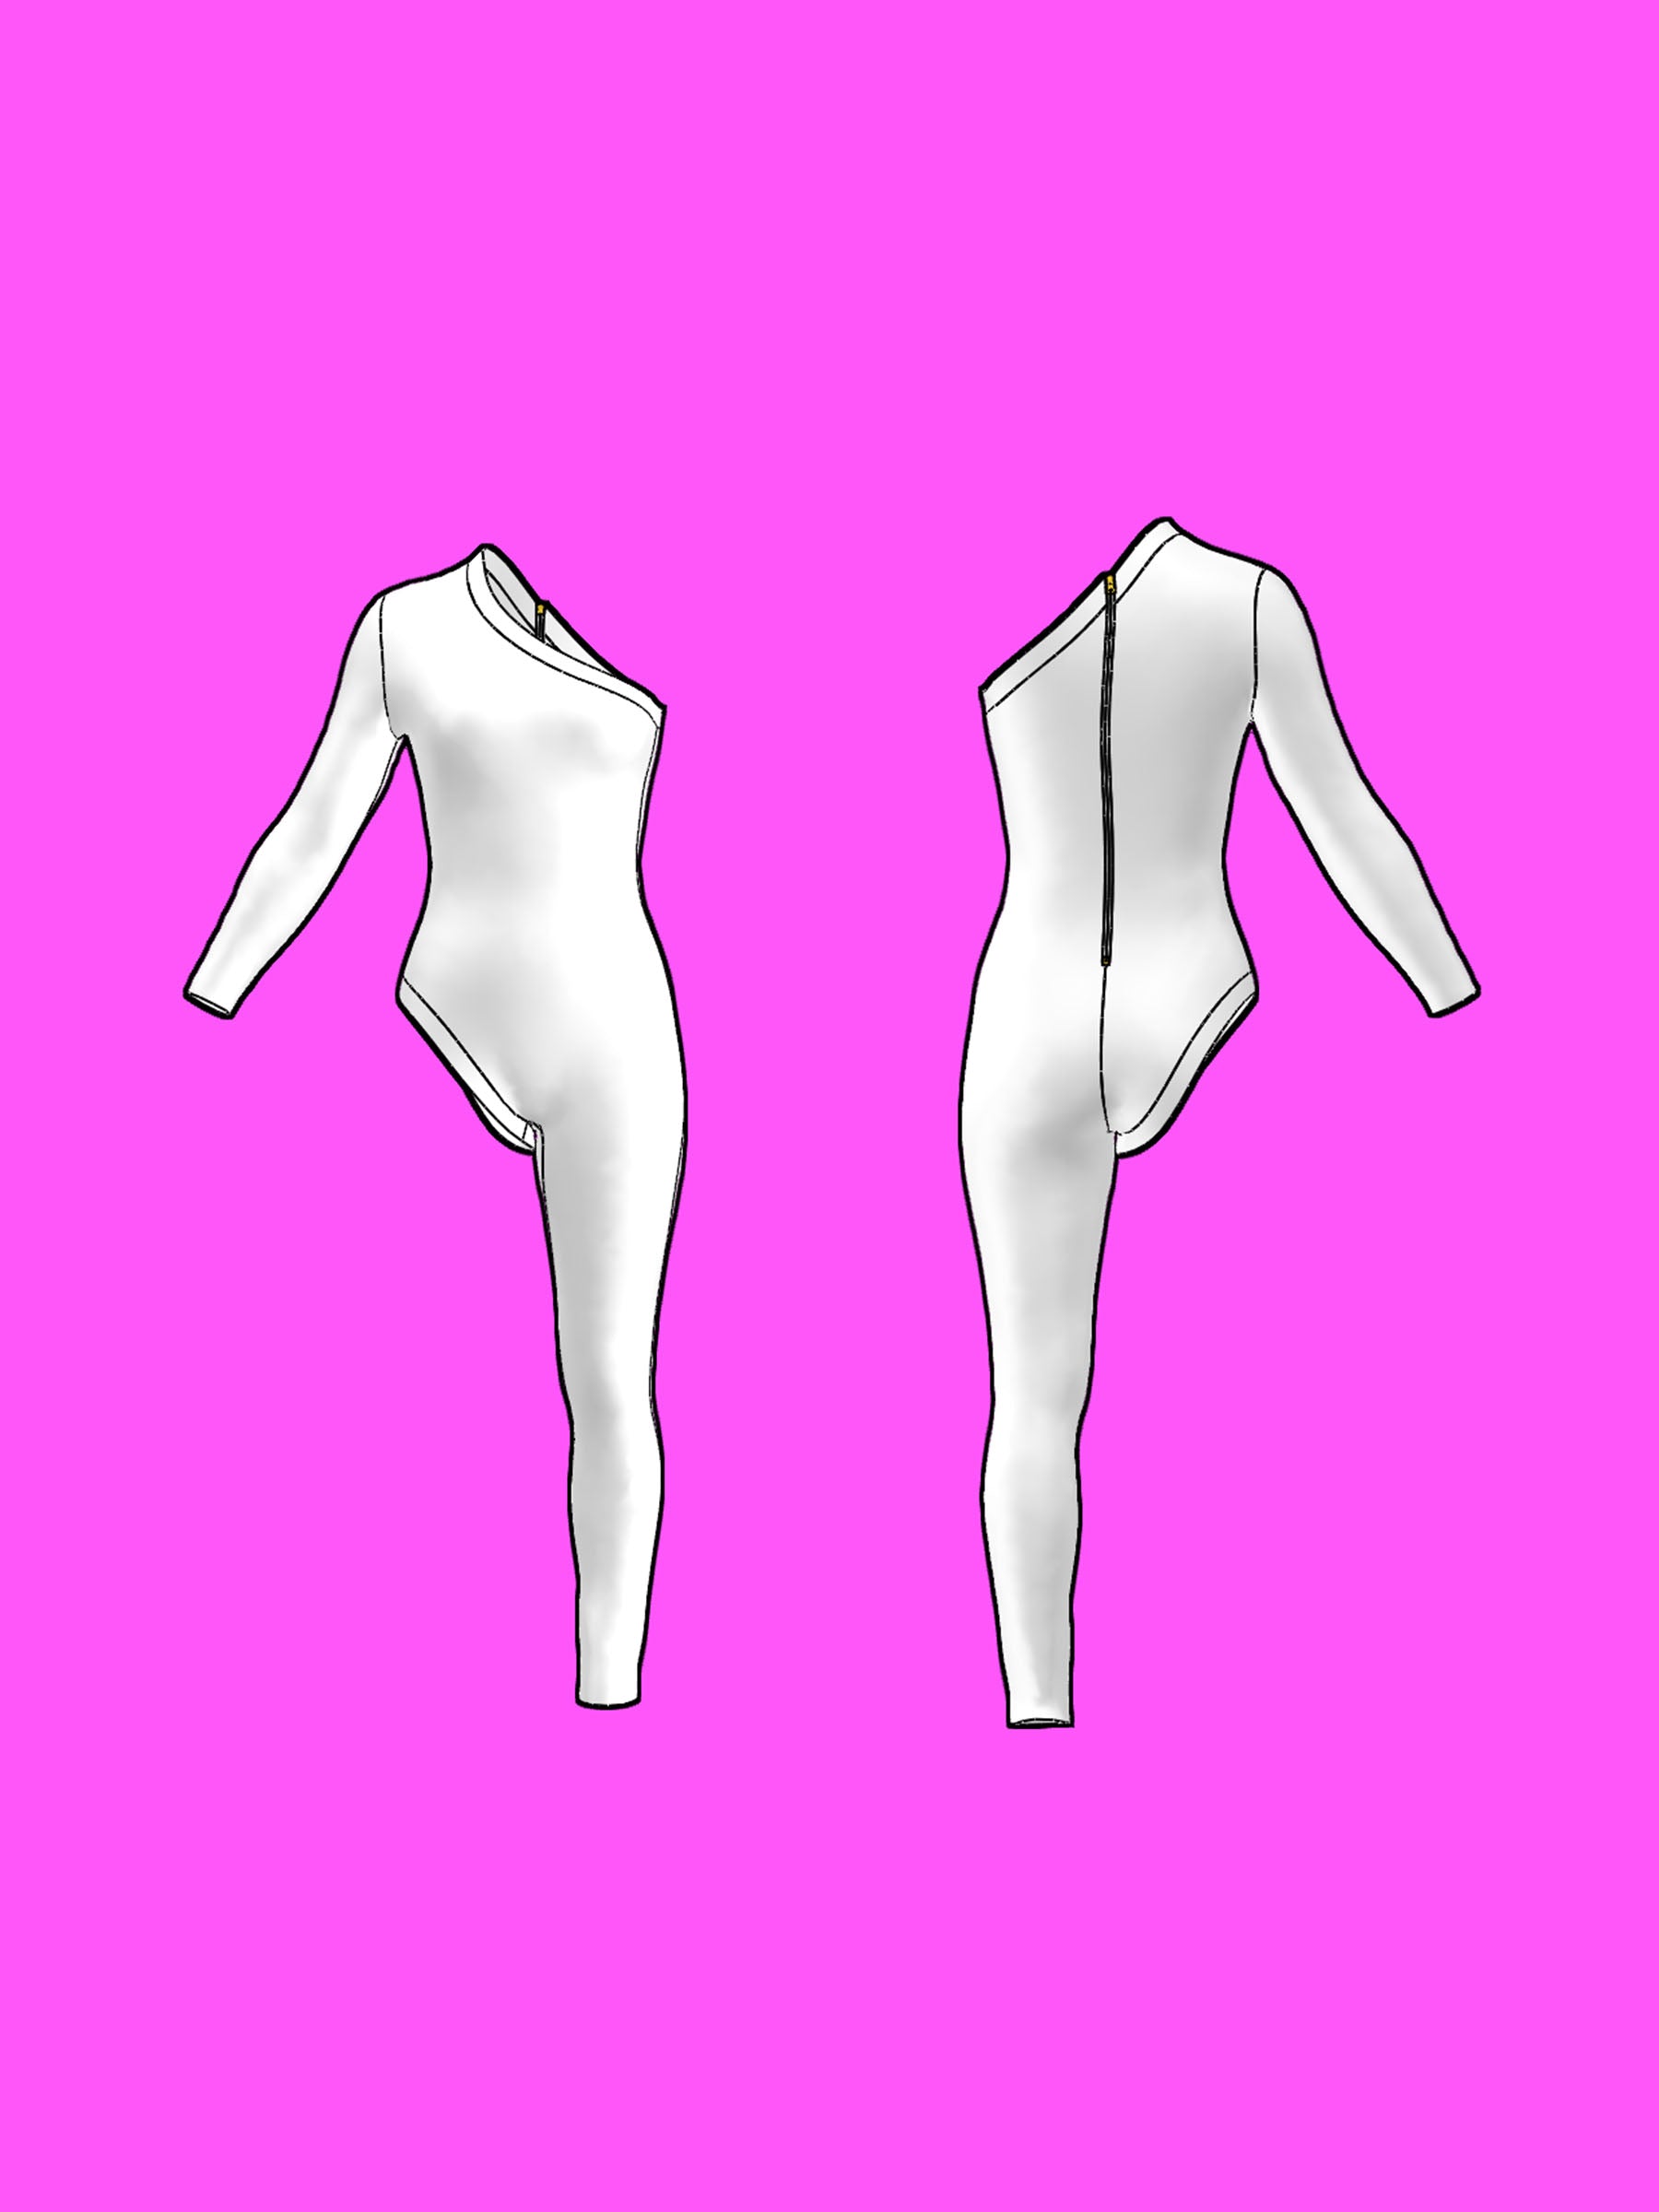
Introducing our Asymmetrical Catsuit sewing pattern, designed for drag queens seeking to make a statement. With its bold one-armed, one-legged design and optional fabric trim, this avant-garde ensemble defies convention and exudes confidence. Practical yet stylish, featuring a back zipper for easy wear, it's perfect for performances, raves, fantasy, and cosplay events. Crafted exclusively for stretch fabrics, it promises a comfortable fit that moves with your body, allowing you to express yourself freely. Elevate your presence and unleash your inner diva with this must-have addition to your wardrobe.
Pattern Difficulty: For Beginners
Fabric Yardage
This pattern requires the use of only stretch fabric. You can choose to use the same fabric for the trim or try fur and other materials. Please find the yardage needed for each size below.
| Fabric Width (58” Inches) | ||||||
| Size | Fabric & Trim | Without Trim | Trim Only | |||
|---|---|---|---|---|---|---|
| Yards | Meters | Yards | Meters | Yards | Meters | |
| XS | 2 | 1.6 | 2 | 1.6 | 0.5 | 0.3 |
| S | 2 | 1.7 | 2 | 1.7 | 0.5 | 0.3 |
| M | 2 | 1.7 | 2 | 1.7 | 0.5 | 0.3 |
| L | 2 | 1.8 | 2 | 1.8 | 0.5 | 0.3 |
| XL | 2 | 1.8 | 2 | 1.8 | 0.5 | 0.3 |
| 2XL | 2 | 1.8 | 2 | 1.8 | 0.5 | 0.3 |
| 3XL | 2 | 1.9 | 2 | 1.8 | 0.5 | 0.3 |
| 4XL | 2.25 | 2 | 2 | 2 | 0.5 | 0.3 |
For information on converting inches to meters, please check out our conversion guide.
Fabric & Notions
Suitable for stretch fabrics:
- Miliskin
- Spandex
- Stretch Sequin
- Lycra
- Stretch Knits
- Stretch Vinyl
- 14" - 16" inch invisible zipper
Sizing Details
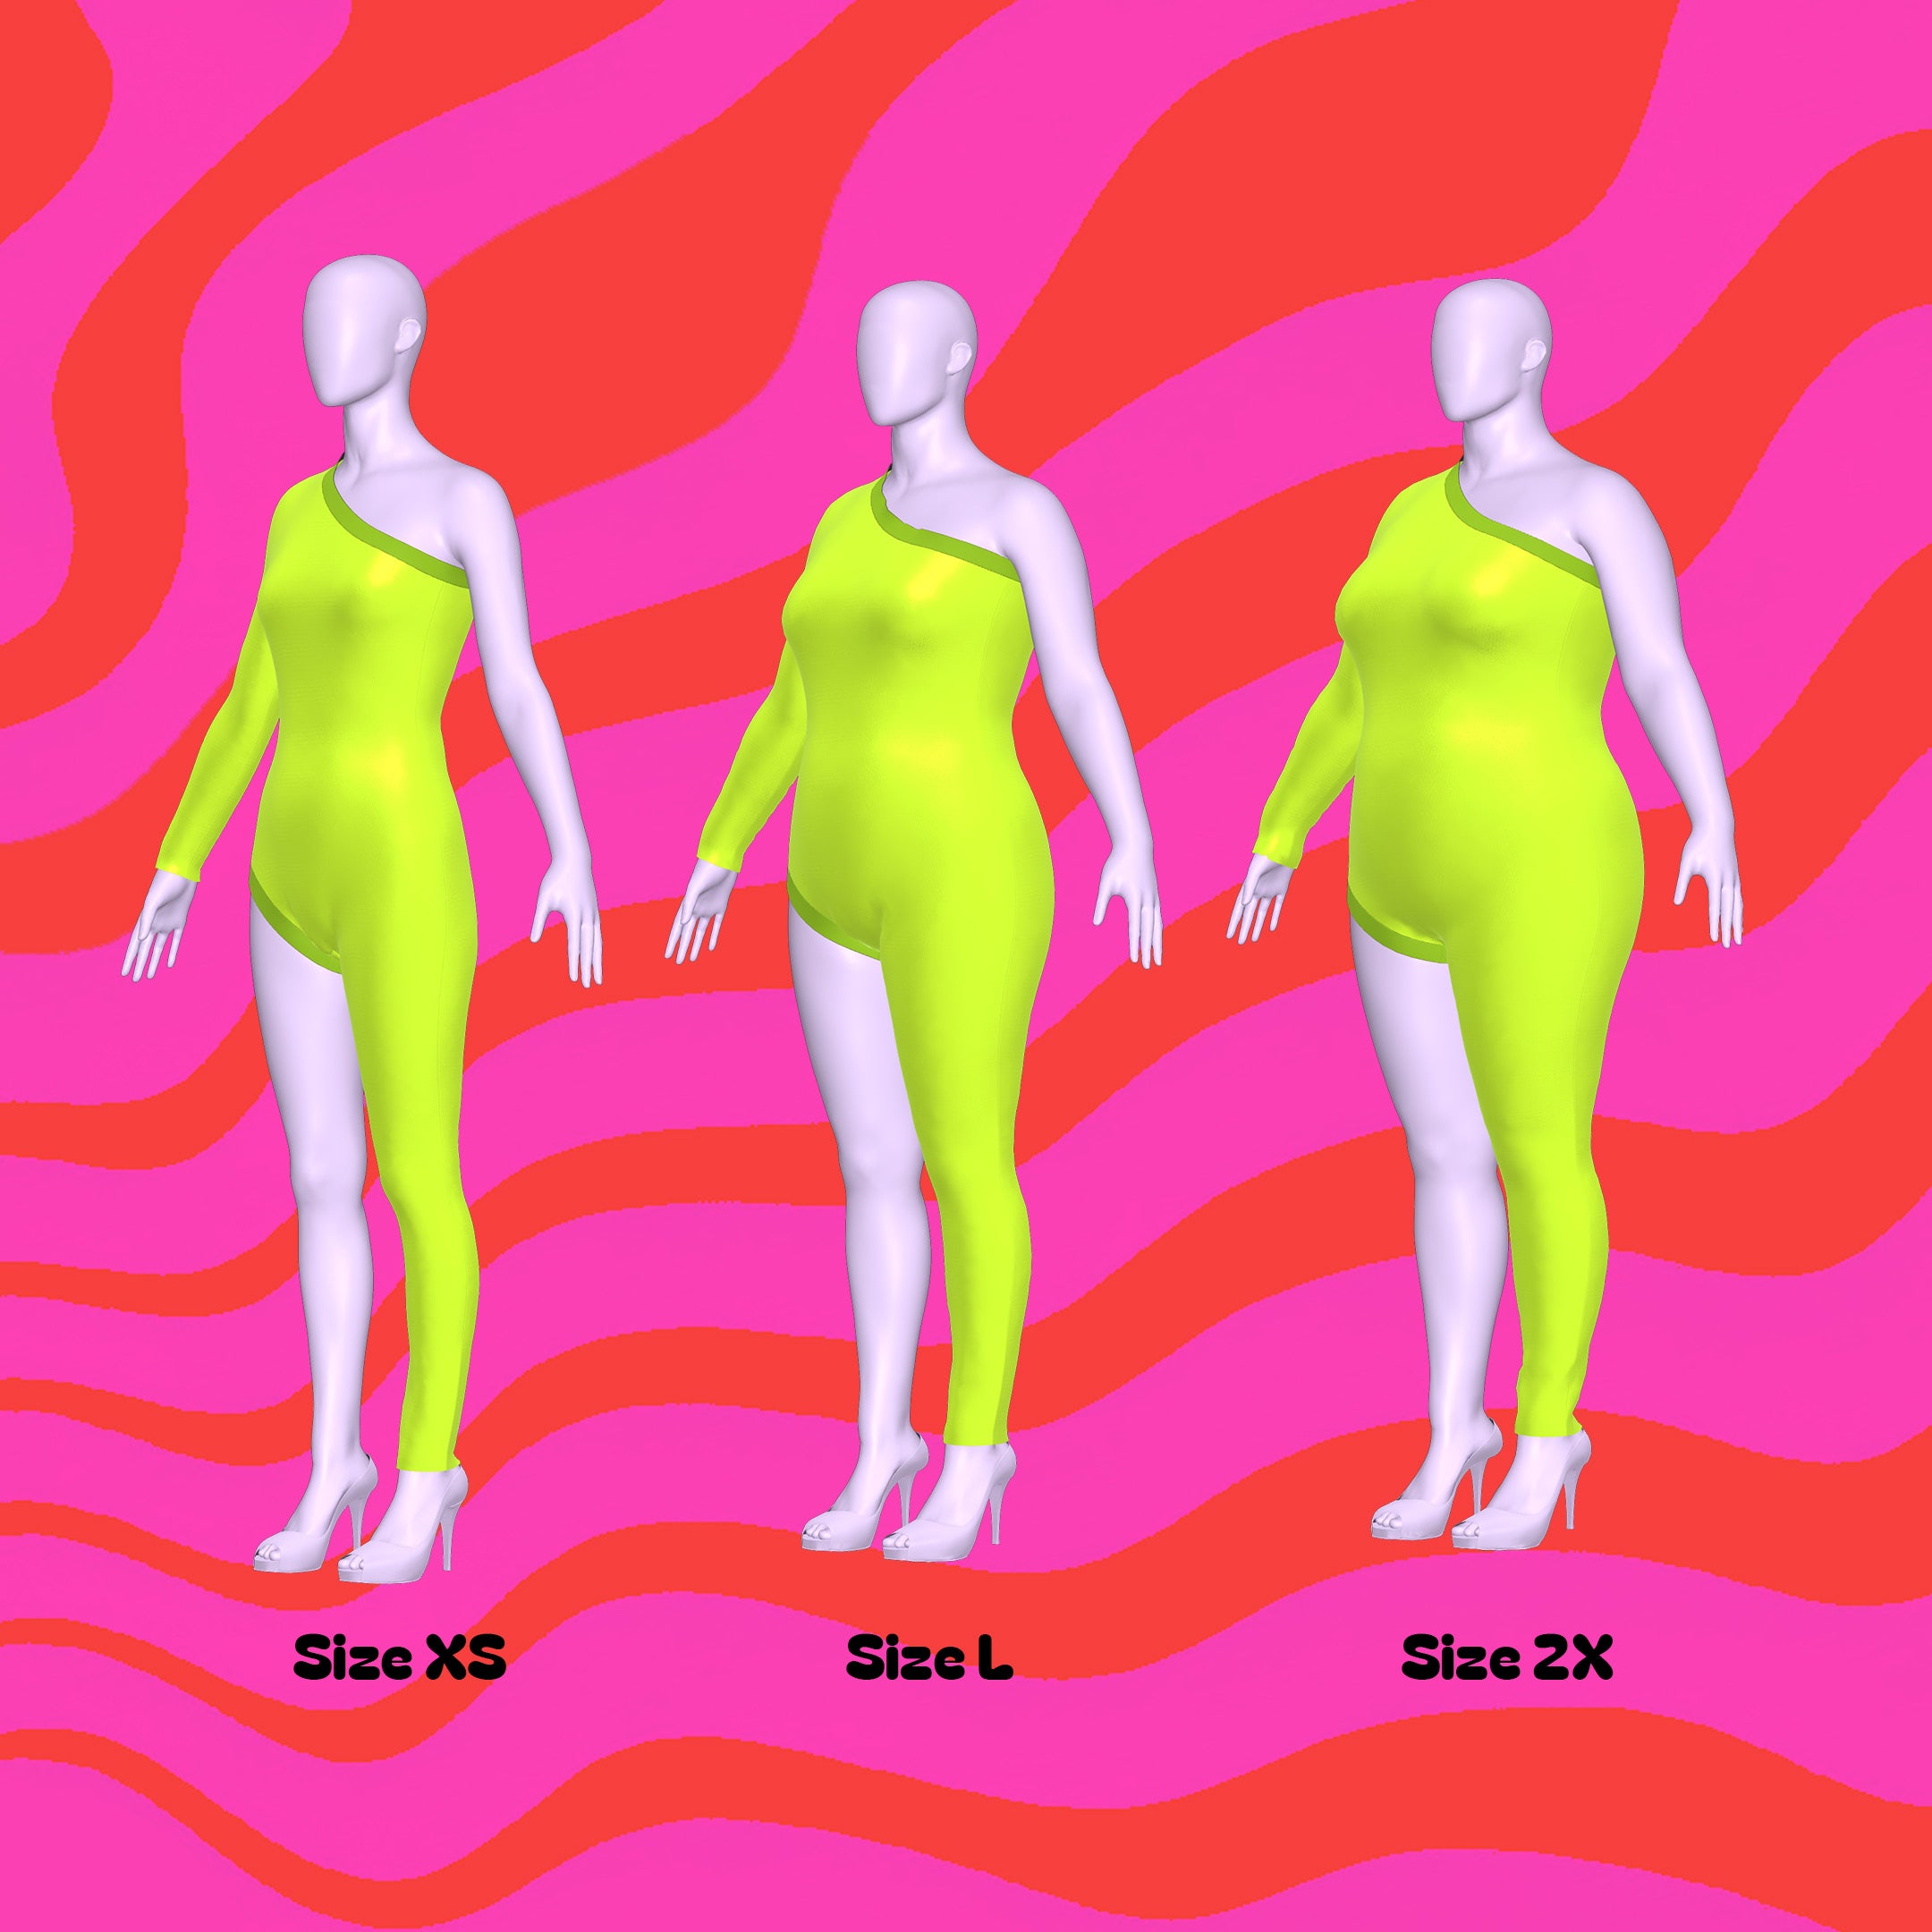
This pattern is available in our unique drag queen sizes (XS-4X). Please review our sizing guide for more information on our size measurements.
Sewing Instructions


Fabric Pieces
After cutting your fabric, you should have following pieces: one seamless front, two back peices, one sleeve, and 2 trims.

Stitches
For this project, the recommended stitches are a serger overlock stitch, a stretch stitch, or a zigzag stitch. A straight stitch may cause the threads to snap and is not advisable.
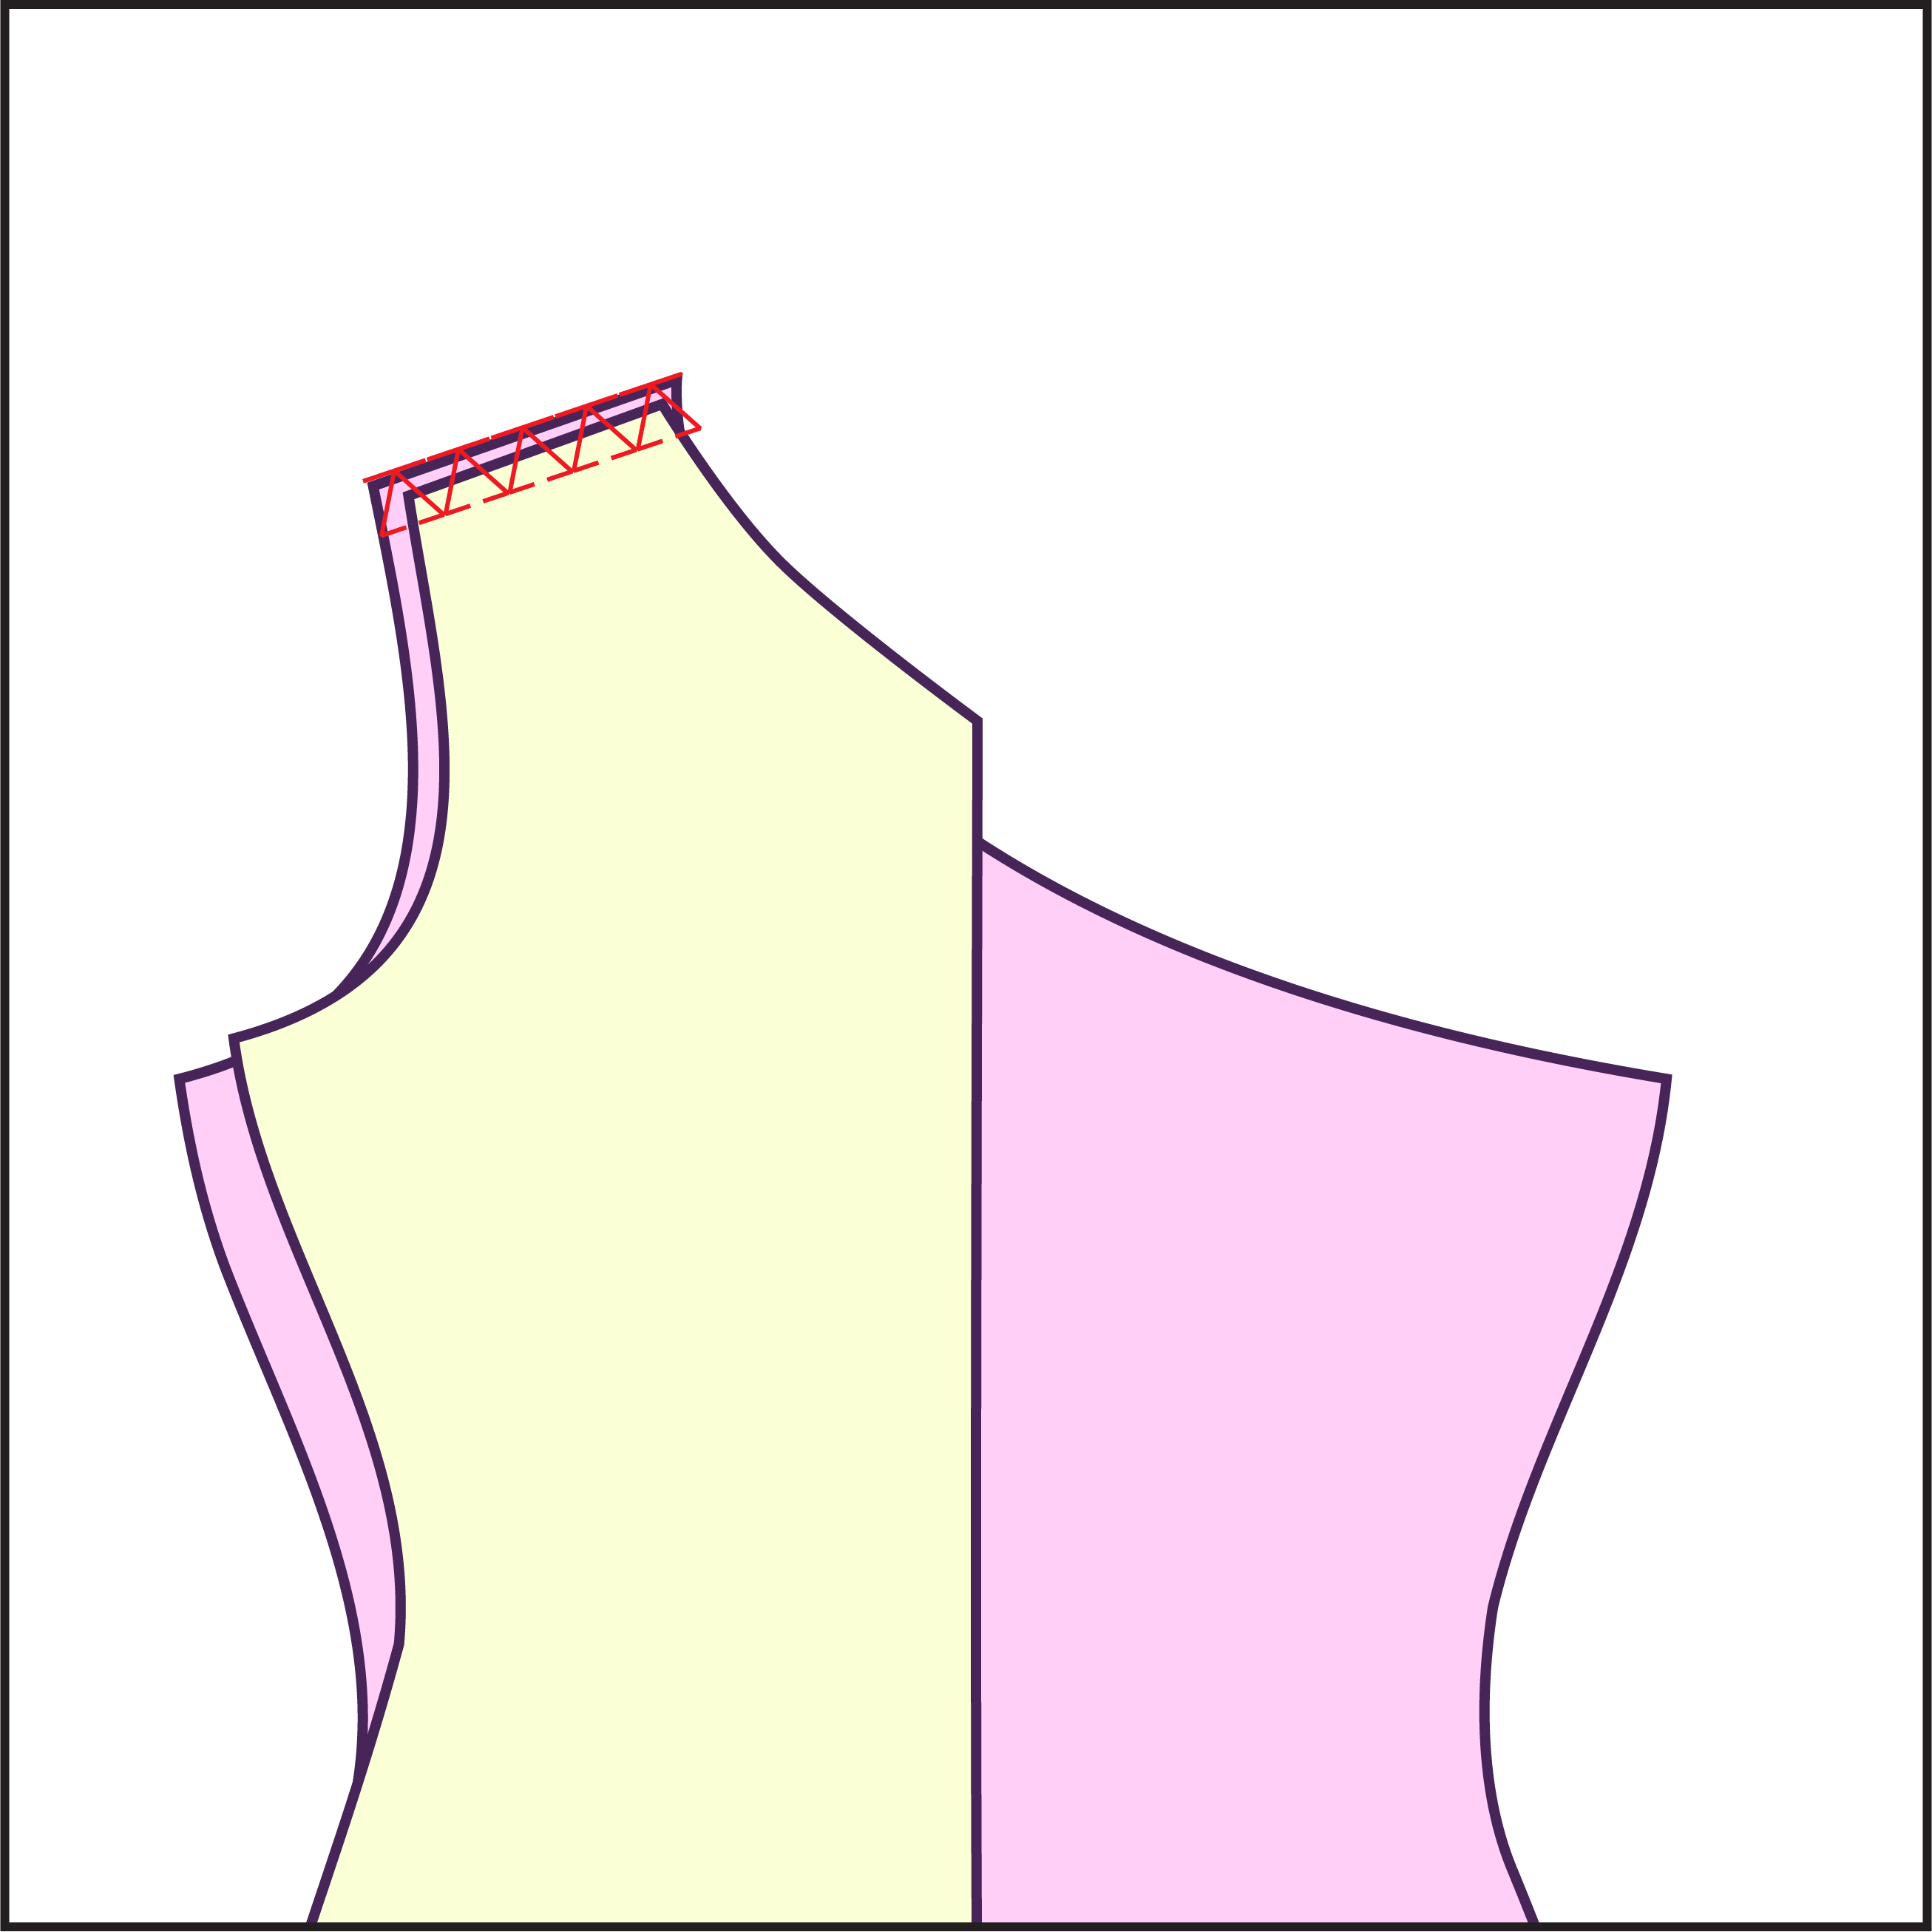
STEP 1
Stack the front and back pieces, right sides facing each other, and sew along the shoulder seam.
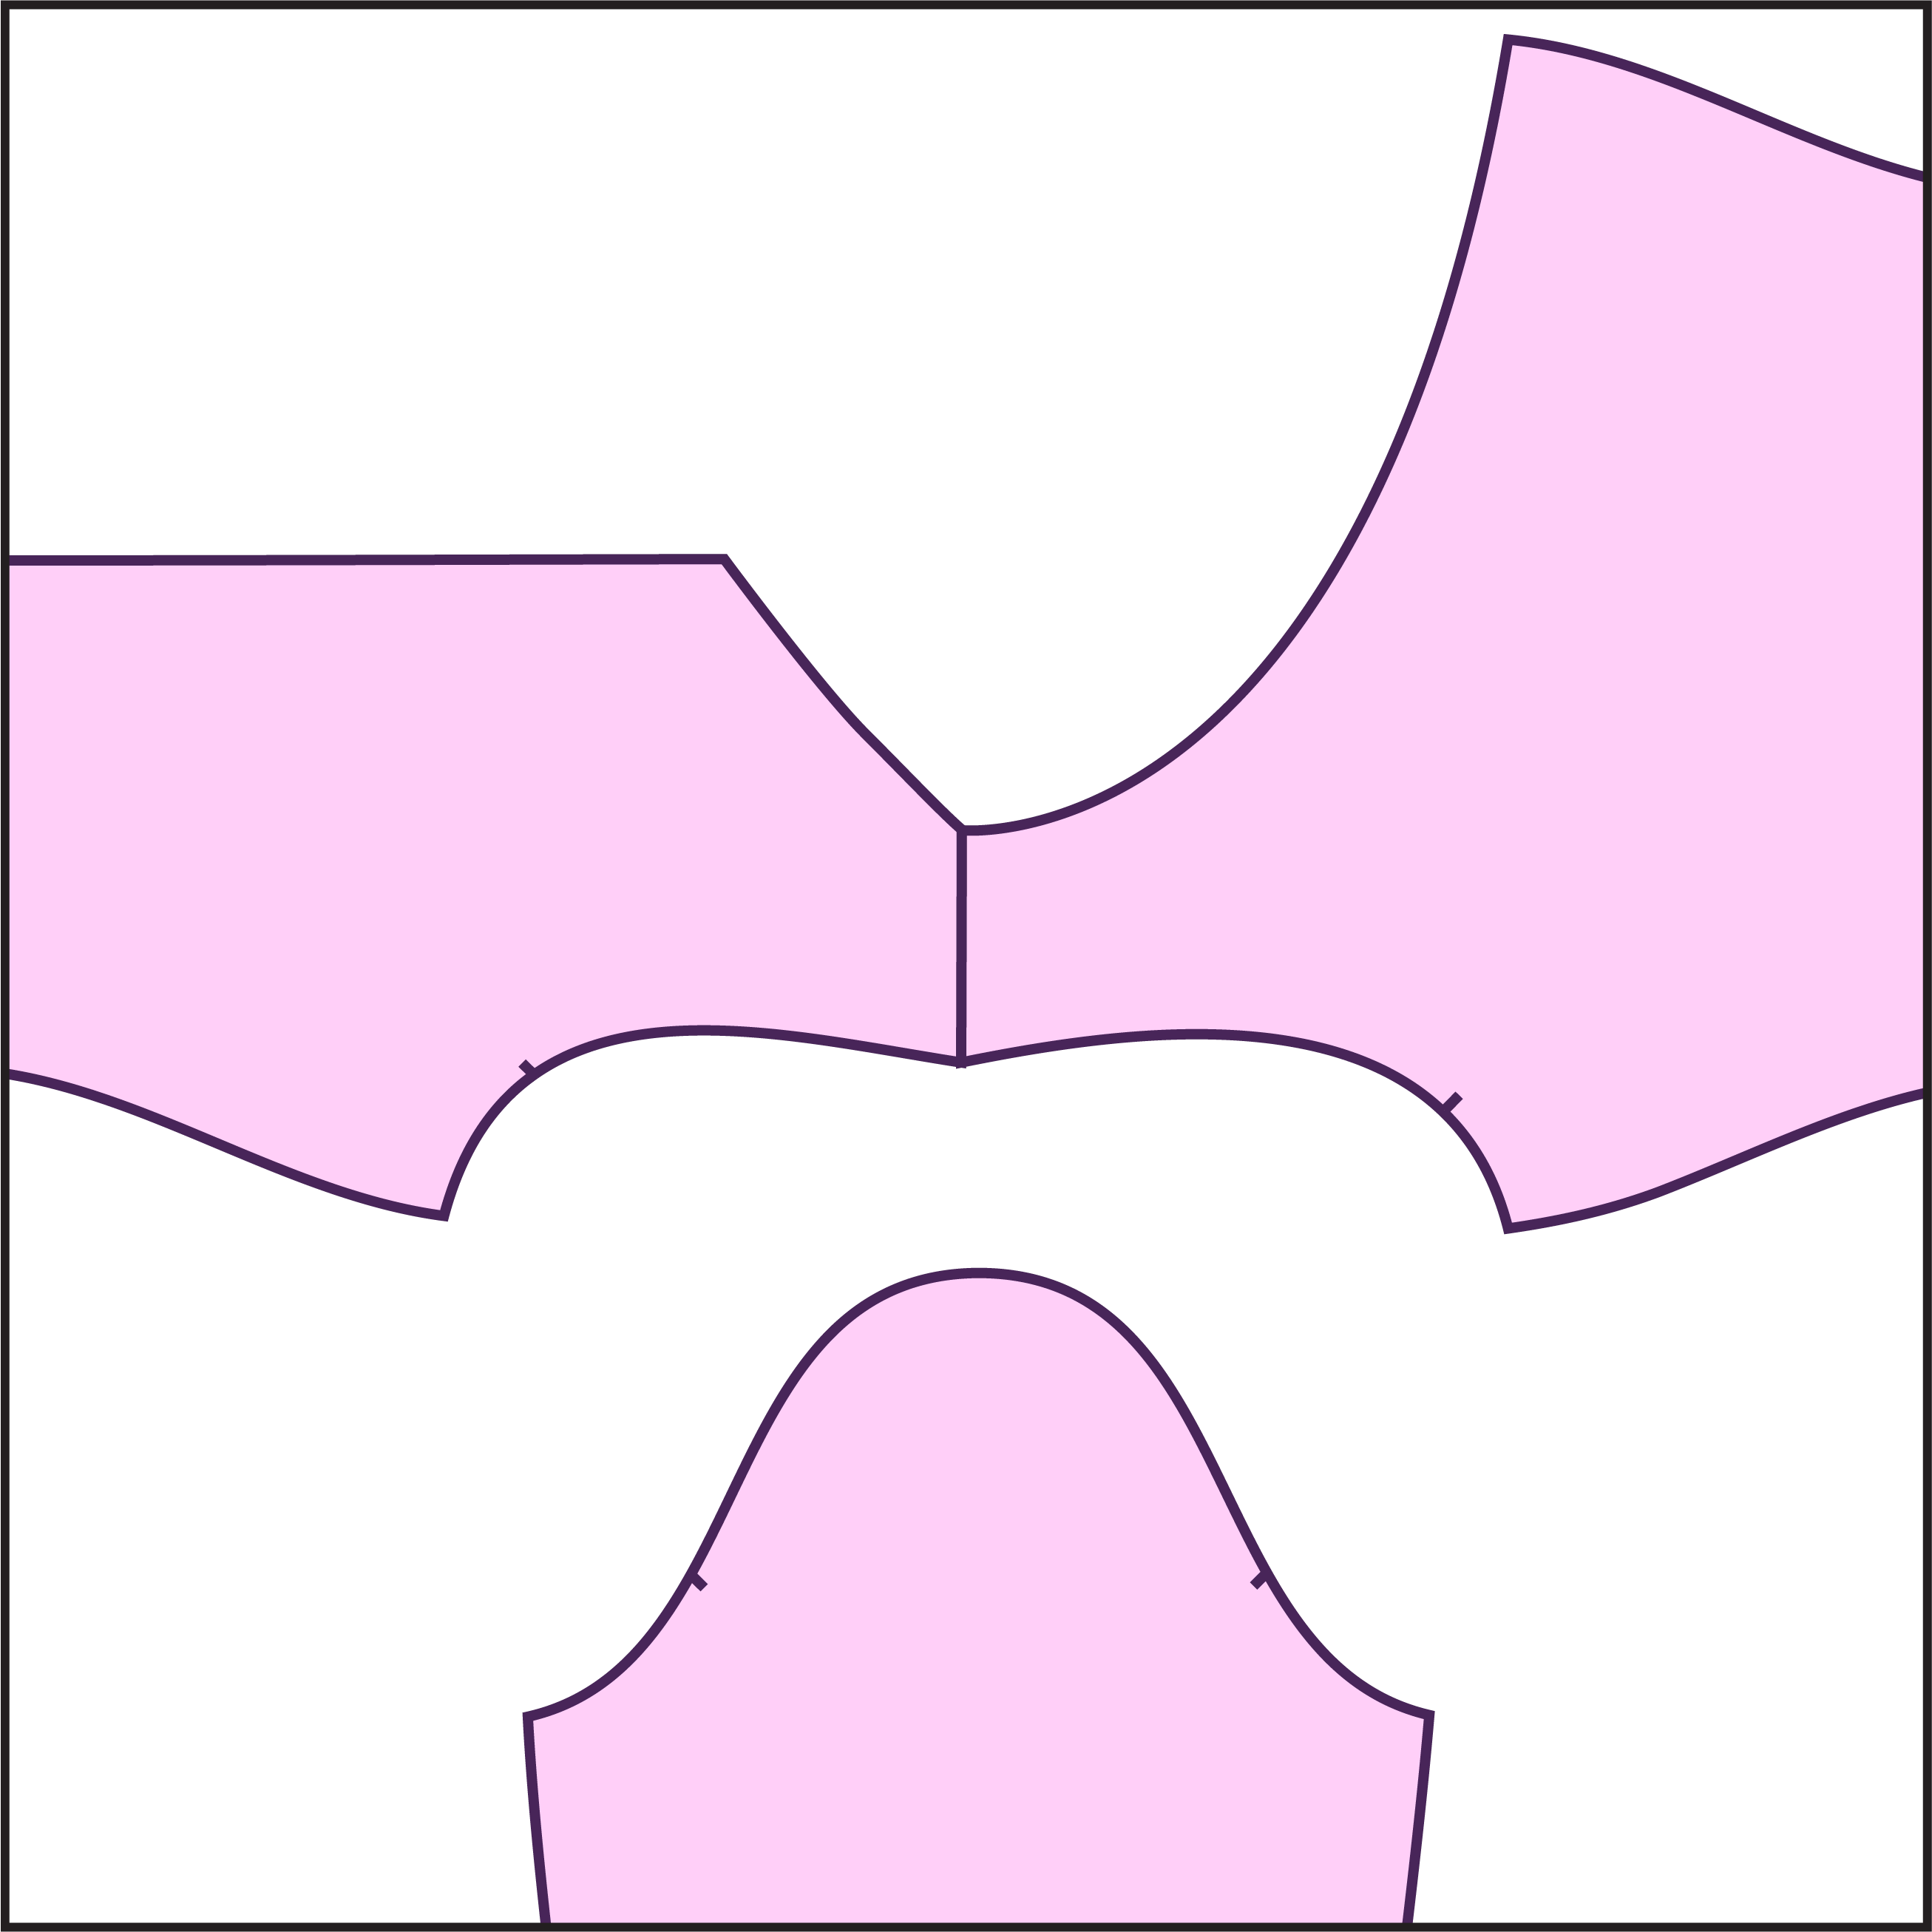
STEP 2
Layout out the front and back right side up and gather your sleeve.
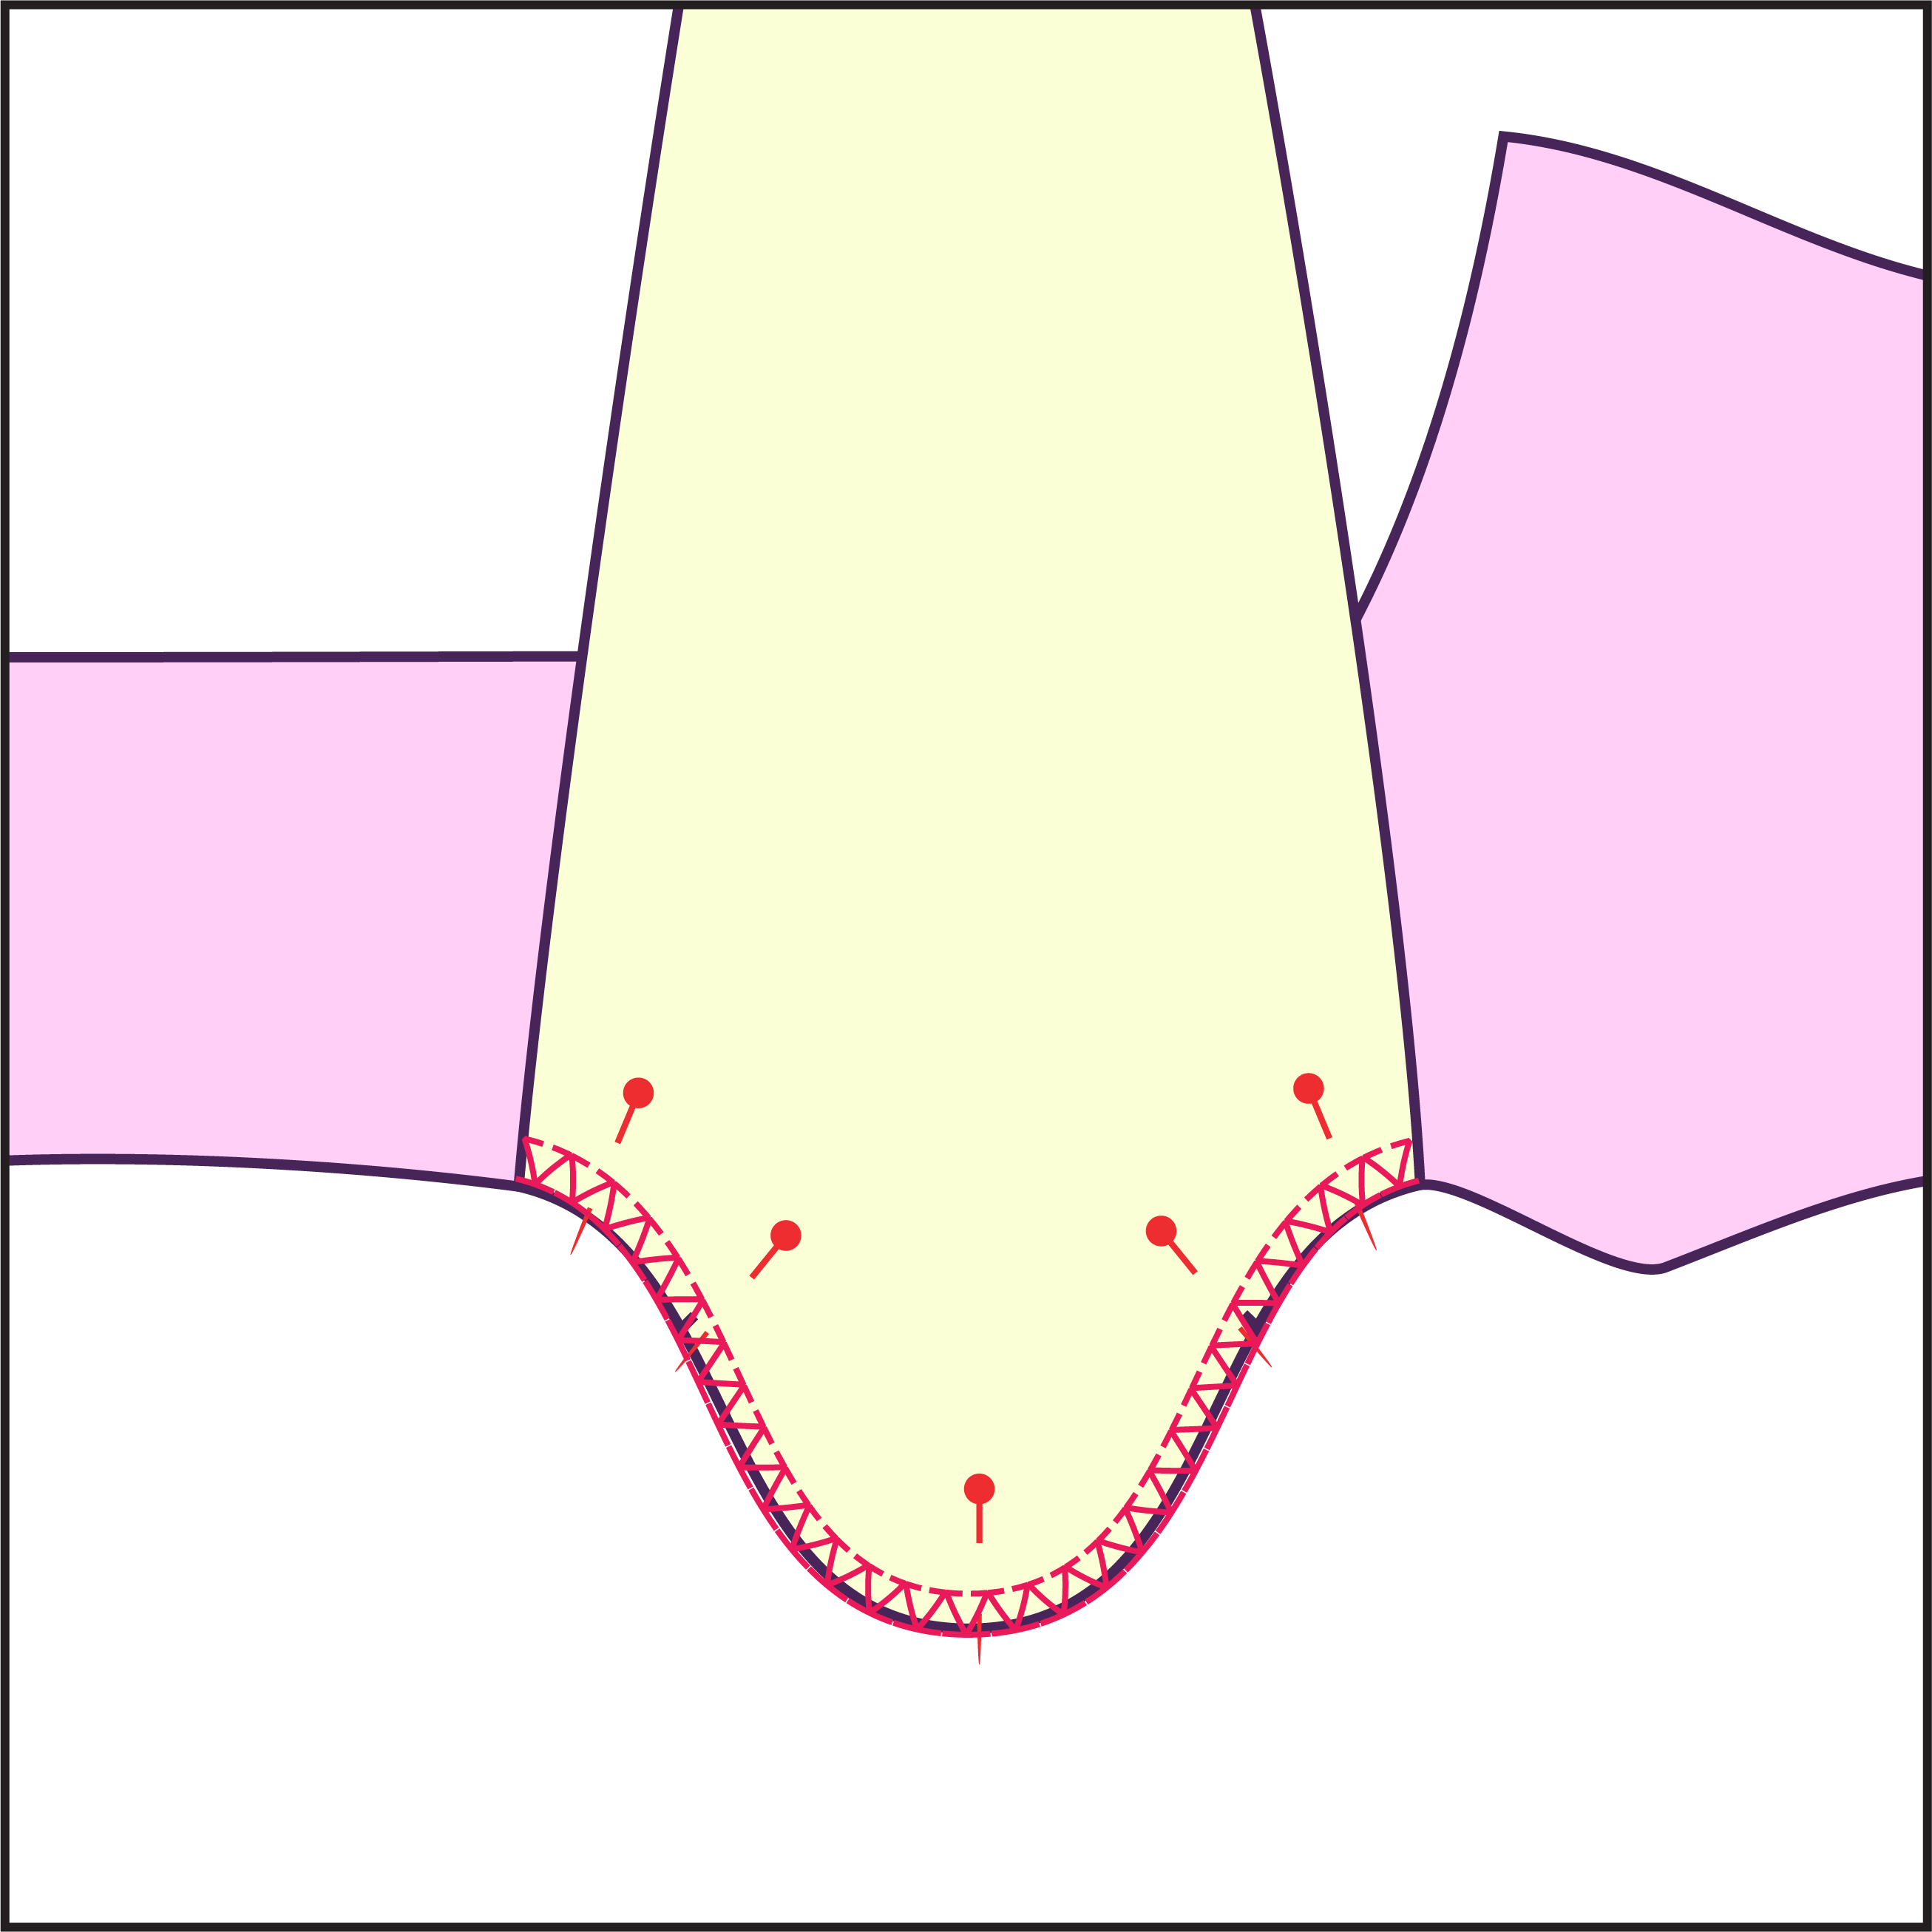
STEP 3
Align and pin the sleeve around the armhole, right side of the sleeve facing the right side of the front and back. The sleeve curve is symmetrical, so there's no designated front or back. Serge or sew the sleeves in place.
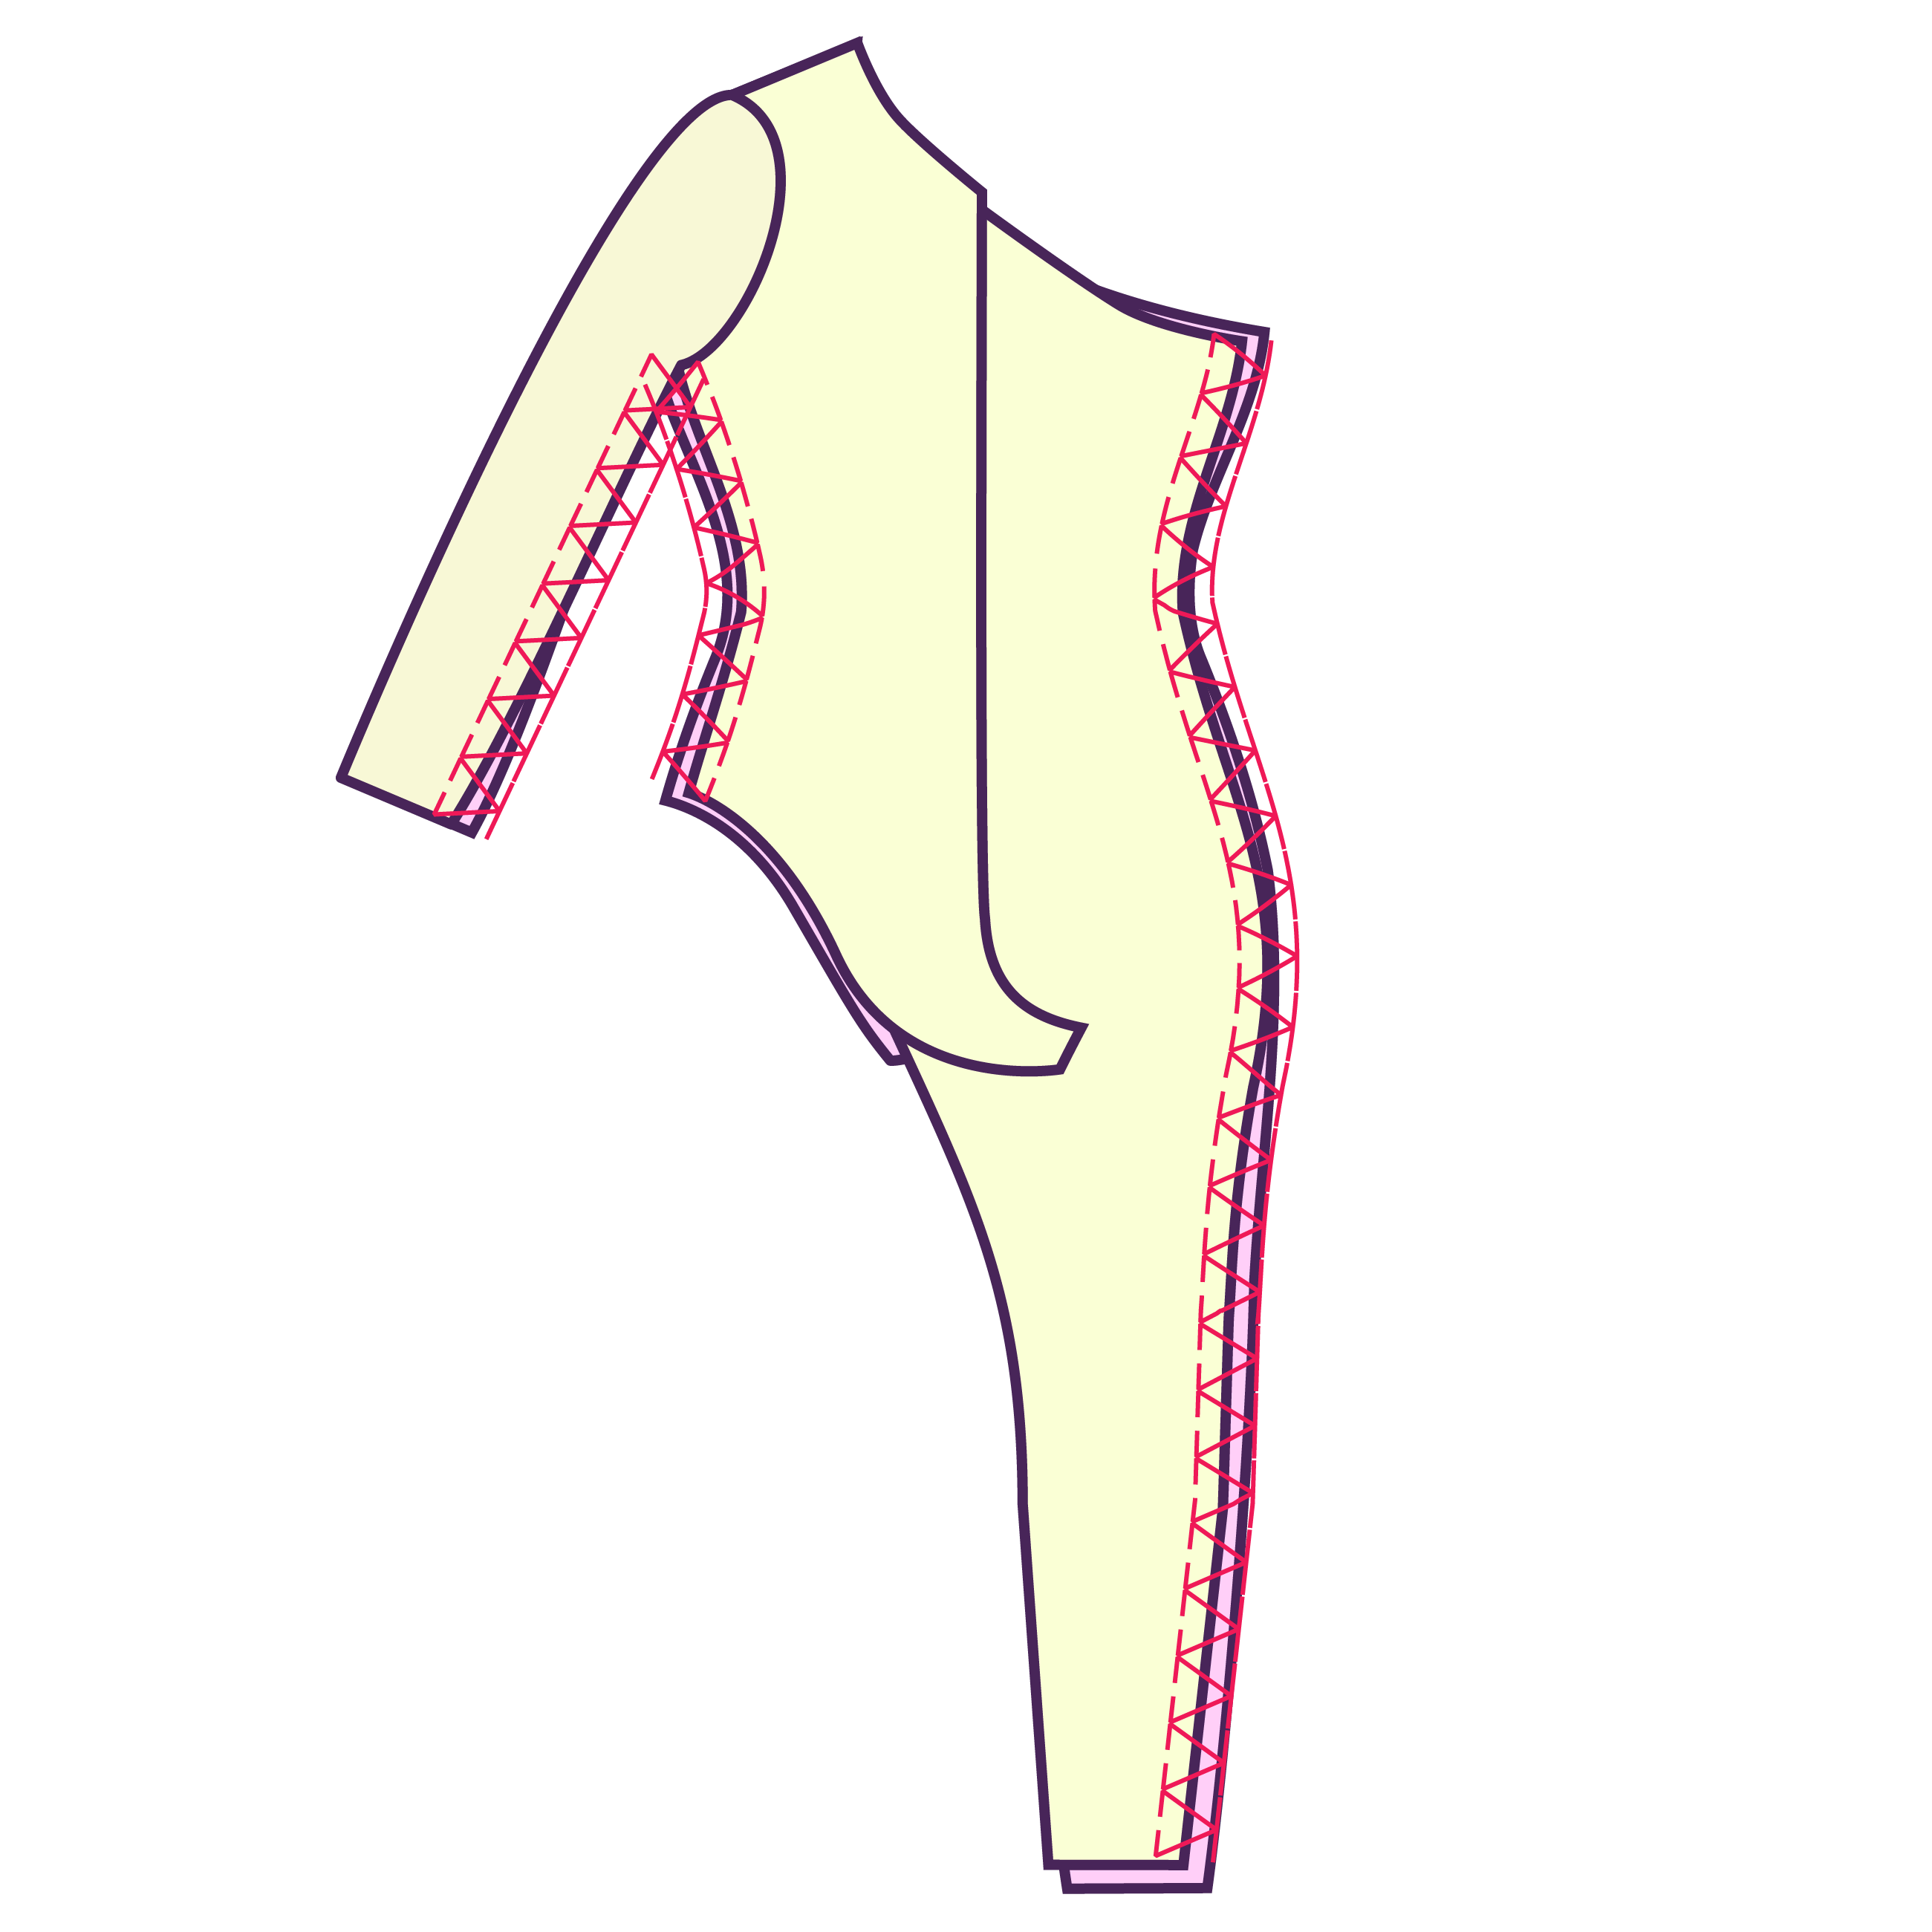
STEP 4
Turn the garment wrong side out and sew the inner sleeve seams closed, continuing down the sides of the garment.
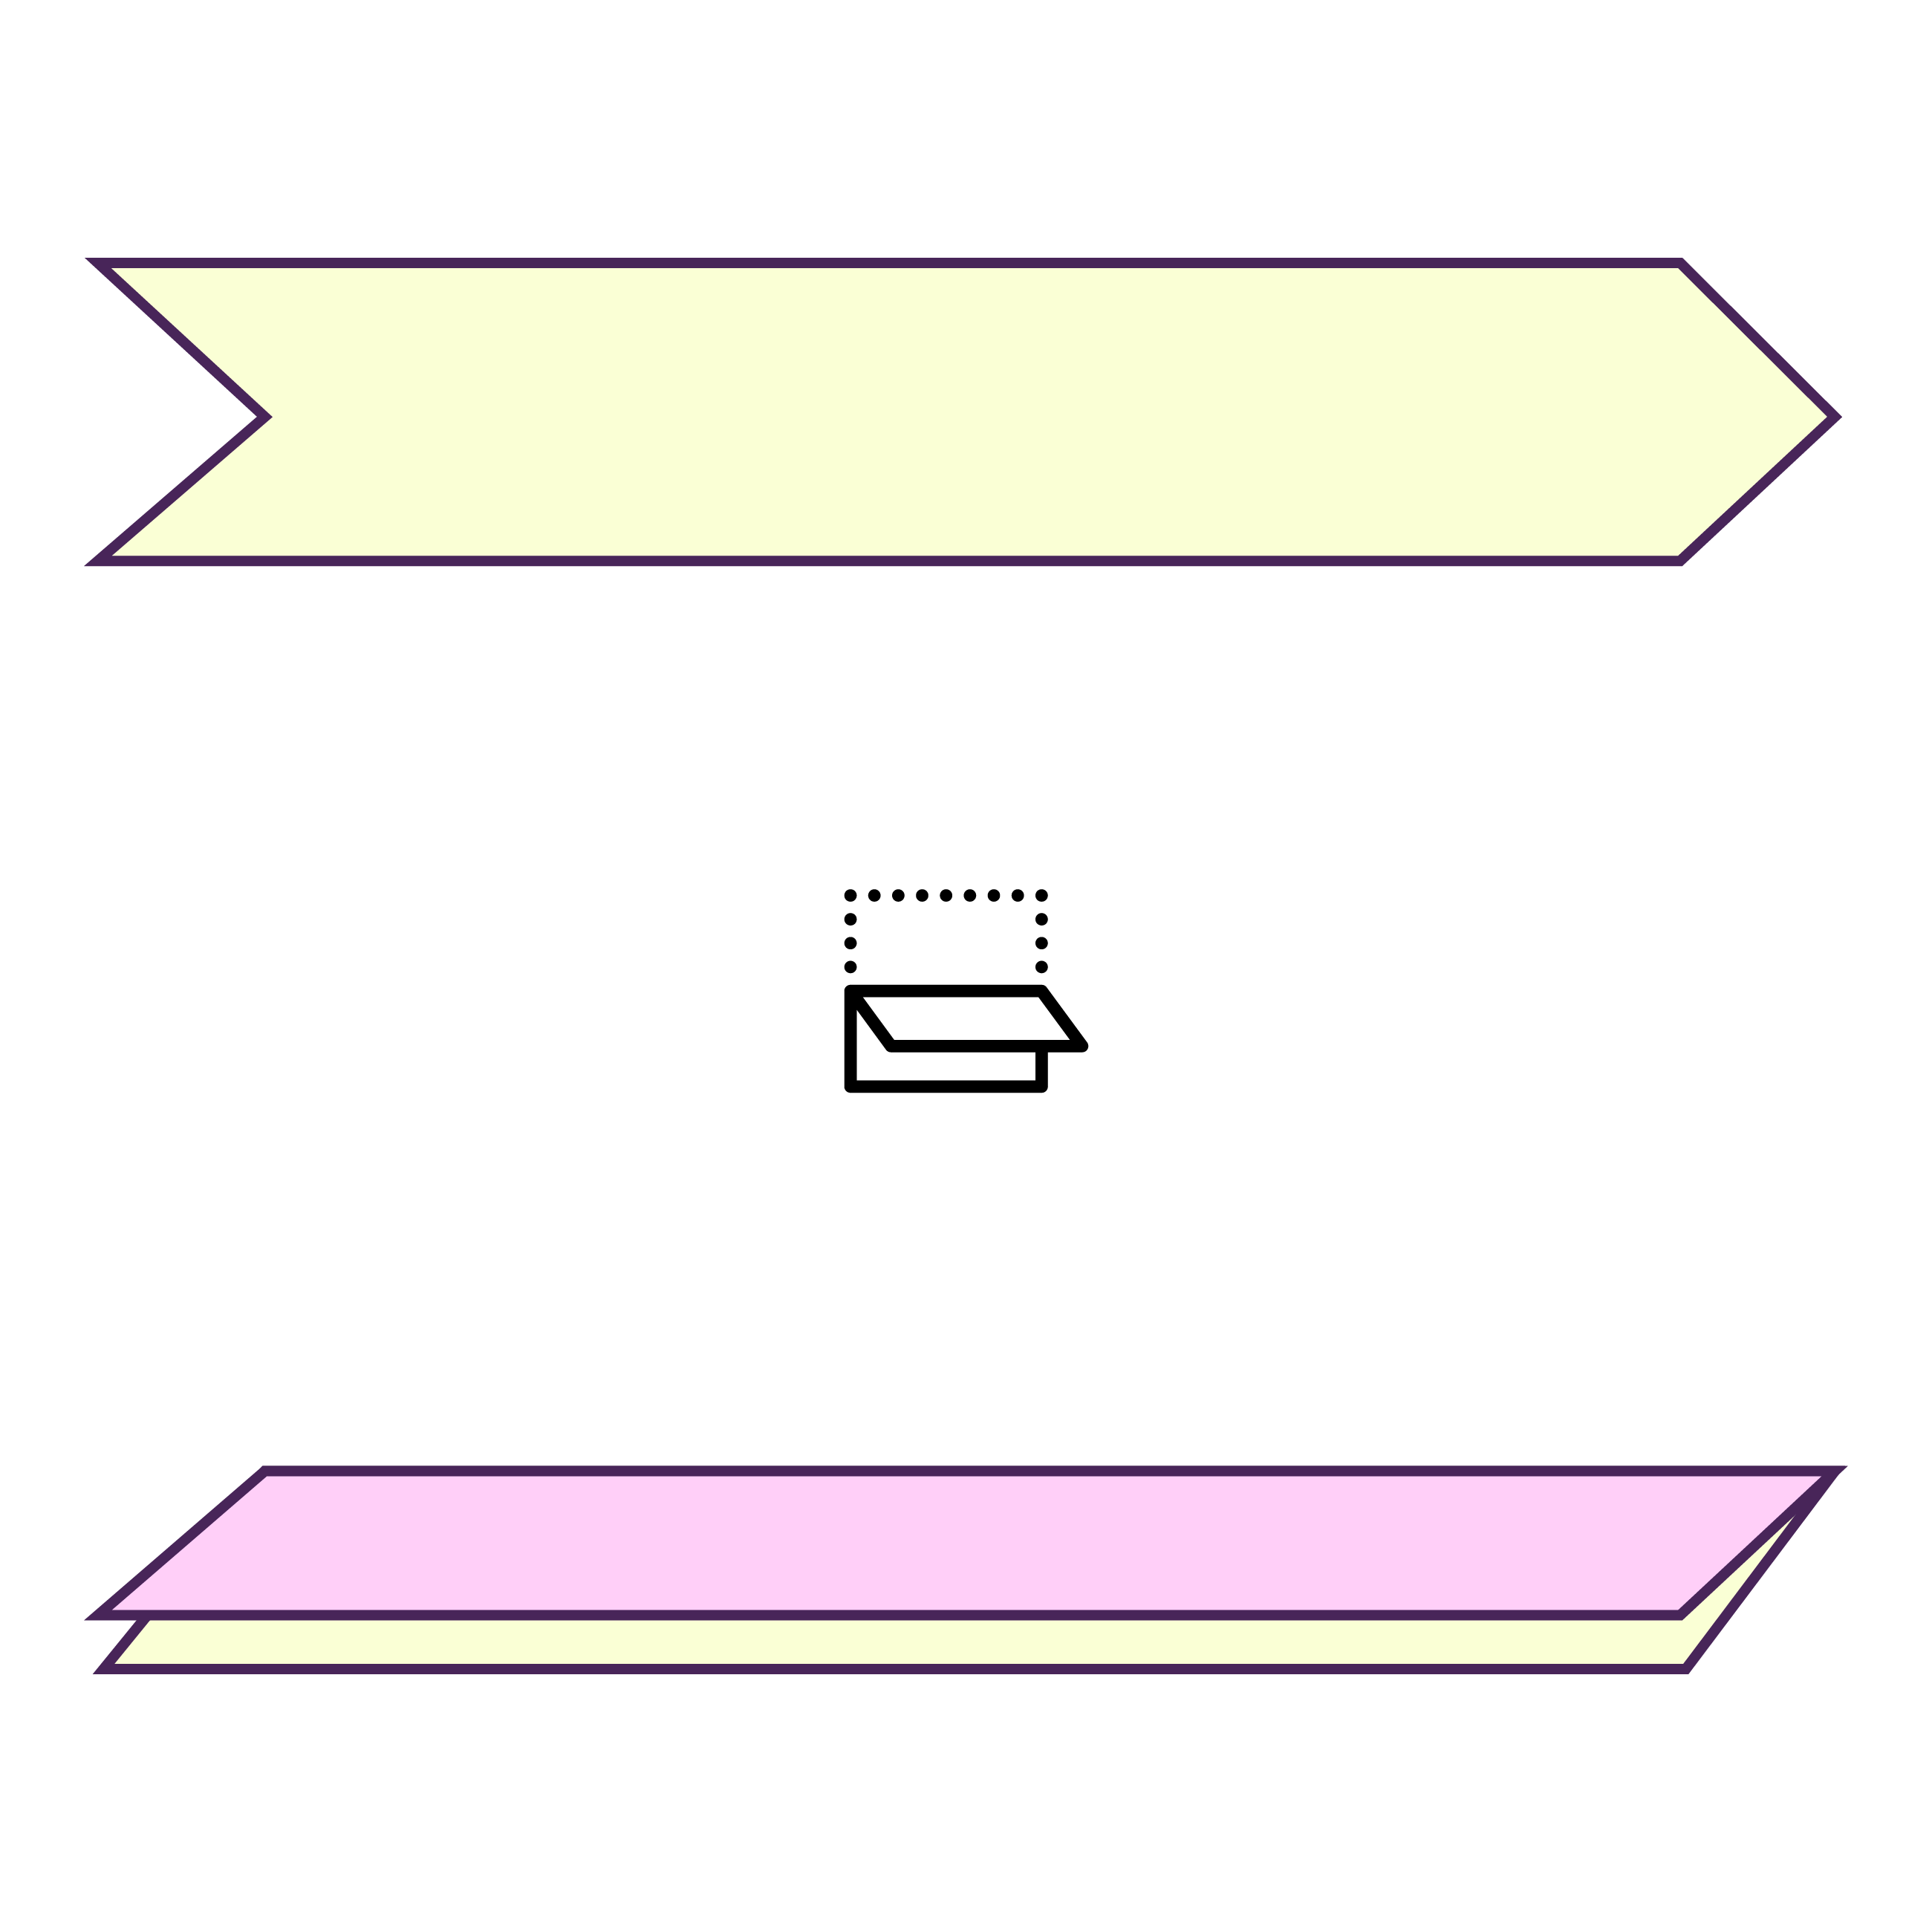
STEP 5
Gather your neck trim and fold it horizontally in half, right side out.
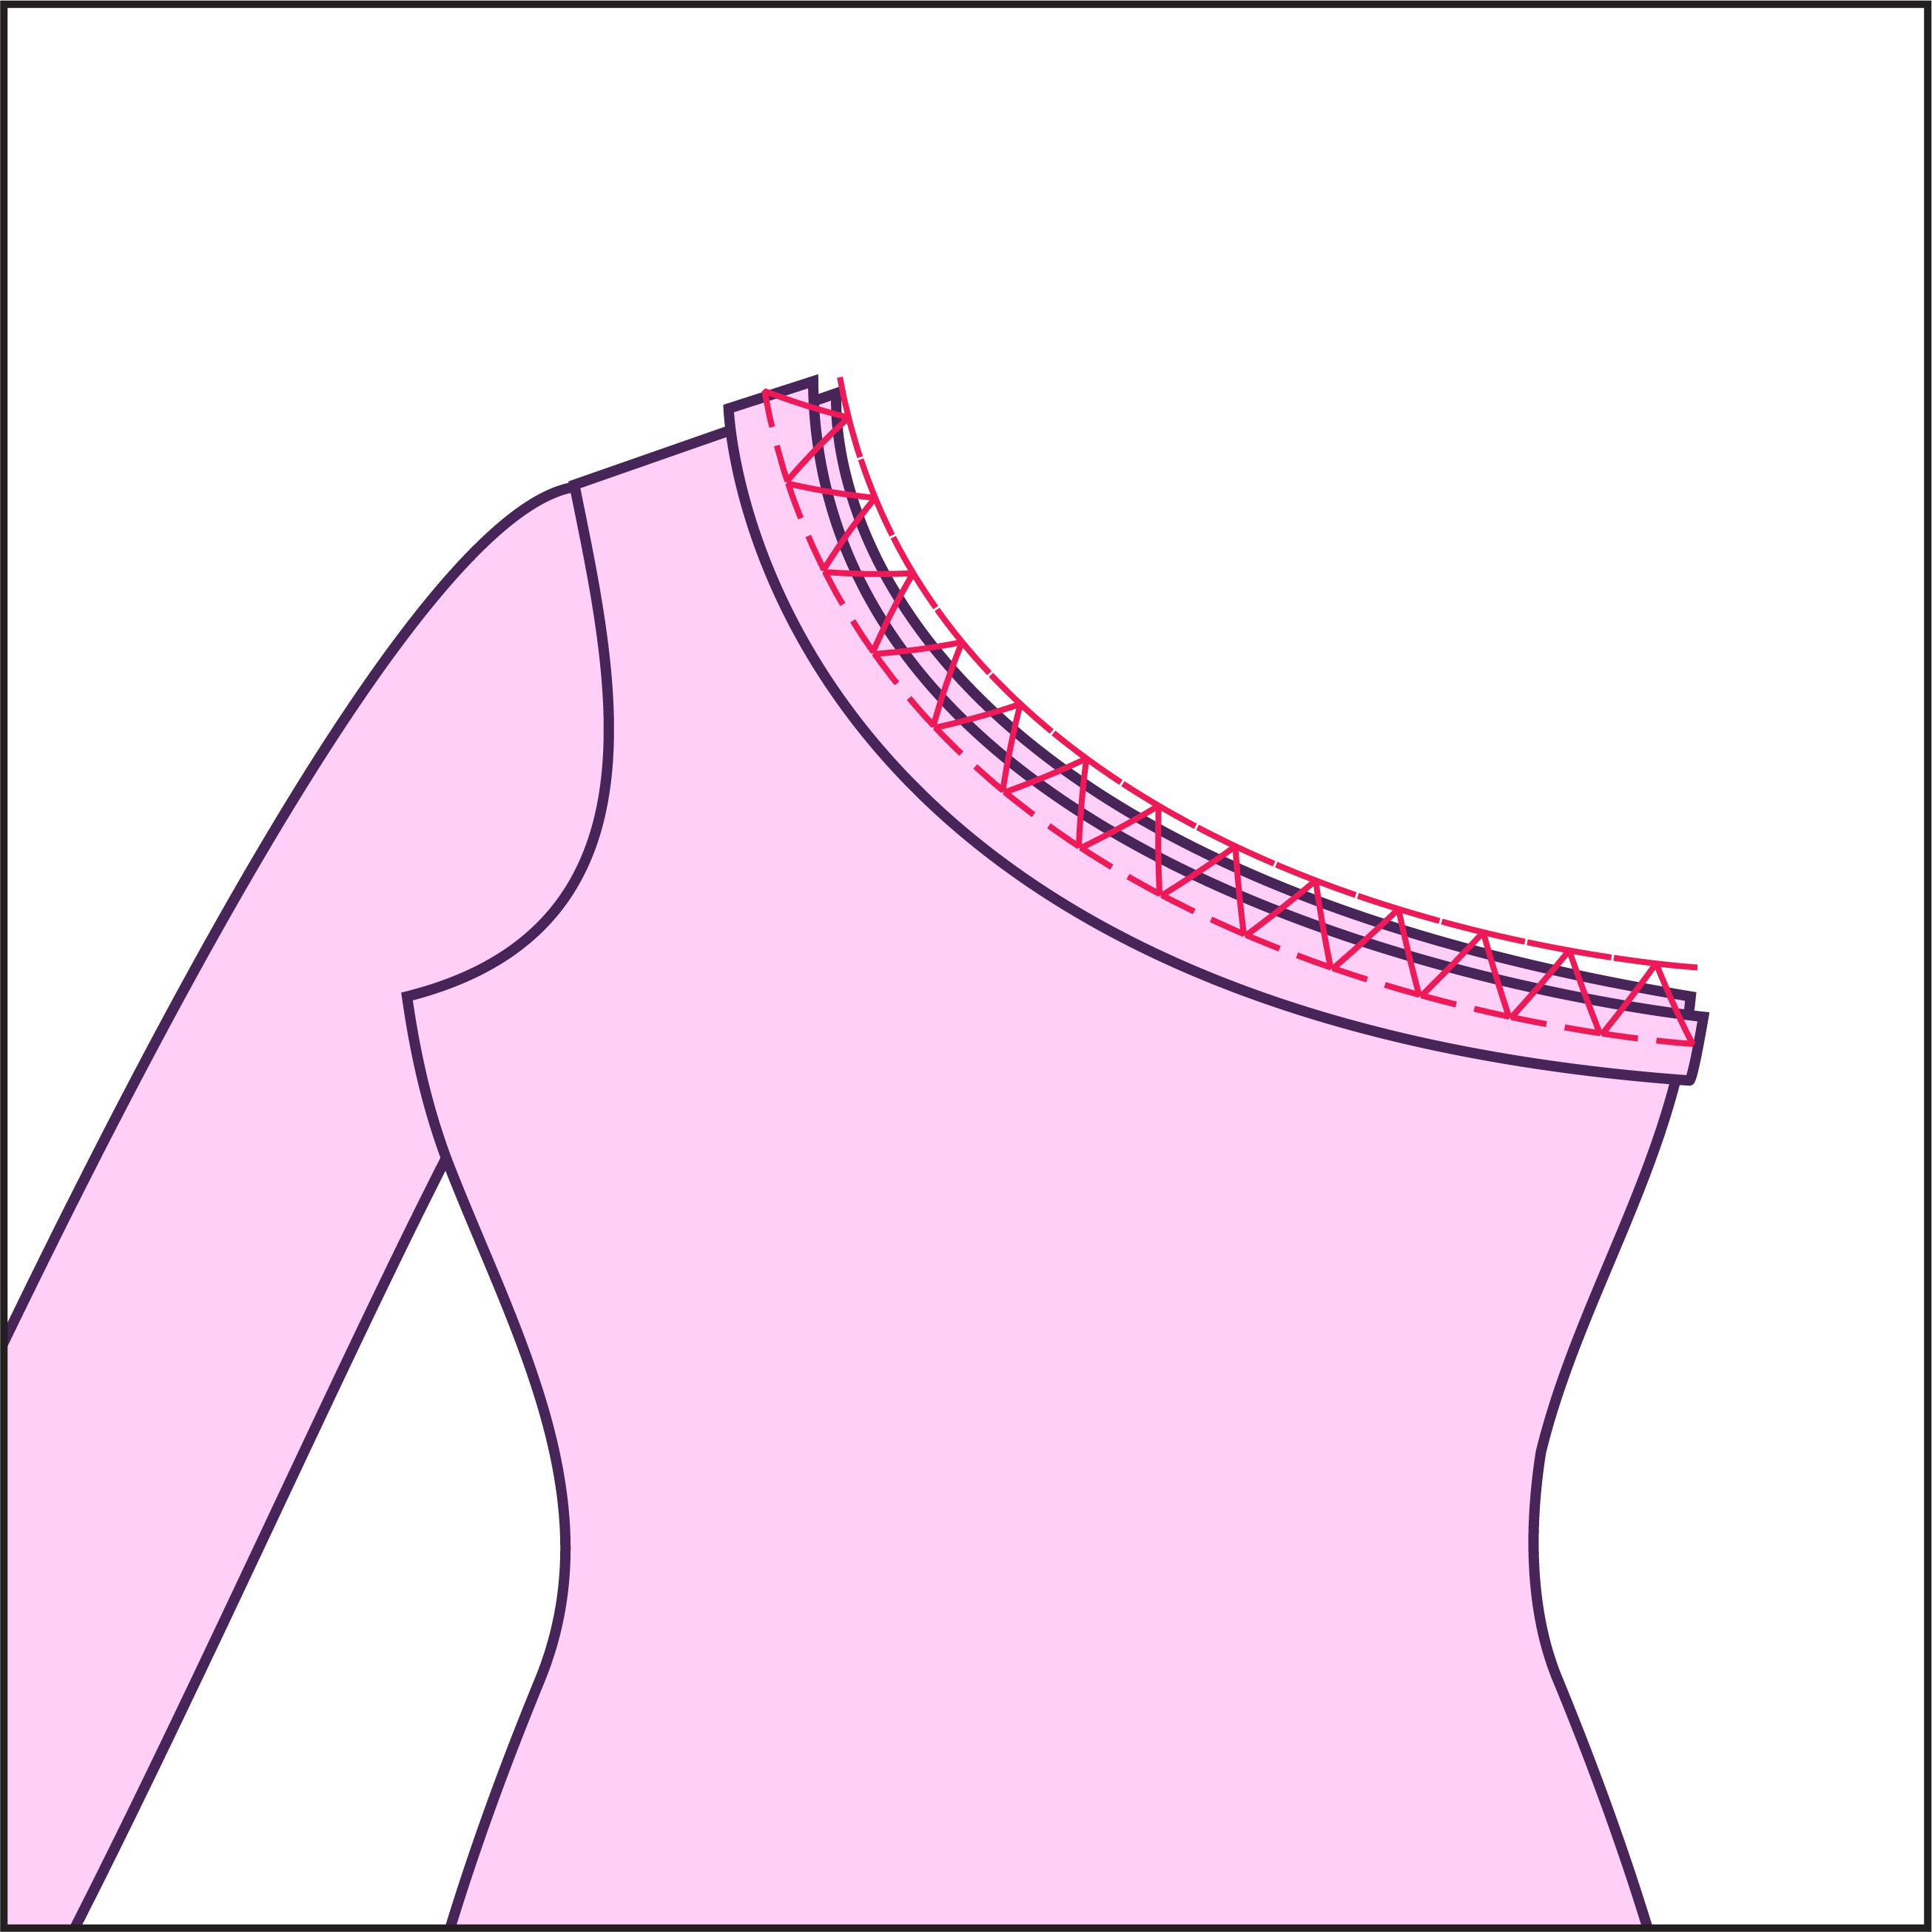
STEP 6
Sew the neck trim around the neckline of the garment, right sides facing each other.
Installing a Fur Trim? Helpful Videos:
Feather Trim: https://bit.ly/3VskCAN
Fur Trim: https://bit.ly/3Gn4Q63
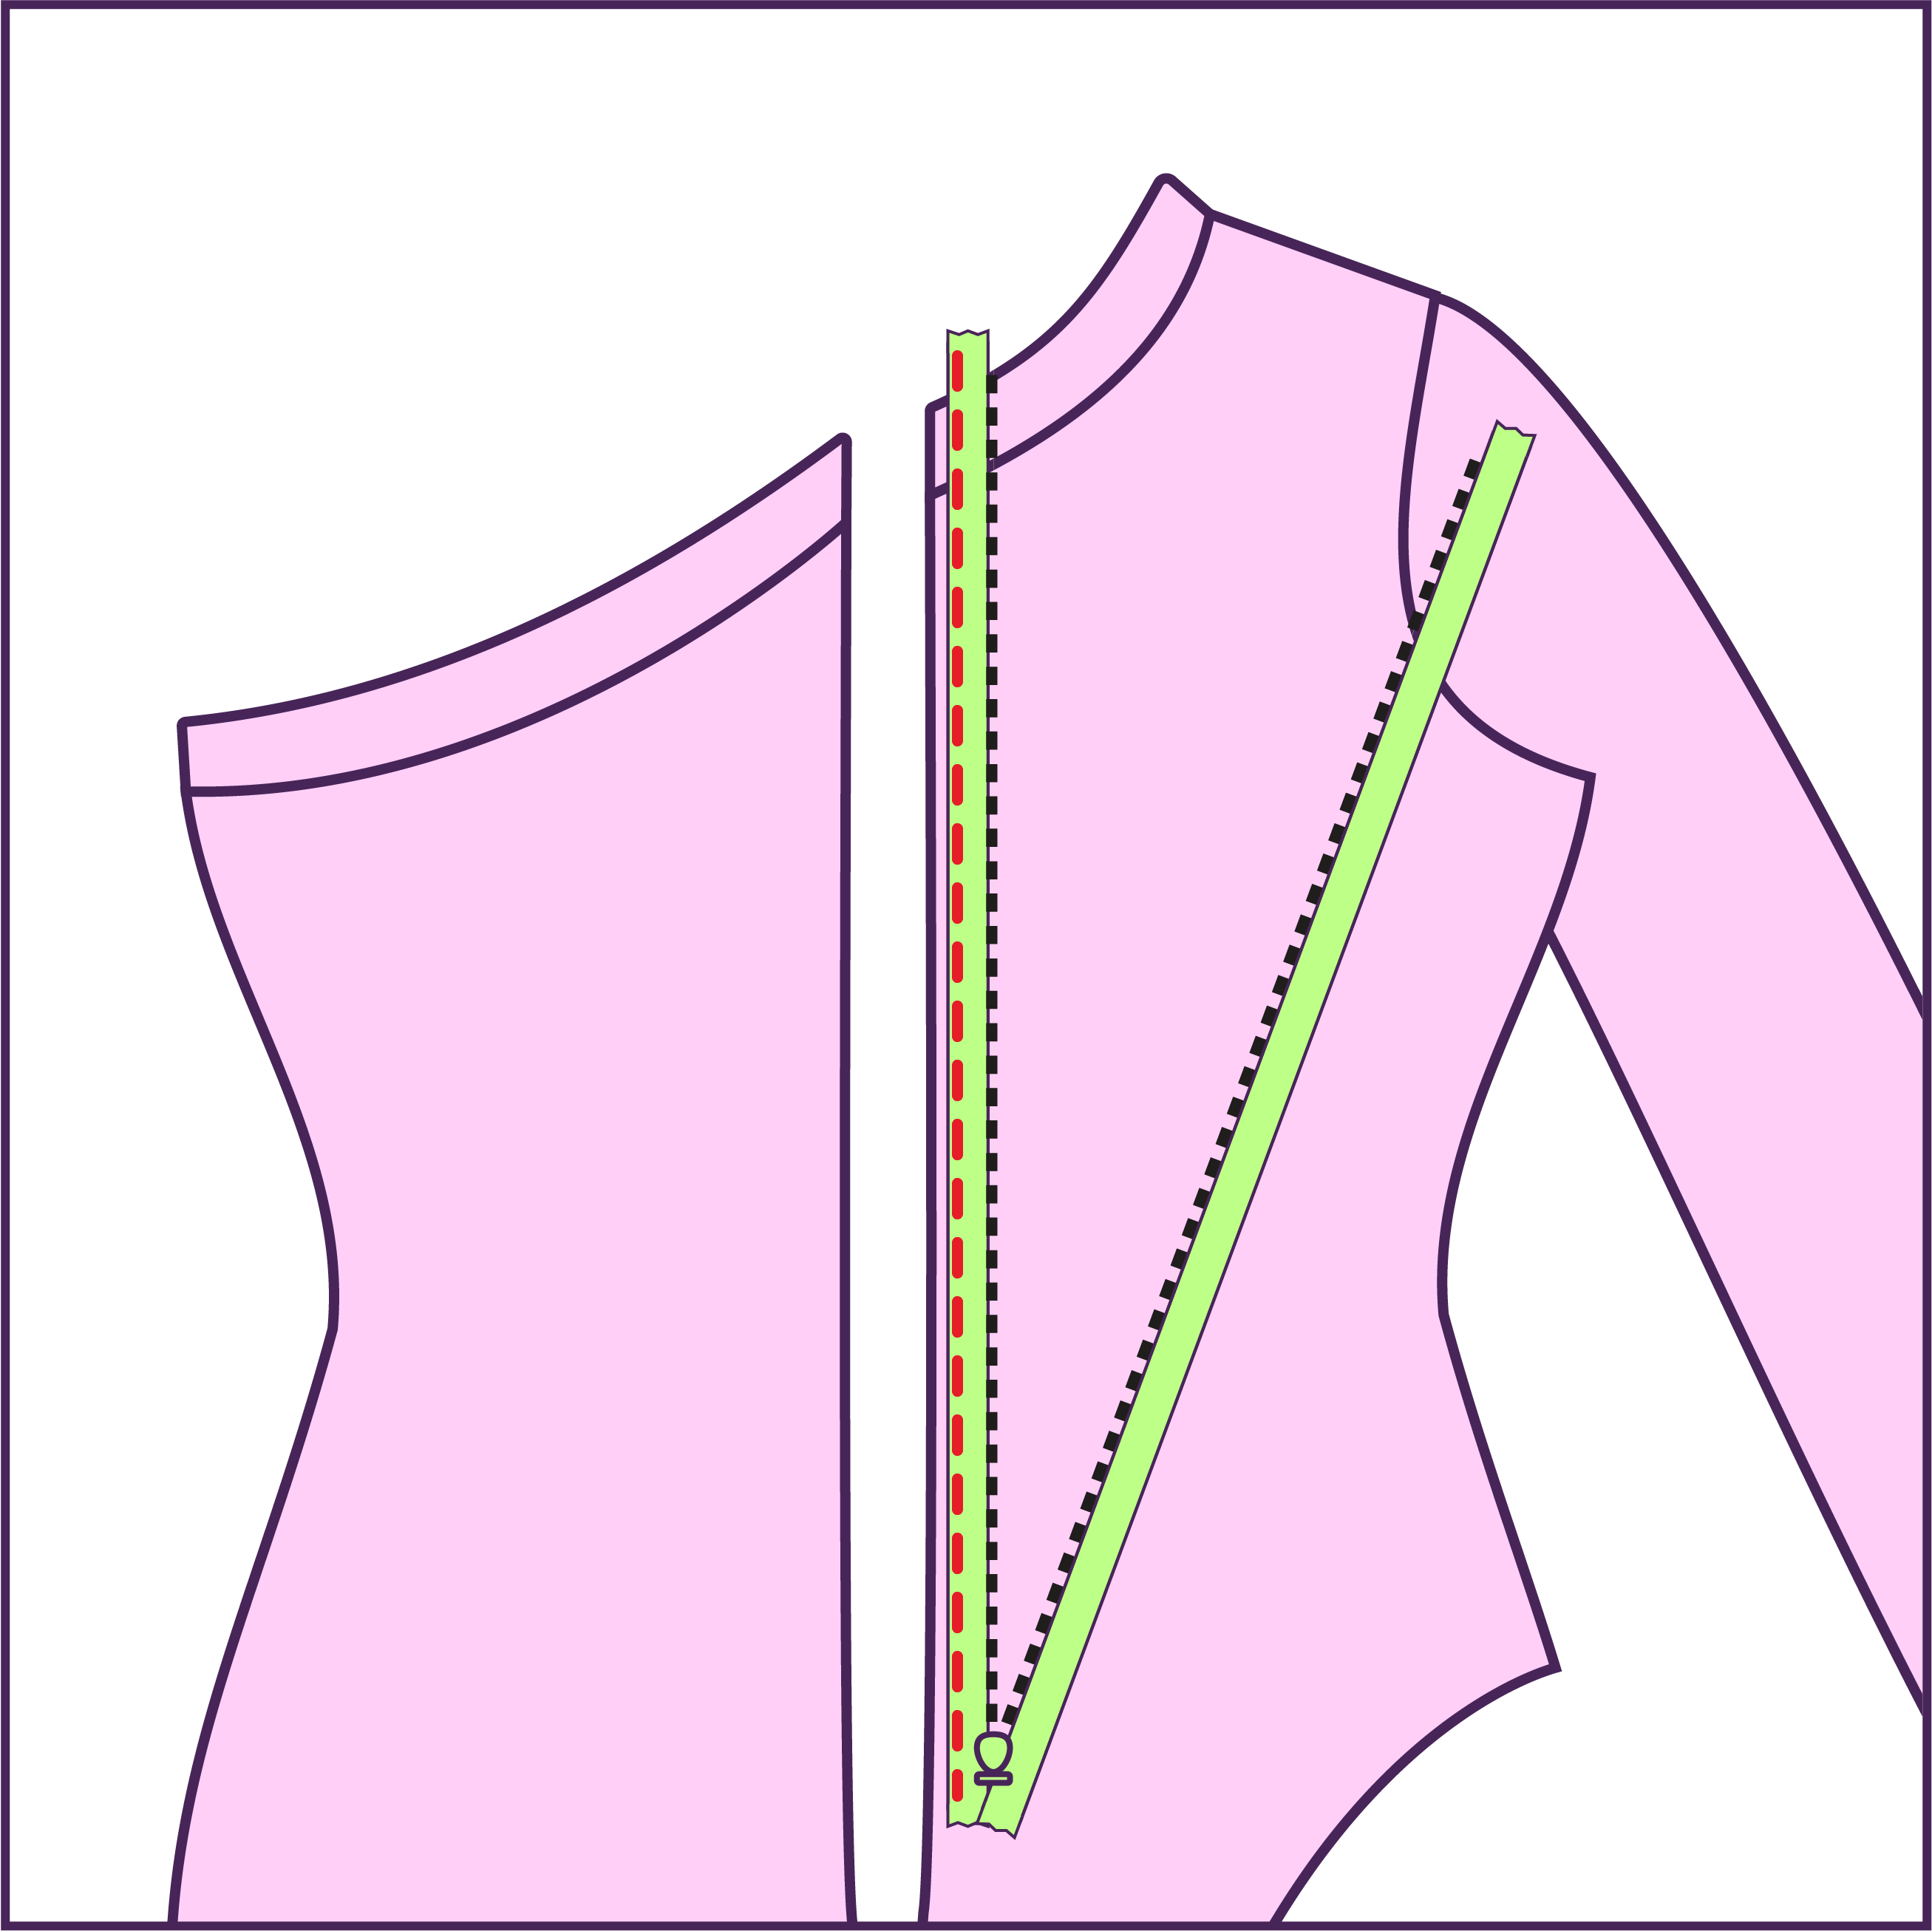
STEP 7
Install 14-16 inch invisible zipper to the 2 back pieces, right side of fabric.
STEP 8
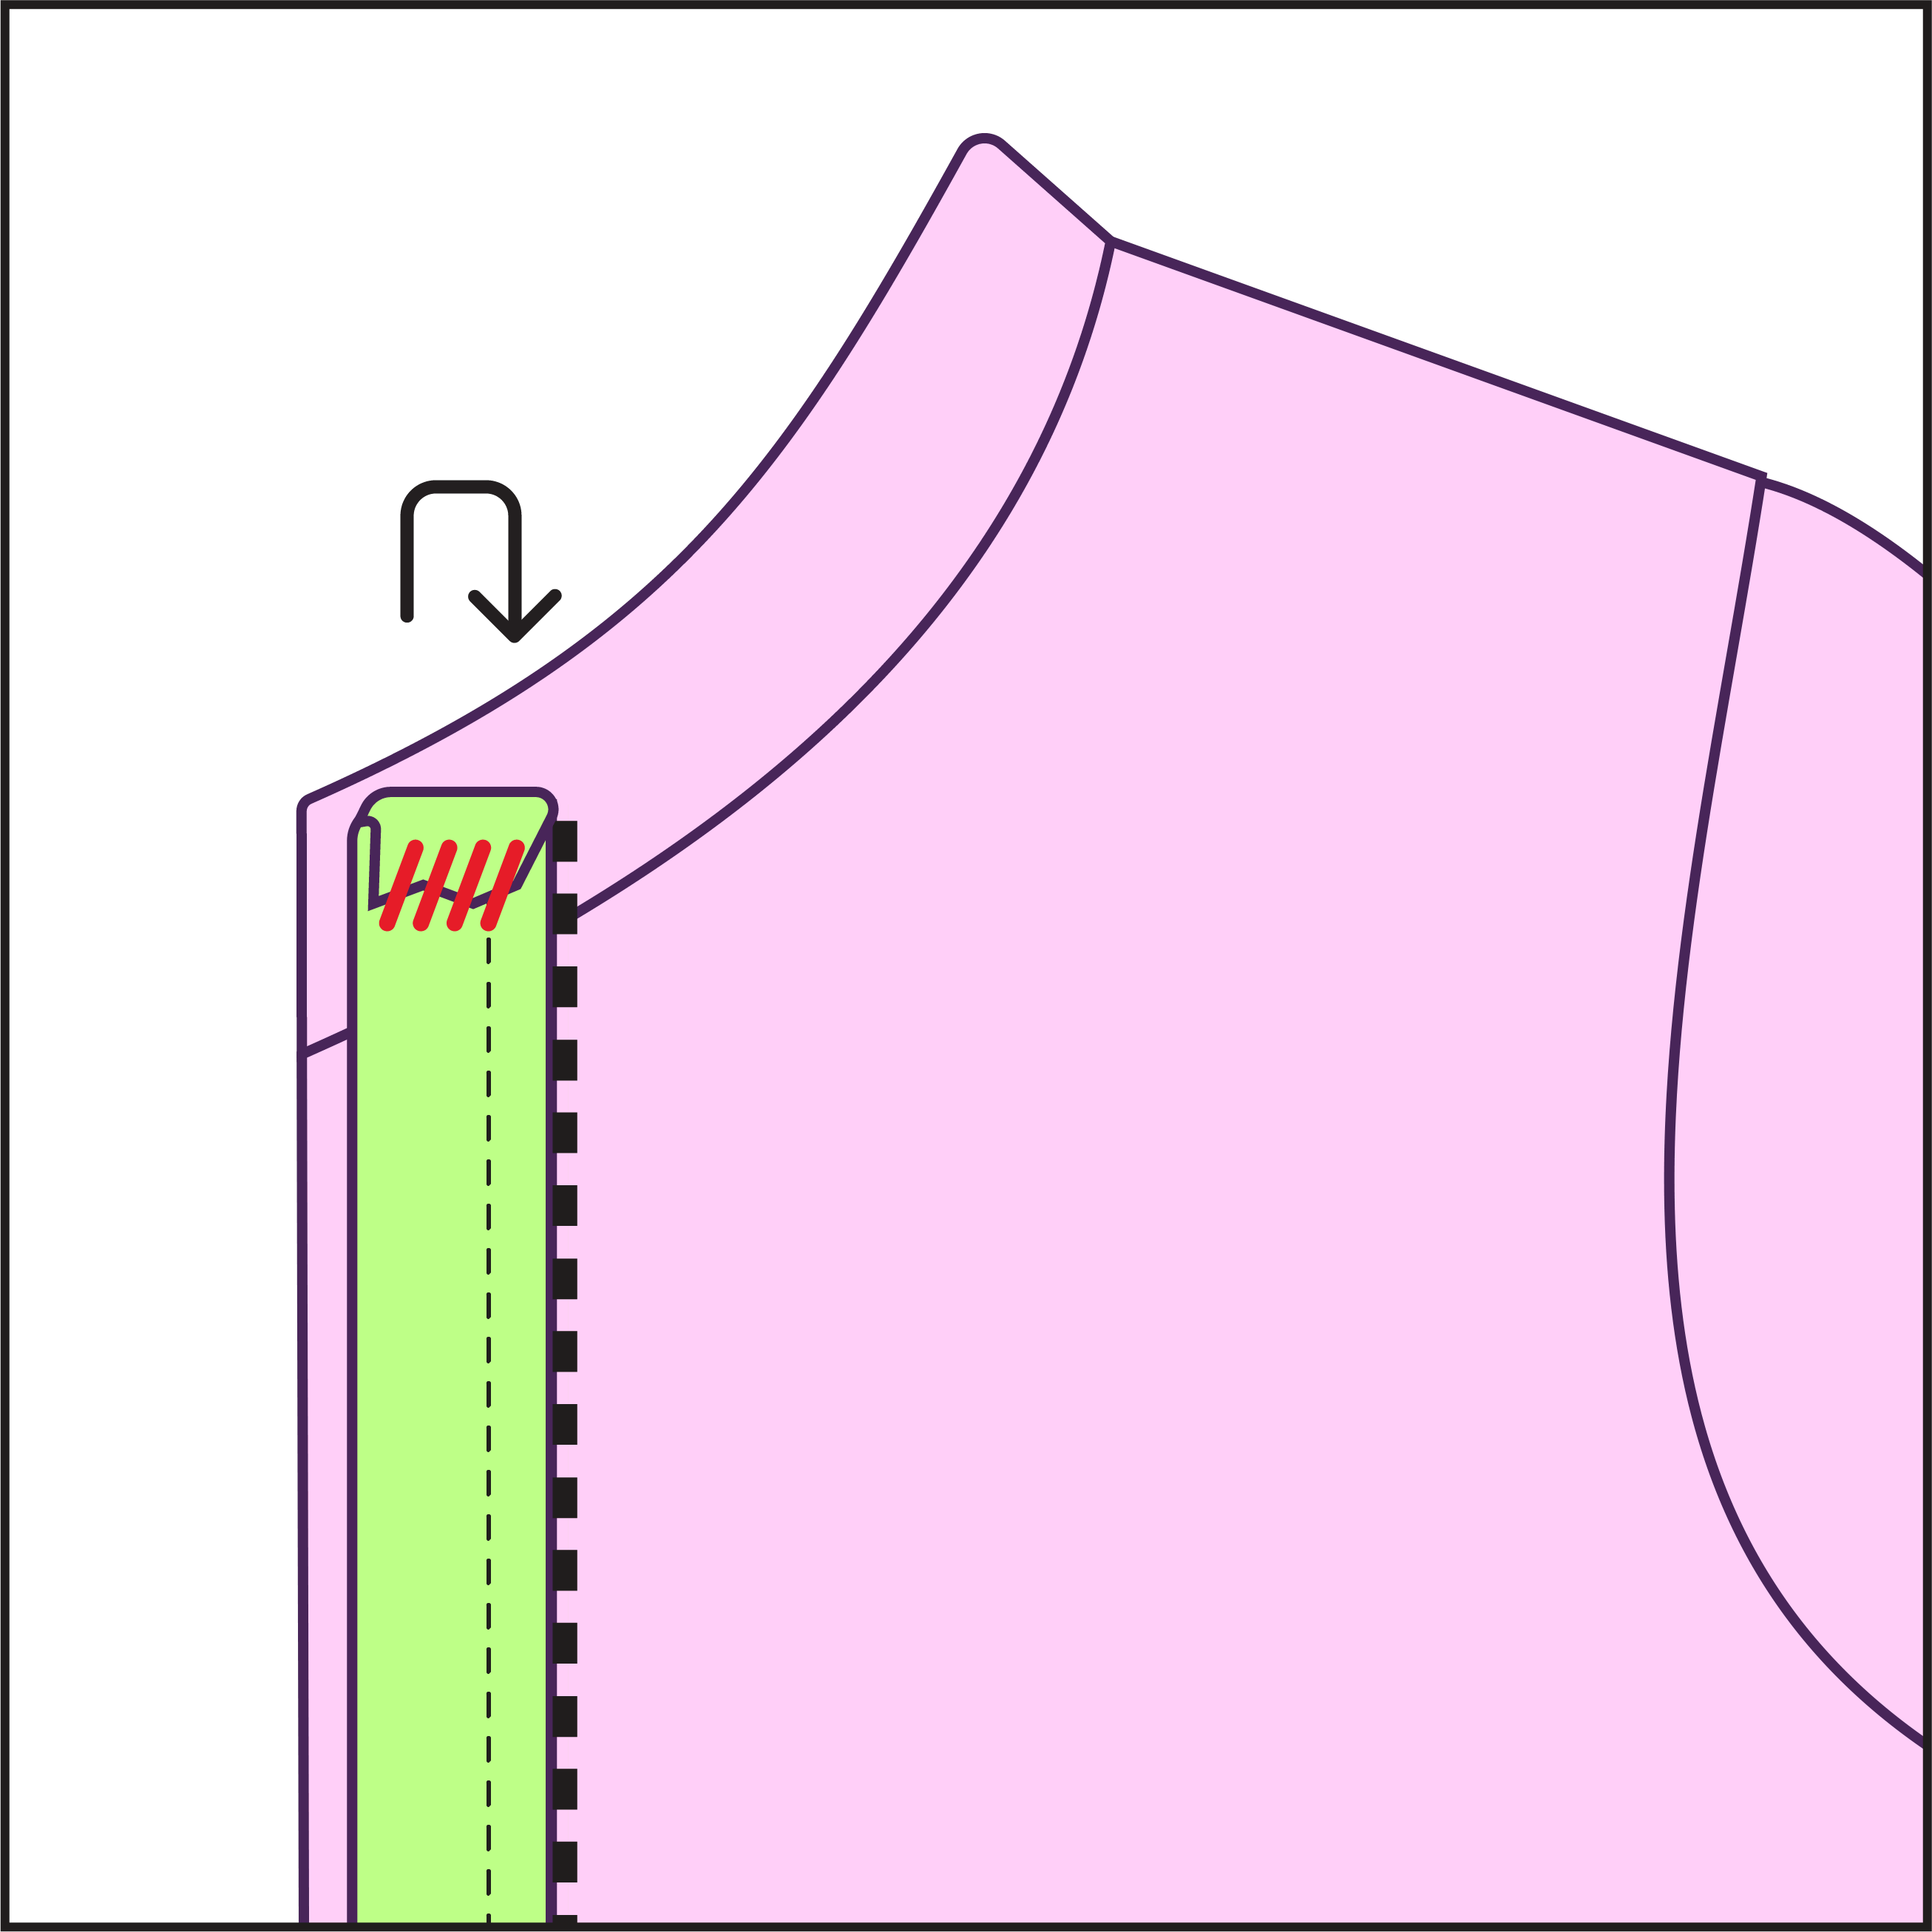
After attaching the zipper, fold the excess fabric at the top of the zipper vertically and hand-stitch it down to secure this fold before proceeding.
STEP 9
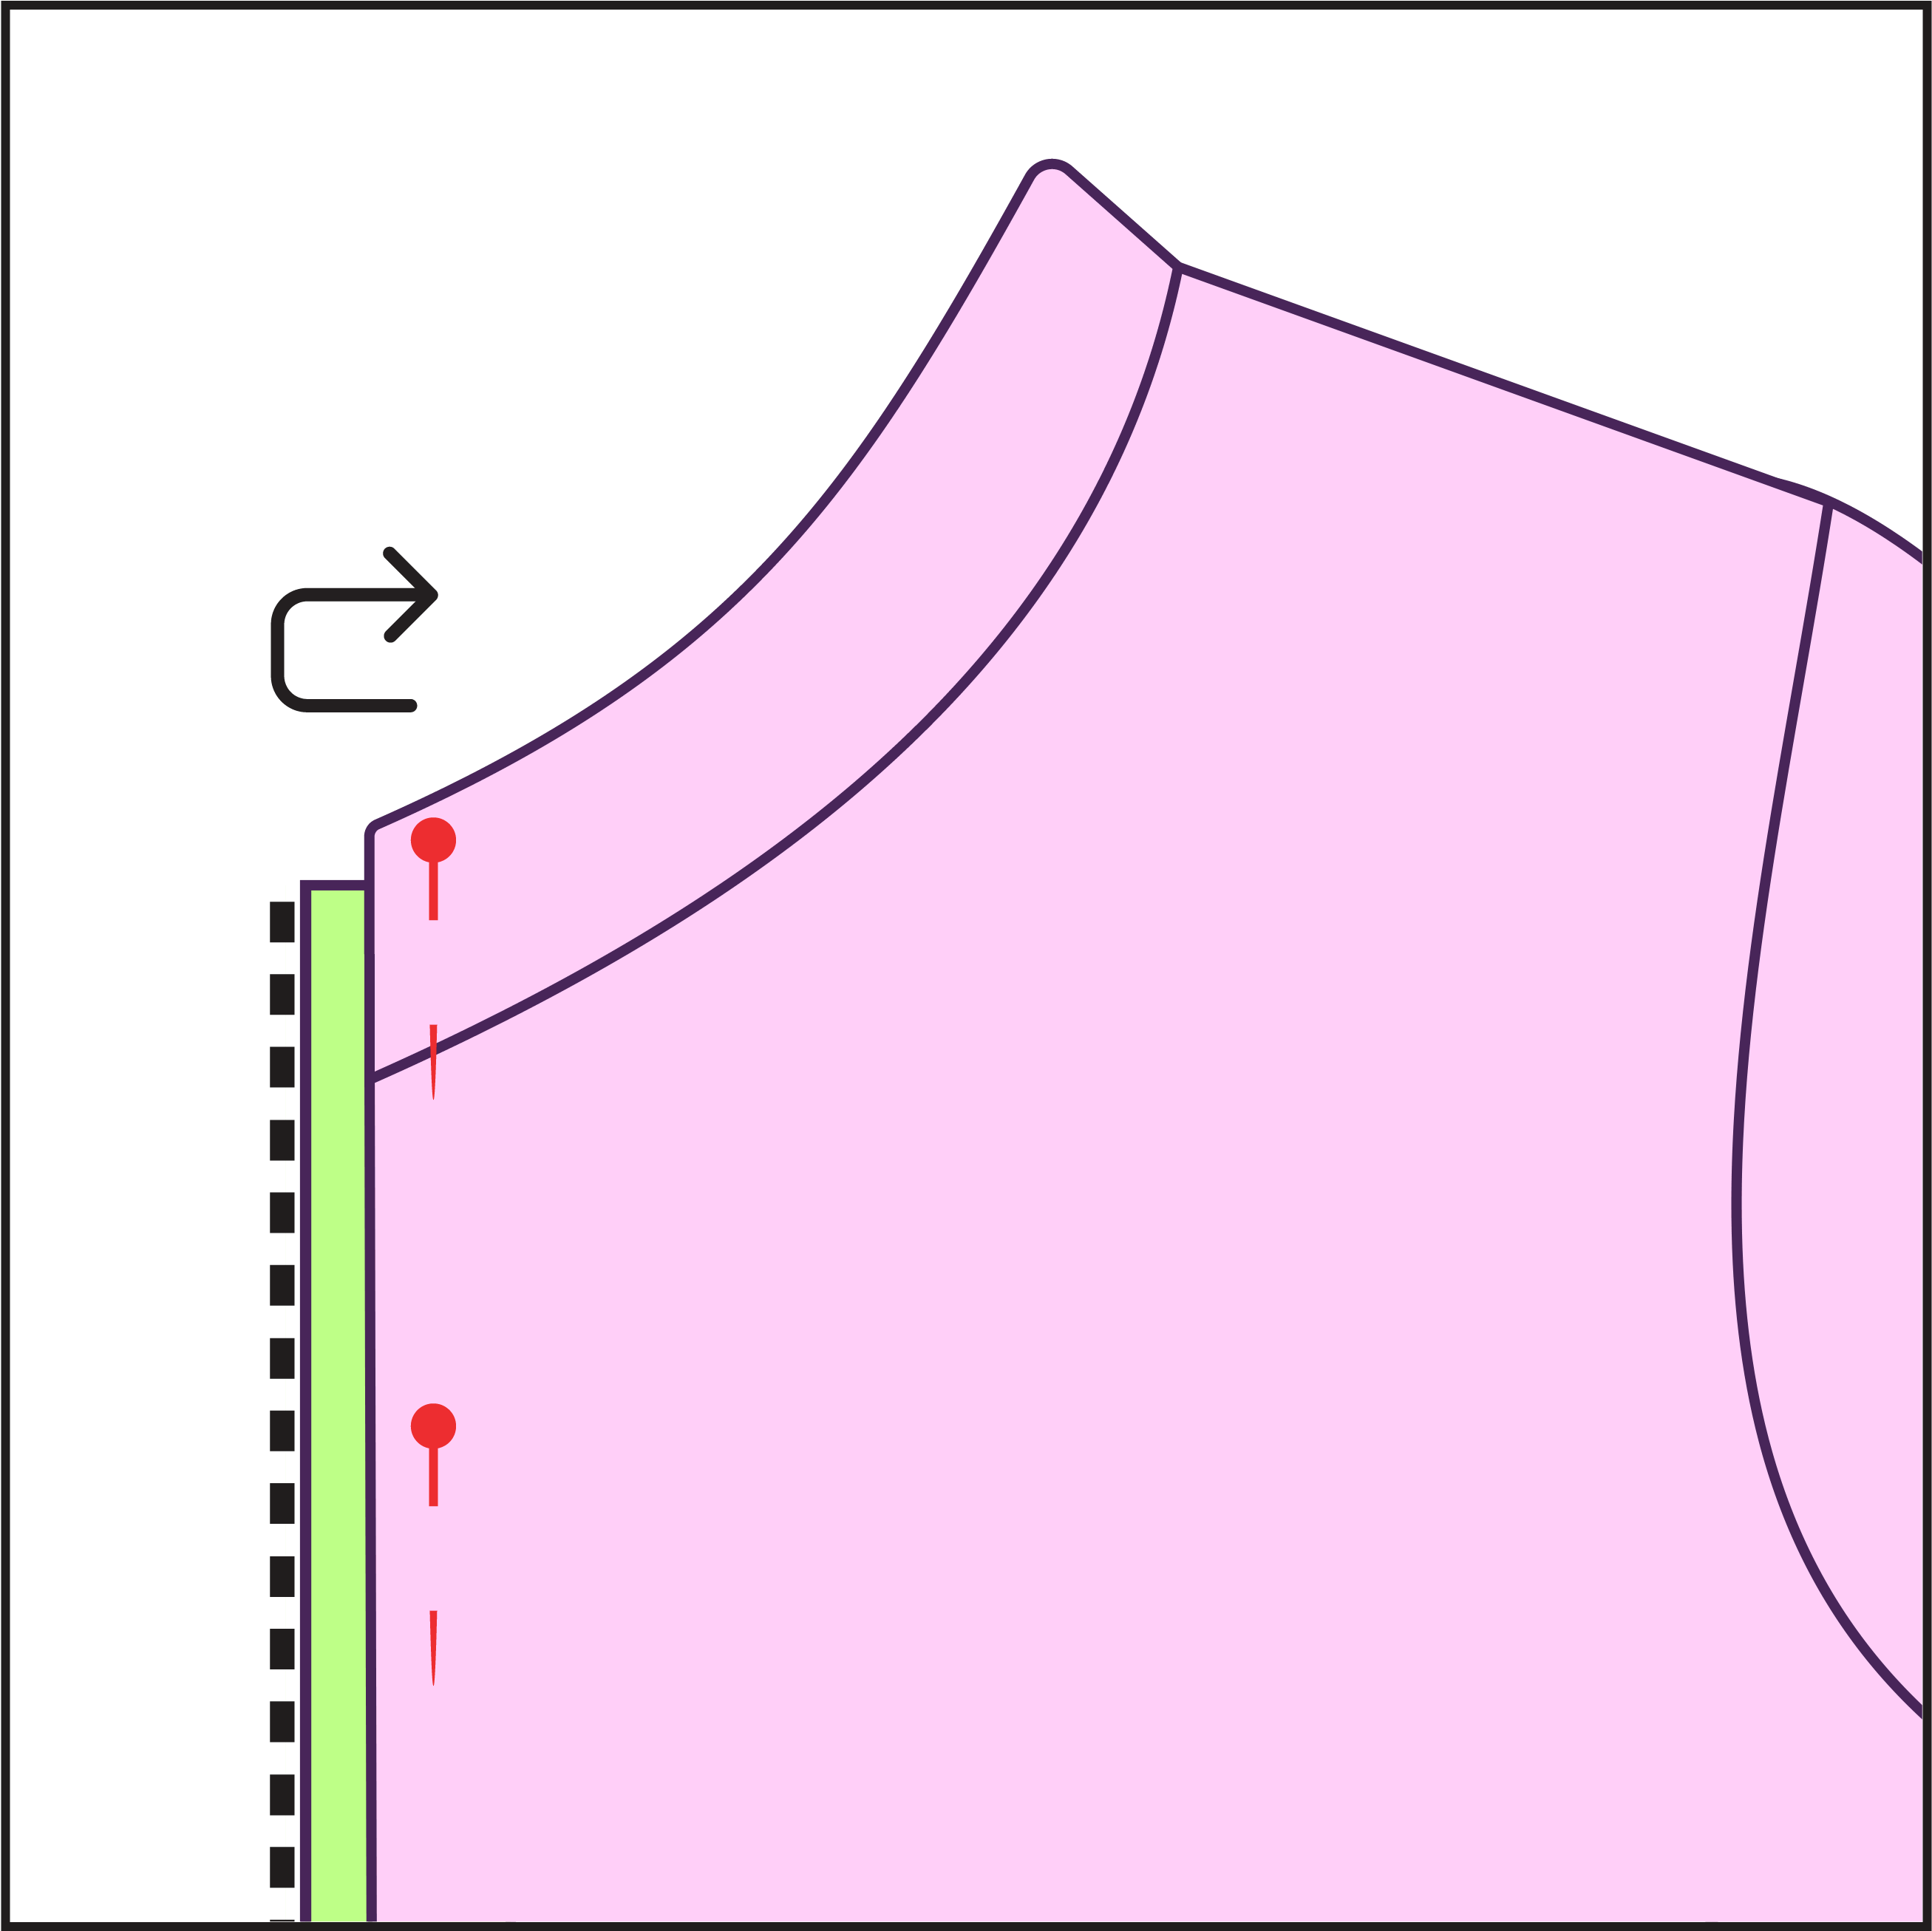
Next, fold the zipper tape horizontally and pin in place, ready for topstitching. Repeat the same steps on the opposite side.

STEP 10
Topstitch around the zipper sides to reinforce and neatly finish the edges.
STEP 11
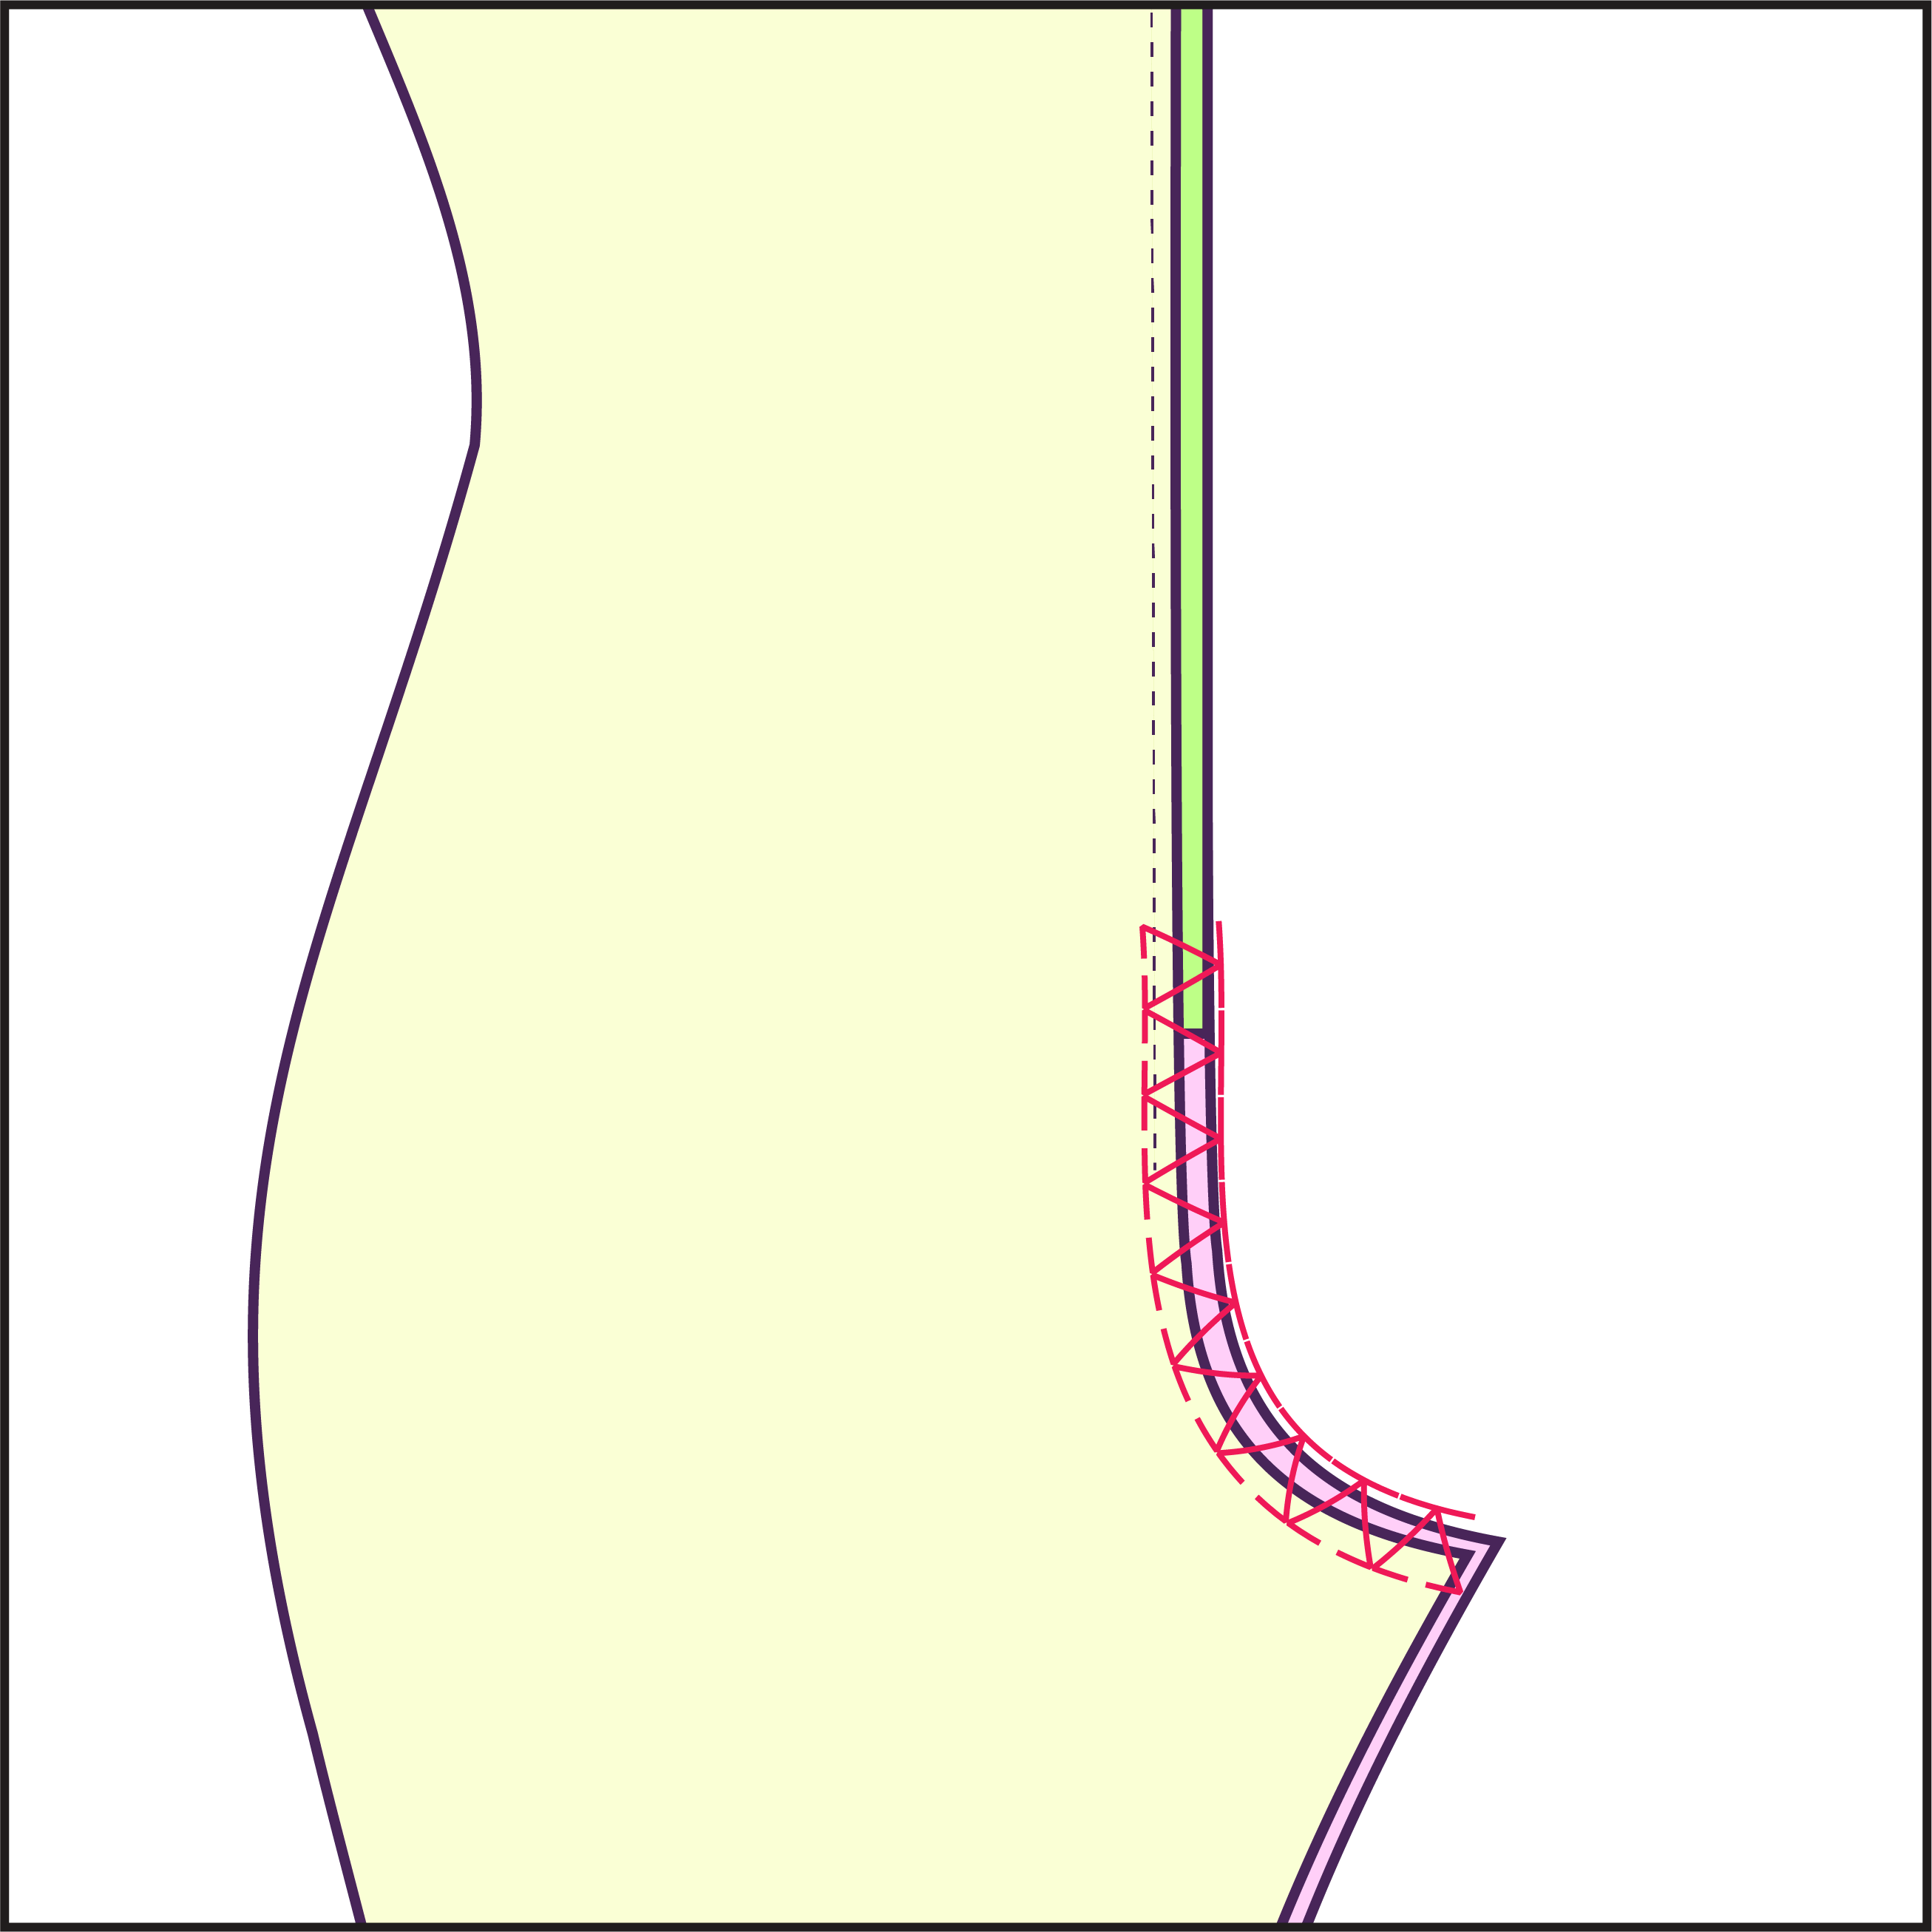
Once the zipper is secured to the back pieces, sew the remaining gap at the back crotch, starting from the bottom curve and working up to the zipper's end.

STEP 12
Gather your leg trim and fold it horizontally in half, right side out.
STEP 13
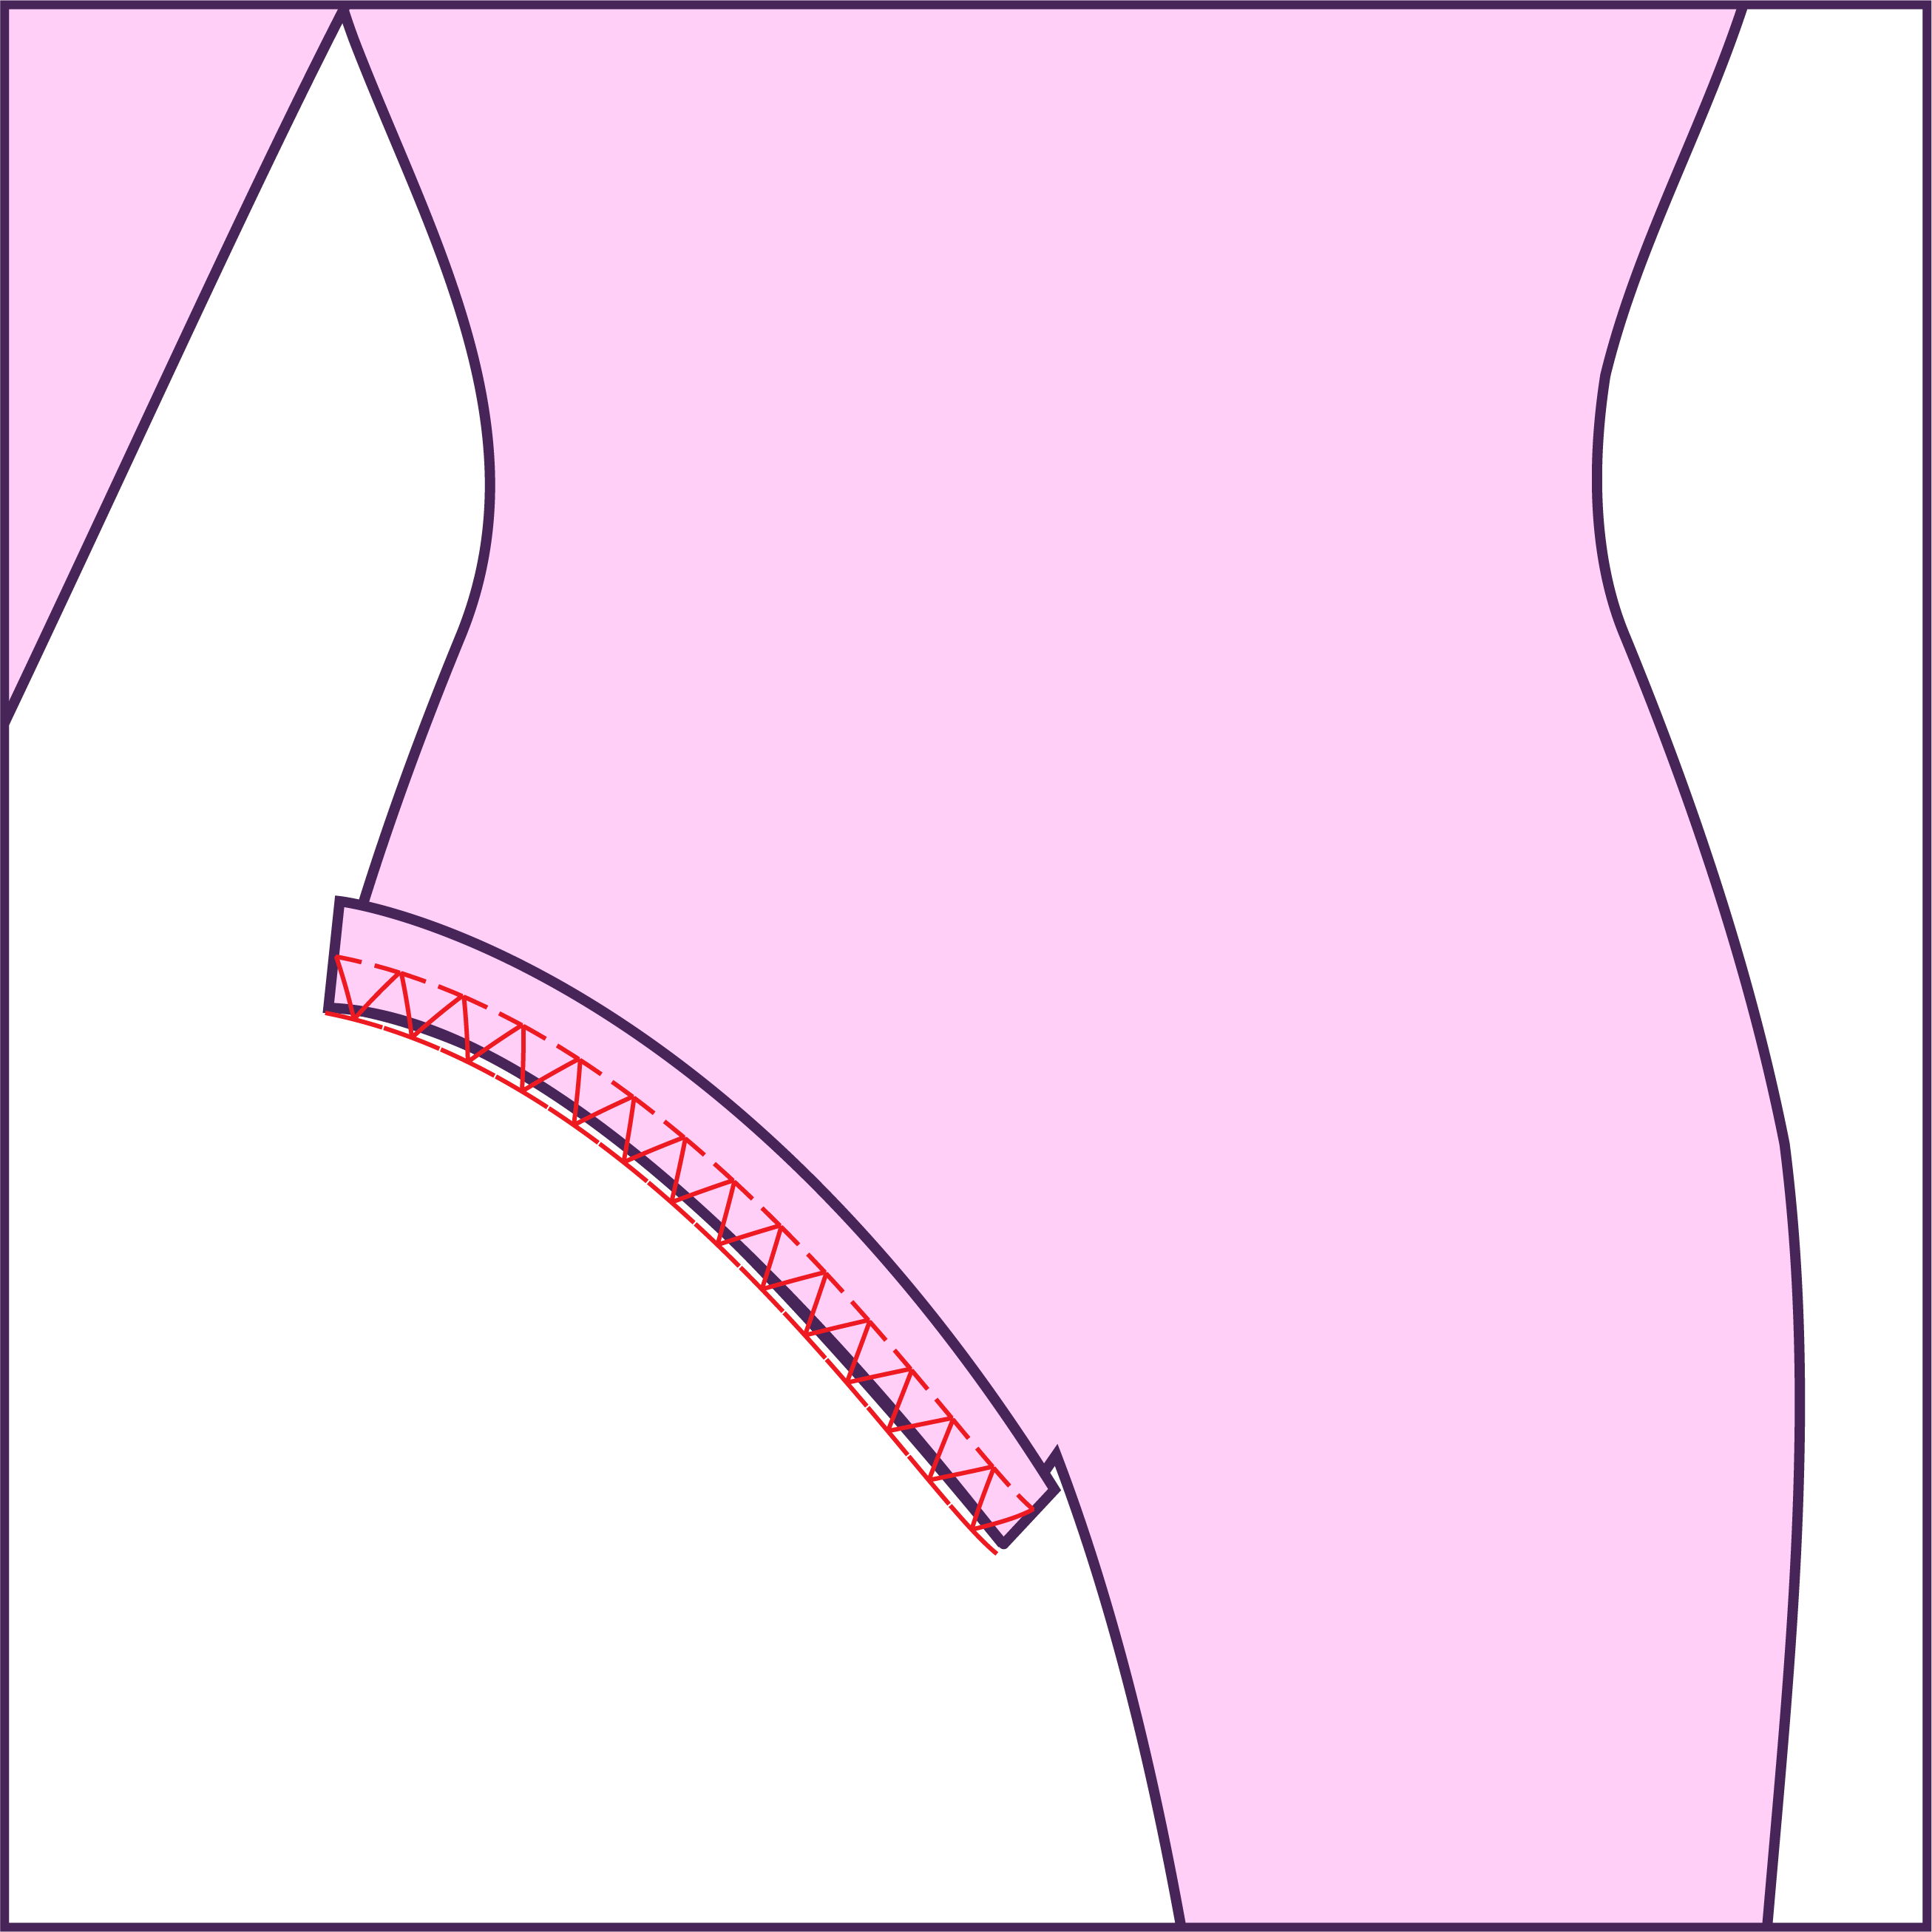
Sew the leg trim around the leg hole of the garment, right sides facing each other.
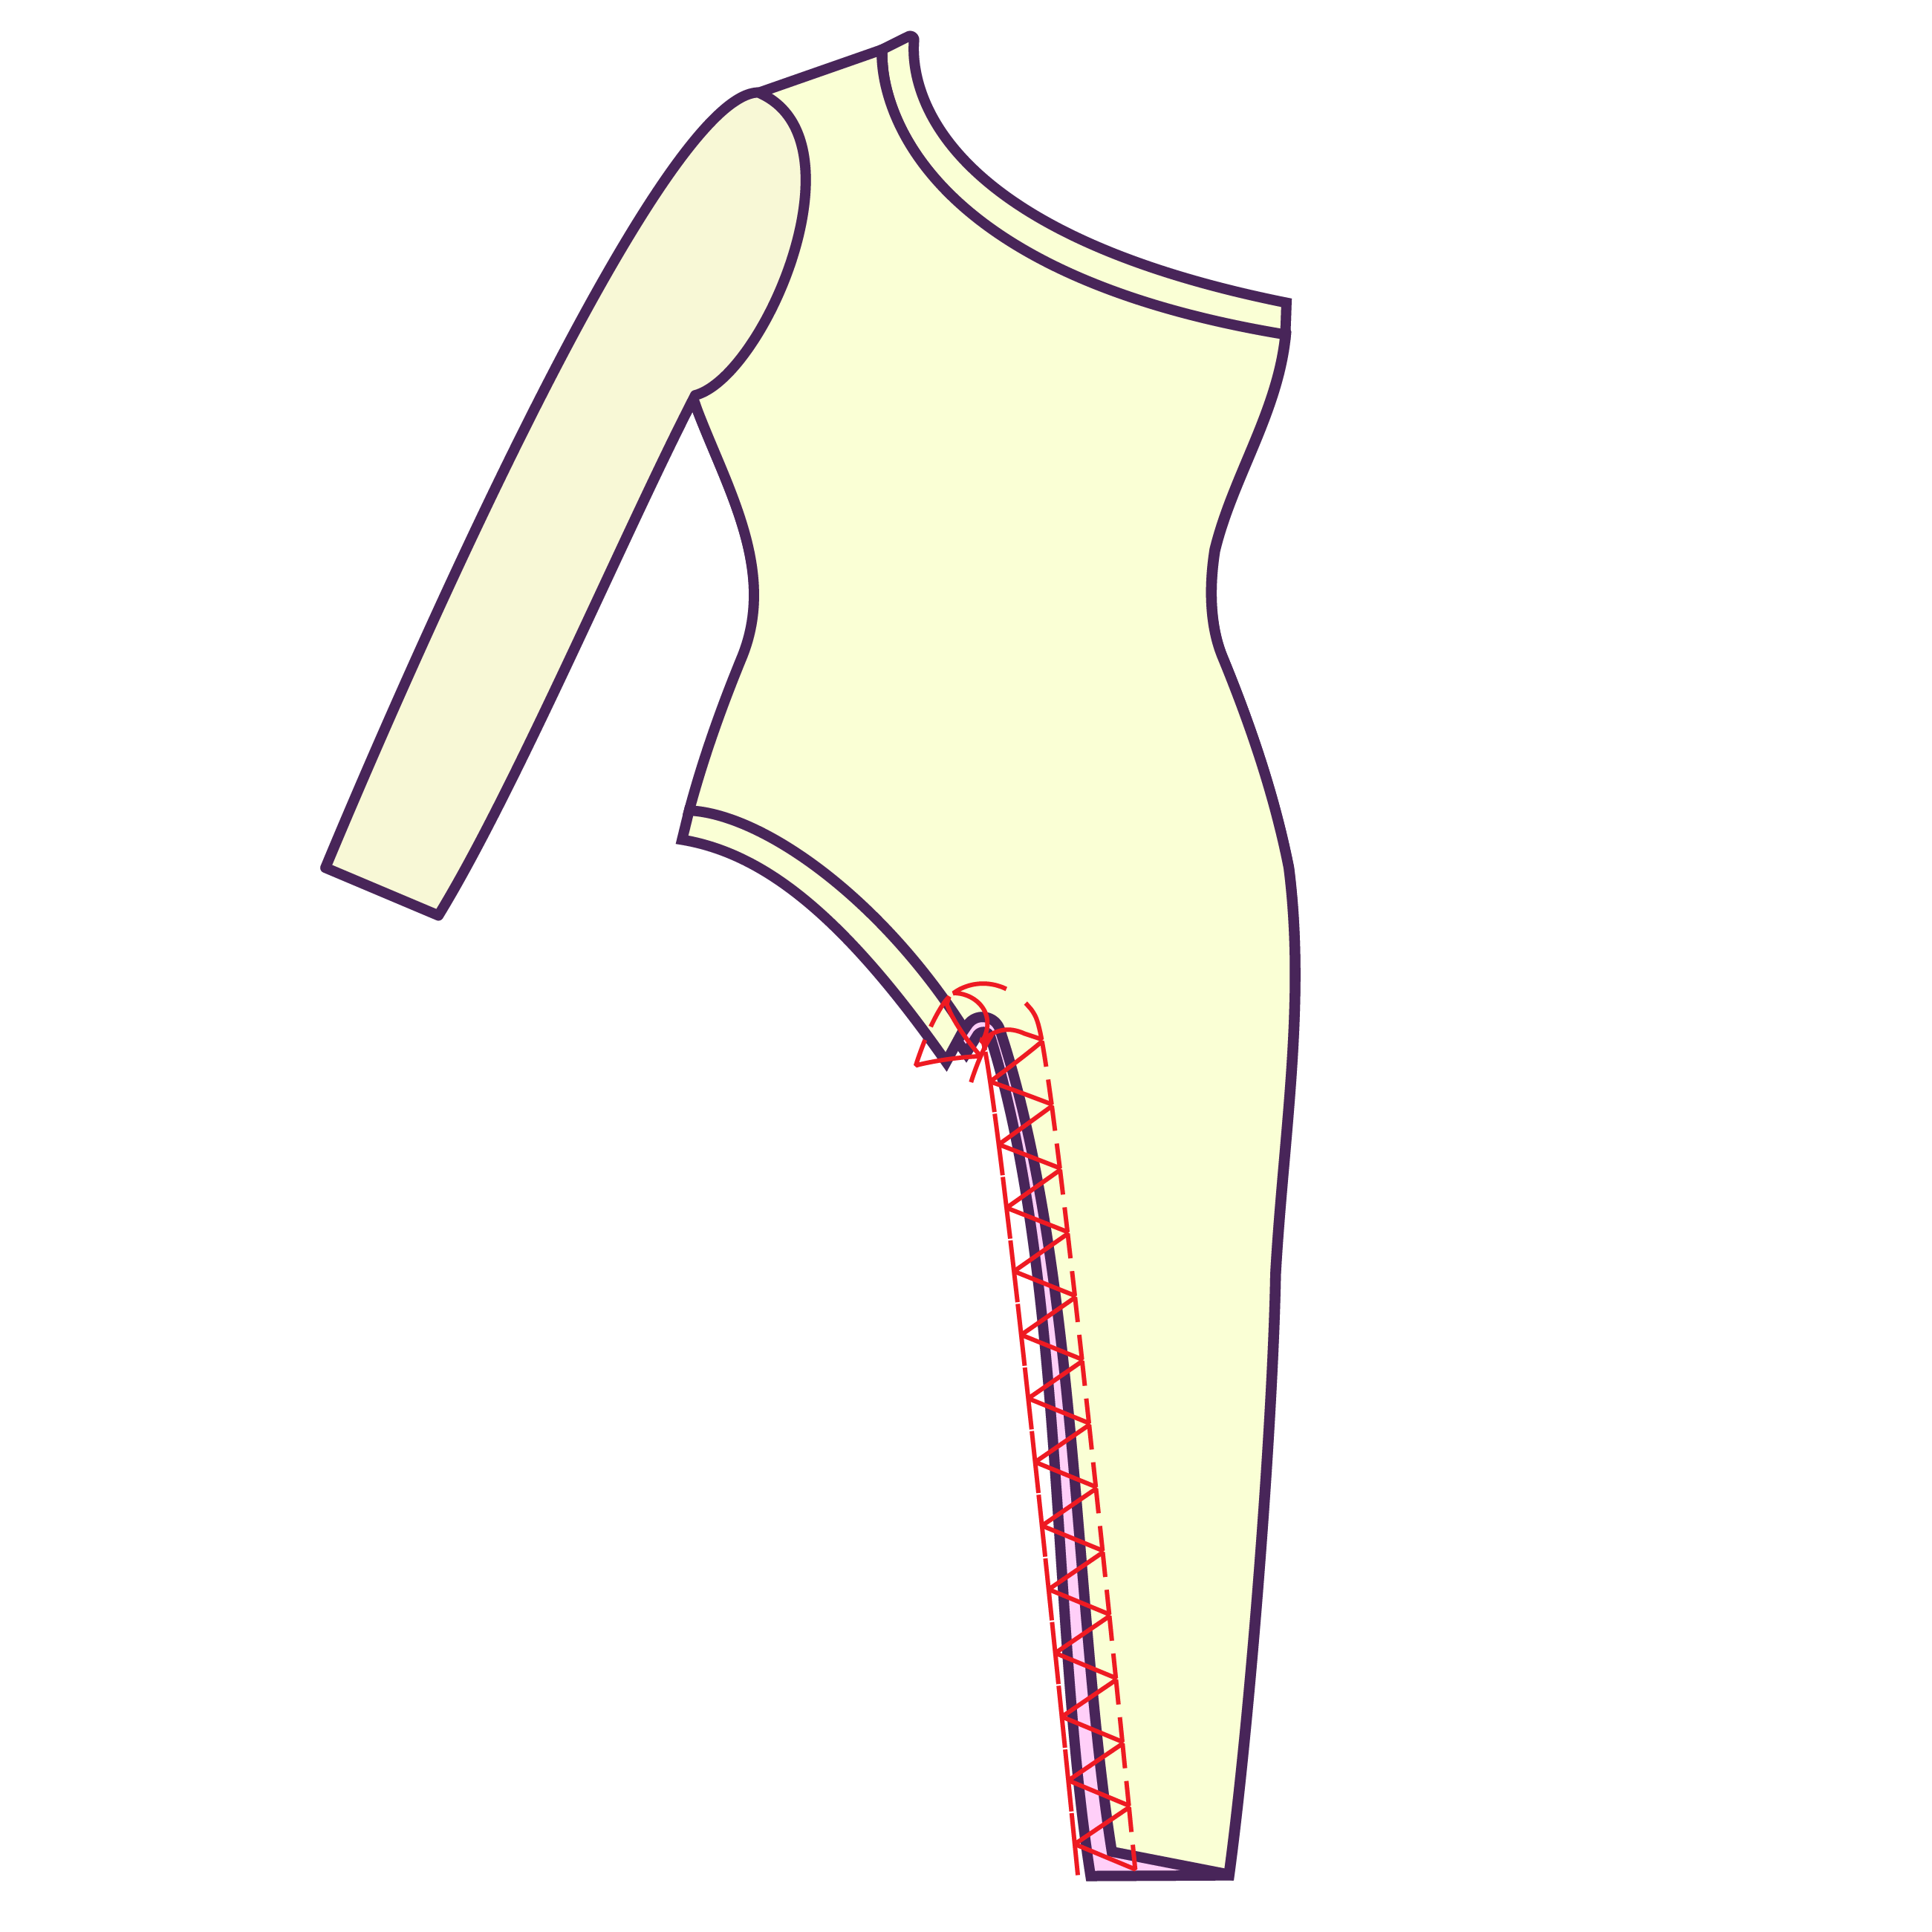
STEP 14
Turn the garment wrong side out and sew the inner leg seam closed.
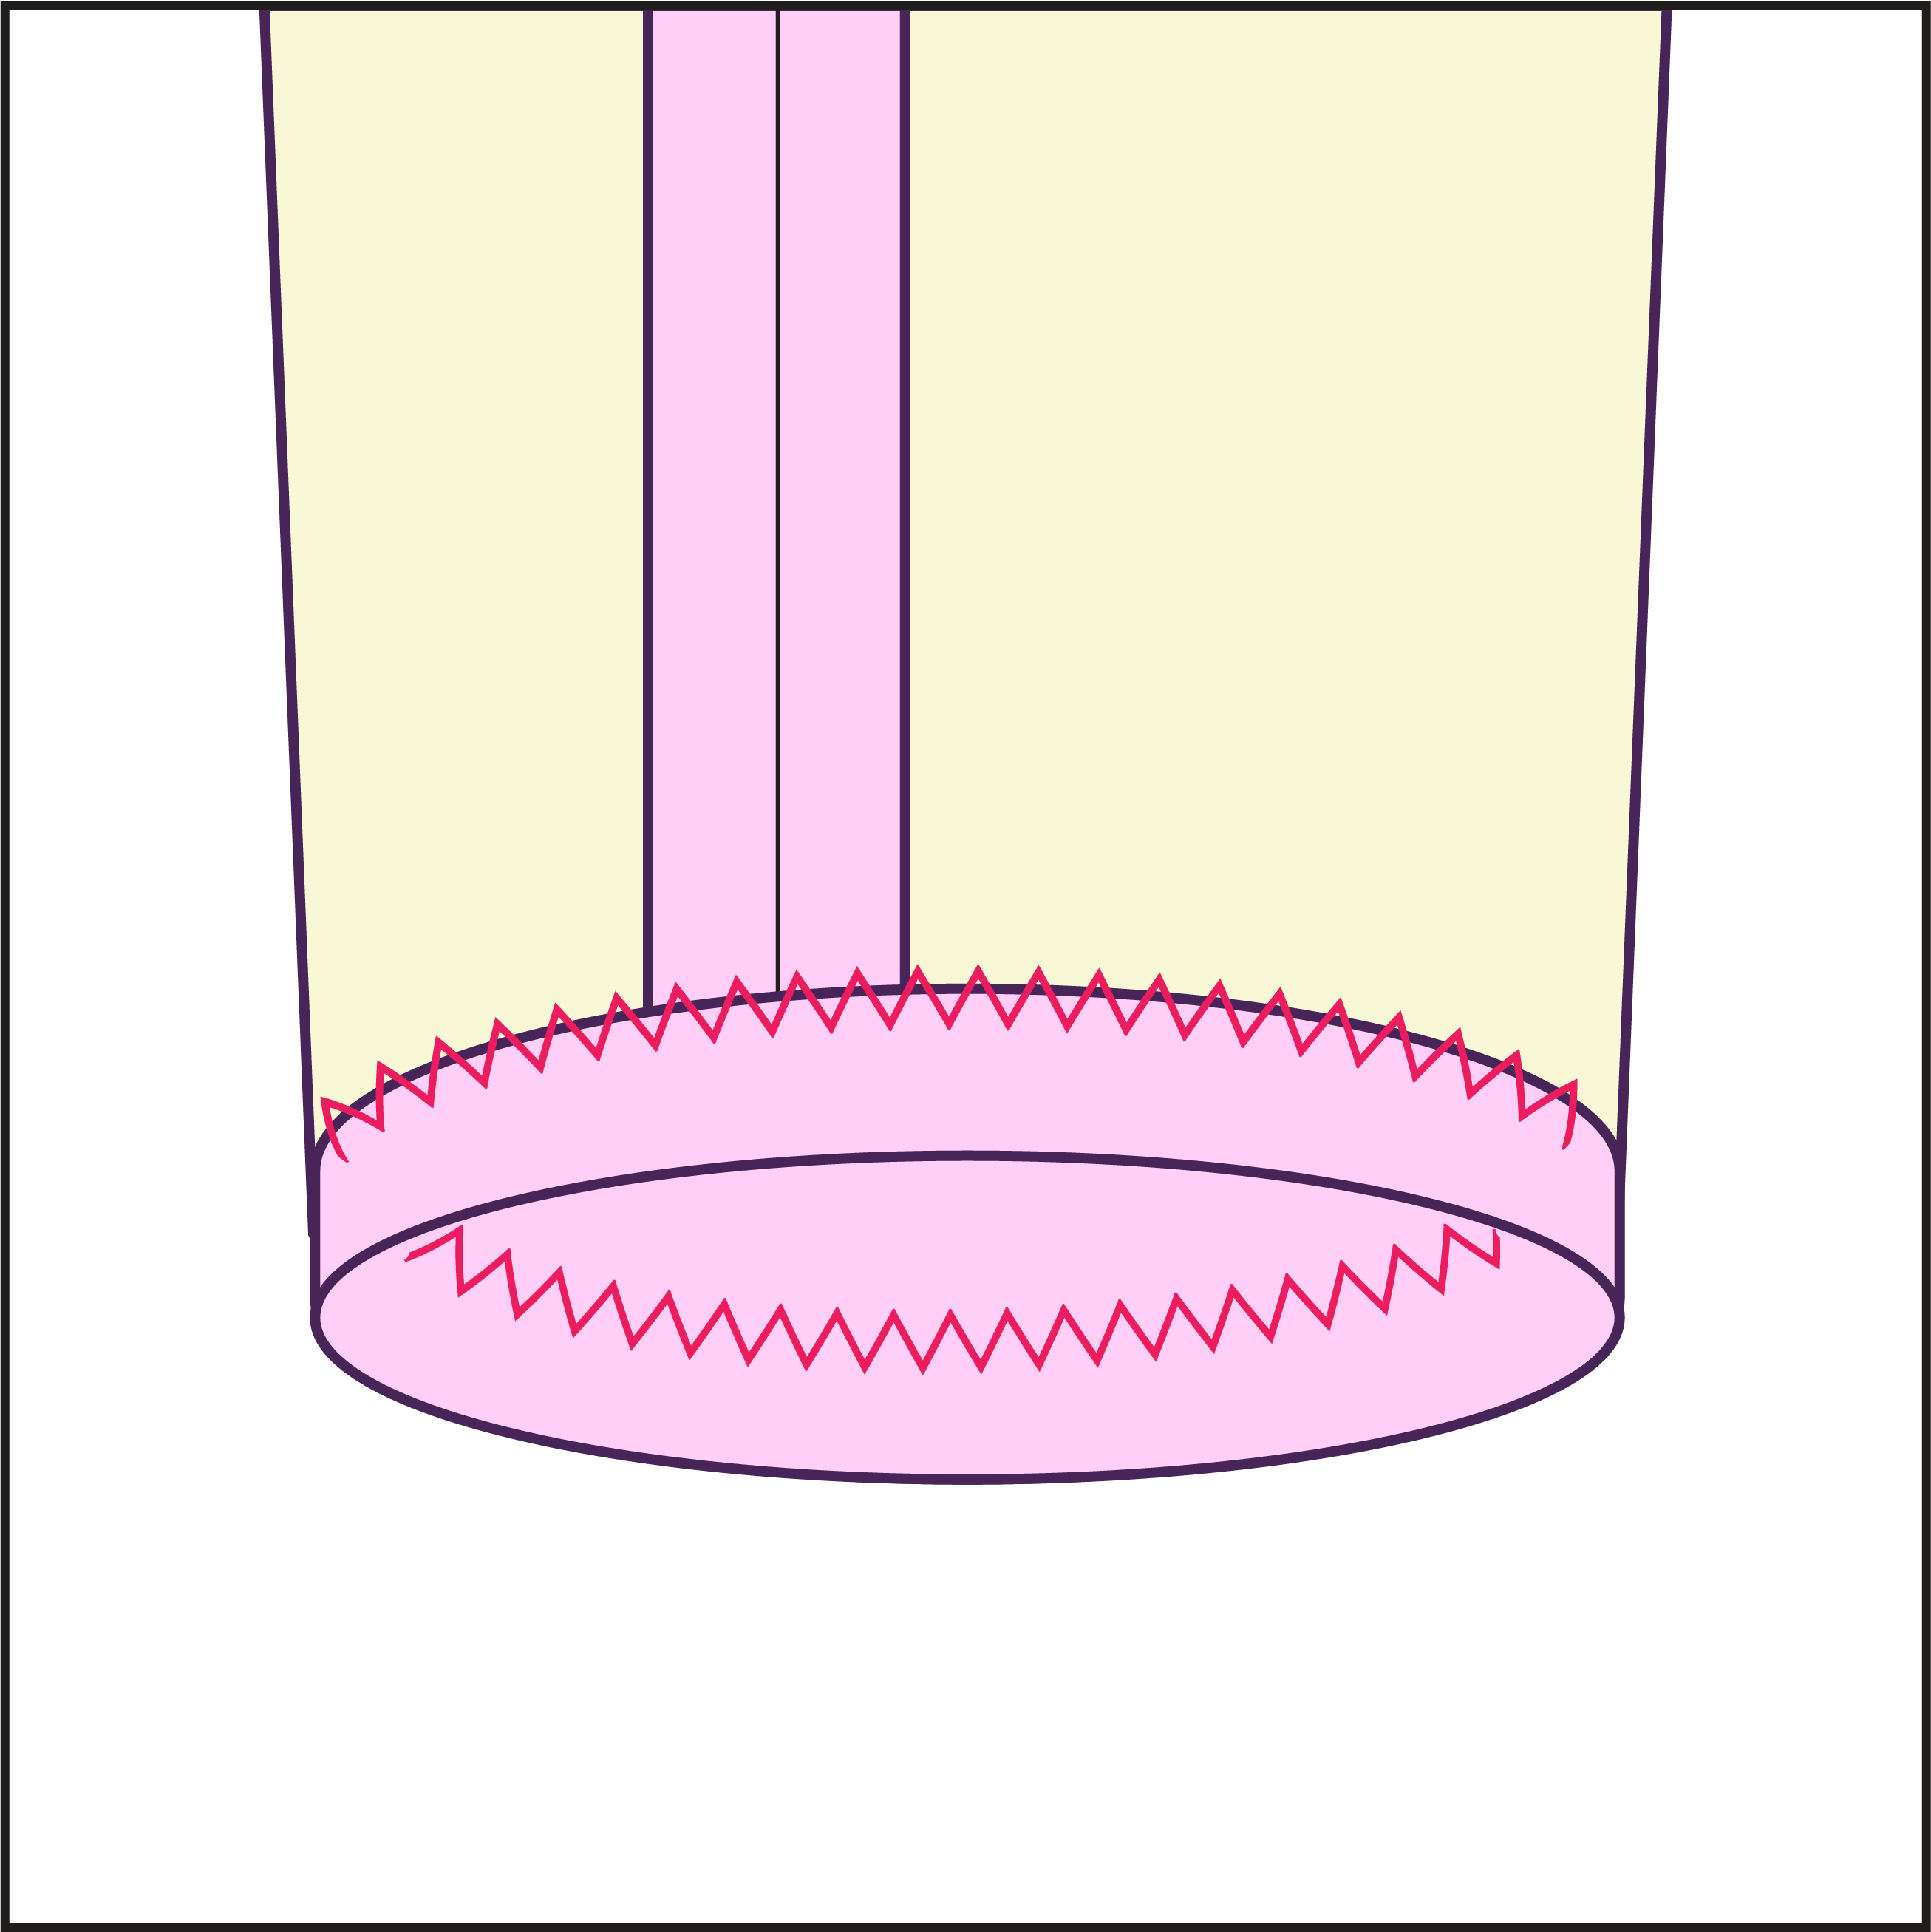
STEP 15
Finally, hem the ends of the sleeve and the leg openings with a rolled hem, stretch stitch, or zigzag stitch.
Get the Pattern
