How To Sew A Wide Brim Hat
Jump to InstructionsOverview
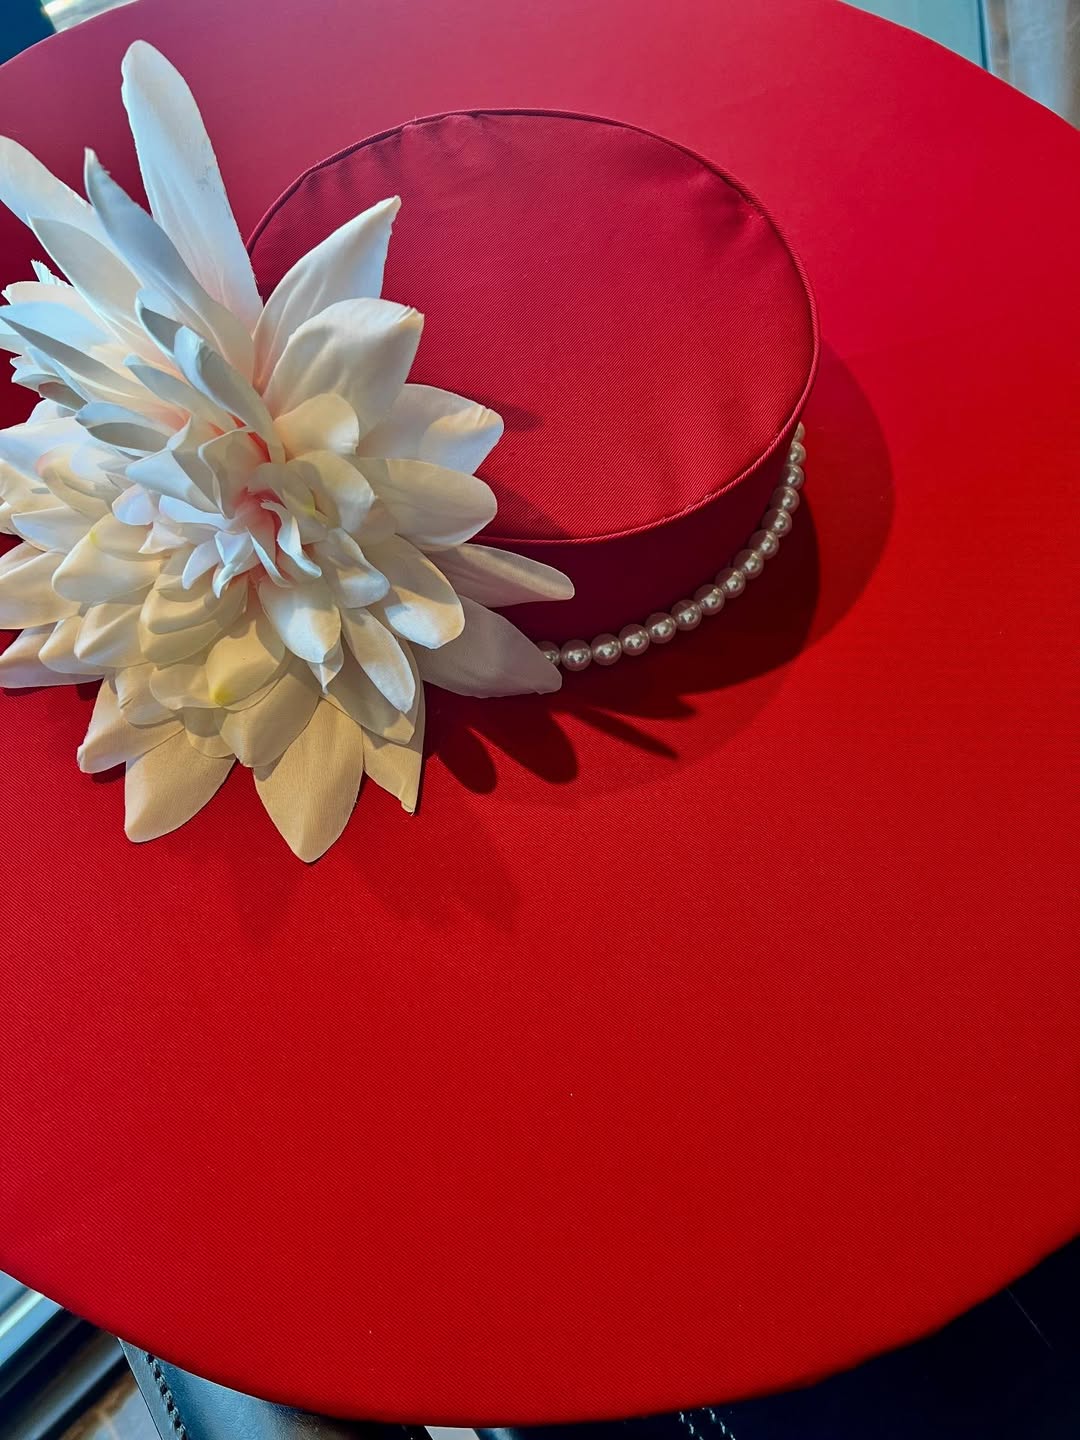
Learn how to sew our fabulous drag-style wide brim hat with this beginner-friendly sewing pattern! Designed with novices in mind, this pattern guides you through each step with clear instructions and helpful tips, ensuring a fun and rewarding sewing experience. Perfect for adding a touch of drama and flair to your wardrobe, this wide-brim hat is a statement piece that will turn heads. Whether you're crafting your first hat or expanding your skills, this pattern will help you create a stunning accessory with ease and confidence. Unleash your creativity and start sewing your own unique drag-style hat today!
Pattern Difficulty: For Beginners
Fabric Yardage
The yardage below is based on fabric widths of 44 inches.
| Size | Shell Fabric | Lining Fabric | Interfacing Fabric |
|---|---|---|---|
| S | 1y / 0.9m | 1y / 0.9m | 1y / 0.9m |
| M | 1y / 0.9m | 1y / 0.9m | 1y / 0.9m |
| L | 1y / 0.9m | 1y / 0.9m | 1y / 0.9m |
For information on converting inches to meters, please check out our conversion guide.
Fabric & Notions
Suitable for heavy-weight fabrics non-stretch:
- Heavyweight Cotton (e.g., cotton duck or drill)
- Leather or Faux Leather
- Shiny Vinyl
- Sequined Fabric
- Metallic Fabric
- Satin
- Light-weight to Medium-weight Fusible Interfacing for Crown
- Ultra Frim Interfacing or Poster Board for Brim
- 0.5" Double Fold Bias Trim (90" long)
Sizing Details
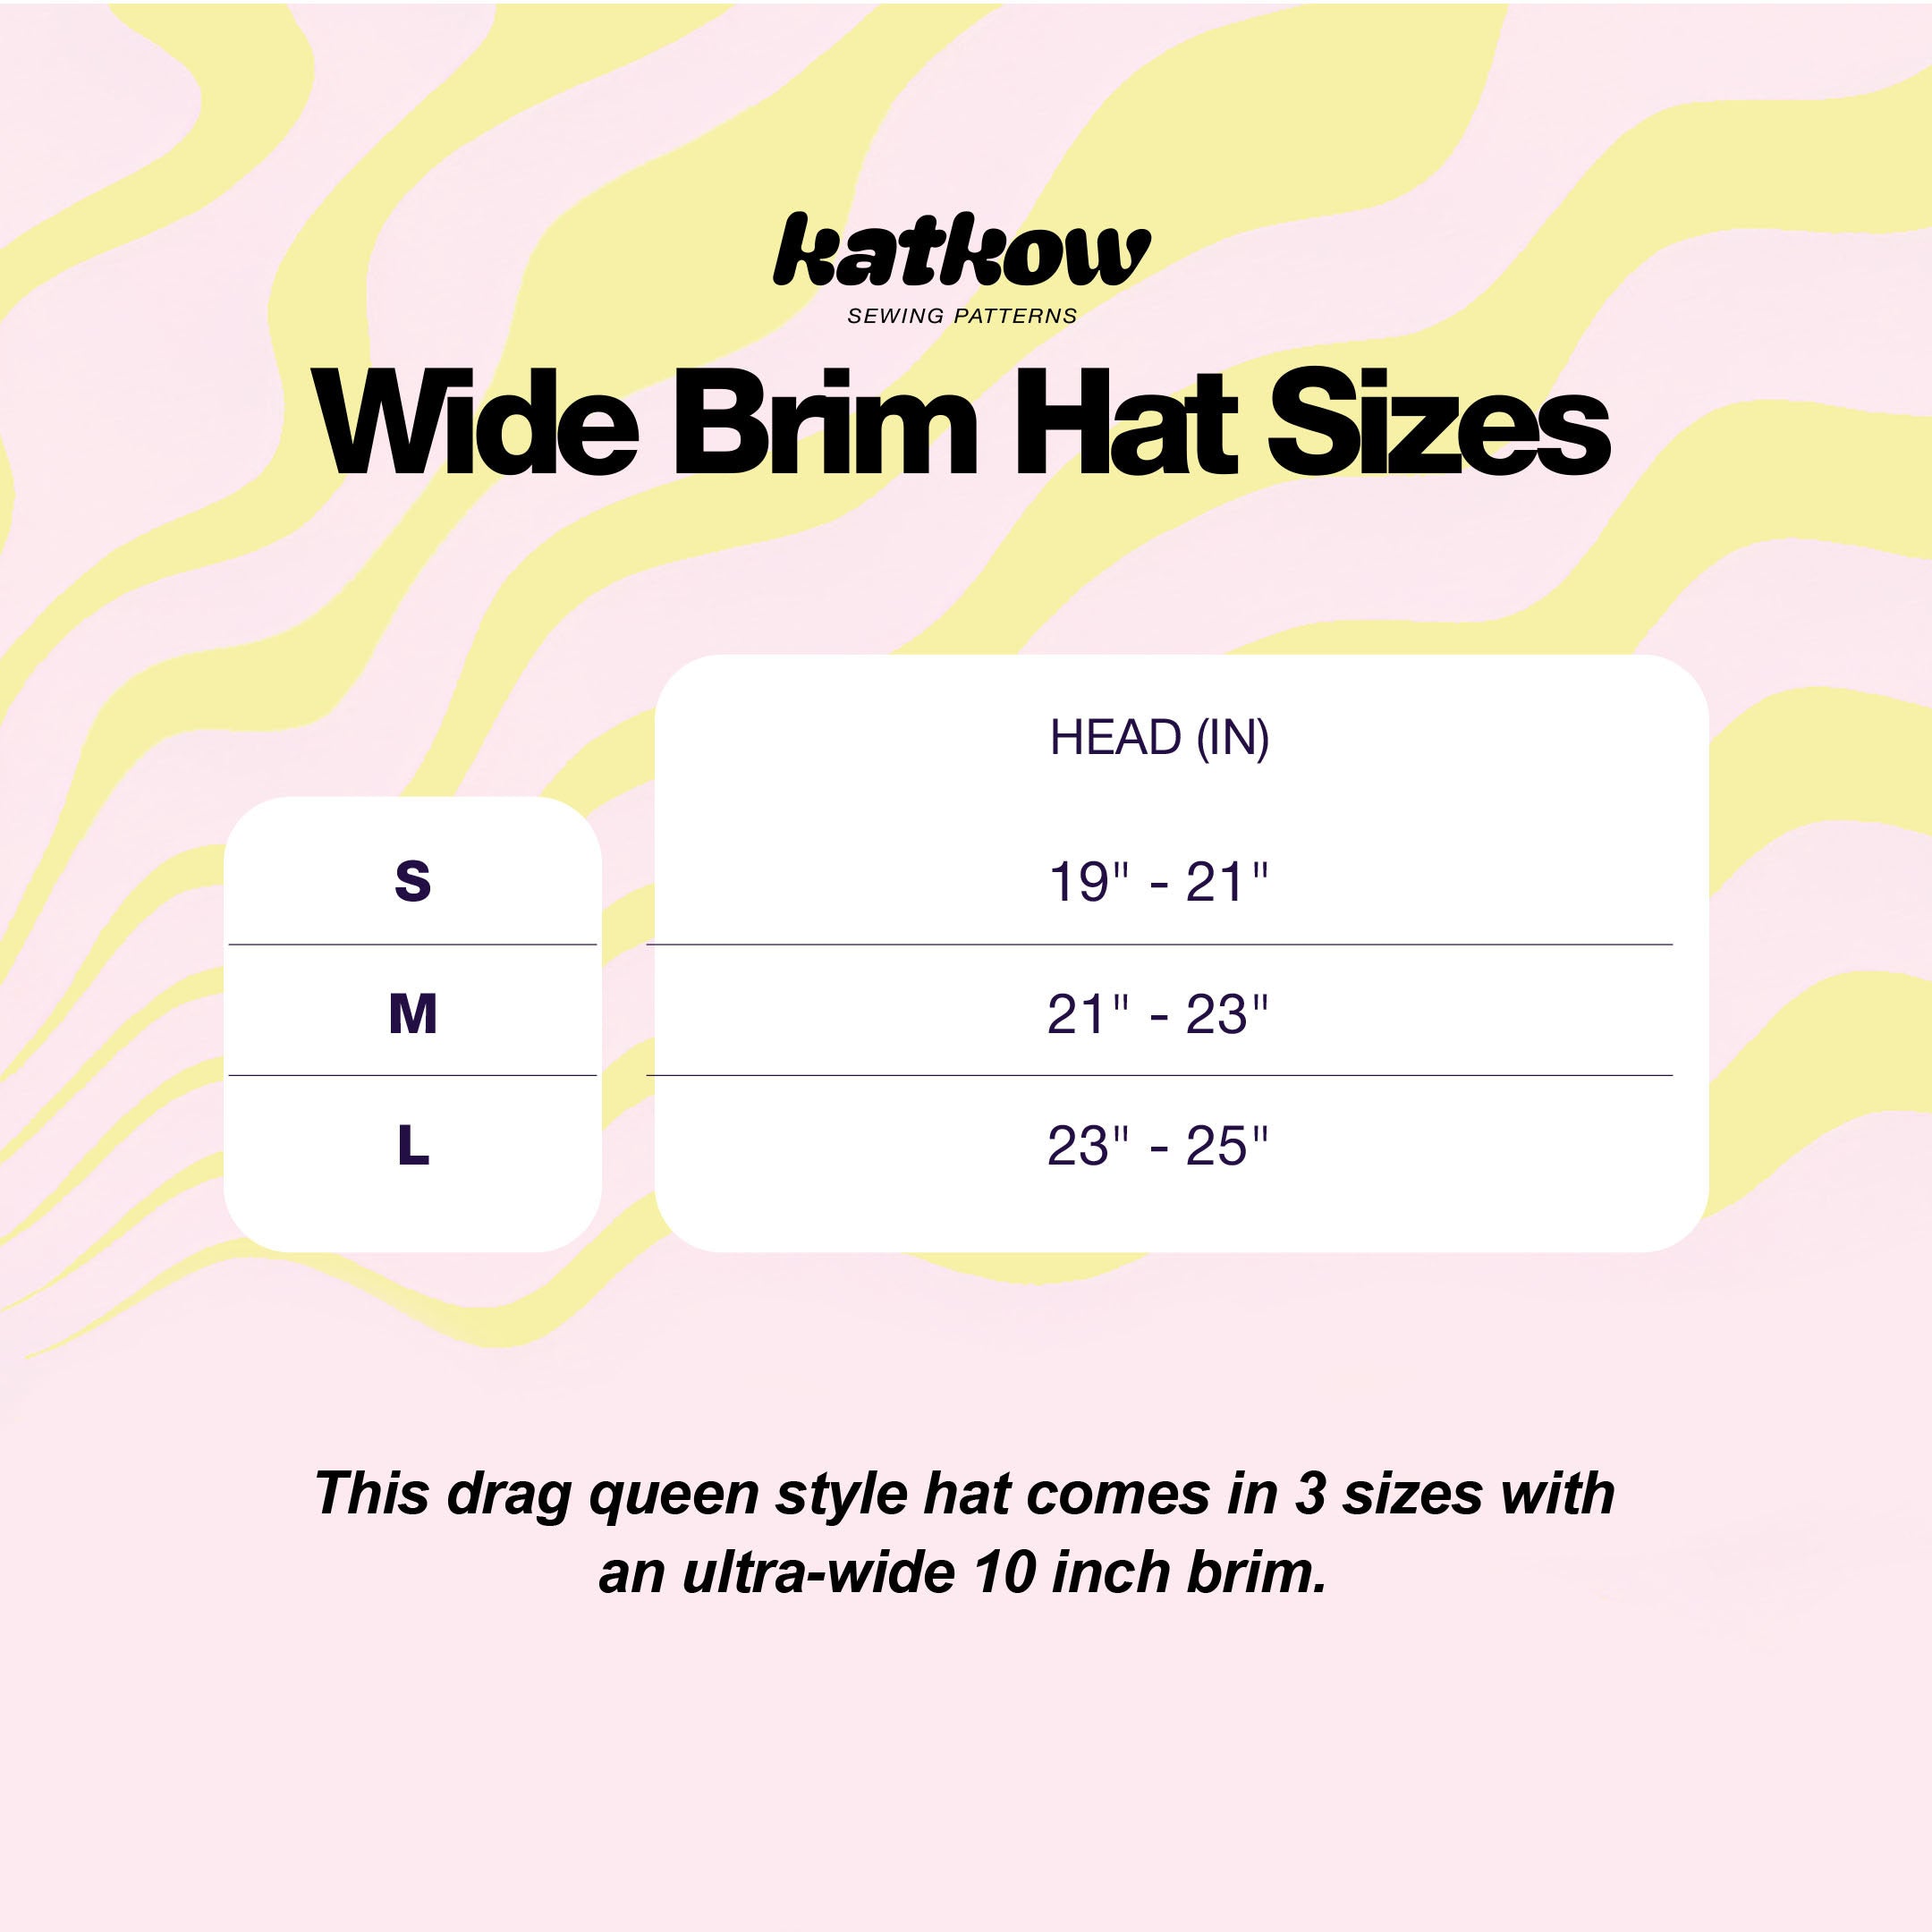
Our drag queen style wide brim hat sewing pattern comes in three versatile sizes to ensure the perfect fit for everyone. The sizes are as follows:
- Small (S): Fits head sizes 19" to 21"
- Medium (M): Fits head sizes 21" to 23"
- Large (L): Fits head sizes 23" to 25"
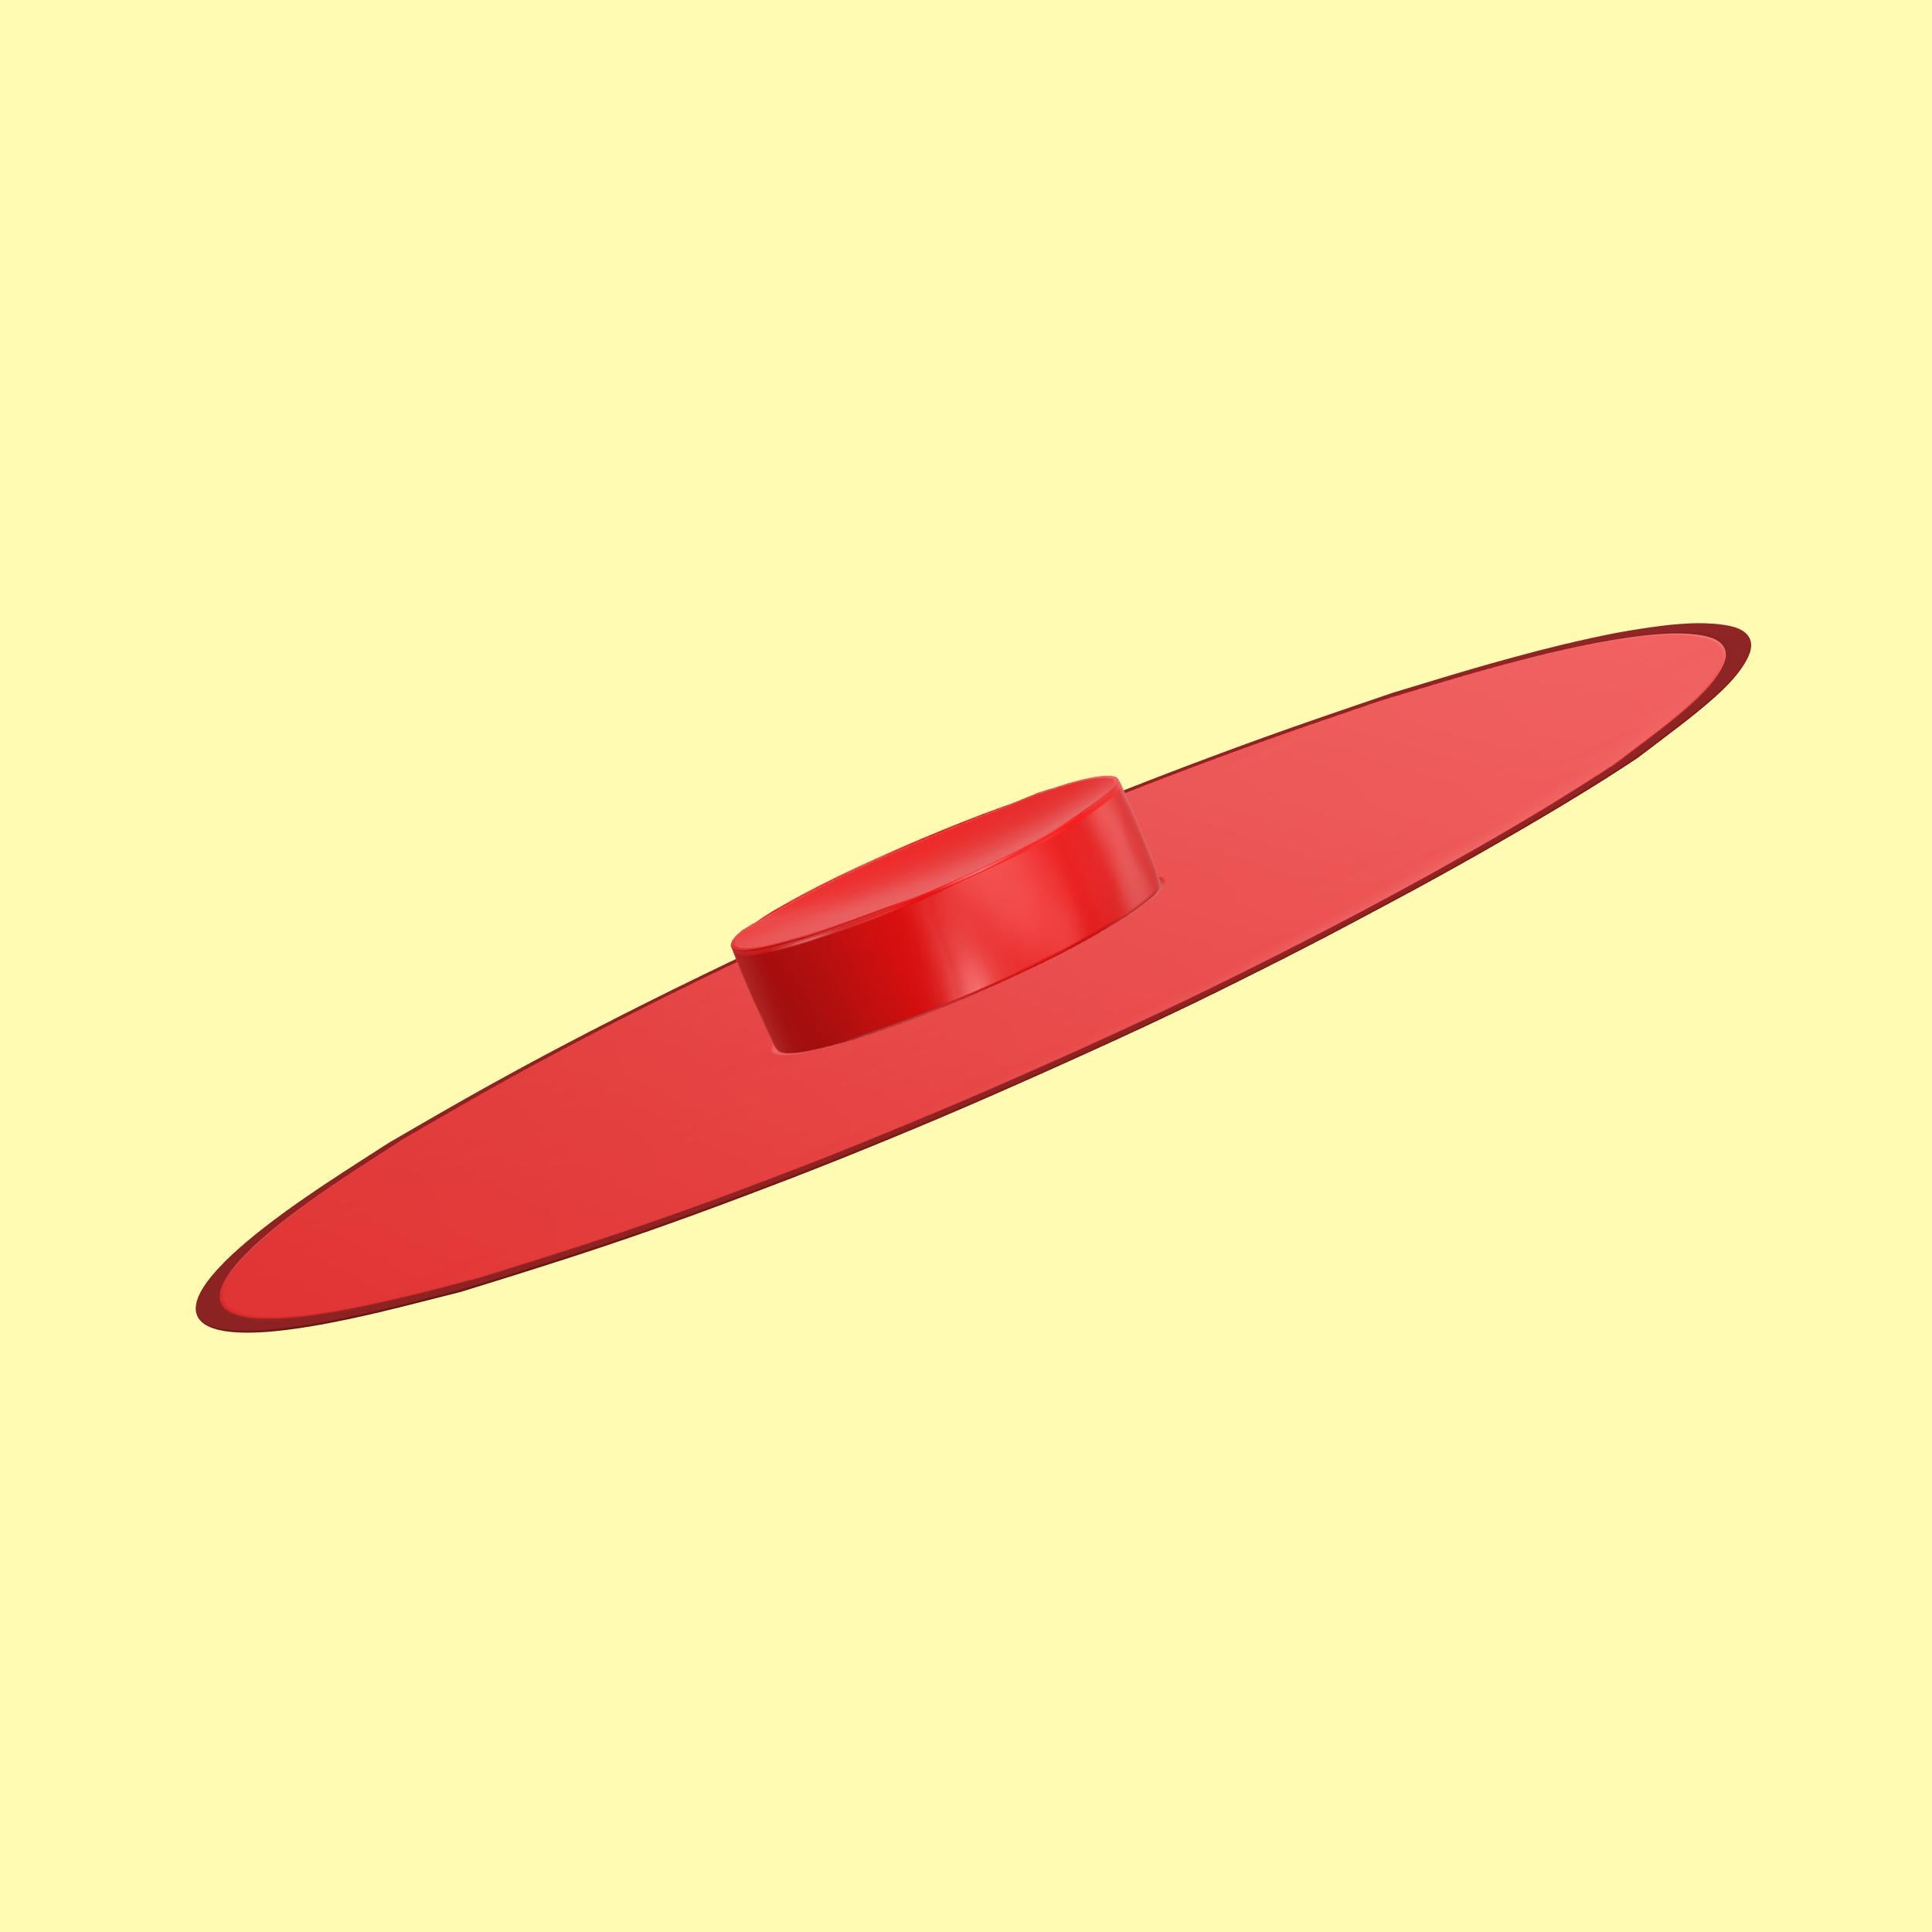
This stunning hat features an ultra-wide 10-inch brim, adding a dramatic and glamorous flair to any outfit. Choose the size that best fits your head measurement and enjoy crafting a fabulous statement piece with our easy-to-follow pattern.
Sewing Instructions


Fabric Pieces
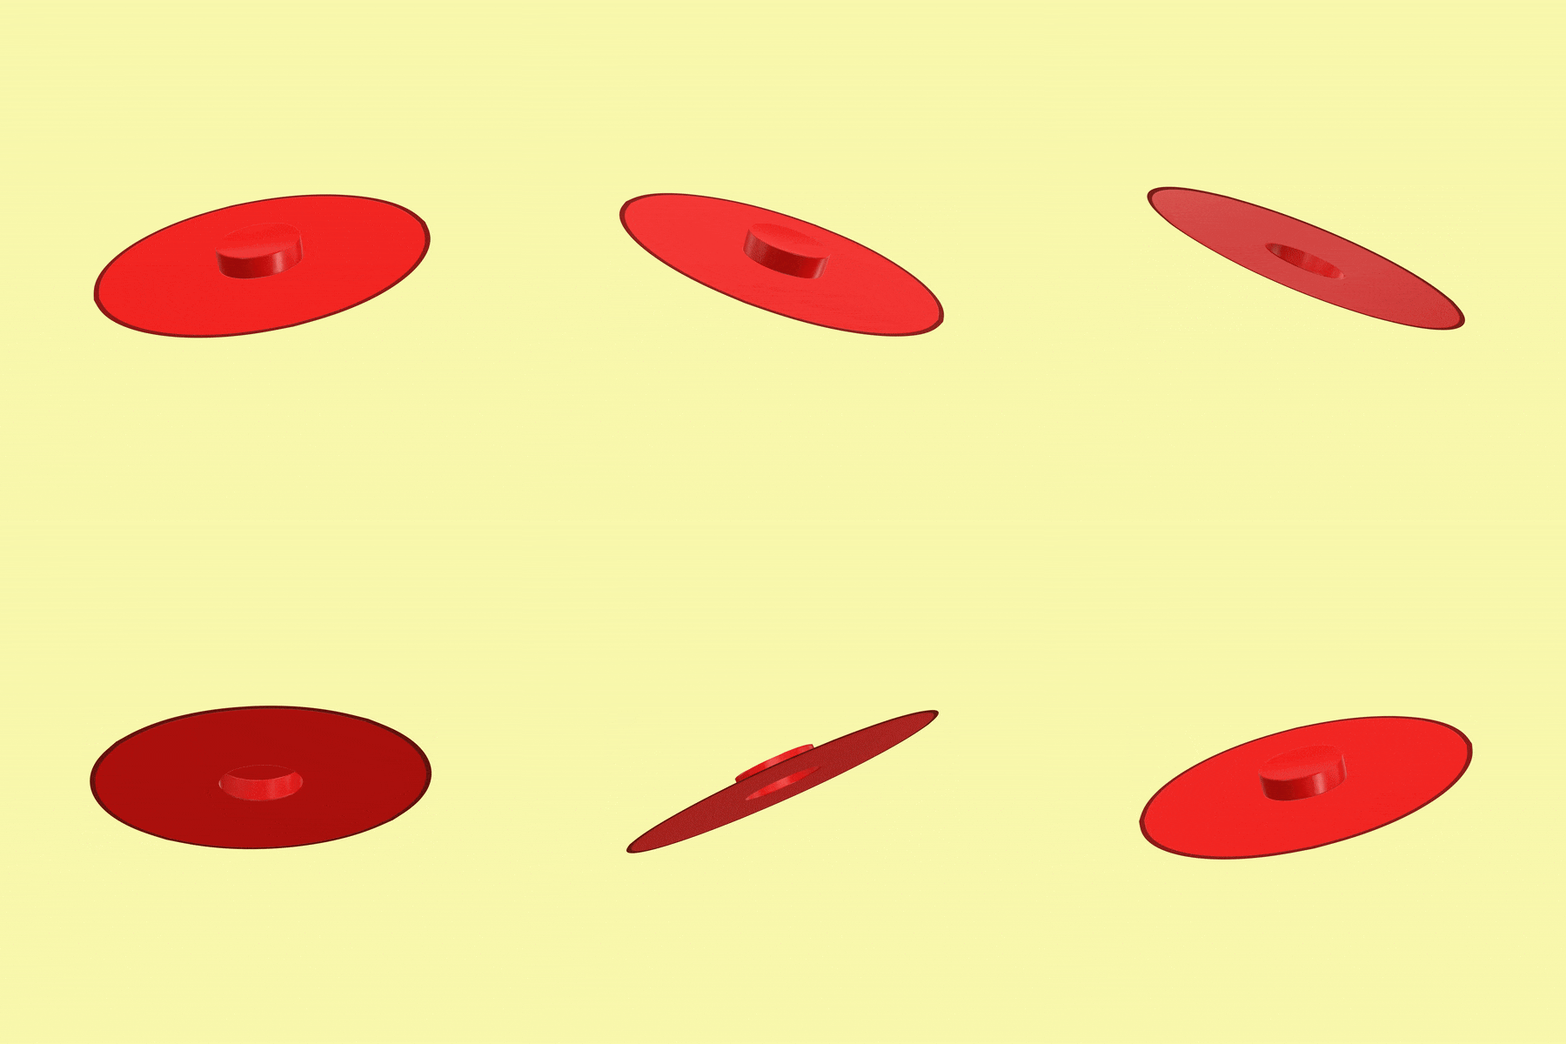
After cutting your fabric, you should have the following pieces: one crown, one side band, and one brim for the shell.
Repeat these steps for the lining. For interfacing, use lightweight and medium interfacing for the crown and side band patterns, but opt for ultra-firm or poster board interfacing for the brim.

STEP 1
Apply the lightweight to medium interfacing to the wrong side of the crown and side band shell fabric pieces. Ensure the sticky side of the interfacing is facing down, then fuse it in place with an iron.

STEP 2
Gather the side band with the right side facing up. Fold it horizontally in half and sew the ends together with the wrong side of the fabric facing out, creating a loop.

STEP 3
Place the side band on top of the crown with the right sides facing each other. Pin the seams together, then sew along the outer edge. Trim off the excess seam fabric.

STEP 4
Turn the side band and crown right side out, forming the top of the hat.

STEP 5
Repeat the process for the lining's crown and side band, but do not add interfacing.

STEP 6
Gather the shell brim and the shell top hat. Place both pieces with the wrong sides facing up, with the brim on top.

STEP 7
Pin the inner circle of the brim around the top hat, ensuring the right sides of the edges are facing each other.

STEP 8
Now sew around that seam, attaching the top hat to the brim.

STEP 9
Repeat this process for the lining brim and top hat.

STEP 10
For the brim interfacing, you have two options:
A. If you can find ultra-firm interfacing the size of the circle, use the same brim pattern to create the interfacing.
B. For a more sturdy and stiff brim, you can use poster board. Cut it into four pieces and tape them together heavily with duct tape along the seams.

STEP 11
Fuse the brim interfacing to the wrong side of the lining brim. If you don't have fusible interfacing, you can use double-sided tape or even glue. Be sure to spread the glue evenly to avoid bumps and creases.

STEP 12
With the wrong side of the lining facing up, place the shell, right side out, over the lining, sandwiching the brim interfacing between the shell and lining. Use sewing clips to hold the layers together.
You can also add double-sided tape or glue to secure the shell to the brim interfacing.

STEP 13
Ensure the shell and lining edges are aligned and smoothly spread with no creases. Then, sew the layers together as close to the edge as possible.

STEP 14
Lastly, to cover the raw edge, use a double-folded bias trim or tape and sew it around the brim edge. Alternatively, you can cover the raw edge with any trim, fringe, or fur.
Get the Pattern

