How to Sew a Mens Catsuit
Jump to Instructions
Overview
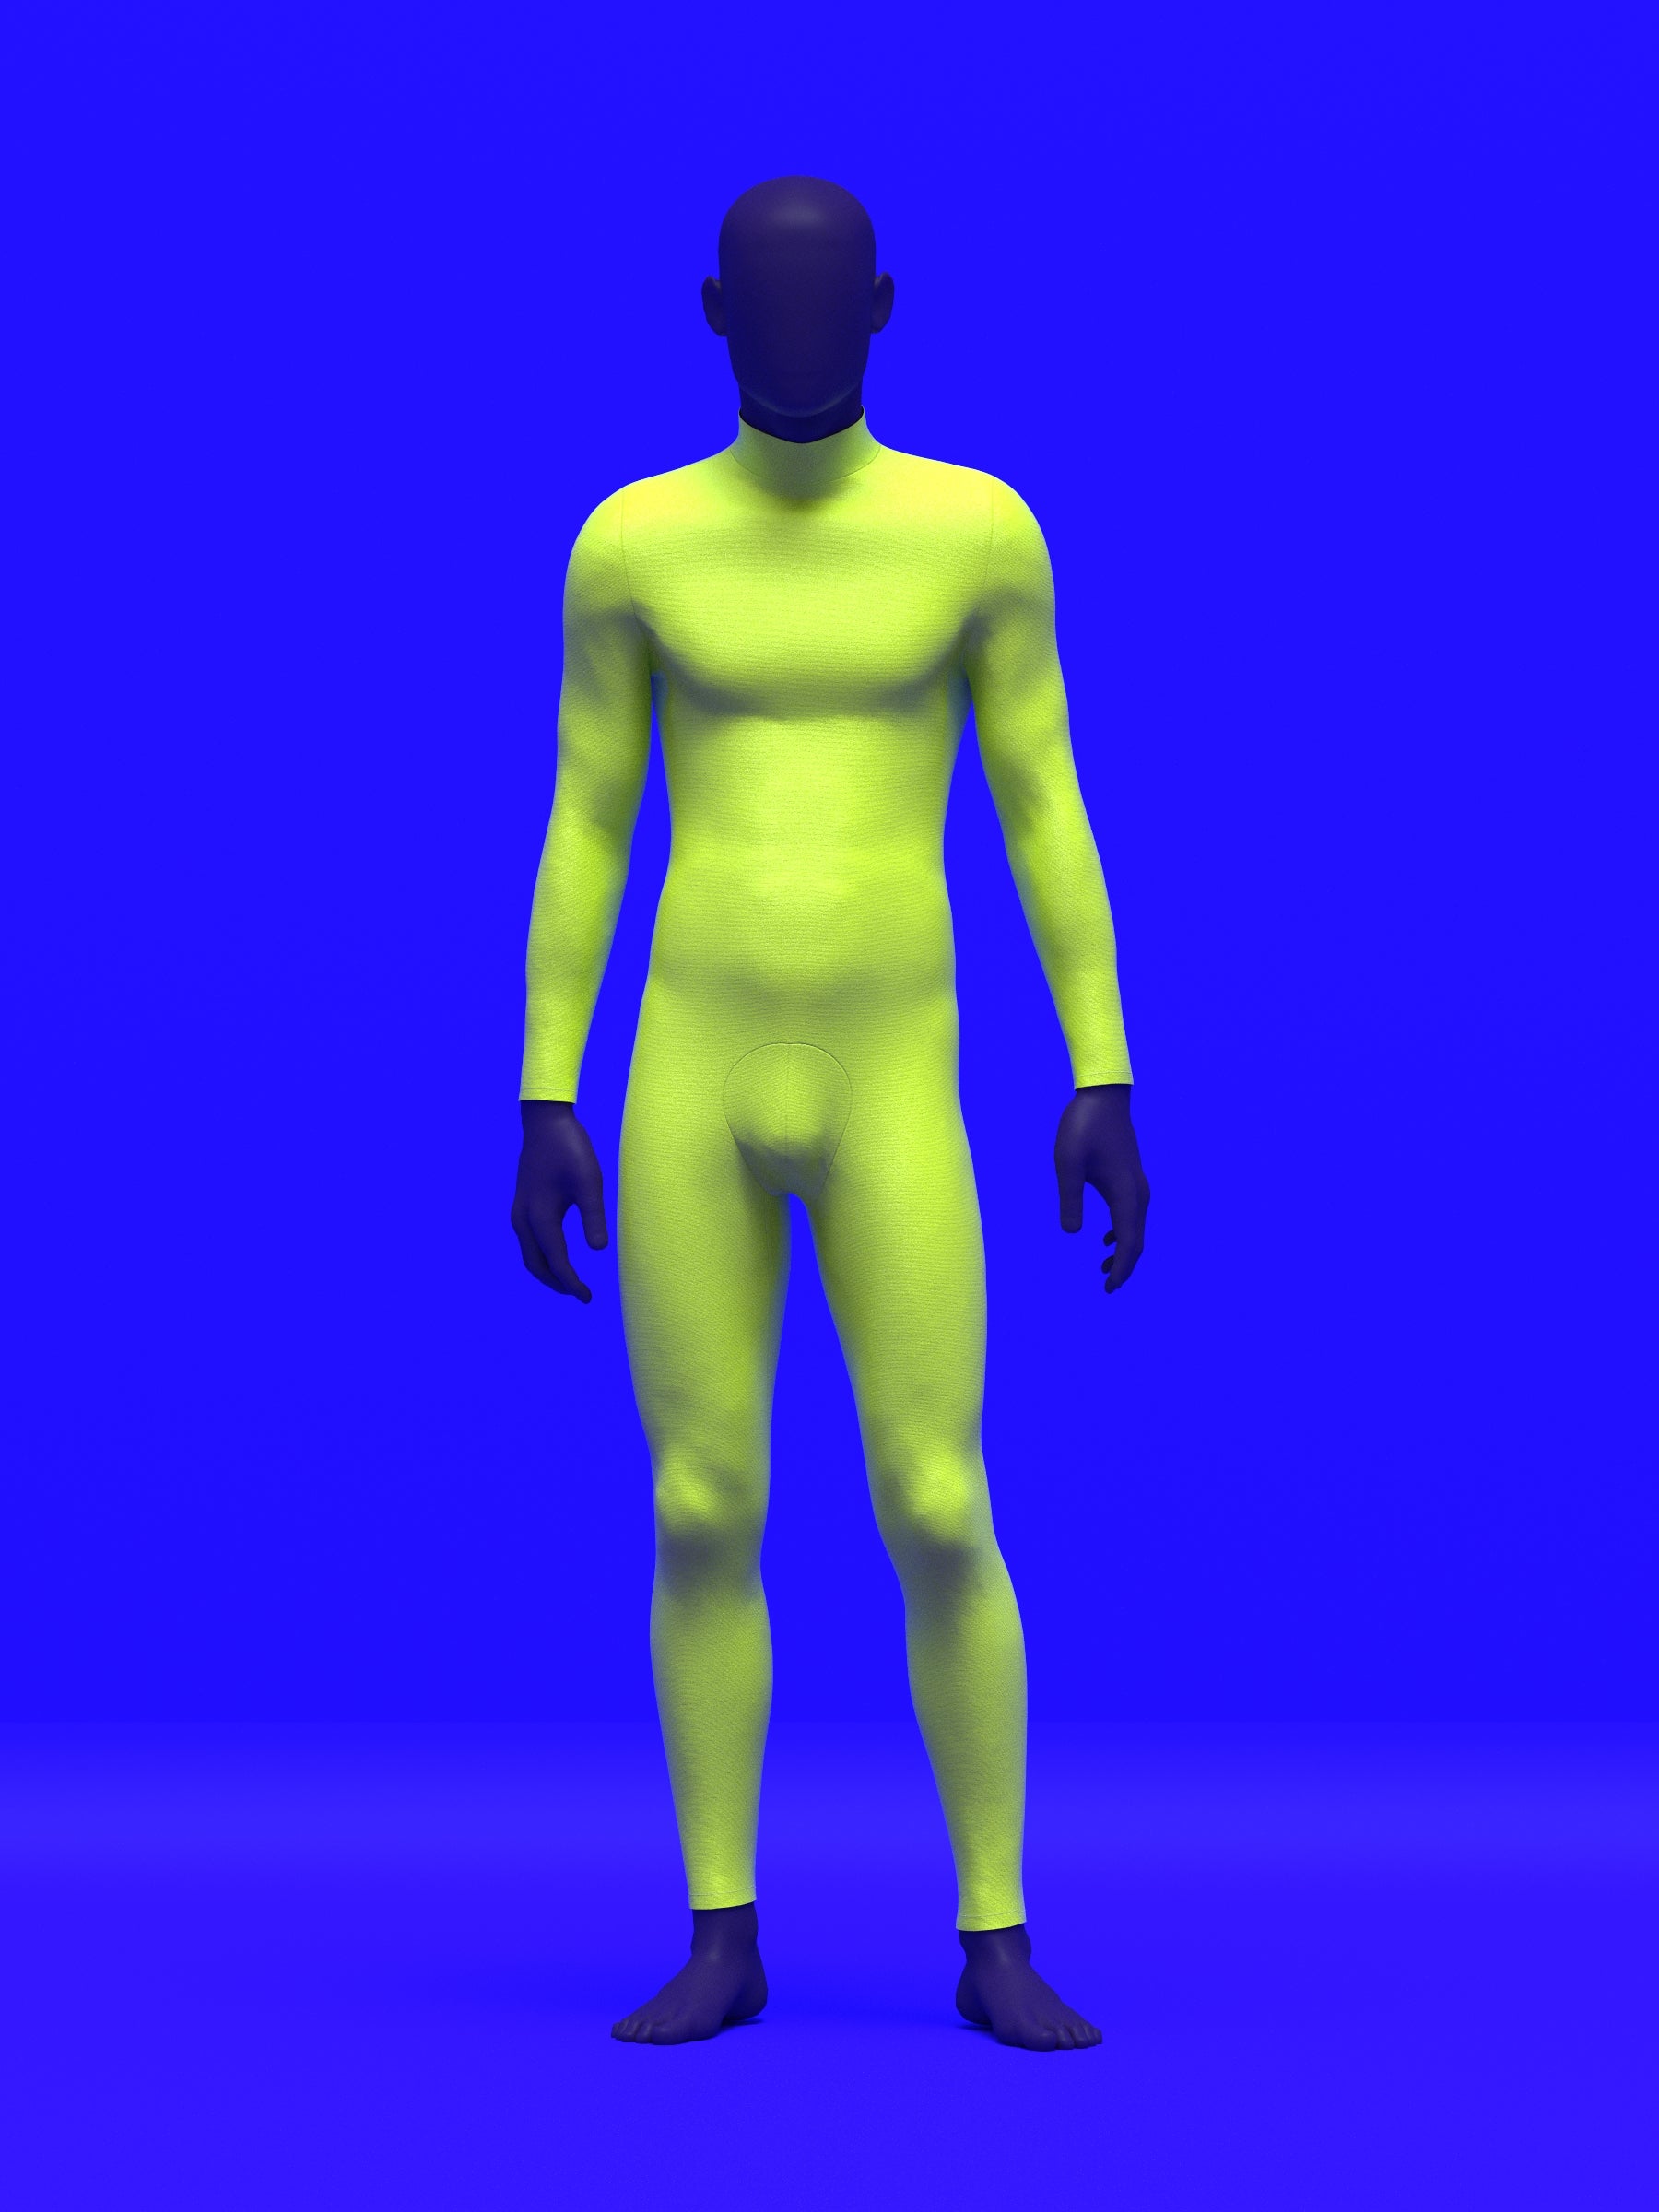
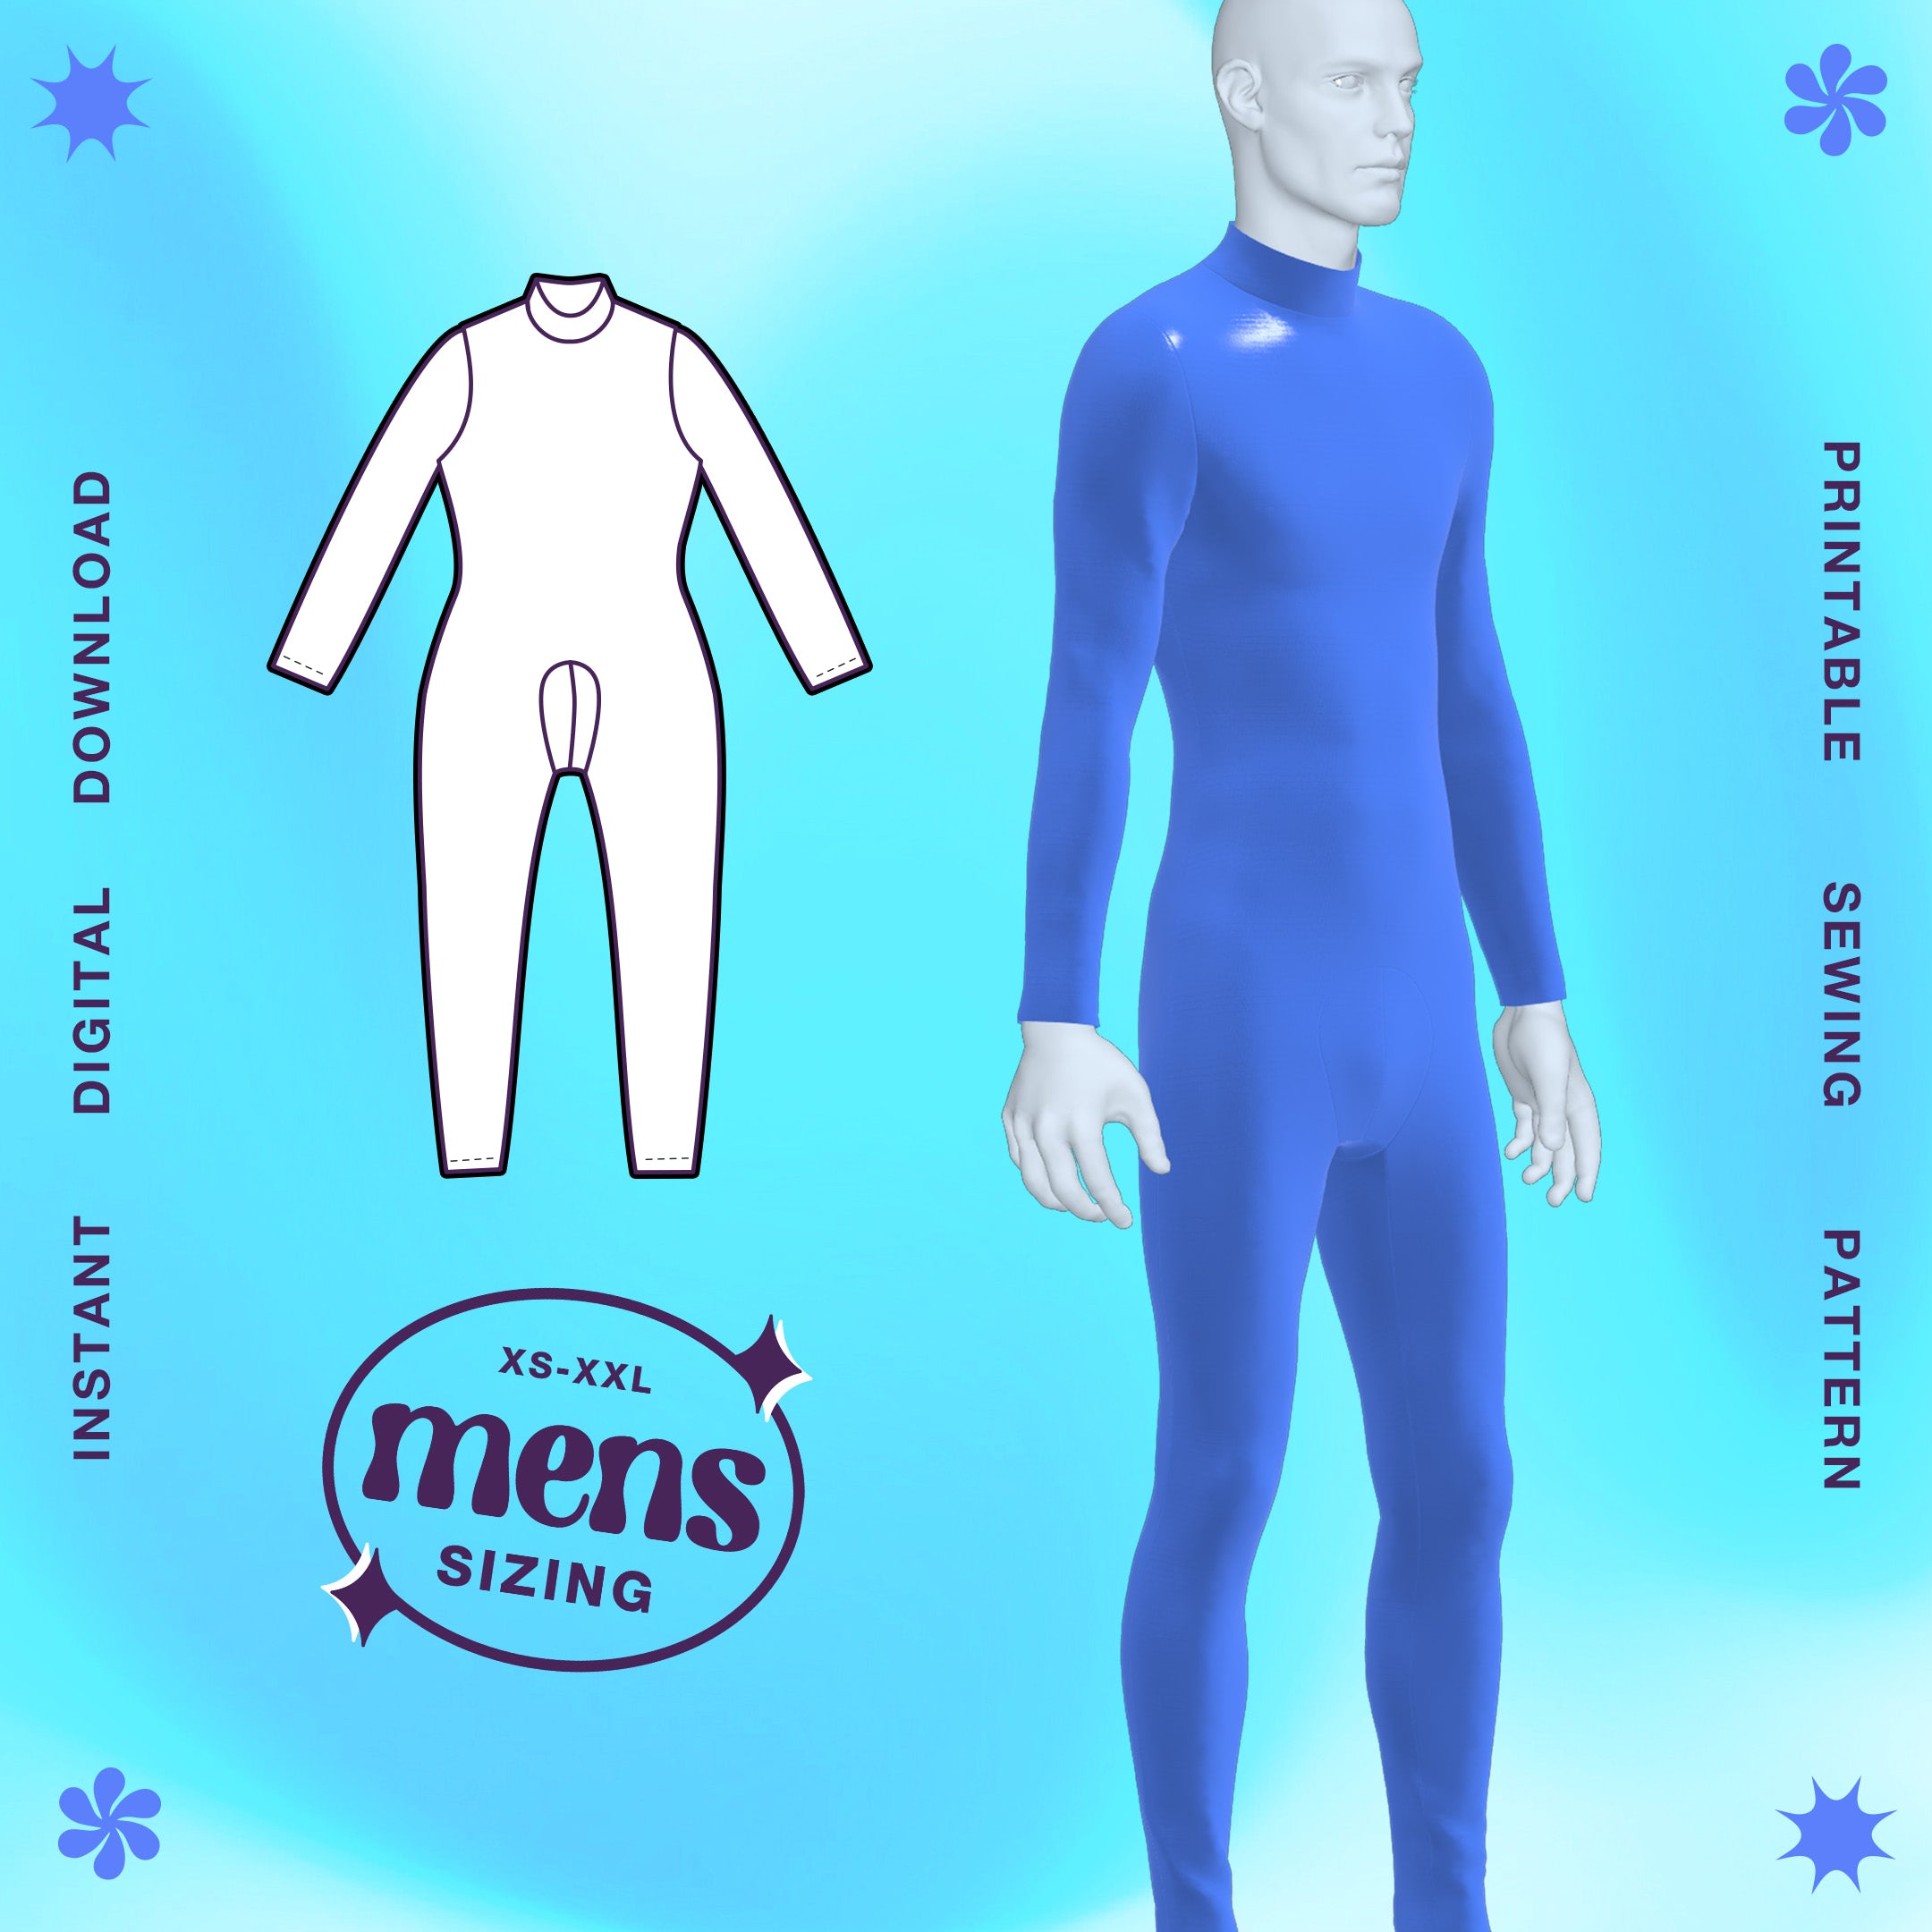
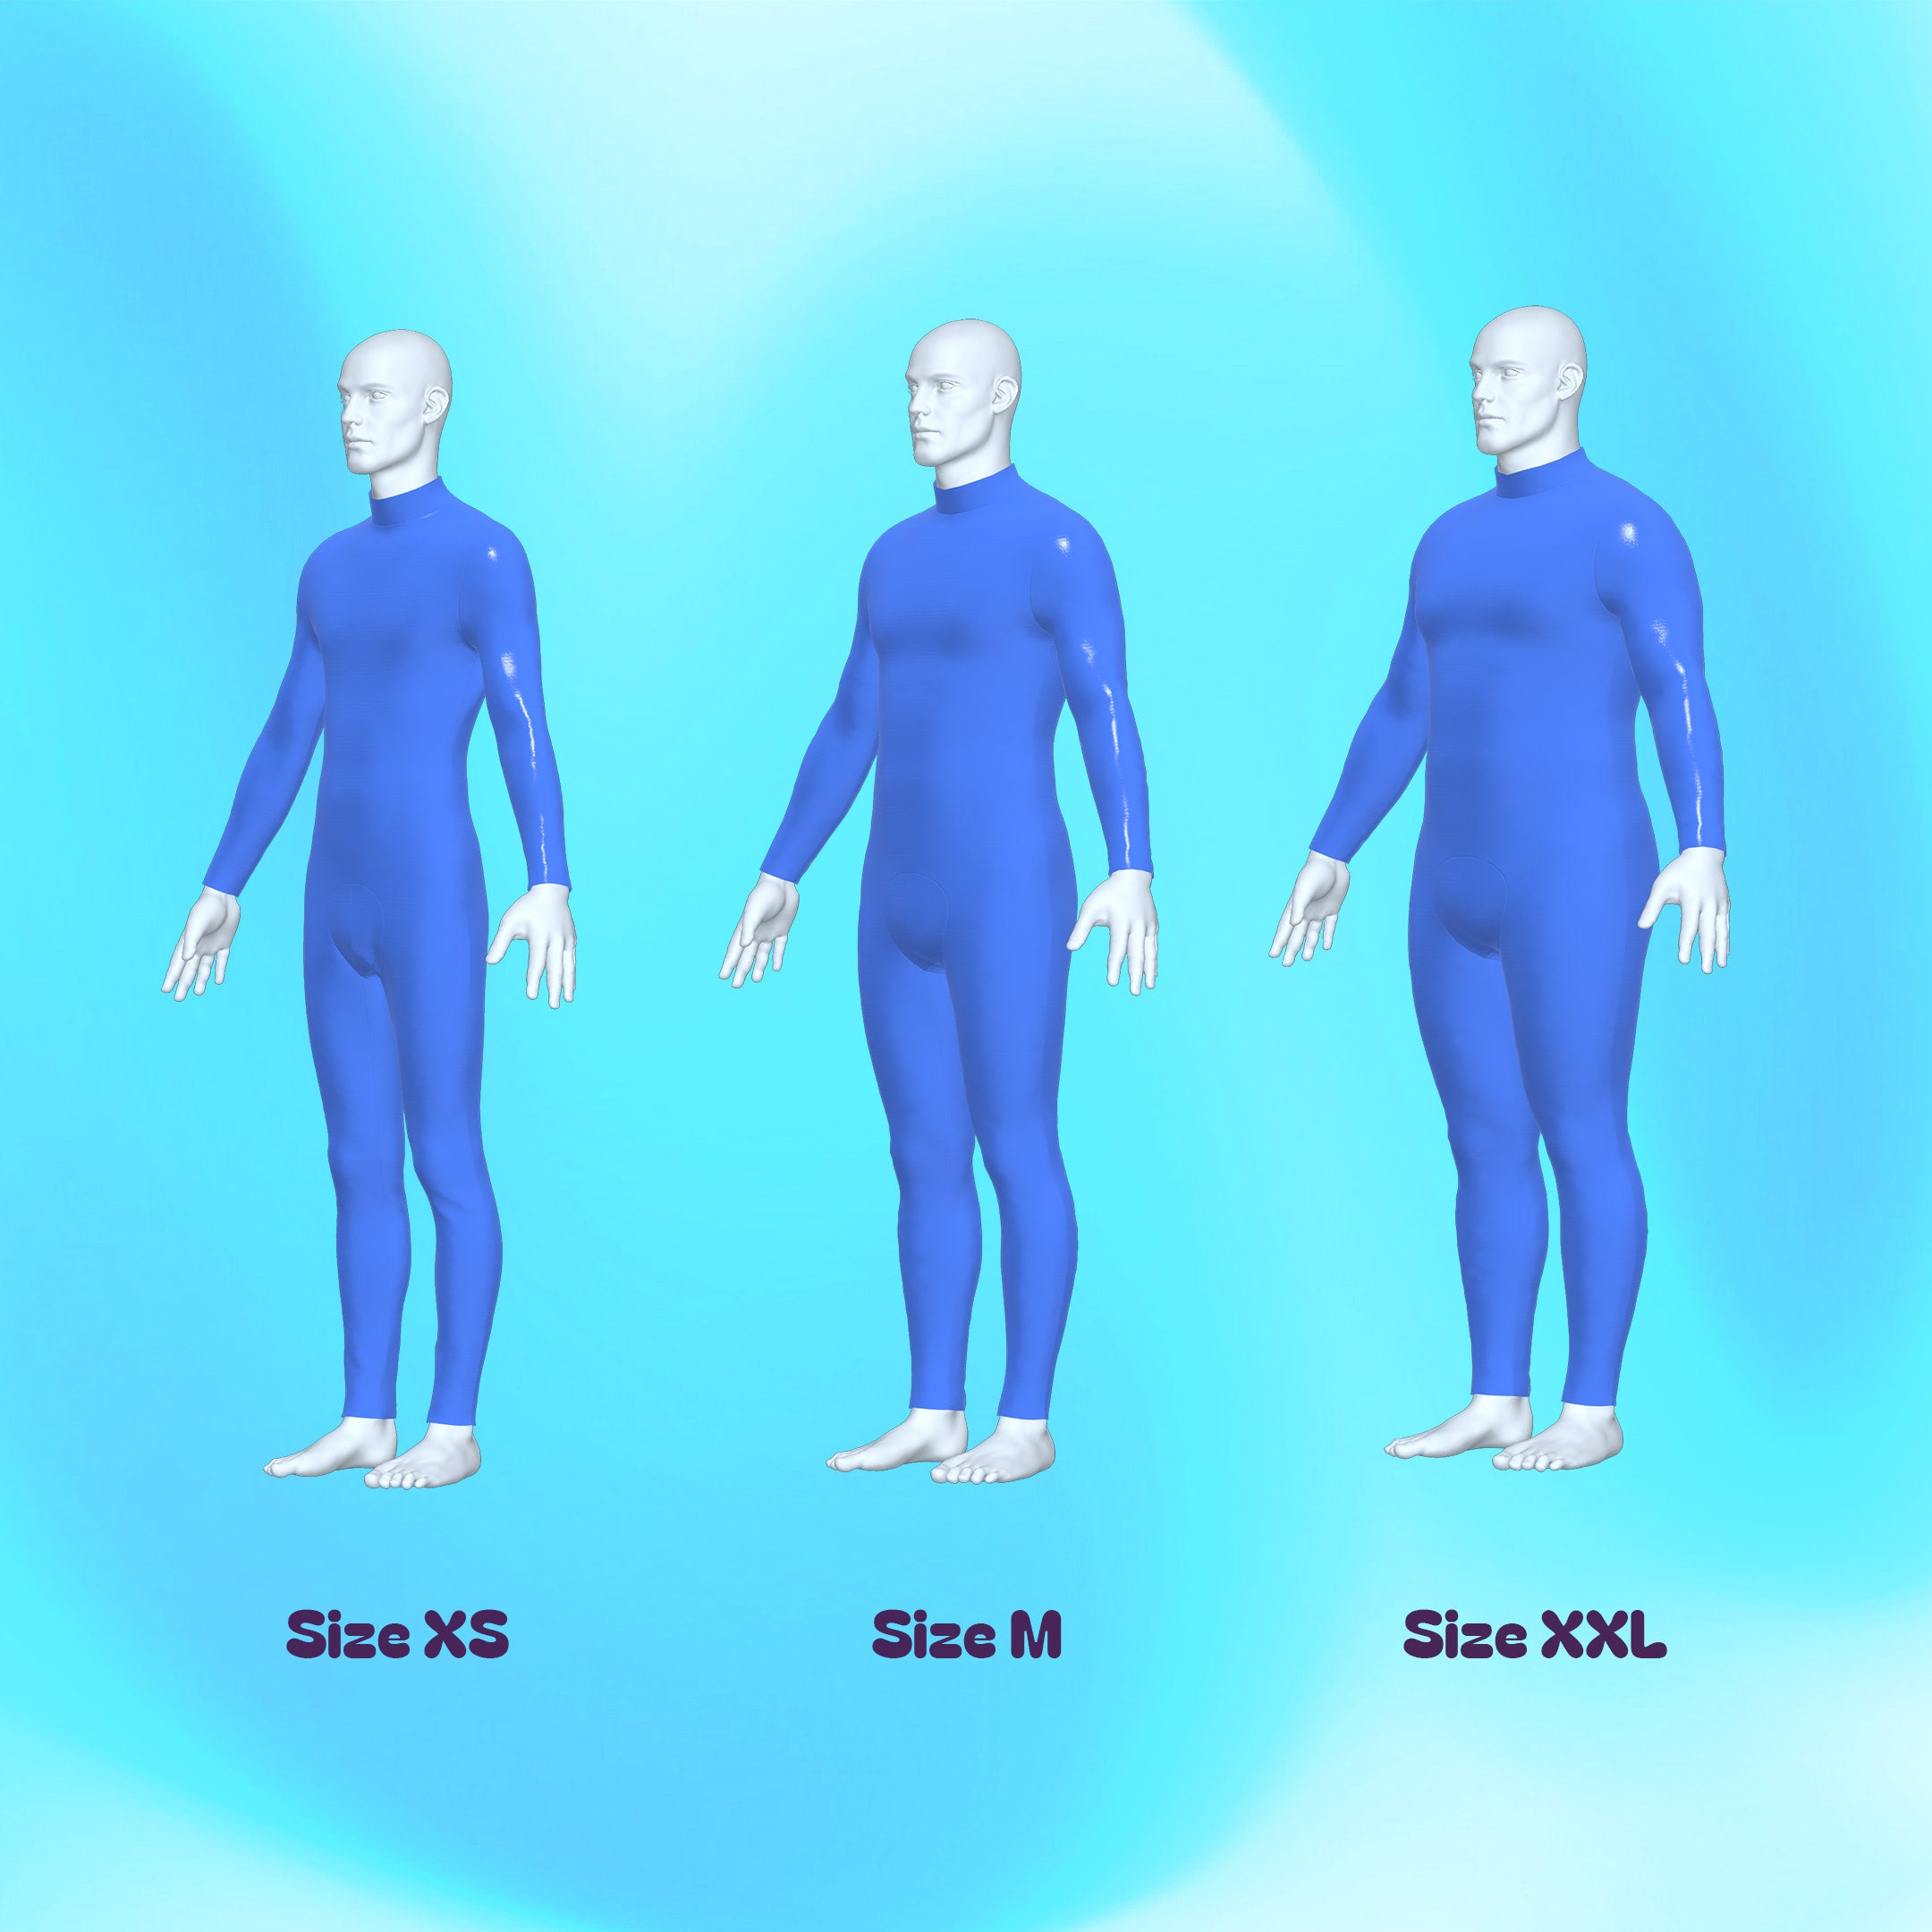
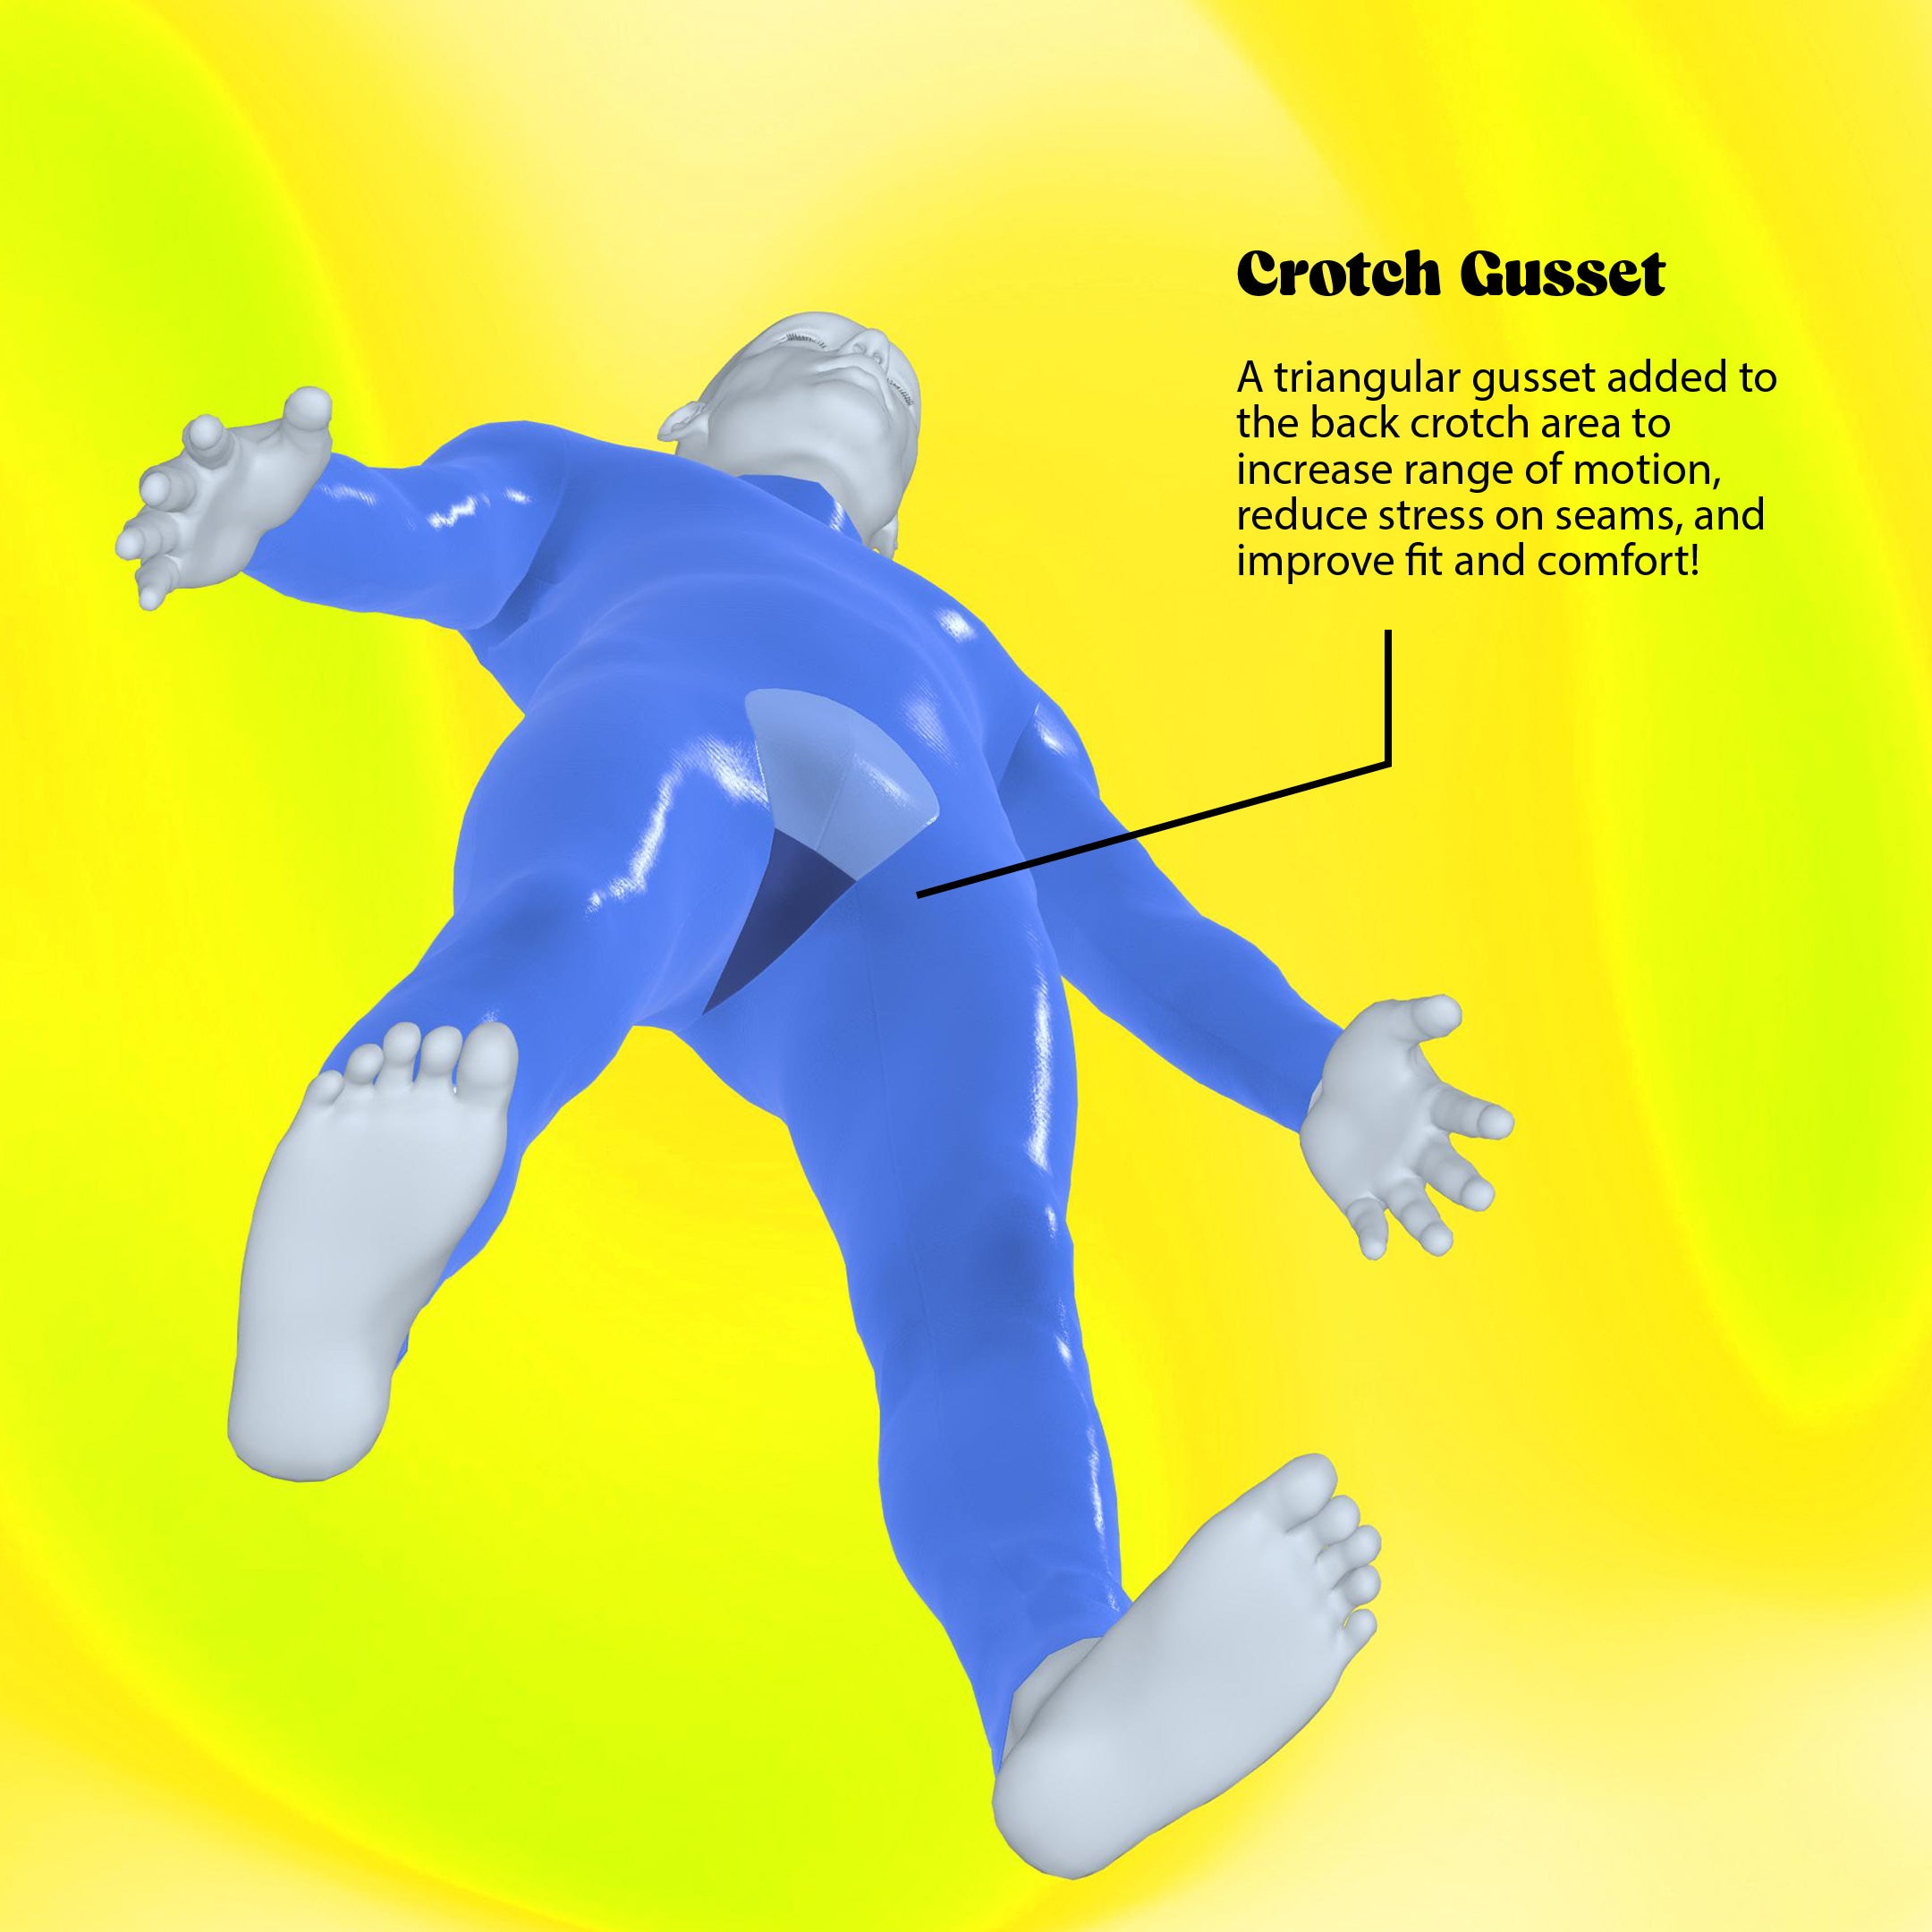
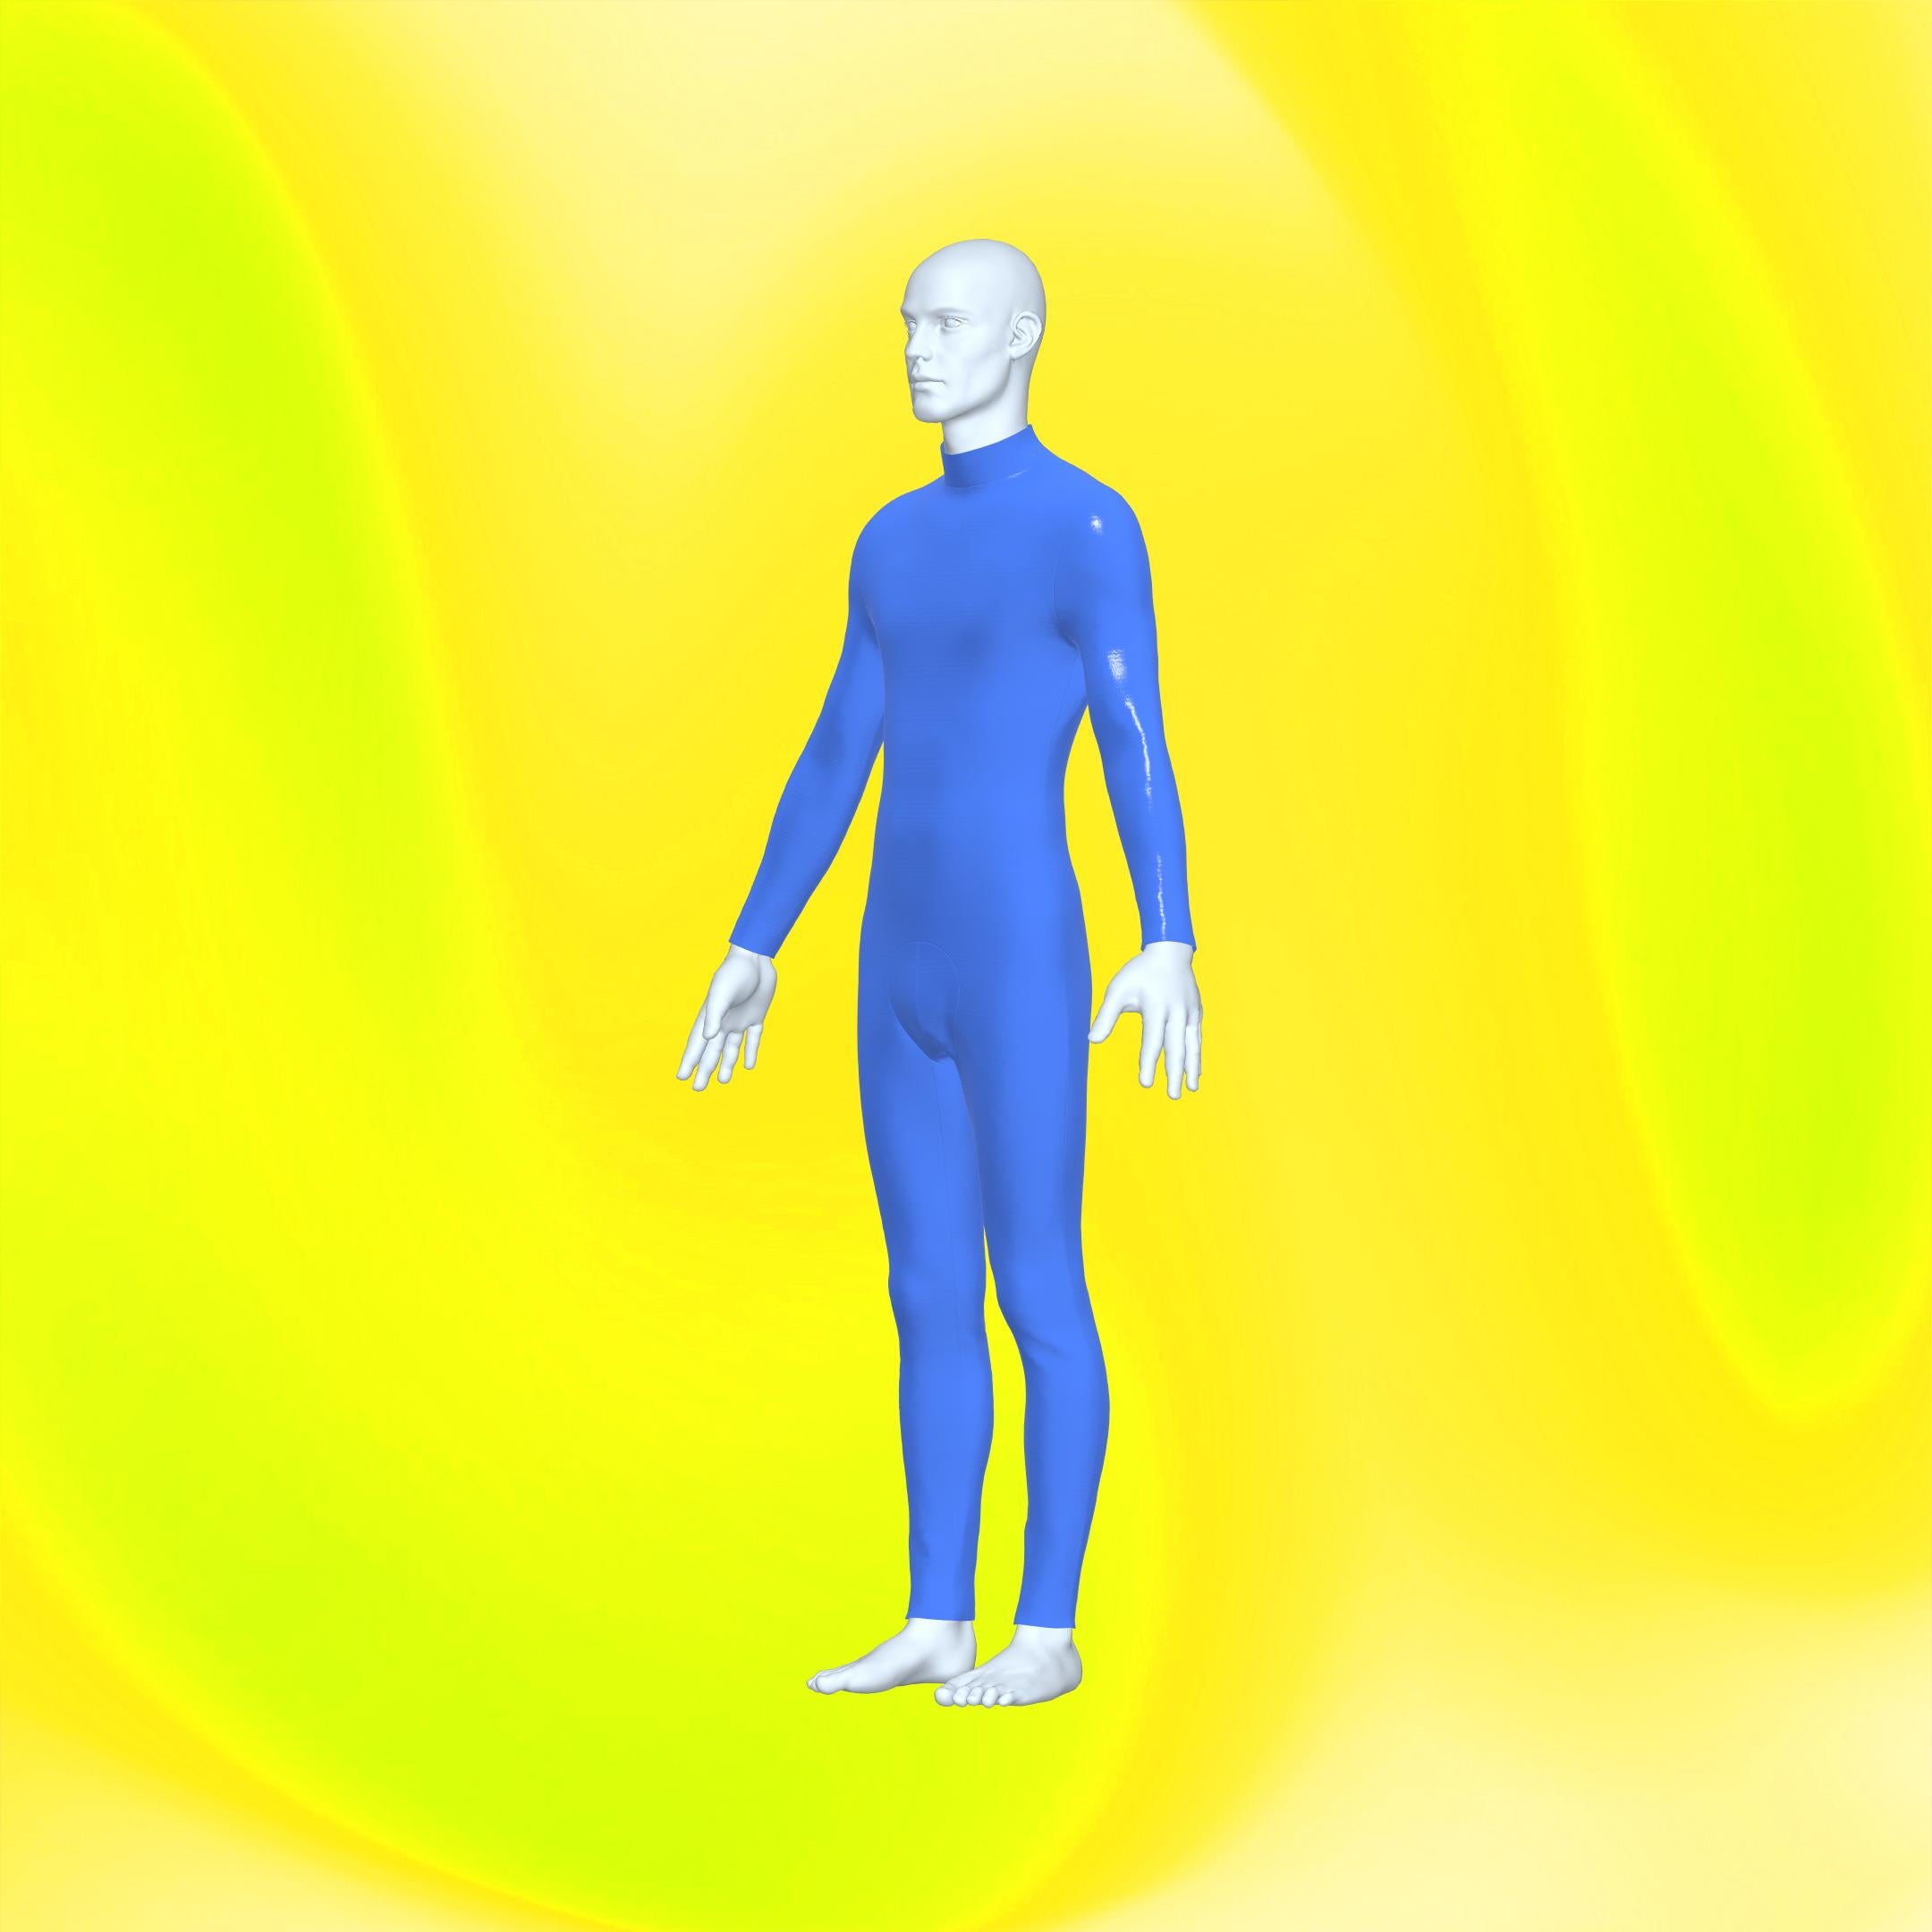
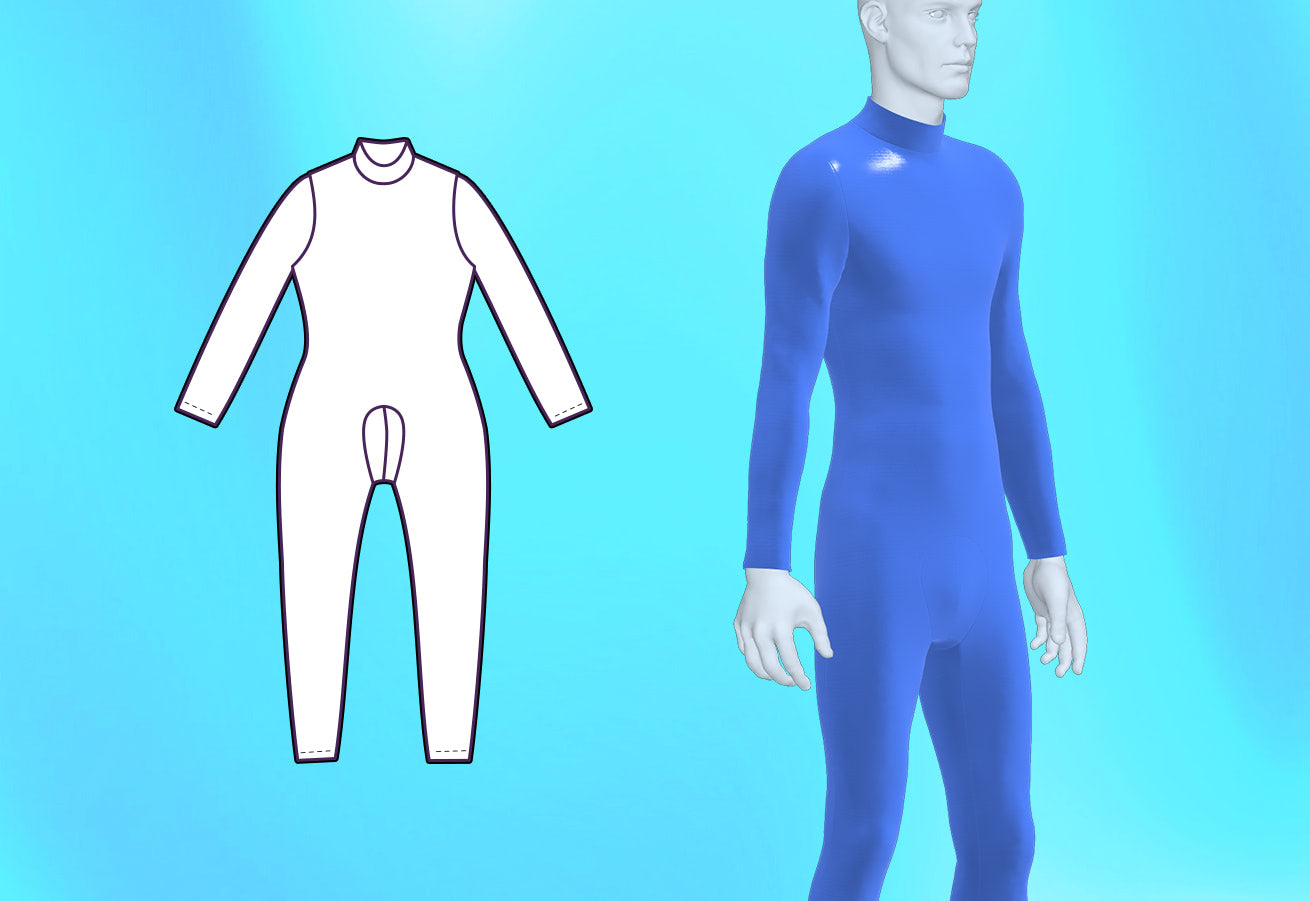
Introducing the ultimate must-have for cosplay, our full-body mens catsuit sewing pattern! Featuring a seamless front with crotch. At the back, you'll find two pieces with a zipper and a triangle gusset in the back crotch for better freedom of movement.
A staple for every cosplayer, this catsuit pattern is your ticket to show-stopping performances and jaw-dropping looks. Best with 4-way stretch fabrics, it ensures a snug yet comfortable fit.
* Also available in Drag Queen sizing and standard AFAB (assigned female at birth) Womens sizing, sold separately.
Pattern Difficulty: For Beginners
Fabric Yardage
This pattern requires the use of 4-way stretch fabric. Please find the yardage needed for each size below.
| Size | Fabric Width (58”-60”) |
|---|---|
| XS | 1.75 yards |
| S | 1.75 yards |
| M | 2 yards |
| L | 2.25 yards |
| XL | 2.25 yards |
| XXL | 2.5 yards |
For information on converting inches to meters, please check out our conversion guide.
Fabric & Notions
Suitable for 4-way stretch fabrics:
- Milliskin
- Spandex
- Lycra
- Stretch Knits
- 22-24 inch invisible zipper
- Optiontal tear-away stabilizer to keep zipper flat and prevent waving
Sizing Details
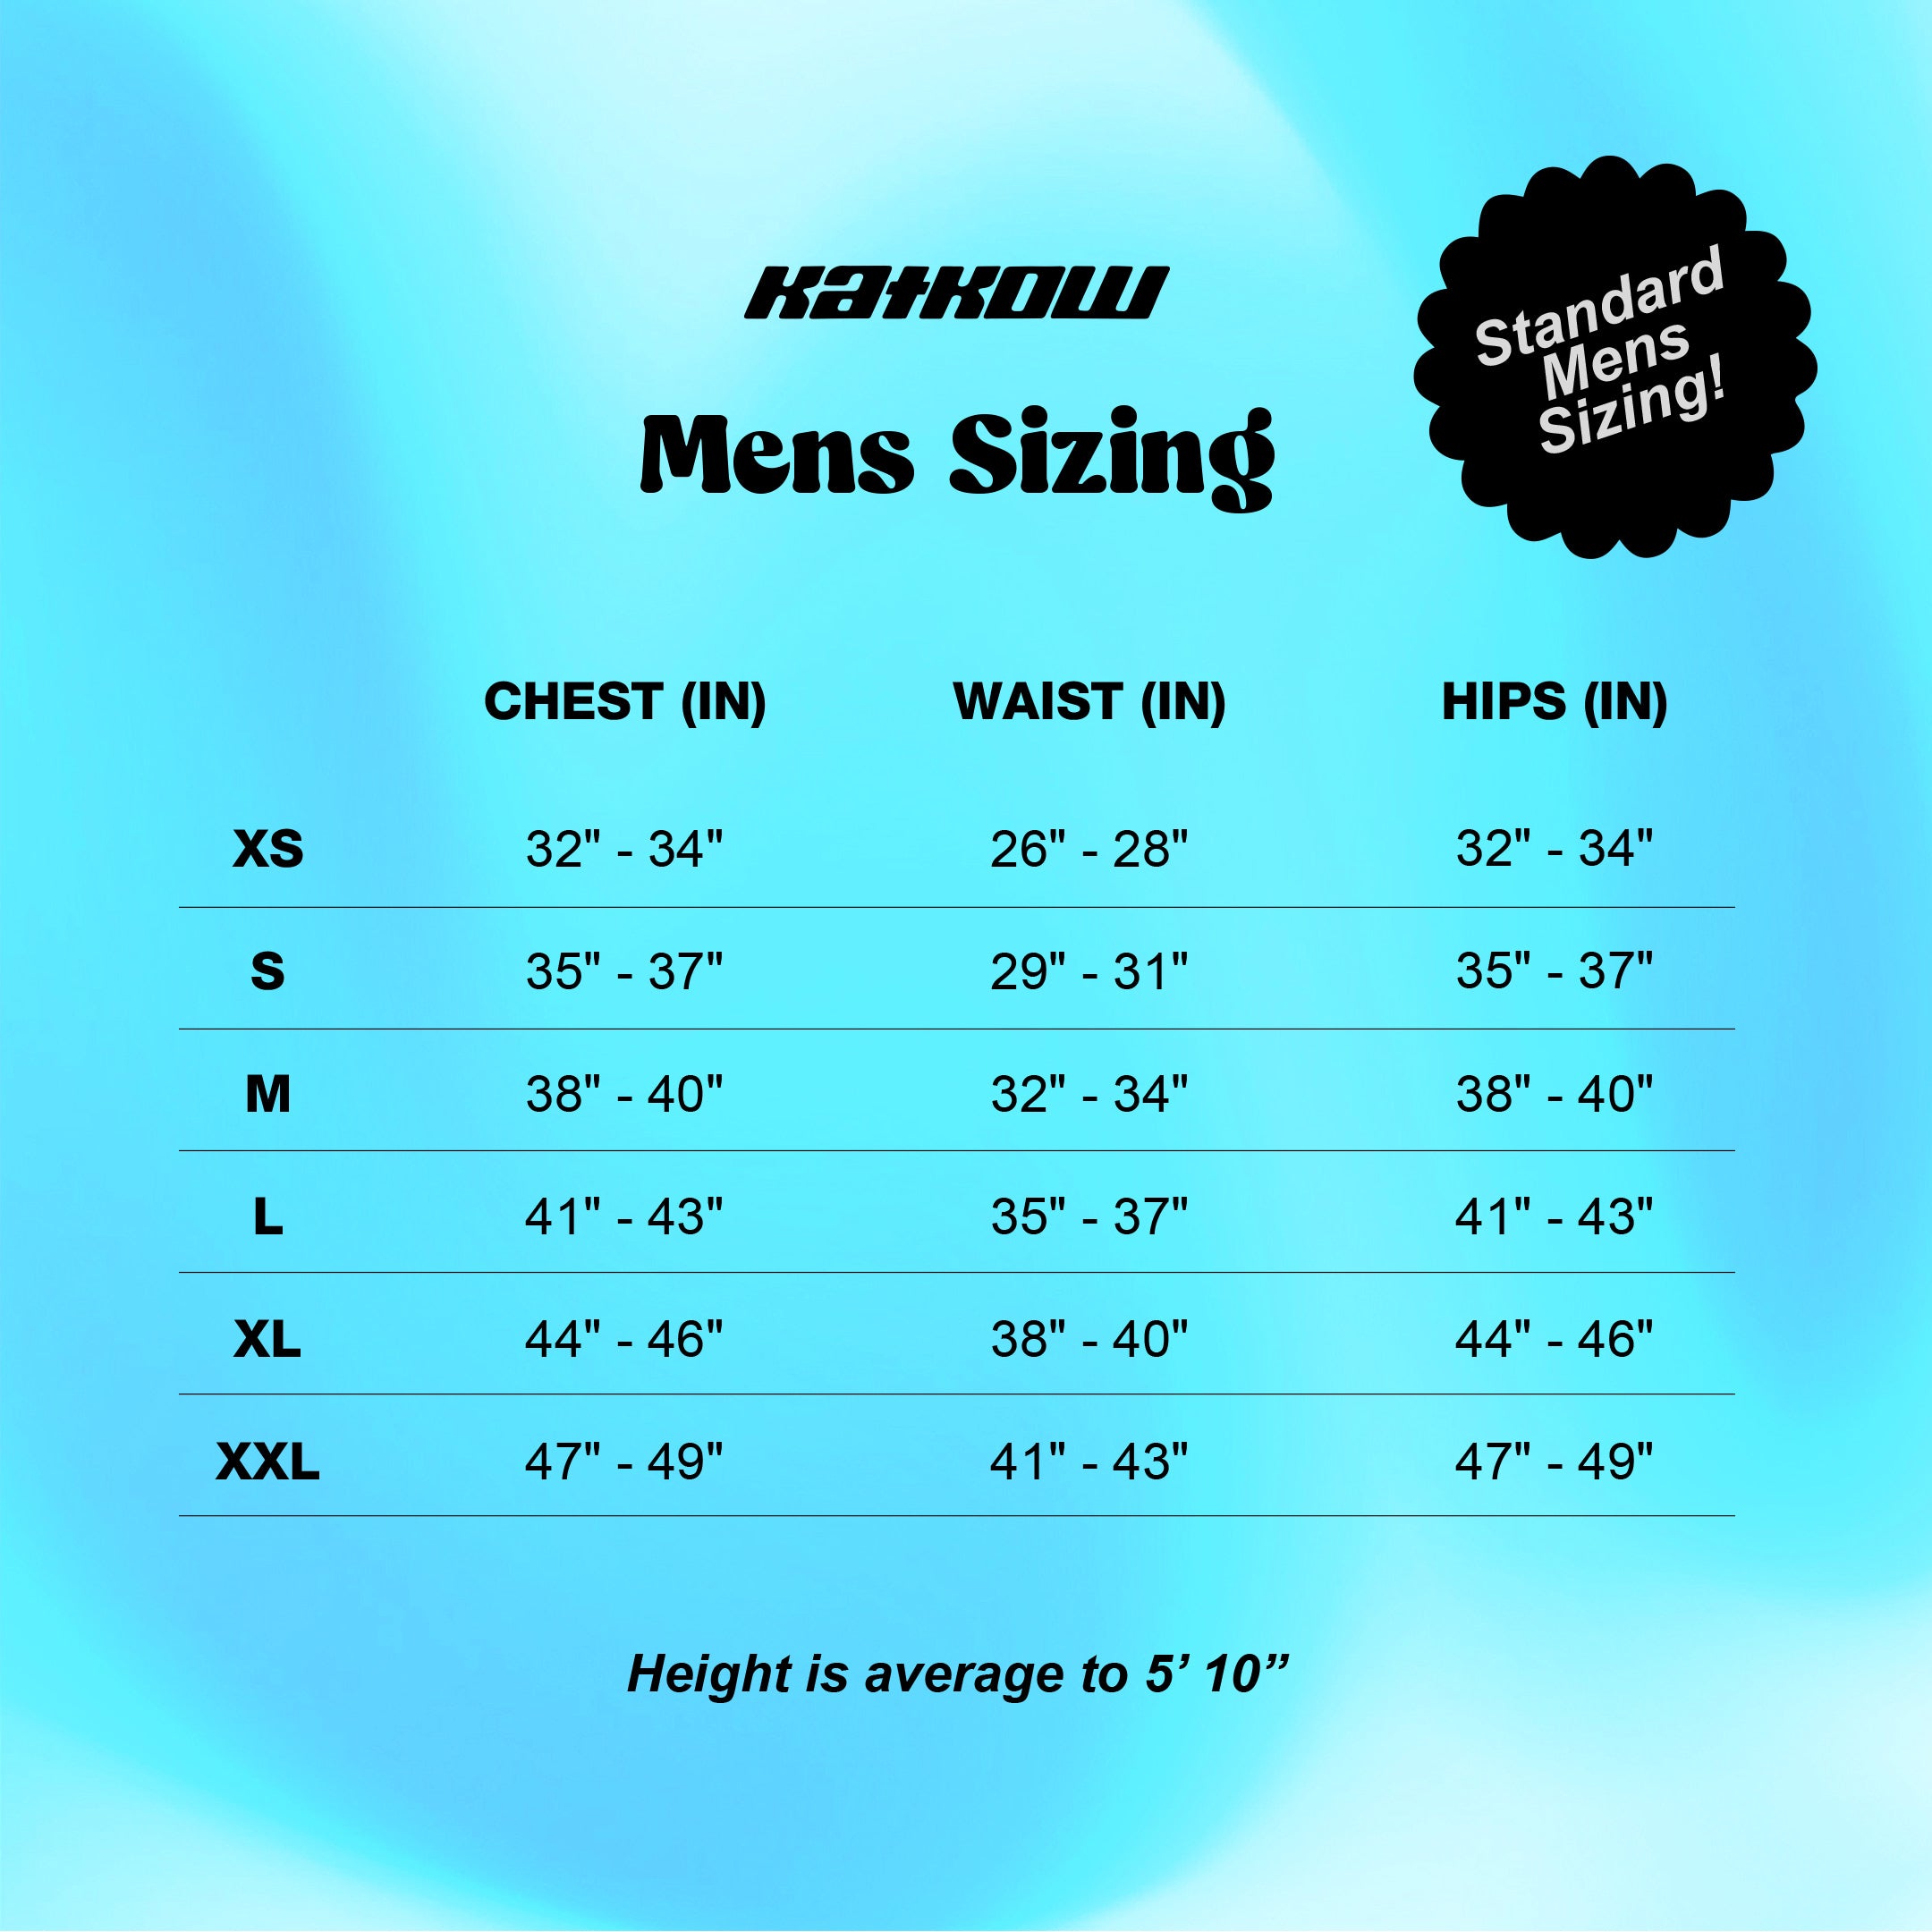
This pattern is available in our men's sizes ranging from (XS-XXL). It is also available in Drag Queen Sizing (XS-4X) and AFAB Women's sizing ranging from (XS-XXL). All pattern size types are sold separately. Please review our sizing guide for more information on our size measurements.
Sewing Instructions


Fabric Pieces
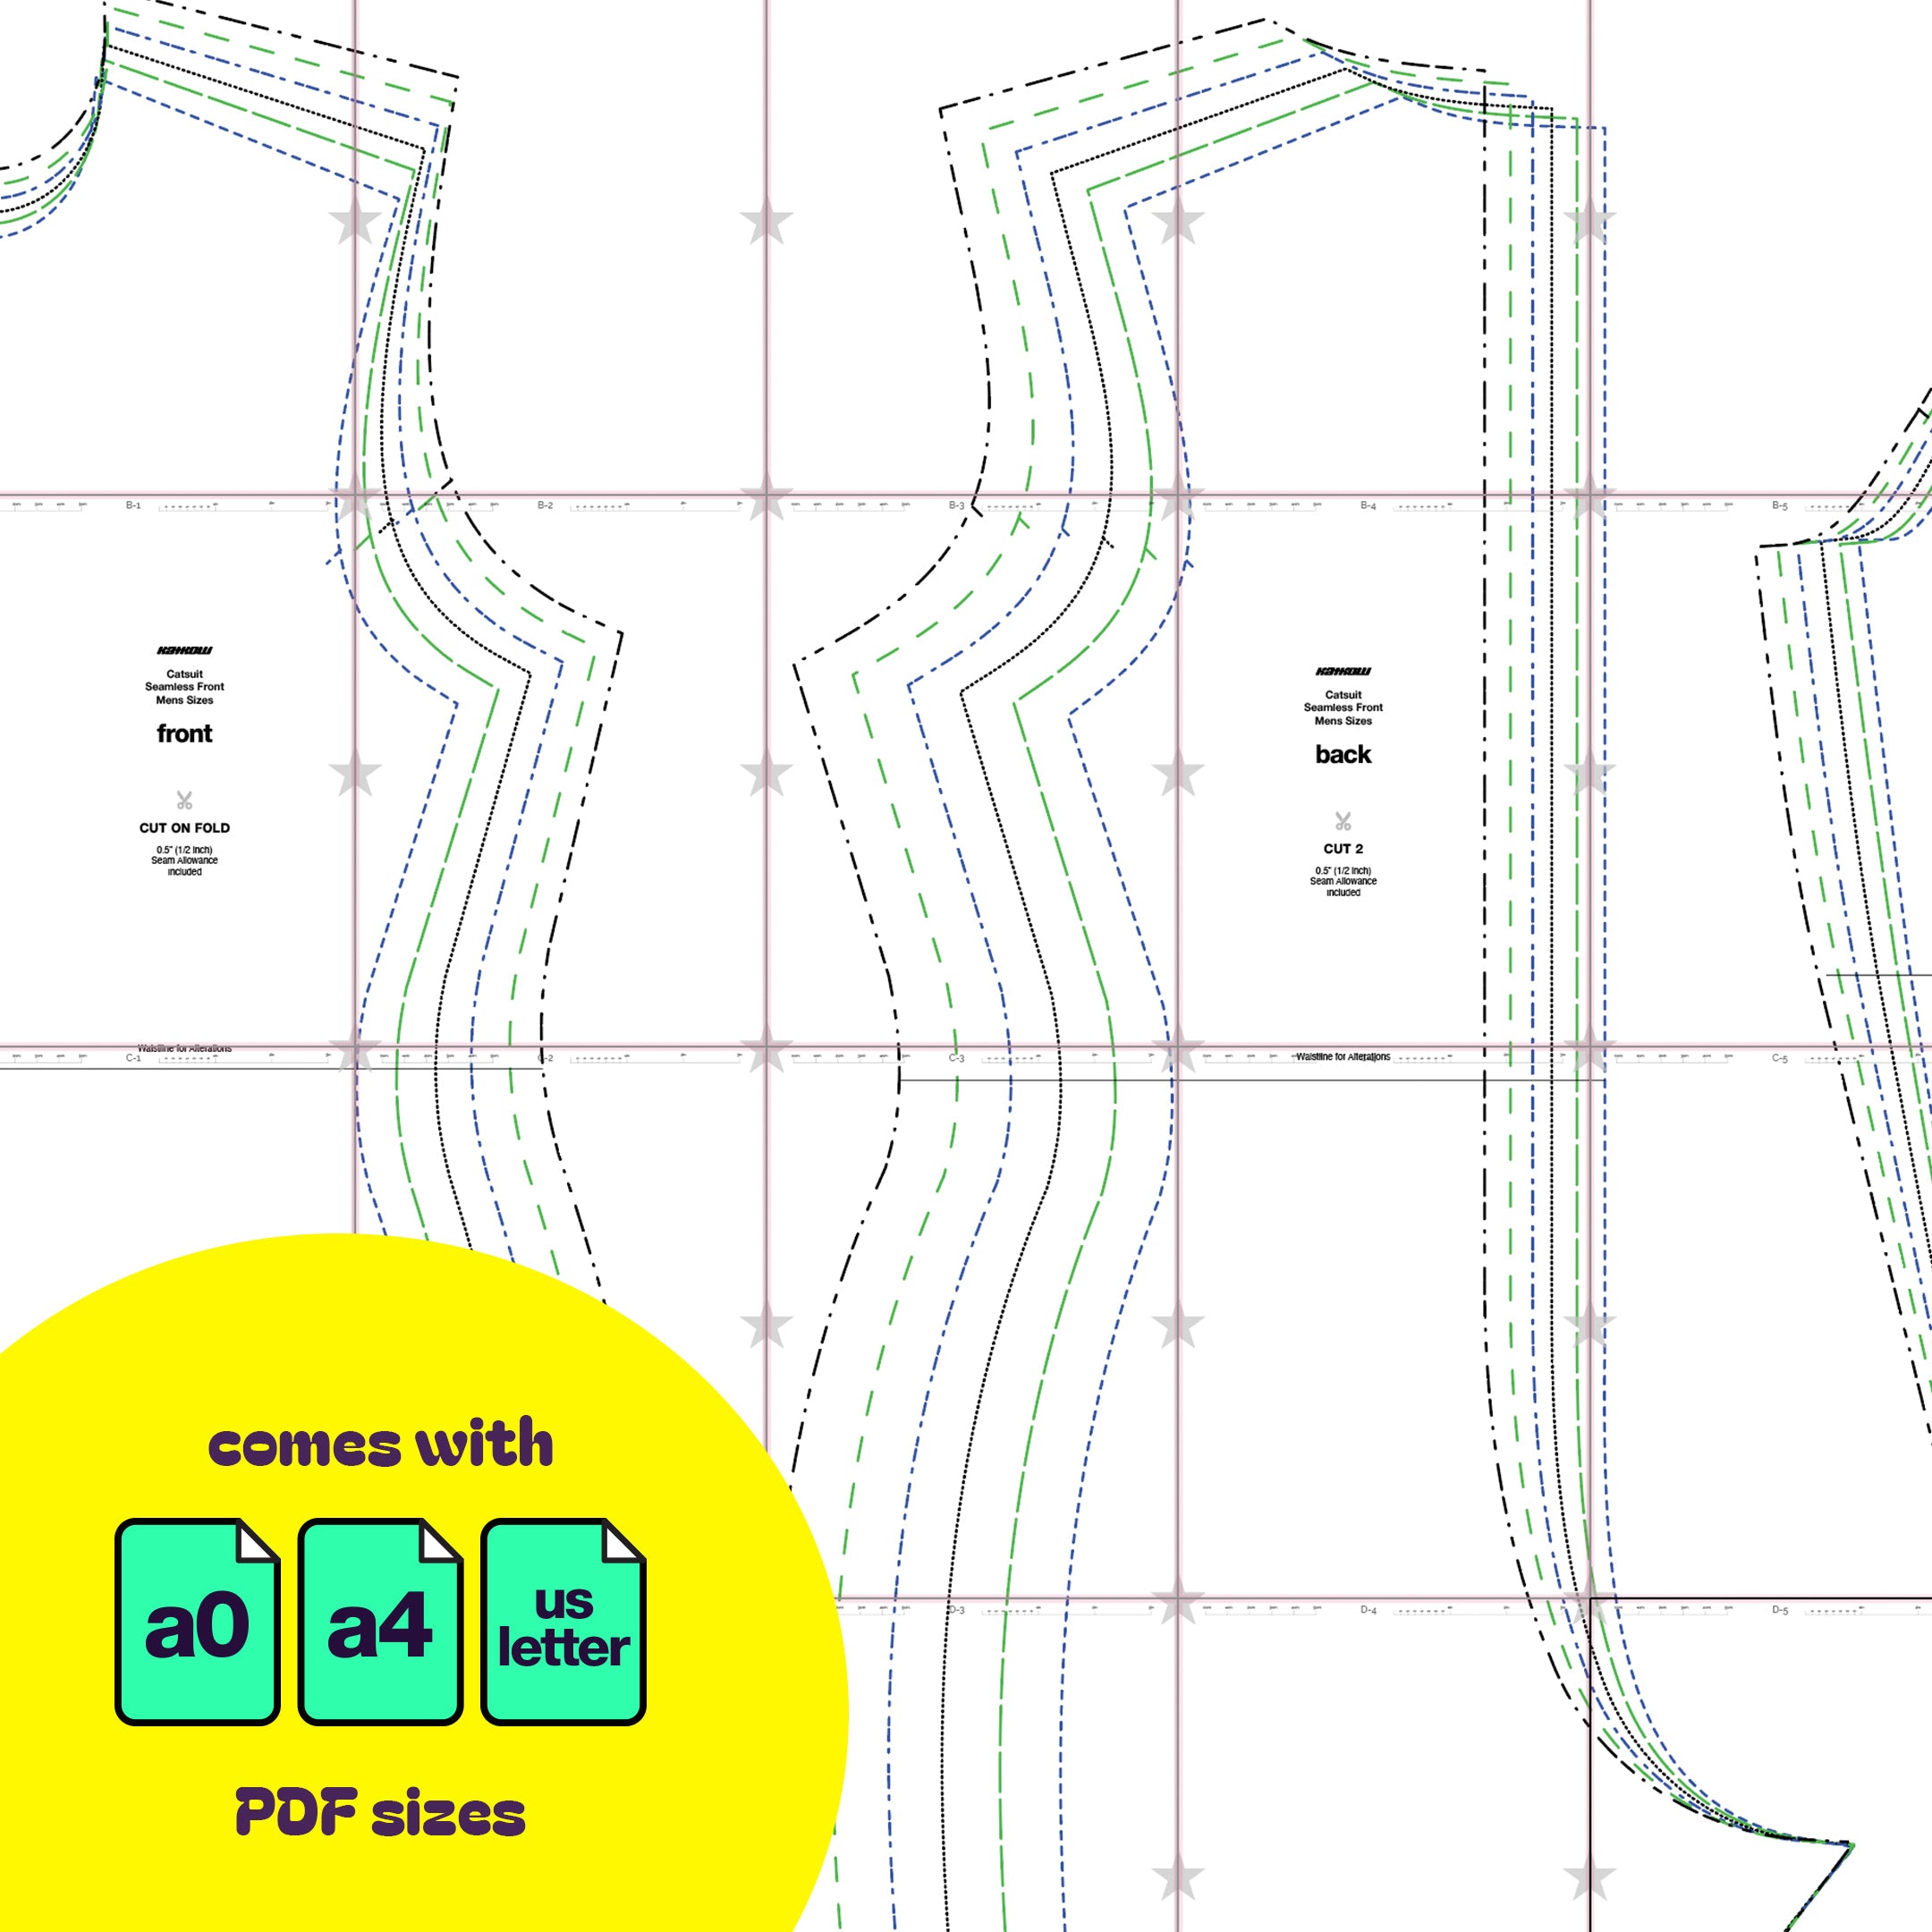
Once your fabric is cut, you should have one seamless front piece, two front crotch pieces, two back pieces, two long sleeves, two collar pieces, and two triangular gussets for the back crotch.

Stitches
For this project, the recommended stitches are a serger overlock stitch, a stretch stitch, or a zigzag stitch. A straight stitch may cause the threads to snap and is not advisable.

STEP 1
Take the two gusset pieces and align them with the wrong sides of the fabrics facing each other. Stitch around all the edges using a serger, stretch stitch, or zigzag stitch to join them together.

STEP 2
Place one of the back pieces right side up and position the double-layer gusset piece over the crotch area. The wider part of the gusset should align with the bottom edge, and the point should aim toward the neck of the back piece. Pin the gusset in place and then serge or sew.
Do not sew the other side of the gusset to the other back piece just yet, we will sew and finish that later after we install the zipper.

STEP 3
Take the two of front crotch pieces and align them with the right sides of the fabrics facing each other. Sew them together along the shorter curve with a serger, stretch stitch, or zigzag stitch. Repeat for lining layer.

STEP 4
Take the shell and lining front crotch pieces and stack them wrong sides facing each other. Sew them together around all edges using a serger, stretch stitch, or zigzag stitch. Do not trim off seam allowance, sew as close to the edge as possible.

STEP 5
Pin the front crotch peices to the right side of the front piece near the bottom crotch cut-out. To sew you will turn slowly around the curve. You might need to break this up into 2 sections.

STEP 6
The front crotch should now be attached to the entire front peice of the garment with the stitches on the wrong side of the front.

STEP 7
Take the front piece and the two back pieces, with right sides facing each other, and pin them together at the shoulder seams. Sew along these seams.

STEP 8
For the collar, place the two pieces right sides together and sew along the top, shorter curve.

STEP 9
Then, turn the collar right side out and place a pin in the center.

STEP 10
Lay the front and back pieces right side up and pin the collar around the neckline with the center pin matching the center front, keeping the collar upside down. Serge or sew in place.

STEP 11
Insert a 22-24 inch invisible zipper along the center back opening starting at the collar. The right side of the zipper should face the right side of the fabric. Use a straight stitch with a zipper foot for sewing. For a flat zipper finish, you may use a tear-away stabilizer between the zipper and the fabric.

STEP 12
After attaching the zipper, fold the excess fabric at the top of the zipper vertically and hand-stitch it down to secure this fold before proceeding.

STEP 13
Next, fold the zipper tape horizontally and pin in place, ready for topstitching. Repeat the same steps on the opposite side.

STEP 14
Once the zipper is secured to the back pieces, sew the remaining gap at the back crotch and gusset, starting from the bottom curve and working up to the zipper's end.

STEP 15
Topstitch around the zipper to reinforce and neatly finish the edges.

STEP 16
Spread out the front and back right side up and gather your sleeves.

STEP 17
Align and pin the sleeves around the armholes, right side of the sleeve facing the right side of the front and back, using notches as a guide. Each sleeve curve is symmetrical, so there's no designated front or back. Serge or sew the sleeves in place and repeat for the other side.

STEP 18
Turn the garment wrong side out and sew the inner sleeve seams closed, continuing down the sides of the garment from the armholes to the ankles.

STEP 19
For the inner leg seams, align the center front crotch with the center of the back gusset and pin it.

STEP 20
Serge or sew around the entire inner leg inseam.

STEP 21
Finally, hem the ends of the sleeves and the leg openings with a rolled hem, stretch stitch, or zigzag stitch.
Get the Pattern
