How to Sew A Long Sleeve Shrug
Jump to InstructionsOverview
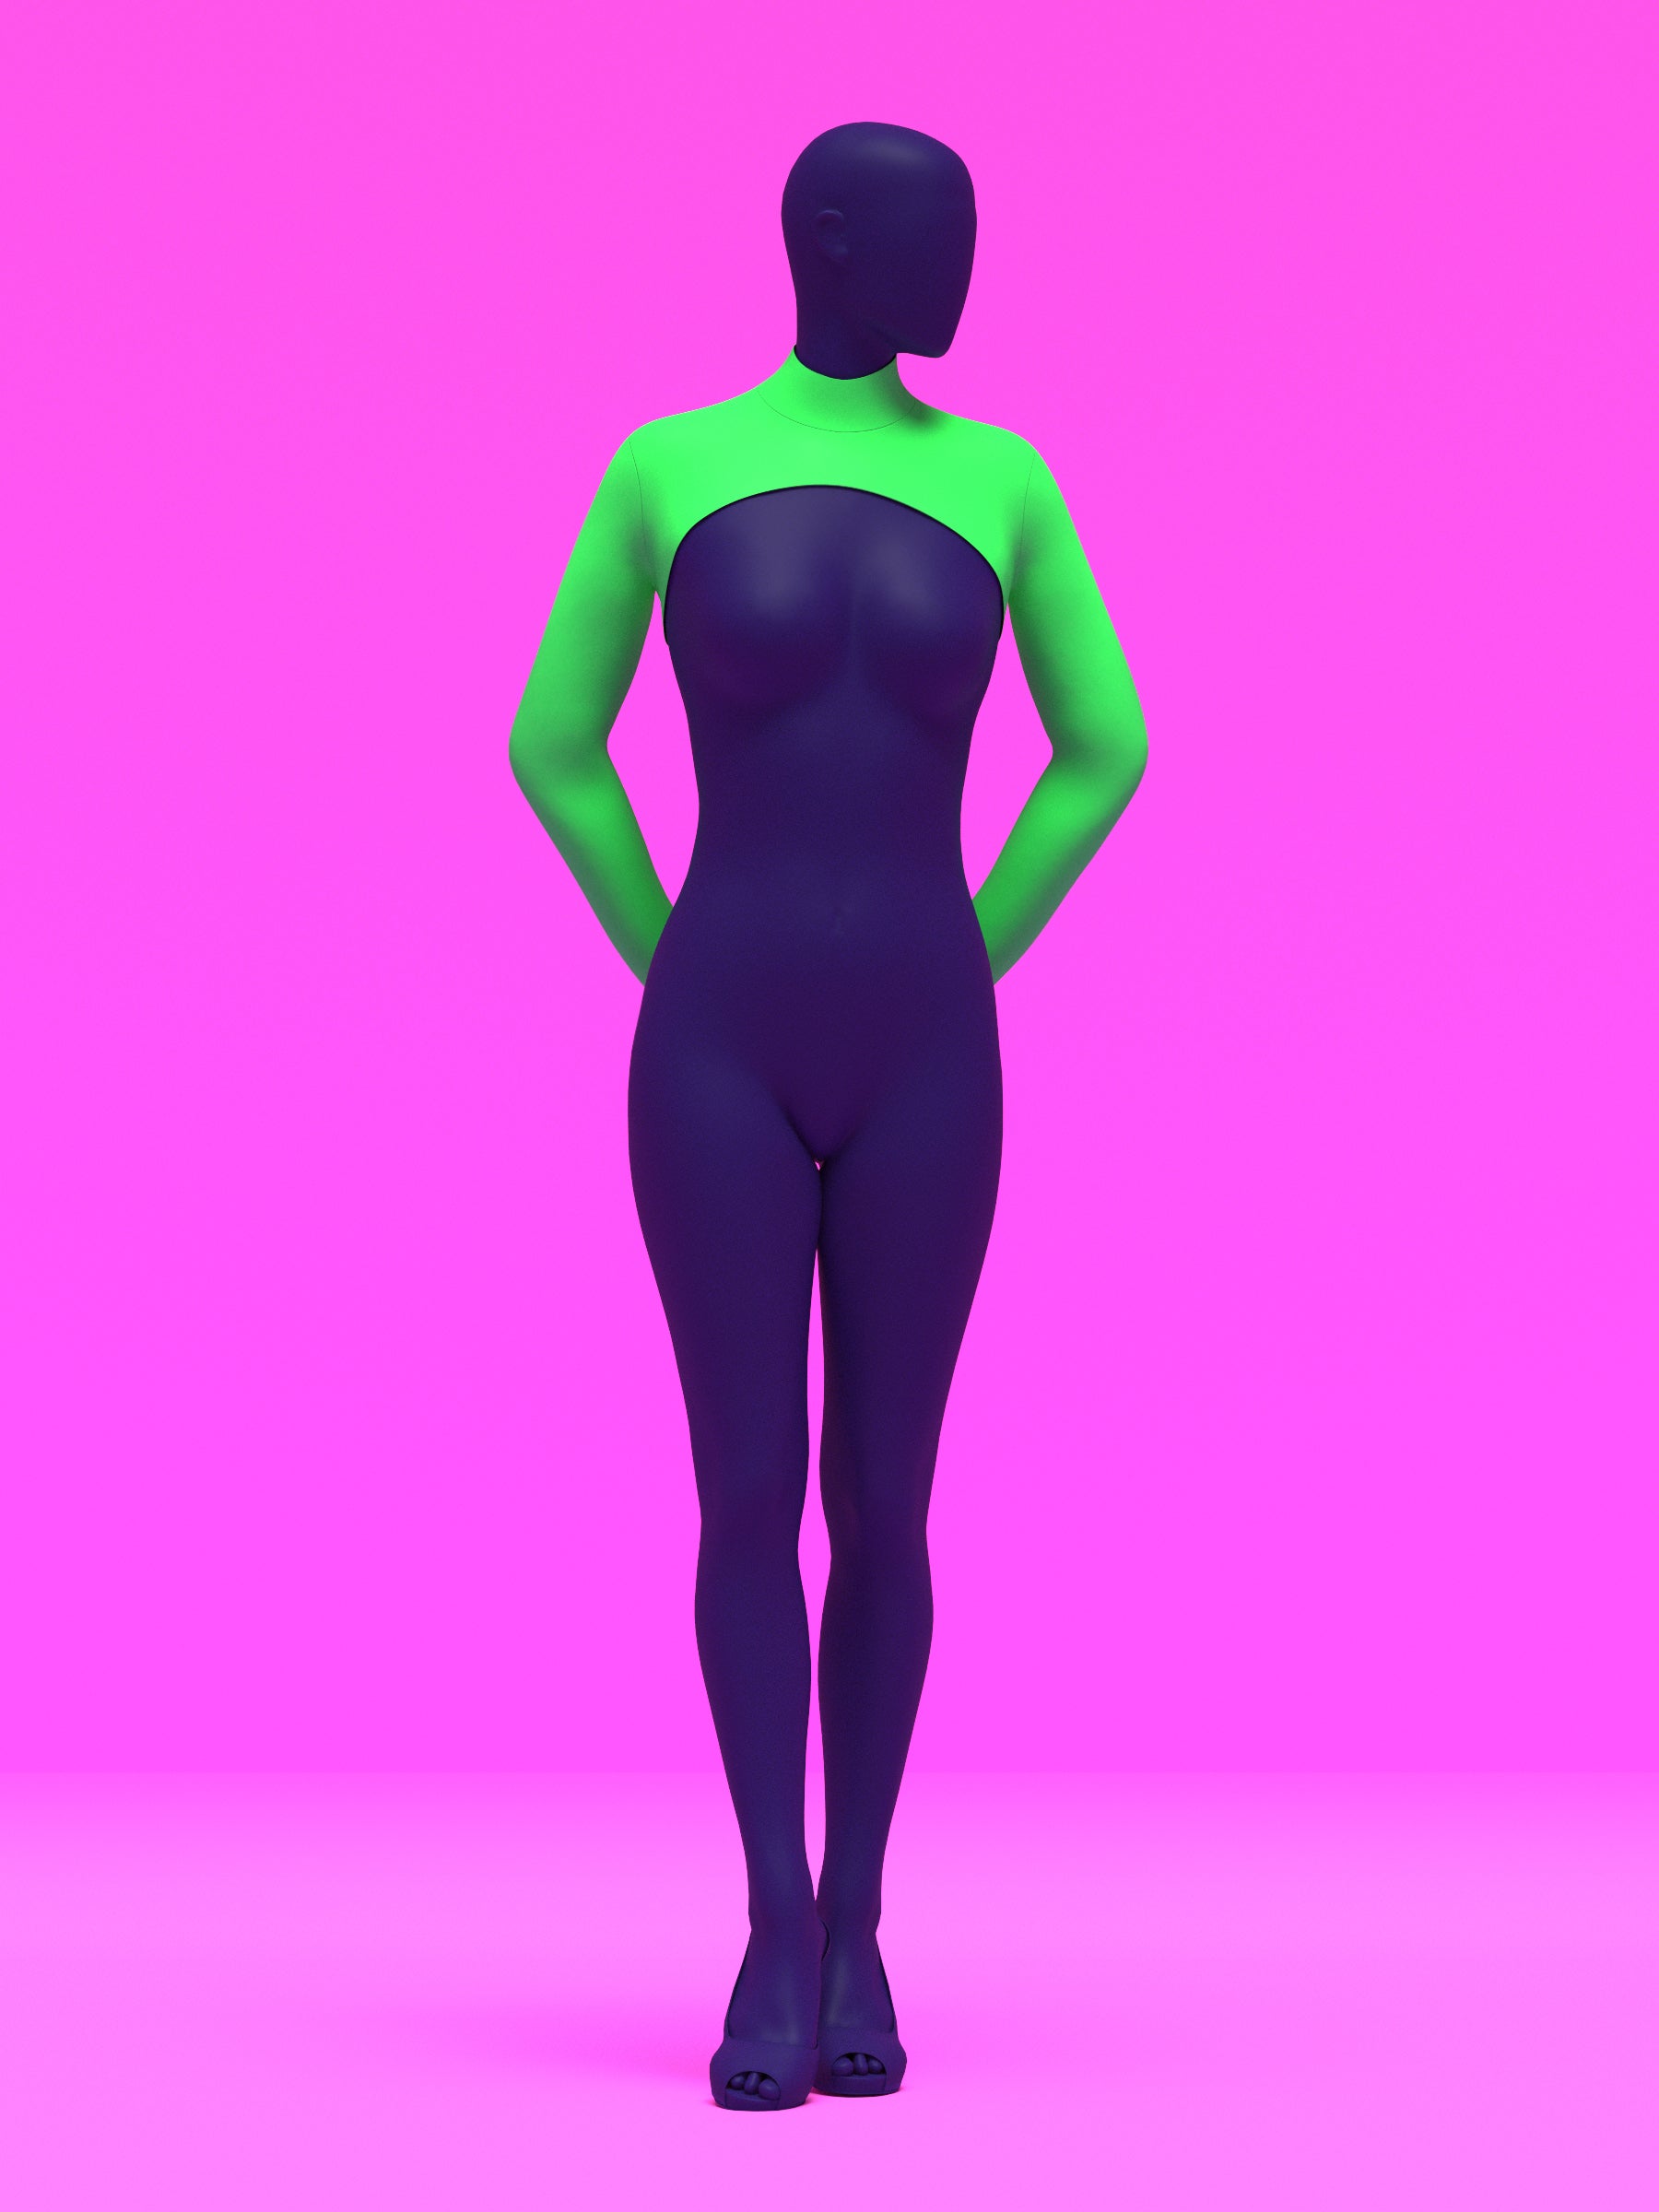
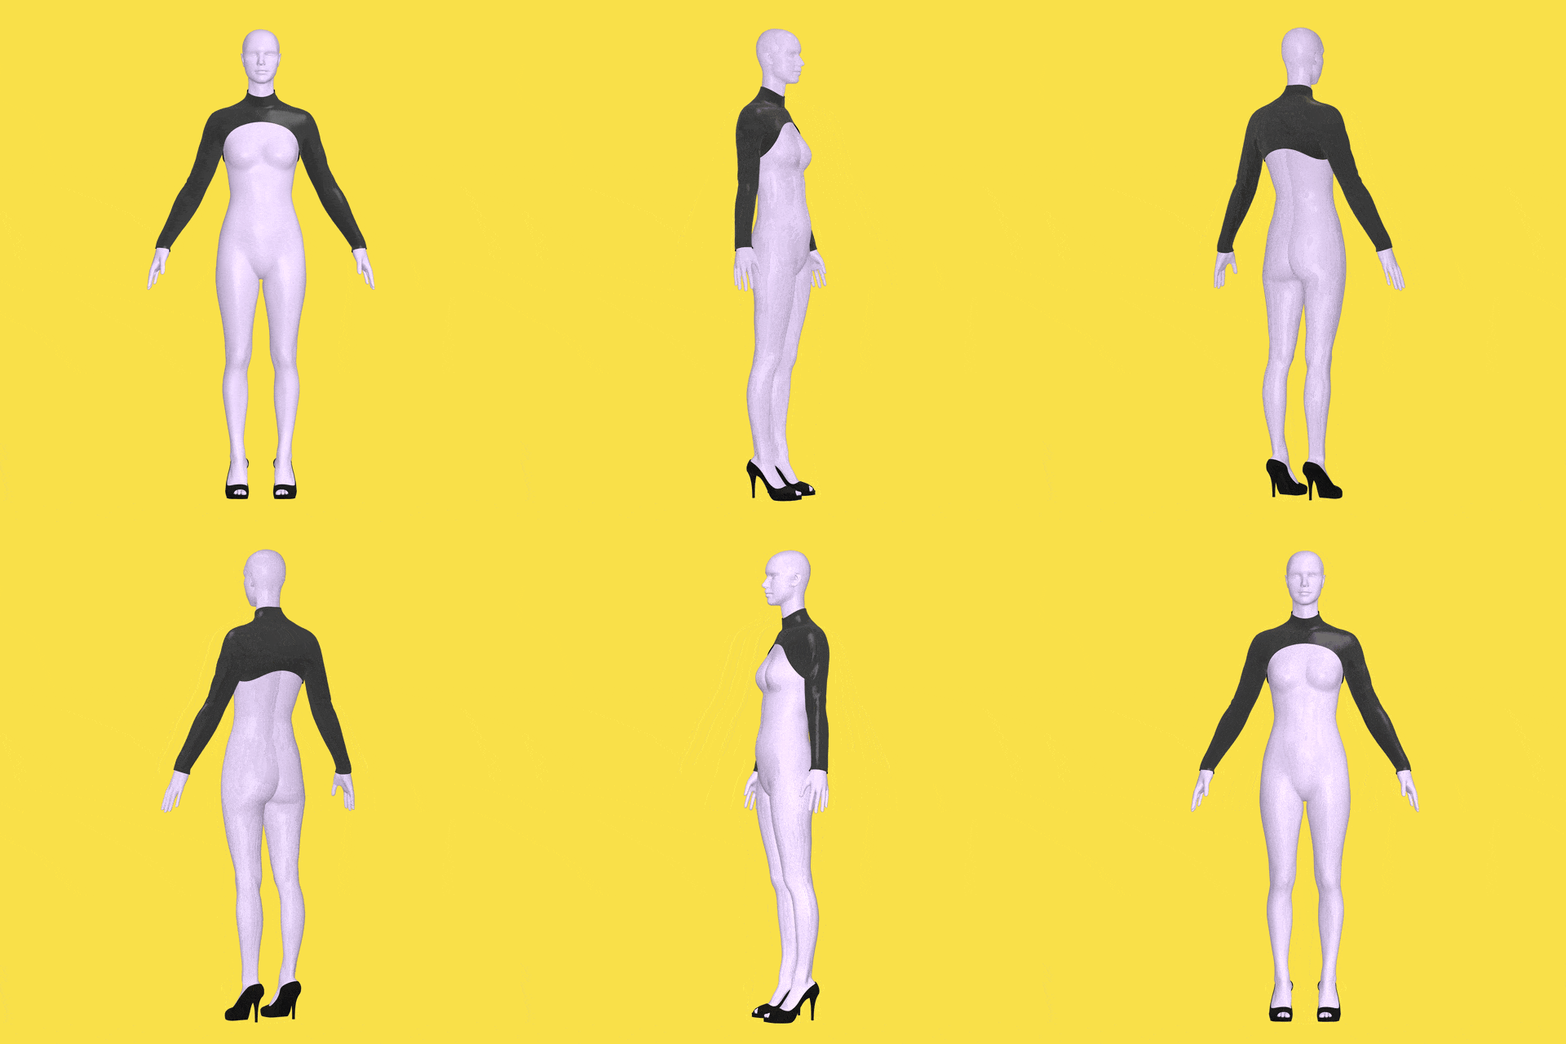
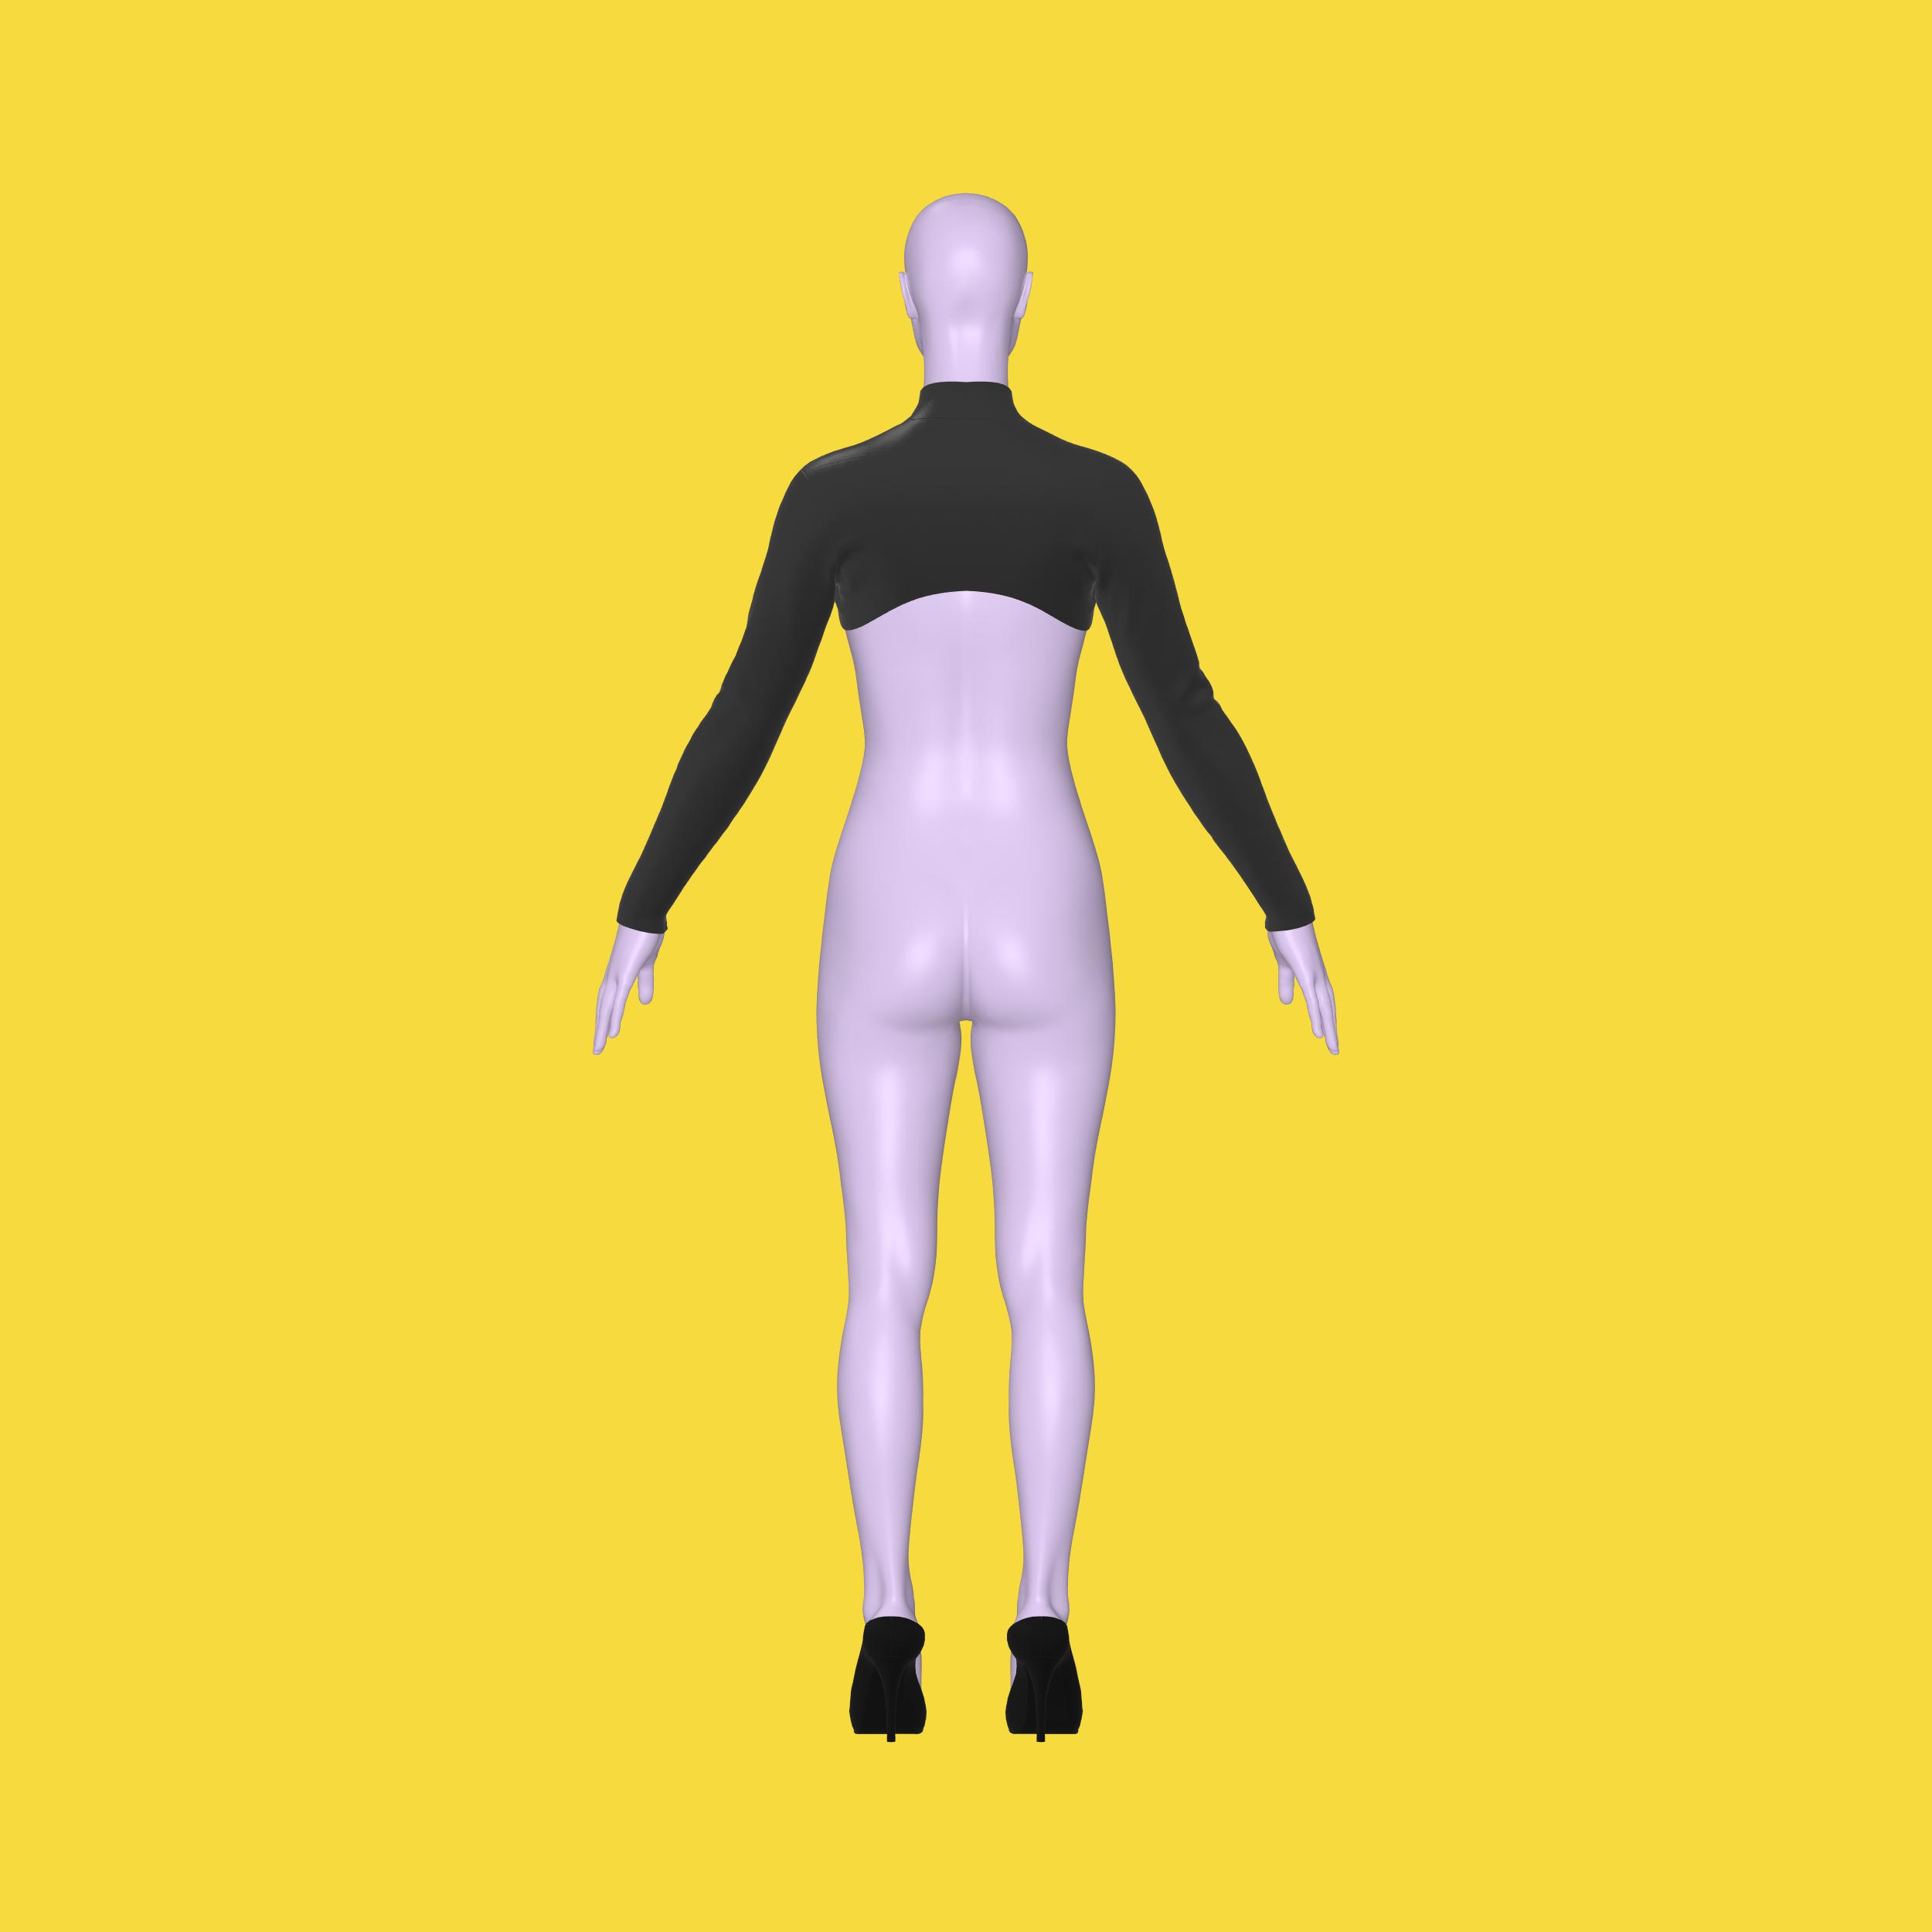
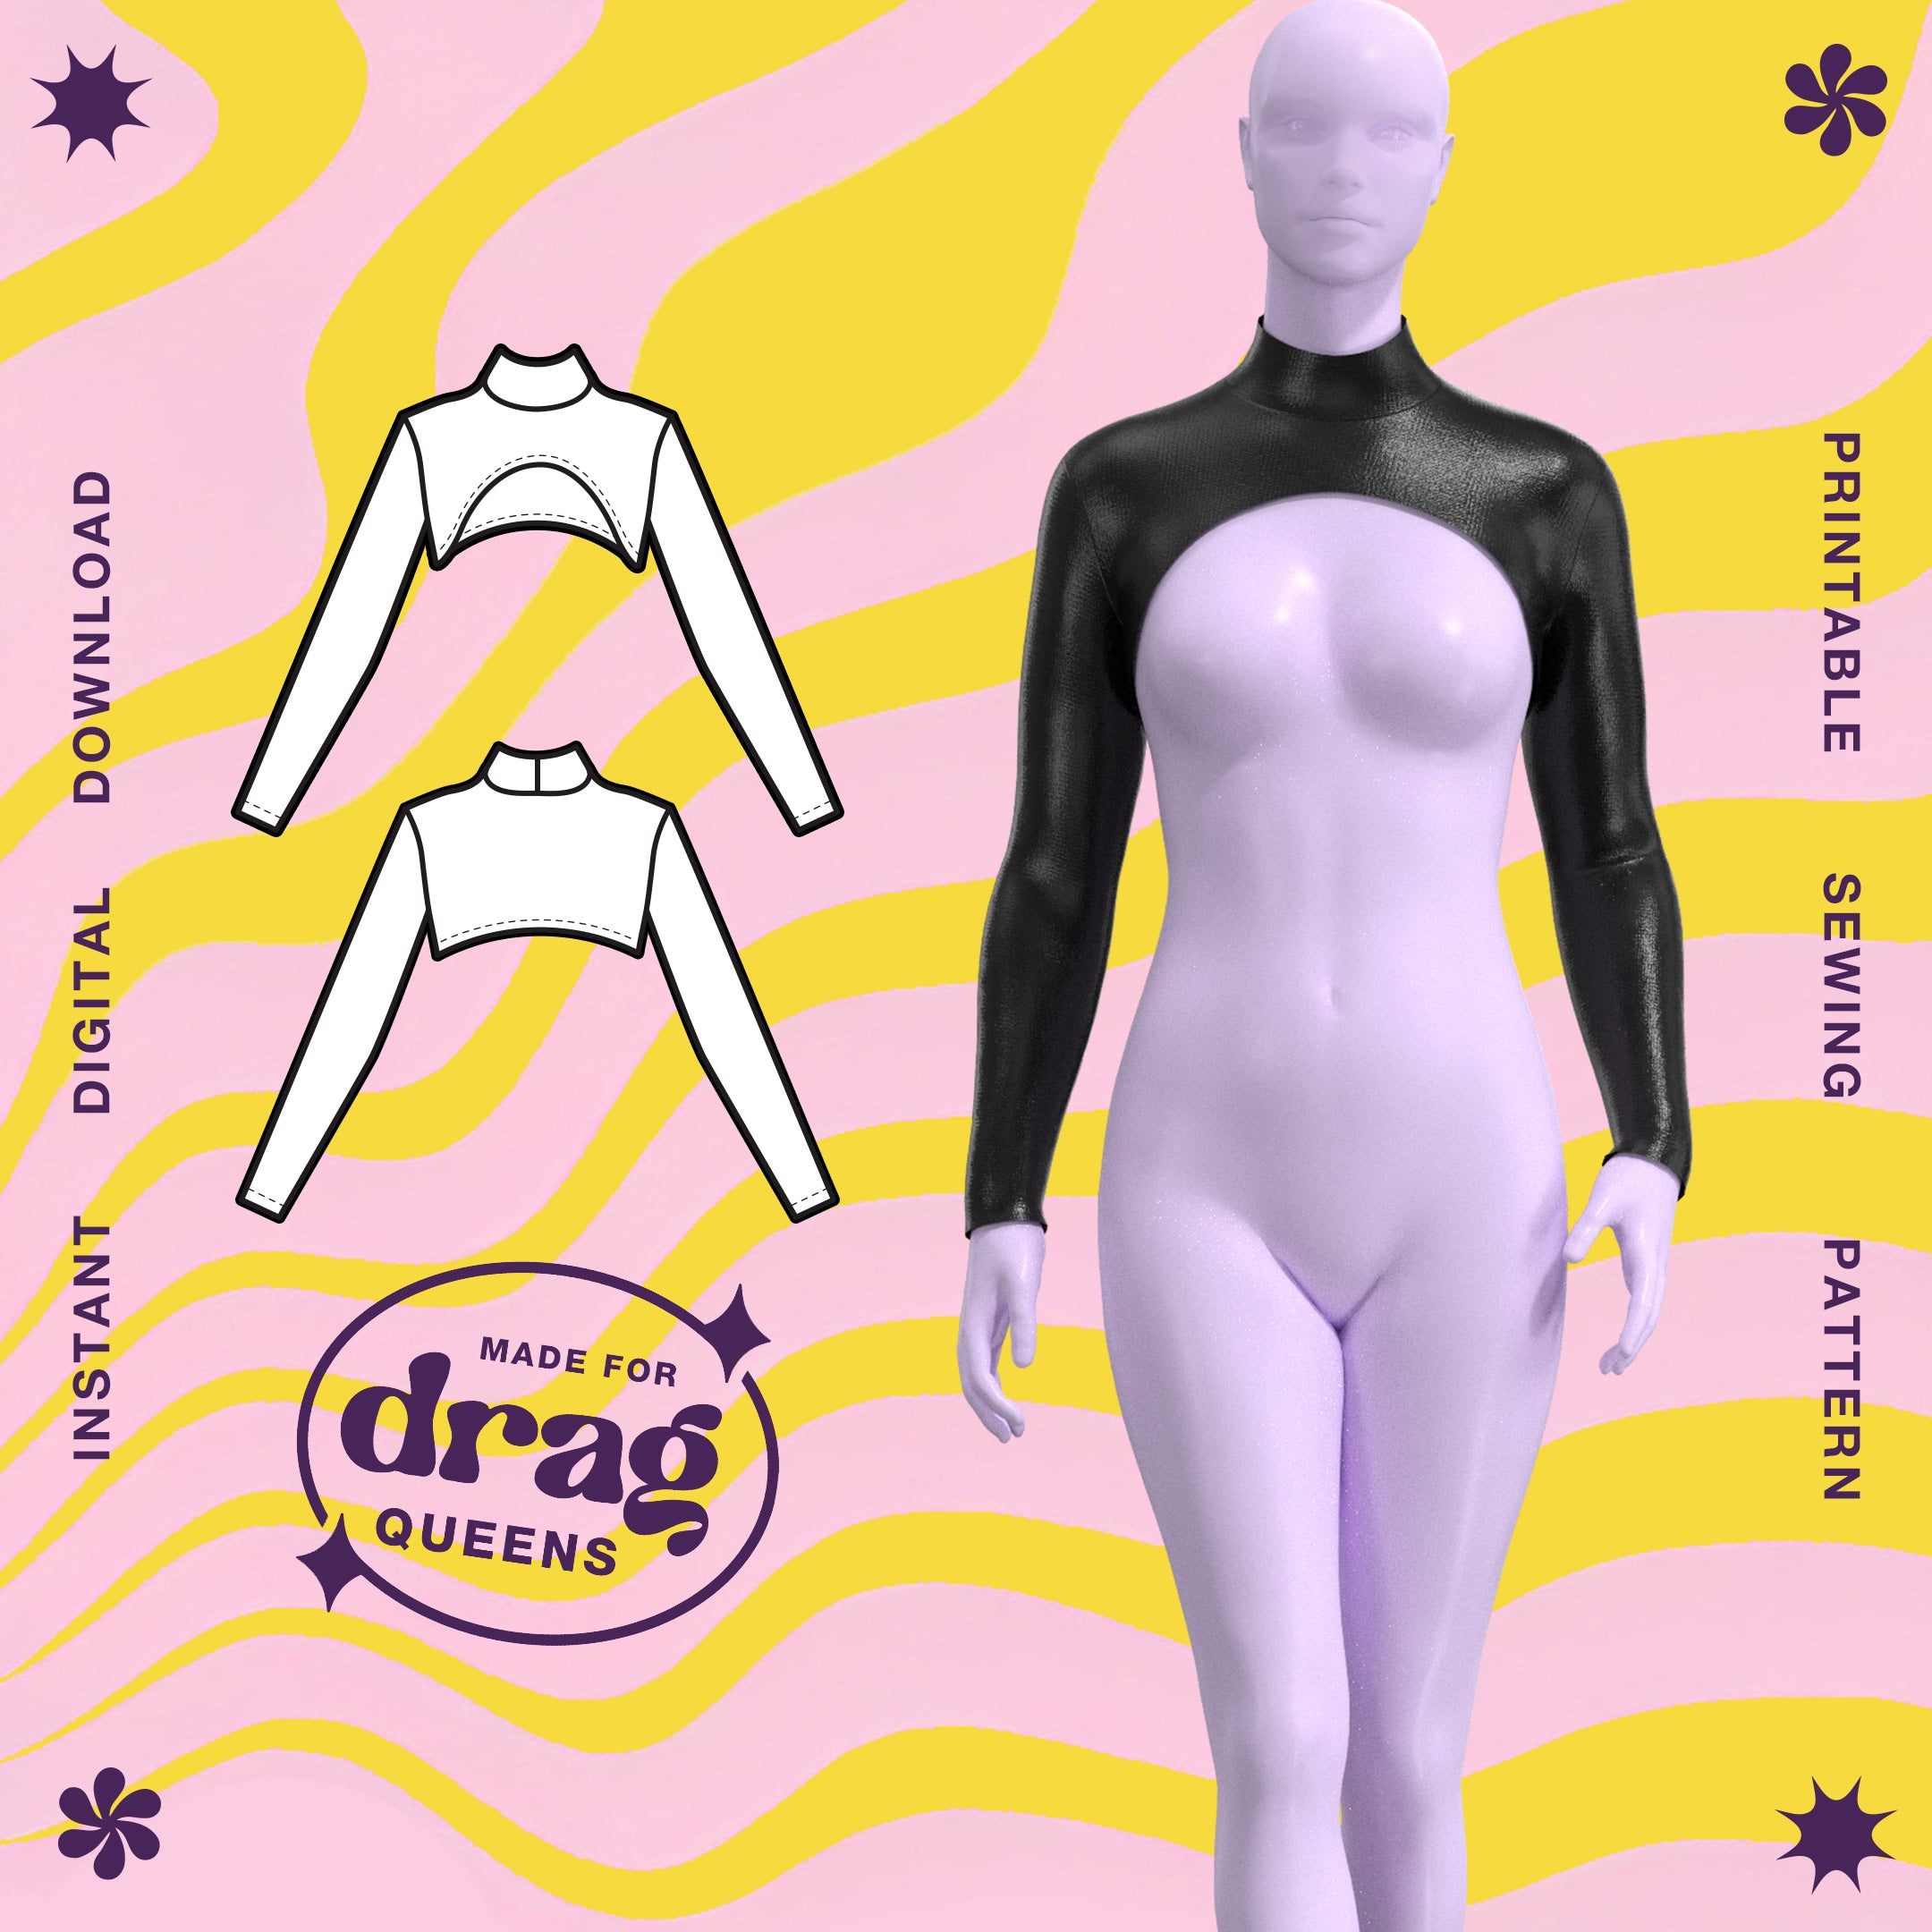
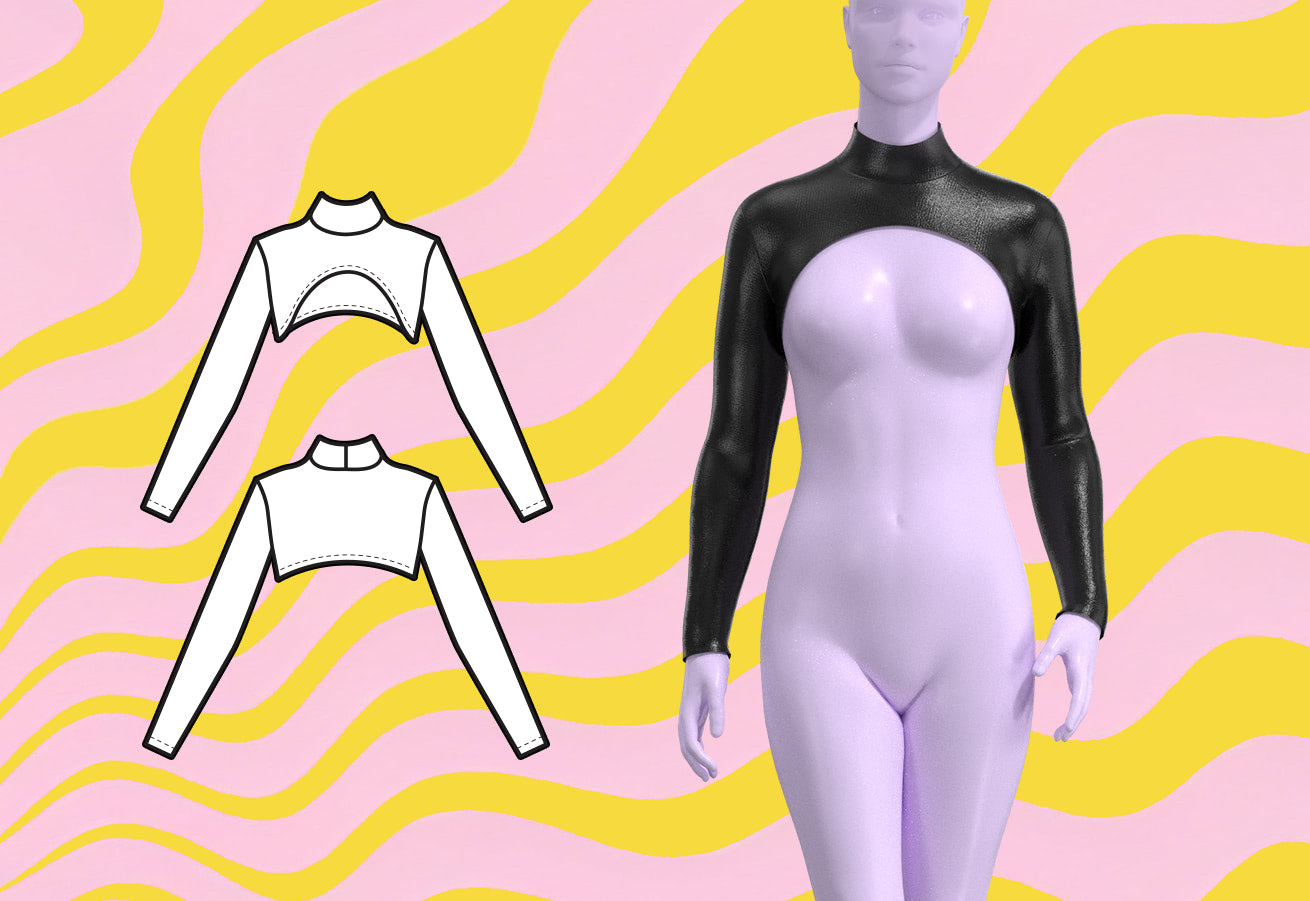
Dive into the world of drag with our Long Sleeve Shrug Sewing Pattern, an essential addition to any drag queen's wardrobe! This pattern falls under the categories of Accessories and Tops, making it a versatile piece for any performance or event. Designed specifically for drag queens, this Long Sleeve Shrug adds an extra layer of flair and drama to your outfit, perfect for those looking to make a statement. Whether you're hitting the stage or simply dressing to impress, this sewing pattern will help you create a piece that's as unique as you are!
Pattern Difficulty: For Beginners
Fabric Yardage
This pattern requires the use of non-stretch fabric. Please find the yardage needed for each size below.
| Size | Yards Fabric Width (58”) |
|---|---|
| XS | 0.75 yards |
| S | 0.75 yards |
| M | 0.75 yards |
| L | 0.75 yards |
| XL | 1 yard |
| 2X | 1 yard |
| 3X | 1 yard |
| 4X | 1 yard |
For information on converting inches to meters, please check out our conversion guide.
Fabric & Notions
Suitable for stretch fabrics:
- Miliskin
- Spandex
- Stretch Sequin
- Lycra
- Stretch Knits
- Stretch Vinyl
- No notions required for this pattern.
Sizing Details
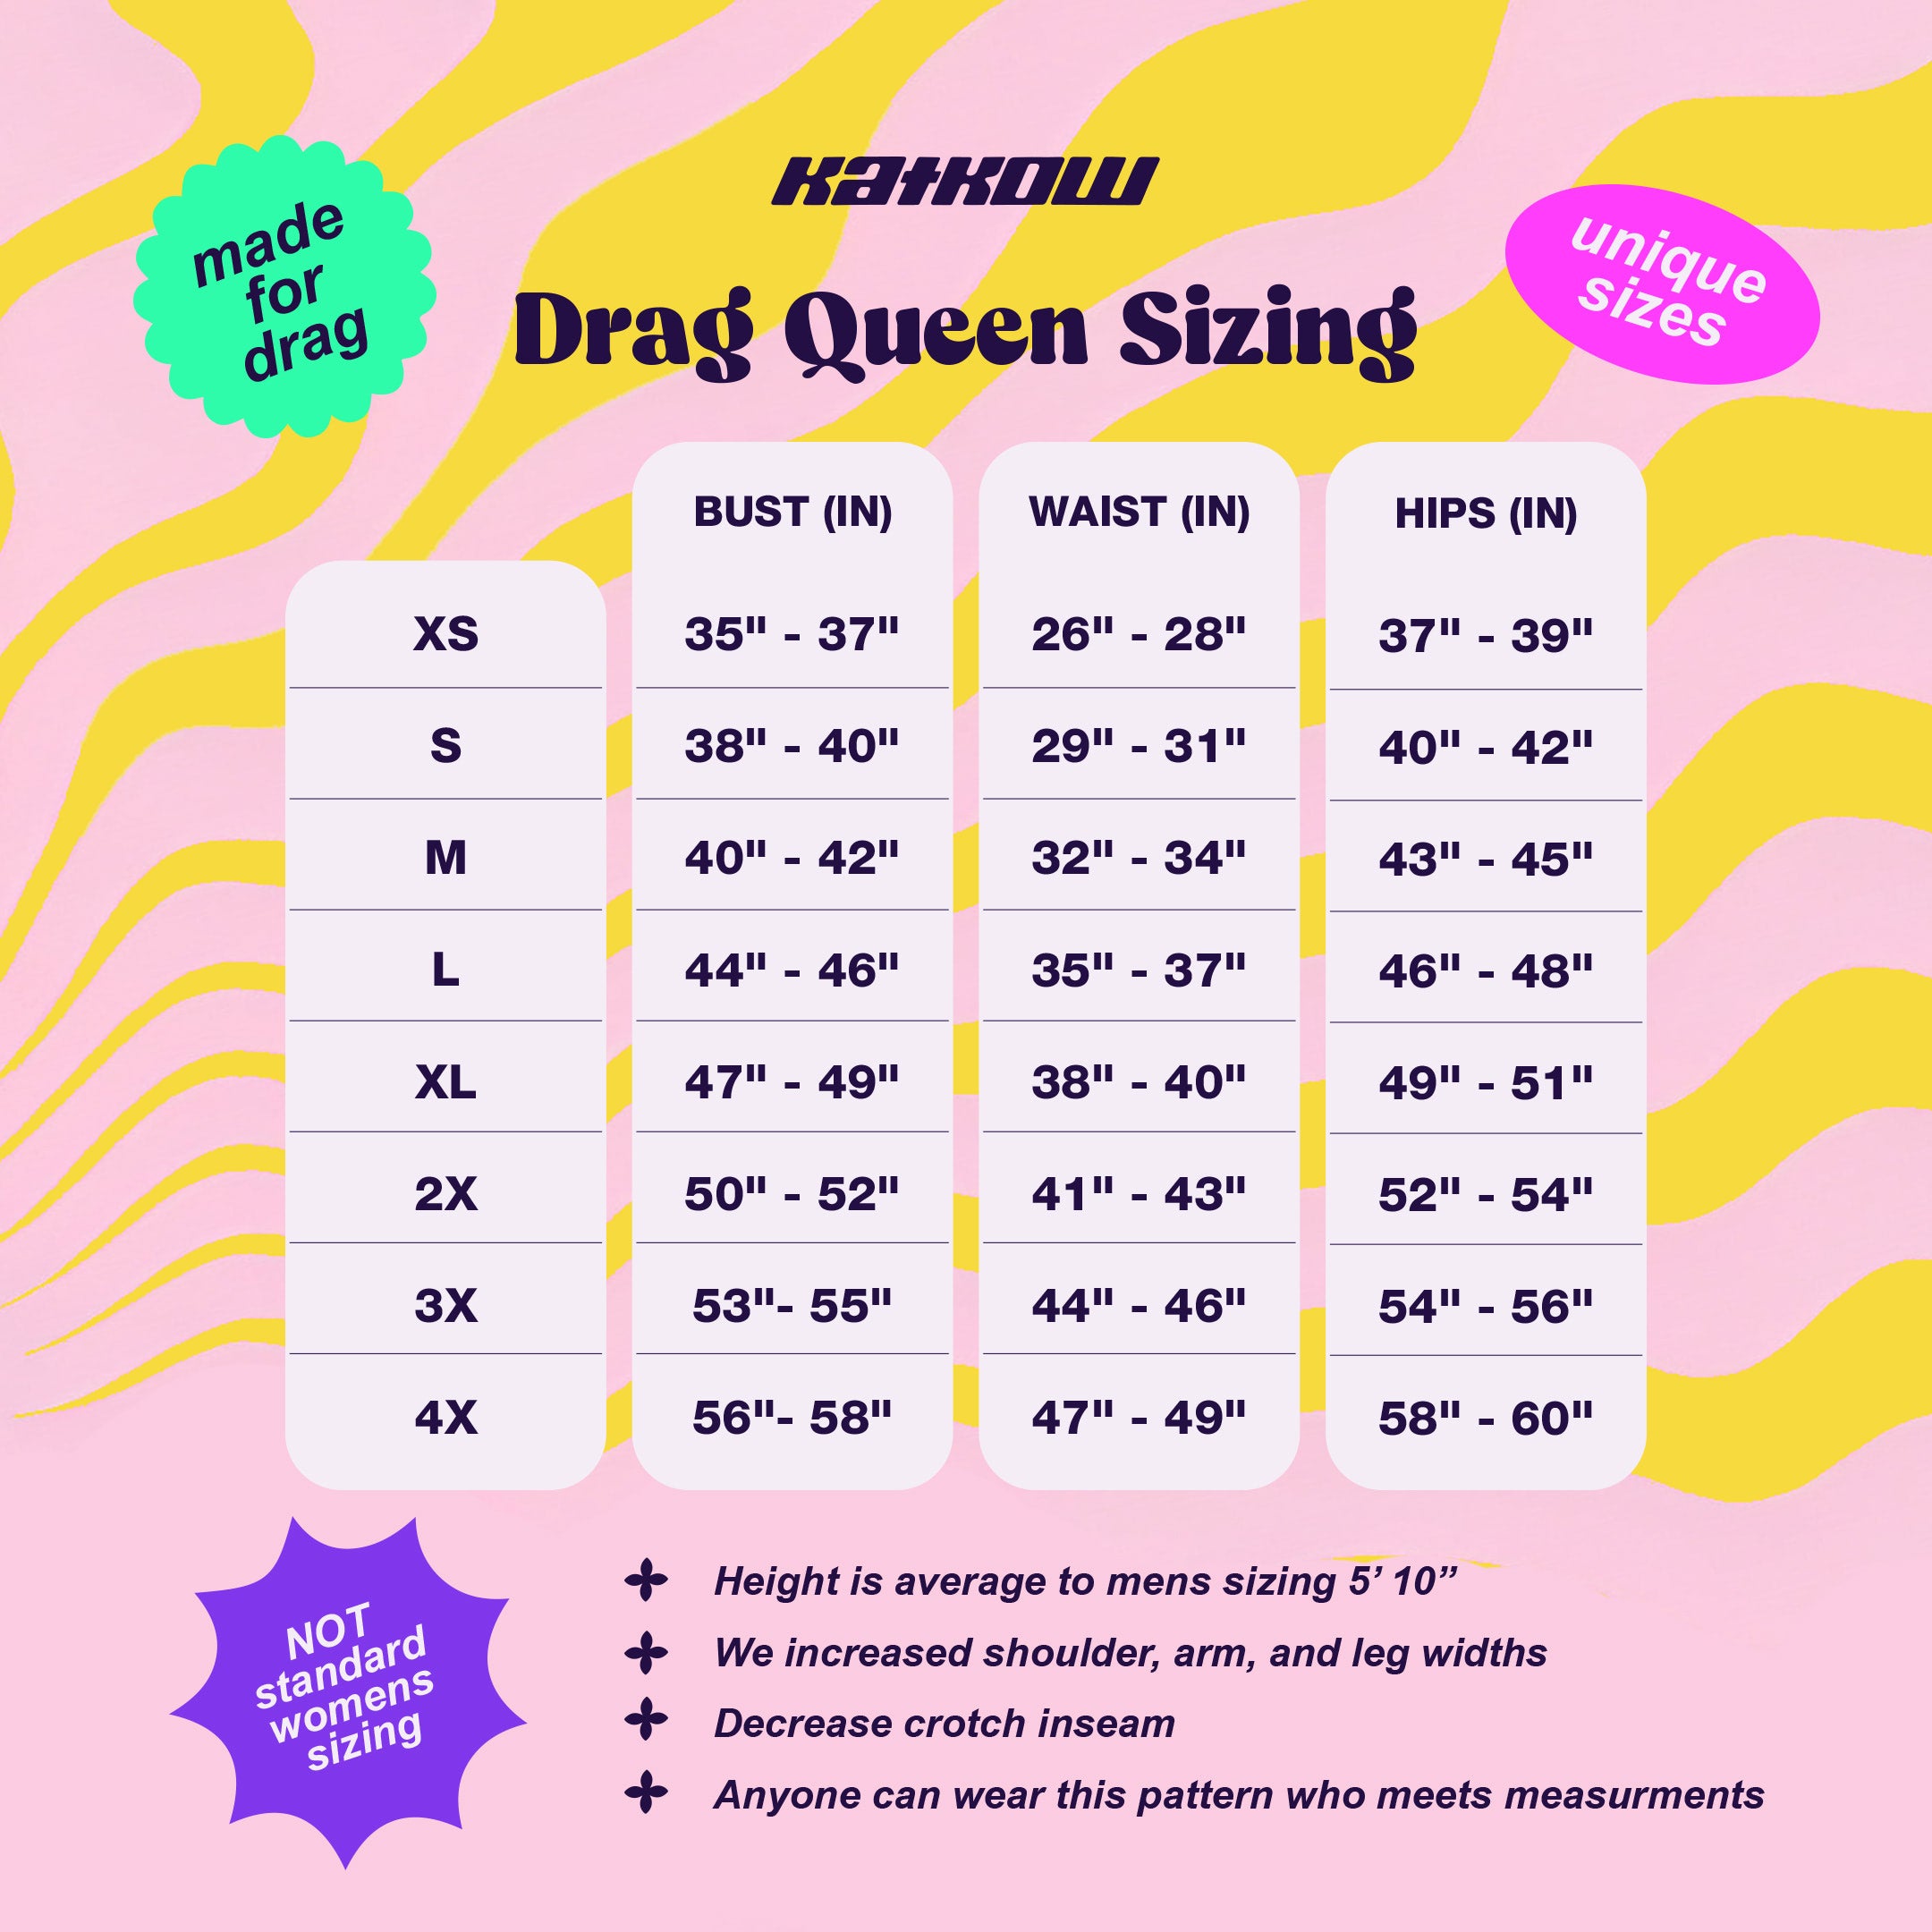
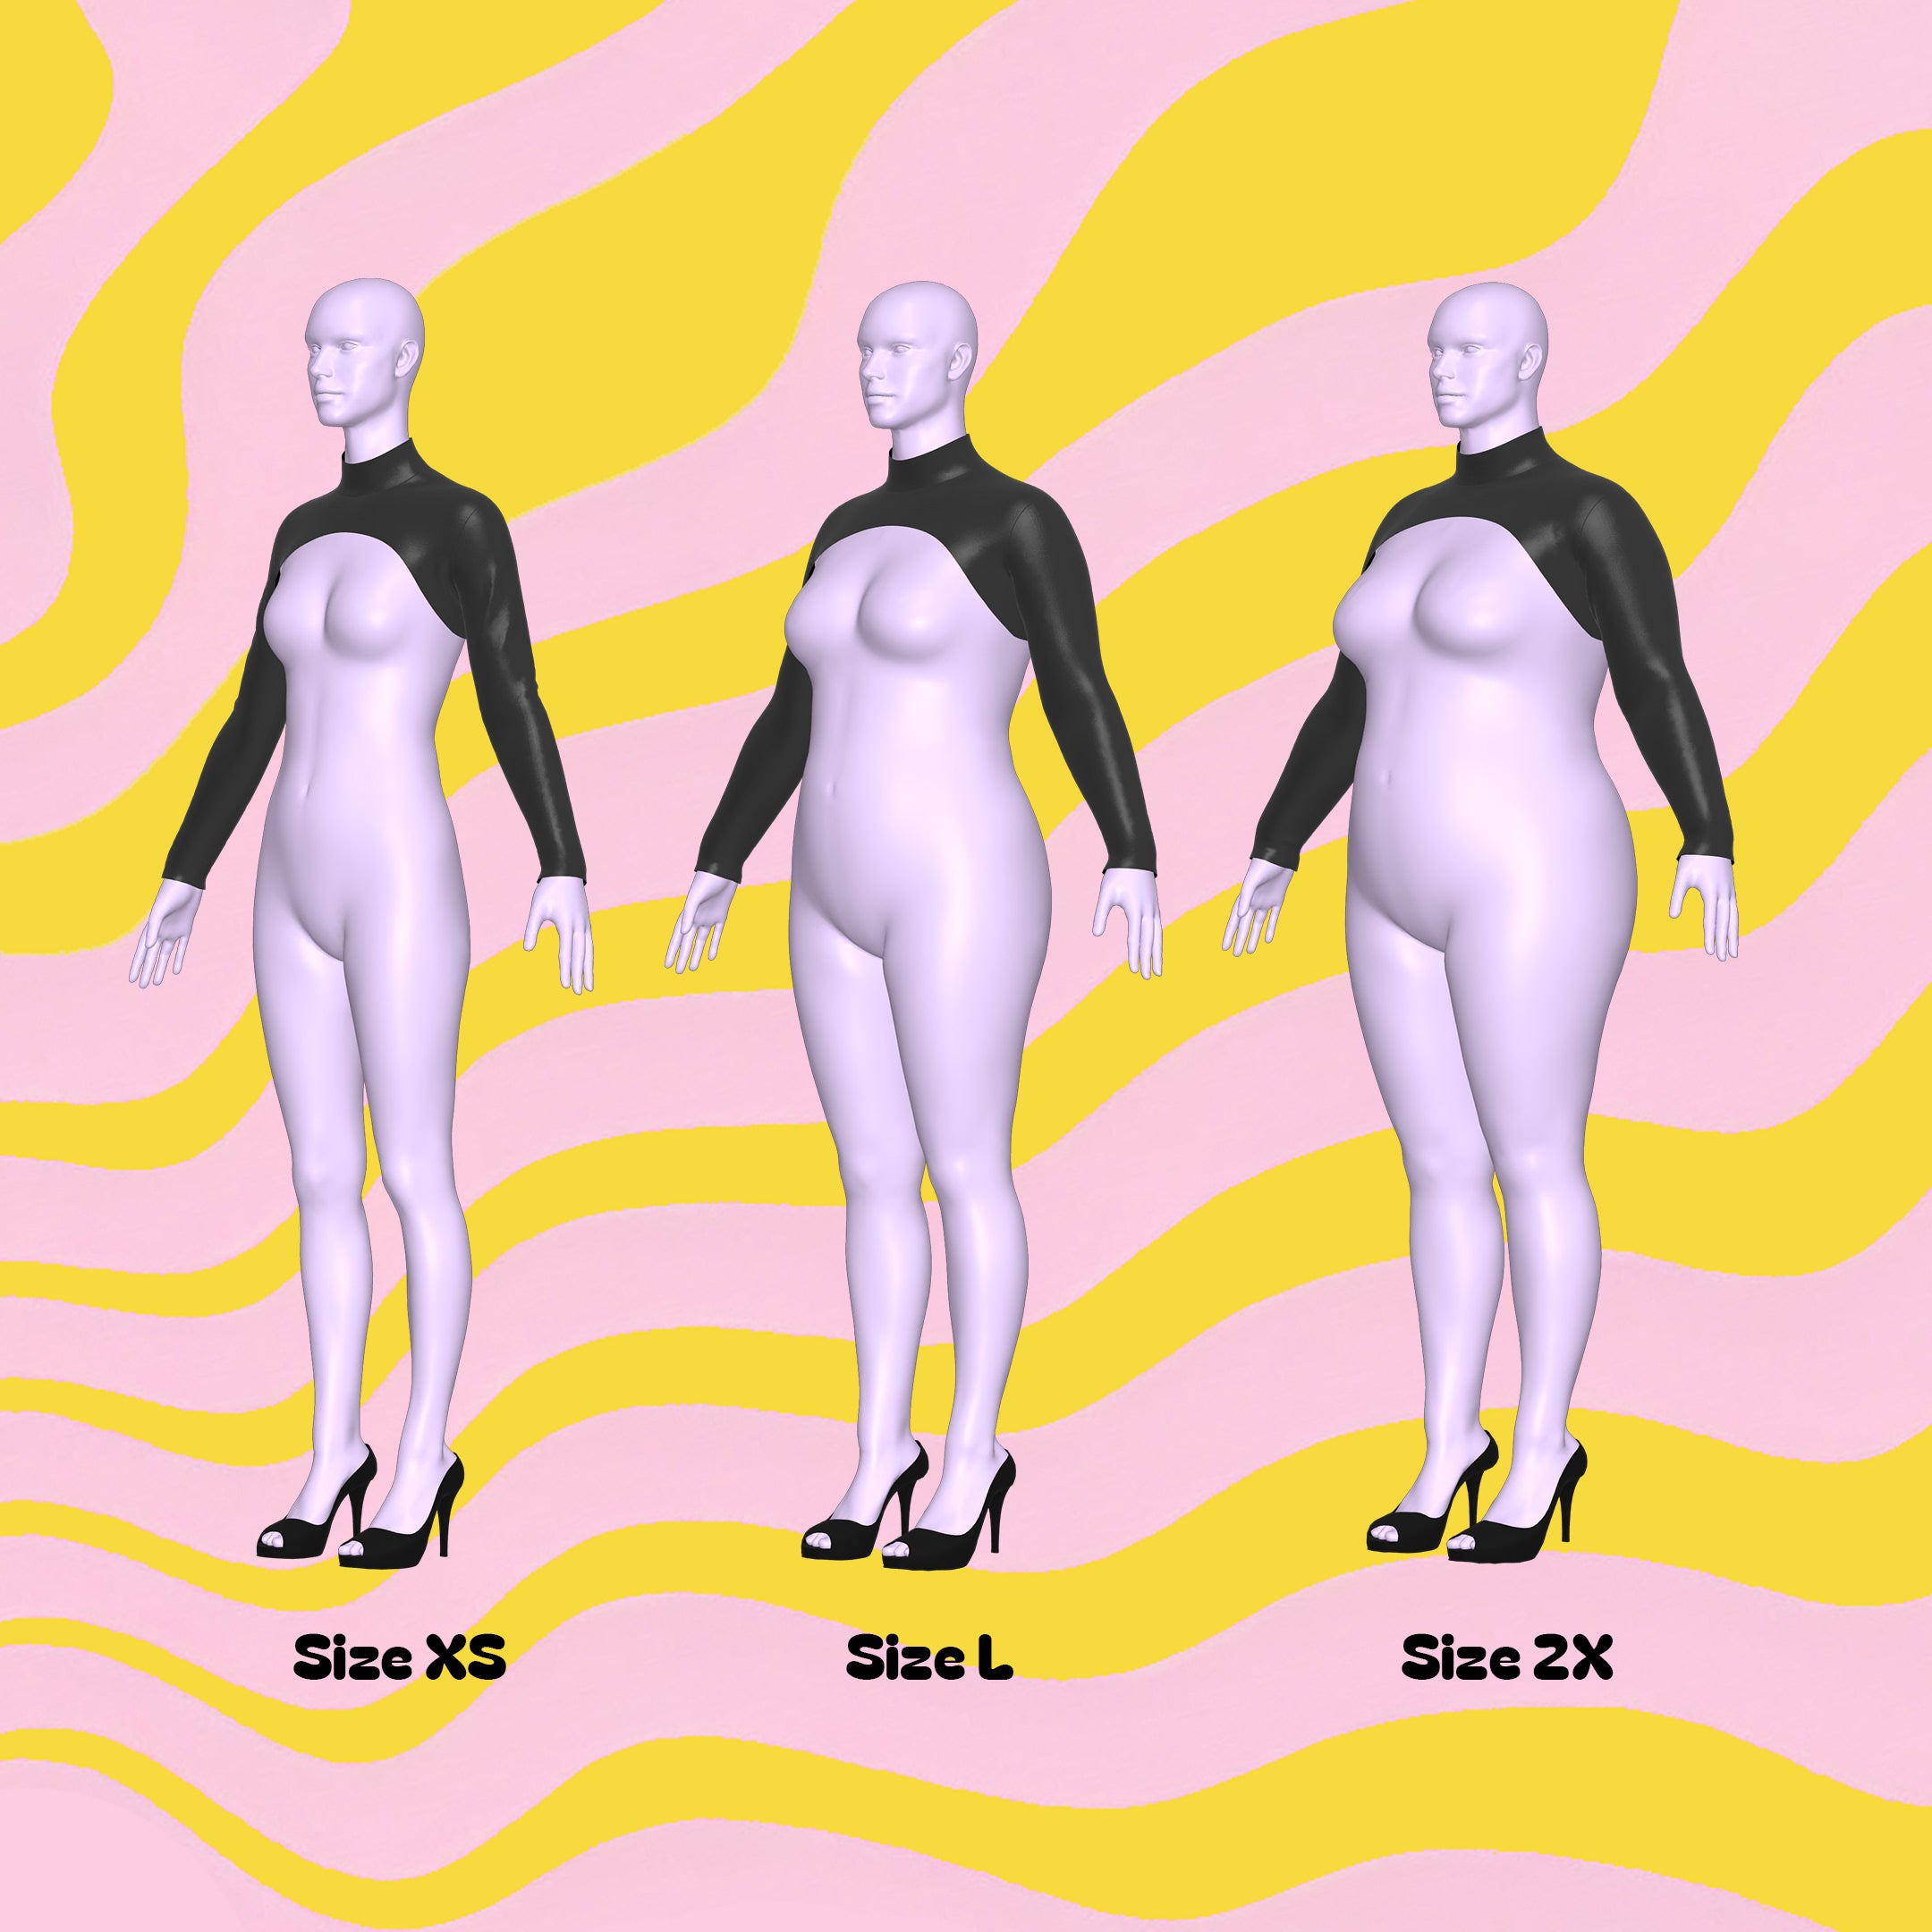
This pattern is available in our unique drag queen sizes (XS-4X). Please review our sizing guide for more information on our size measurements.
Sewing Instructions


Fabric Pieces
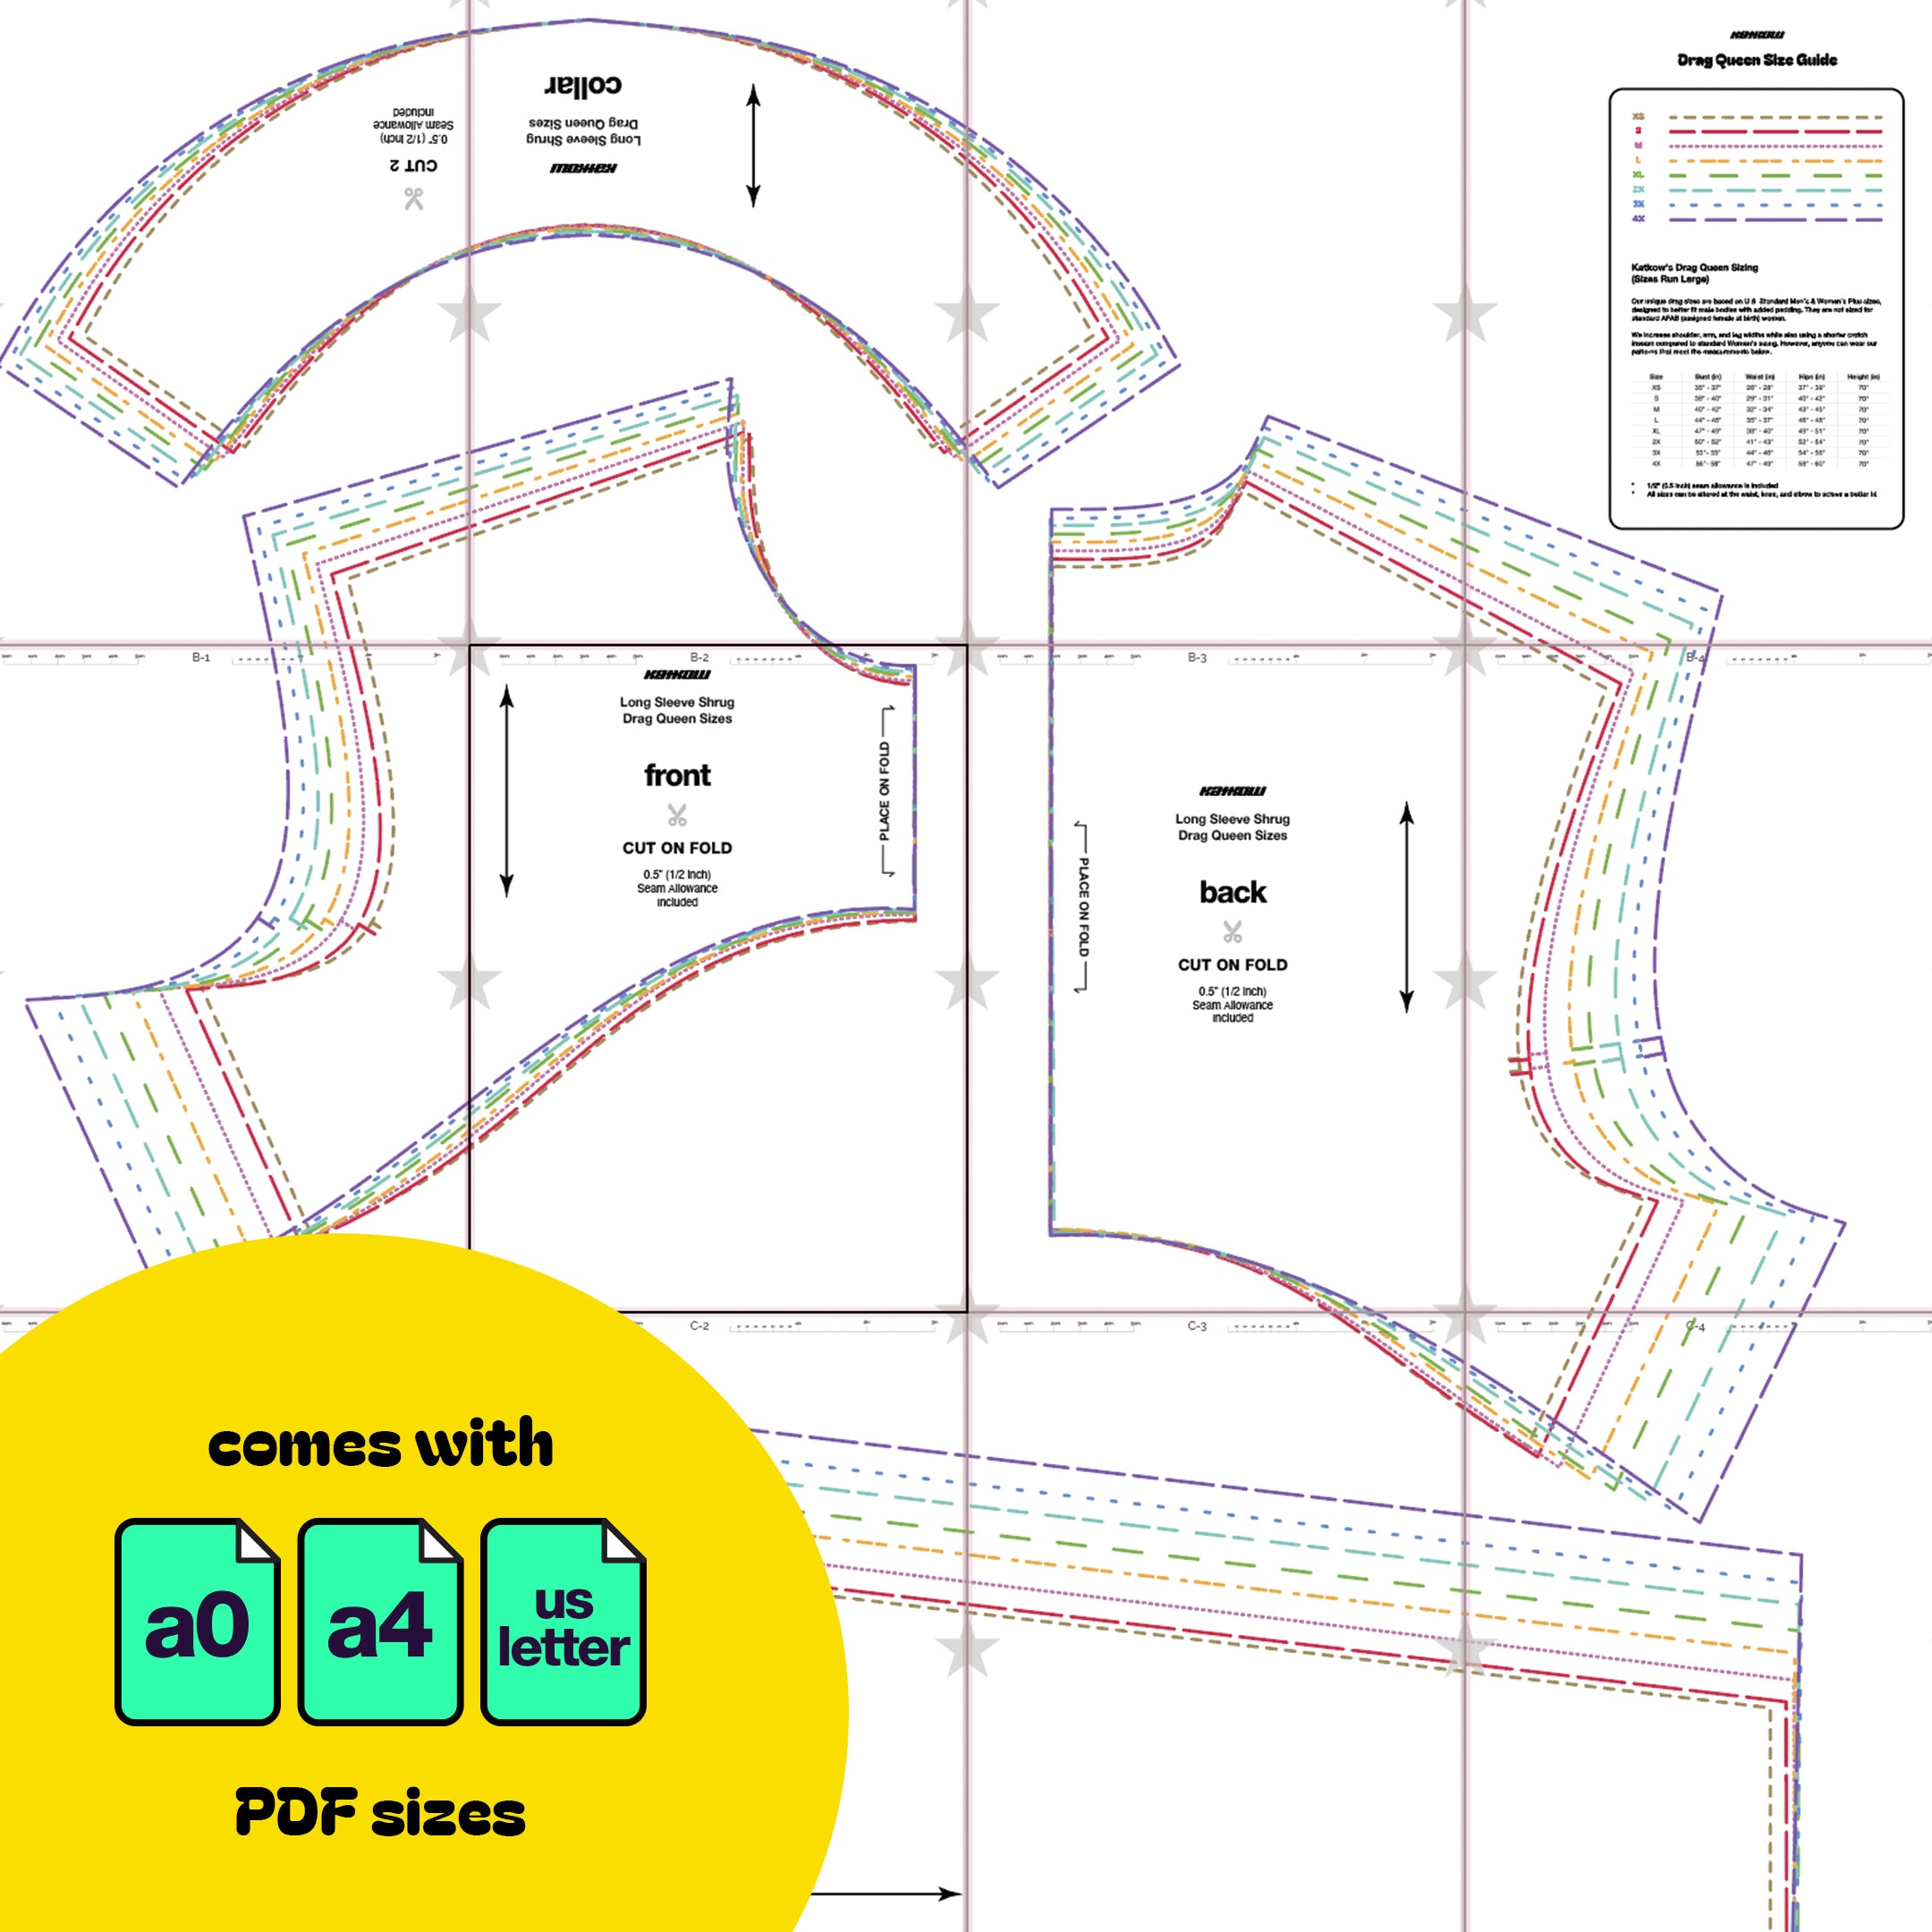
After cutting your fabric, you should have following peices: one seamless front, one seamless back, 2 sleeves, and 2 collar peices.

Stitches
For this project, the recommended stitches are a serger overlock stitch, a stretch stitch, or a zigzag stitch. A straight stitch may cause the threads to snap and is not advisable.

STEP 1
Begin by gathering the front and back pieces. Sew them together along the shoulder seams with the right sides of the fabrics facing each other. Use a stretch stitch, zig-zag stitch, or serger for this step.

STEP 2
Lay the front, back, and sleeve pieces right side up.

STEP 3
Pin the sleeve around the armhole with the notches matching up right sides facing each other, then sew or serge in place.

STEP 4
With the garment wrong side out, sew the sleeves together and the front and back side seams together.

STEP 5
Take your two collar pieces, stack them with right sides facing each other, and sew along the top curved edge.

STEP 6
Flatten and lay out your collar, right side up, then flip horizontally in half. Sew the collar ends together. Then flip the collar right side out and place a pin in the center front of the collar.

STEP 7
Gather your collar and garment, right side out, with your collar upside down.

STEP 8
Attach the collar over the garment so it stretches around the neck hole. Aligning the center fronts and center backs. Then sew or serge the collar aroudn the neck hole.

STEP 9
Finally, hem the sleeves and the bottom of the garment using a zig zag stitch or fold over twice for a rolled hem effect with a stretch stitch.
Get the Pattern
