How to Sew a Jumpsuit
Jump to InstructionsOverview
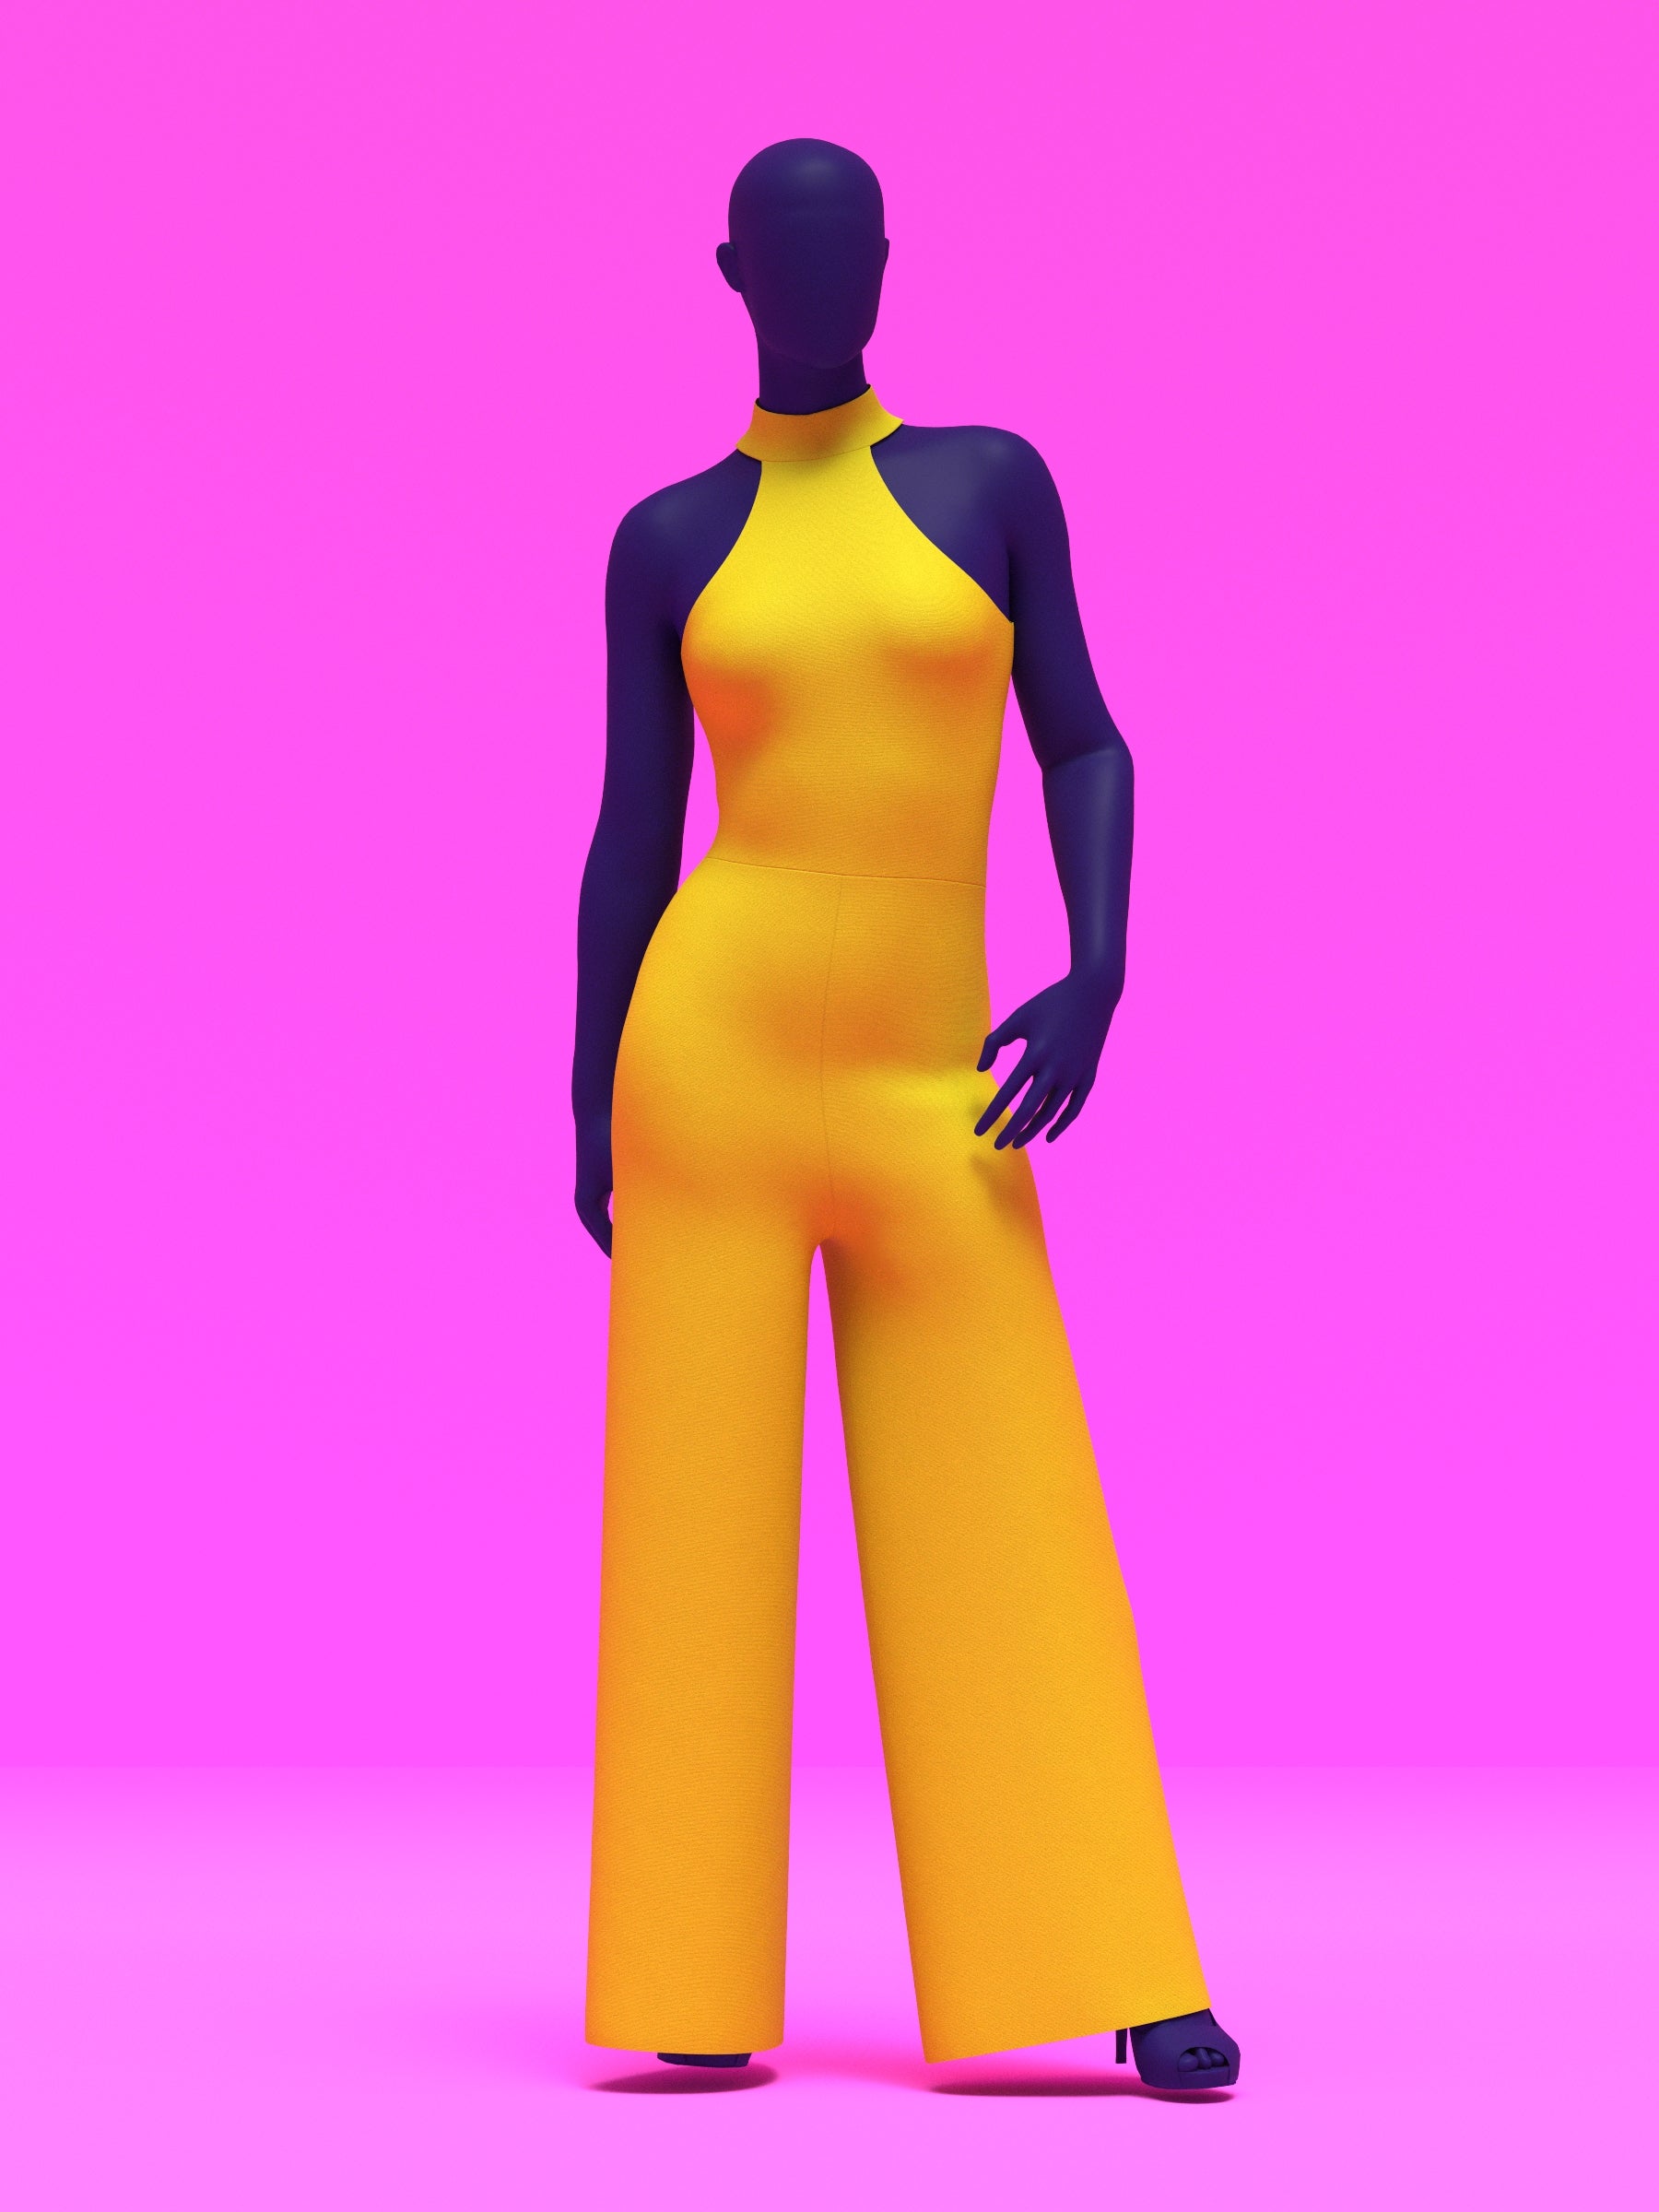
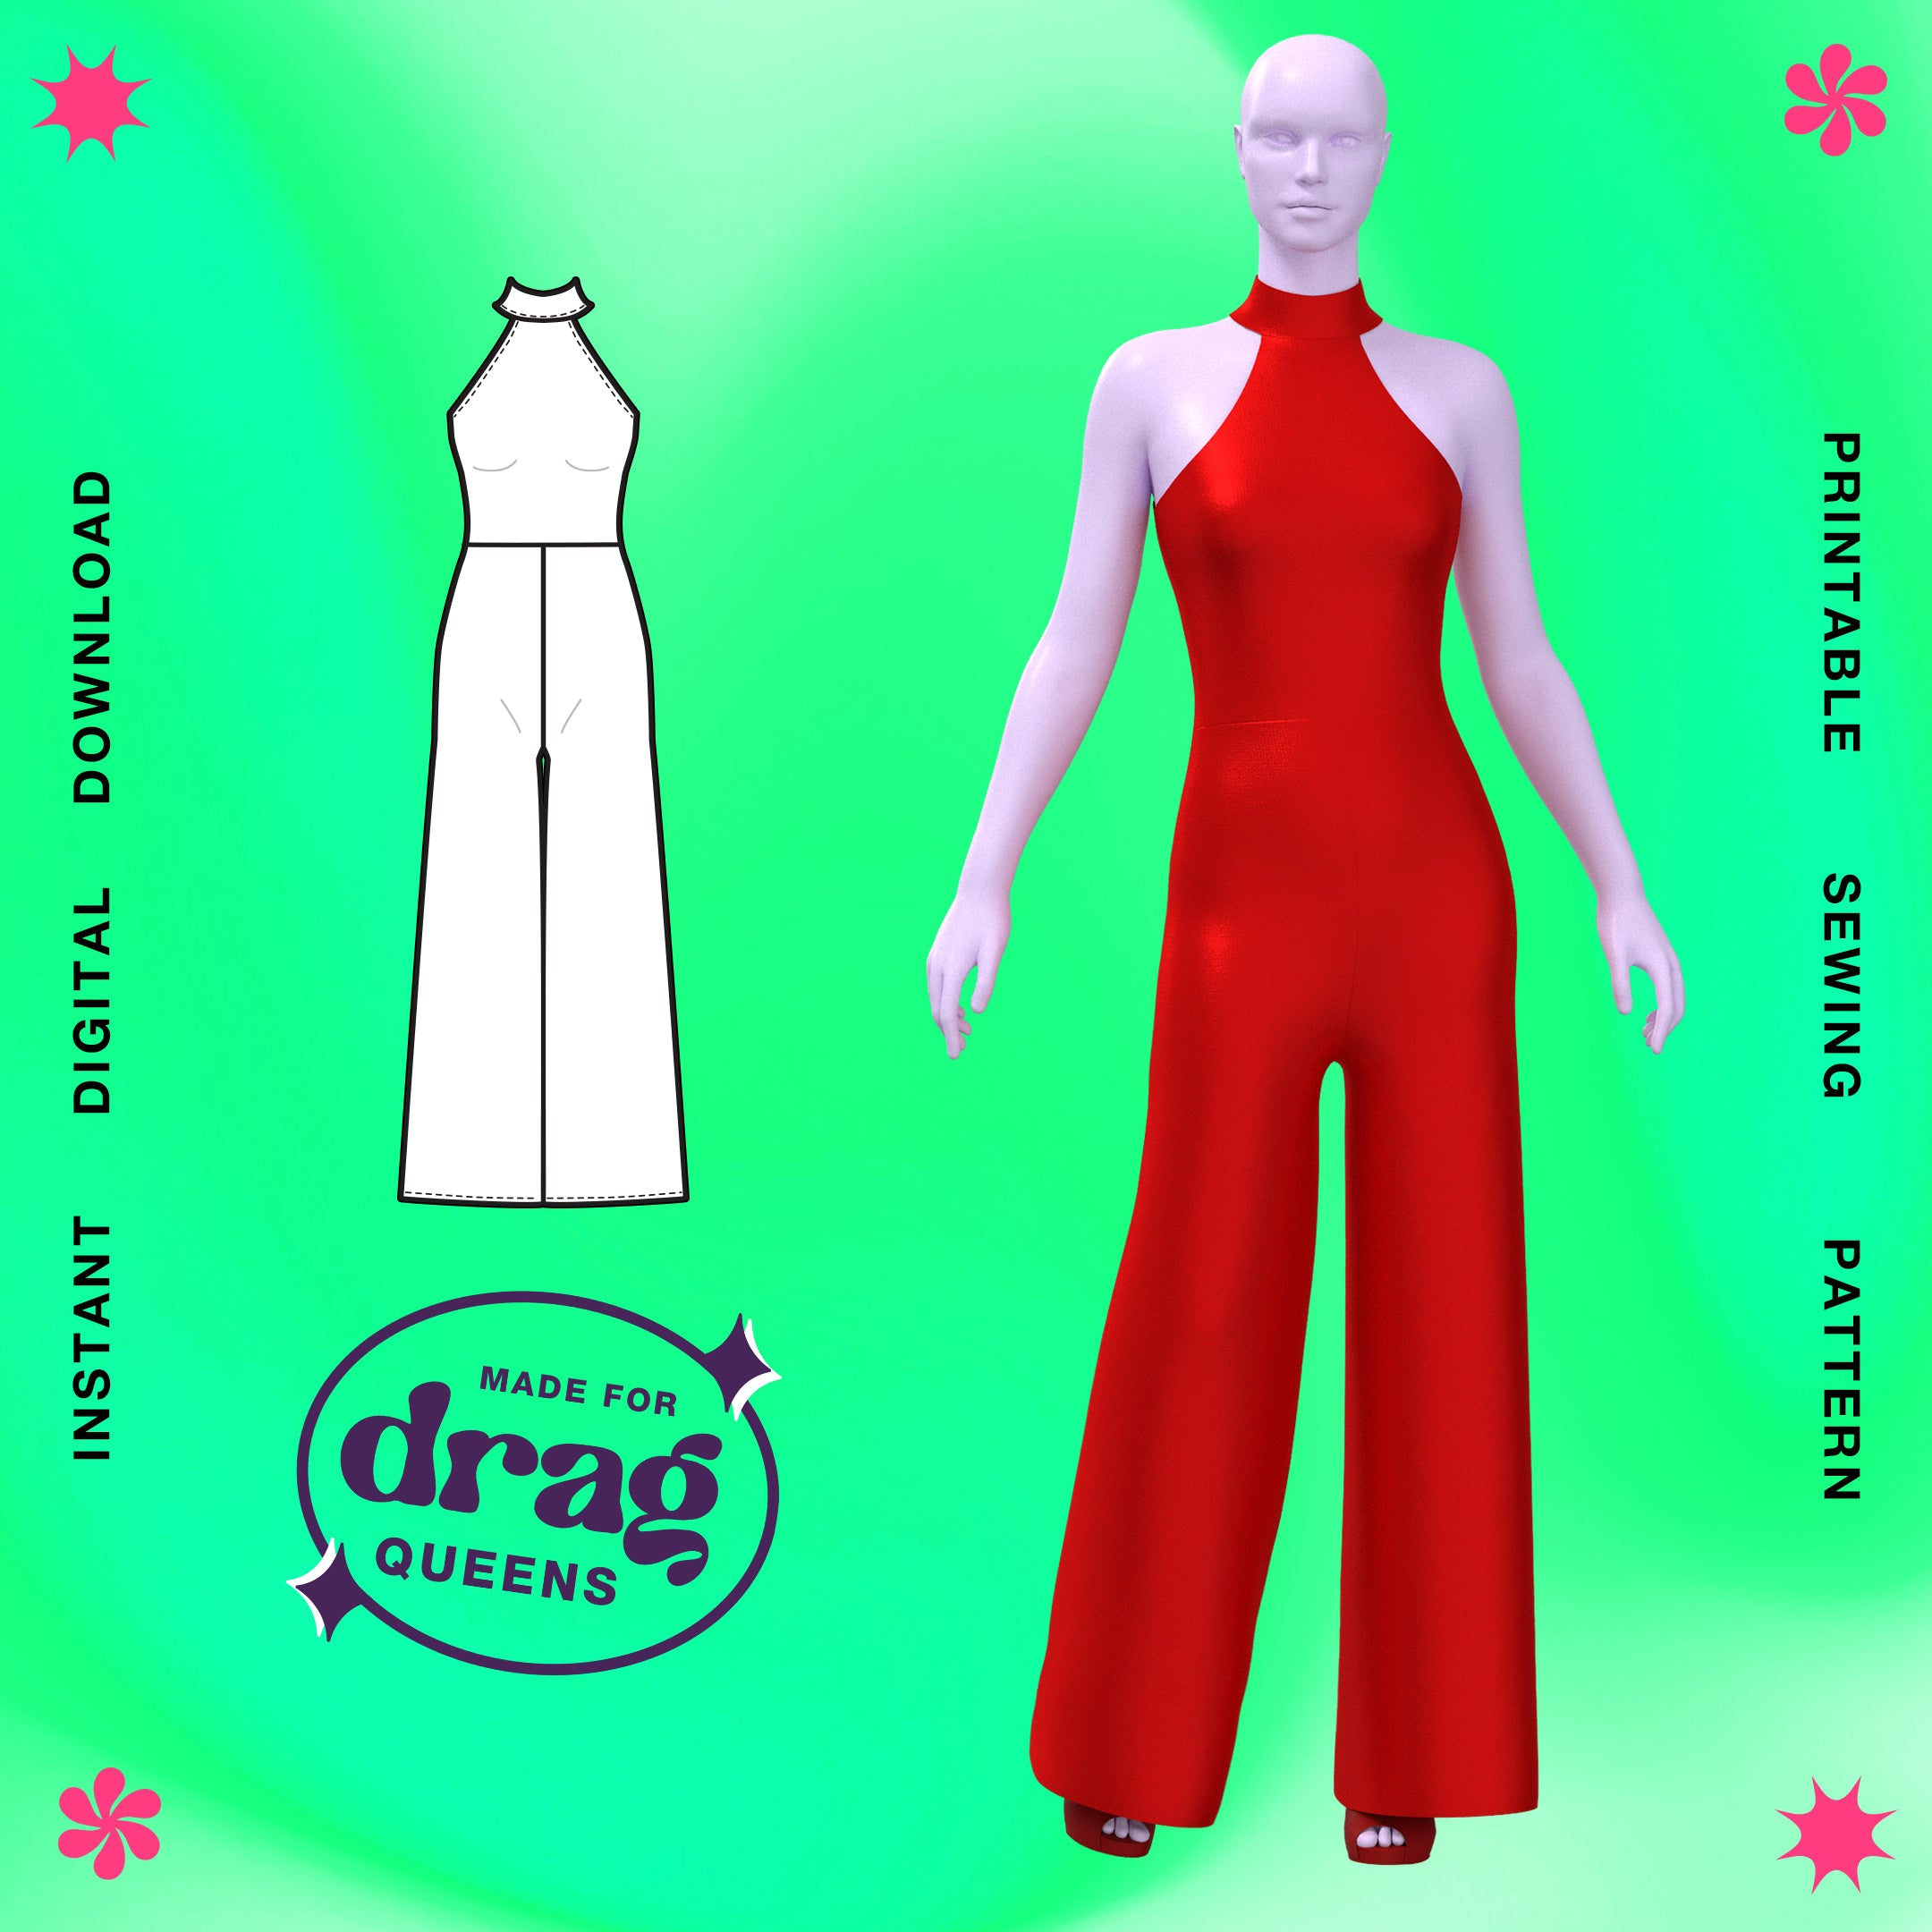
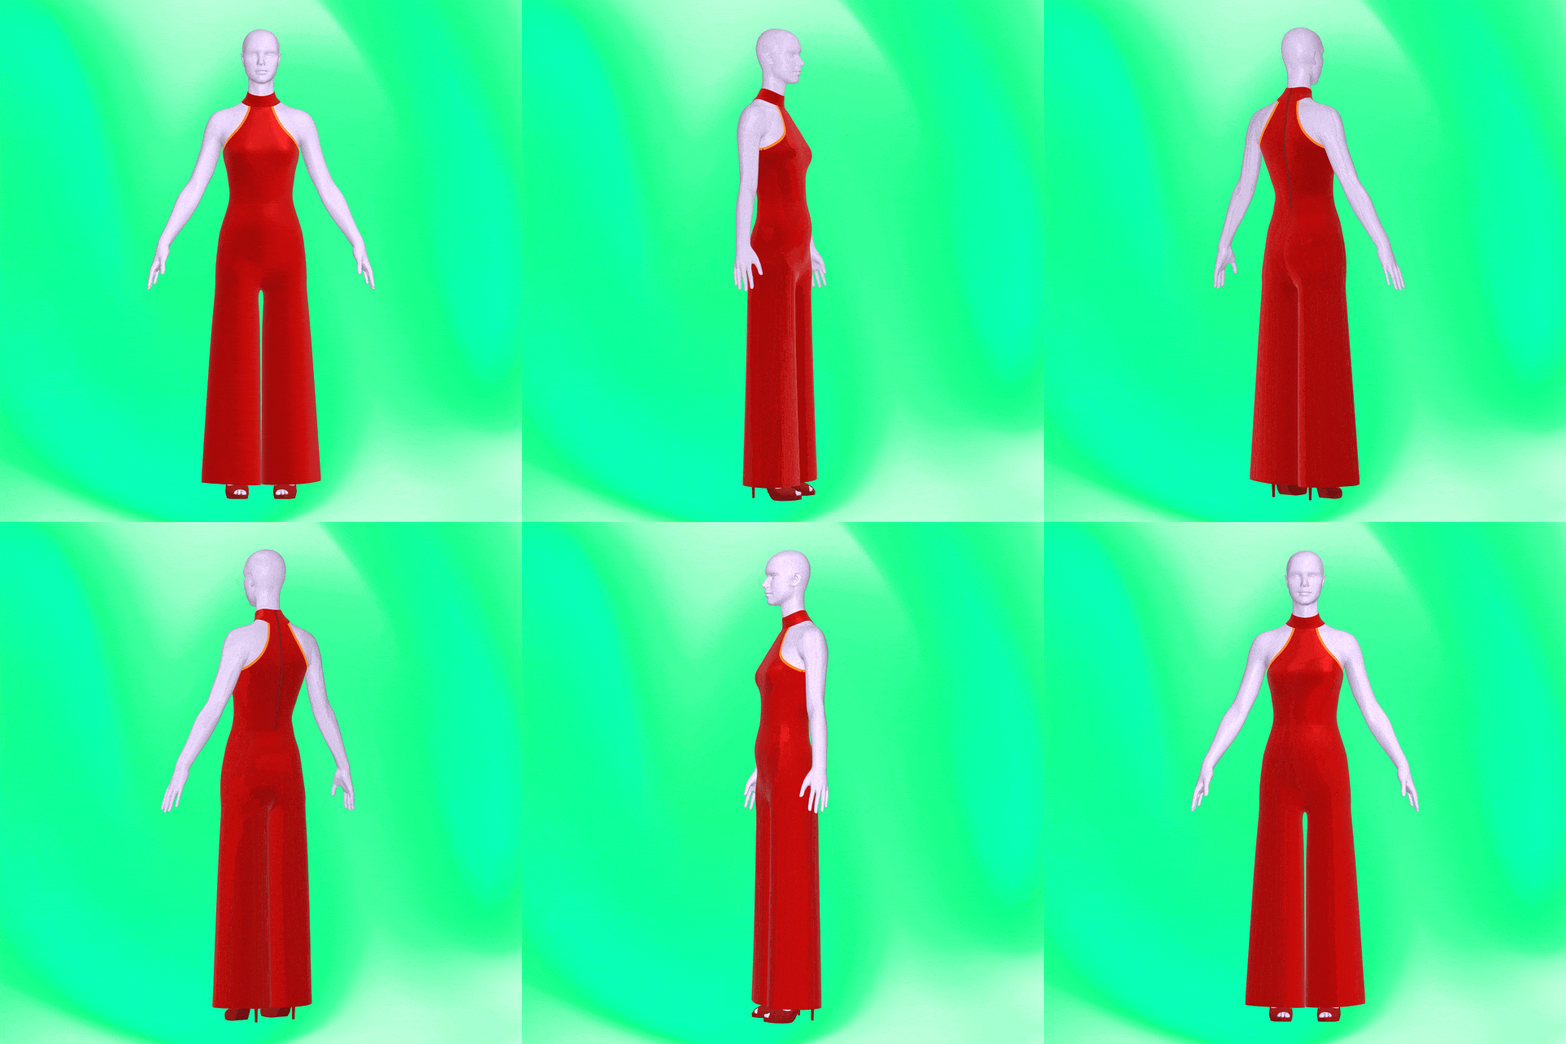
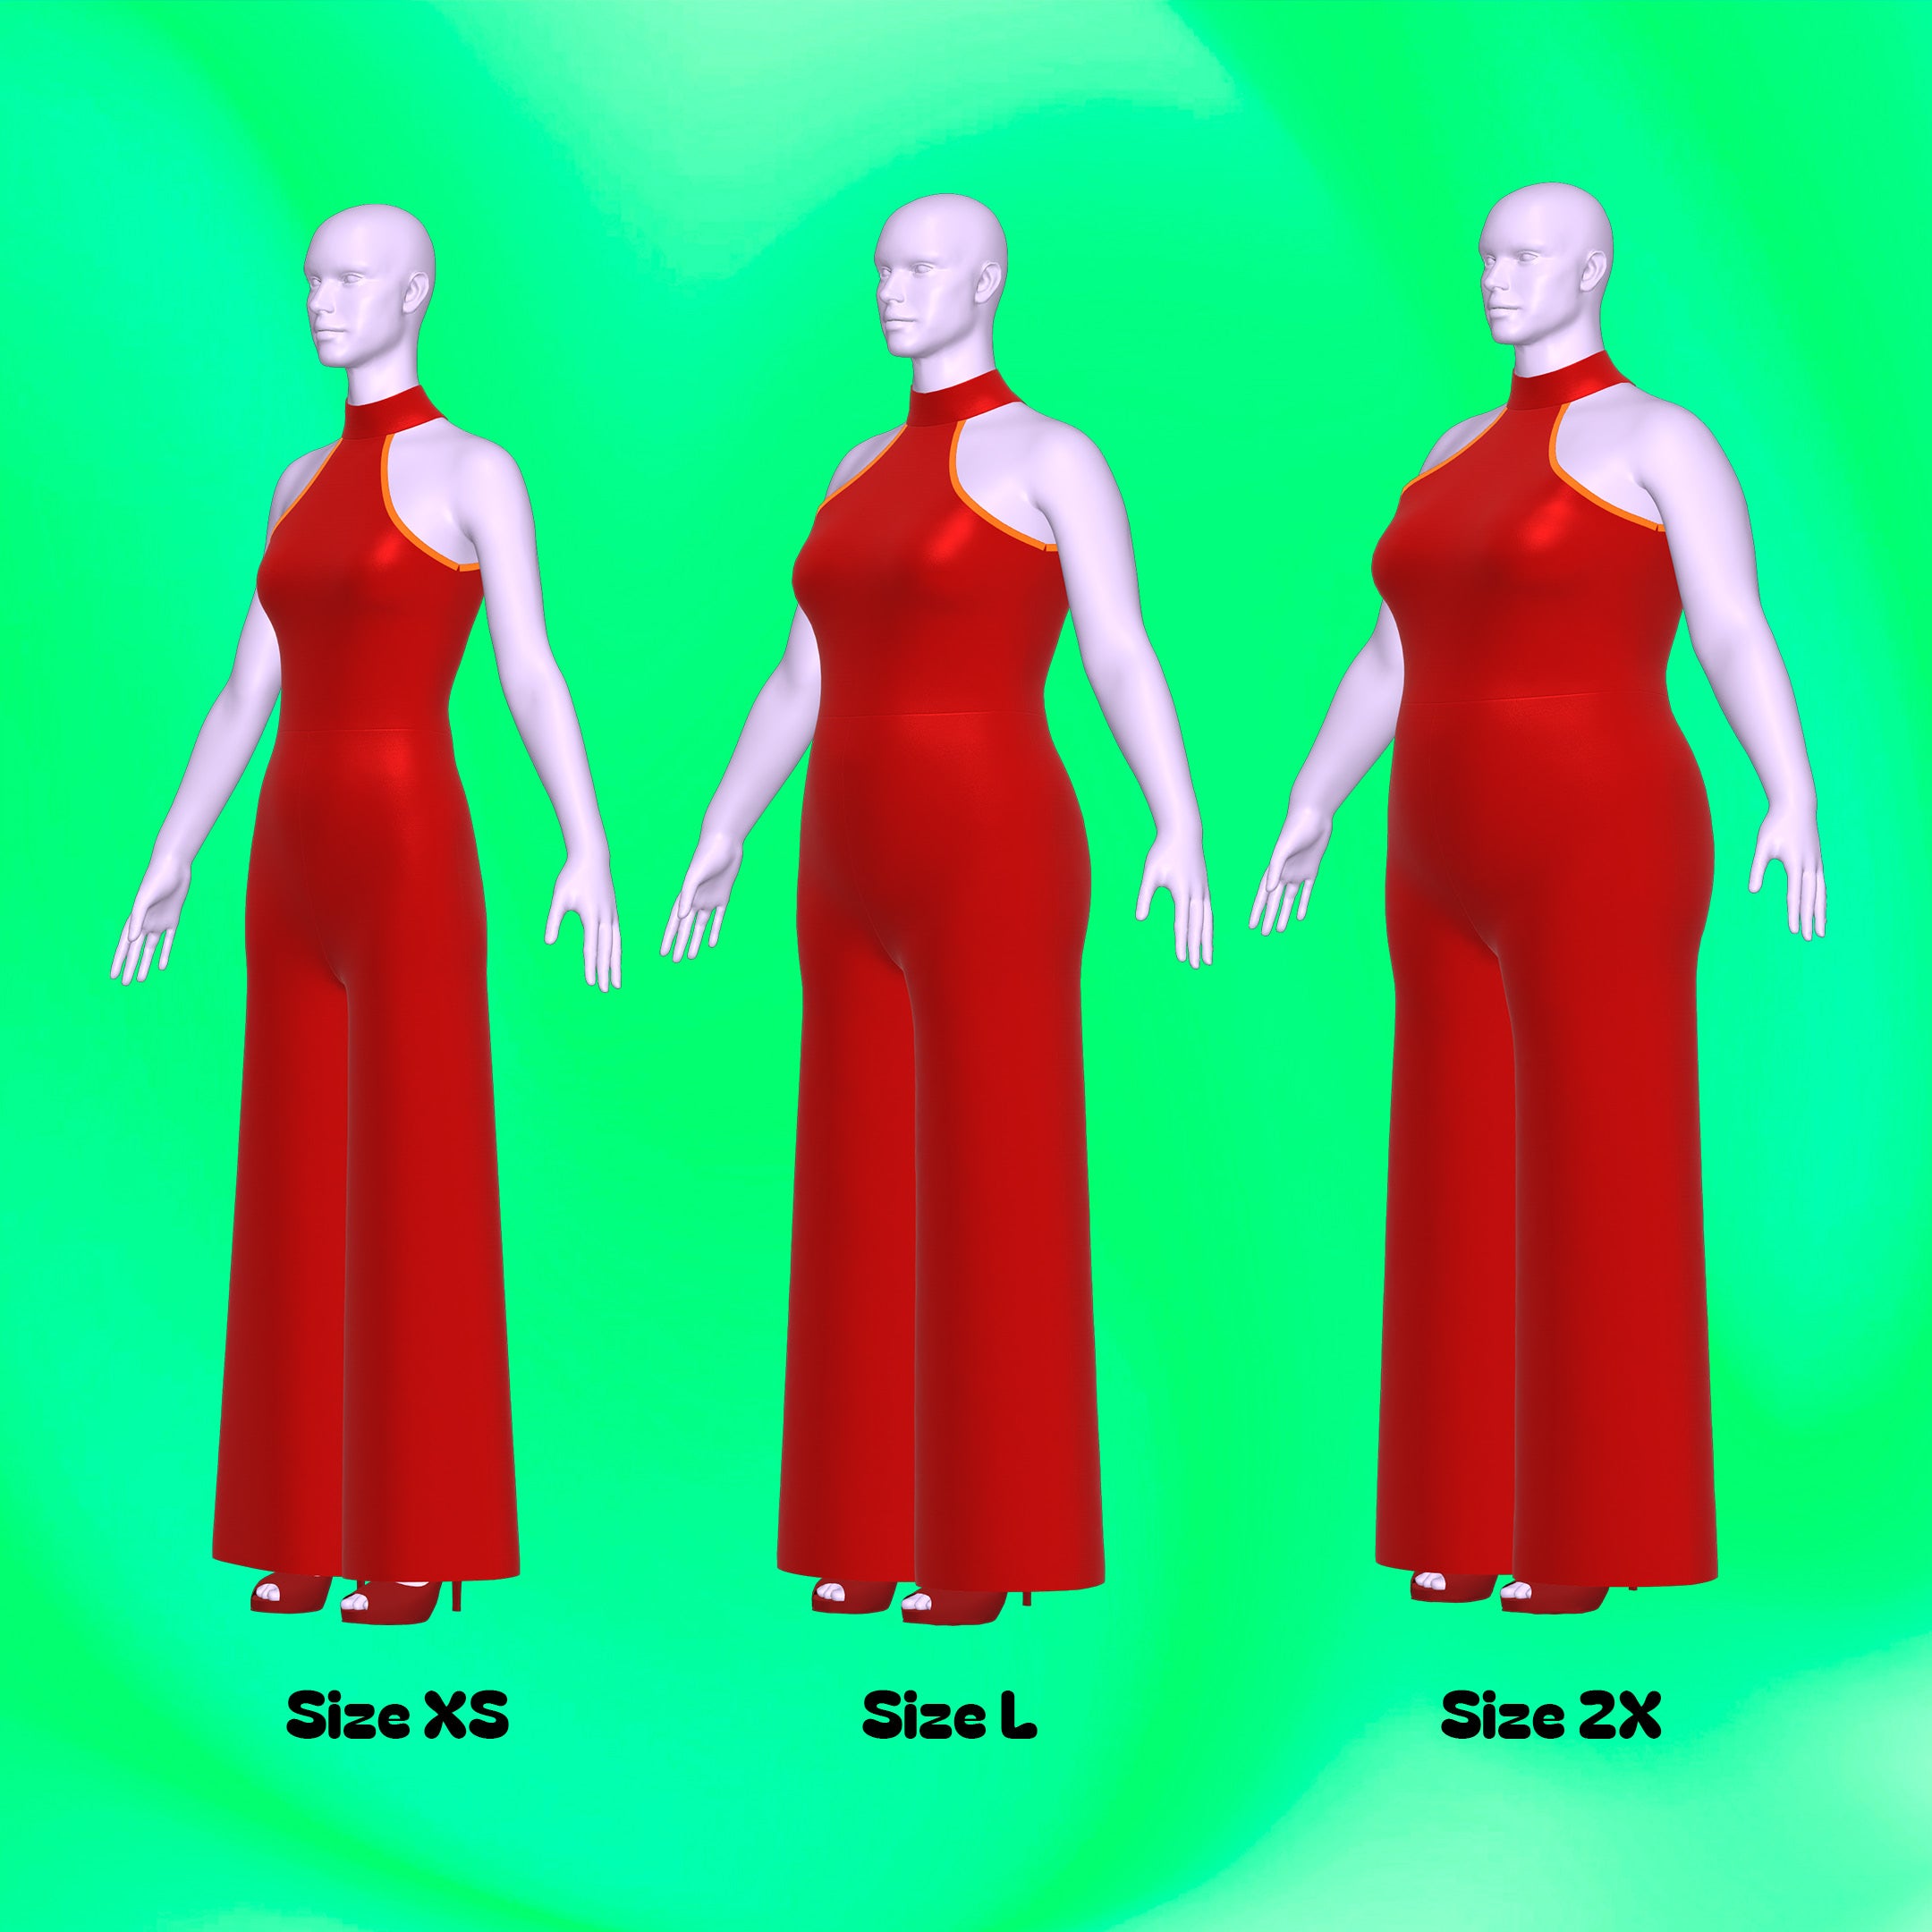
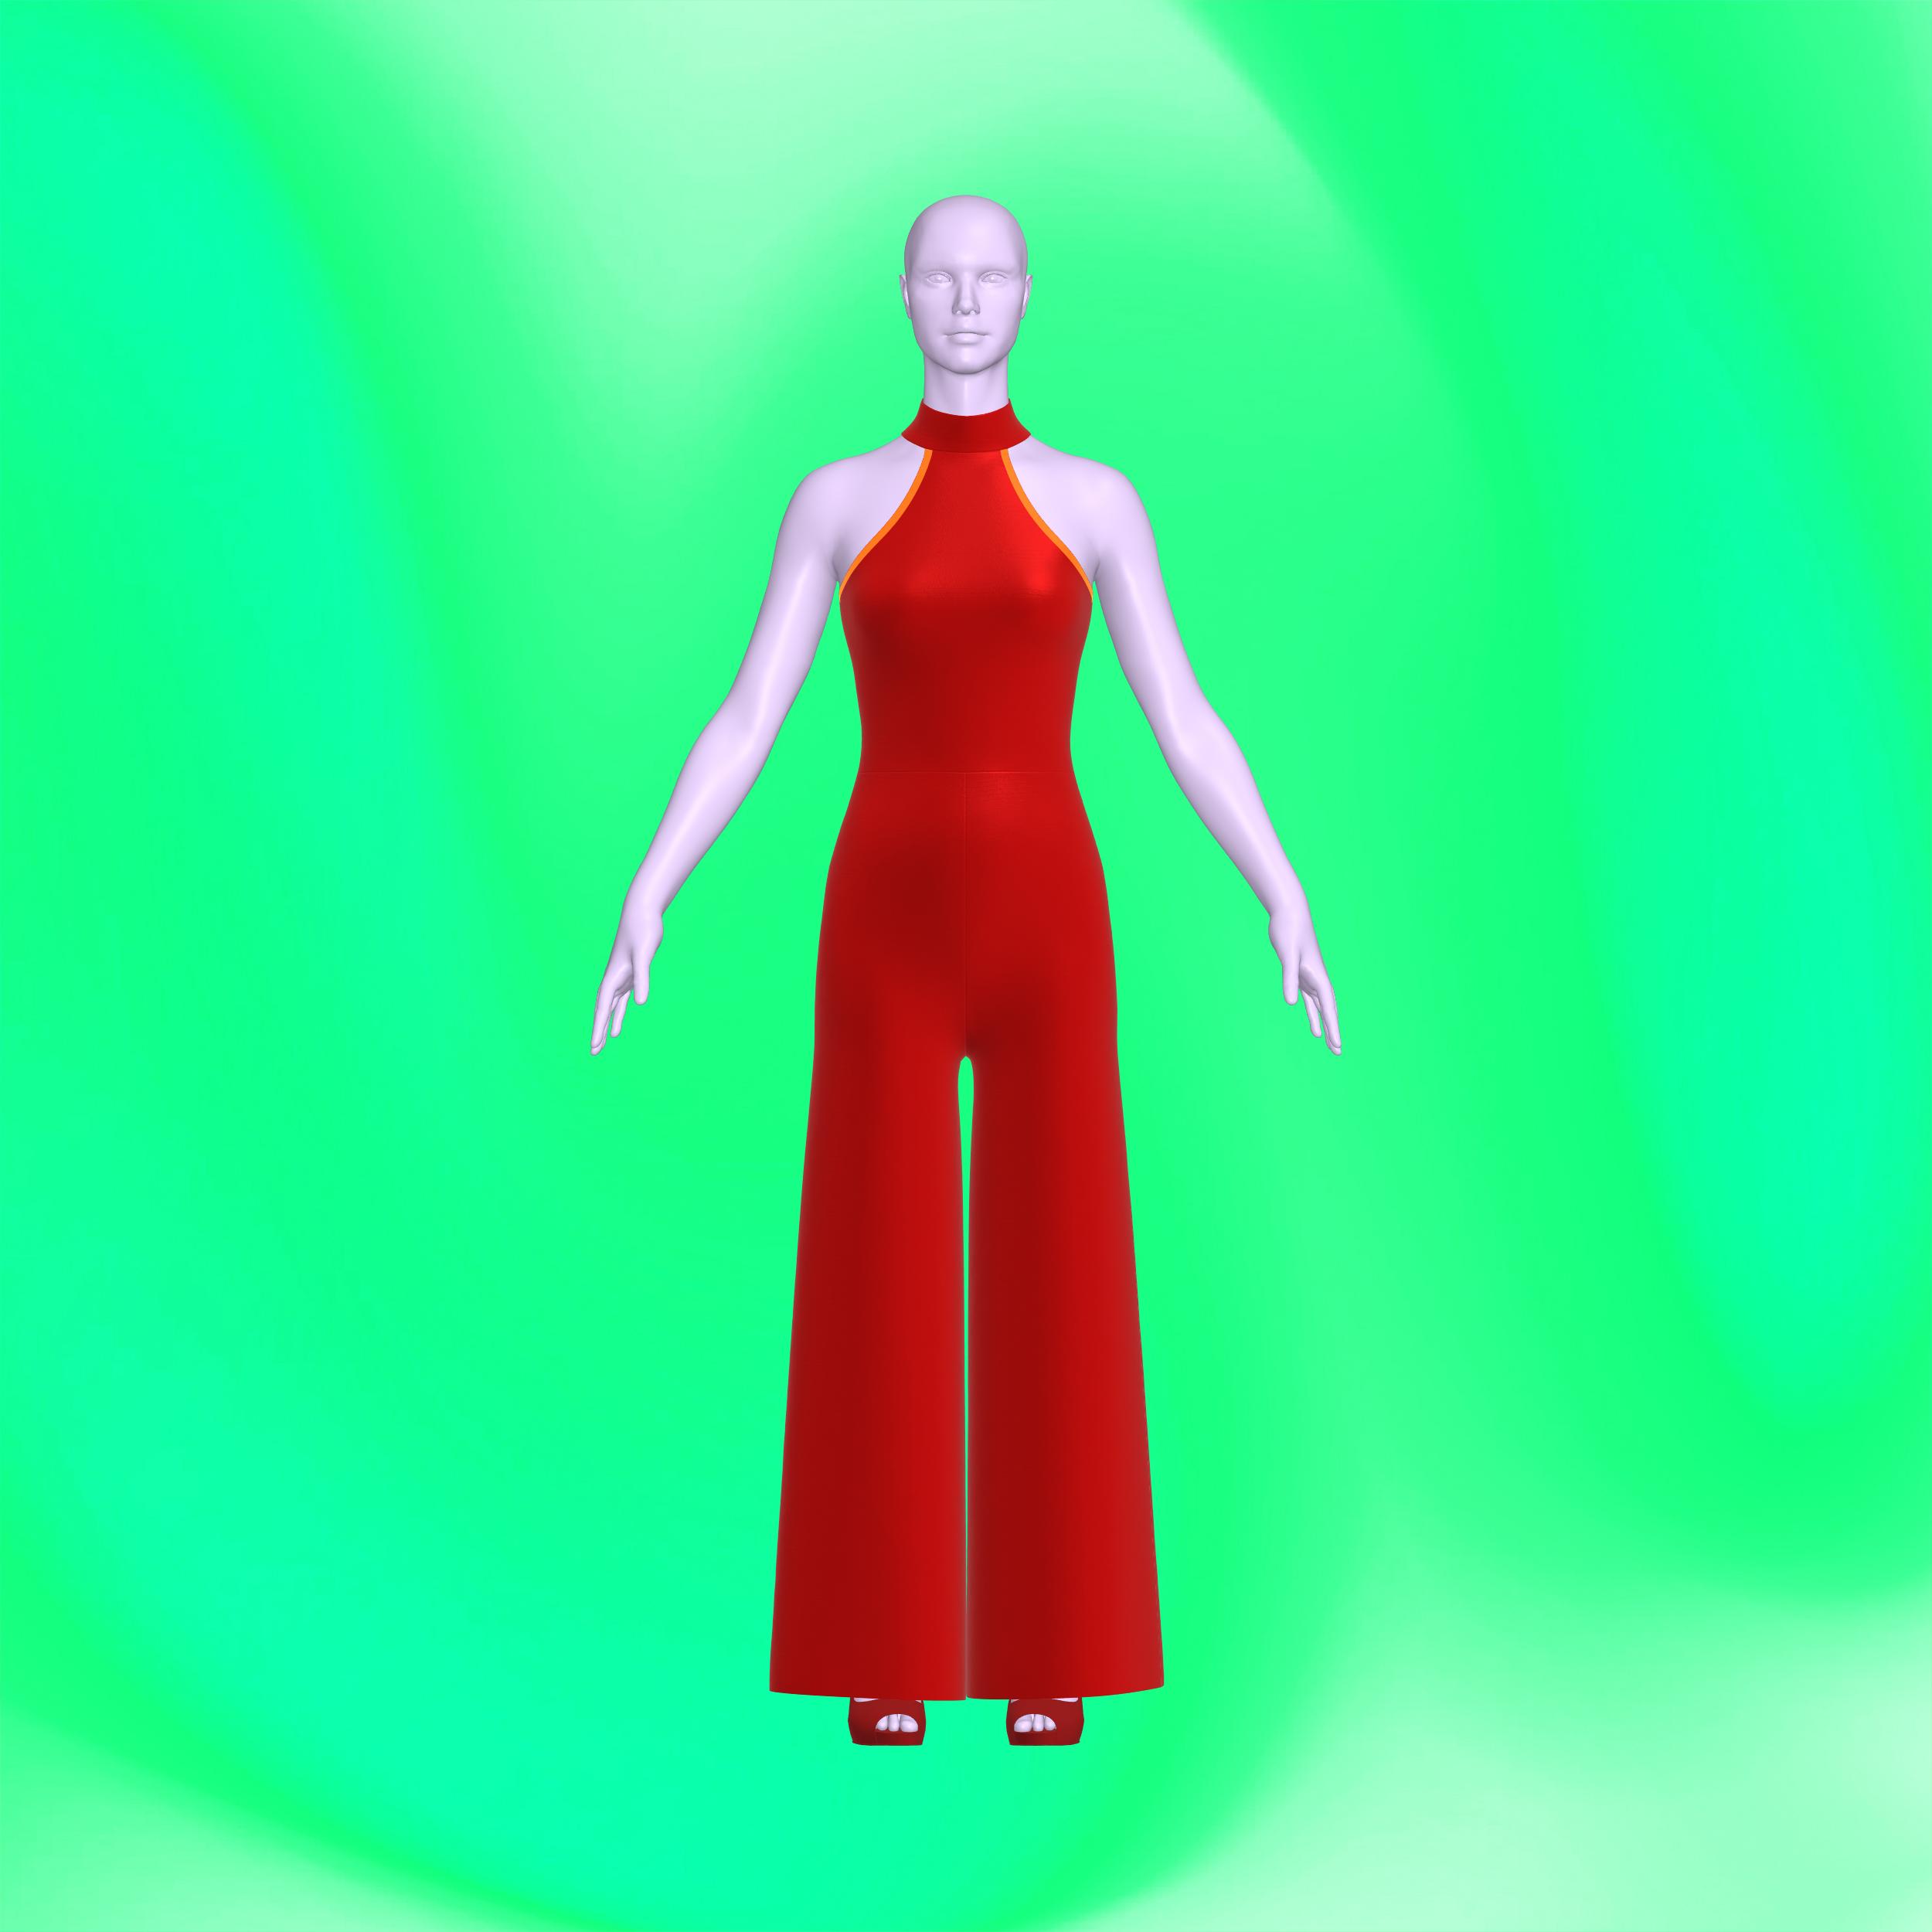
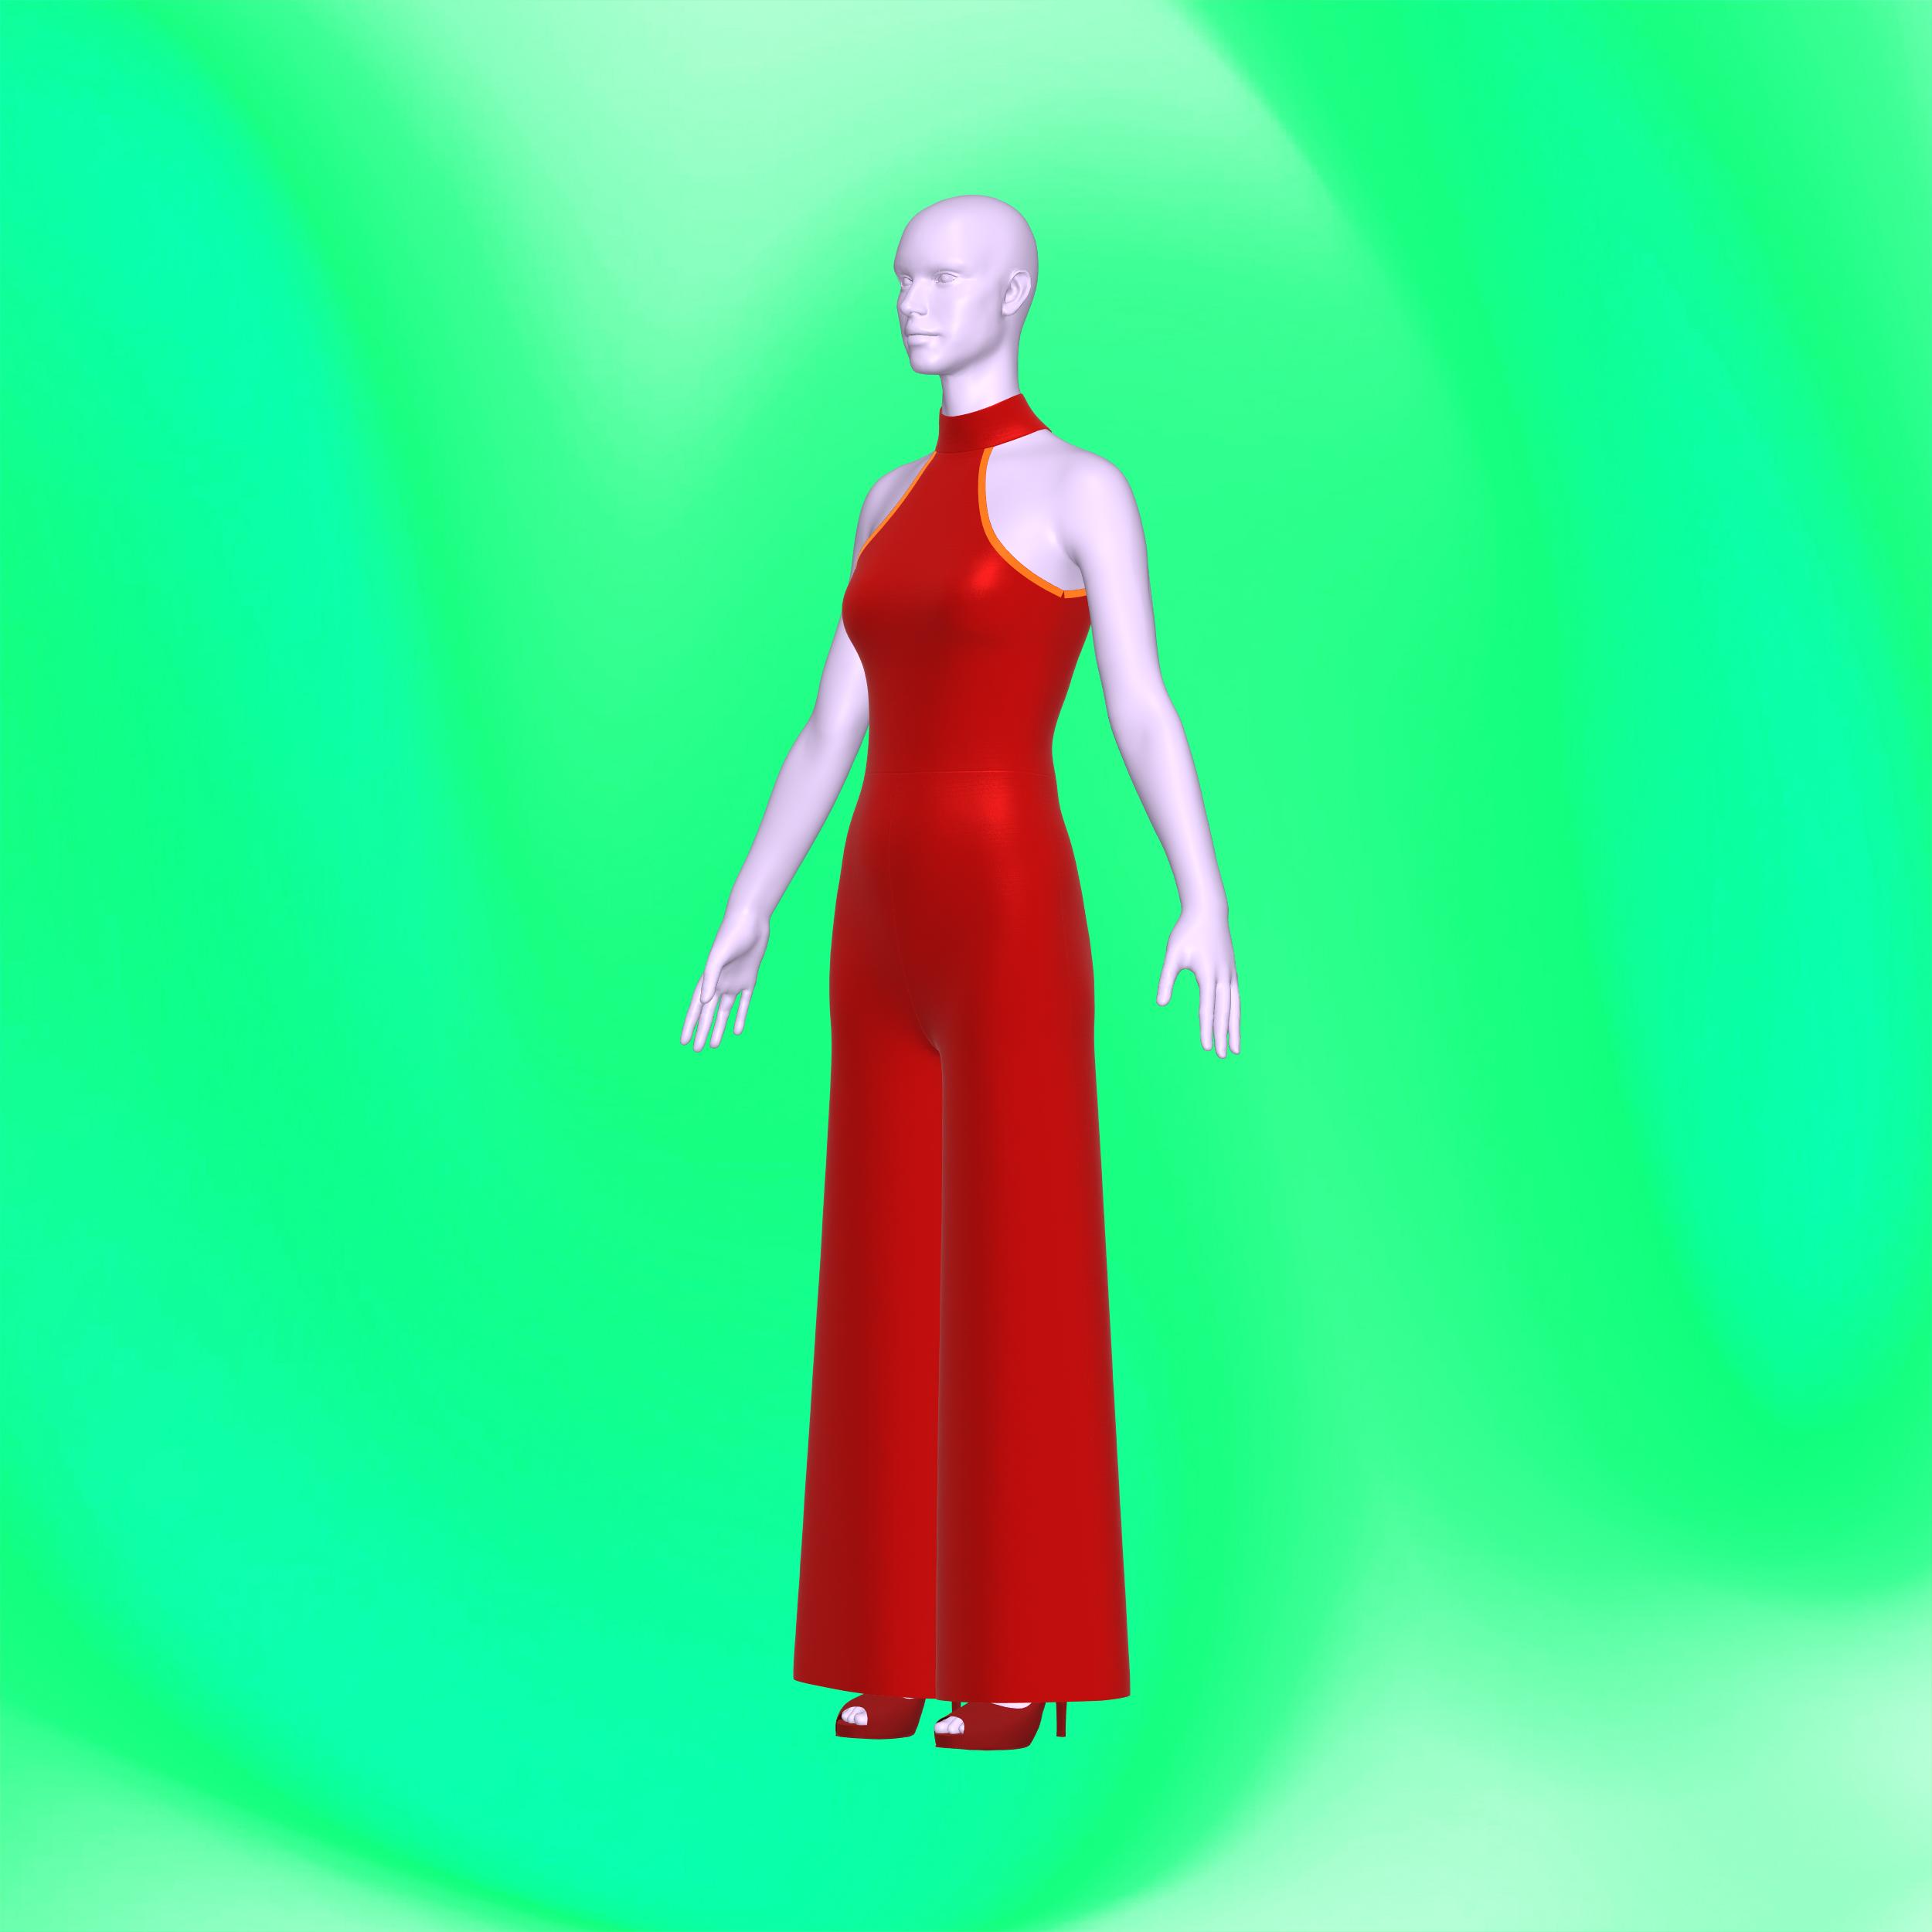
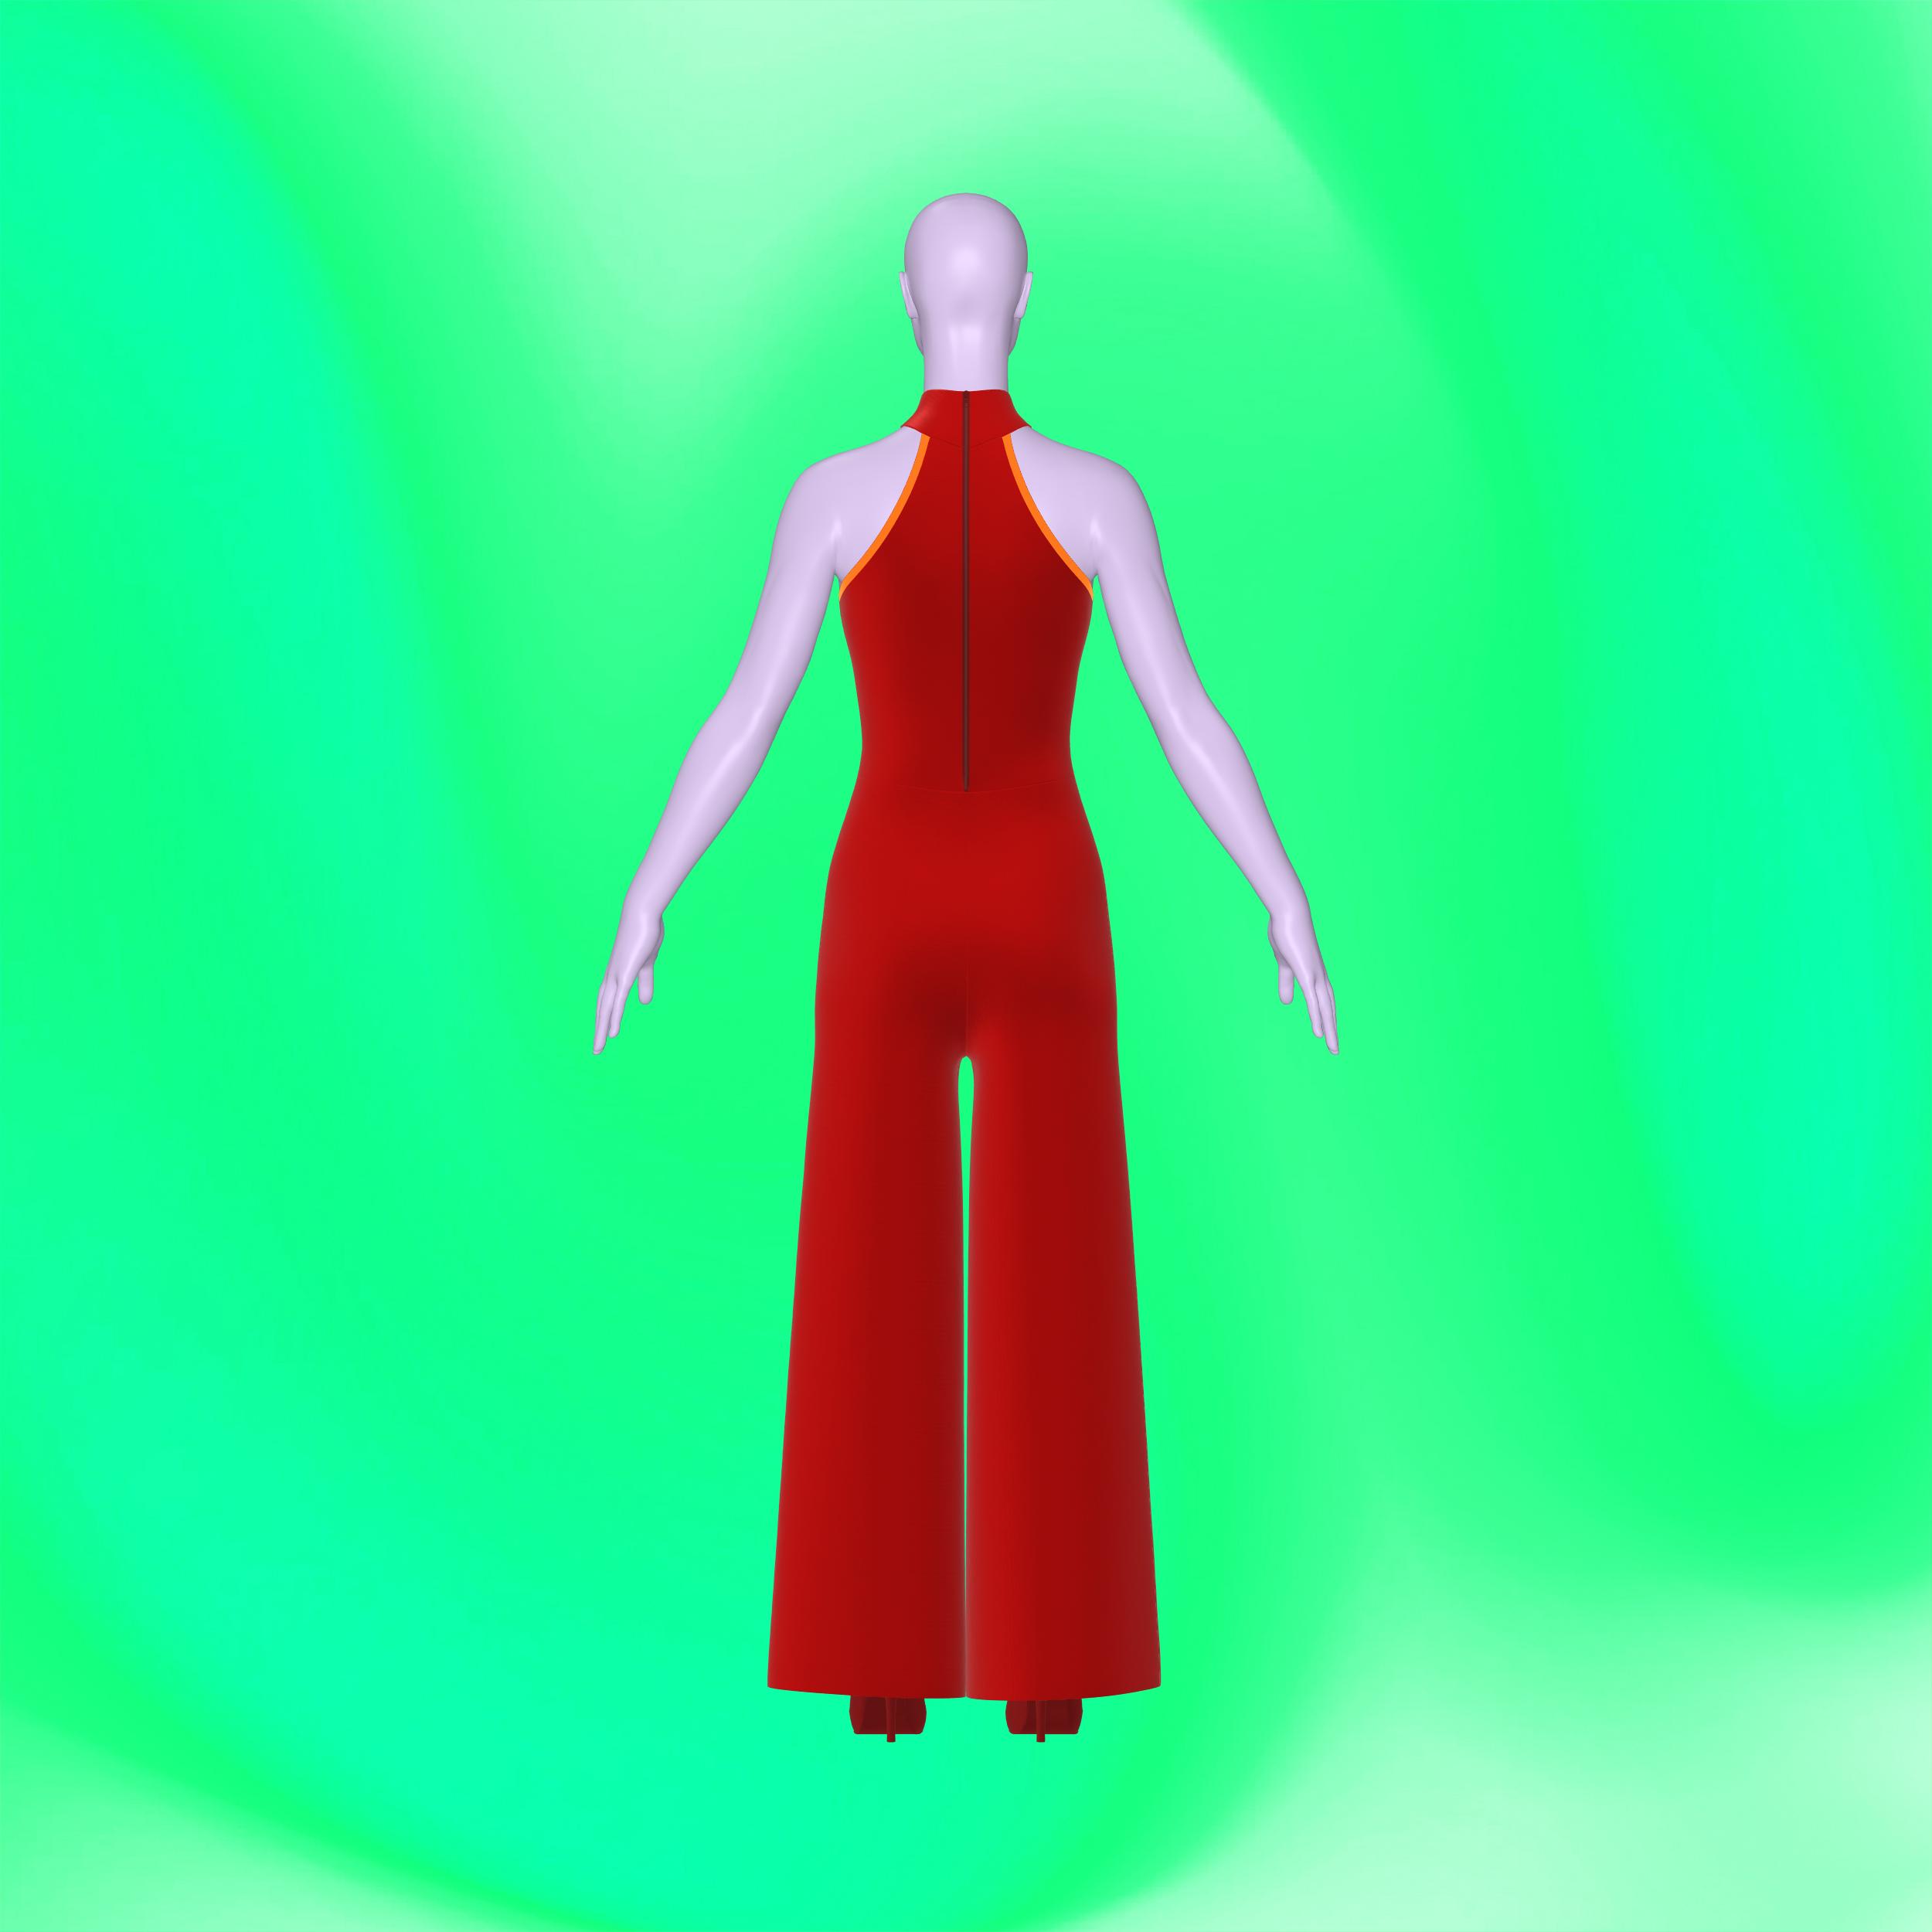
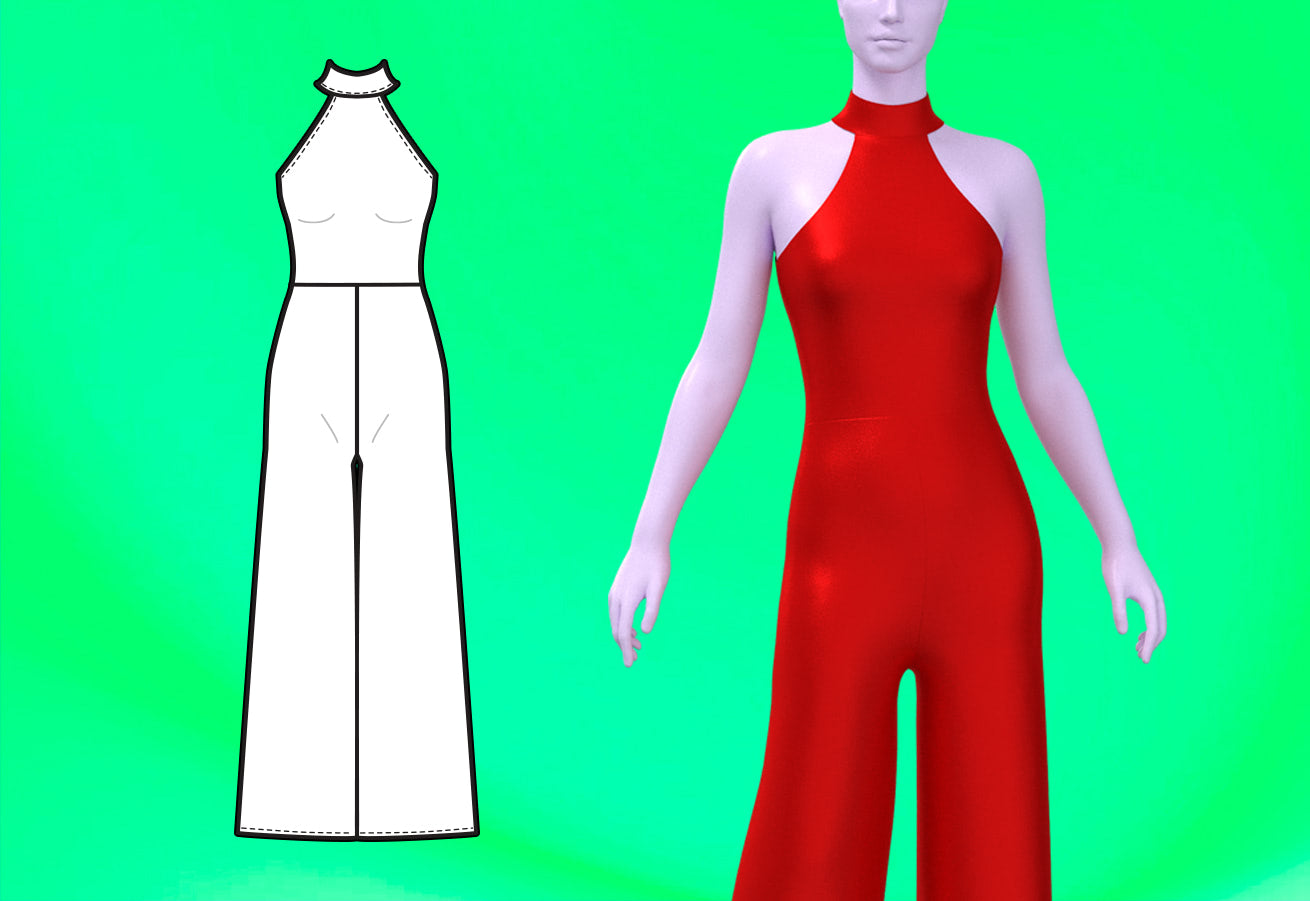
Introducing our sensational jumpsuit sewing pattern, specially designed for drag queens seeking to unleash their inner disco diva! This pattern combines elegance and drama with its sleeveless design, stylish collar, and eye-catching wide legs. With a zipper in the back that extends to the waistline, it ensures both a comfortable fit and easy entry. Whether you're hitting the stage or the dance floor, our jumpsuit pattern is the perfect choice for creating show-stopping disco-inspired drag looks. Suitable for stretch fabrics, this pattern offers versatility and endless possibilities for crafting your unique style. Get ready to shine and groove with confidence in this fabulous drag essential!
Pattern Difficulty: For Beginners
Fabric Yardage
This pattern requires the use of non-stretch fabric. Please find the yardage needed for each size below.
| Size | Yards Fabric Width (58”) |
|---|---|
| XS | 1.75 yards |
| S | 2 yards |
| M | 2 yards |
| L | 2.25 yards |
| XL | 2.25 yards |
| 2X | 2.25 yards |
| 3X | 2.5 yards |
| 4X | 2.5 yards |
For information on converting inches to meters, please check out our conversion guide.
Fabric & Notions
Suitable for stretch fabrics:
- Miliskin
- Spandex
- Lycra
- Stretch Knits
- 20-24 inch Zipper
Sizing Details
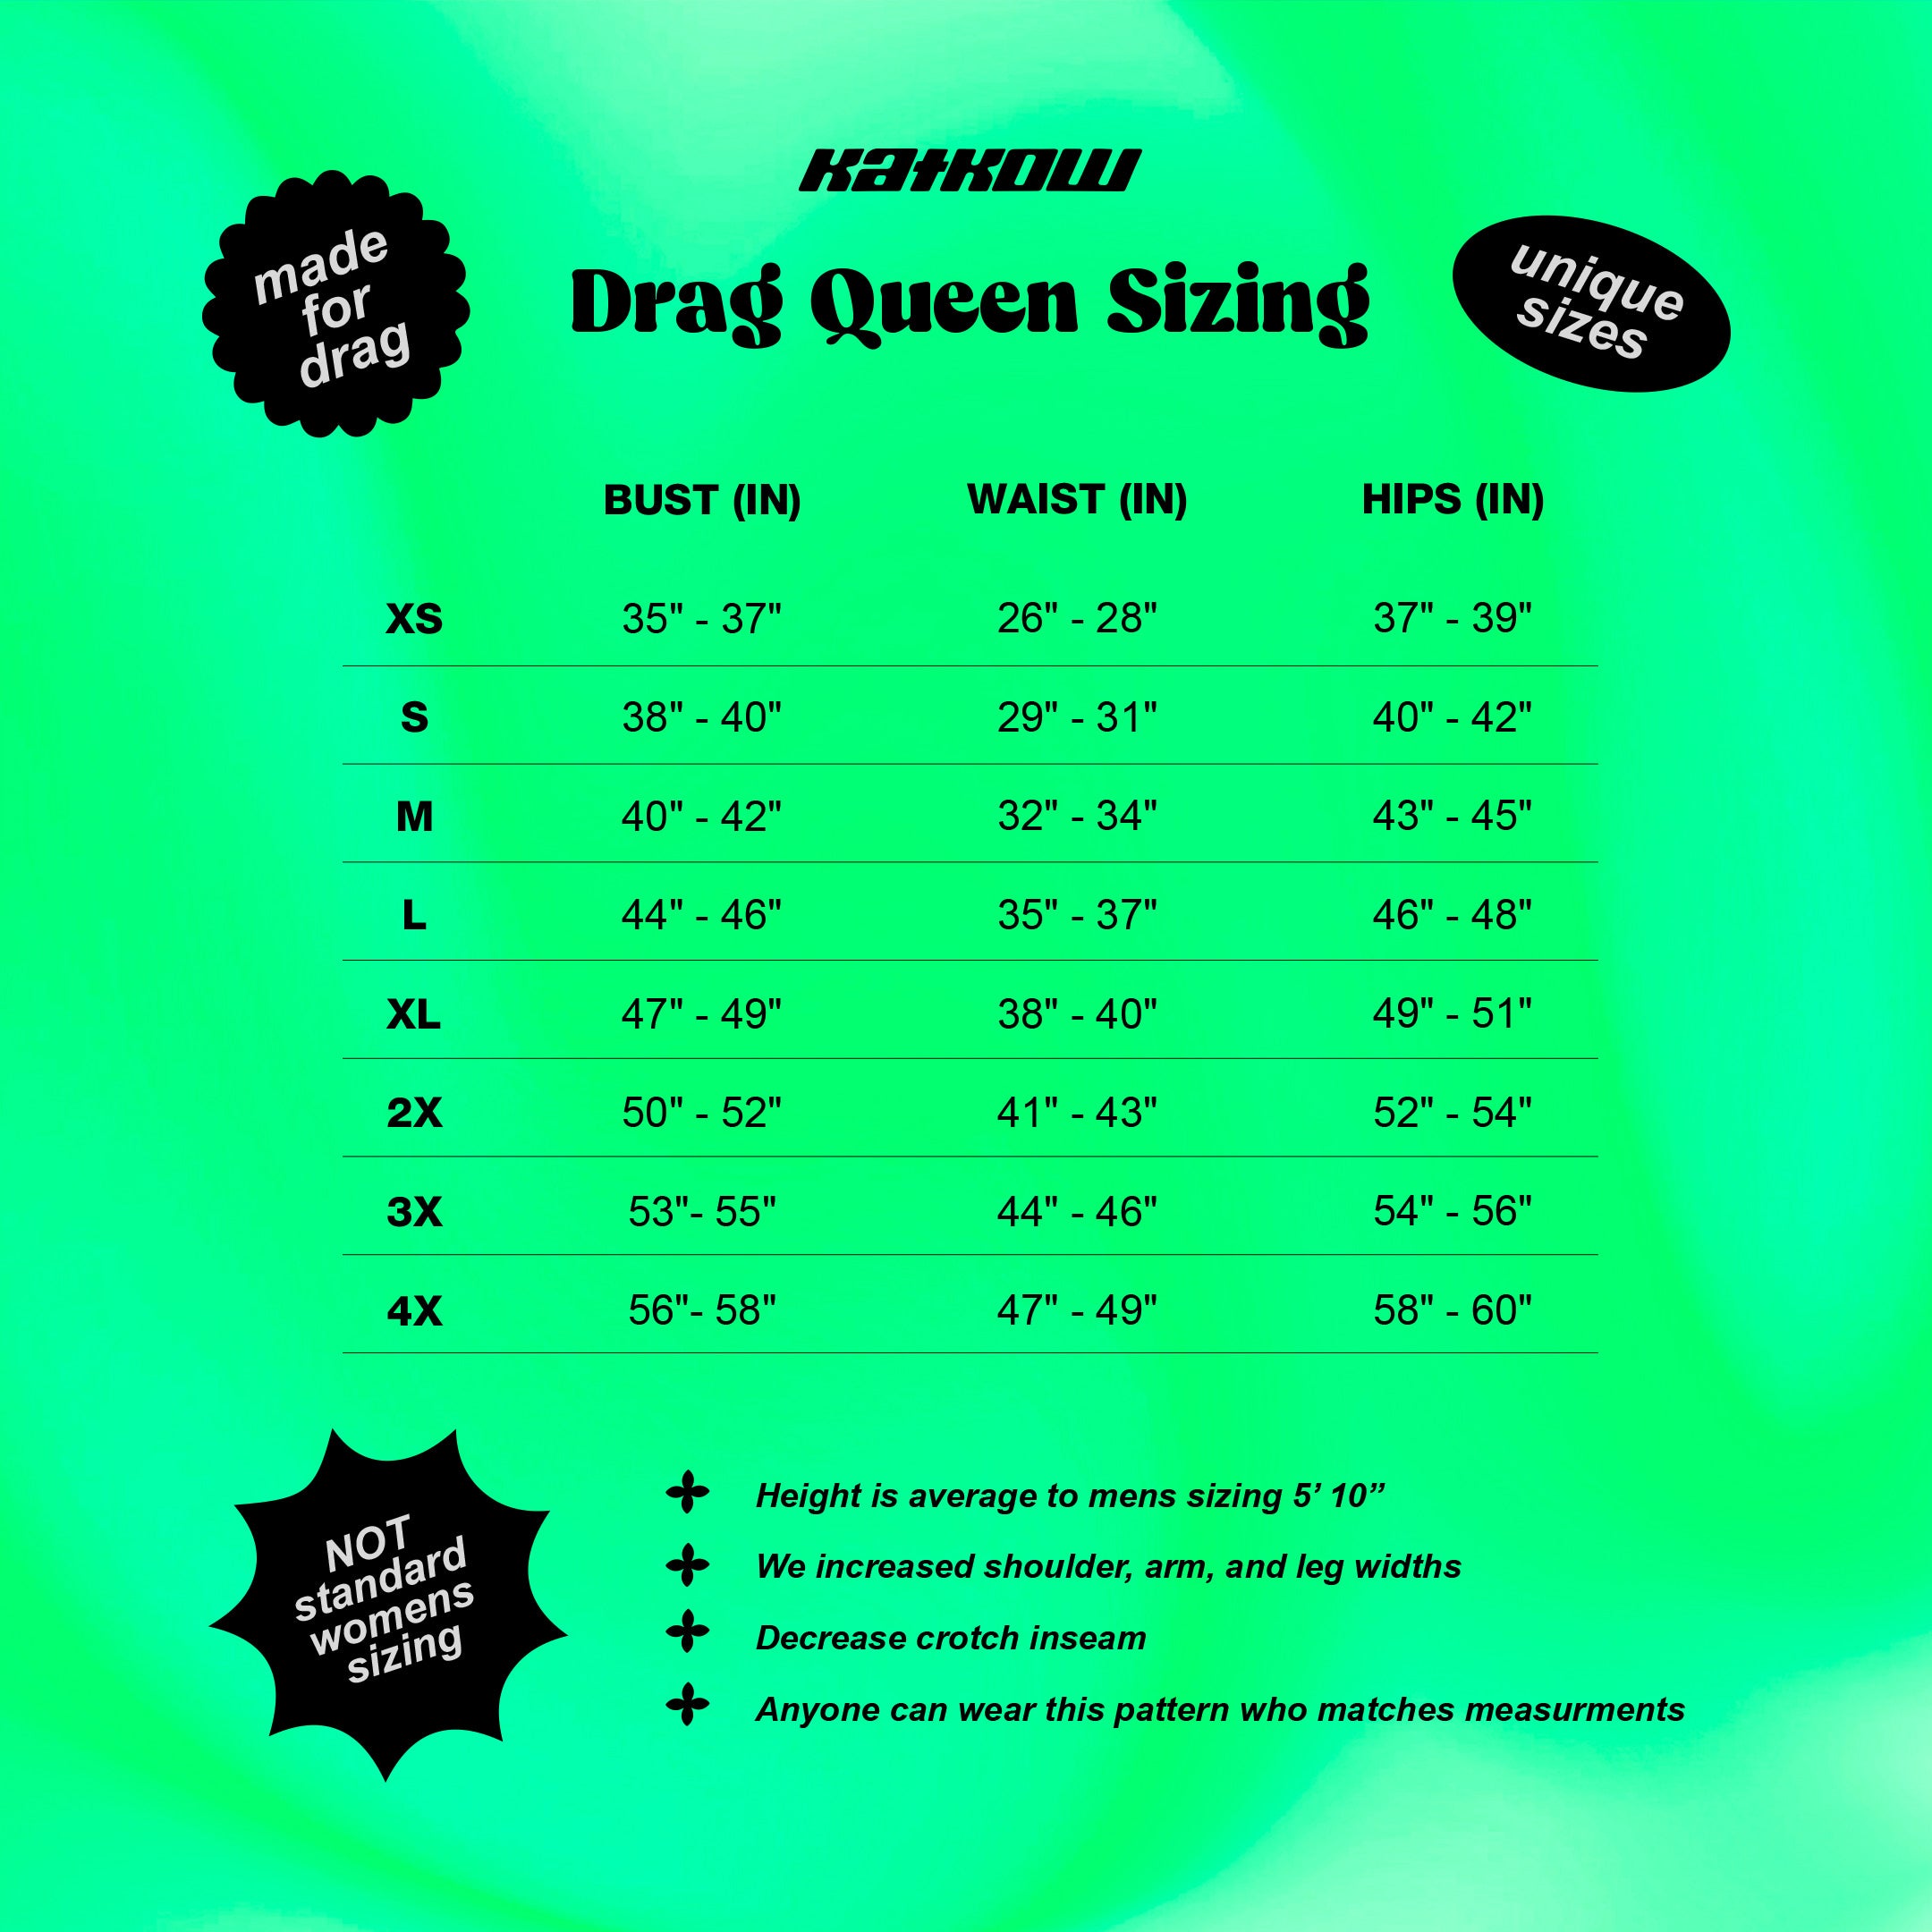
This pattern is available in our unique drag queen sizes (XS-4X). Please review our sizing guide for more information on our size measurements.
Sewing Instructions


Fabric Pieces
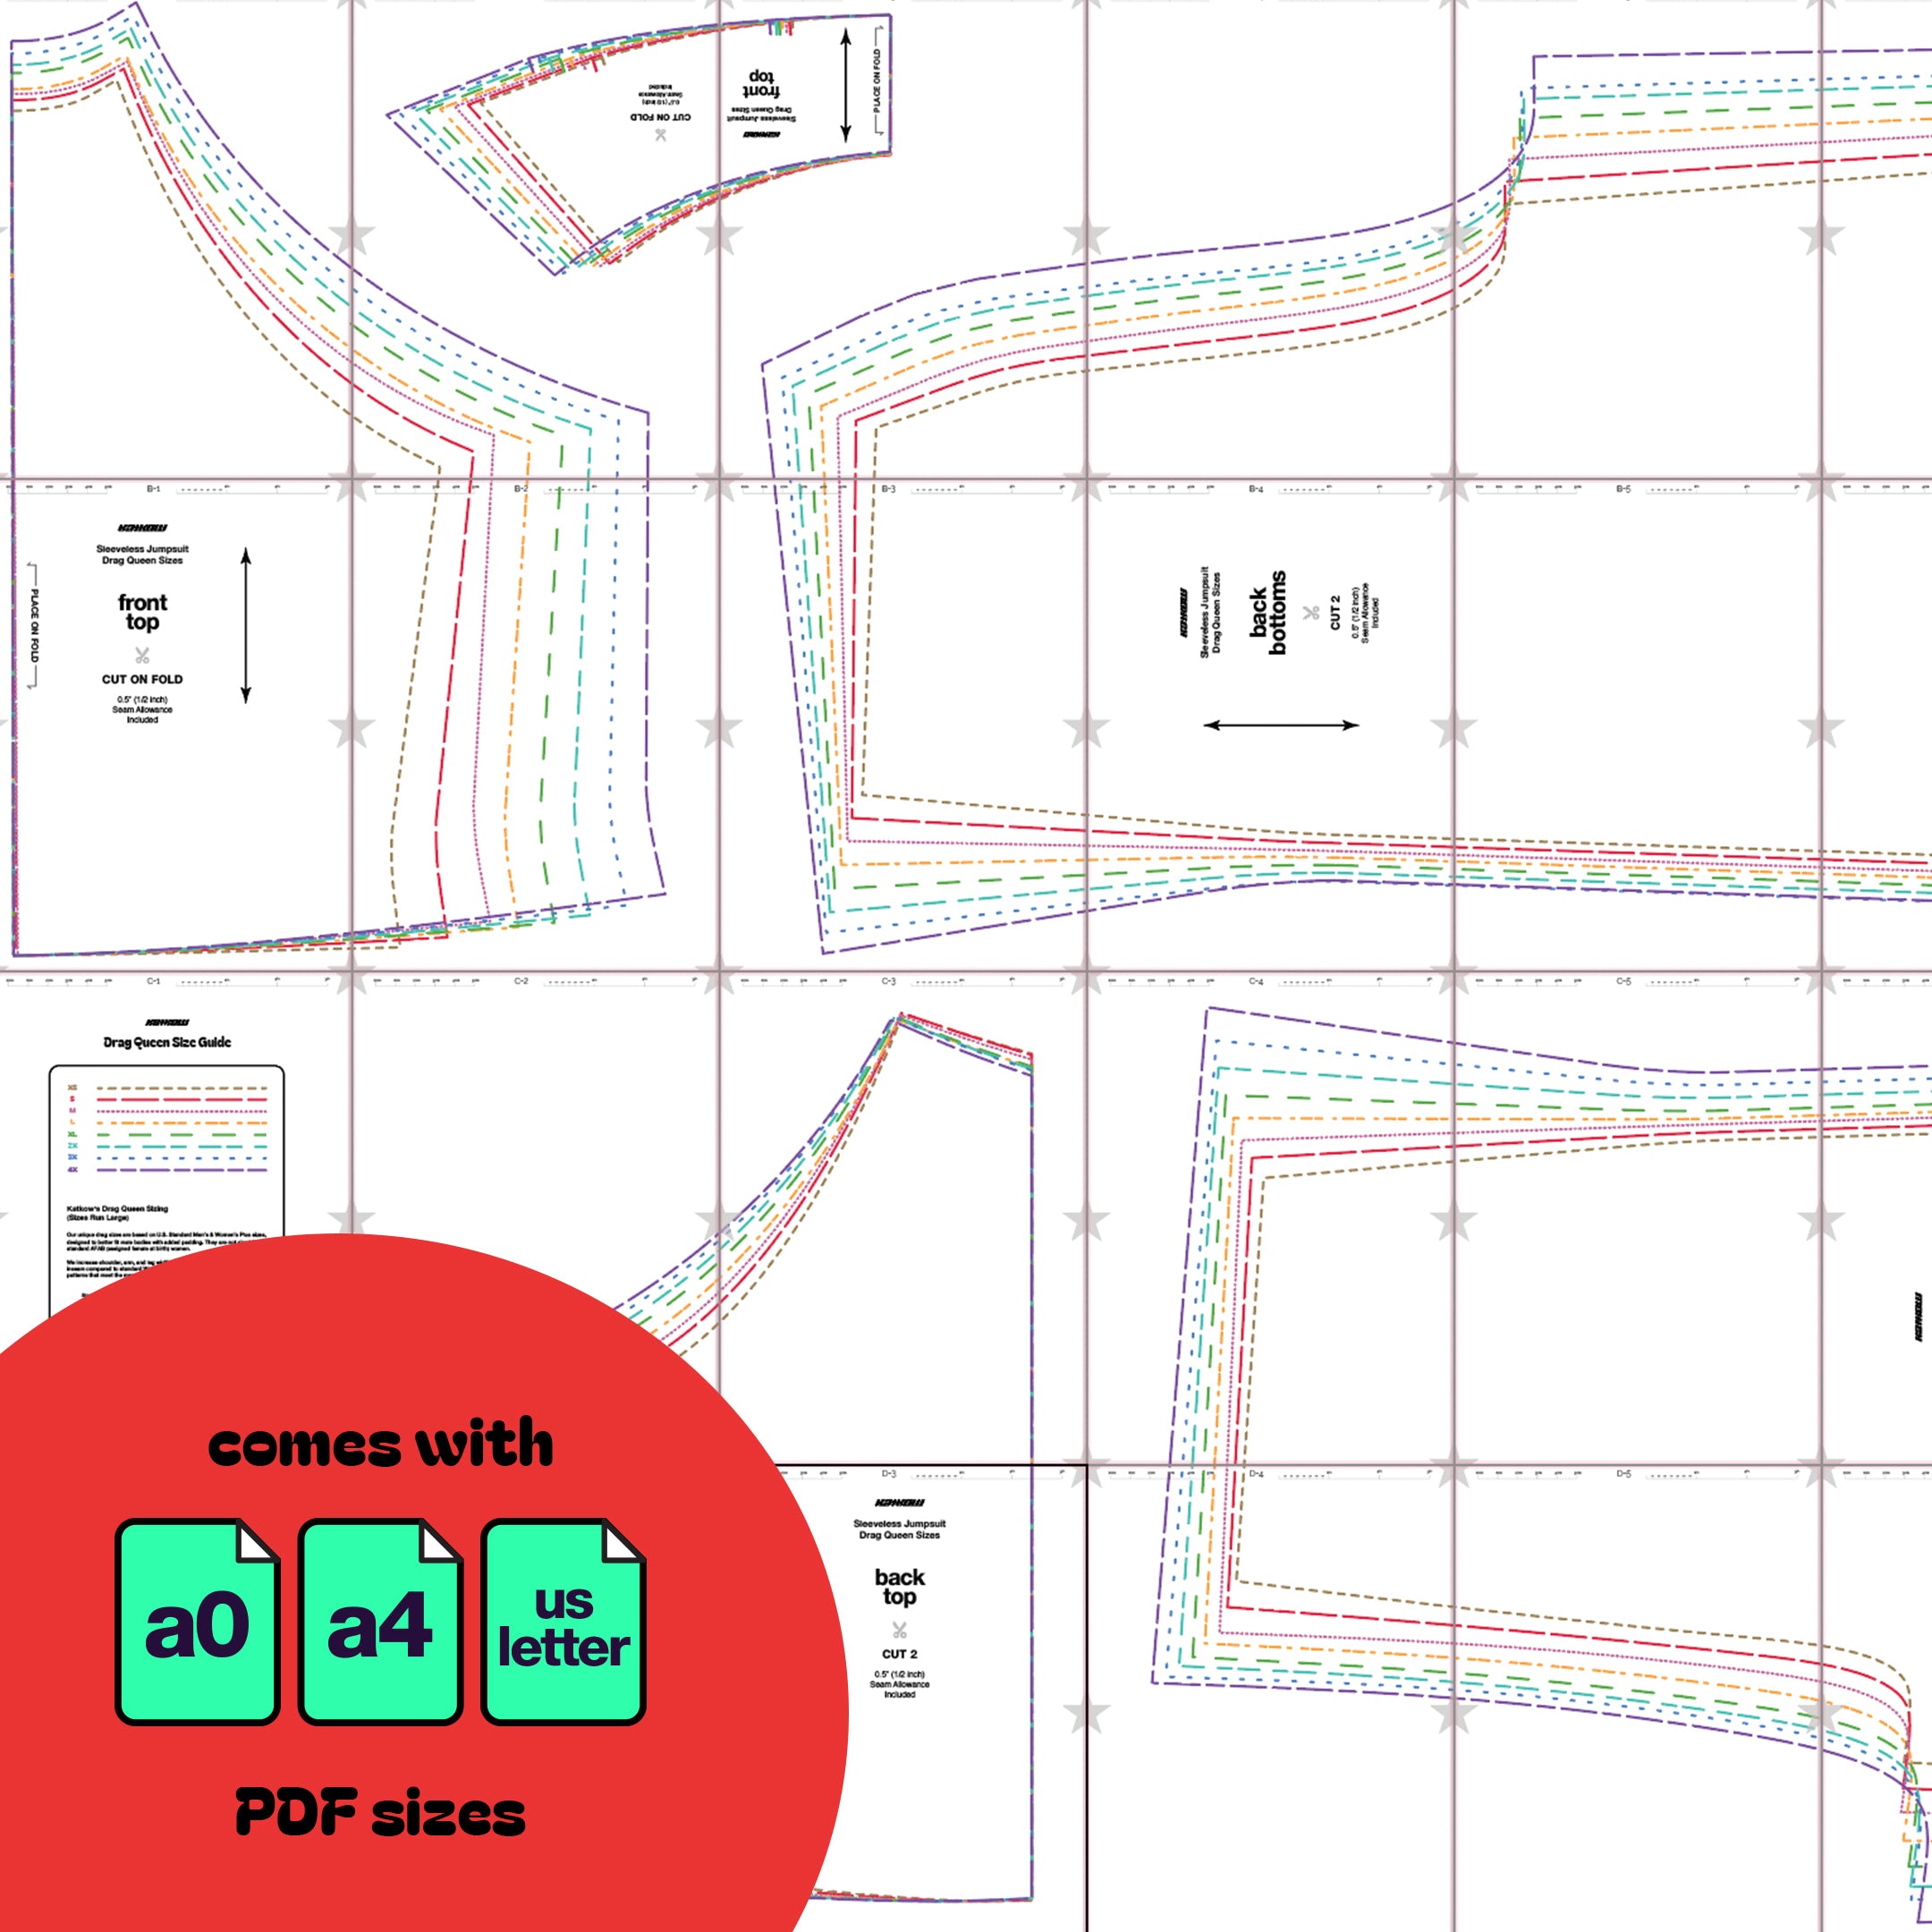
Once your fabric is cut, you should have one seamless front top piece, two front bottom pieces, two back top pieces, two back bottom pieces, and two collar pieces.

STEP 1
Begin by gathering the back top and bottom pieces. Sew them together along the waistline with the right sides of the fabrics facing each other. Use a stretch stitch, zig-zag stitch, or serger for this step. Repeat the process for the other back side.

STEP 2
Hem only the armholes of the back pieces using a folded hem or rolled hem.

STEP 3
Take your two collar pieces, stack them with right sides facing each other, and sew along the top curved edge.

STEP 4
Once sewn, open and lay the collar flat. Then fold in the seam allowance of the edges opposite of the seam. Press them with an iron and secure them in place with pins.

STEP 5
Now, gather your collar and back pieces. Attach the edge of the collar to the back neck of one of the back pieces, again ensuring that the right sides are facing each other. Sew only along the length of the neck.

STEP 6
Flip the collar over so that the right side of the collar is visible. Pin a zipper with the right side of the zipper facing the right side of the back fabric. Position the zipper starting from the center seam of the collar.

STEP 7
Fold over the top fold of the collar so that the zipper is sandwiched between the two collar layers. Sew the zipper from the collar down to the waistline. Repeat this process for the other back side.

STEP 8
With the zipper and collar attached, you can now sew the back crotch below the zipper of the two back pieces, effectively creating one back piece with a zipper and collar.

STEP 9
Take your two front bottom pieces and sew them together, right sides facing each other, along the front crotch seam.

STEP 10
Now, gather the front top and front bottoms and sew them together along the waistline. Make sure the right sides are facing each other, and use a stretch stitch, zig-zag stitch, or serger.

STEP 11
Hem the armholes of the front peice.

STEP 12
Stack the front and back pieces with right sides facing each other, and sew them together along the side seams and inseam of the bottoms.

STEP 13
Next, insert the top neckline of the front piece between the two layers of the collar fabric. Use a pin to align the center front of the collar with the center front of the front piece. Then, sew all around the bottom edge of the collar, ensuring that the seam allowance is folded inward around the collar.

STEP 14
Finally, hem the bottom legs of the jumpsuit to complete your fabulous creation.
Get the Pattern
