How to Sew a Hooded Kimono Robe with Attached Sleeves
Jump to InstructionsOverview
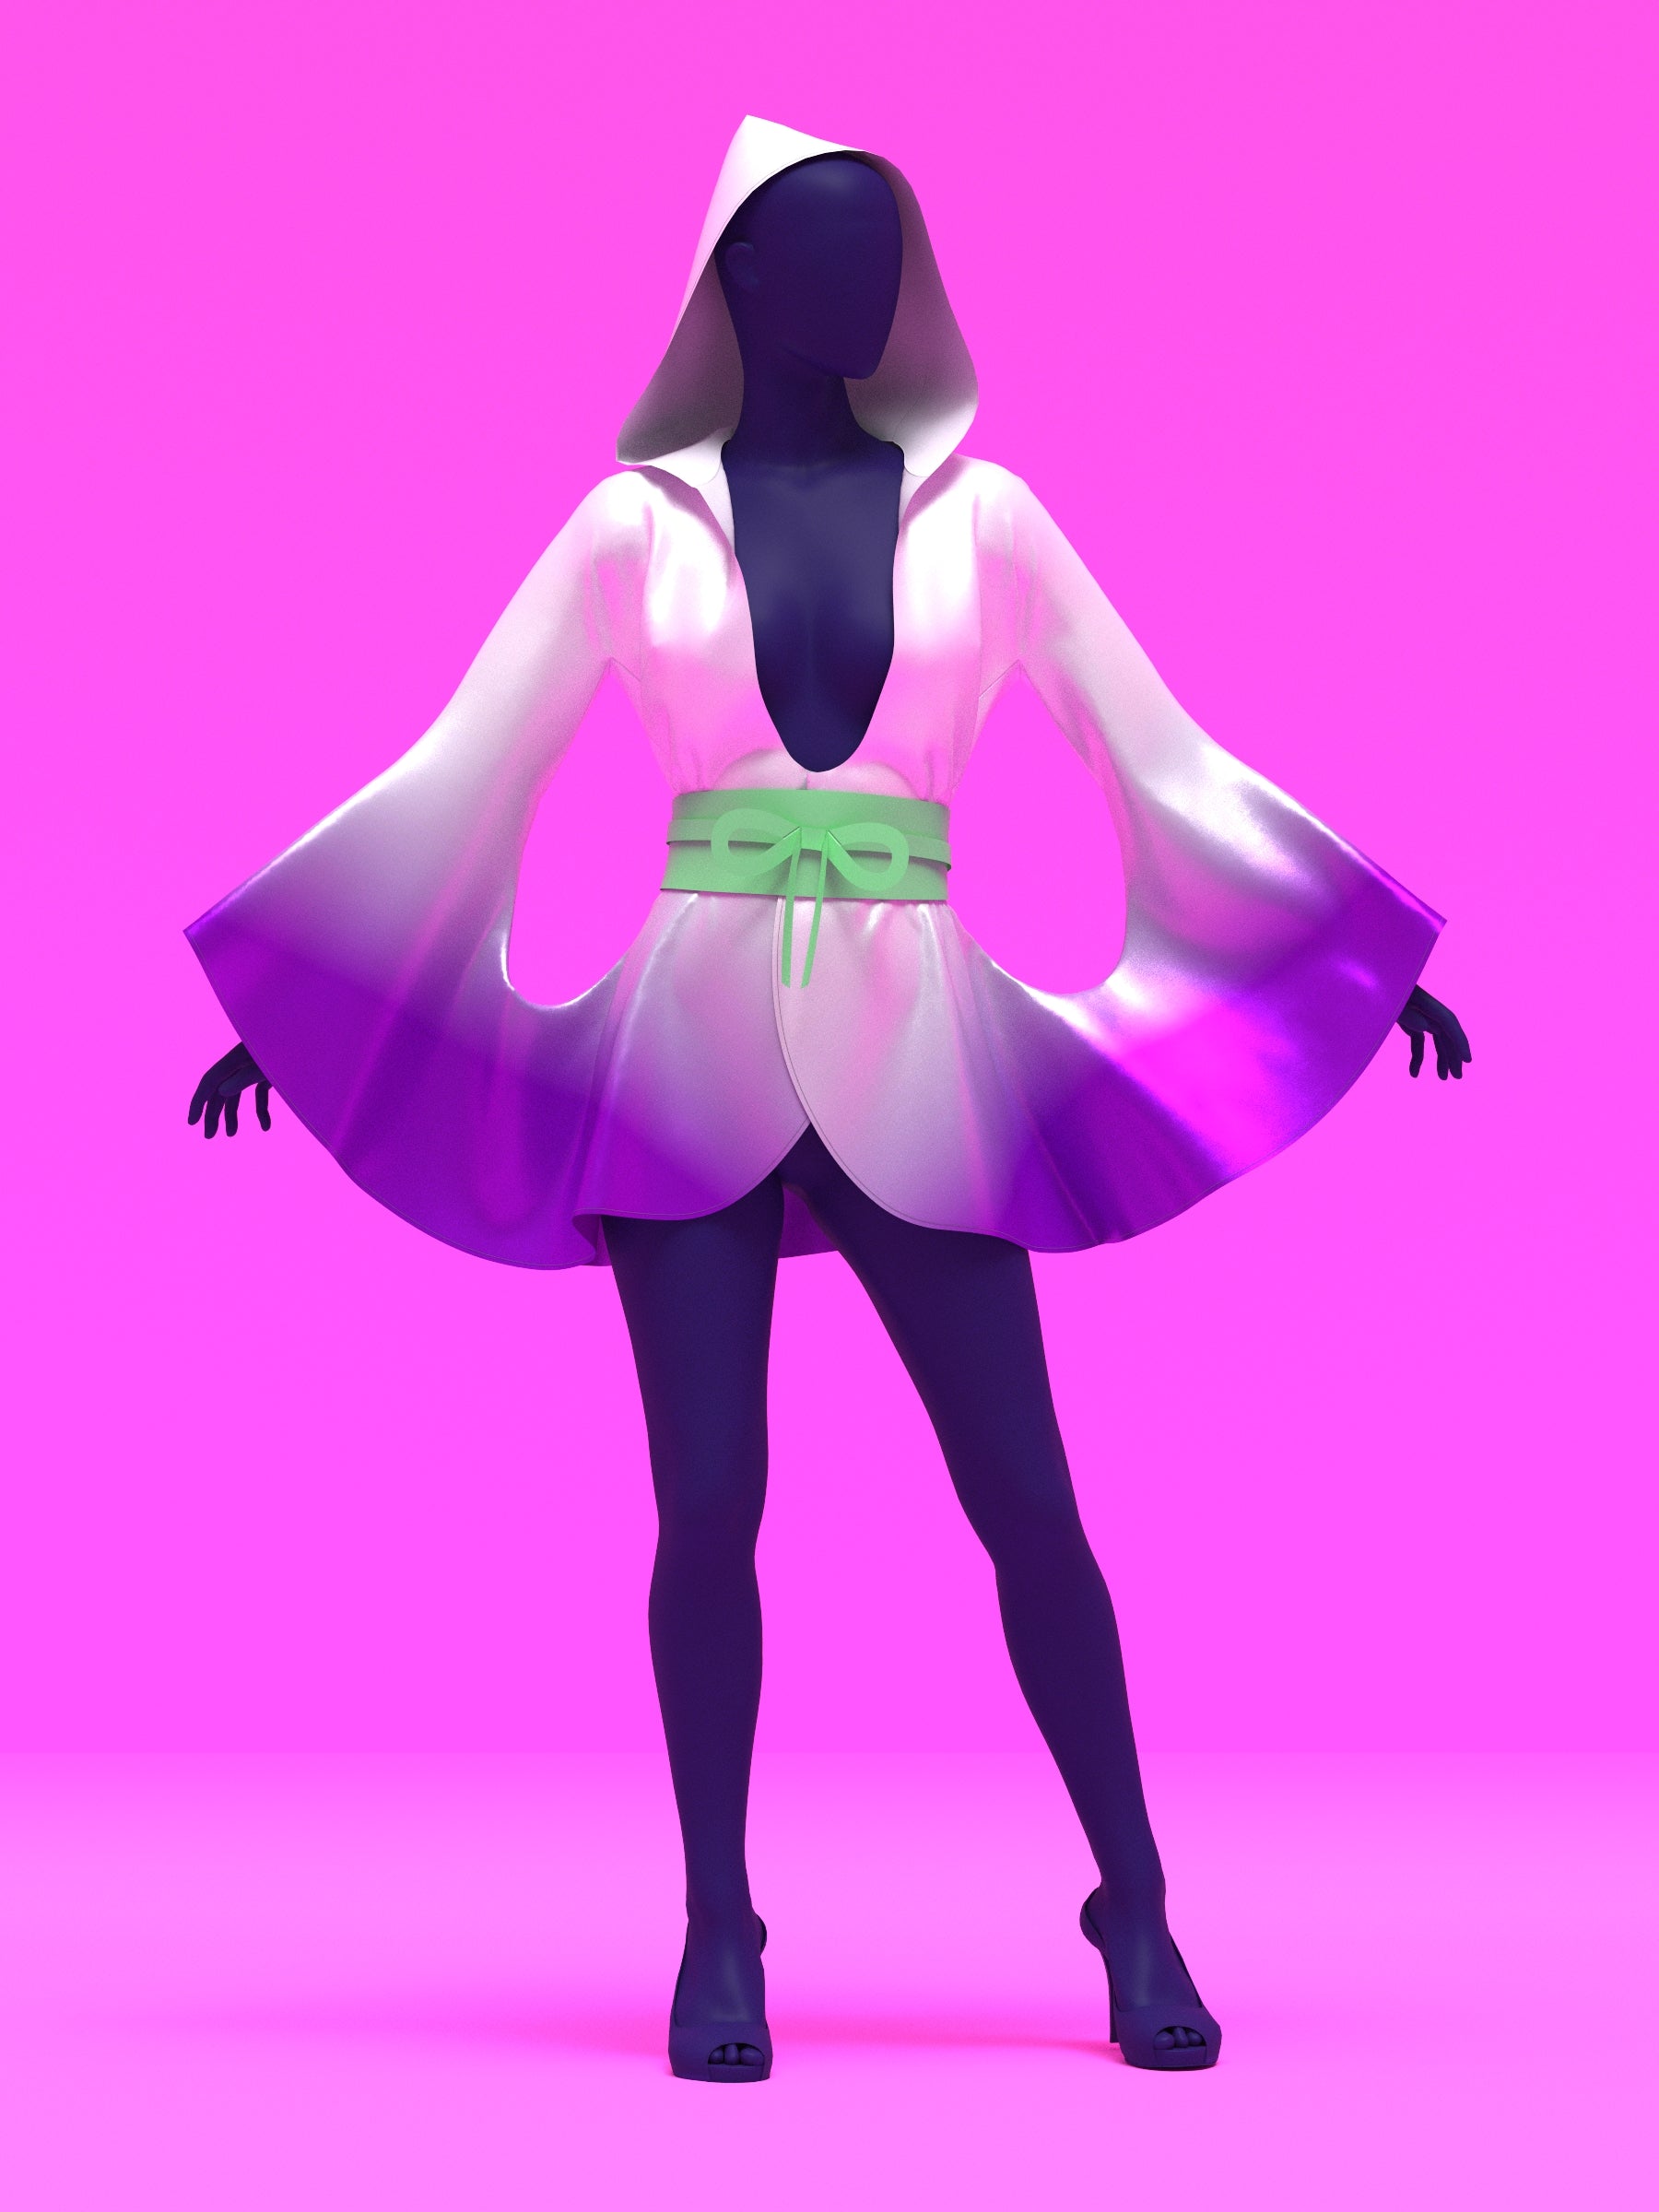
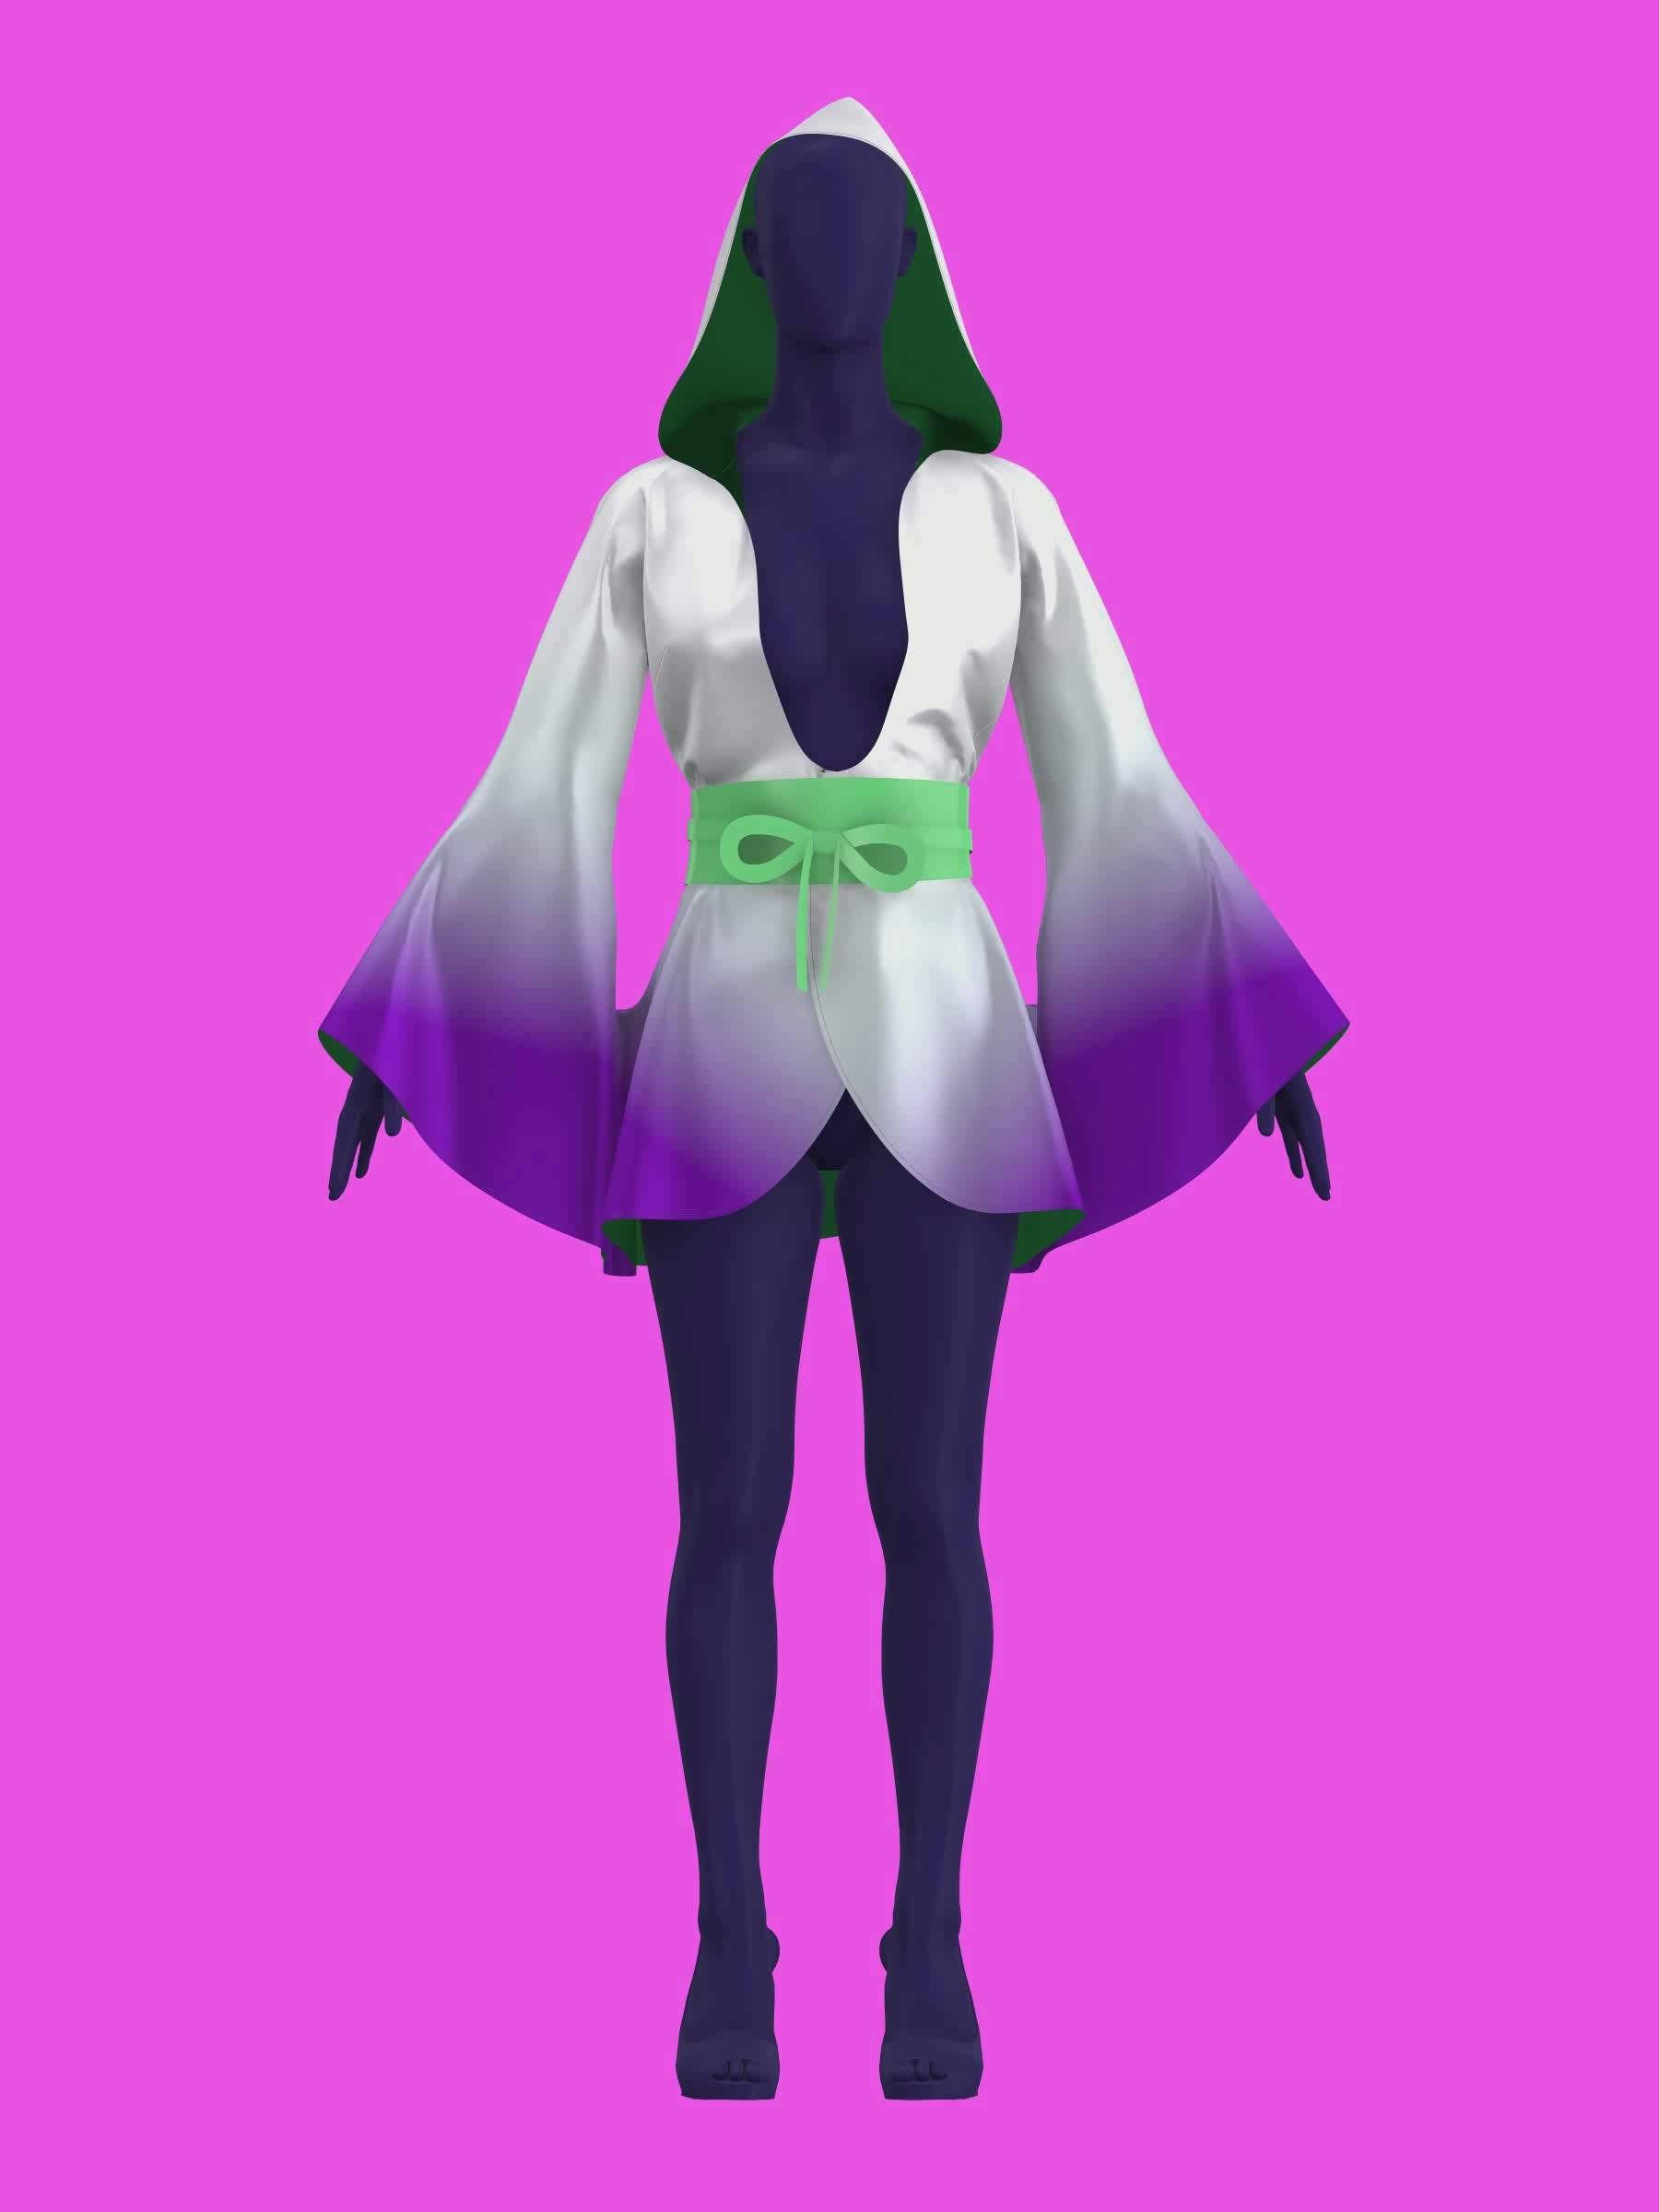
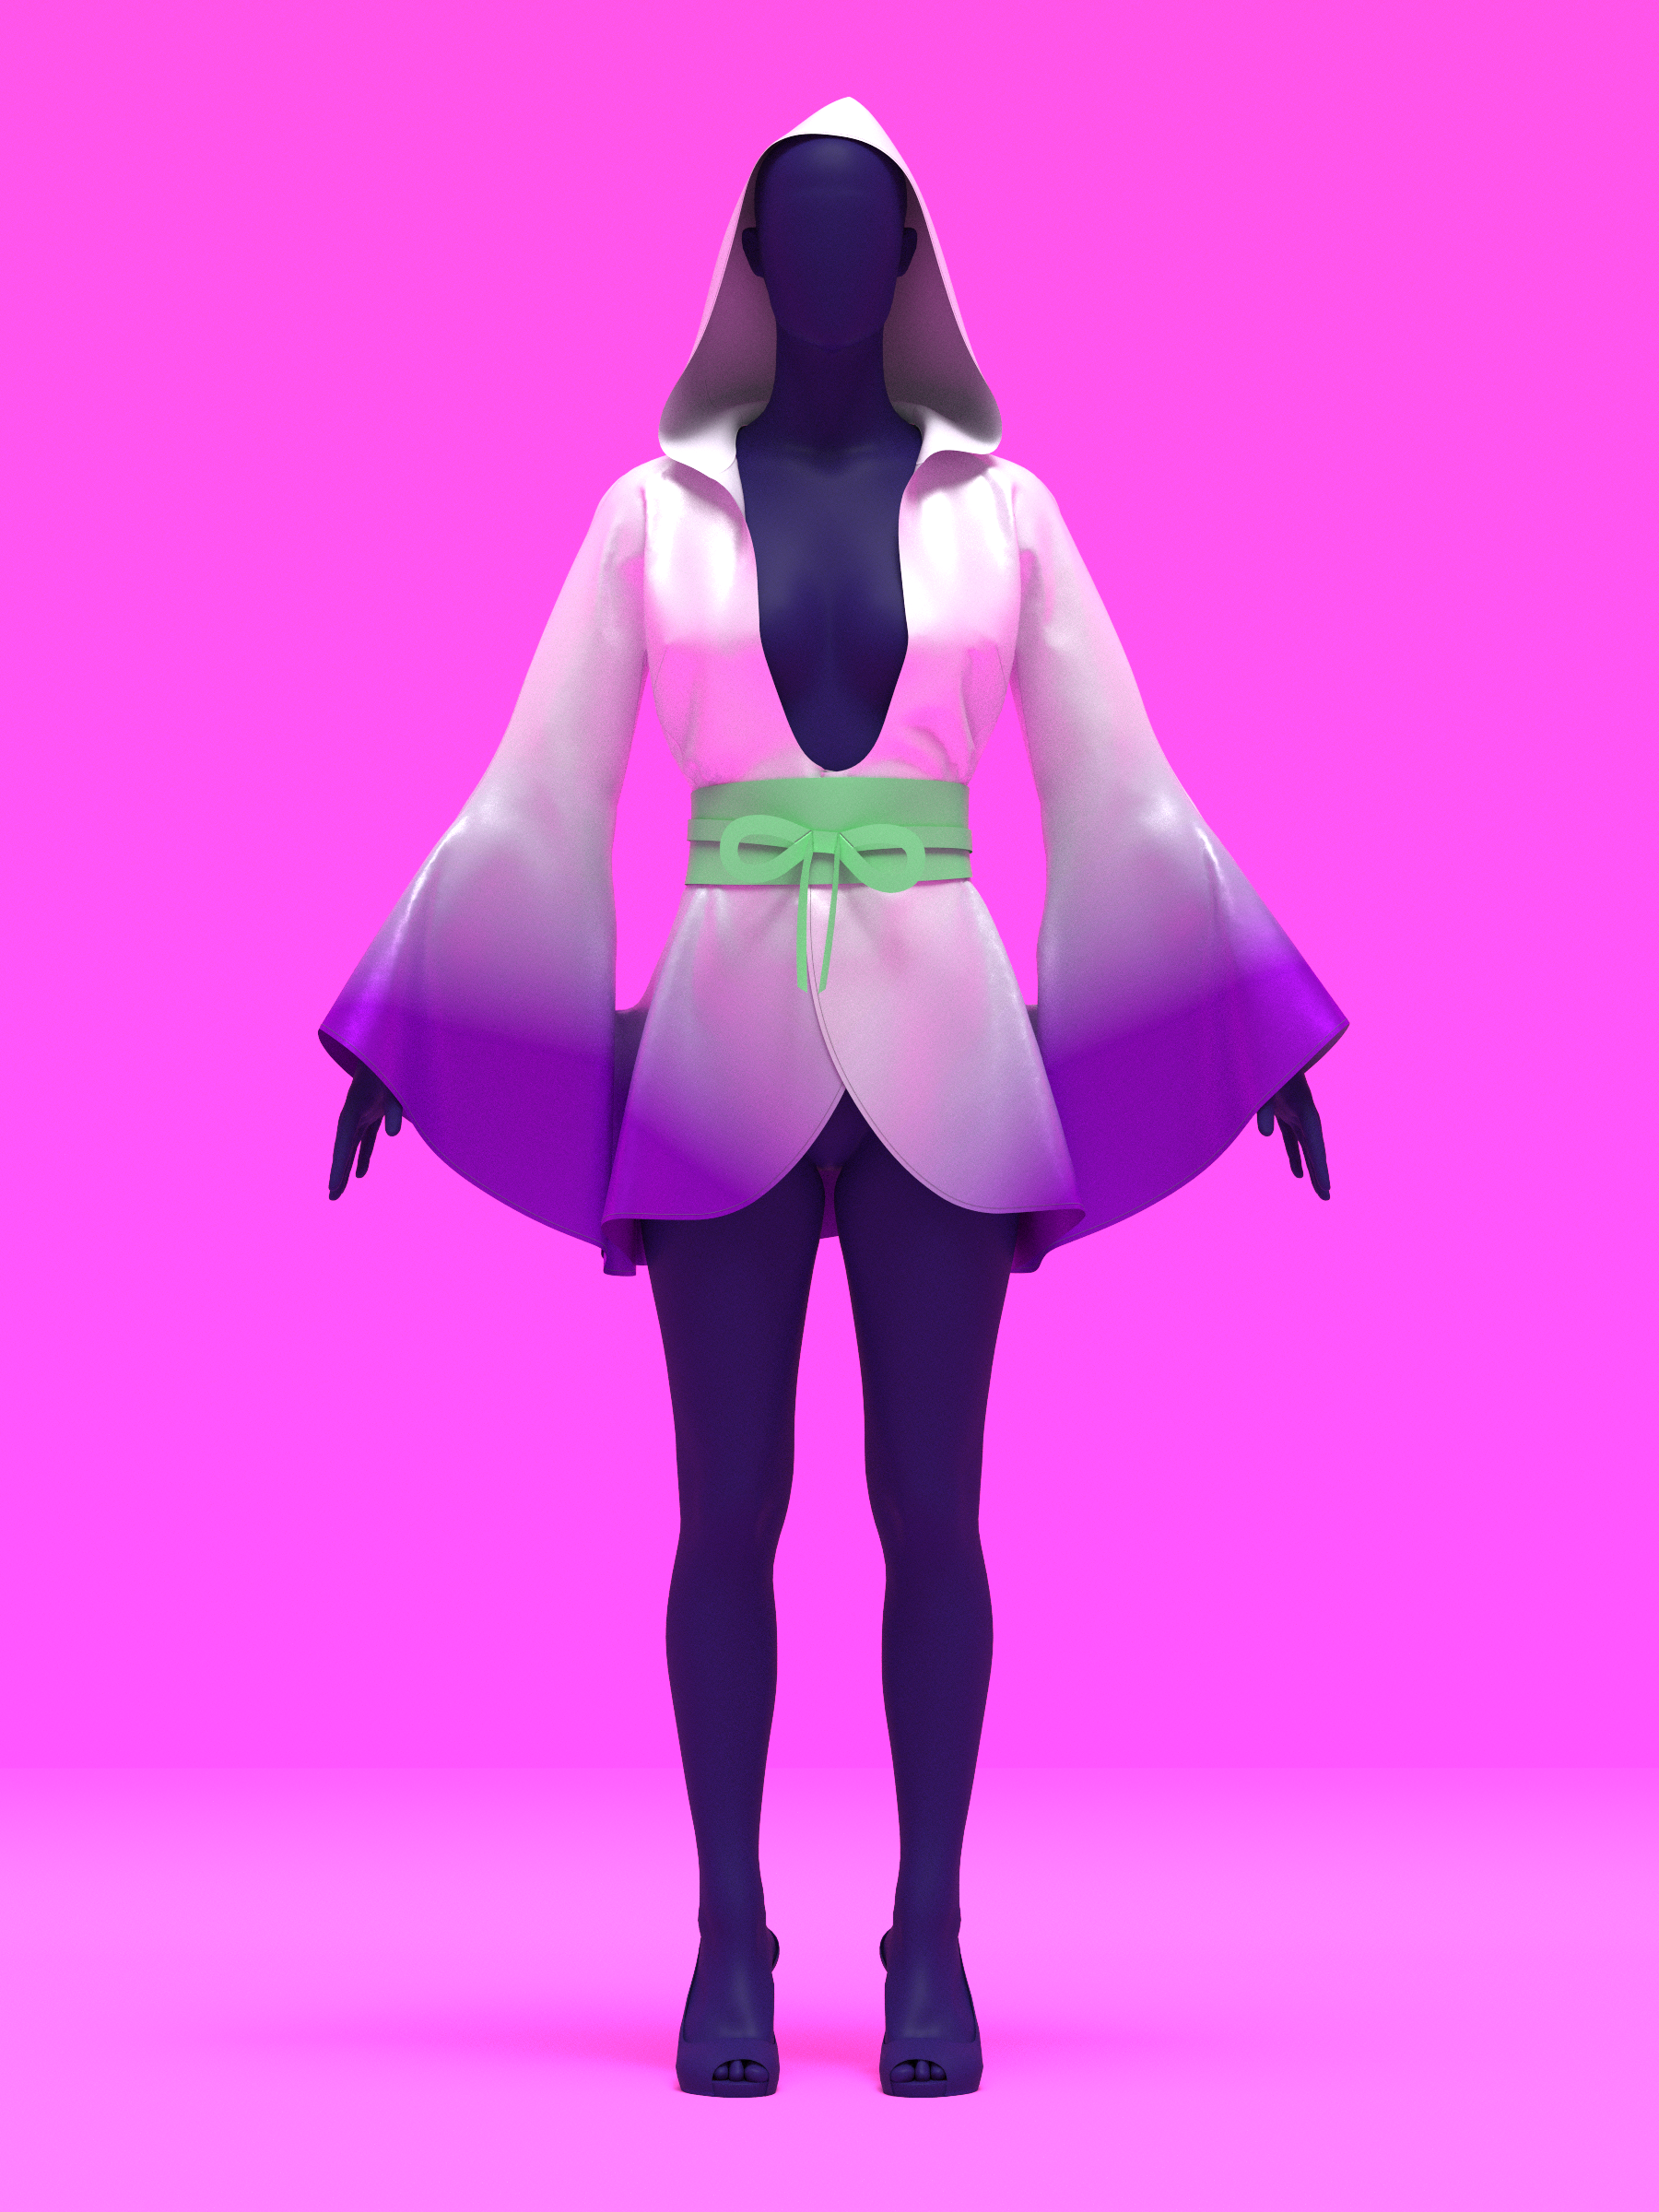
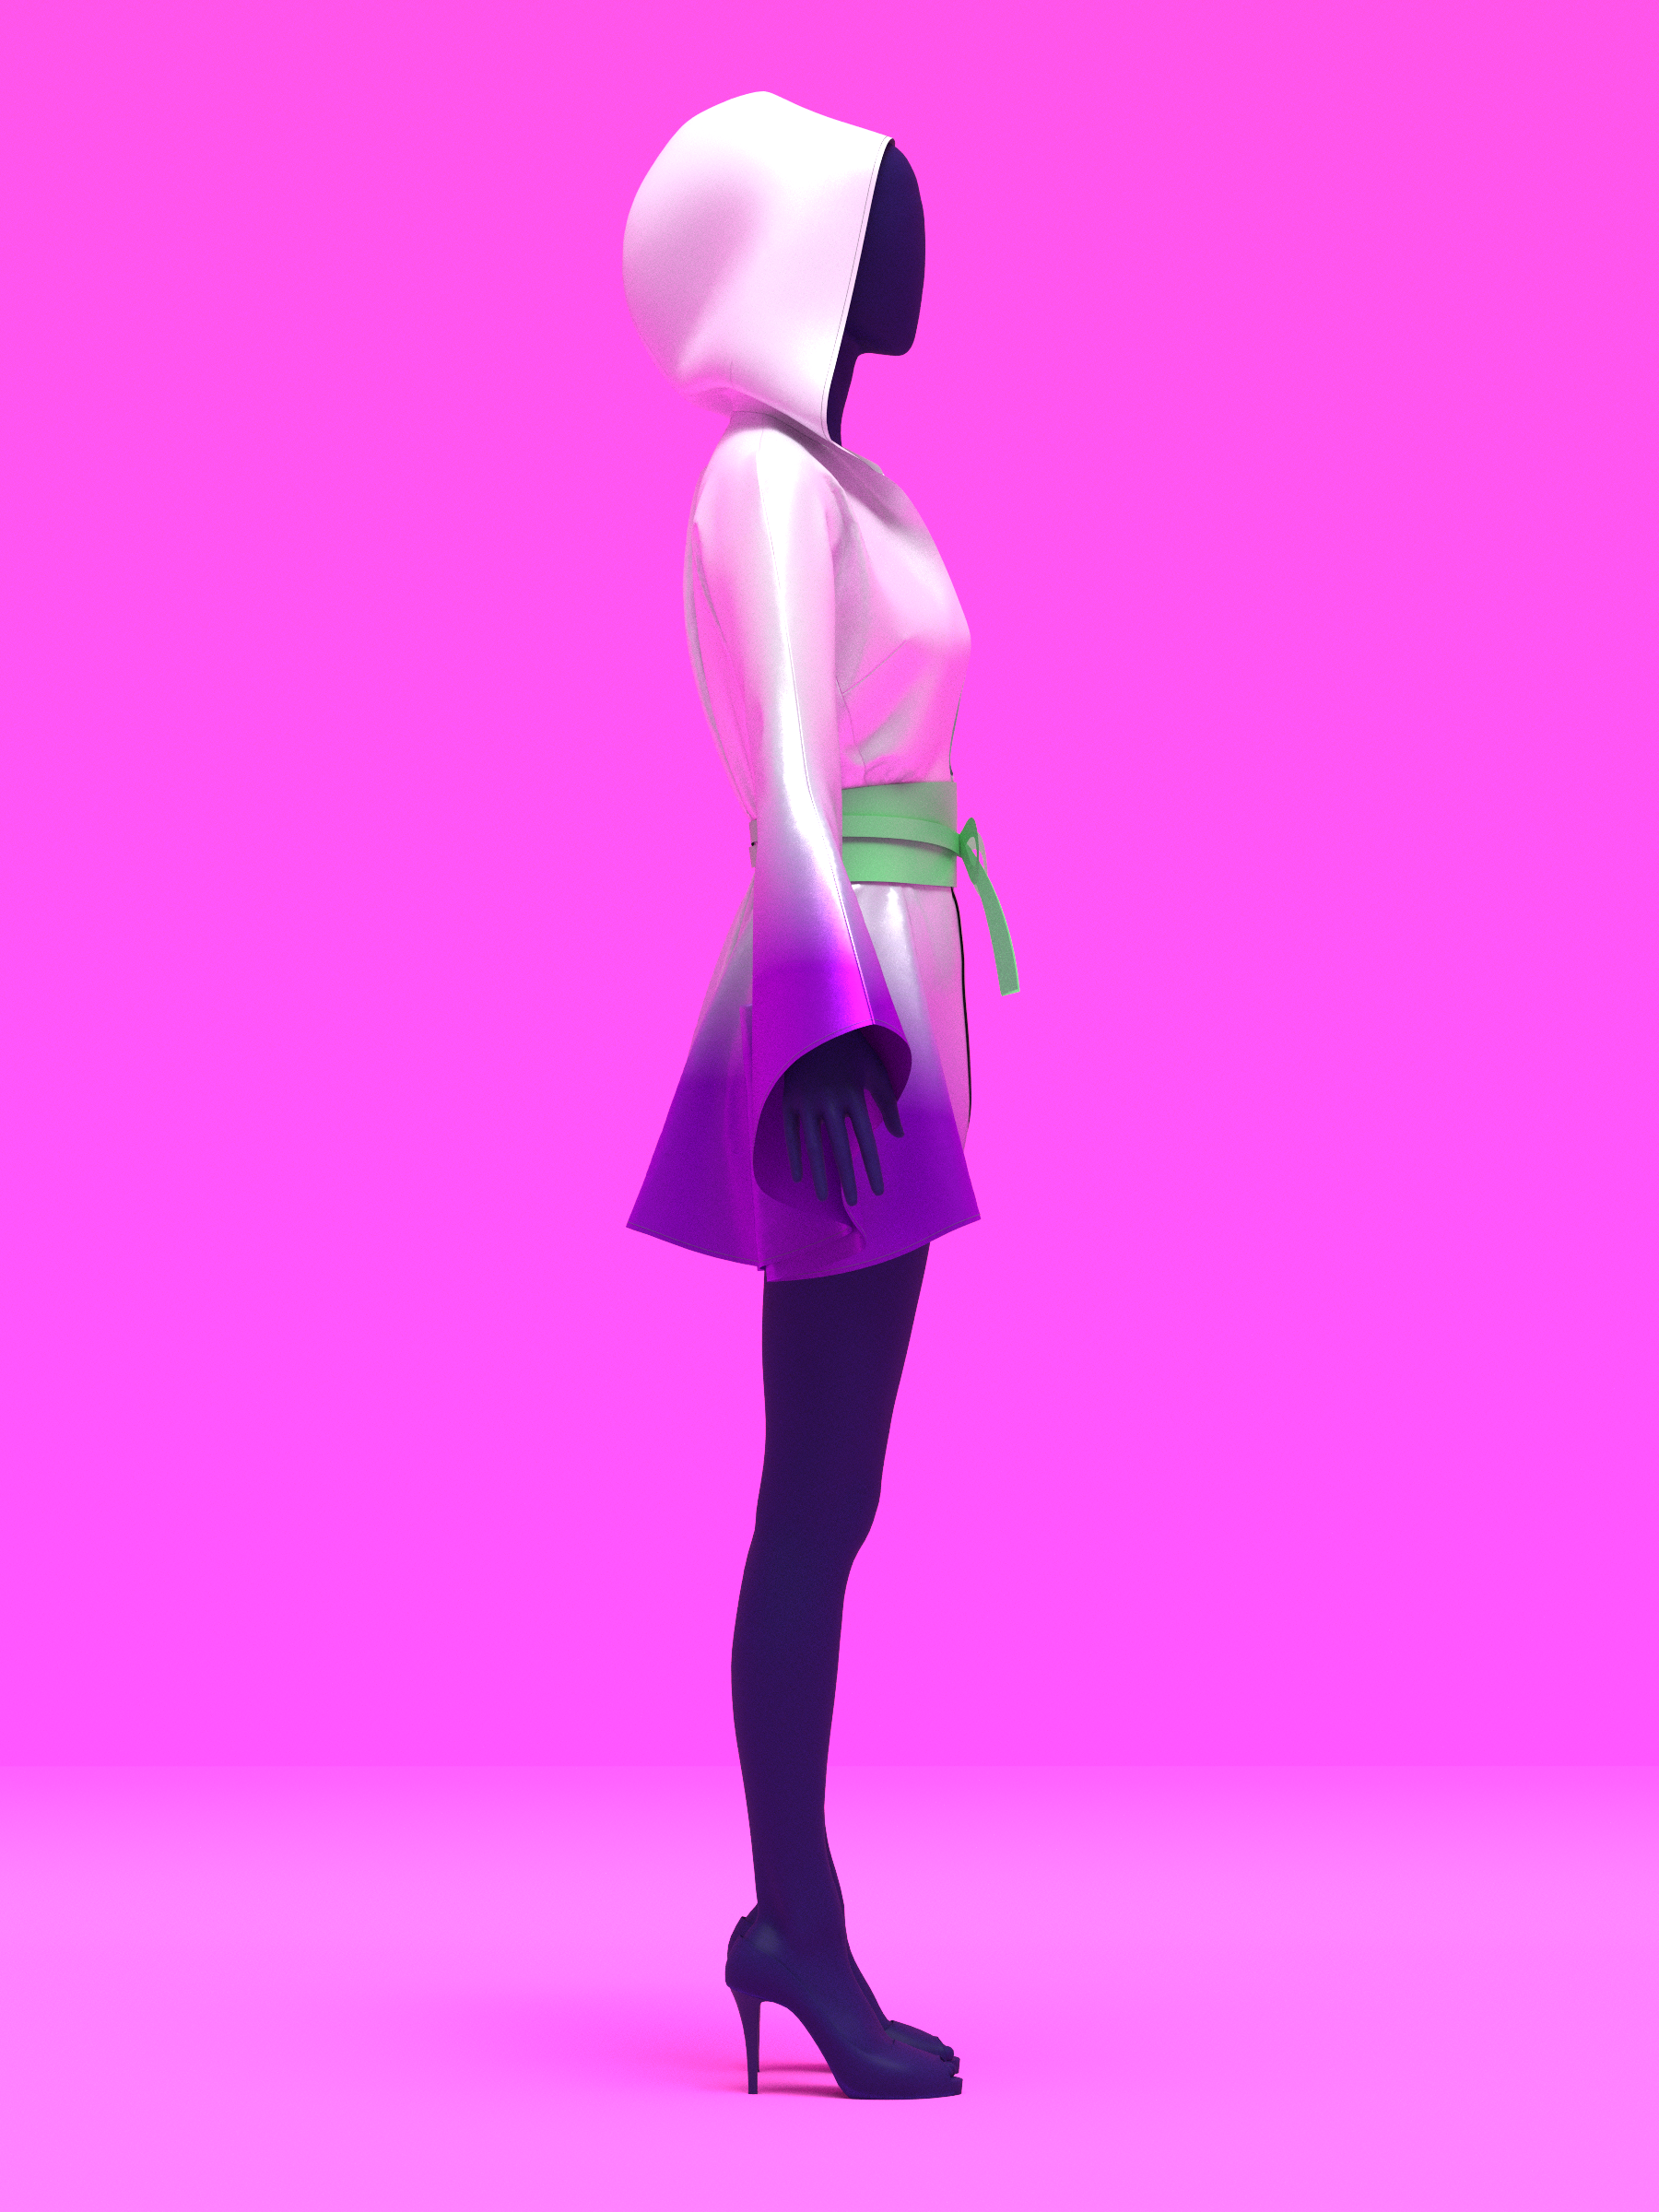
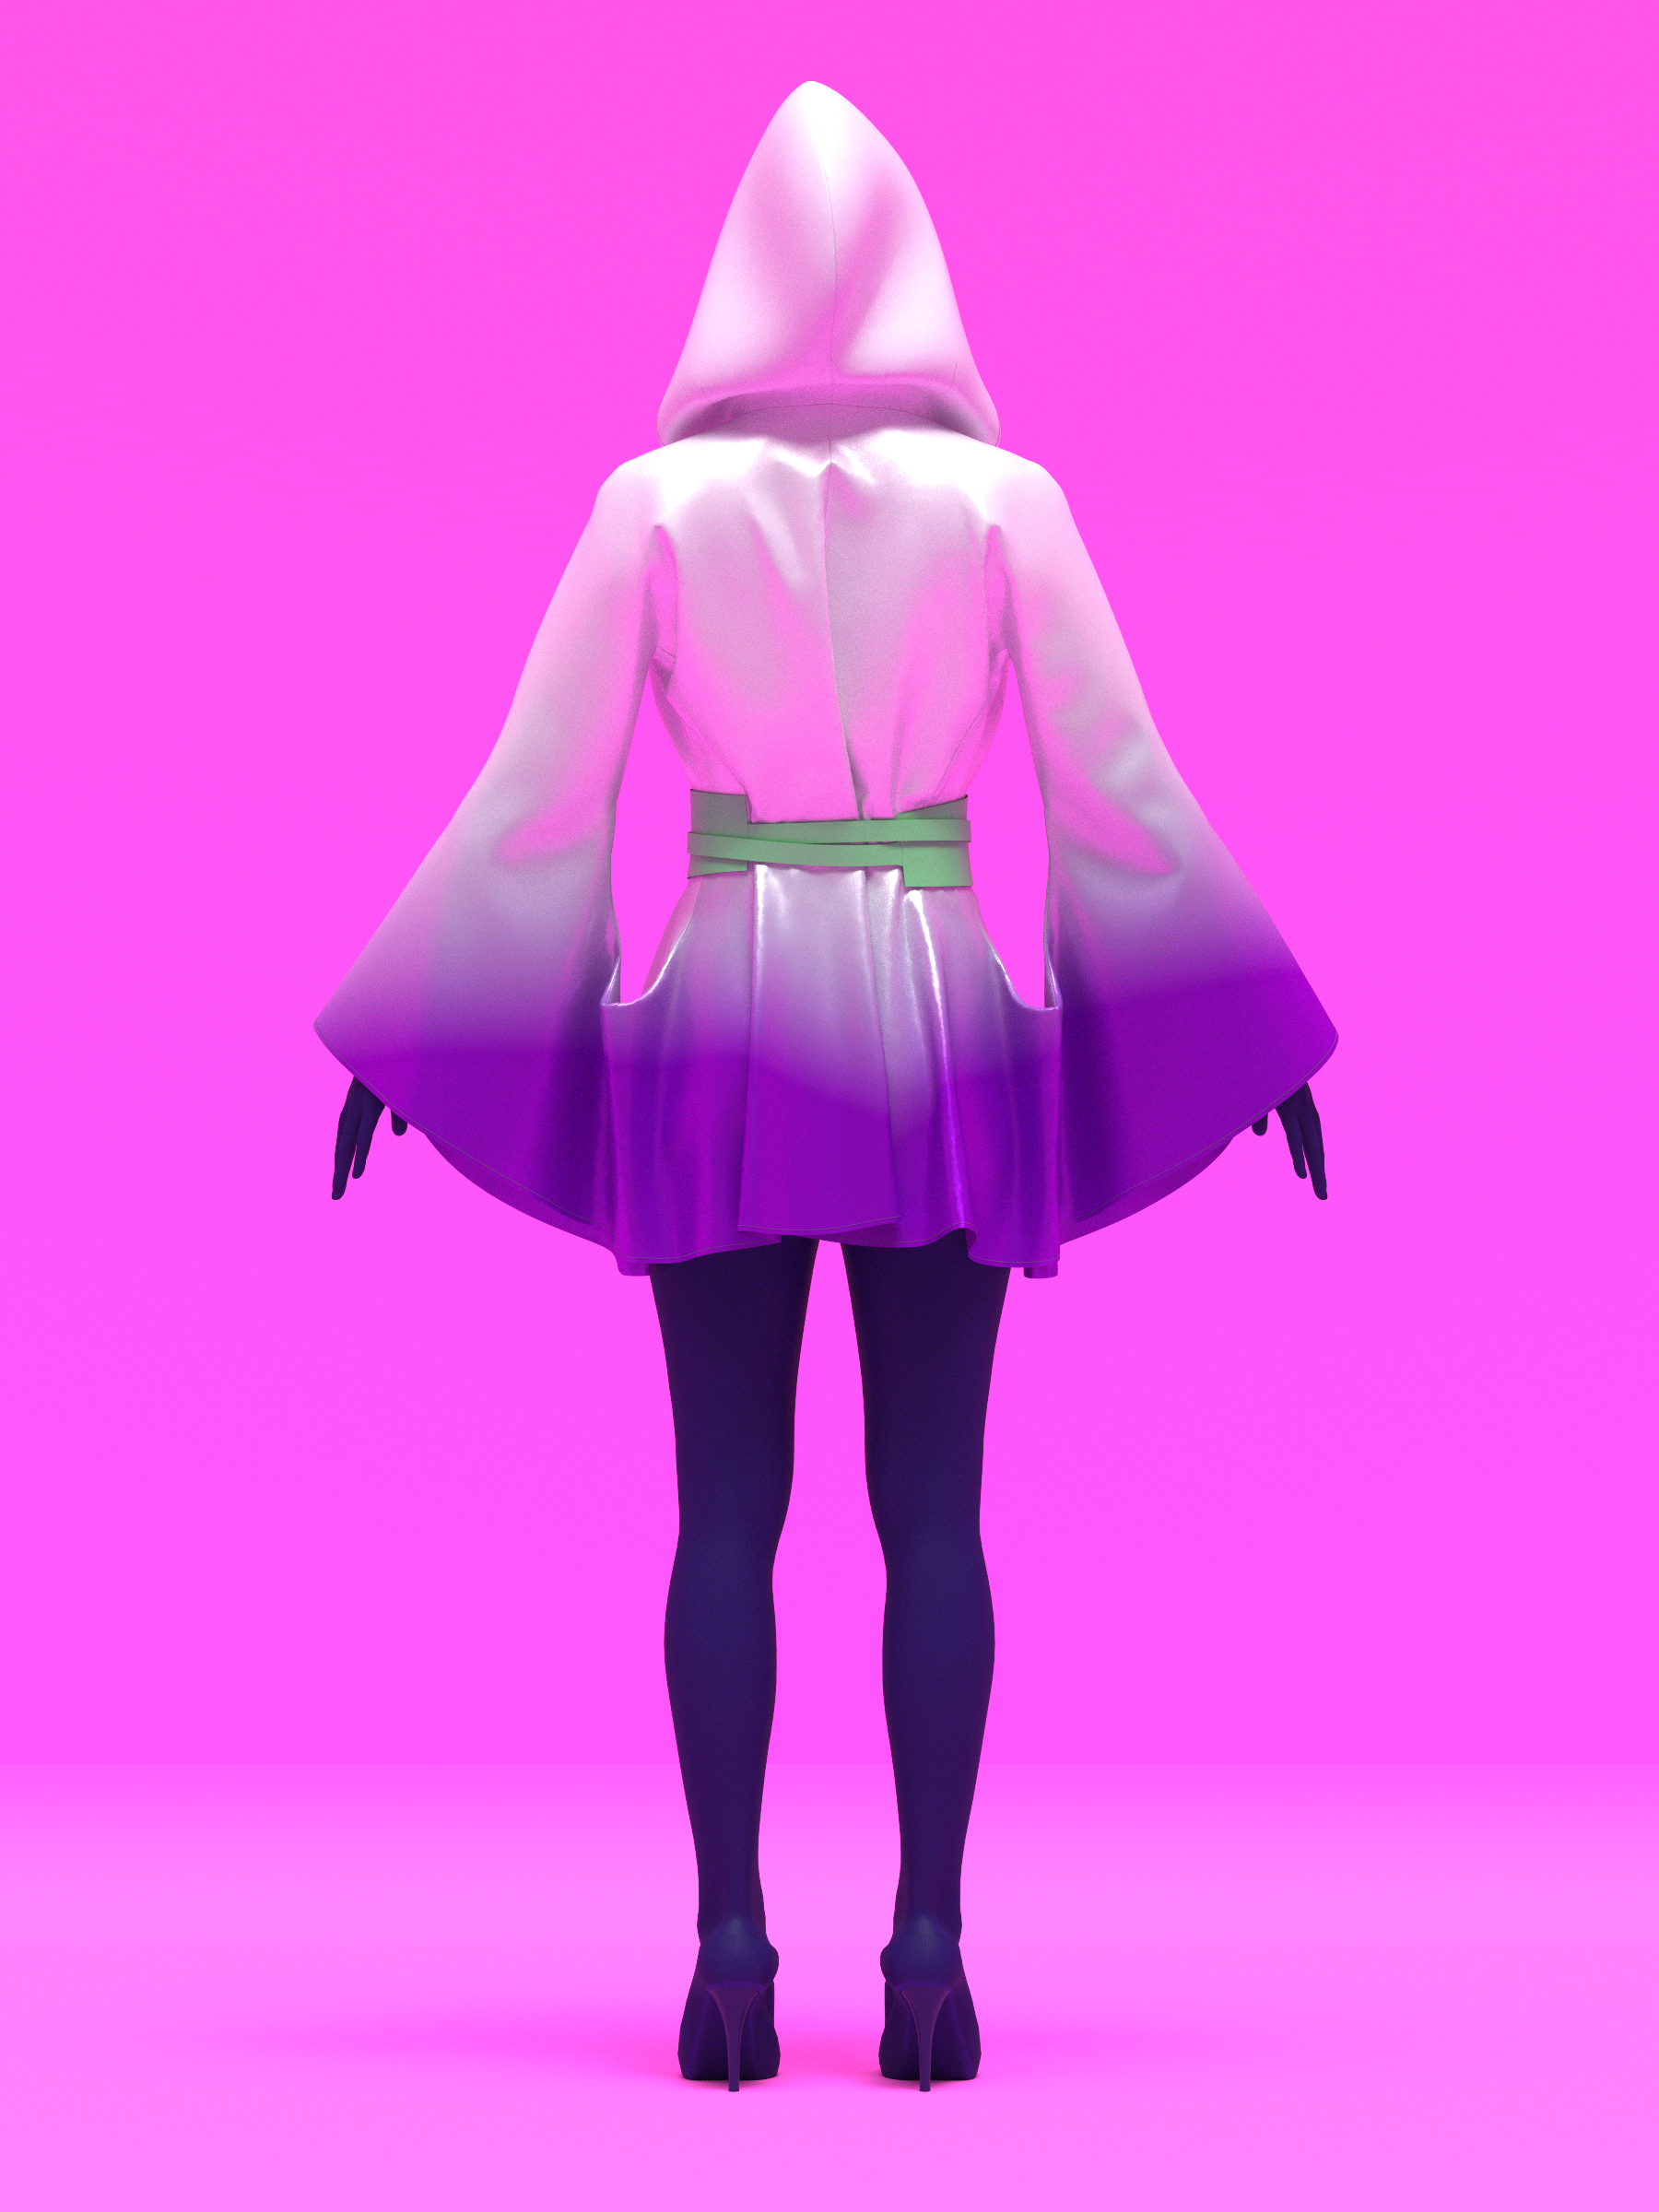
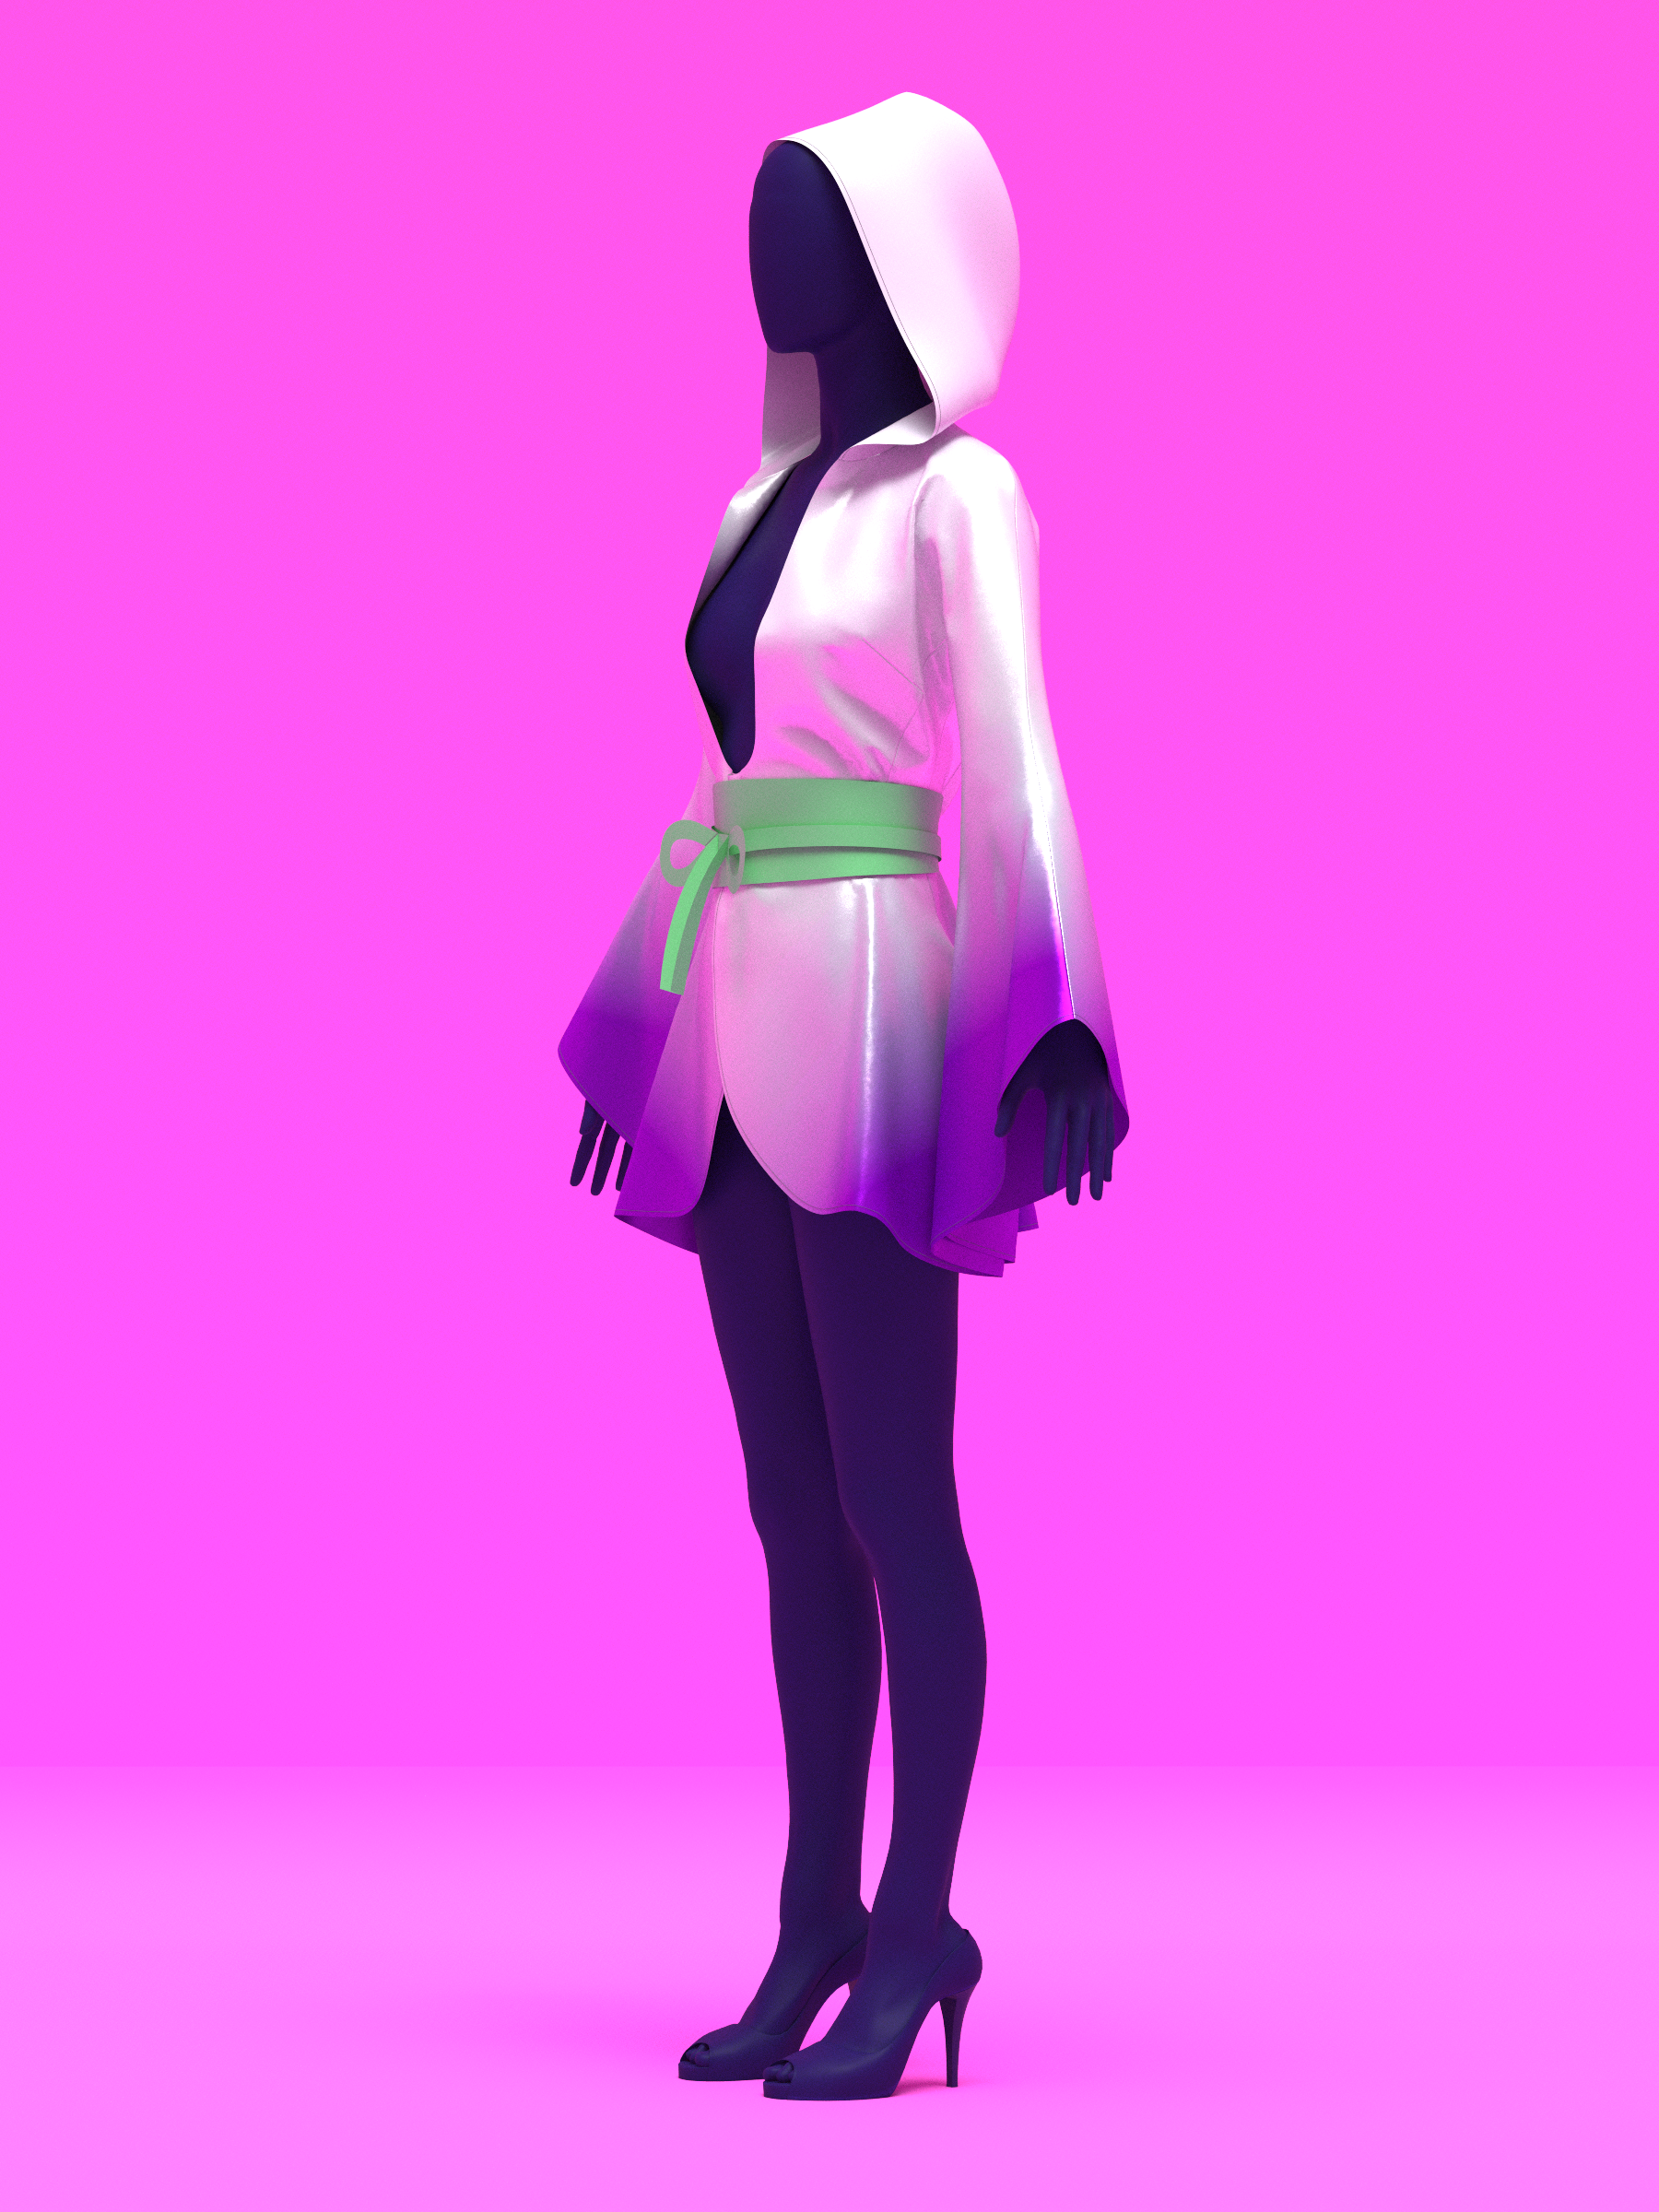
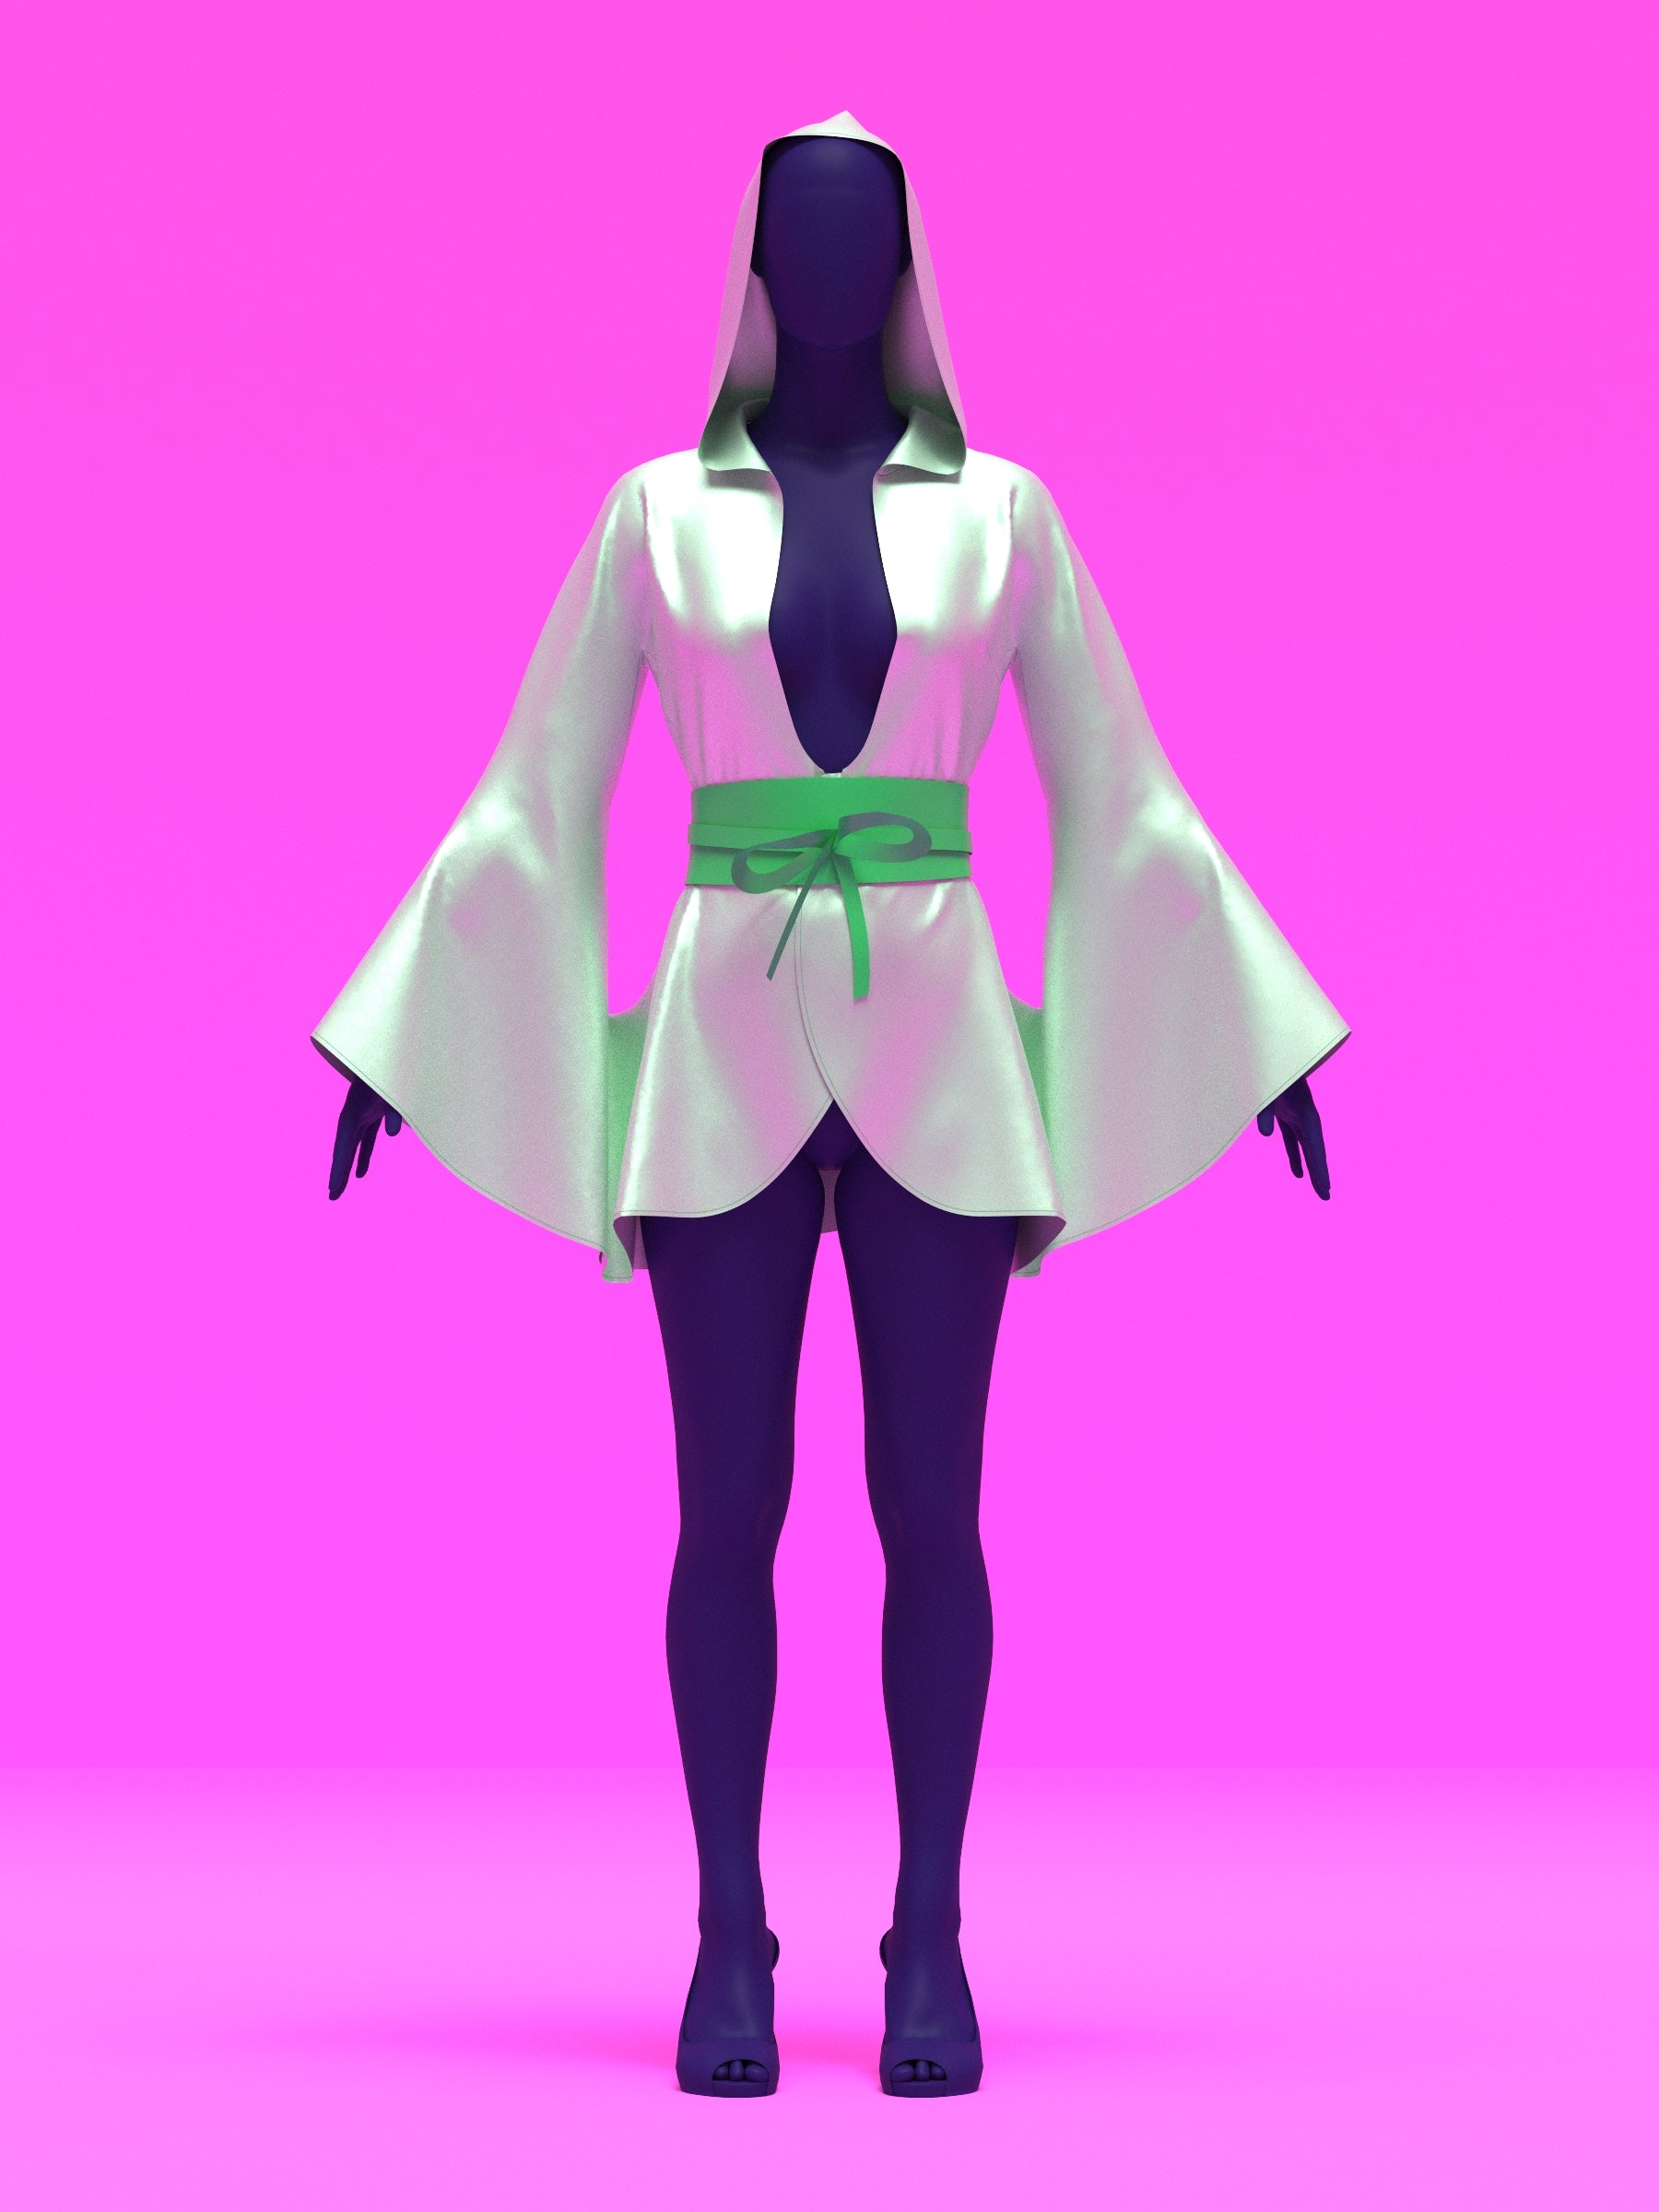
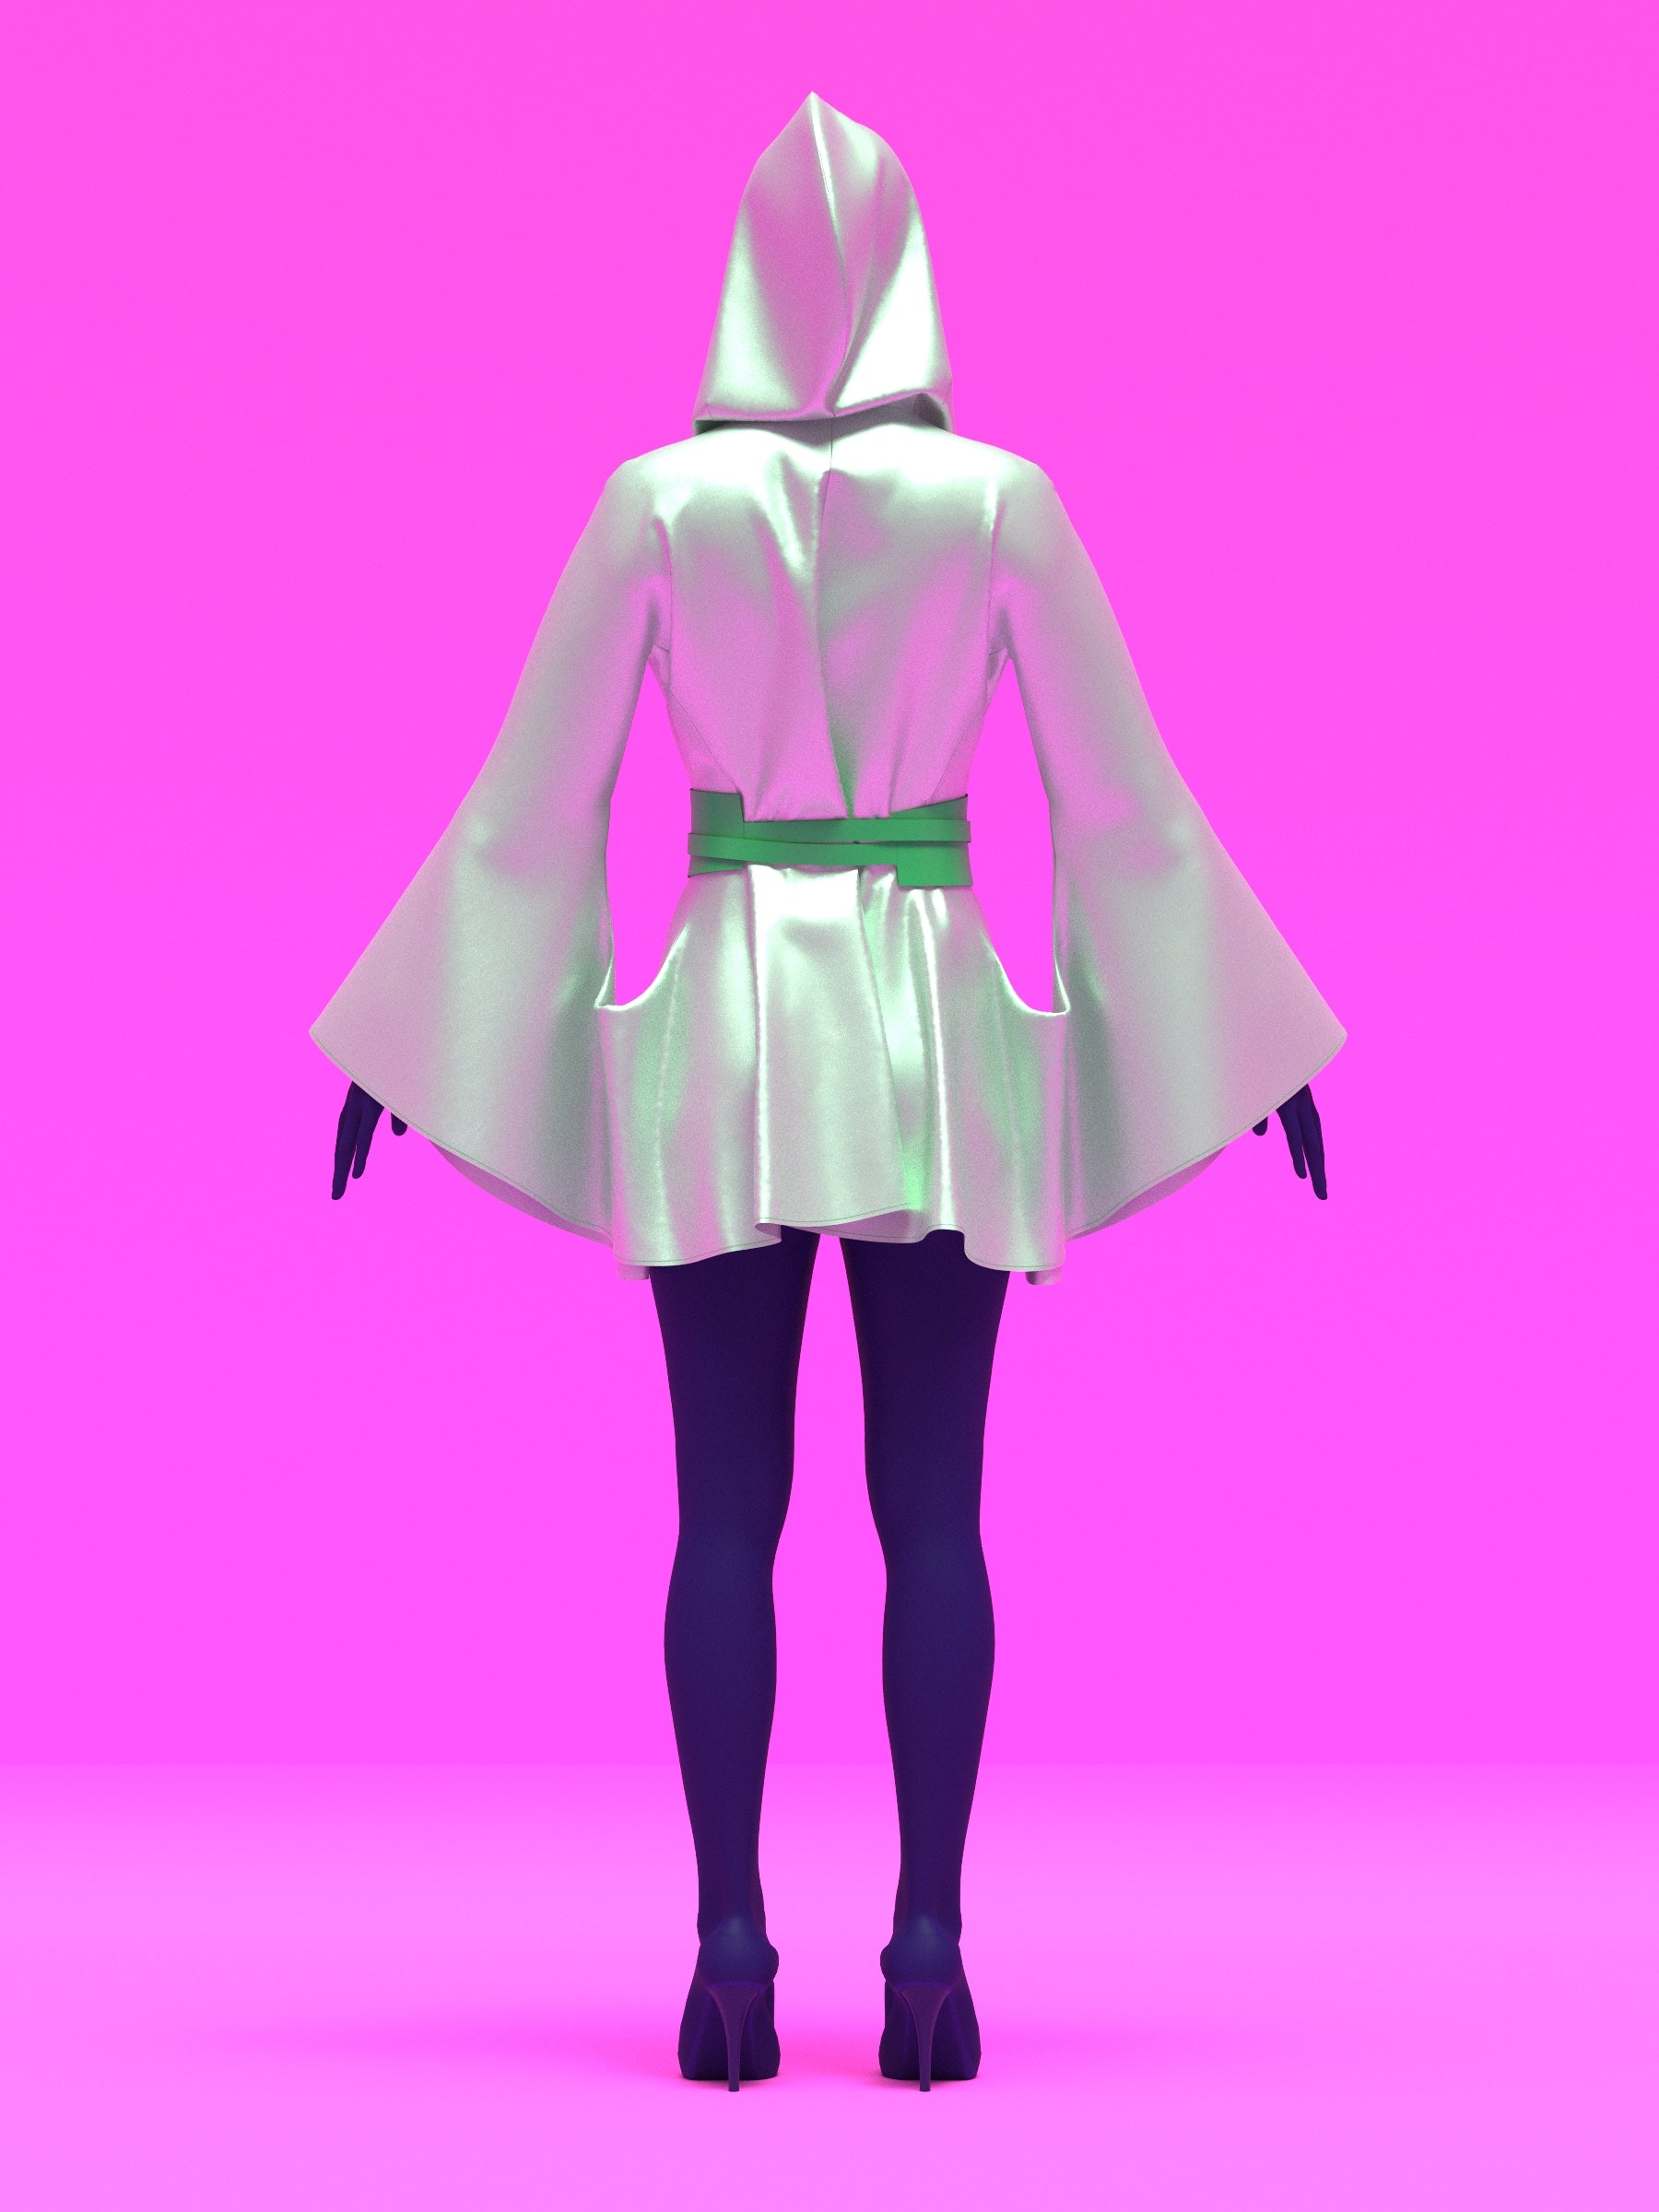
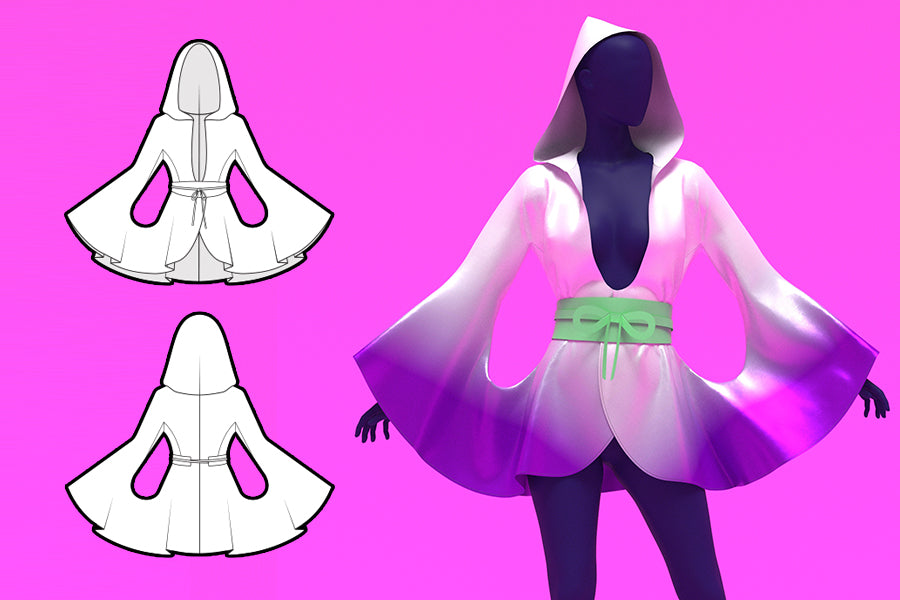
Learn how to sew this dramatic hooded kimono robe with flowing bell sleeves, a deep V front, and a separate tie belt—perfect for drag reveals, festival looks, or a sexy spring/summer statement. This sewing pattern features a front wrap design with a snap closure and a lightweight, airy silhouette that moves beautifully on stage or in the breeze.
In this tutorial, you’ll follow step-by-step instructions to create the hood, attach the sleeves, finish clean edges, and assemble the included belt. Whether you're dressing for a performance, layering a fantasy look, or just want to feel magical at home, this design is made to stand out.
Fabric Yardage
This robe is designed for lightweight, non-stretch fabrics that are typically 54" wide.
Refer to the yardage chart below to find the amount of fabric needed for your size.
| Size | Solid Fabric | Ombre/patterned Fabric | Contrast Belt | |||
|---|---|---|---|---|---|---|
| Yards | Meters | Yards | Meters | Yards | Meters | |
| XS | 3 | 3 | 3 | 3 | 0.5 | 0.5 |
| S | 3.5 | 3 | 3.5 | 3 | 0.5 | 0.5 |
| M | 3.5 | 3 | 3.5 | 3.5 | 0.5 | 0.5 |
| L | 3.5 | 3.5 | 3.5 | 3.5 | 0.5 | 0.5 |
| XL | 3.5 | 3.5 | 4 | 3.5 | 0.5 | 0.5 |
| 2X | 4 | 3.5 | 4 | 3.5 | 0.5 | 0.5 |
| 3X | 4 | 4 | 4 | 4 | 0.5 | 0.5 |
| 4X | 4 | 4 | 4.5 | 4 | 0.5 | 0.5 |
Fabric & Notions
Suitable for lightweight fabrics:
- Knits
- Satin
- Lace
- Organza
- Chiffon
- Georgette
- Voile
- Charmeuse
- A Snap or Velcro for closure
- Medium-weight Fusible Interfacing (Optional, for the Belt and Facing)
Sizing Details
The robe is available in our exclusive drag queen sizes XS–4X.
Drag Queen Sizes
| Sizes | XS | S | M | L | XL | 2X | 3X | 4X | |||
|---|---|---|---|---|---|---|---|---|---|---|---|
| Inches | |||||||||||
| Bust | 35”-37” | 38”-40” | 40”-42” | 44”-46” | 47”-49” | 50”-52” | 53”-55” | 56”-58” | |||
| Waist | 26”-28” | 29”-31” | 32”-34” | 35”-37” | 38”-40” | 41”-43” | 44”-46” | 47”-49” | |||
| Hips | 37”-39” | 40”-42” | 43”-45” | 46”-48” | 49”-51” | 52”-54” | 54”-56” | 58”-60” | |||
| Height | 70" | 70" | 70" | 70" | 70" | 70" | 70" | 70" | |||
| Centimeters | |||||||||||
| Bust | 89-94 | 96-102 | 102-107 | 112-117 | 119-124 | 127-132 | 135-140 | 142-147 | |||
| Waist | 66-71 | 74-79 | 81-86 | 89-94 | 96-102 | 104-109 | 112-117 | 119-124 | |||
| Hips | 94-99 | 102-107 | 109-114 | 117-122 | 124-130 | 132-137 | 137-142 | 147-152 | |||
| Height | 178 | 178 | 178 | 178 | 178 | 178 | 178 | 178 | |||
Our unique drag sizes are based on U.S. Standard Men’s and Women’s Plus sizes, designed to fit male bodies with padding with an average height of 70 inches. They feature longer torsos, wider shoulders, arms, and legs, and a shorter crotch inseam compared to standard women’s sizing, making them inclusive for anyone matching the provided measurements.
Sewing Instructions
Color Guide

Paper Pattern: Assembly
READ FIRST: The paper pattern comes in separate parts that need to be taped together before cutting your fabric. The front and back pieces are cut into three parts that need to be taped together according to the annotations. On paper

After taping.

Once everything is taped together for your chosen size, you’re ready to cut your fabric!
Fabric Pieces
After cutting your fabric, you should have the following pieces:
- 2 Hood pieces – 1 for the shell, and 1 for the lining
- 2 mirrored Front pieces
- 2 mirrored Facing pieces
- 2 mirrored Back pieces
- 2 mirrored Gusset pieces
- 2 mirrored Side Front pieces
- 2 mirrored Side Back pieces
- 2 Belt pieces – cut on fold
- 2 Belt string pieces – cut on fold

Sewing the Darts
Take the Front pieces and sew the darts closed on the wrong side of the fabric for both the shell and lining pieces.

Sewing the Fronts
Serge the side edge of the front facing.
Take the front and facing pieces. Stack them with the right sides (the side of the fabric that will be visible) facing each other. Sew them together along the center front edge.

Flip the facing right side out. Then understitch the center front seam as far down as you can and gently press the edges using an iron.

Take the front and side front pieces. Stack them with the right sides facing each other. Sew them together stopping right at the corner (marked with a dot) at the armpit.

Sew the waist seam on the front pieces. On the bottom part fold the seam allowance twice and pin it - it will be the beginning of the hem.

Fold the front piece with the right sides facing each other. Sew the horizontal waist seam including the facing’s bottom edge in the seam and the beginning of the hem.

NOTE: Serge all raw edges to prevent any fraying inside the garment.
Sewing the Back
Take the back and side back pieces. Stack them with the right sides facing each other. Sew them together stopping right at the corner (marked with a dot) at the armpit.

Sew the waist seam on the back pieces. Fold the back piece with the right sides facing each other. Sew the horizontal waist seam.
Now, sew the center back seam. Stack two back pieces with the right sides facing each other. Sew them together along the center back seam.

NOTE: Serge all raw edges to prevent any fraying inside the garment.
Sewing the Sleeves
Take the front and gusset pieces. Stack them with the right sides facing each other. Sew them together stopping right at the corner (marked with a dot) at the armpit. Be careful not to catch the side front seam allowance in this seam.

Sew the back and gusset Pieces. Take the back and gusset pieces. Stack them with the right sides facing each other. Sew them together starting from the dot at the armpit along the side seam including the side pieces. Be careful not to catch the side back seam allowance in this seam.

This is how your armhole area should look after this step

Sew the armhole seam making sure not to catch any seam allowance in the seam. After sewing, snip the seam allowance to release tension.

Turn the garment over with wrong sides facing each other. Now sew the shoulder seams (right sides facing each other). To do that, fold the shoulder edges down and sew them from the neck opening including the facing’s shoulder edge in this seam.

At this point you have a whole cape without the hood.

NOTE: Serge all raw edges to prevent any fraying inside the garment.
Sewing the Hood
Close the darts on the hood and hood lining.
Sew the back seam on the hood. Fold the hood with the right sides facing each other. Sew the back seam. Repeat this step with the lining.

Stack the hood shell and lining together right sides facing each other, and sew along the face opening. Flip the hood layers right side out and topstitch along the face opening stitch. The neck edge should remain open.

Pin the hood around the neck line of the garment, right sides facing each other, with the back seam of the hood lined up with the center back seam of the garment. Then sew all around the neckline catching both the hood and hood lining.

NOTE: Serge all raw edges to prevent any fraying inside the garment.
If you're an experienced sewist, you can first attach the shell hood to the front and back pieces, and the hood lining to the front facing pieces. This method will neatly enclose the neck seam between the two hood layers for a cleaner finish.
Finish the Garment
Lastly, install one male and one female snap to the front of the garment, following the placement guide on the paper pattern. Use a snap tool for secure installation.

Hem the robe. Hem the bottom of the garment with a rolled hem by double-folding the fabric and stitching it.

Sewing the Belt
Fold the belt strips in half along the longer side, right sides facing each other, and sew along the long open edge and one short open edge. Trim off excess seam fabric along the corners to allow for sharp corners. Flip the belt strips right side out and press.

Stack the belt pieces right sides facing each other, inserting the belt strips between them according to the notches. Sew along the edges of the belt expecting you must leave an unsewn gap at one of the long sides, to allow you to flip the belt right side out. You can leave this gap wherever you wish, it must be large enough to allow you to flip everything.

Once sewn, before flipping, you can trim off excess seam fabric along the corners to allow for sharp corners.
Flip the belt right side out, fold inward the unsewn gap and top stitch along the belt, closing the gap.

Your garment is now finished!
Get the Pattern