How to Sew A Bodycon Stretch Dress
Jump to Instructions
Overview
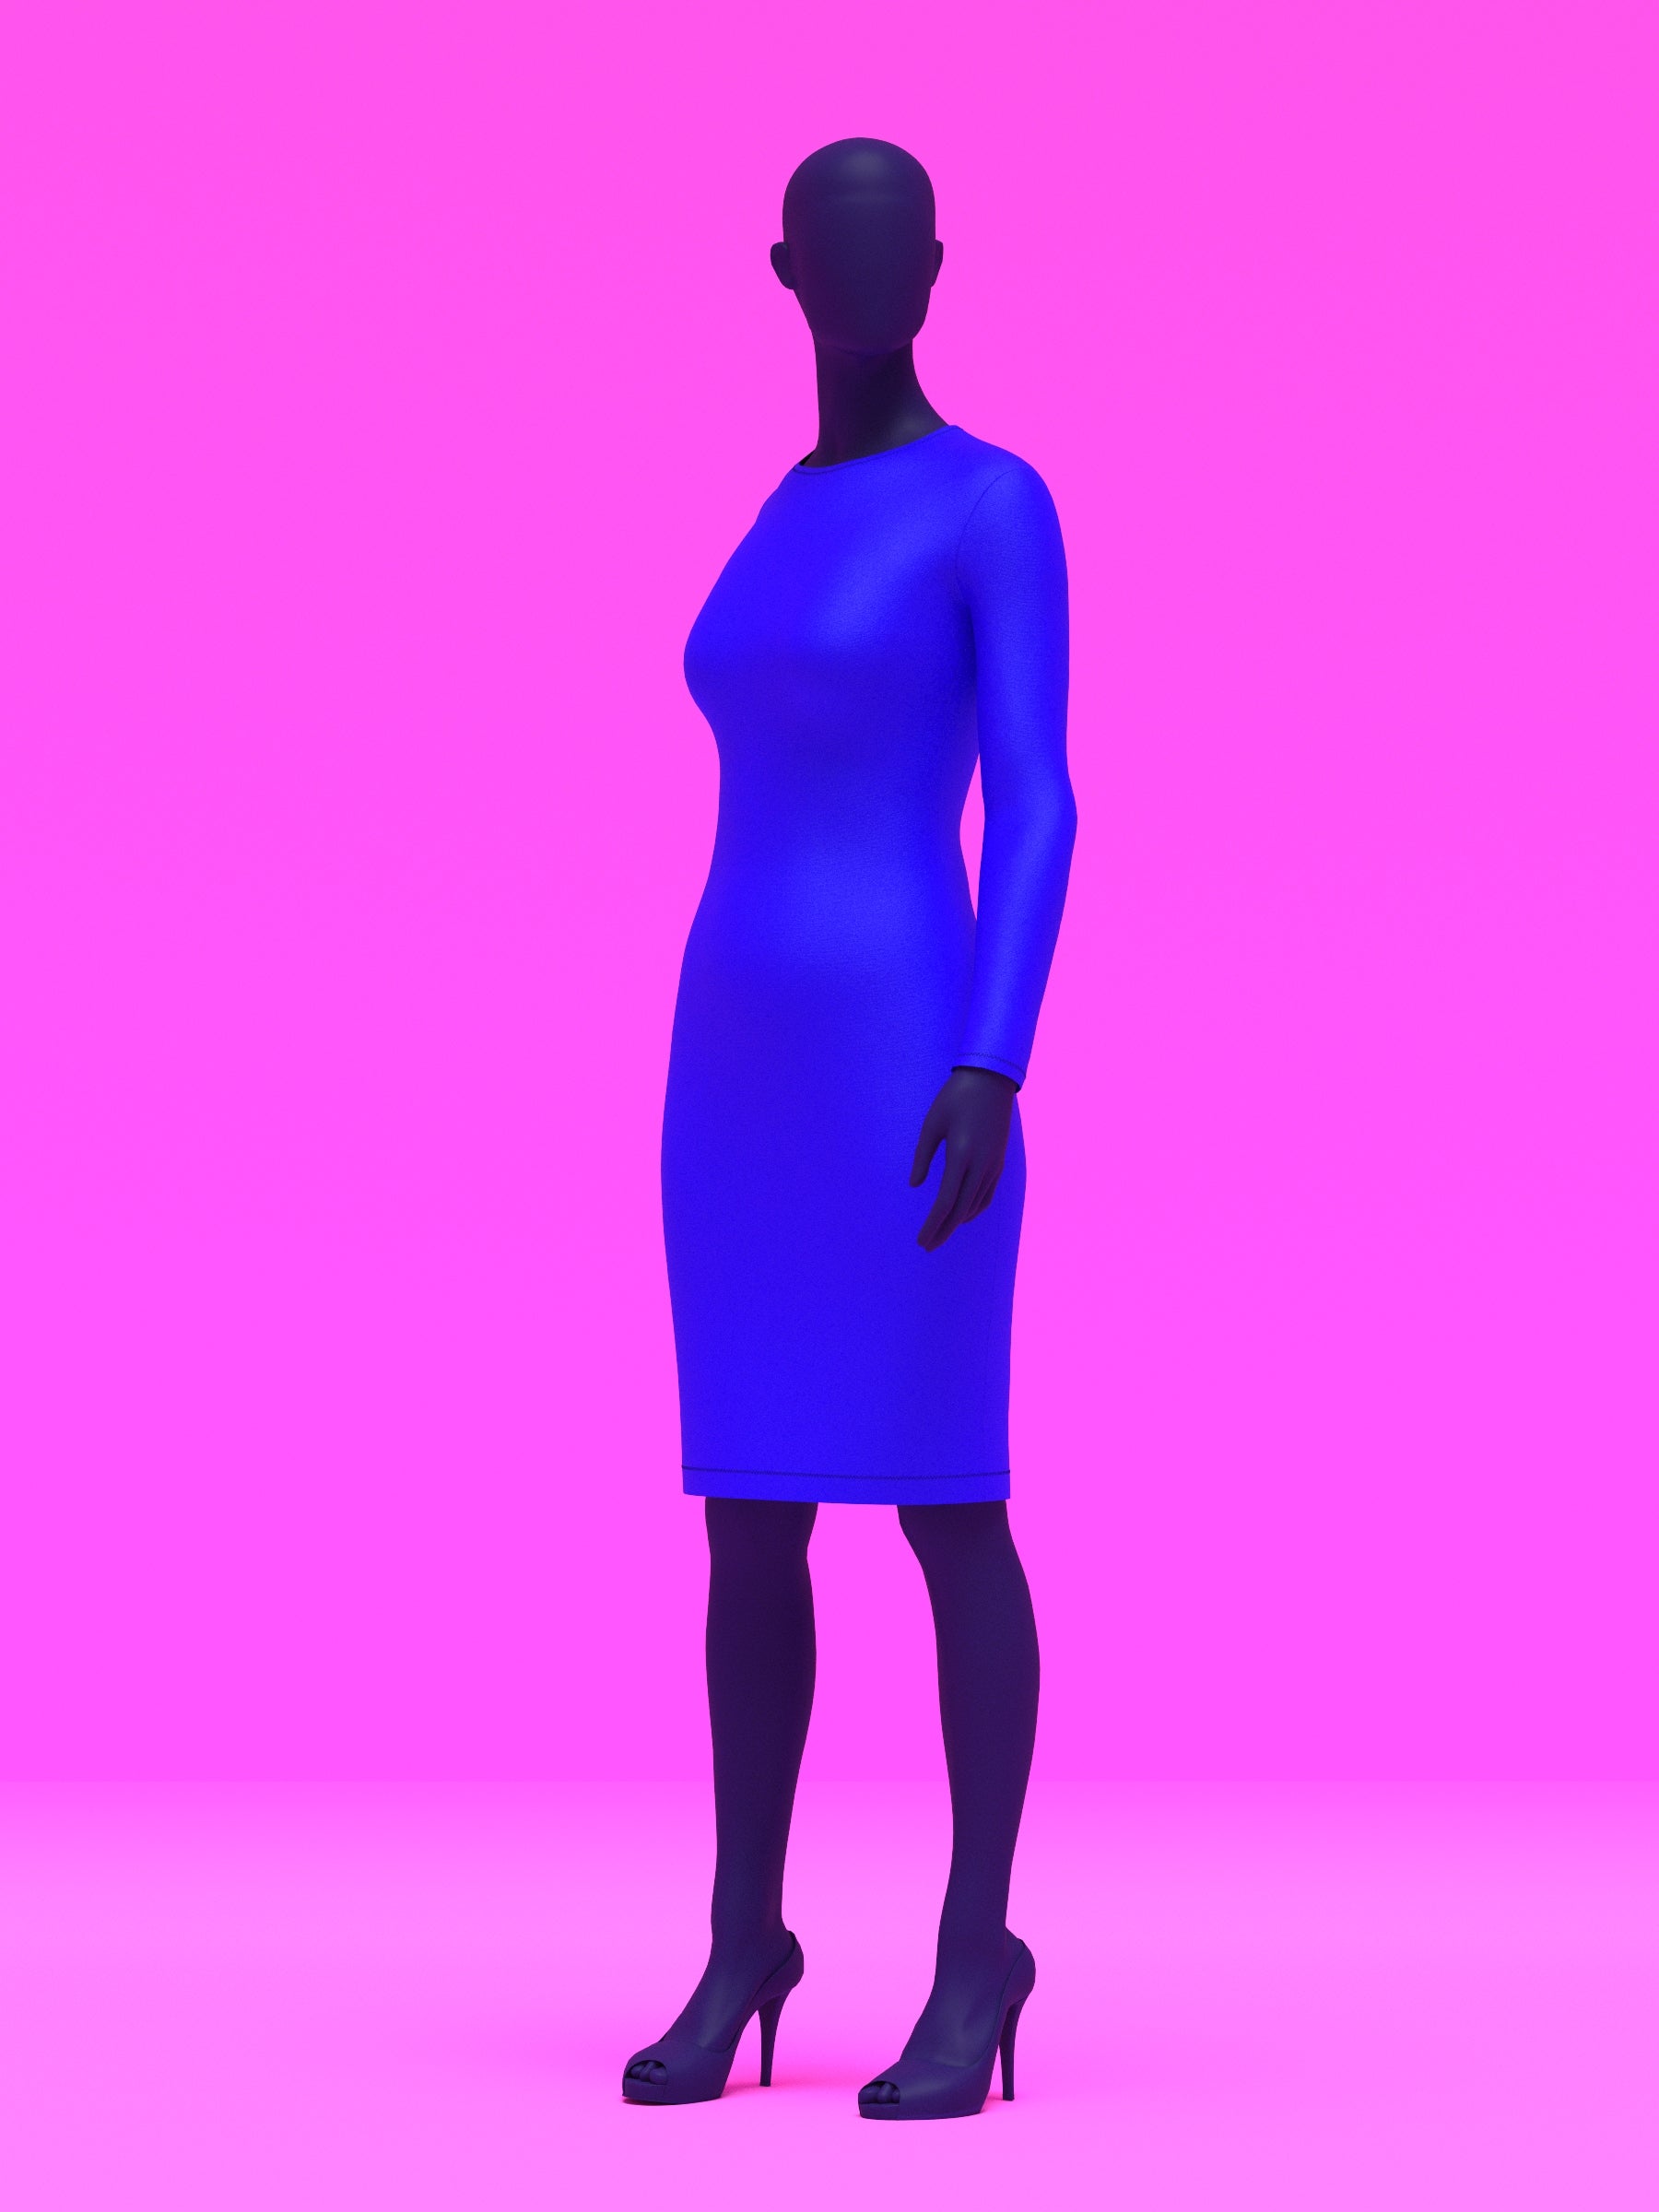
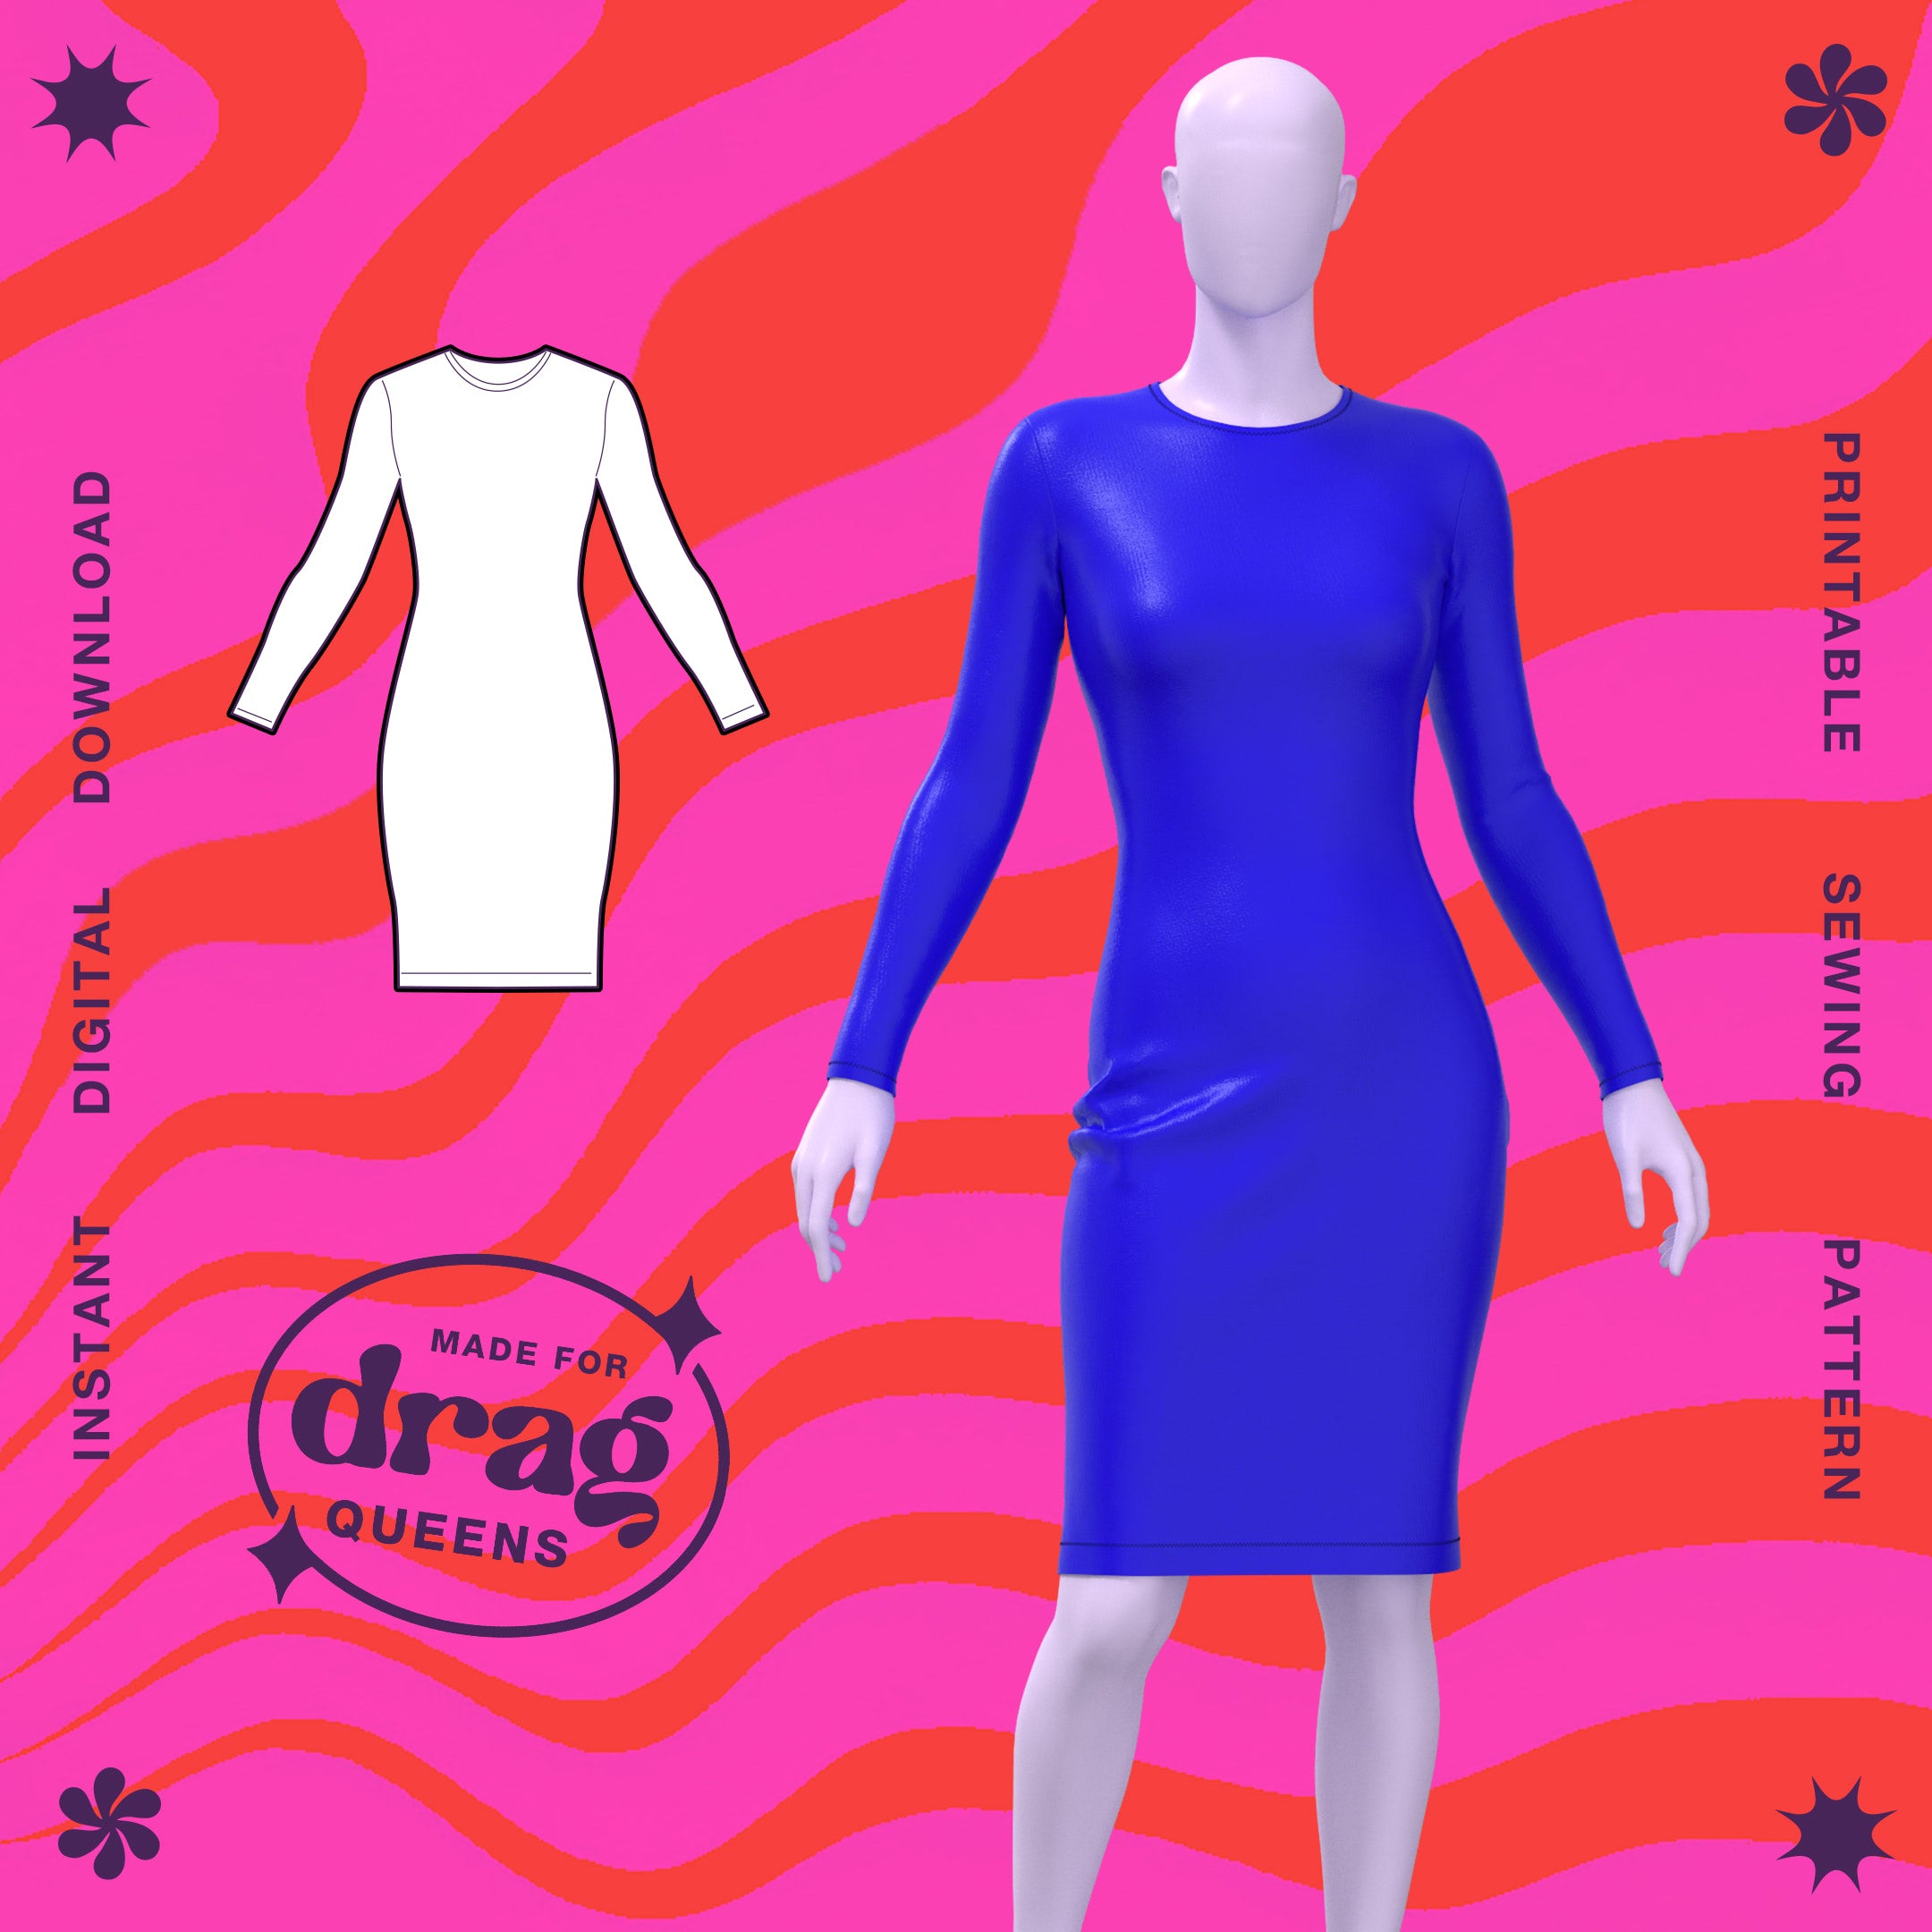
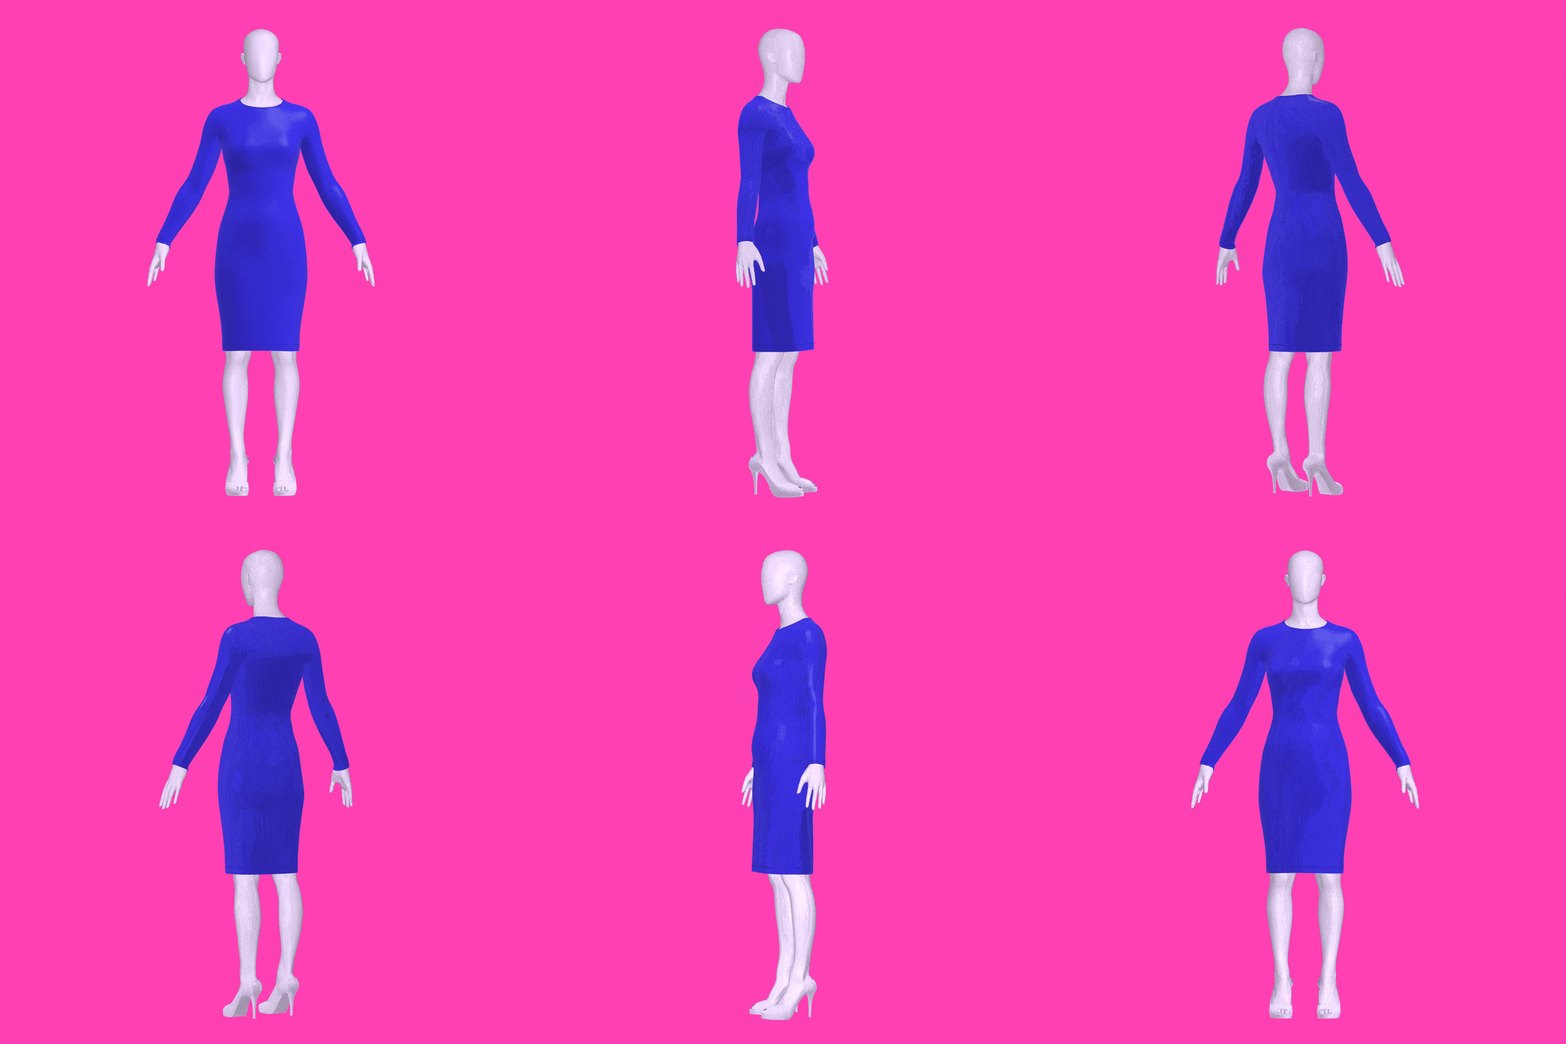
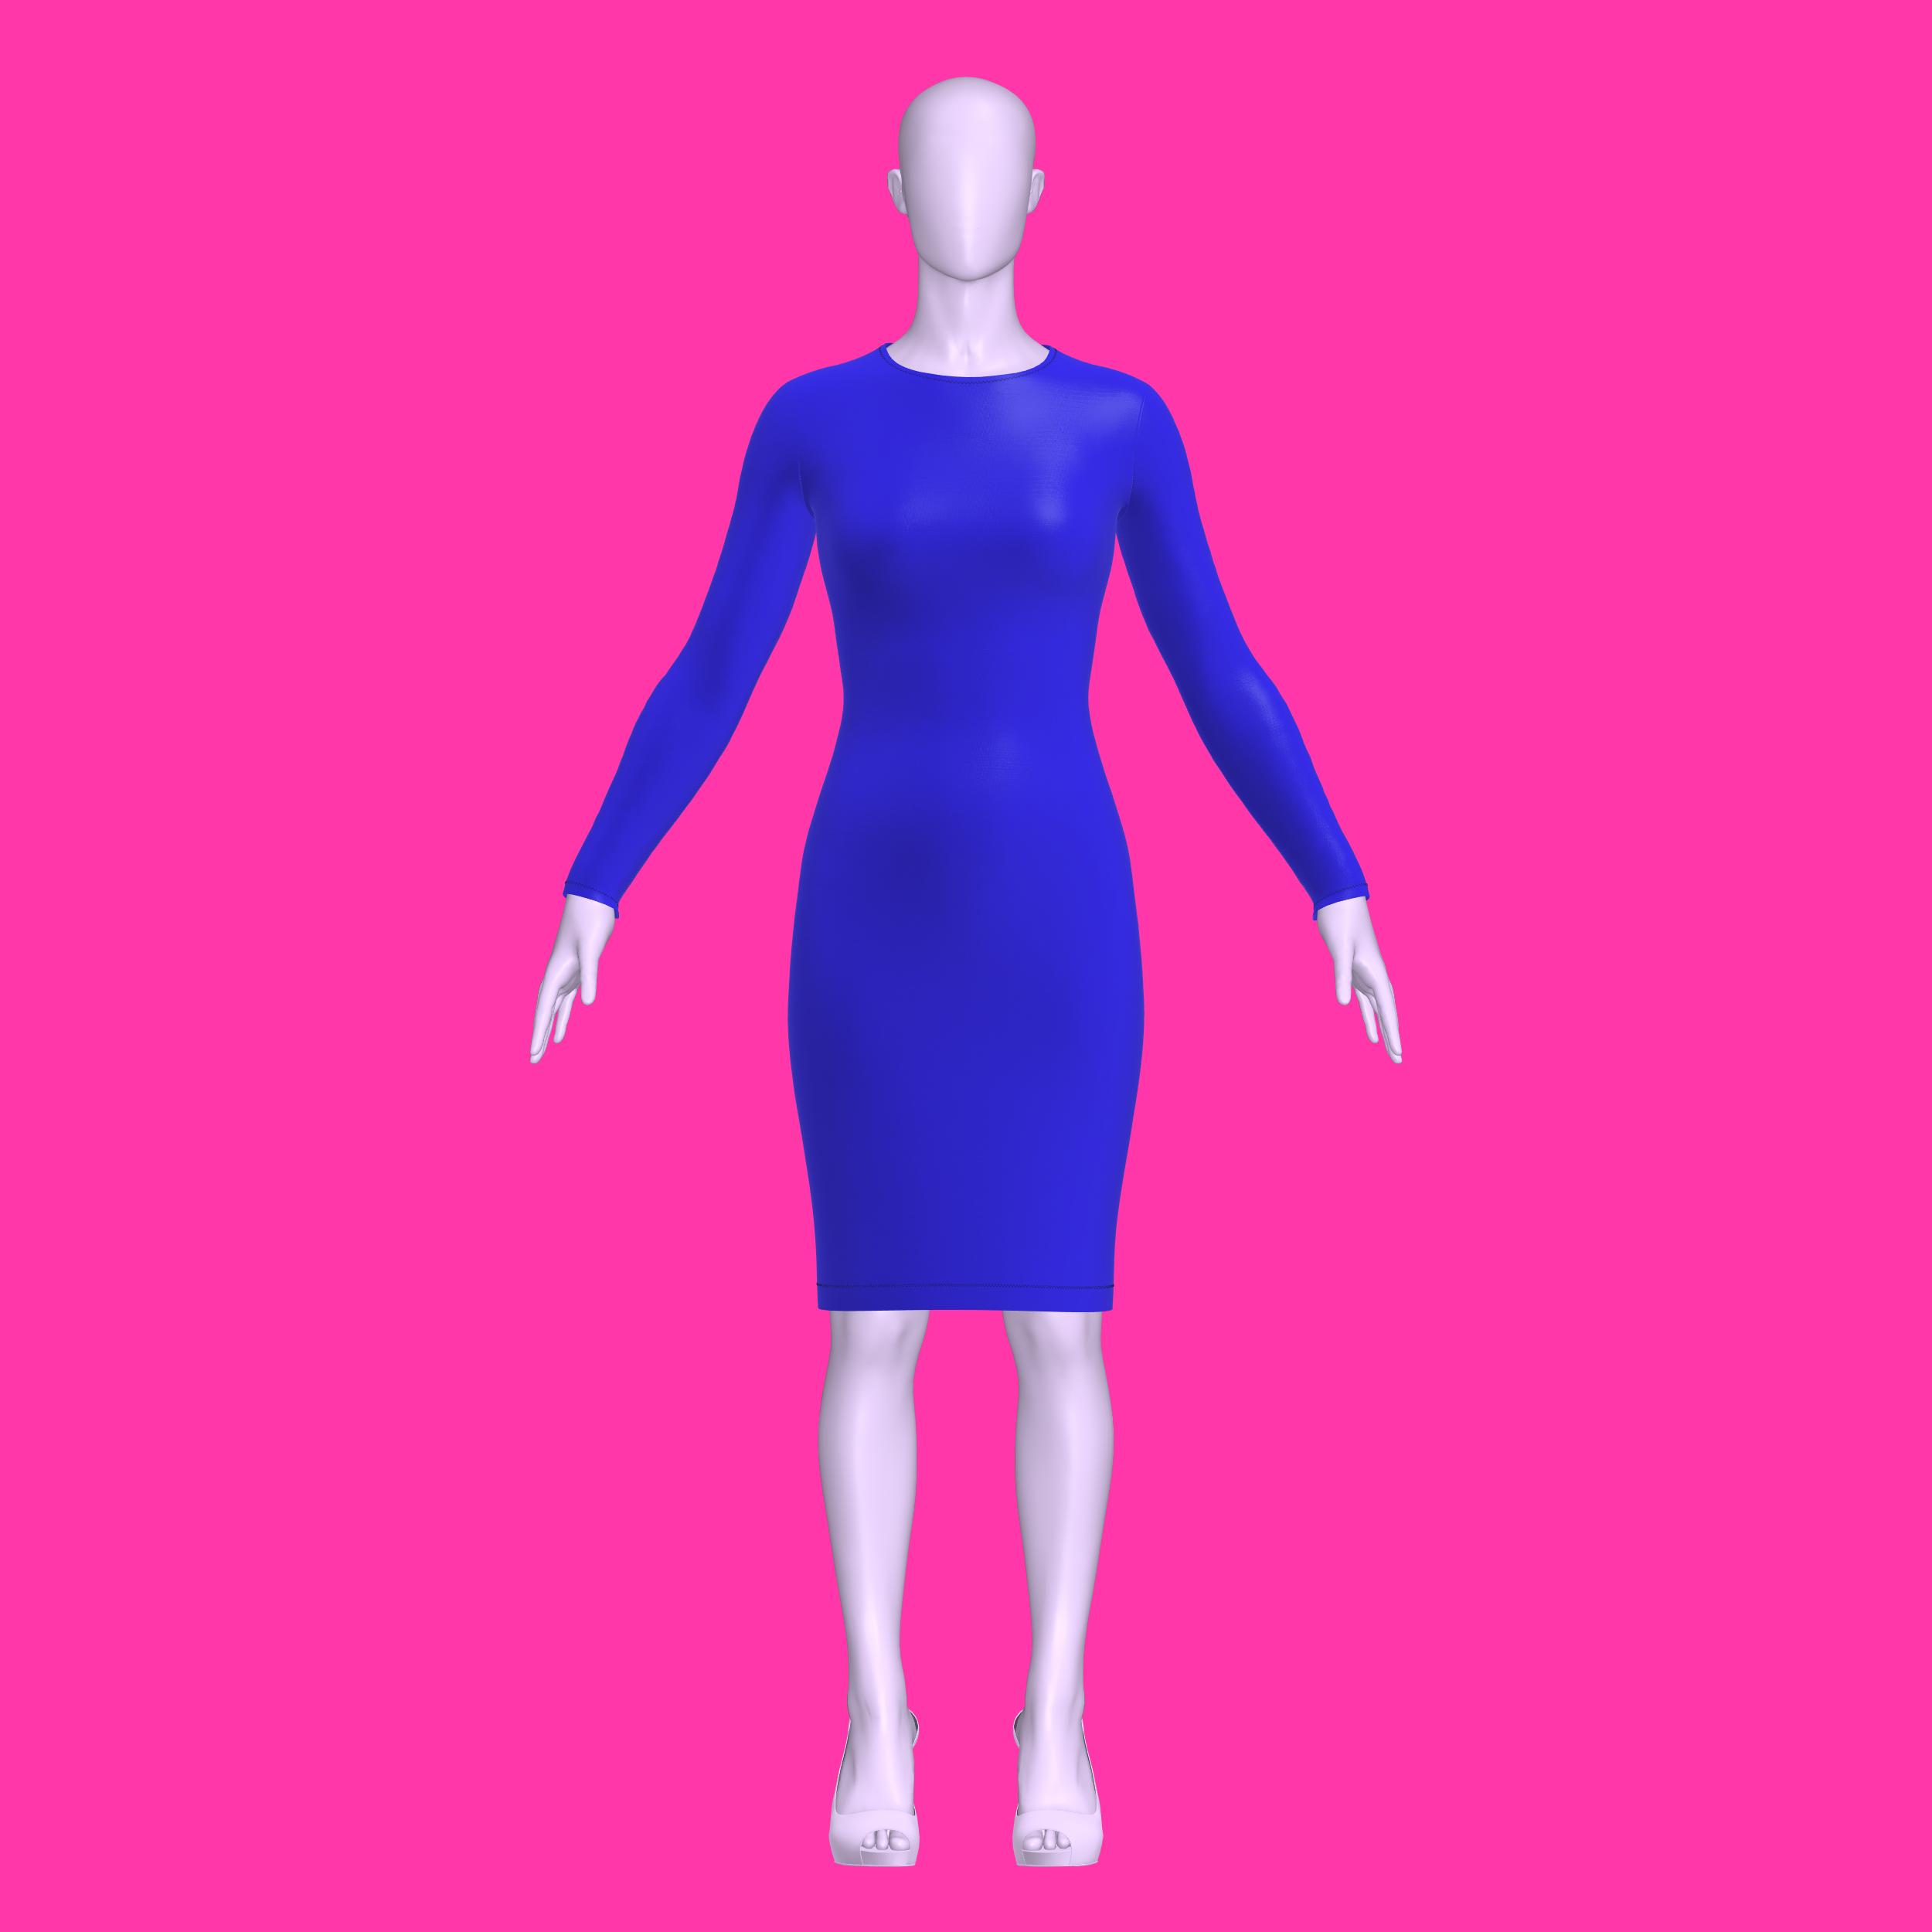
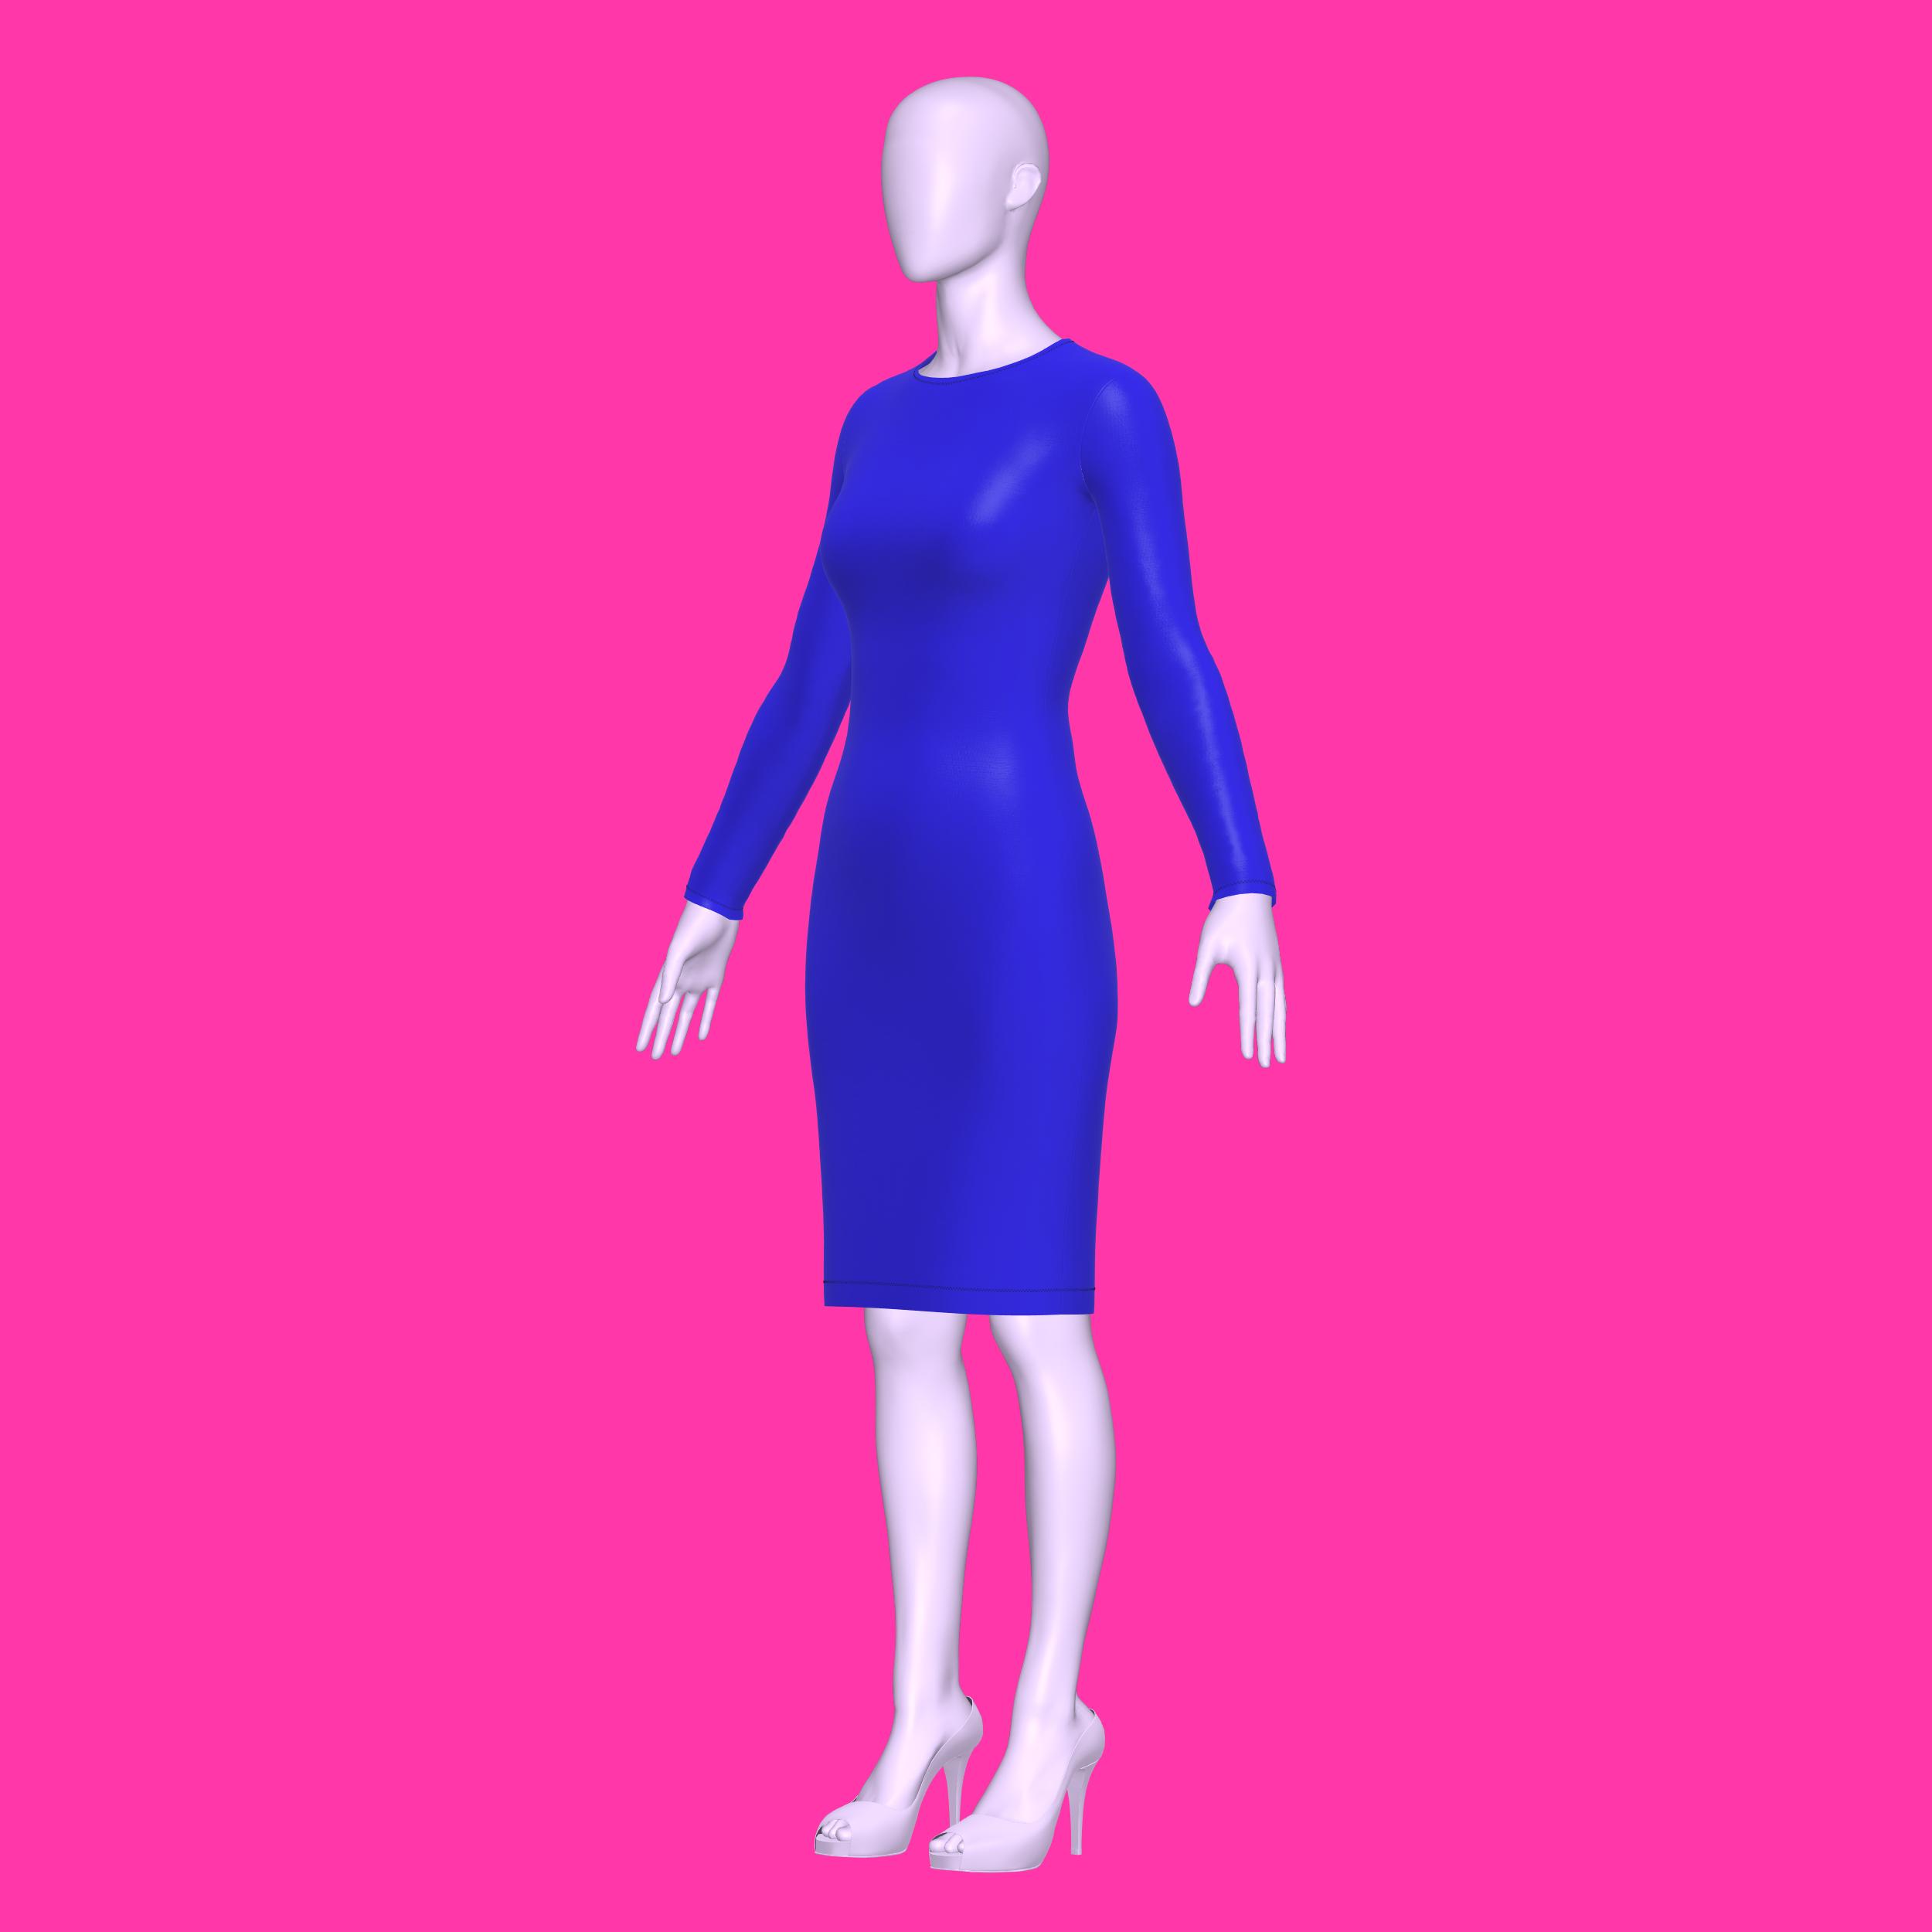
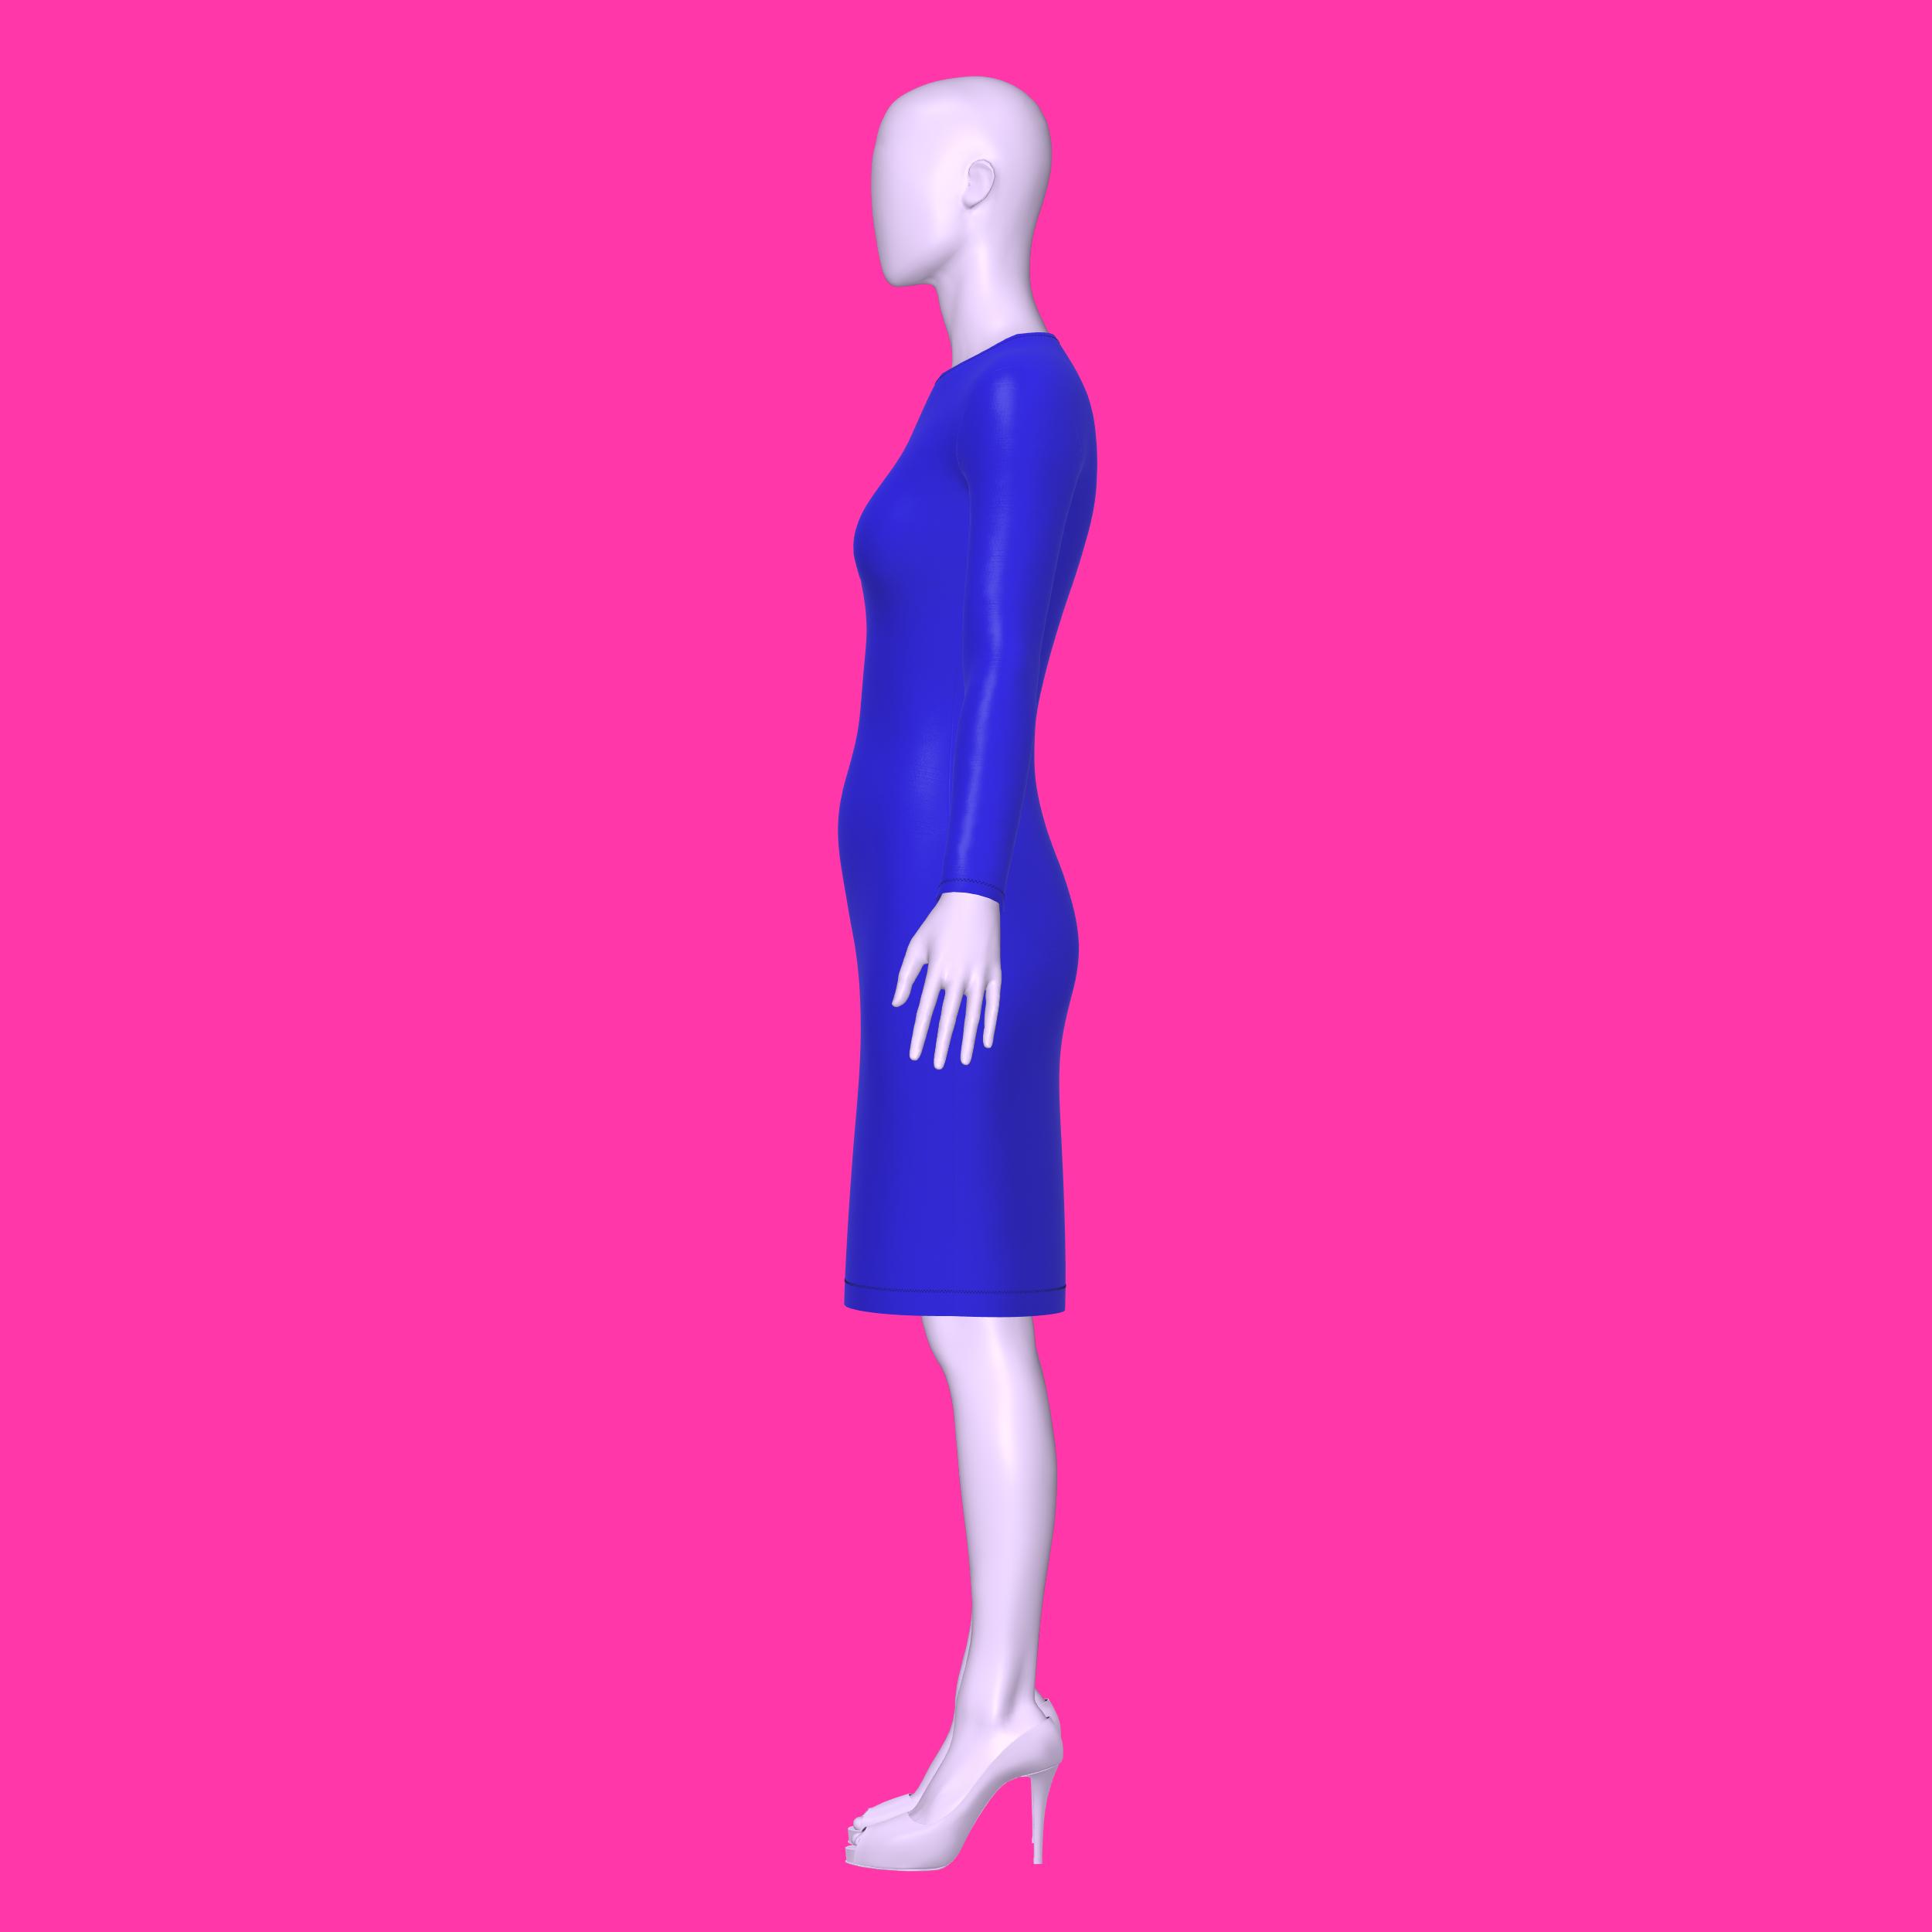
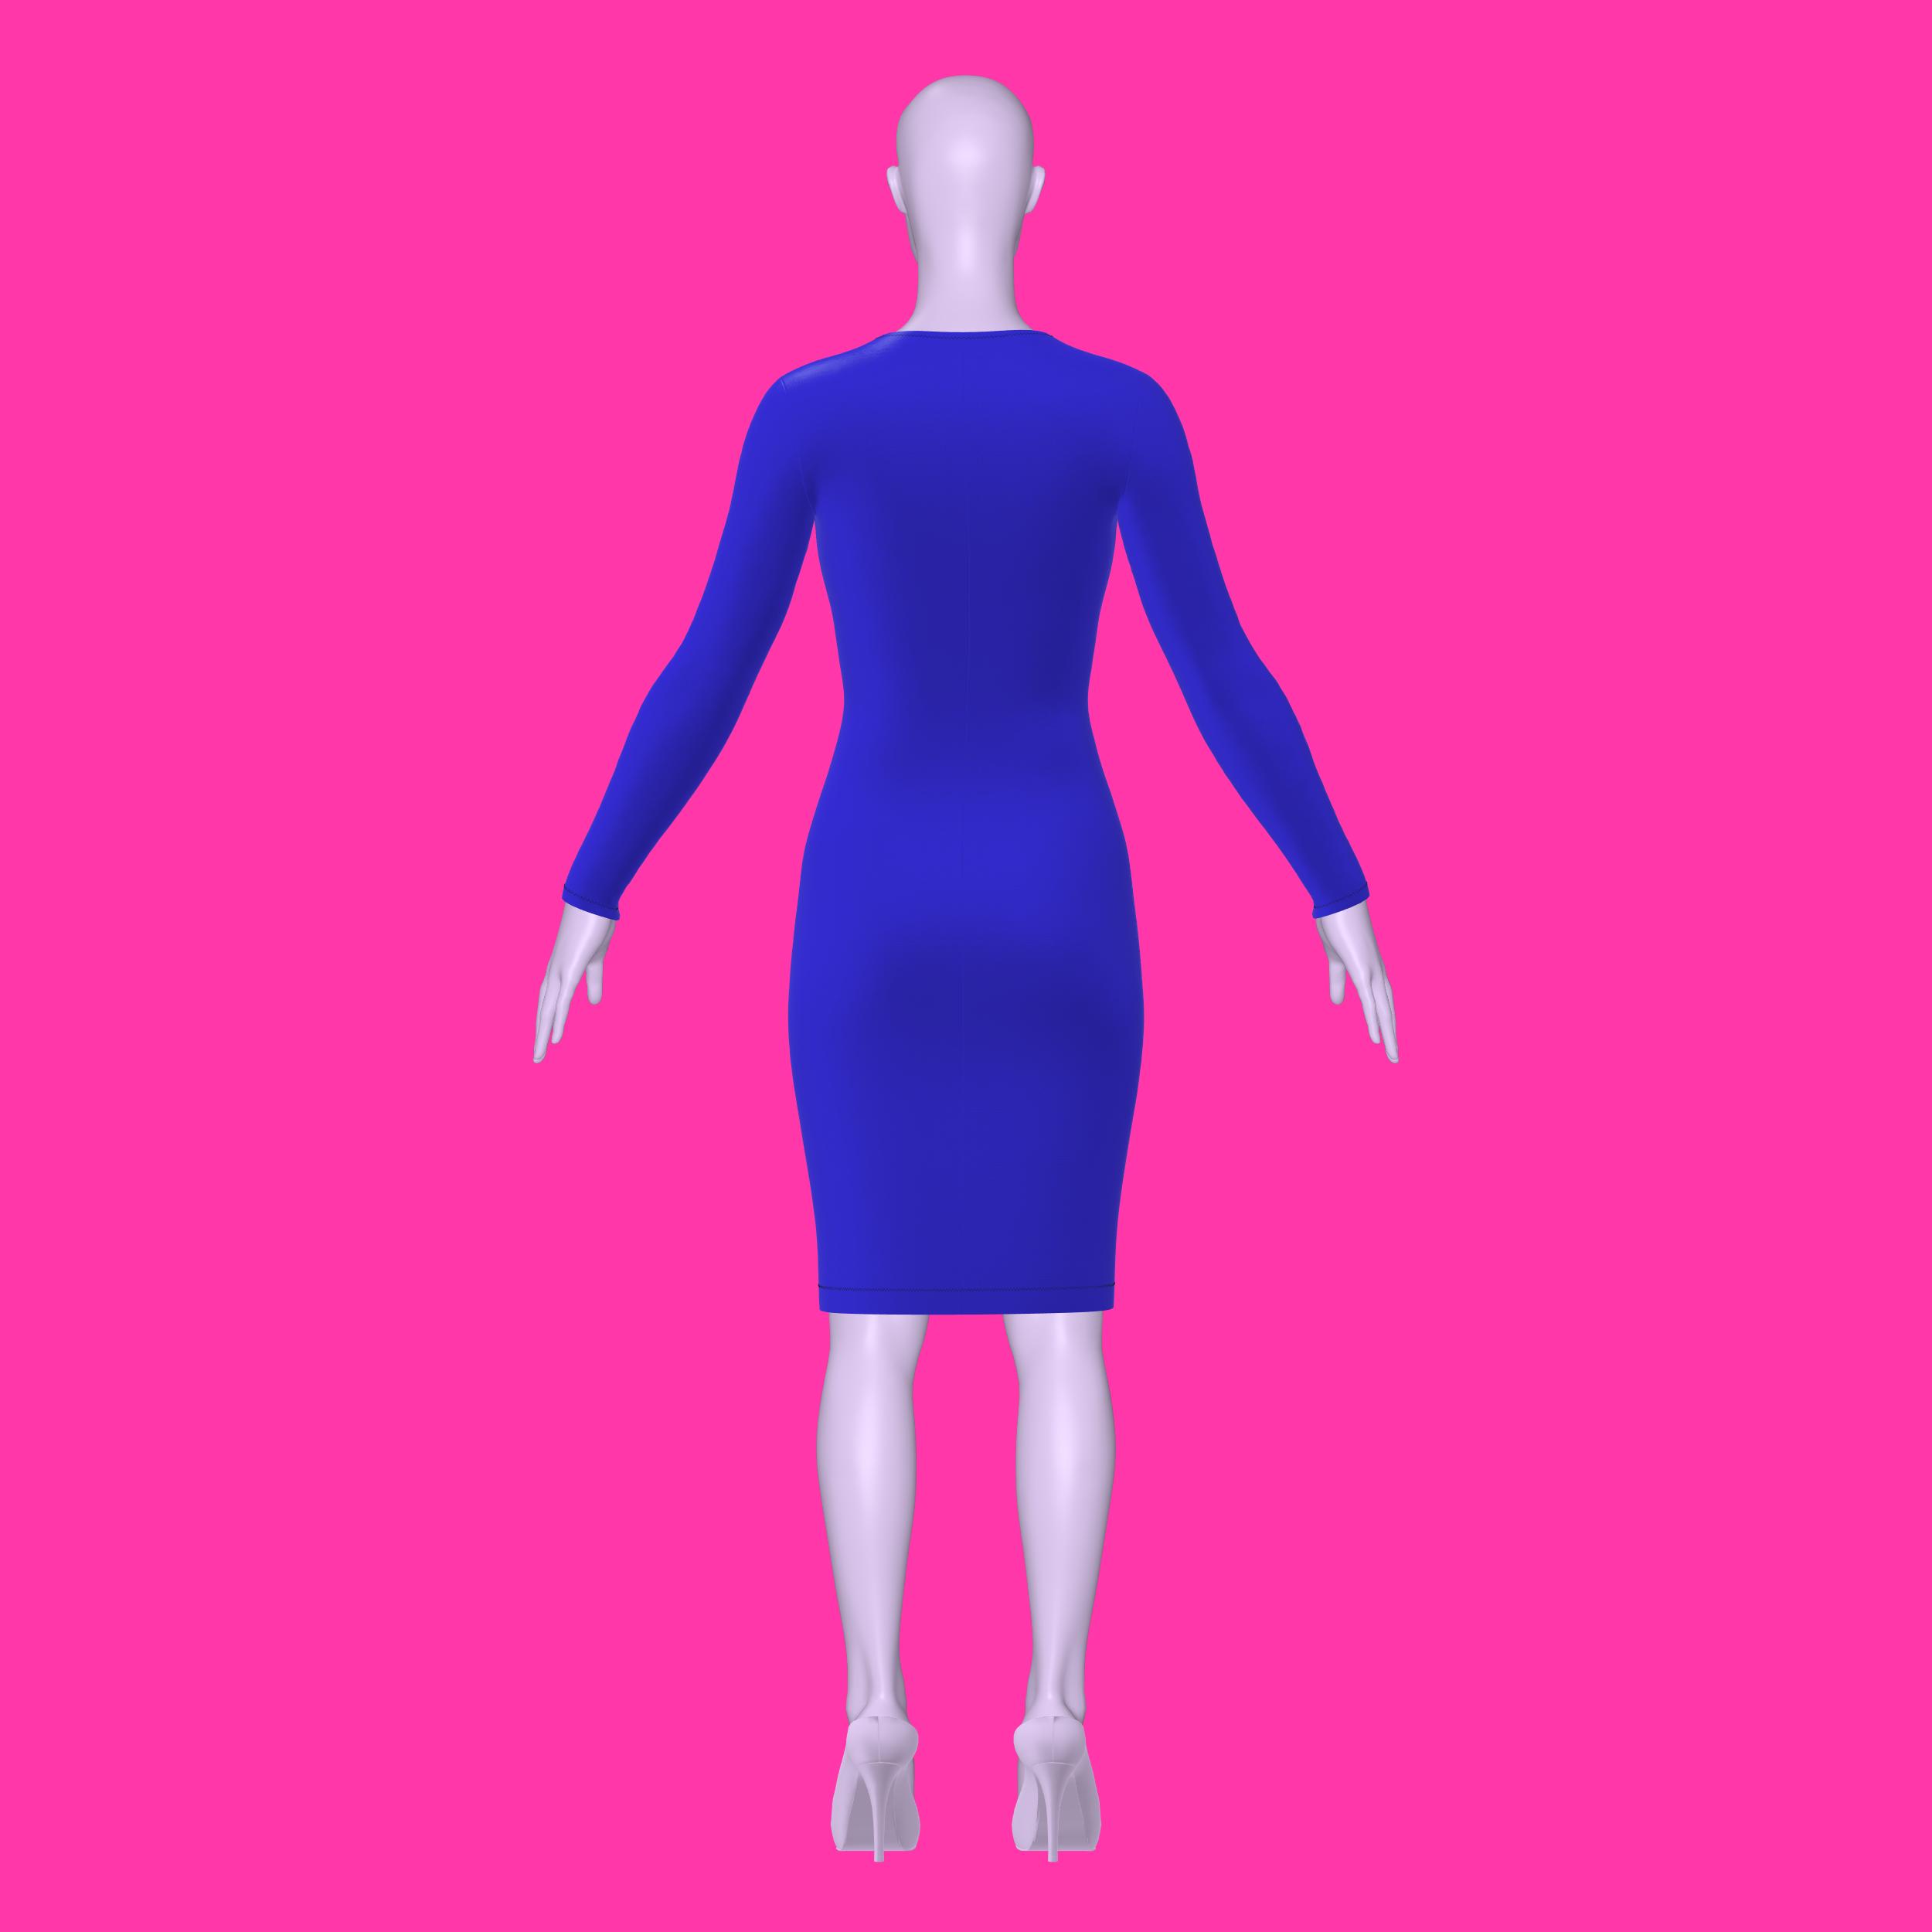
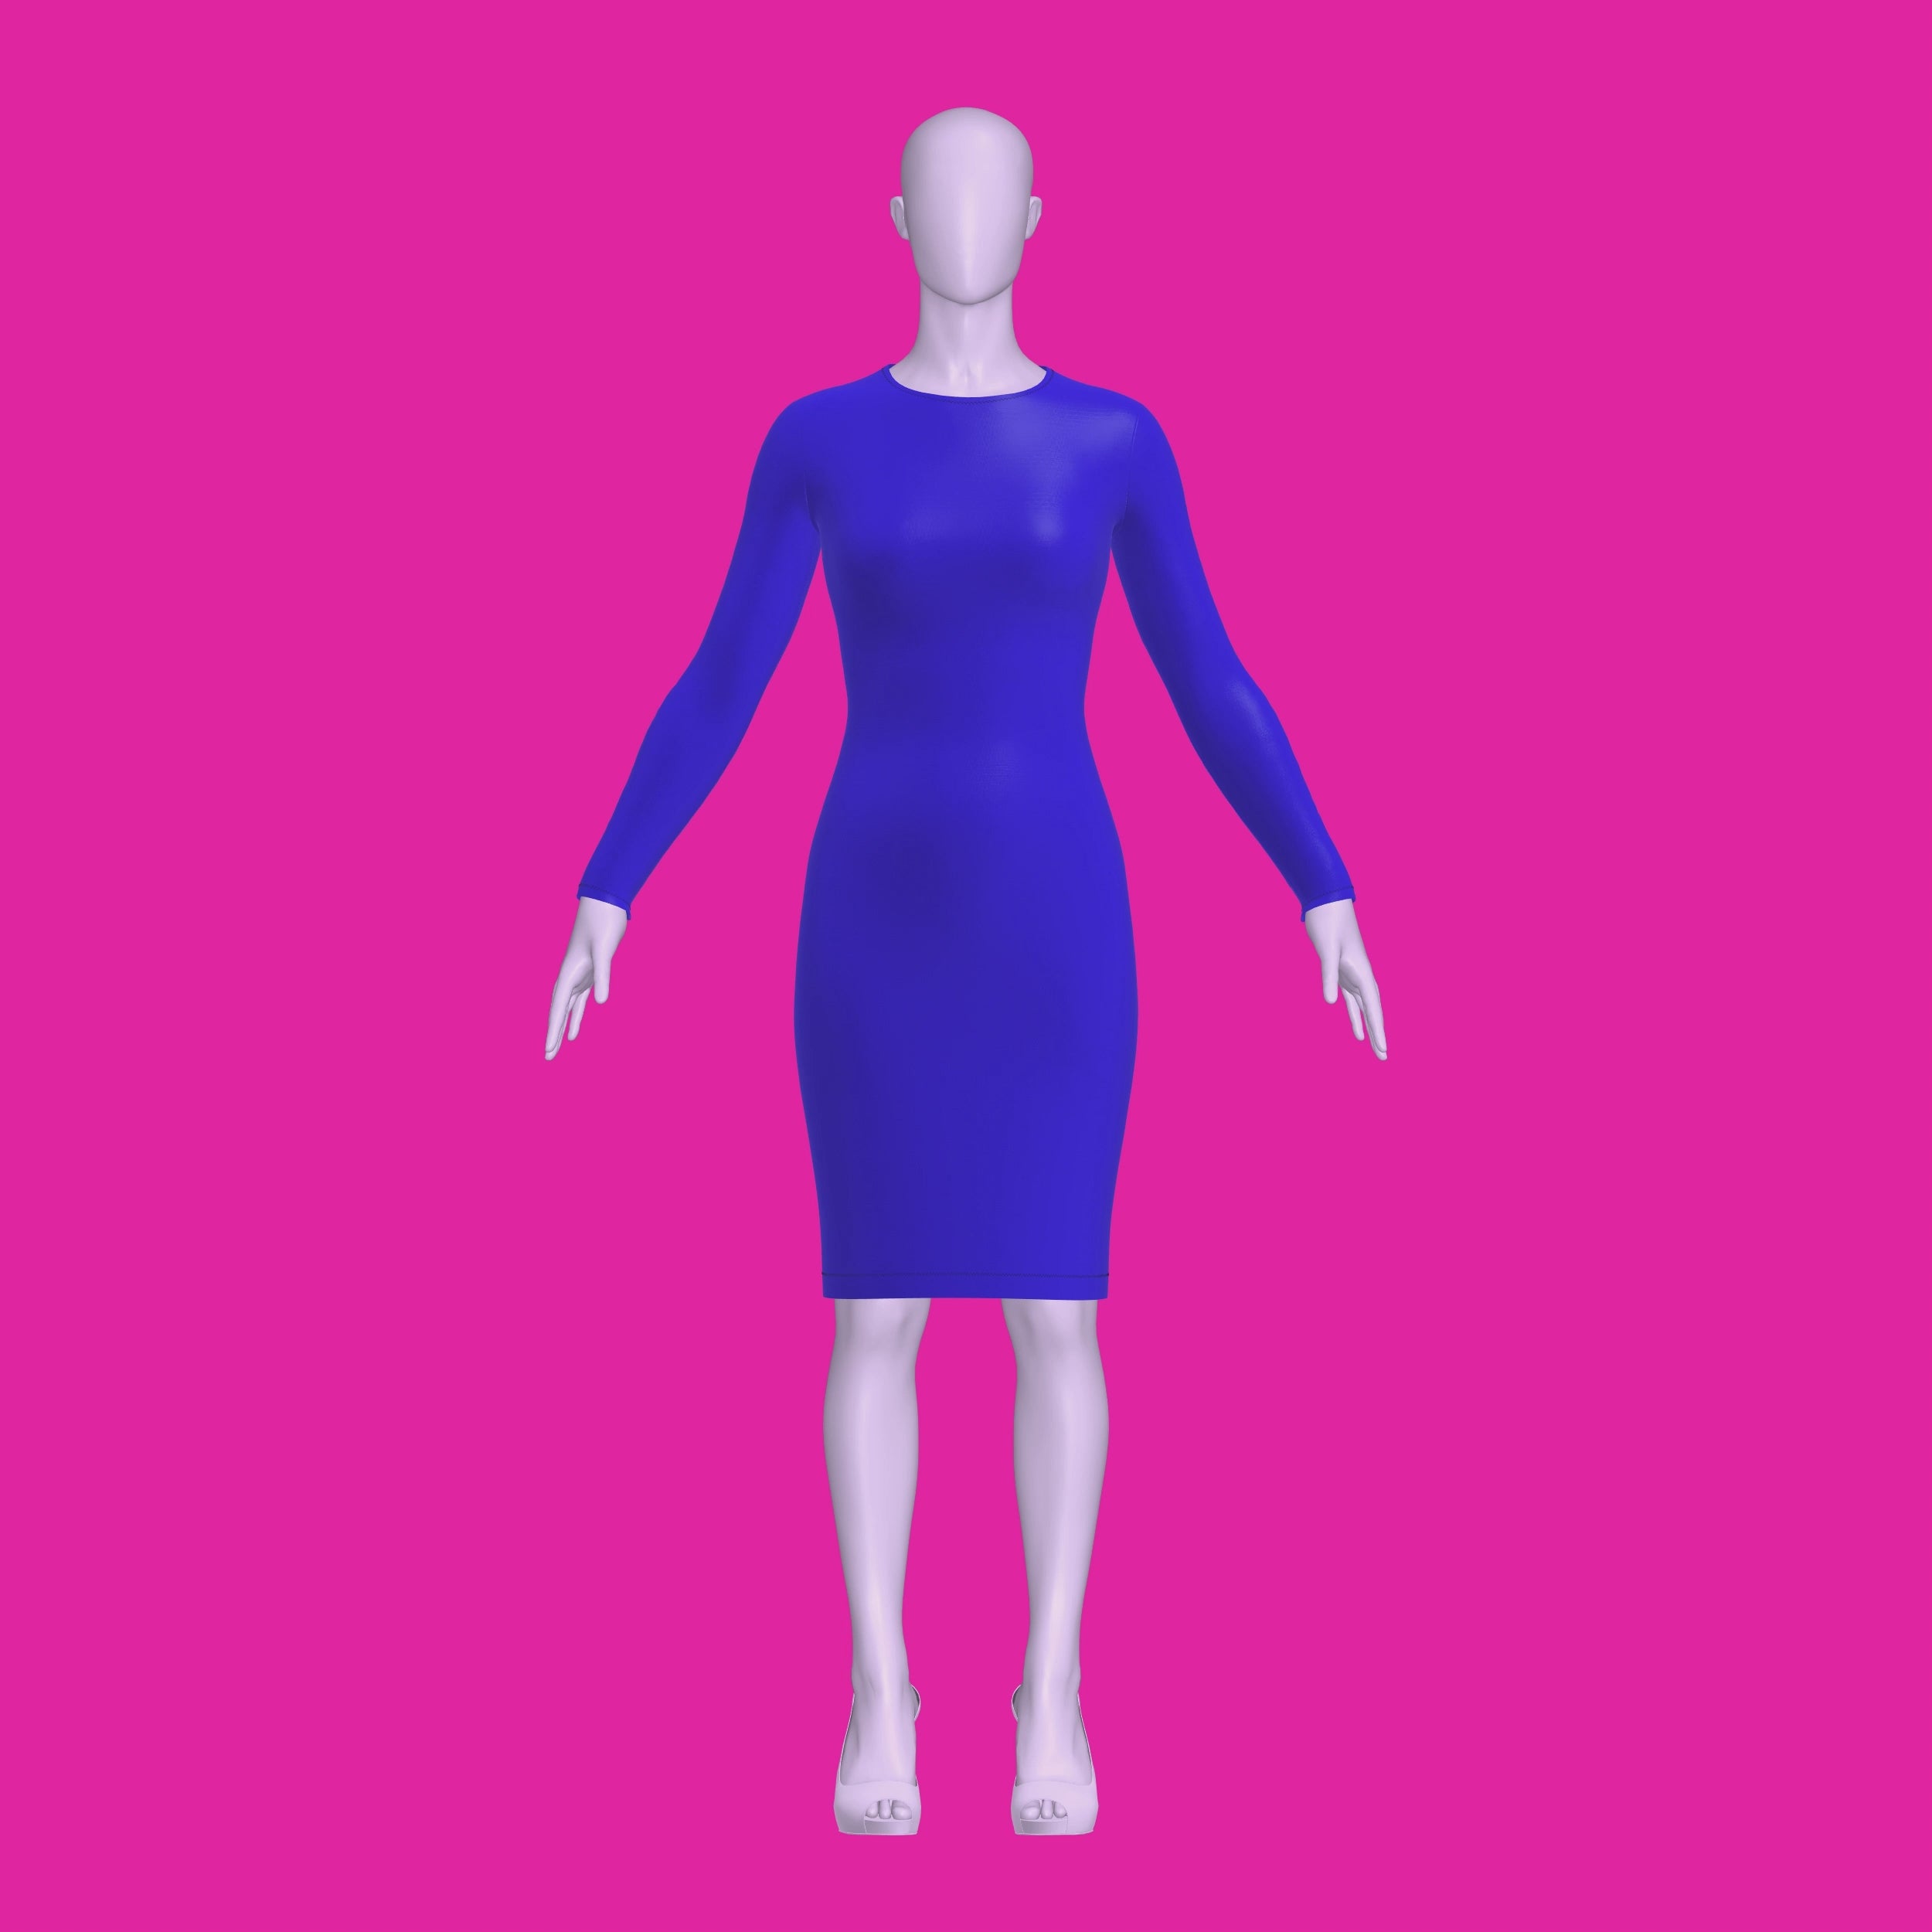
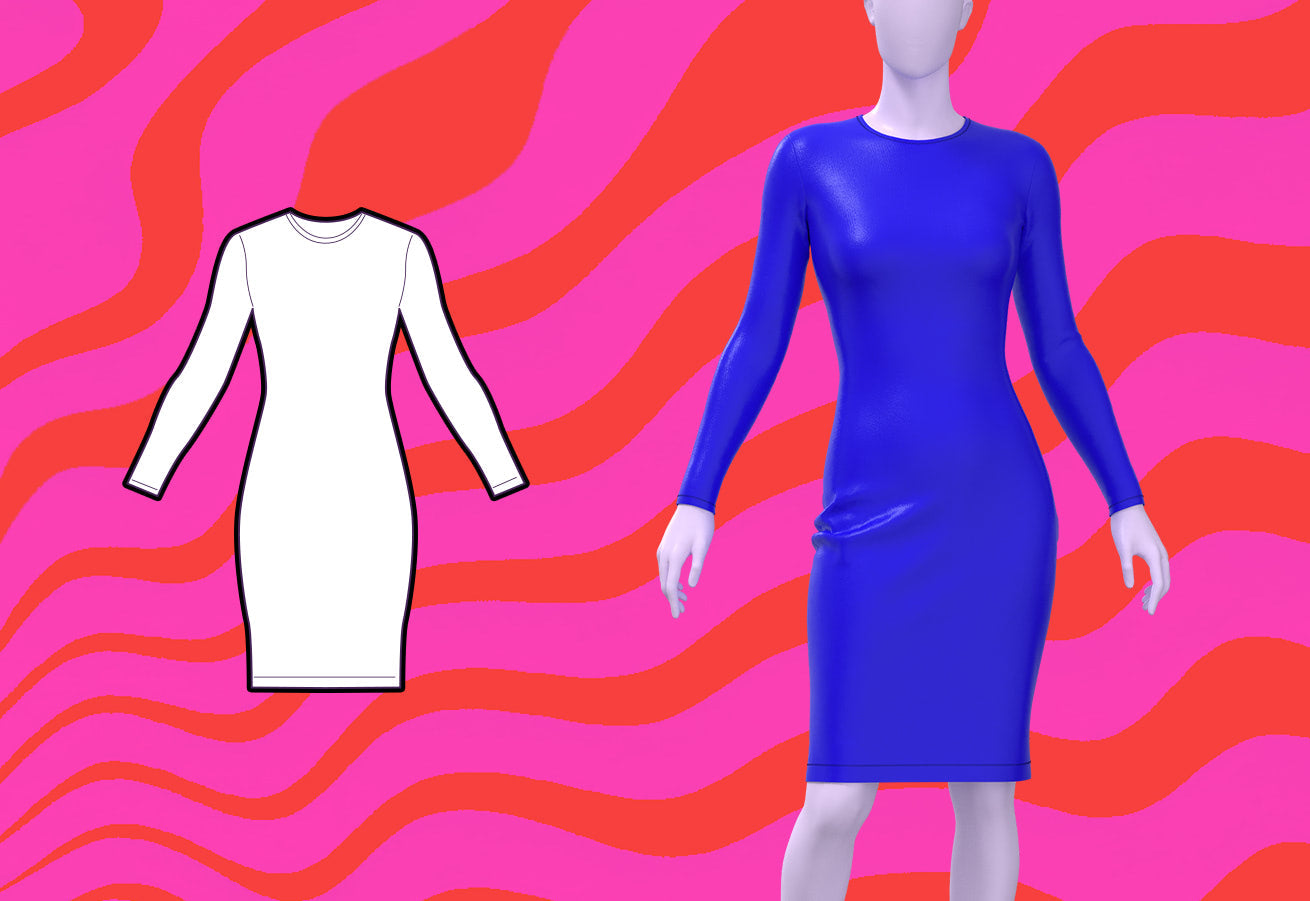
Introducing our latest sewing pattern tailored for drag queens: the Long Sleeve Bodycon Stretch Dress. Designed to accentuate curves and exude confidence, this knee-length garment is perfect for commanding the stage at drag performances, making a statement at raves, exploring fantasy realms, or embodying characters at cosplay events. Versatile and customizable, it serves as an ideal pattern block for creating your own unique designs. Opt for added convenience and style by installing a zipper on the back, ensuring easy wear and a flawless fit. Crafted exclusively for 4-way stretch fabrics, this dress promises a comfortable and flattering silhouette that moves with your body, allowing you to dance, perform, and express yourself with unrestricted freedom. Elevate your modern drag look with the Long Sleeve Bodycon Stretch Dress sewing pattern and unleash your inner diva with confidence and style.
Pattern Difficulty: For Beginners
Fabric Yardage
This pattern requires the use of 4-way stretch fabric. Please find the yardage needed for each size below. Yardage below is for fabric widths of 58 inches.
| Size | Fabric Yardage (58” Width) |
|---|---|
| XS | 1.25 |
| S | 1.5 |
| M | 1.75 |
| L | 1.75 |
| XL | 2 |
| 2X | 2 |
| 3X | 2.25 |
| 4X | 2.25 |
For information on converting inches to meters, please check out our conversion guide.
Fabric & Notions
Suitable for 4-way stretch fabrics only:
- Spandex
- Milliskin
- Lycra
- Stretch Vinyl
- Optional: 16"-20" Invisible Zipper
Sizing Details
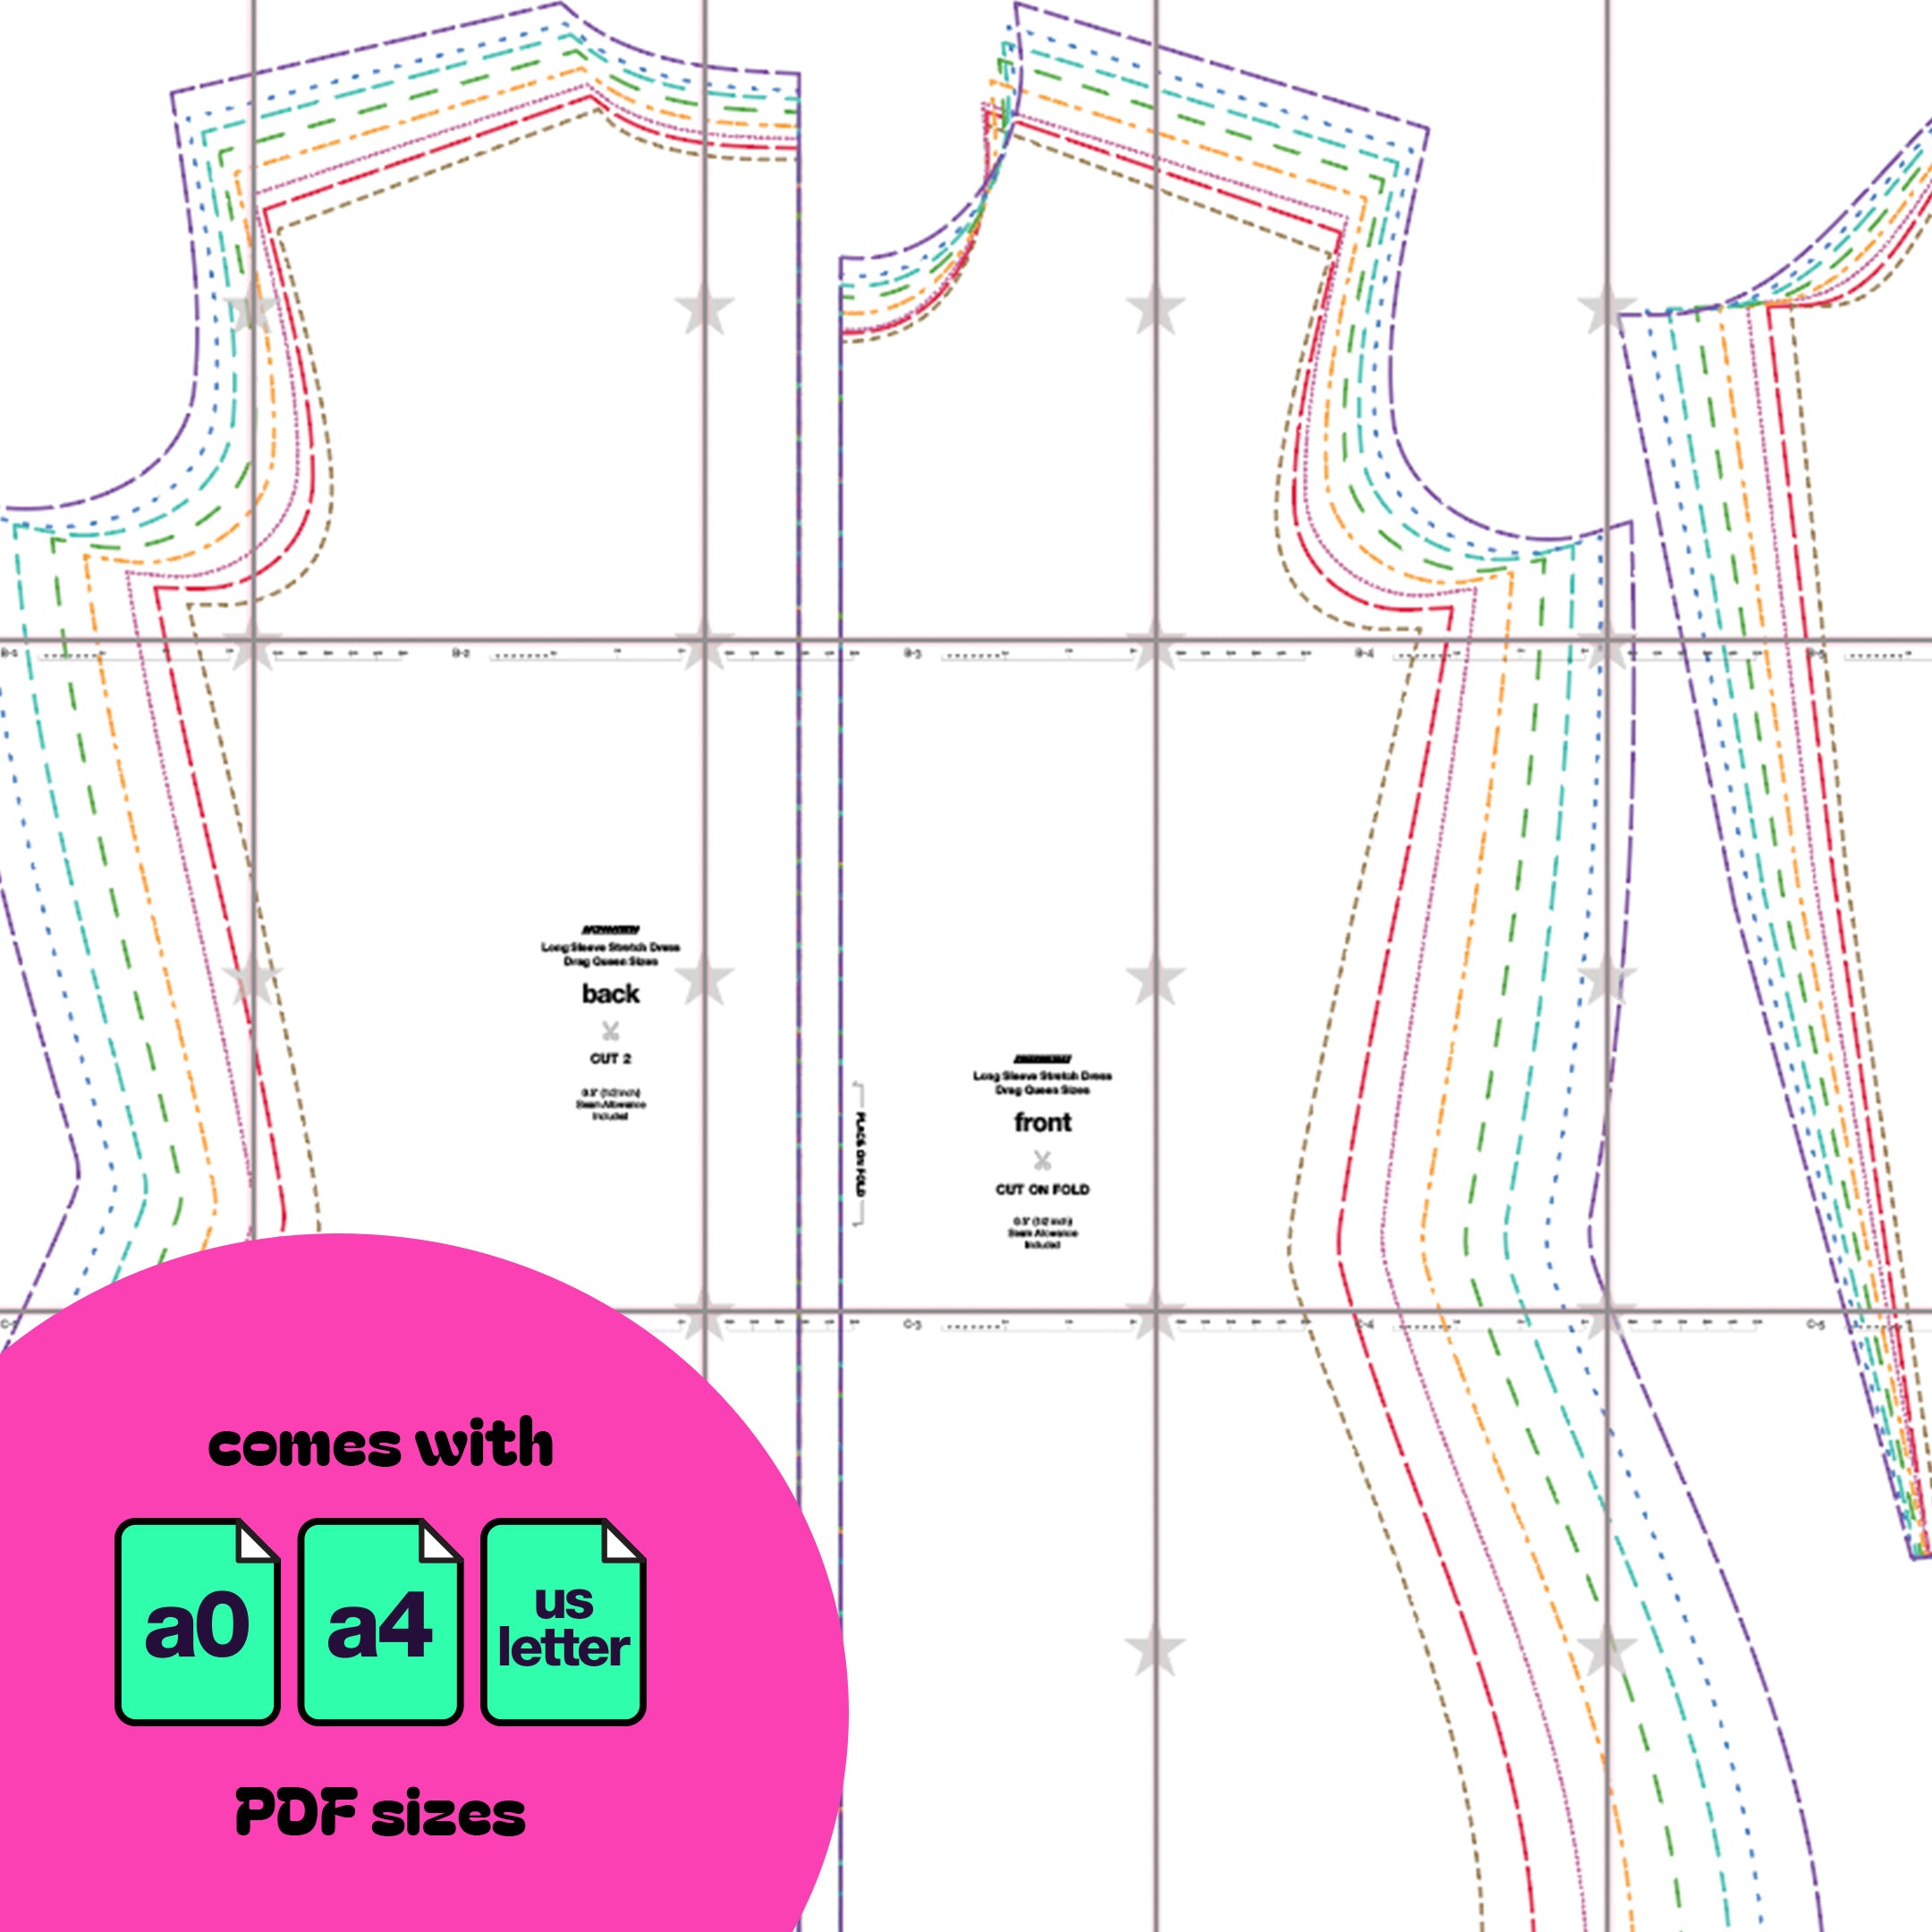
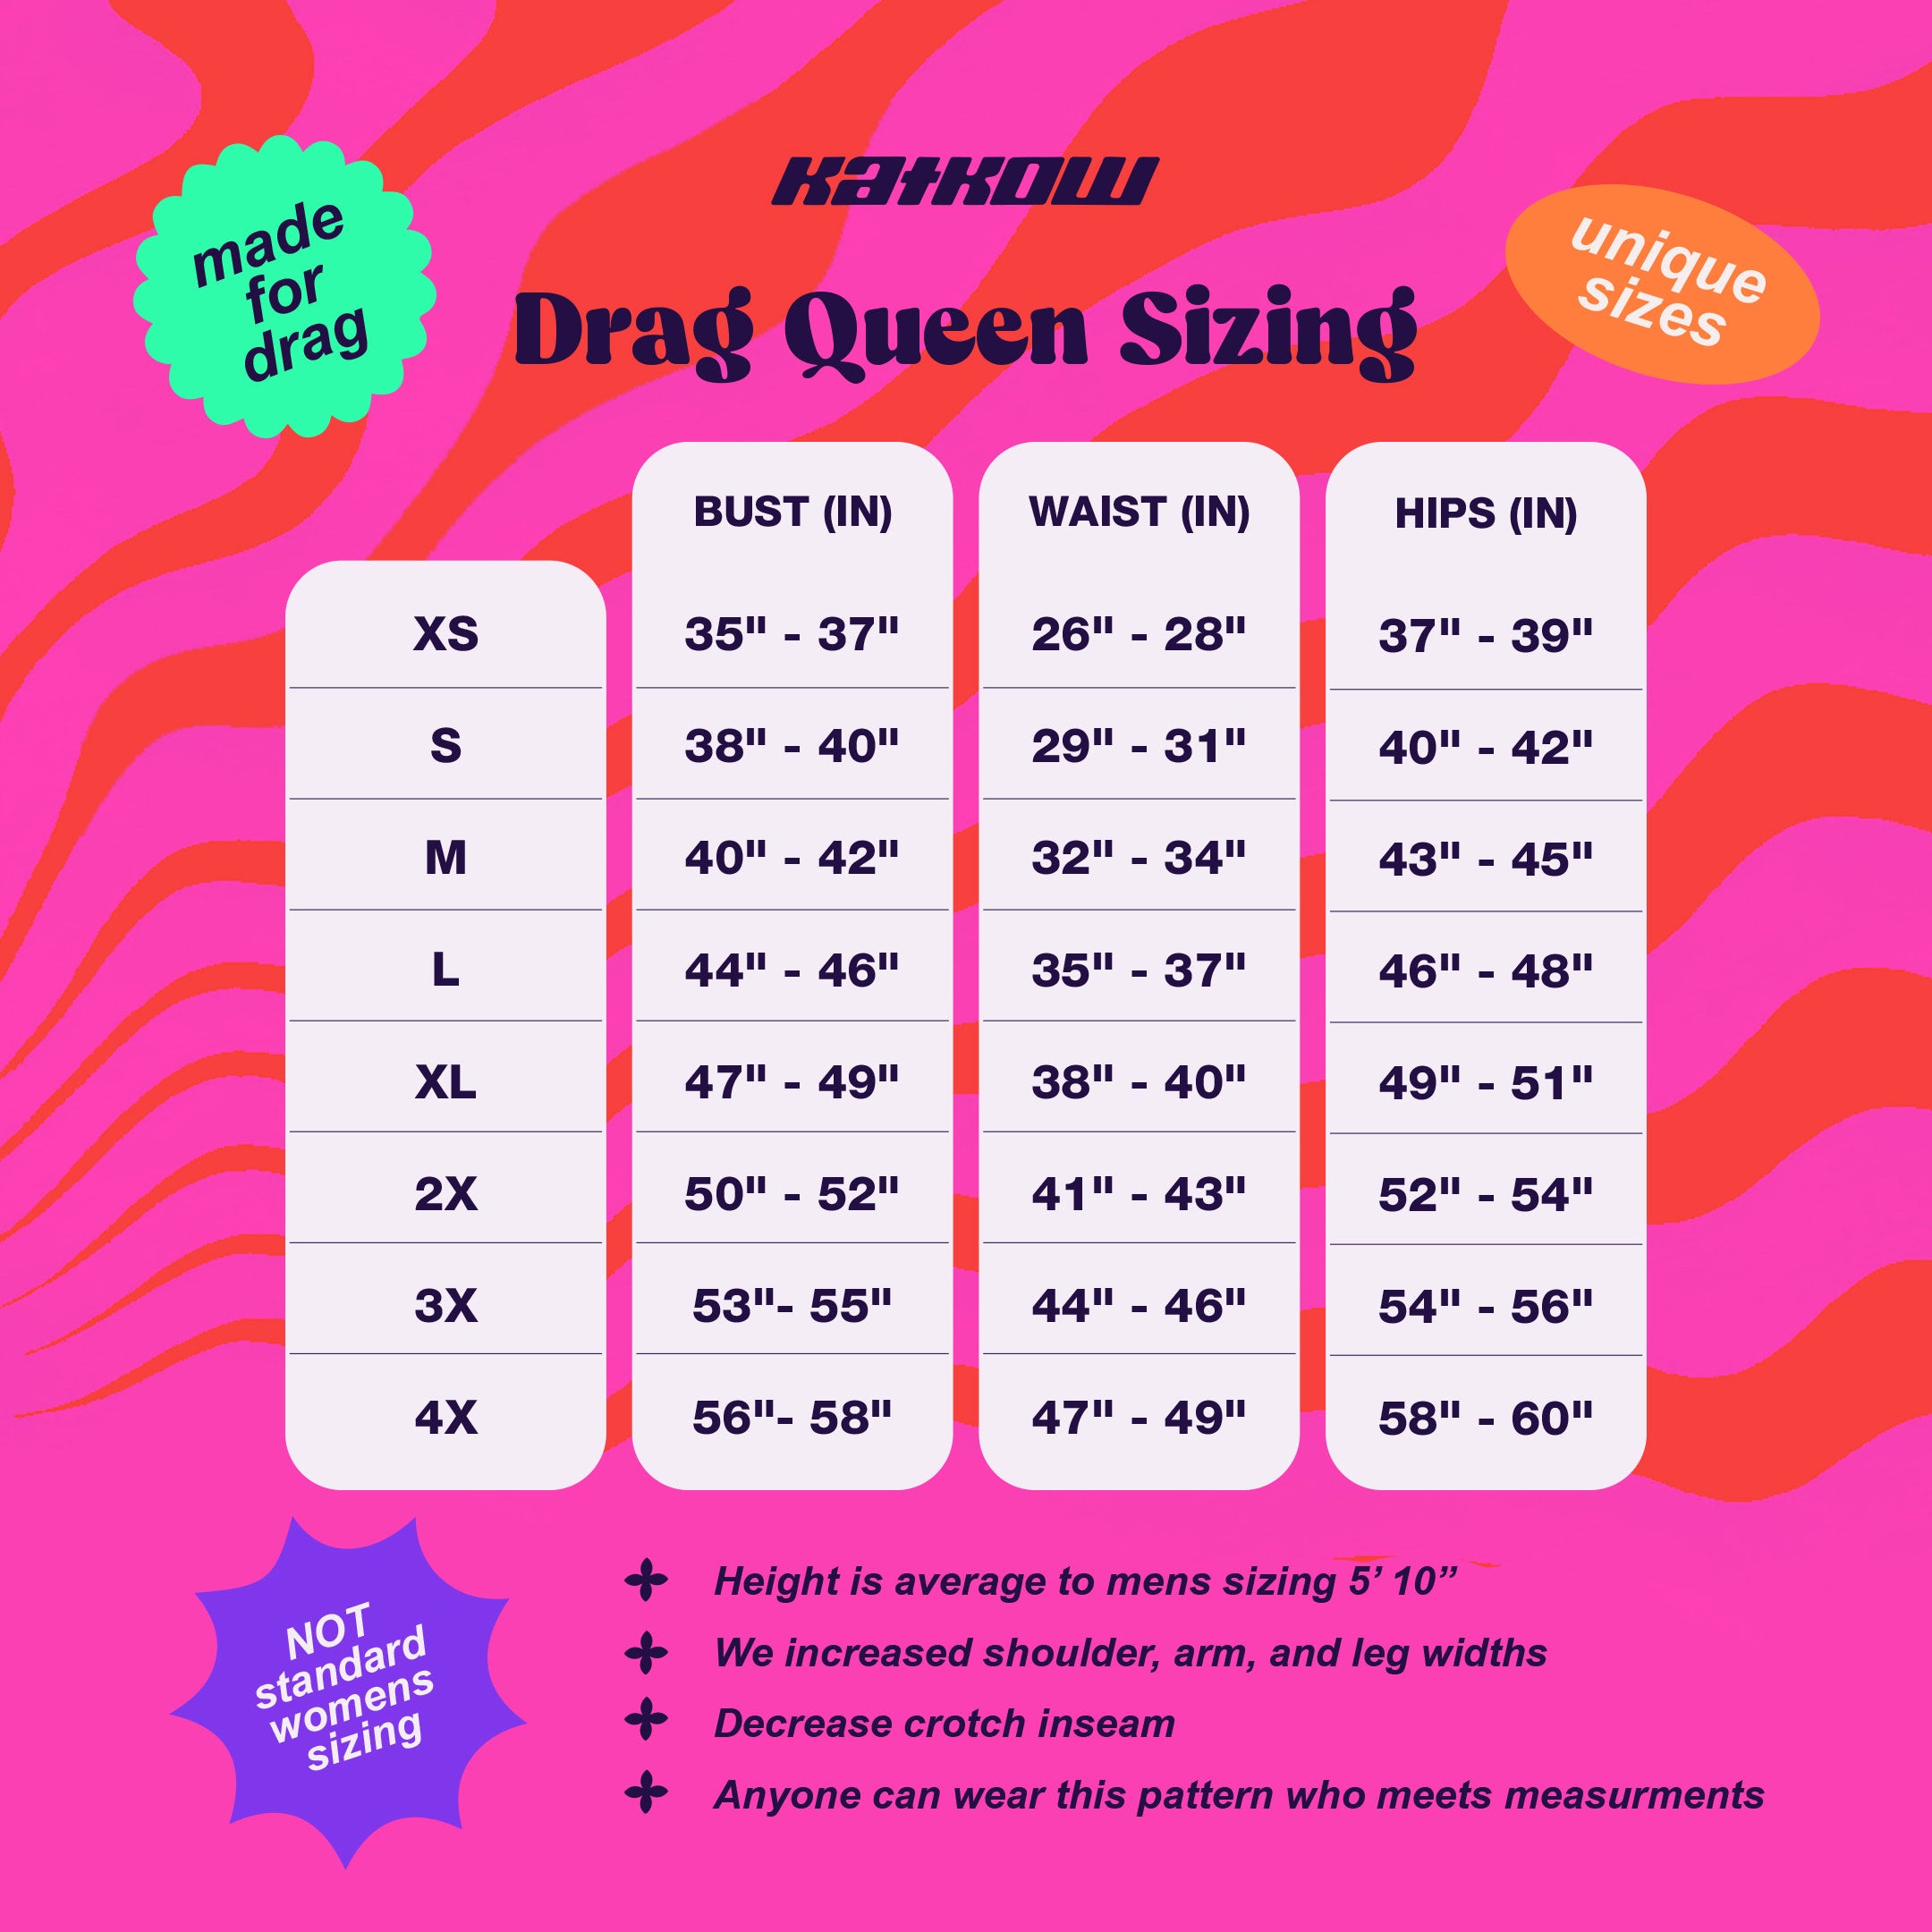
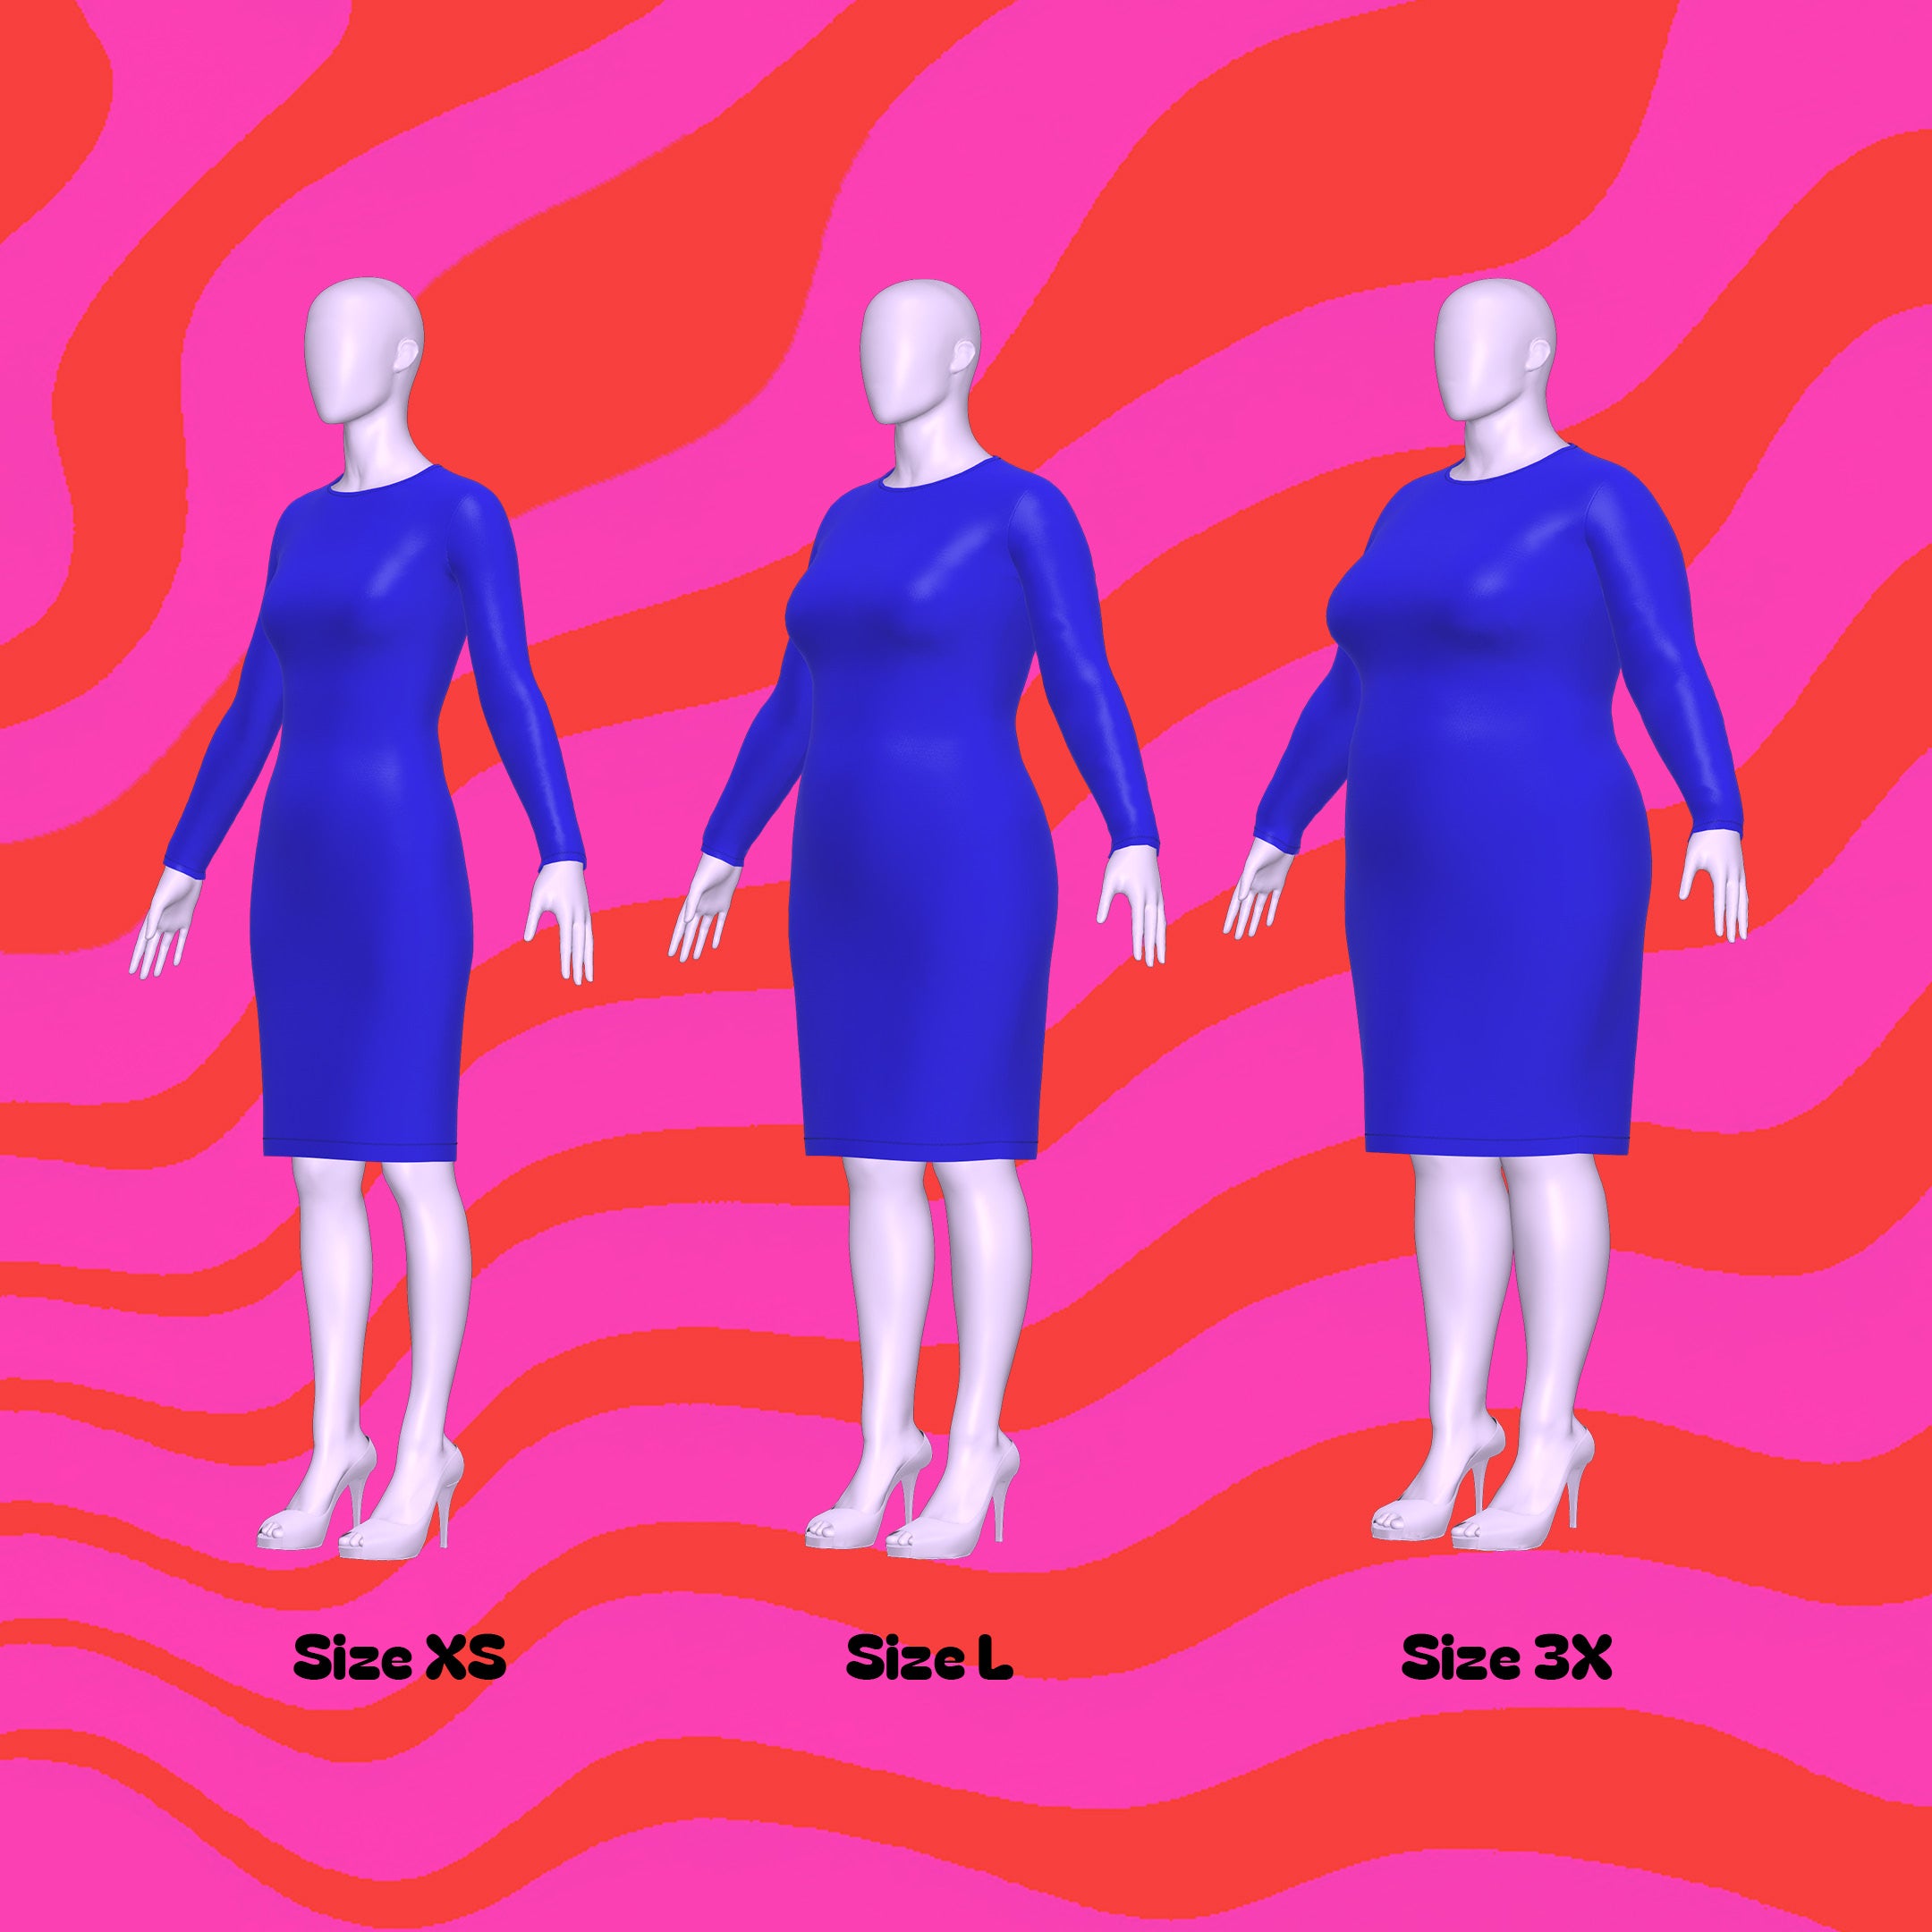
This pattern is available in our unqiue drag queen sizes (XS-4X). Please review our sizing guide for more information on our size measurements.
Sewing Instructions
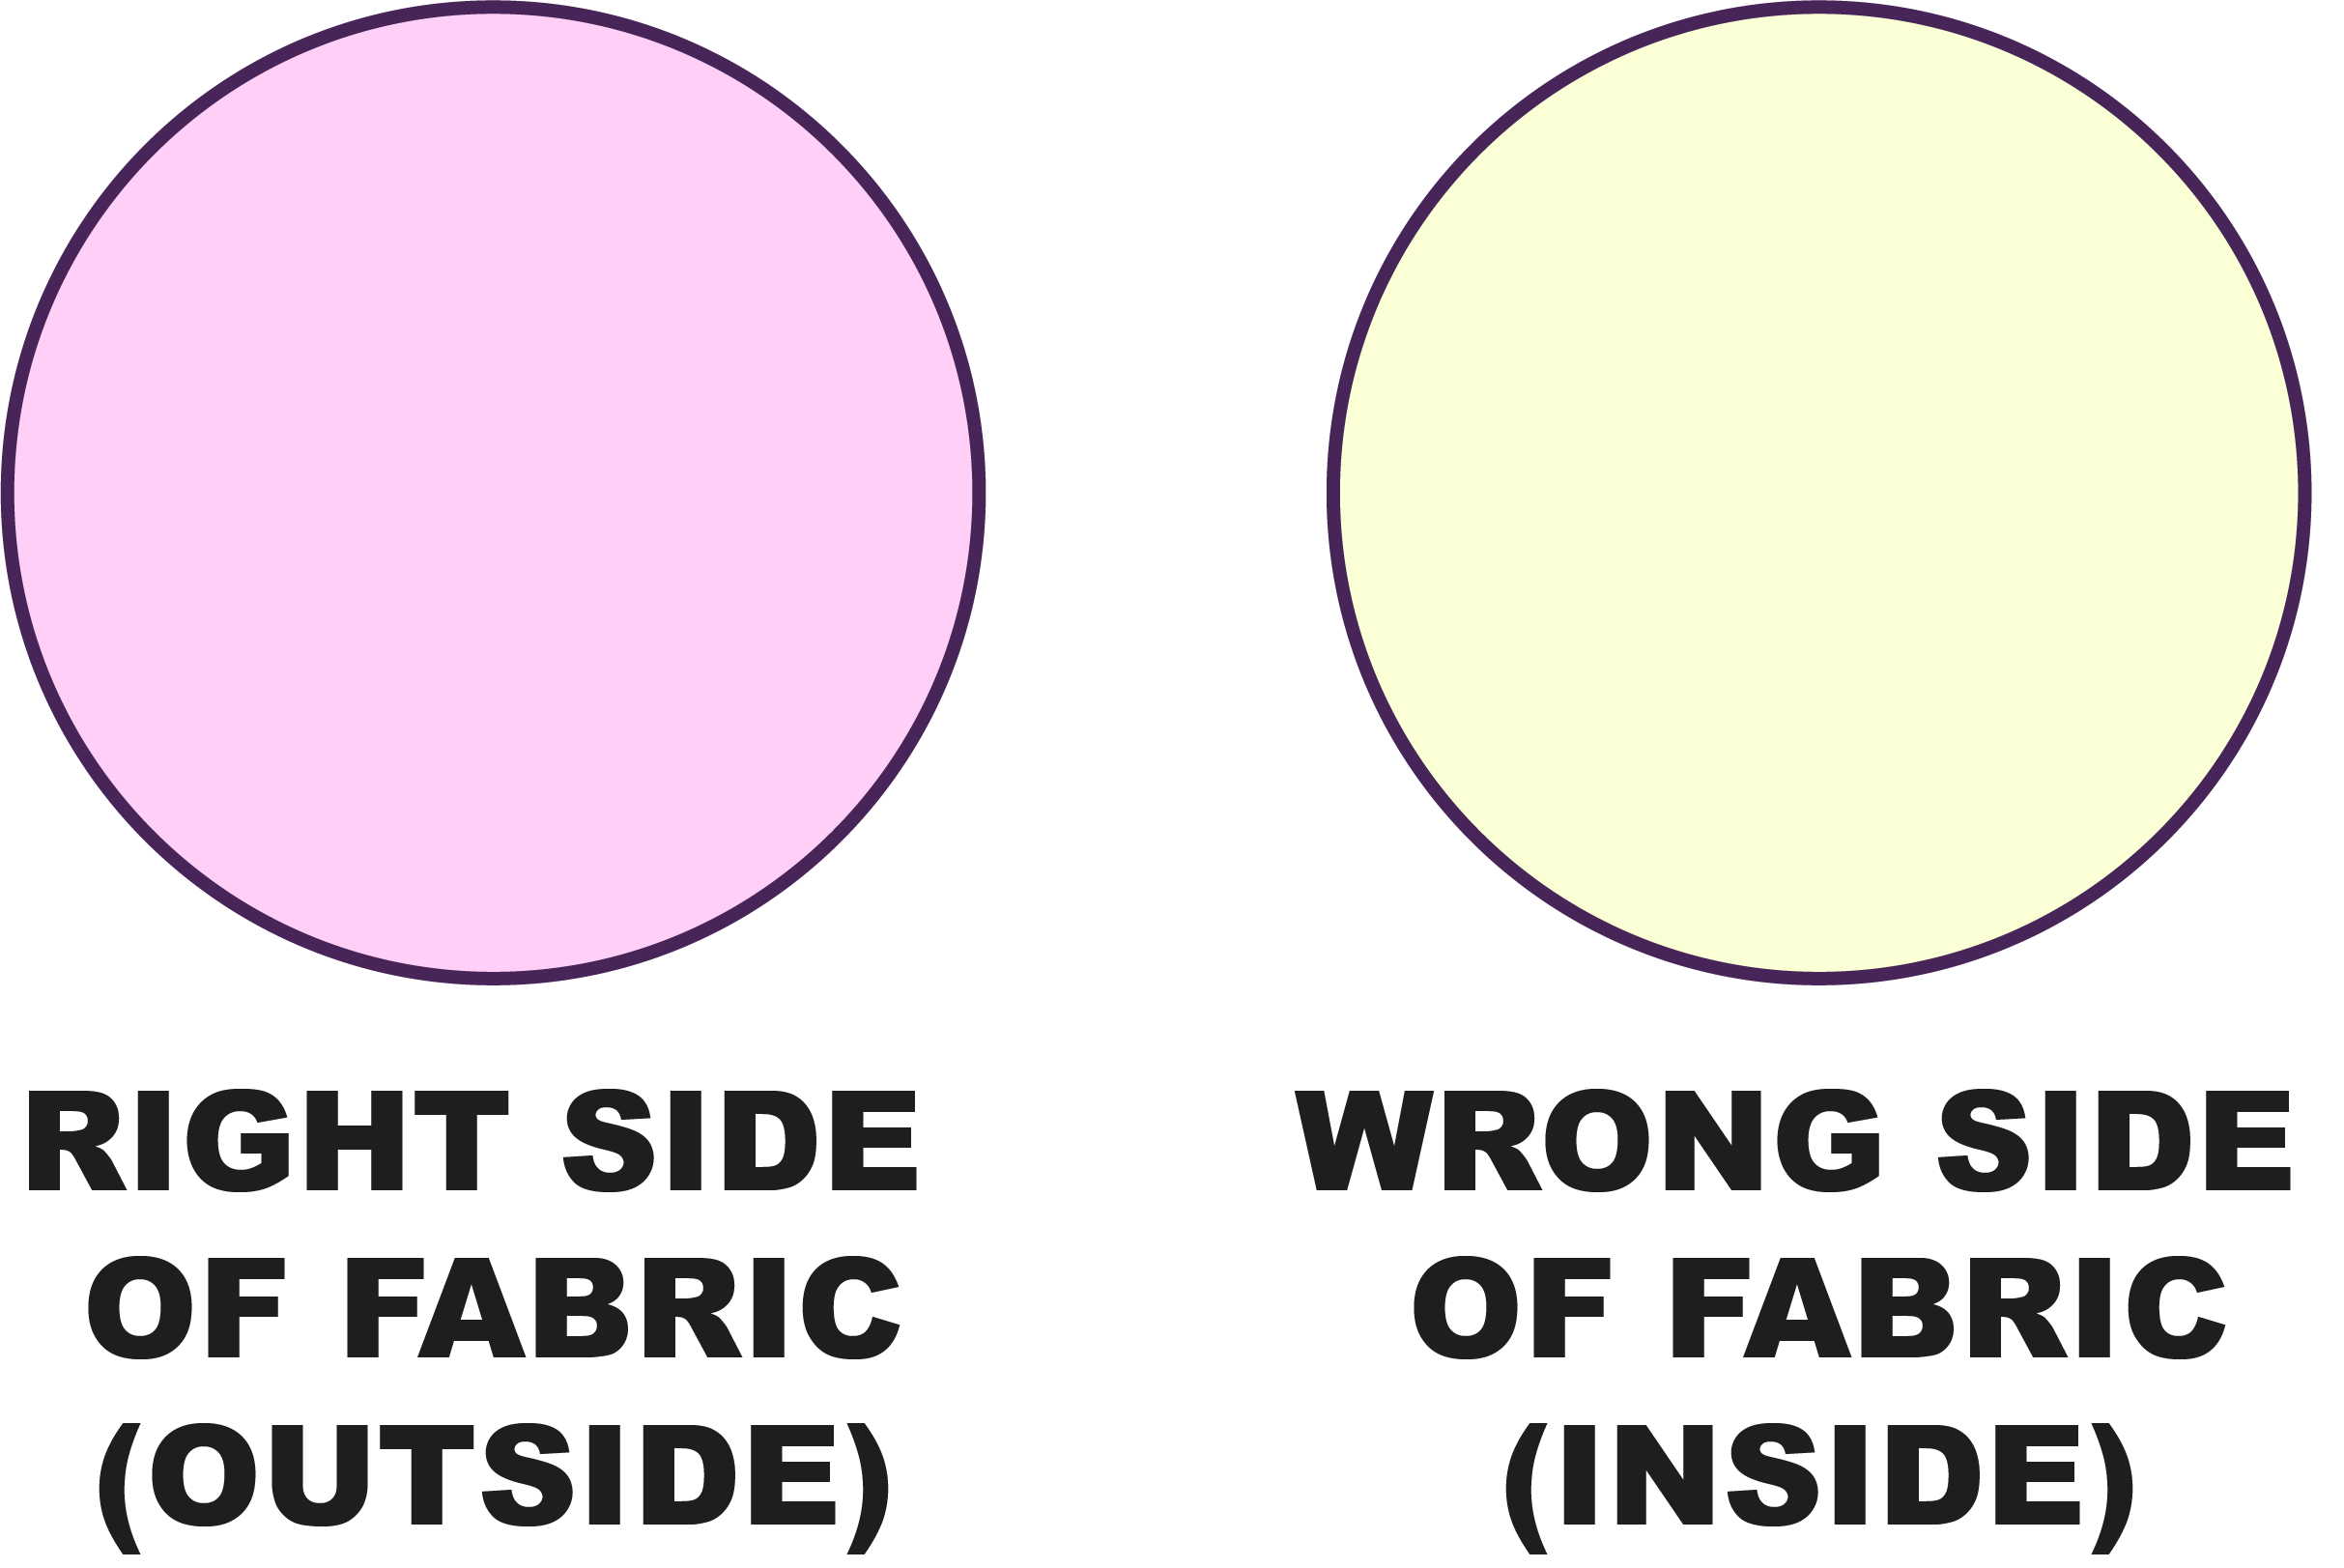
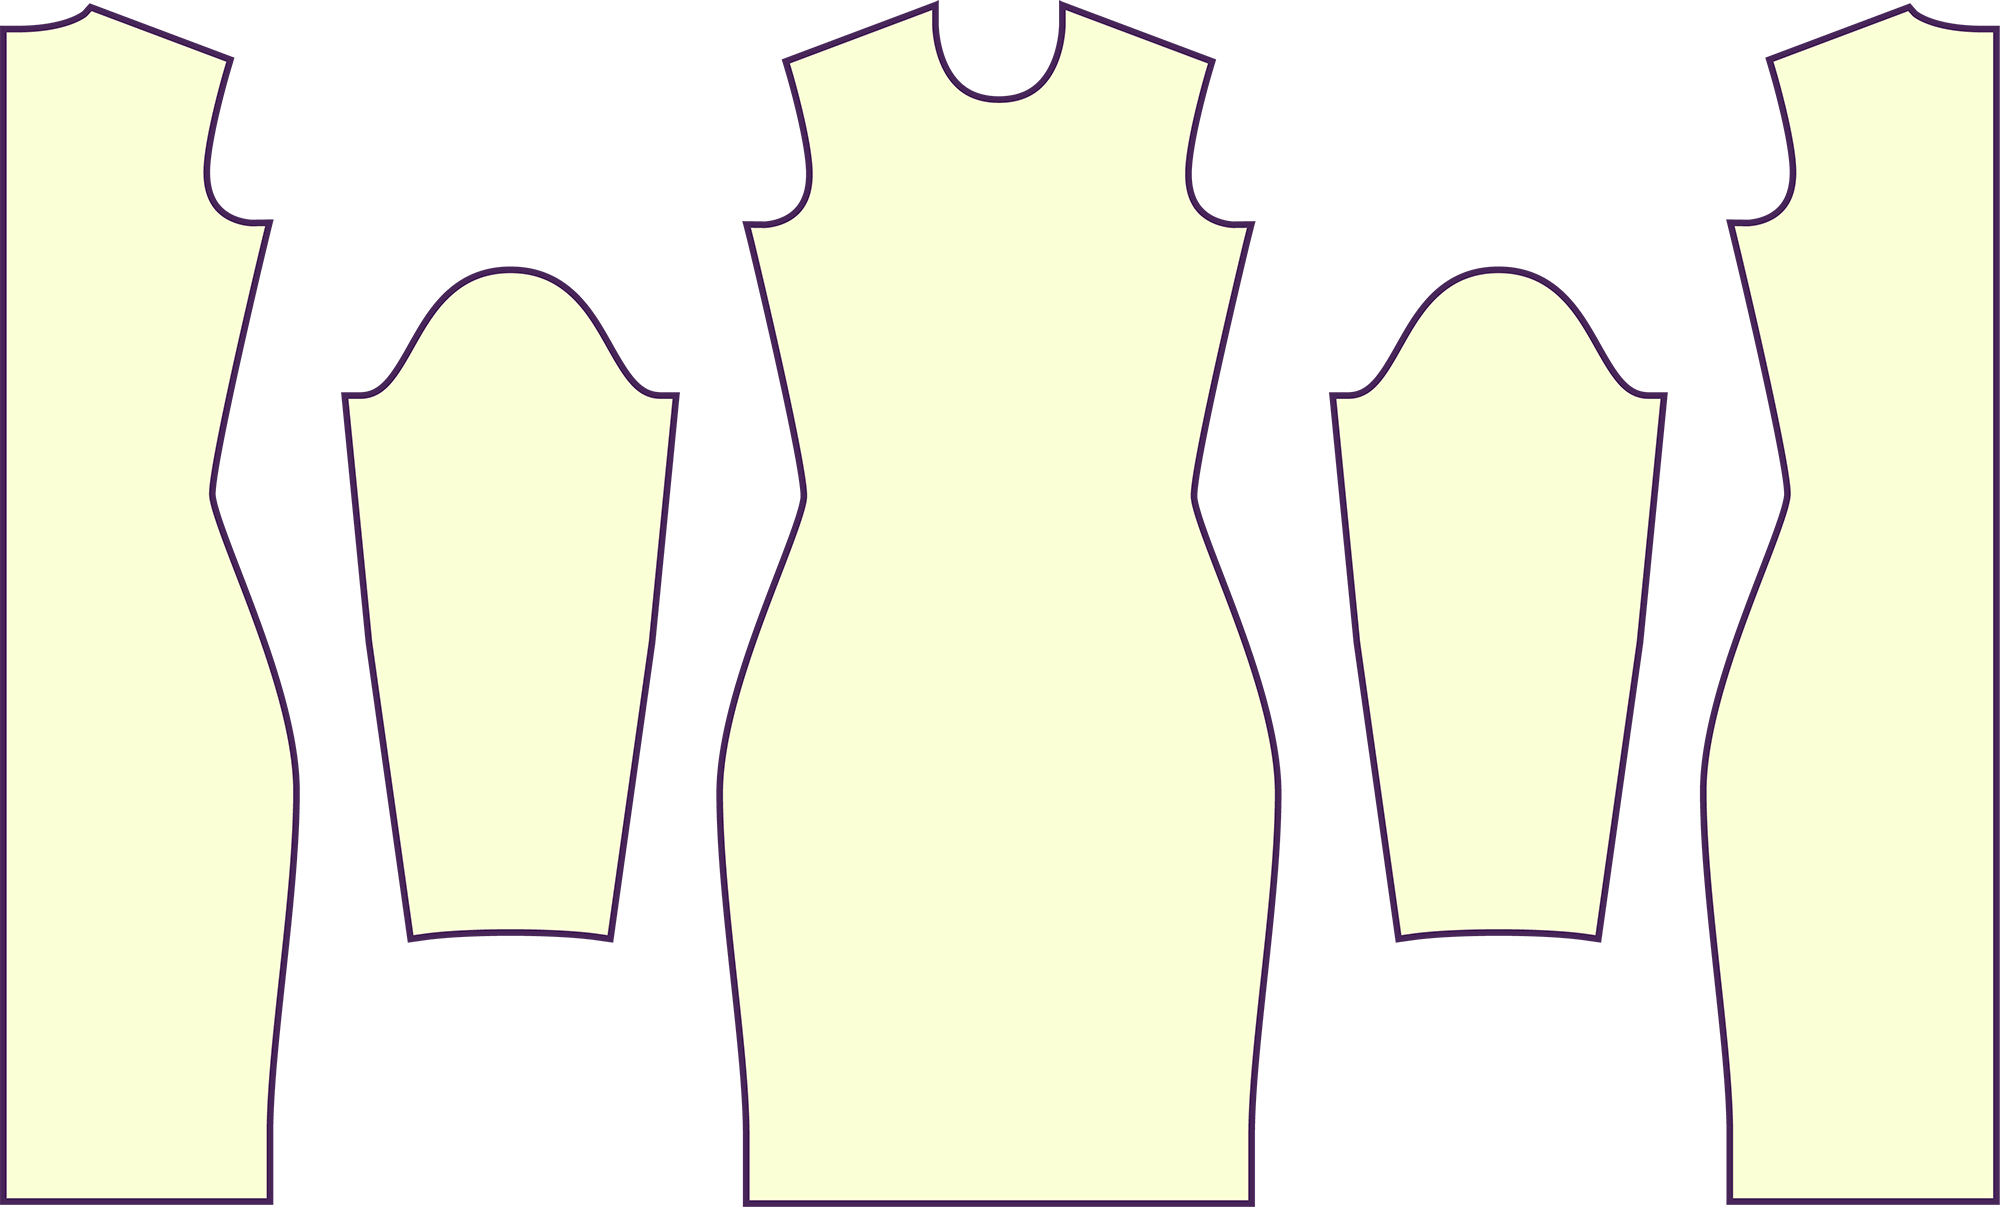
Fabric Pieces
After cutting your fabric, you should have the following pieces: one seamless front, two sleeves, and two back pieces.

Stitches
For this project, the recommended stitches are a serger overlock stitch, a stretch stitch, or a zigzag stitch. A straight stitch may cause the threads to snap and is not advisable.

STEP 1
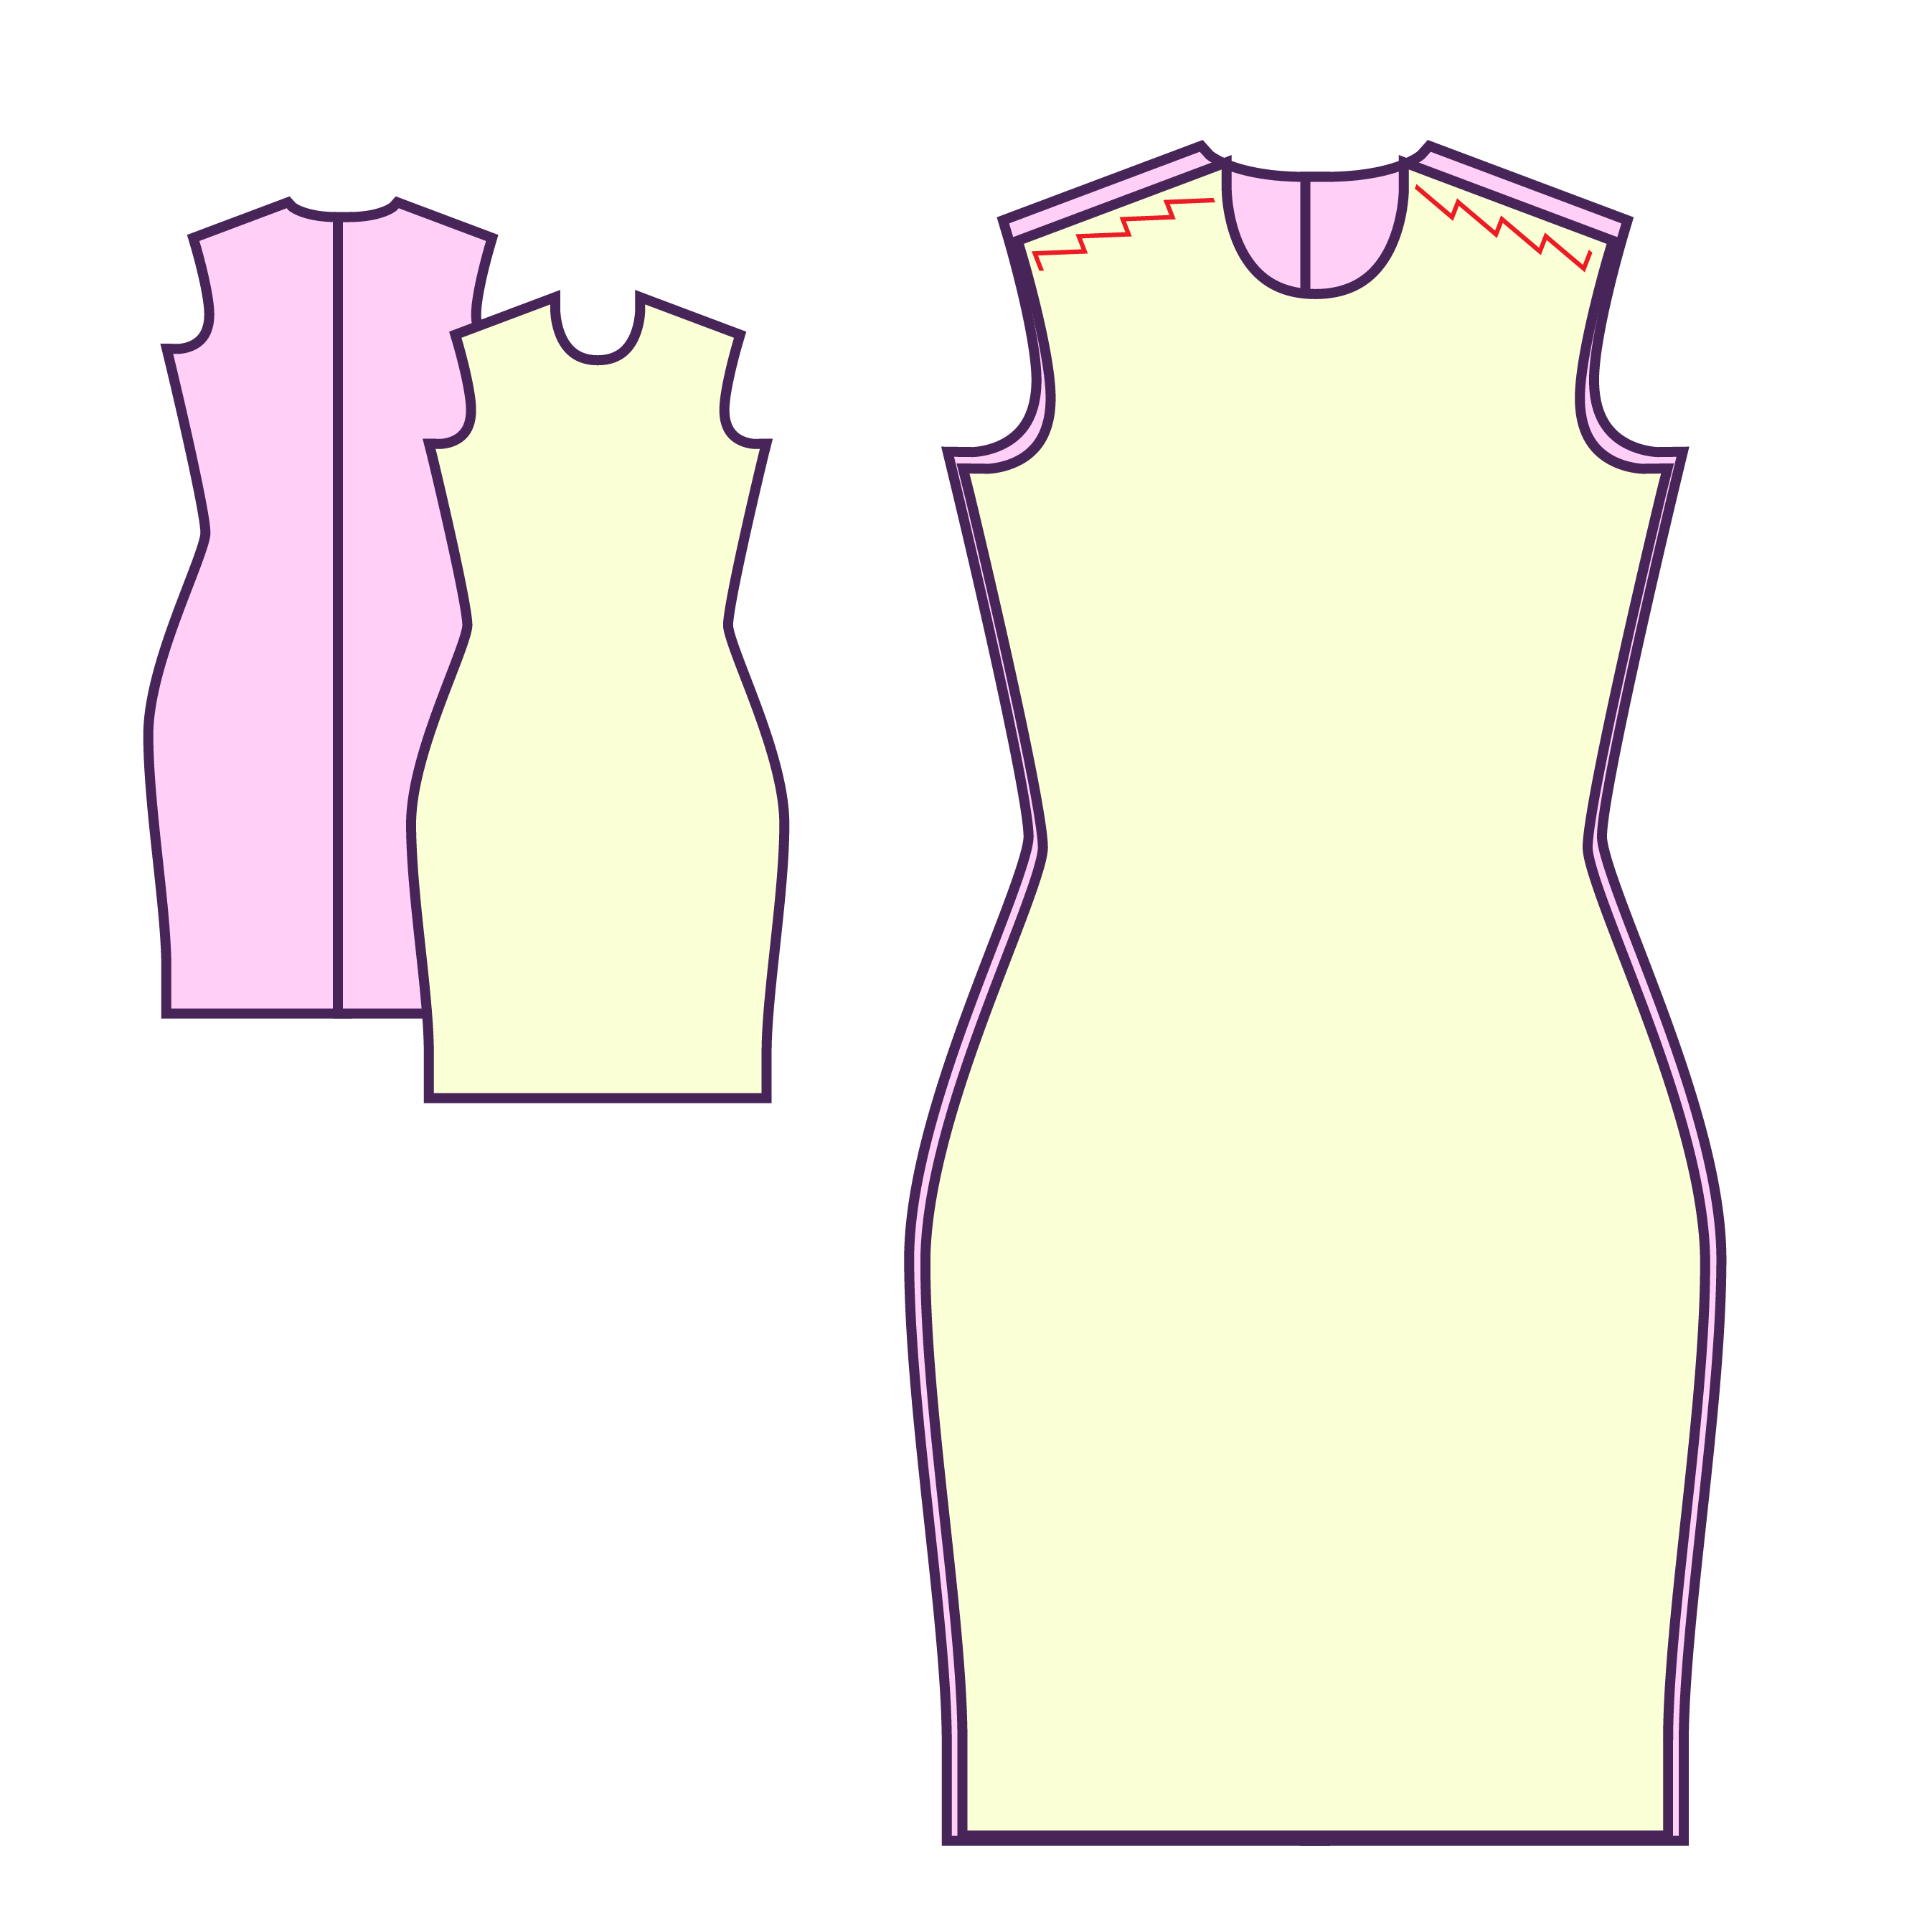
Stack the two back pieces, right sides facing each other, and sew them together along the center back seam.
STEP 2
Stack the front and back pieces, right sides facing each other, and sew them together along the shoulder seams.
STEP 3
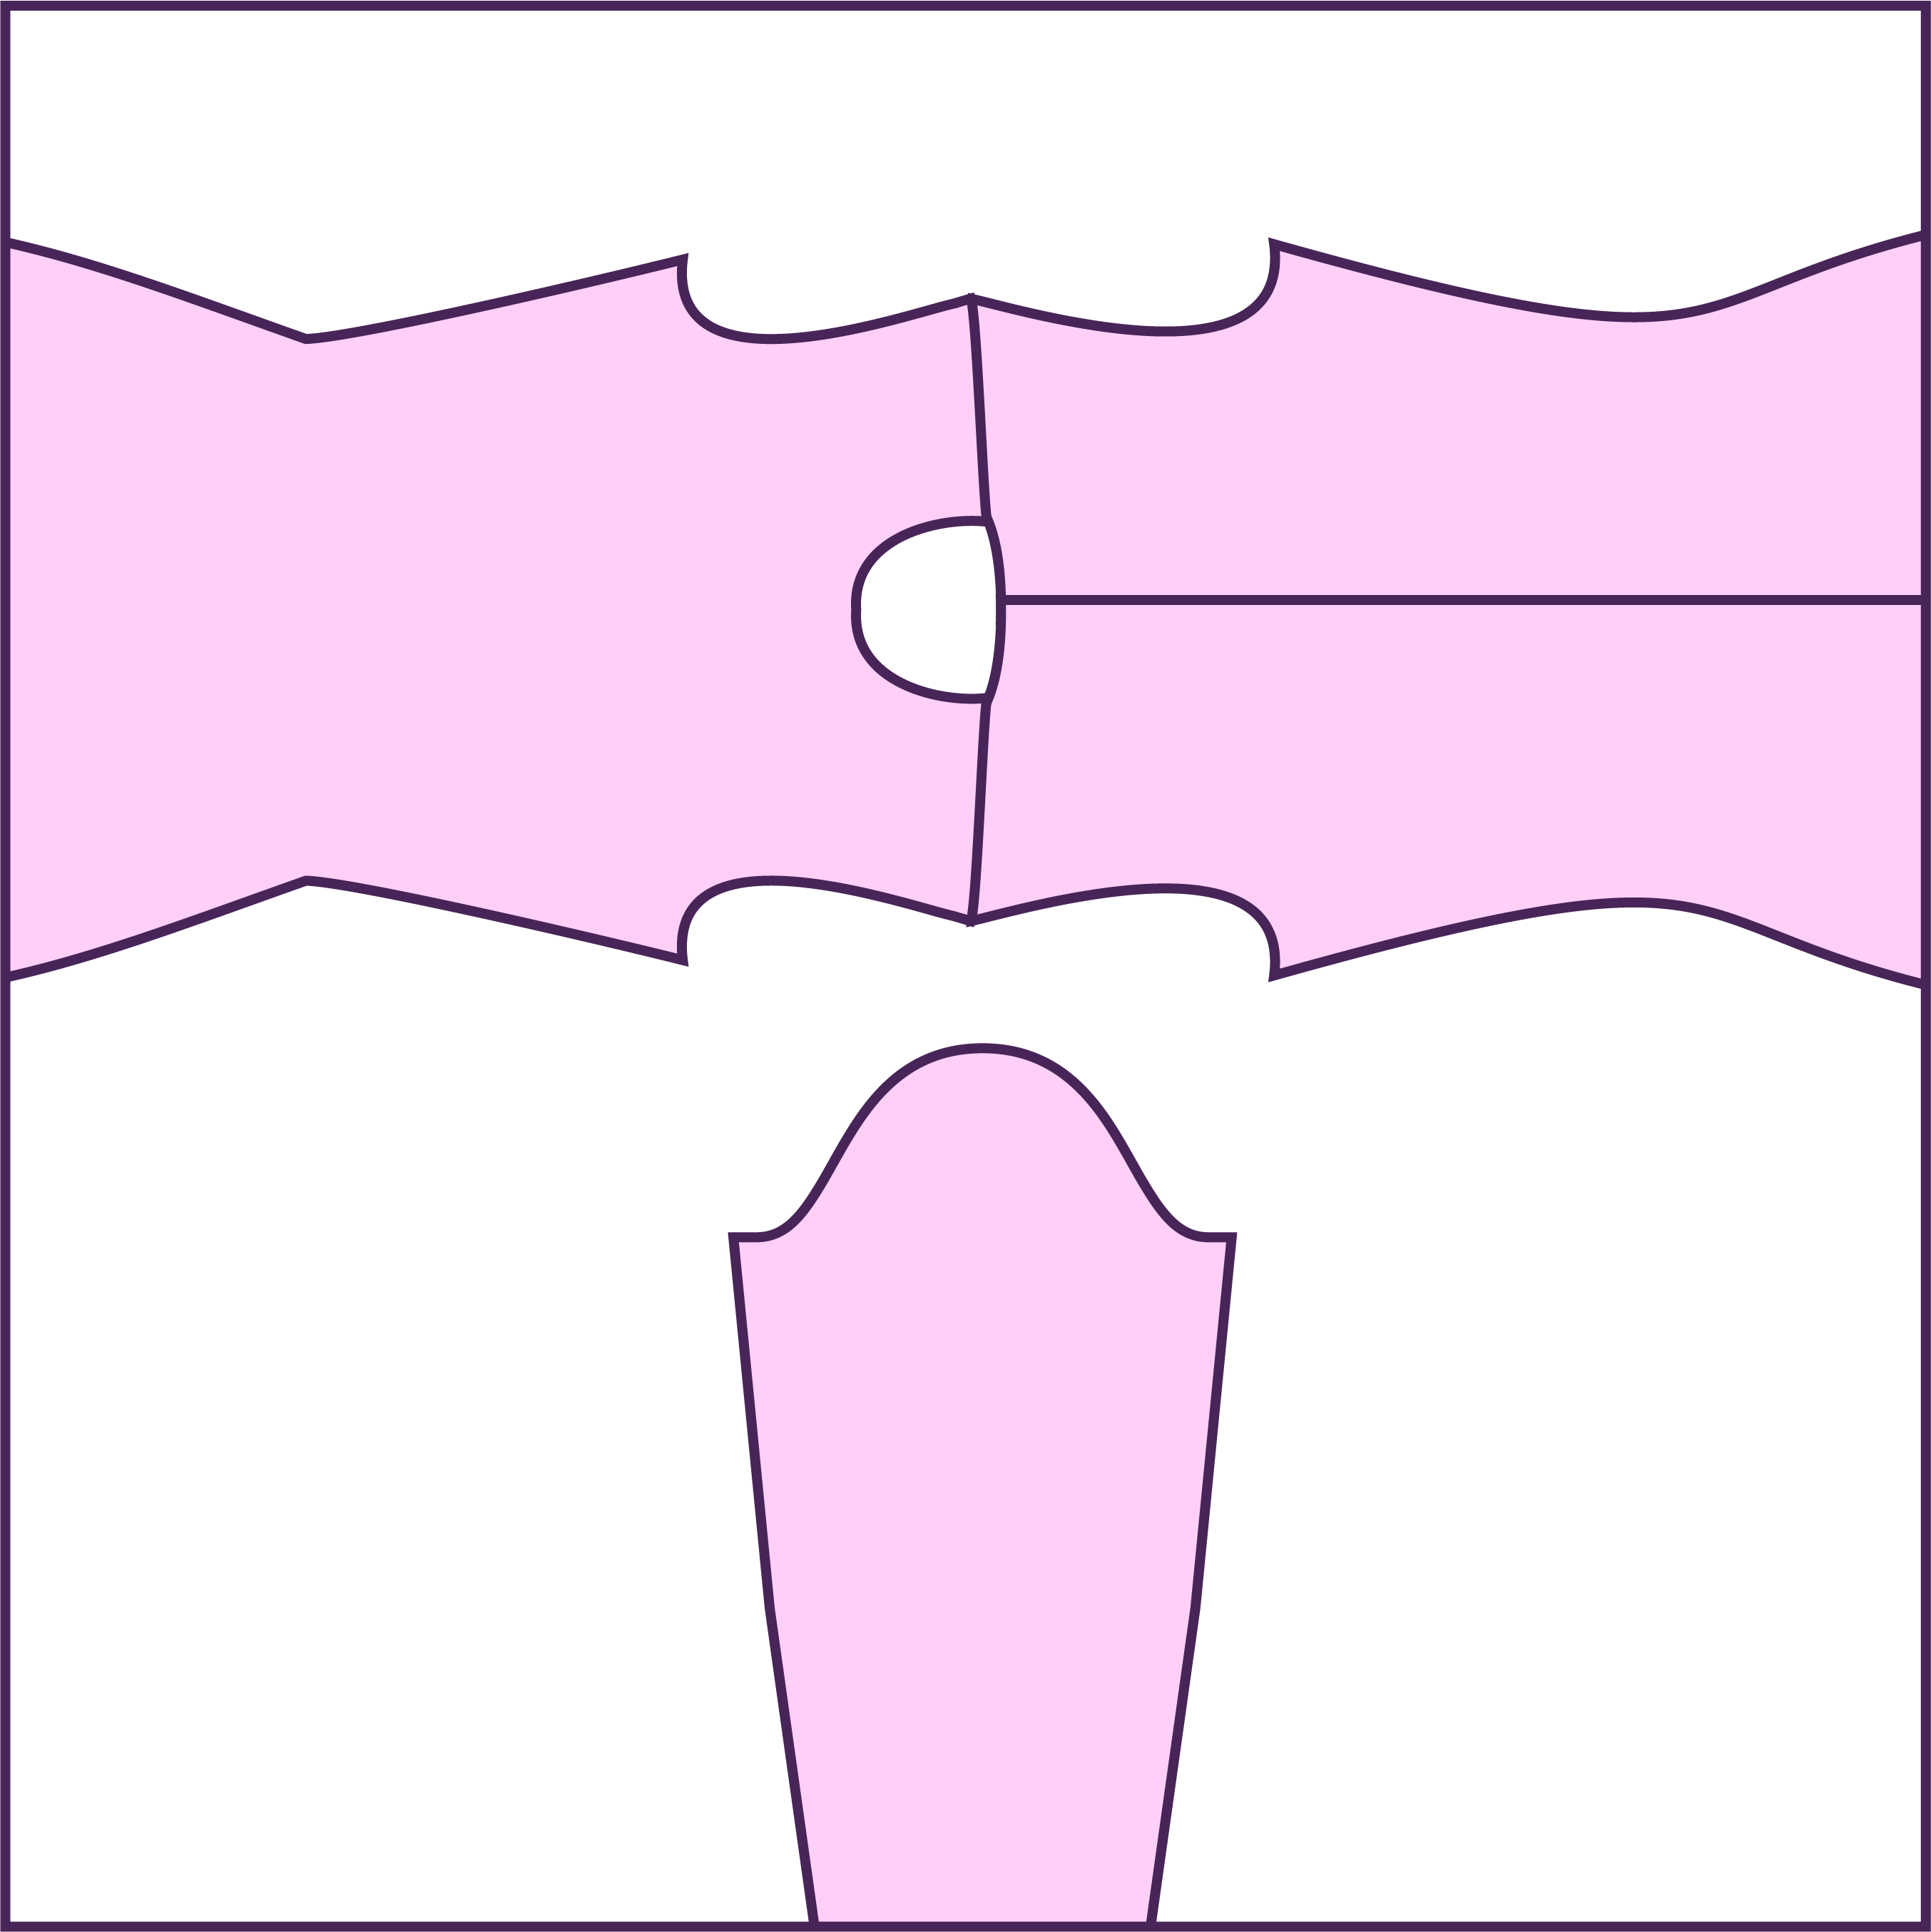
Layout the front and back facing right side up and gather your sleeves.
STEP 4
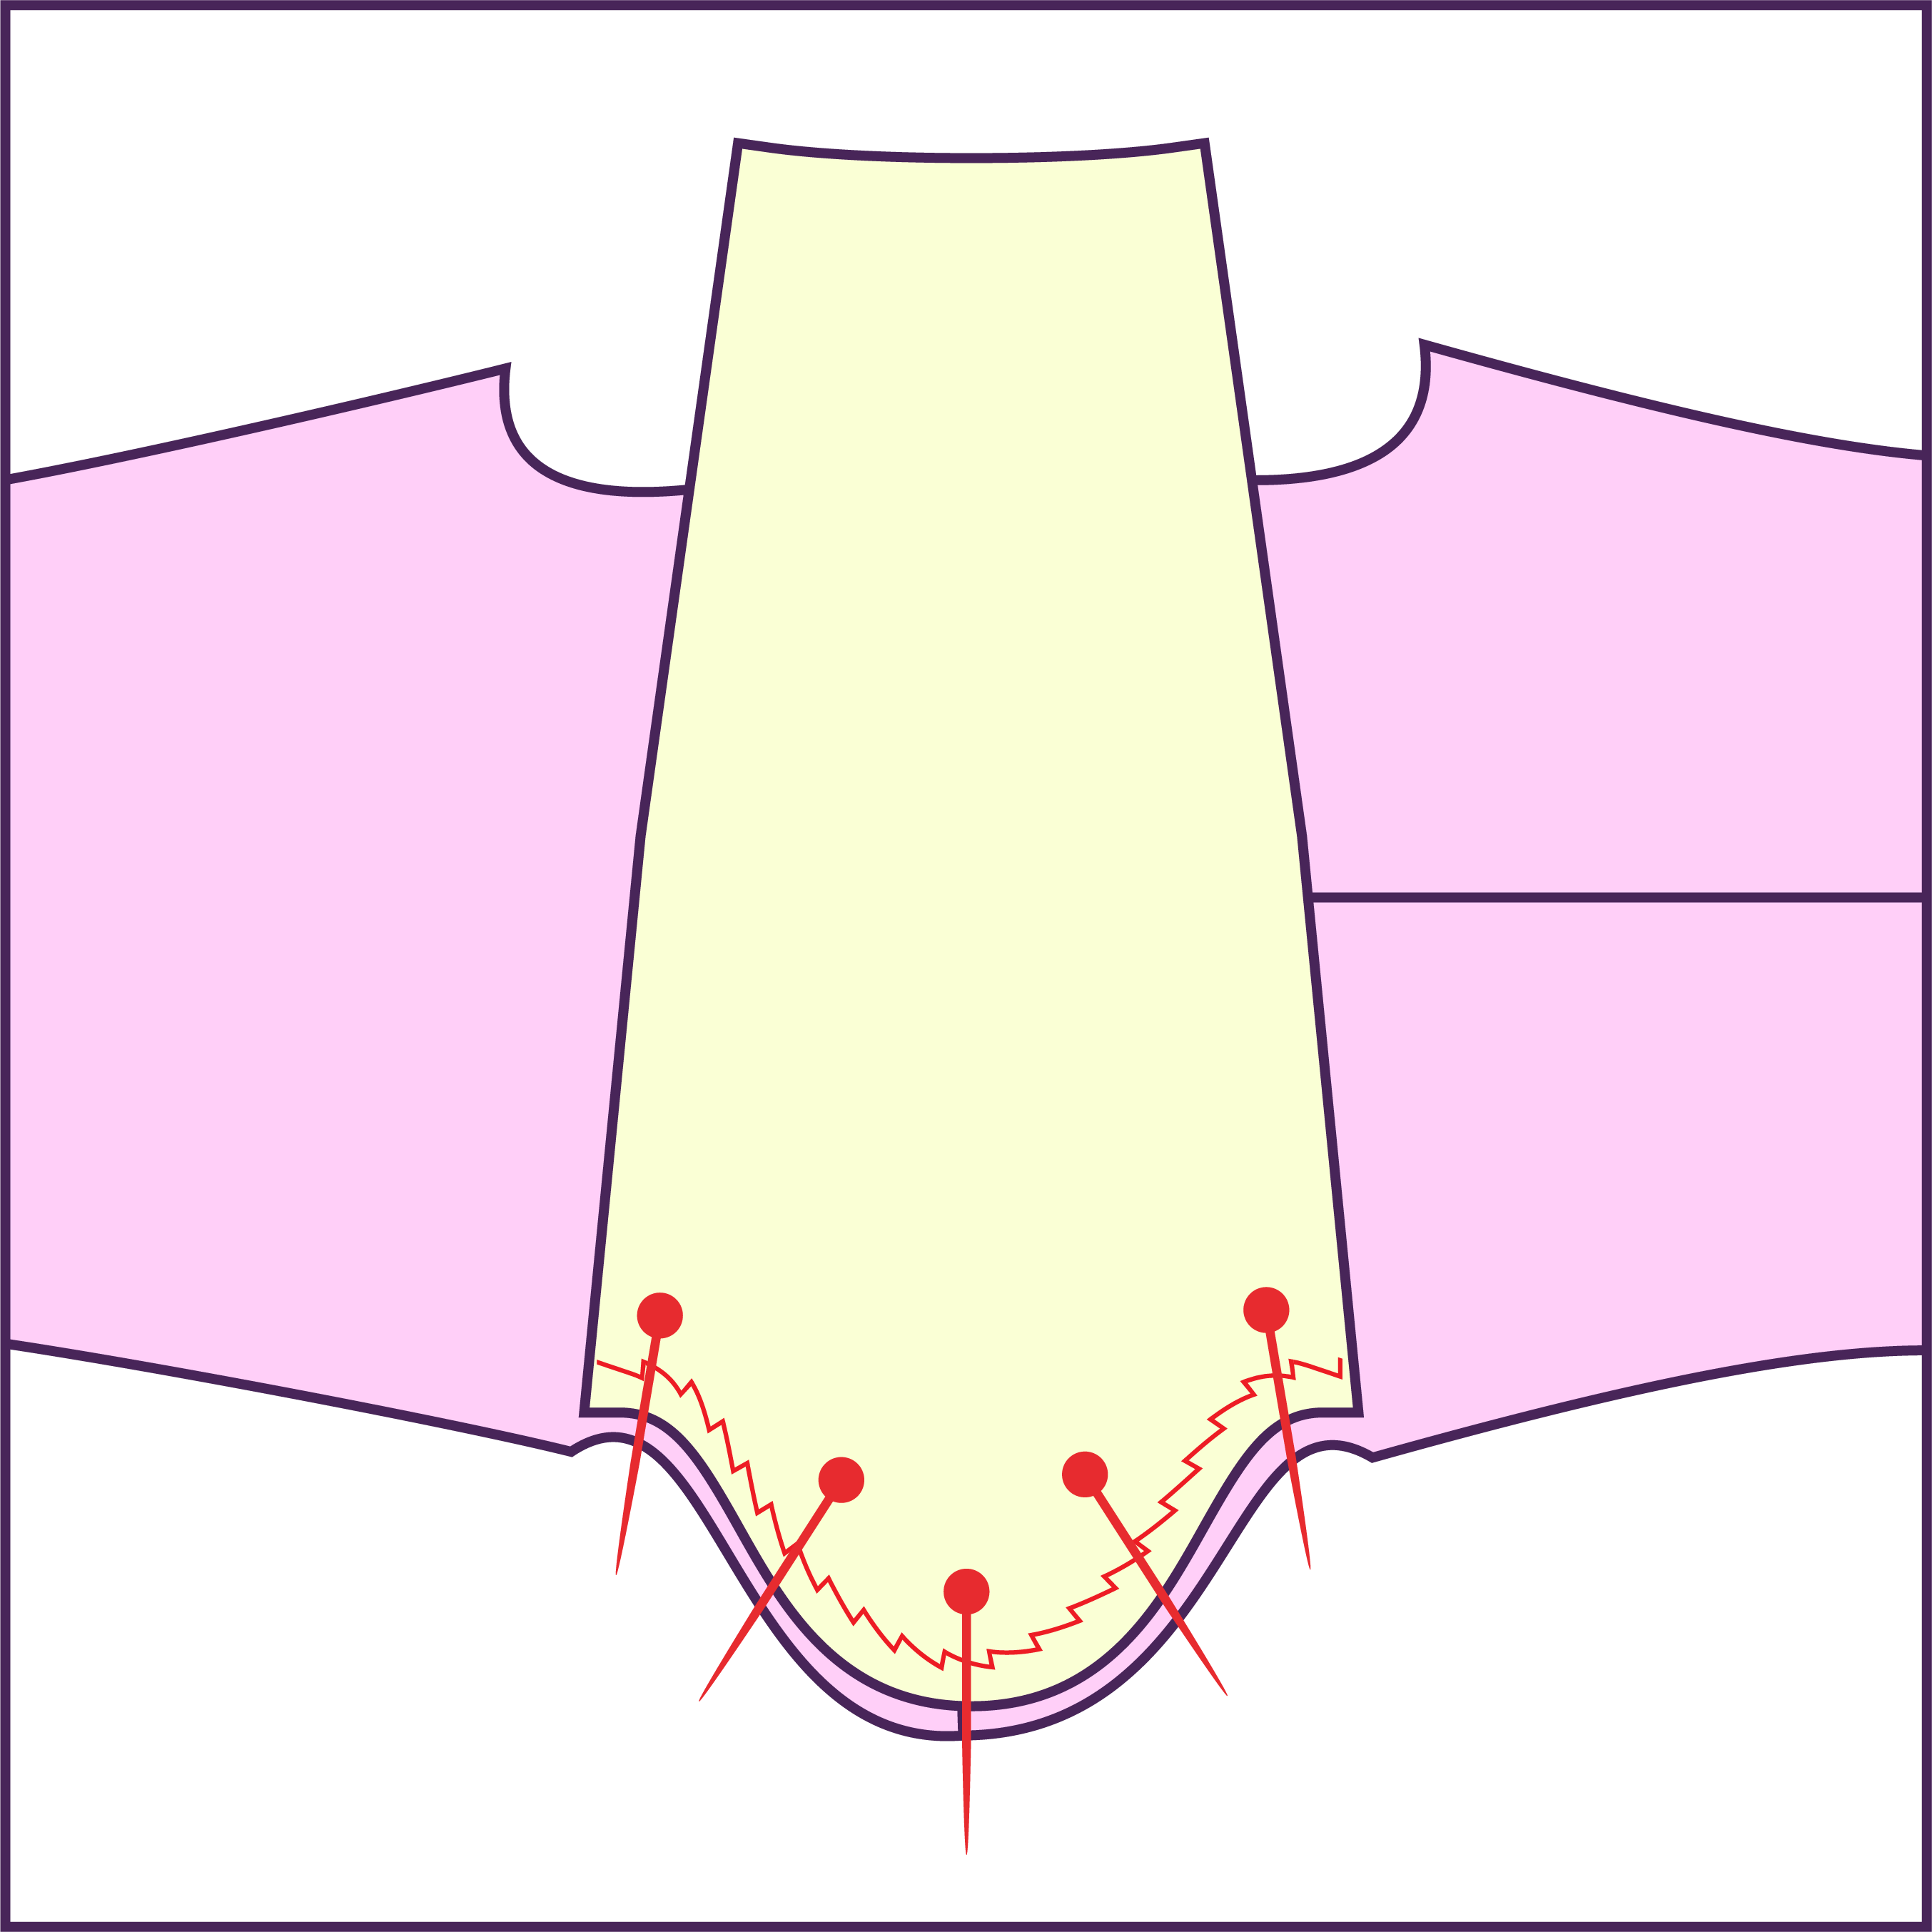
Align and pin the sleeves around the armholes, right side of the sleeve facing the right side of the front and back, using notches as a guide. Each sleeve curve is symmetrical, so there's no designated front or back. Serge or sew the sleeves in place and repeat for the other side.
STEP 5
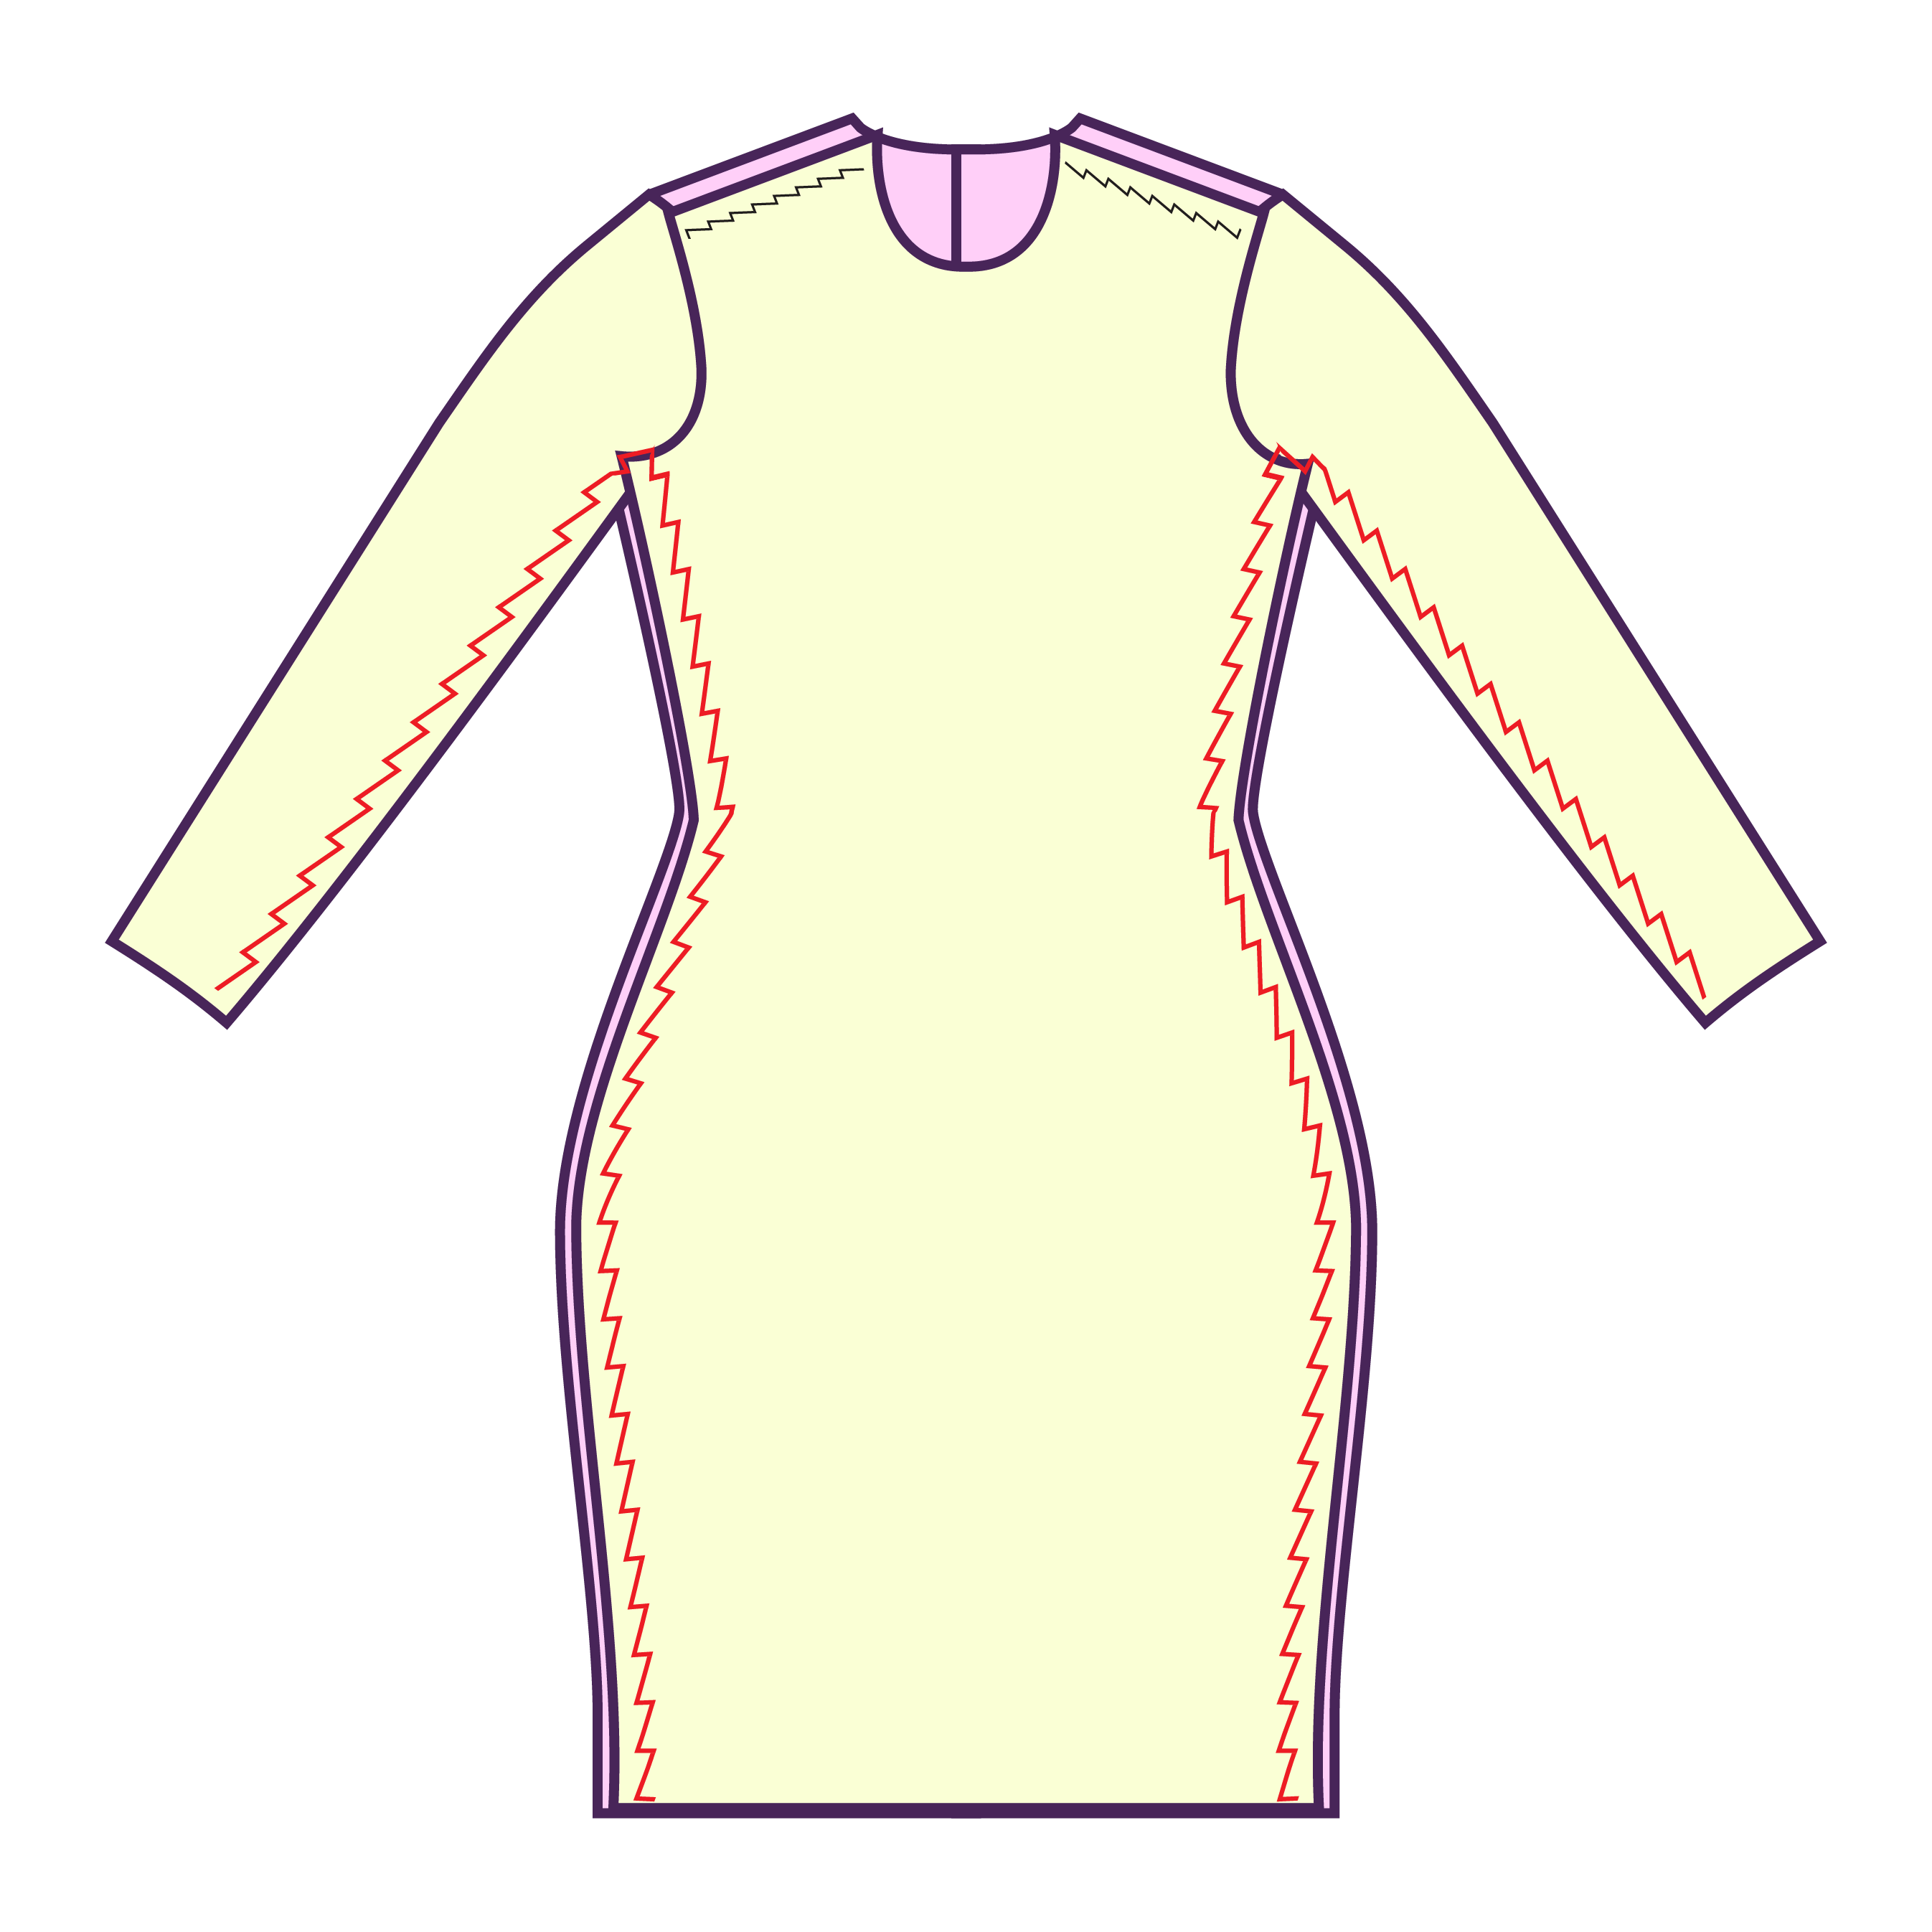
Turn the garment wrong side out and sew the inner sleeve seams closed, continuing down the sides of the dress.

STEP 6
Lastly, hem the ends of the sleeves, the collar, and the bottom of the dress with a rolled hem, stretch stitch, or zigzag stitch.
Get the Pattern
