Cómo coser un vestido ajustado con hombros descubiertos
Saltar a instruccionesDescripción general
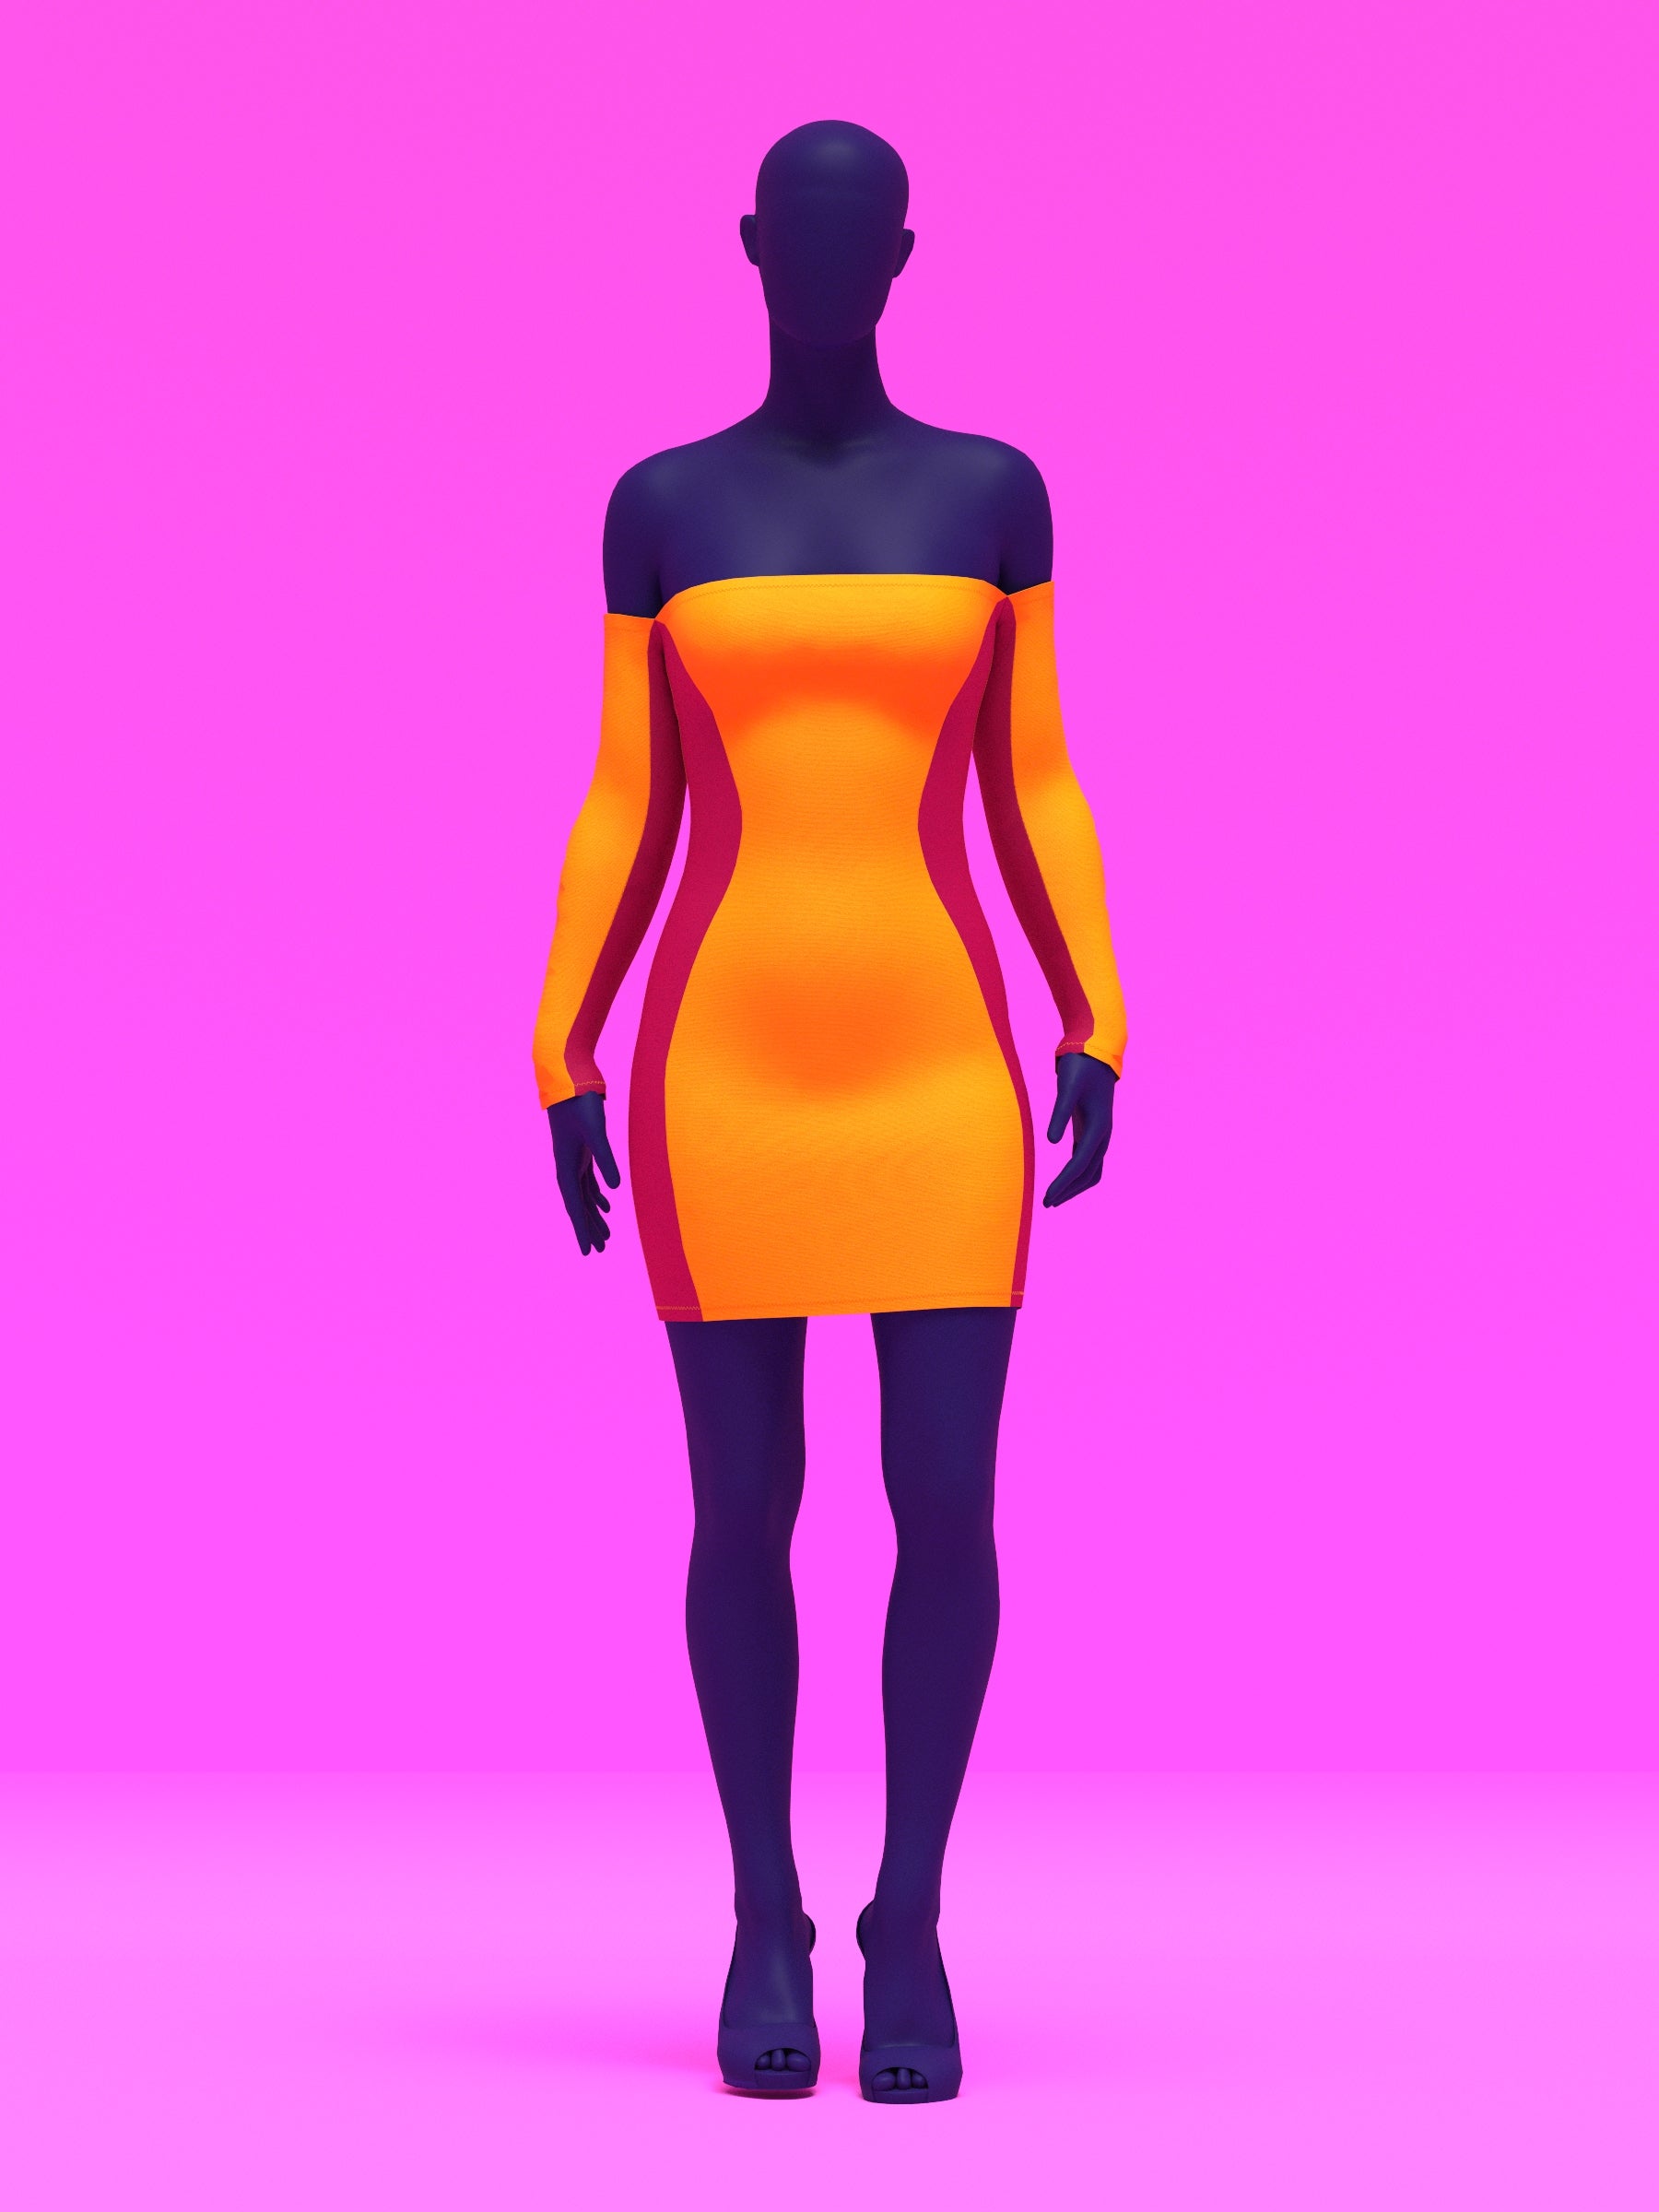
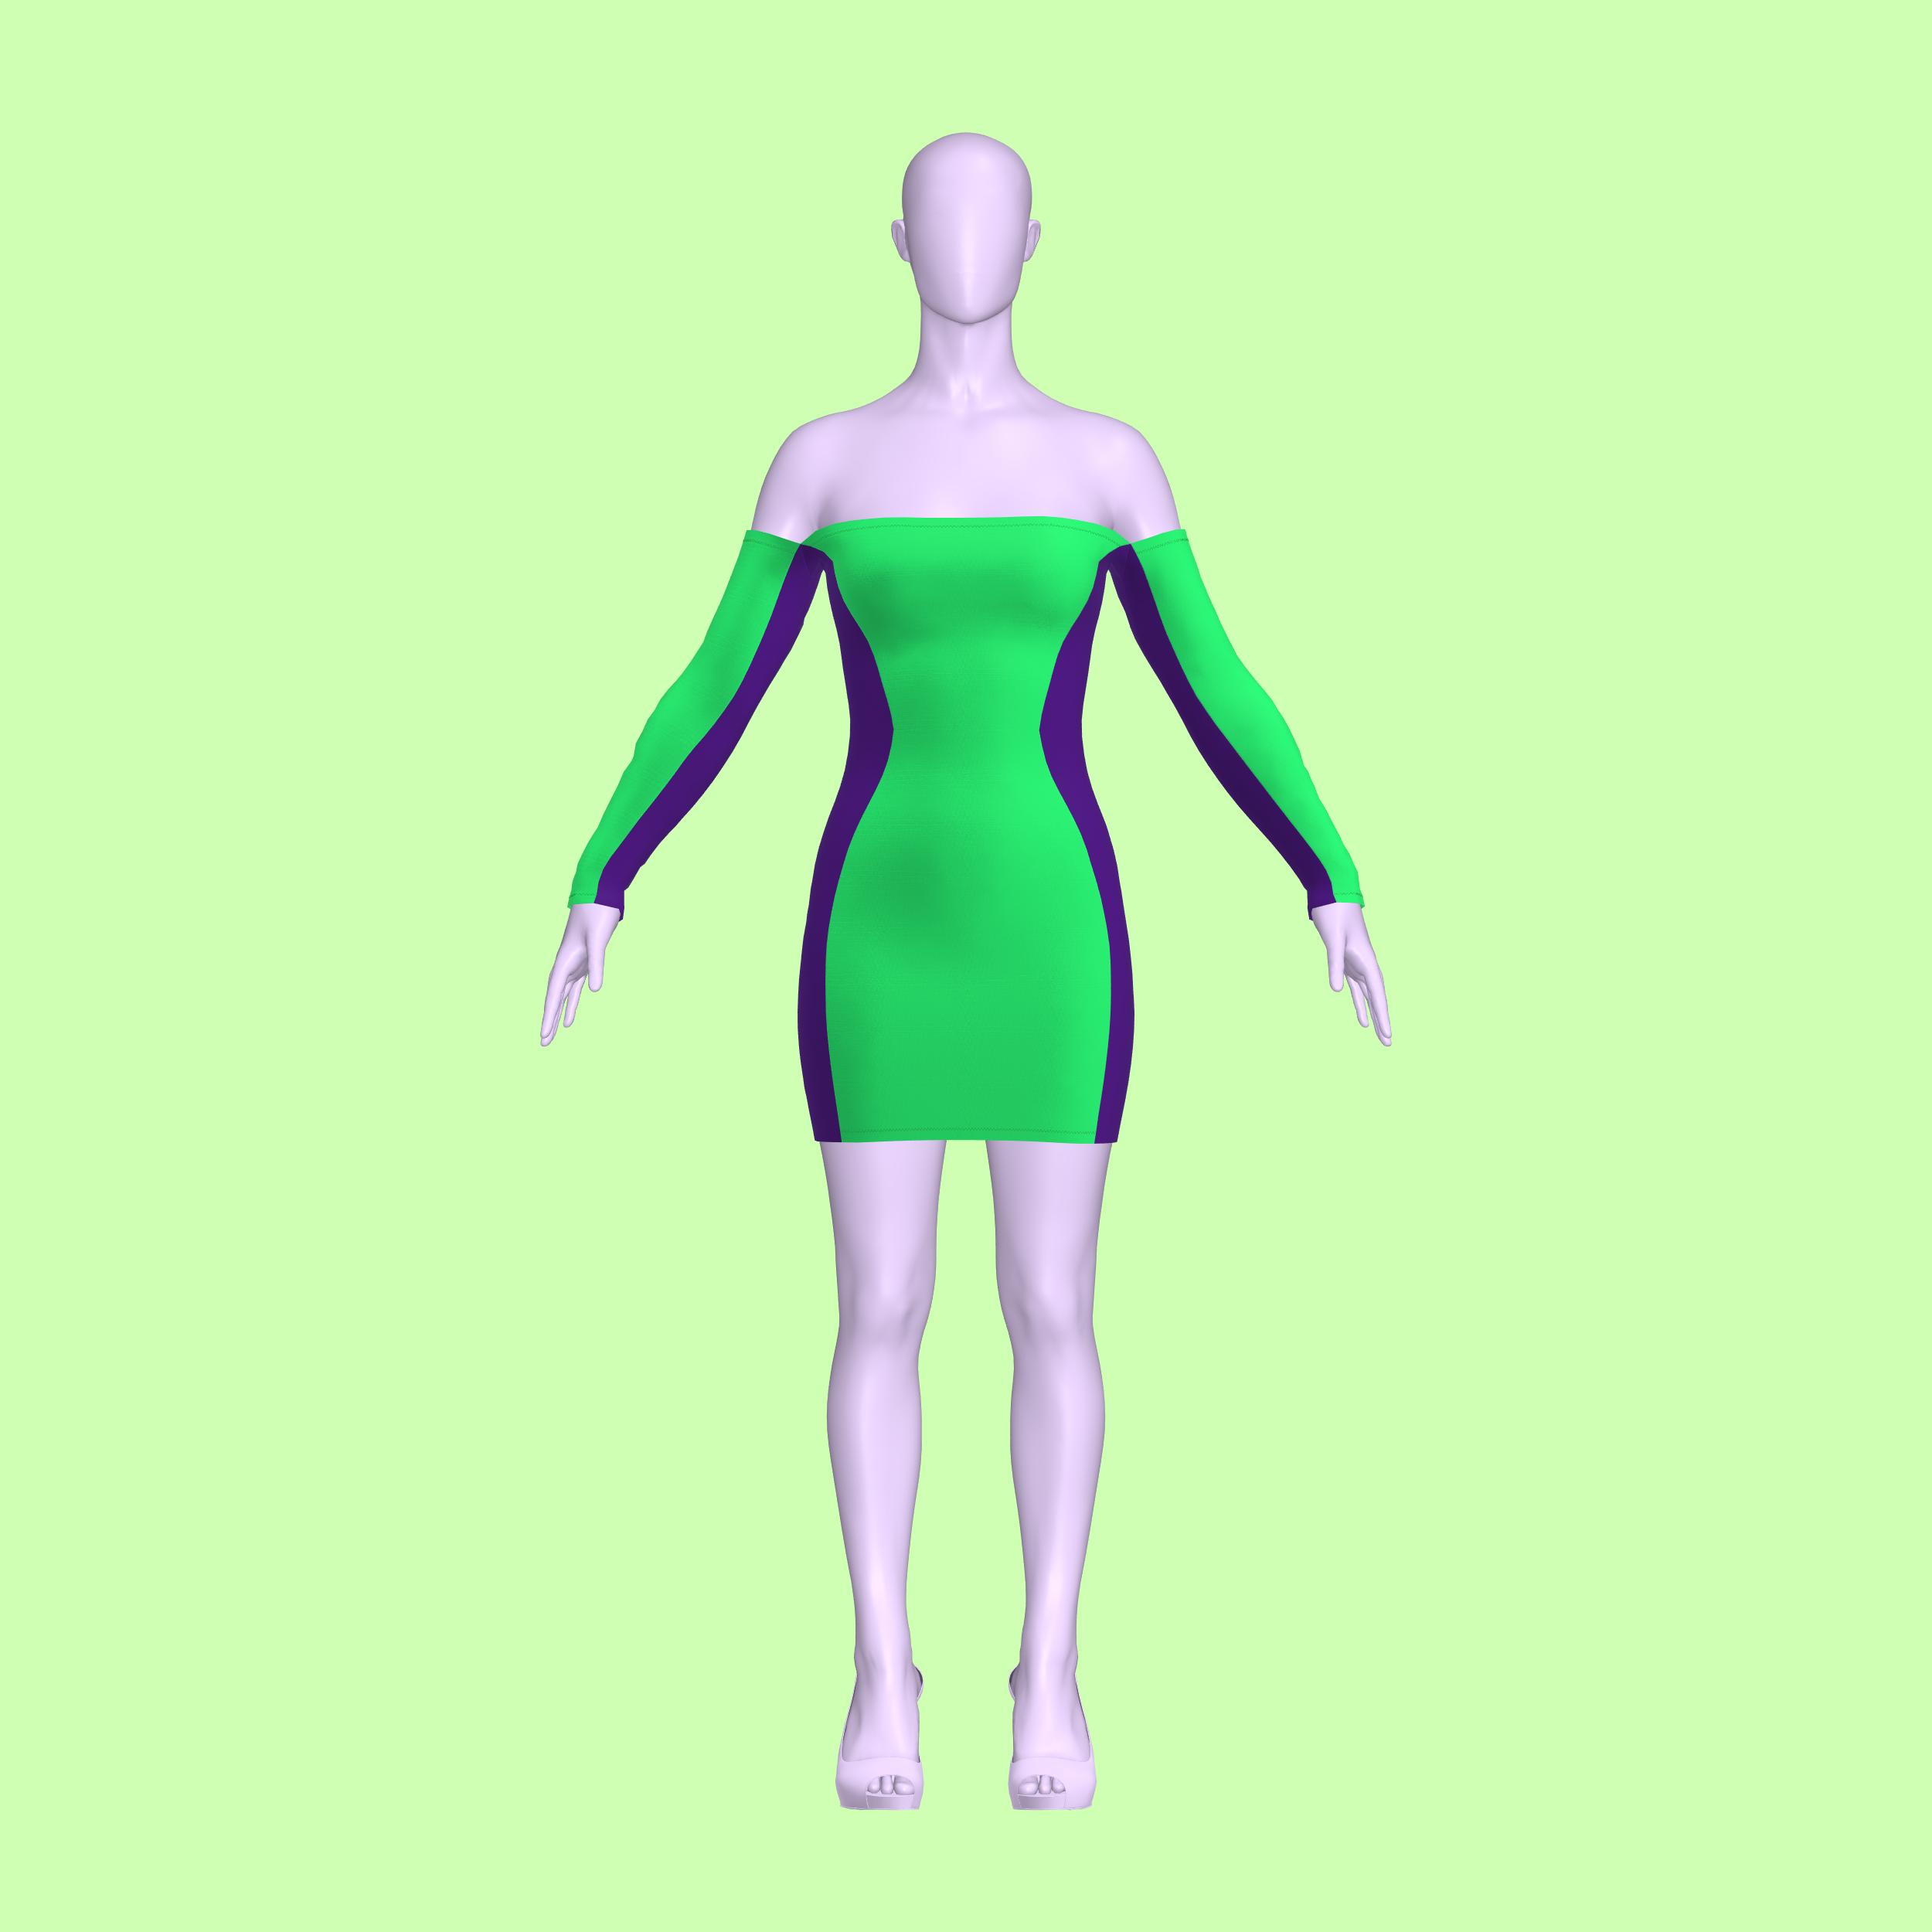
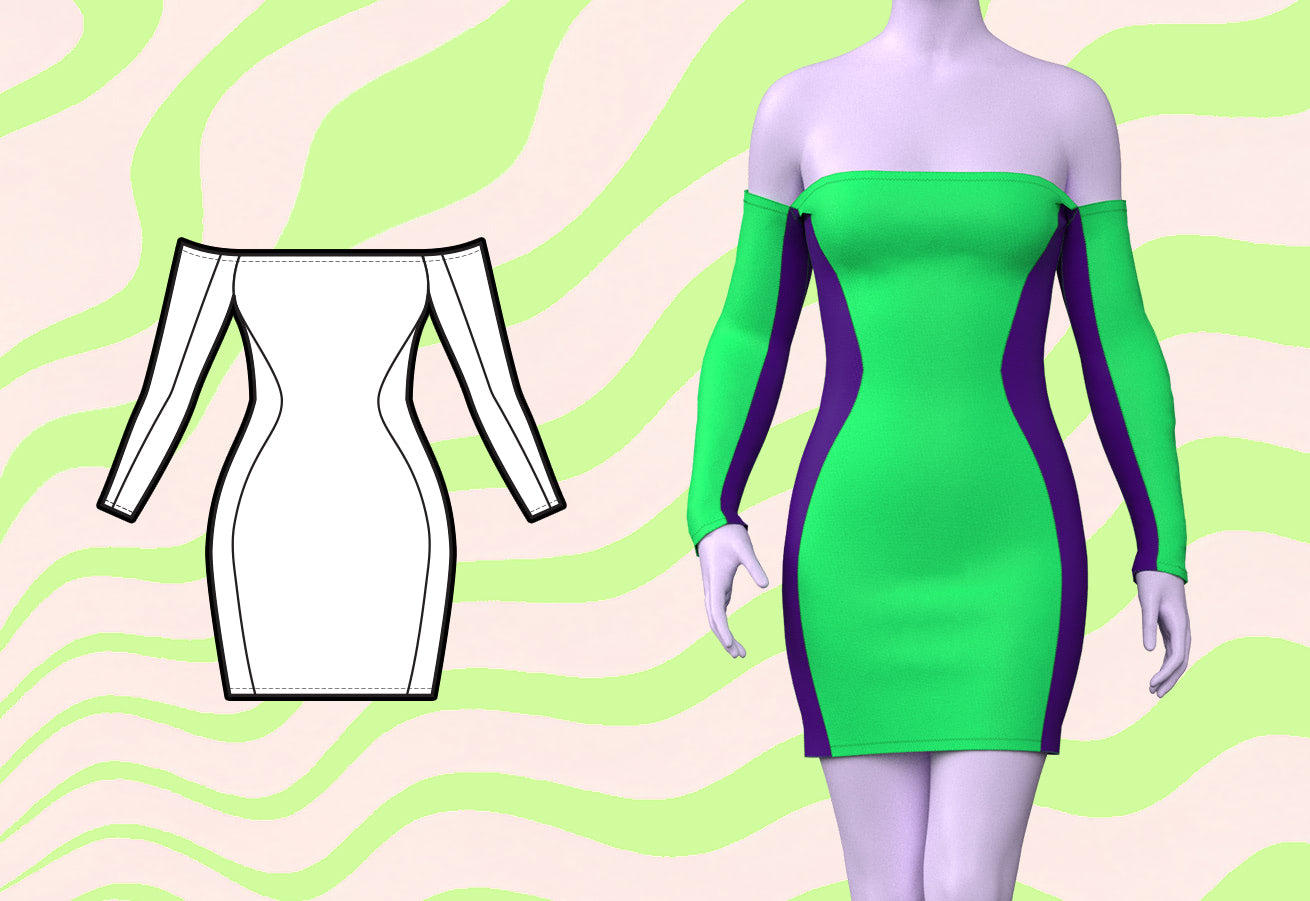
Aprende a coser nuestro patrón de costura de vestido mini ceñido al cuerpo con hombros descubiertos, diseñado exclusivamente para drag queens que anhelan una silueta atrevida y definida. Este patrón de costura en PDF es tu boleto para crear un look deslumbrante que llamará la atención.
Dificultad del patrón: Para principiantes
Yardas de tela

The yardage below is based on fabric widths of 58 inches.
| Size | Fabric A | Fabric B |
|---|---|---|
| XS | 1y / 0.9m | 1y / 0.9m |
| S | 1y / 0.9m | 1y / 0.9m |
| M | 1y / 0.9m | 1y / 0.9m |
| L | 1y / 0.9m | 1y / 0.9m |
| XL | 1y / 0.9m | 1y / 0.9m |
| 2X | 1y / 0.9m | 1y / 0.9m |
| 3X | 1y / 1m | 1y / 0.9m |
| 4X | 1y / 1m | 1y / 0.9m |
For information on converting inches to meters, please check out our conversion guide.
Telas y artículos de mercería
Adecuado para tejidos ligeros con algo de elasticidad:
- Spandex
- Miliskin
- Vinilo elástico
- Tejidos de punto elásticos
- Mezclas de lycra
- Elástico de 0,25 a 0,5 pulgadas
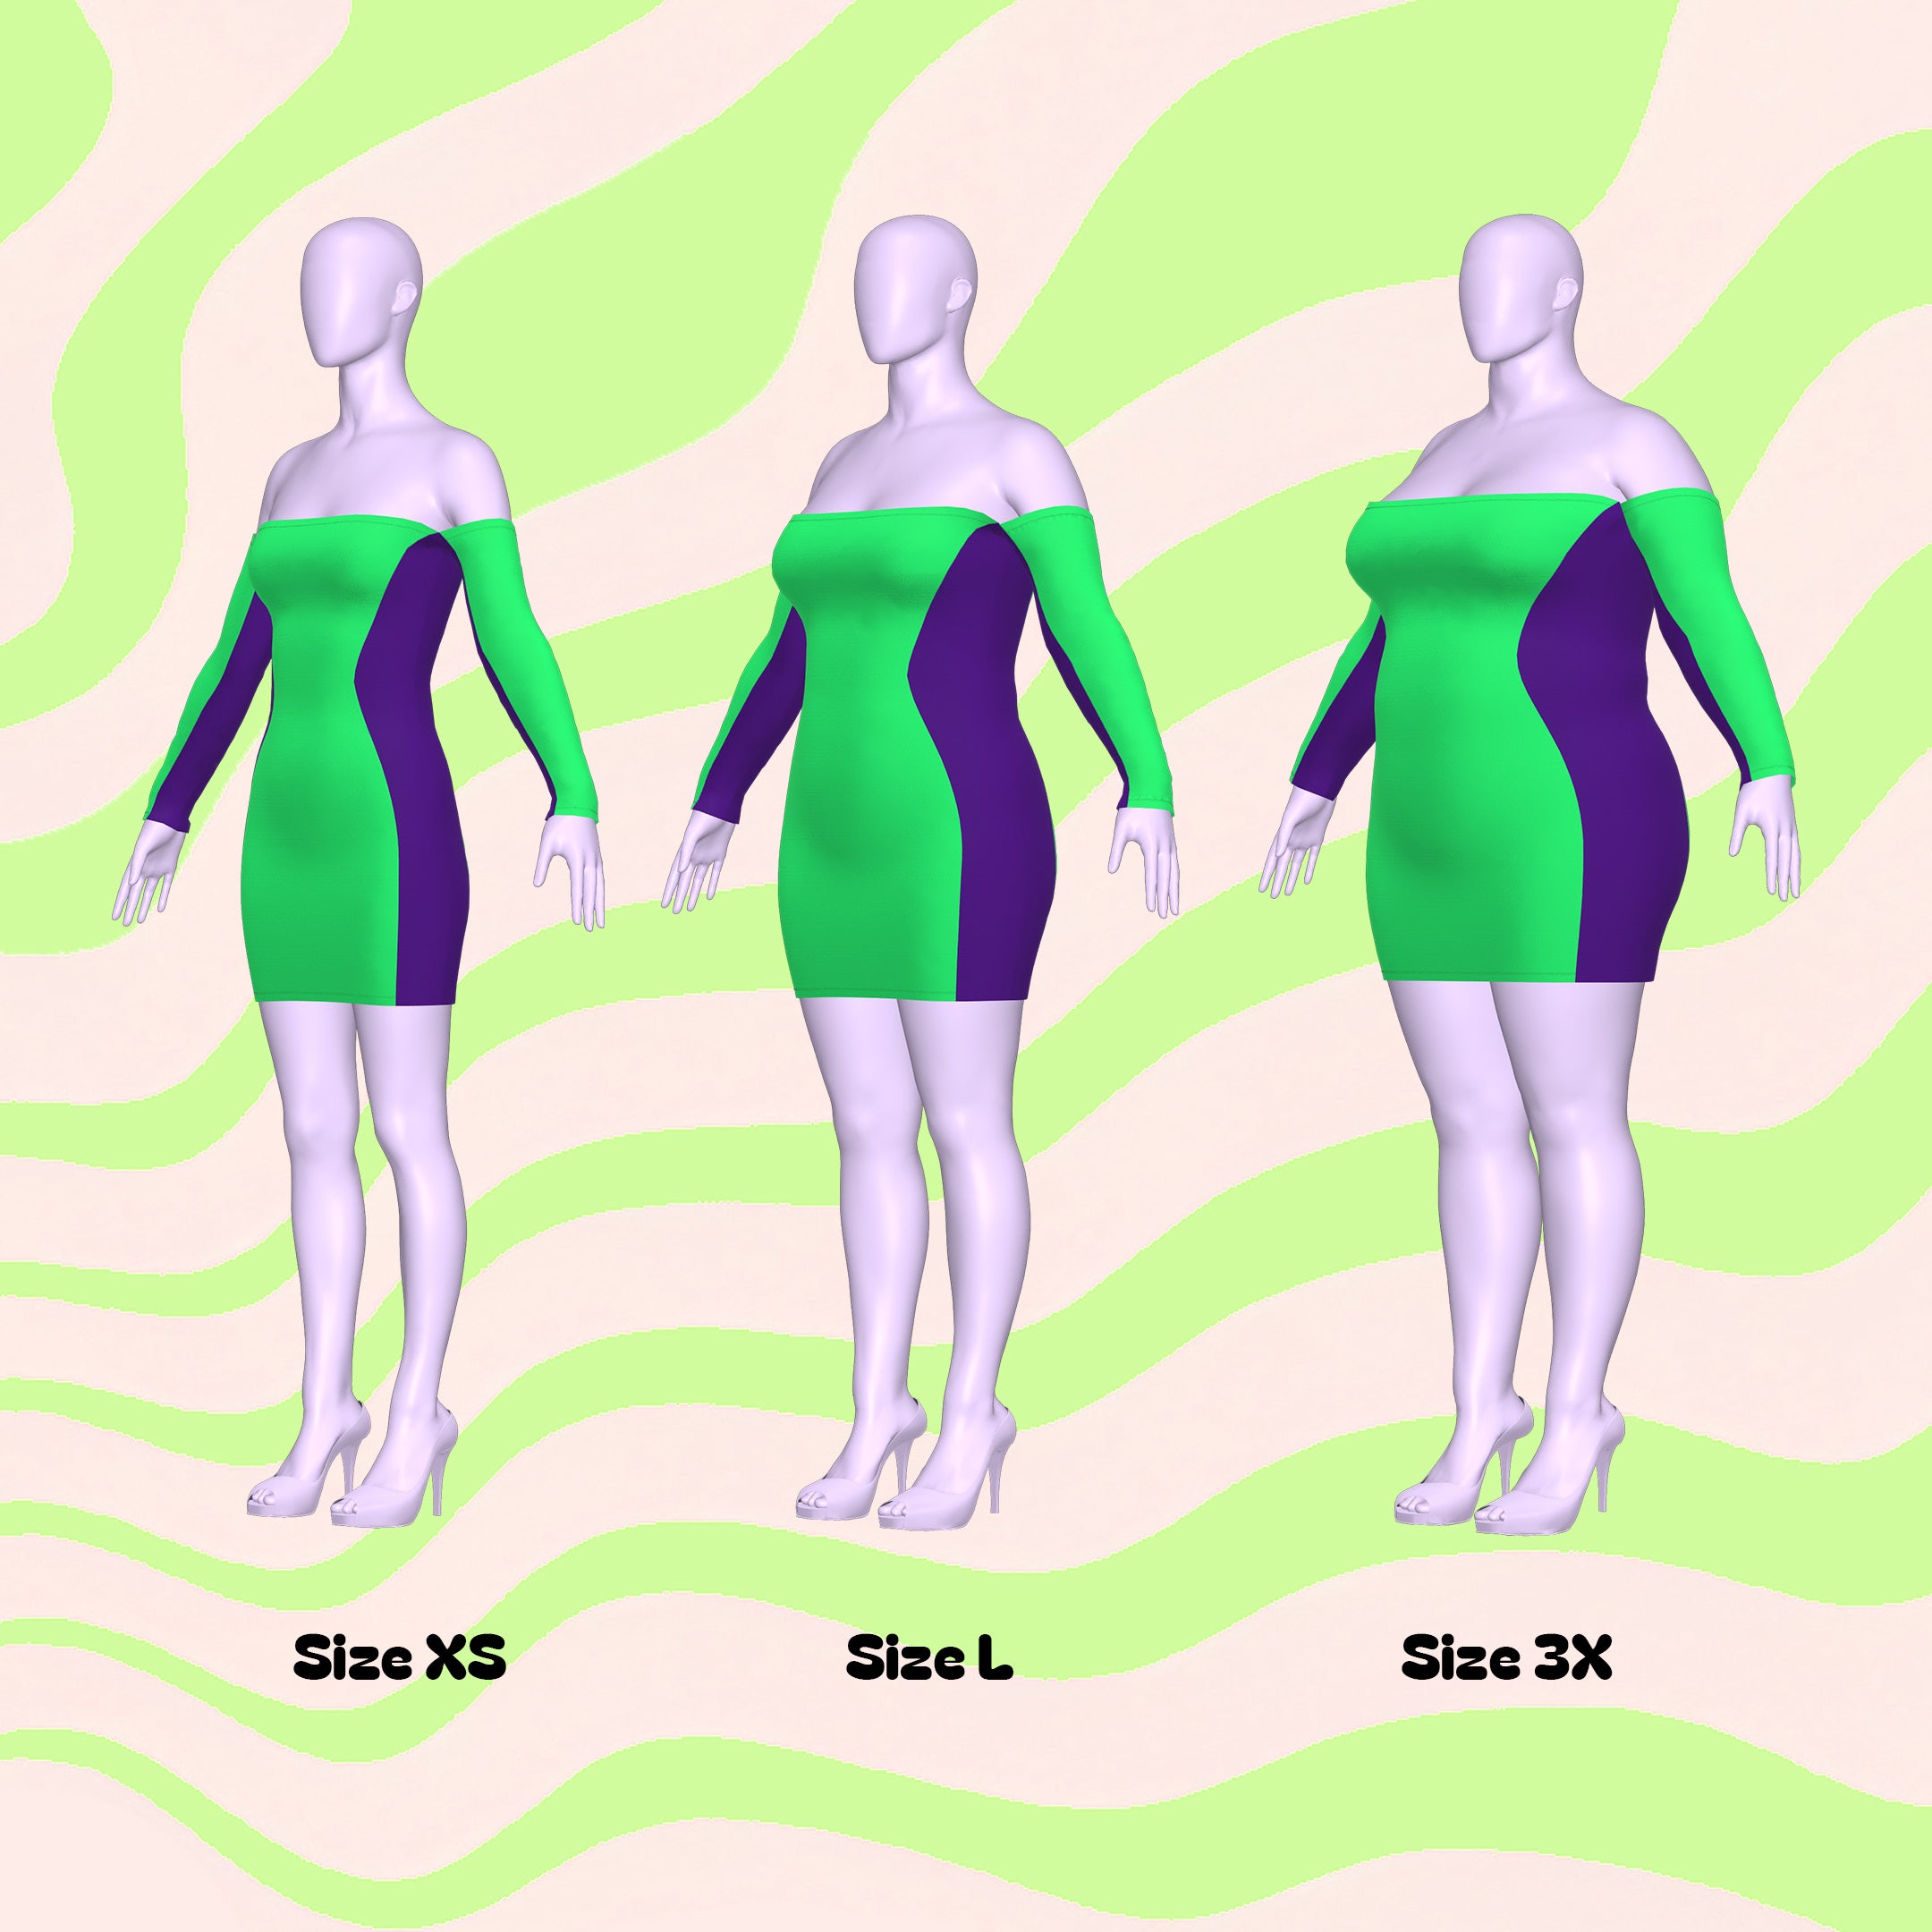
Detalles de tallas
Este patrón está disponible en nuestros exclusivos talles Drag Queen (XS-4X). Consulta nuestra guía de talles para obtener más información sobre nuestras medidas de talle.
Instrucciones de costura


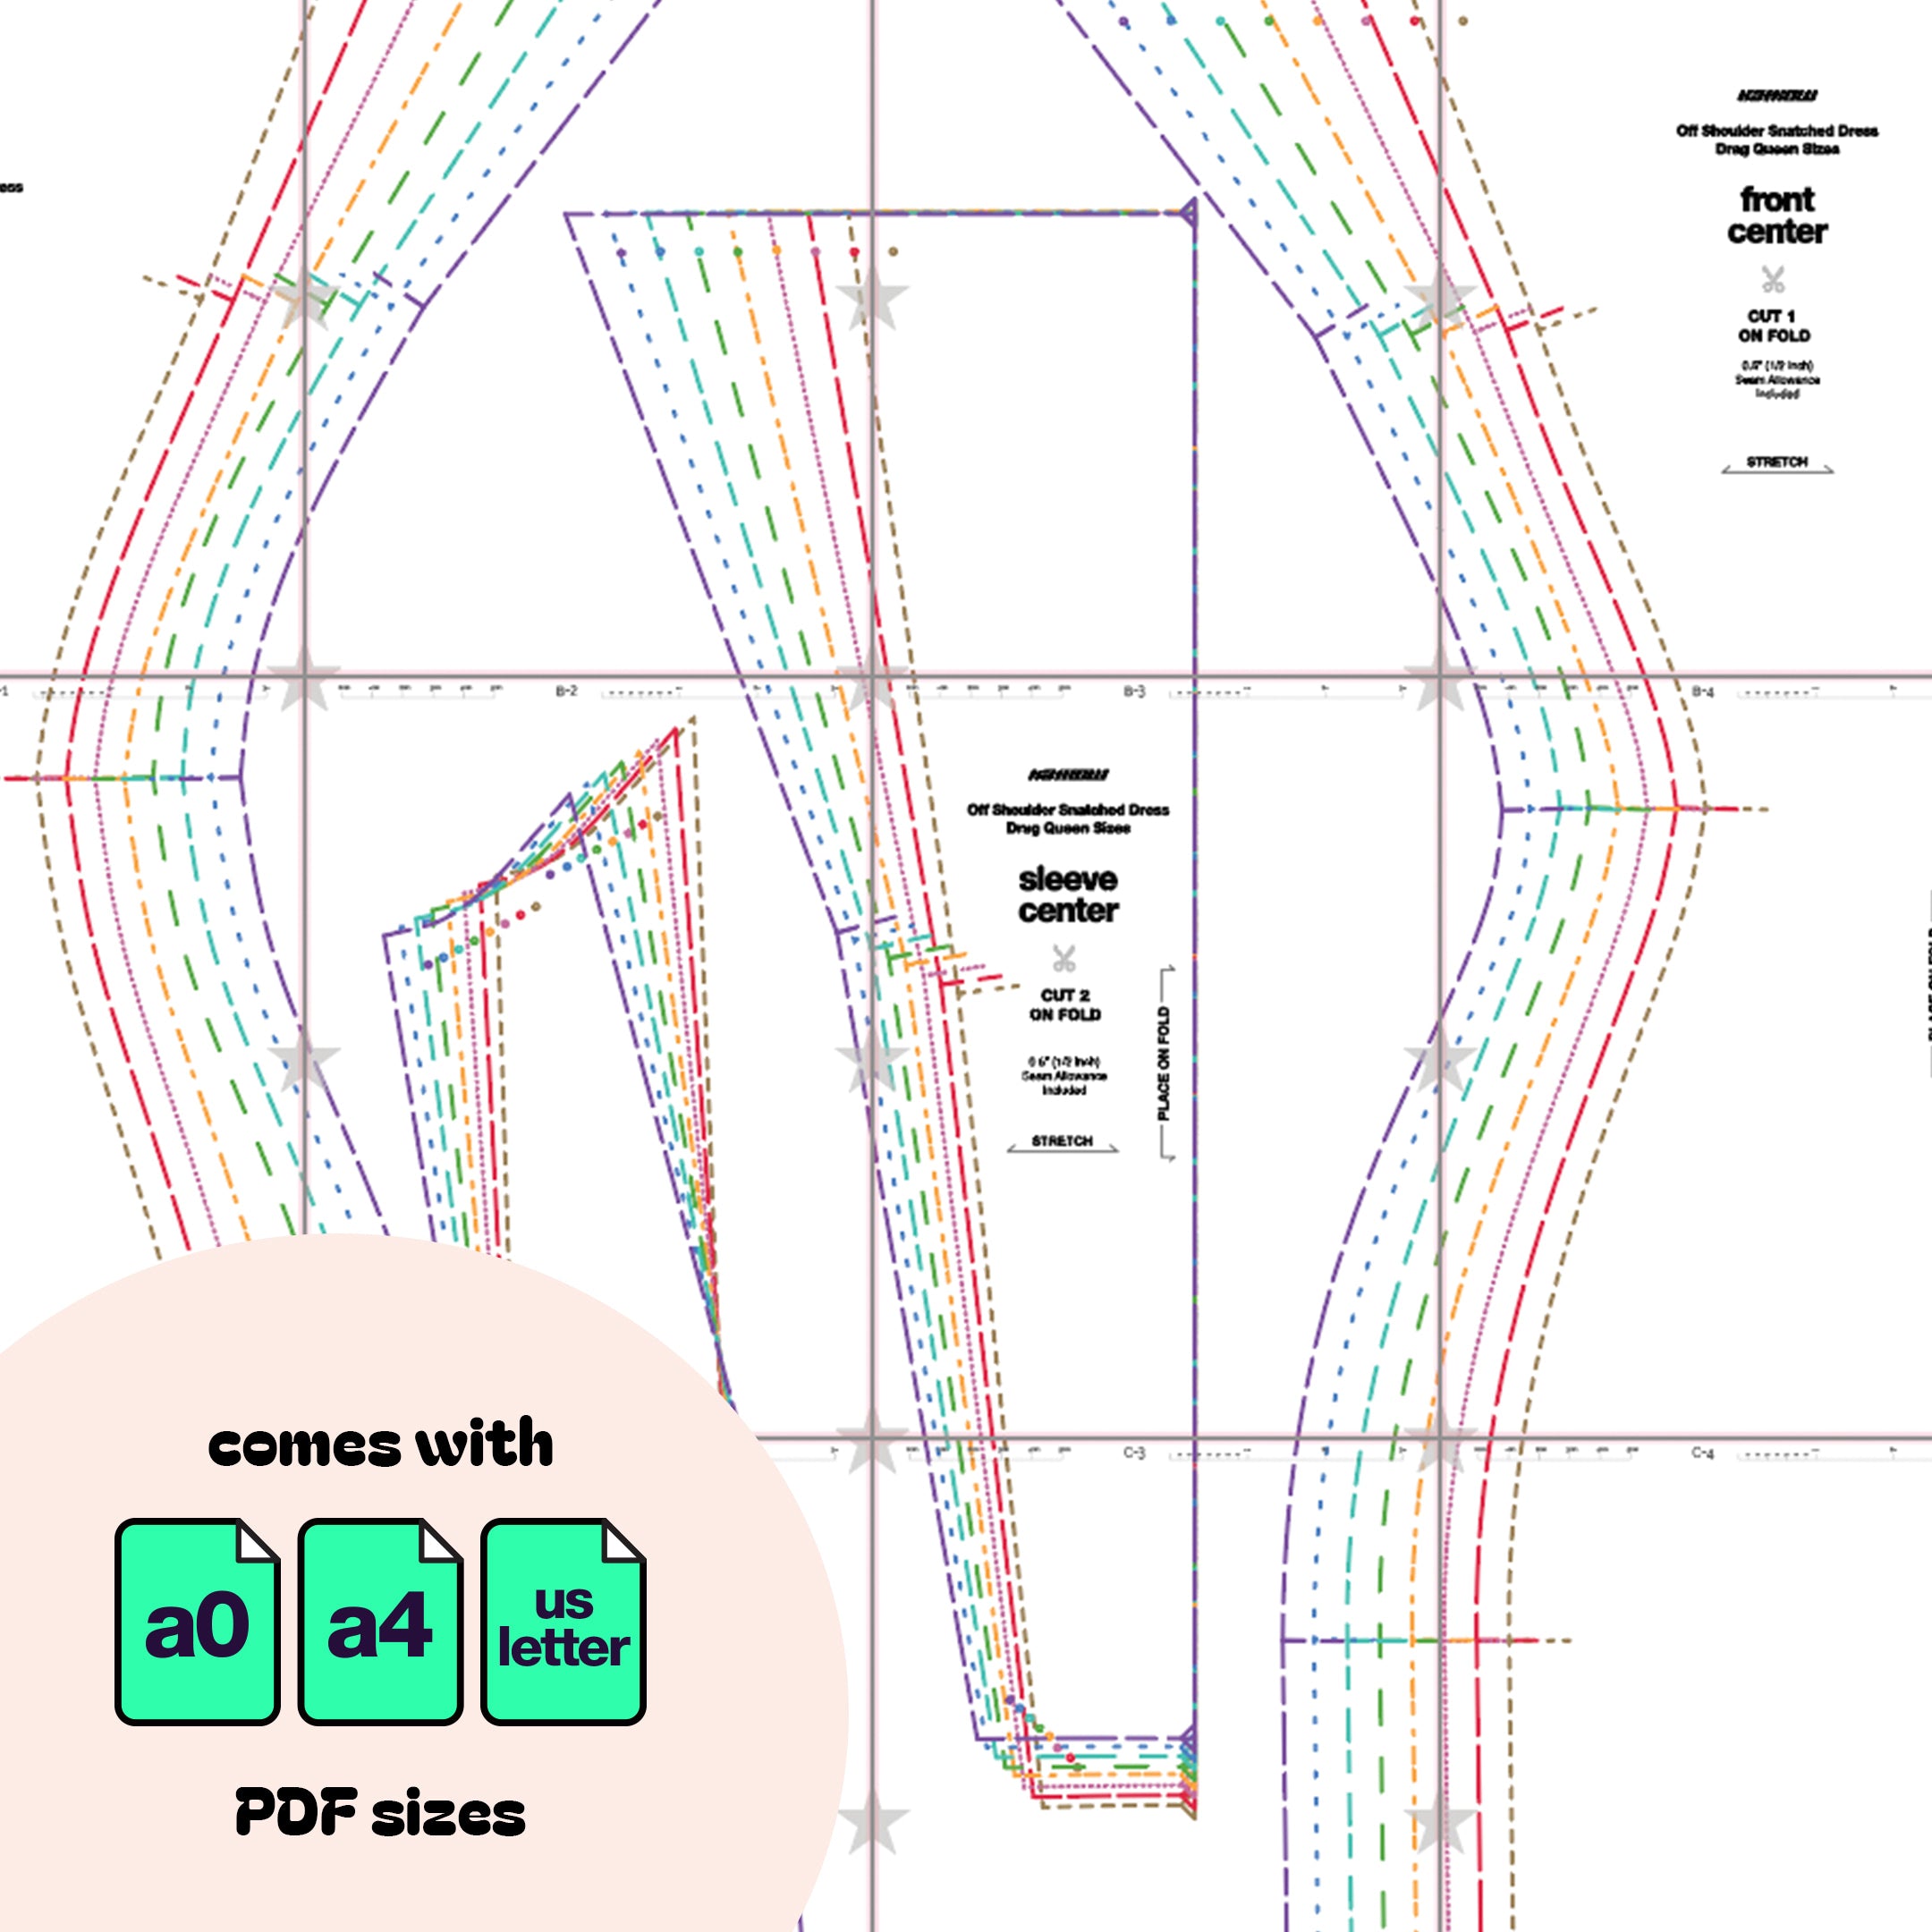
Fabric Pieces
After cutting your fabric, you should have the following pieces:
- One seamless Front Center
- Two Front Side pieces
- One seamless Back Center
- Two Back Side pieces
- Two seamless Sleeve Center peices
- Four Sleeve Side pieces

Stitches
Preferred stitches: Stretch stitch, zigzag stitch, or serger overlock stitch. You can use a straight stitch only on non-stretch areas.

STEP 1
Sew the Front Center and Front Sides together, matching notches, with the right sides of the fabrics facing each other.

STEP 2
Repeat for Back Center and Back Side pieces.

STEP 3
Repeat for Sleeve Center and Sleeve Side pieces.

STEP 4
Sew front and back peices together, right sides facing each other along the side seams.

STEP 5
Sew sleeves sides together, right sides facing each other.

STEP 6
Sew sleeves onto the arm curves of the front and back, right sides facing each other.

STEP 7
If your fabric needs more support, sew in 0.25” - 0.5” inch elastic around the top edge of the wrong side of the dress and sleeves.

STEP 8
Then fold over the elastic and top stitch to hem.

STEP 9
Hem the bottom of the sleeves and dress with a rolled hem, stretch stitch or zig zag stitch.
Obtén el patrón