How to Sew a Stretch Leotard for Drag Queens & Cosplay
Saltar a instruccionesDescripción general
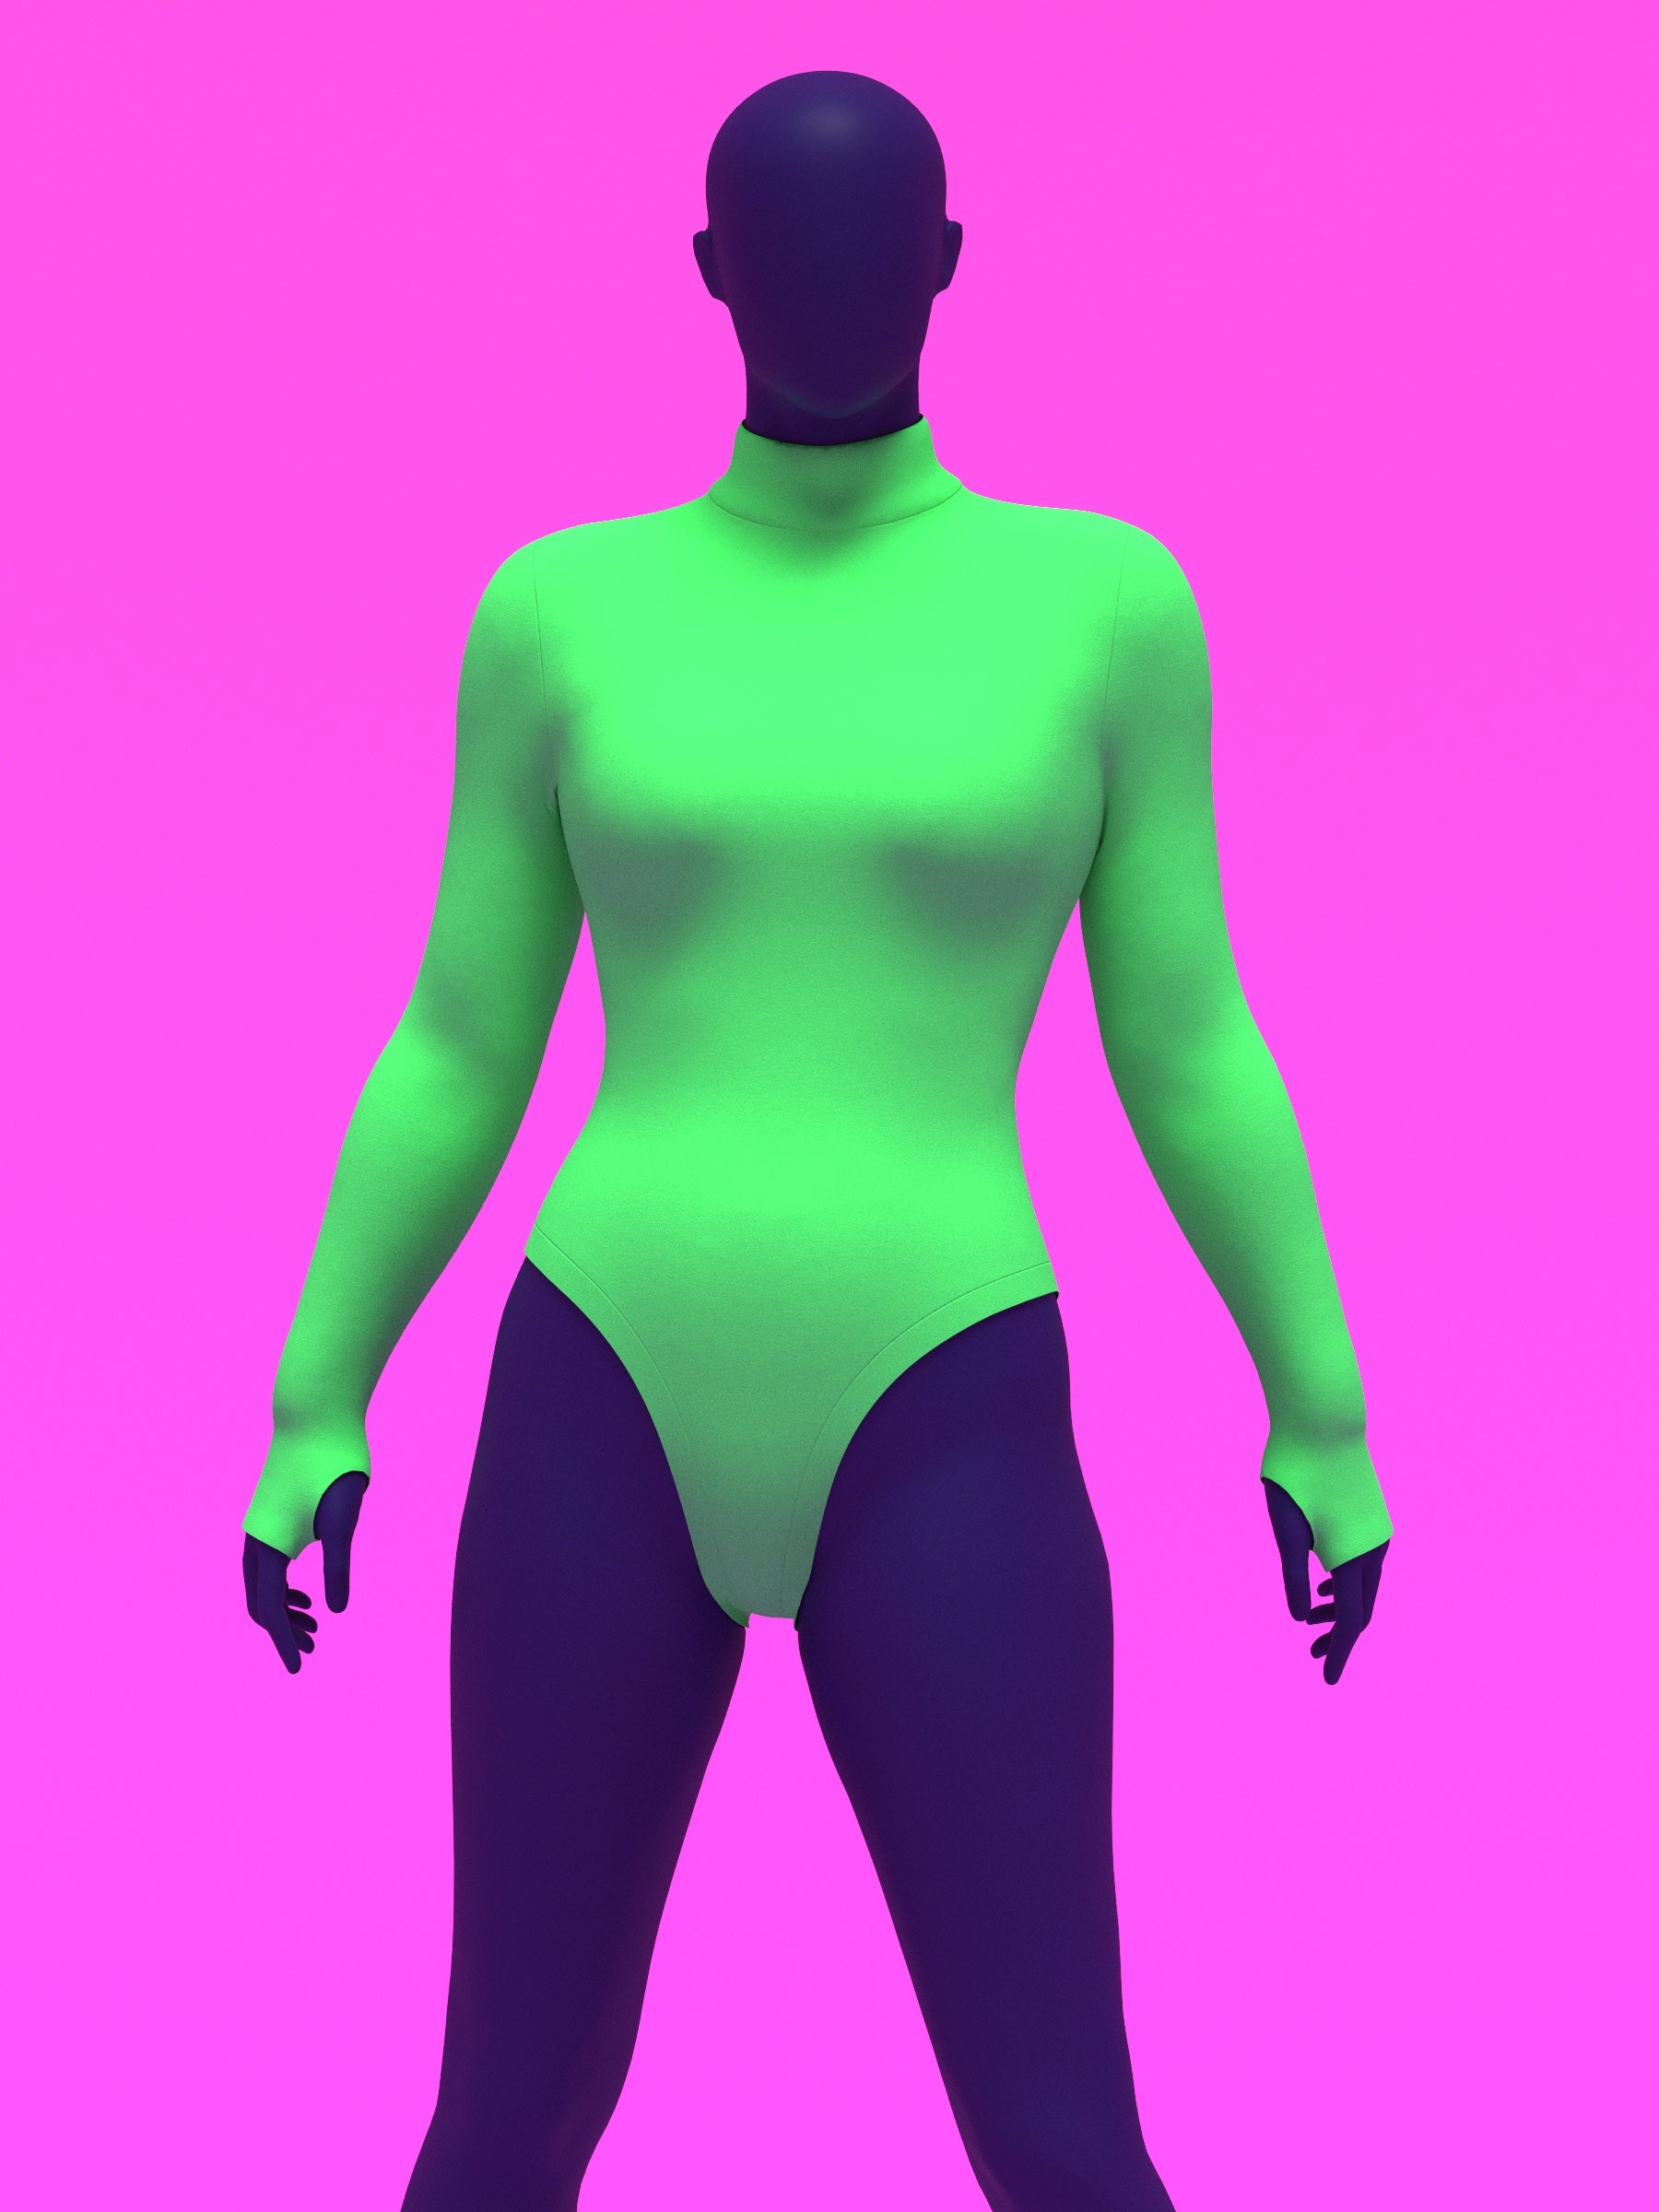
Learn how to sew our long sleeve leotard for drag queens and cosplay performers. Follow step by step instructions for constructing the collar and center back zipper, attaching sleeves with thumb holes, closing the body, and finishing the leg trim. Designed for four way stretch fabrics only and approachable for beginners ready to level up their stage looks.
Yardas de tela
The fabric yardage below is for stretch fabric bolt widths of 54" or more.
Drag Queen Sizes
| Size | Fabric |
|---|---|
| XS | 1.25y |
| S | 1.5y |
| M | 1.5y |
| L | 1.5y |
| XL | 1.75y |
| 2XL | 1.75y |
Standard Womens Sizes
| Size | Fabric |
|---|---|
| 0-2 | 1y |
| 4-6 | 1.25y |
| 8-10 | 1.25y |
| 12-14 | 1.5y |
| 16-18 | 1.5y |
Telas y artículos de mercería
Fabric
- Four way stretch fabrics only, such as Spandex, Lycra, Milliskin Tricot, and Power Mesh.
Notions
- 22-24" invisible zipper, for back closure.
- Tear-away Stabilizer for Zipper.
- Double Folded Bias Tape/Trim for Thumbhole.
Detalles de tallas
This pattern is drafted in our exclusive drag queen sizes from XS to 2XL, created to fit padded bodies with broader shoulders, arms, and legs. While this pattern is made with drag performers in mind, it can be worn by any gender who matches the size measurements provided below.
Drag Queen Sizing
If you’re doing drag, be sure to measure yourself with your padding on for the bust and hips. Look for your natural waist measurement in the size charts below to choose the correct size. Wrap the measuring tape snugly around your body—it should feel not too loose or too tight.
| Size | Mens Chest | Drag Chest (Padded) | Mens Waist | Drag Waist (Corseted) | Mens Hip | Drag Hip (Padded) | Height |
|---|---|---|---|---|---|---|---|
| XS | 33-35 | 36-38 | 27.5-29.5 | 24.5-26.5 | 32.5-34.5 | 38-40 | 70 |
| S | 35-37 | 38-40 | 29.5-31.5 | 26.5-28.5 | 34.5-36.5 | 40-42 | 70 |
| M | 39-41 | 42-44 | 33.5-35.5 | 30.5-32.5 | 38.5-40.5 | 44-46 | 70 |
| L | 43-45 | 46-48 | 37.5-39.5 | 34.5-36.5 | 42-44 | 47.5-49.5 | 70 |
| XL | 47-49 | 50-52 | 42.5-44.5 | 39.5-41.5 | 45-47 | 50.5-52.5 | 70 |
| 2XL | 51-53 | 55-57 | 47.5-49.5 | 44.5-46.5 | 48-50 | 54.5-56.5 | 70 |
Standard Women's Sizing (AFAB)
This pattern also is available in Standard Women's sizing, designed for smaller bodies that align with women's sizing, with an average height of 5'5".
| Size | Womens Bust | Womens Waist | Womens Hips | Height |
|---|---|---|---|---|
| 0-2 | 32”-33” | 24”-25” | 34”-35” | 65” |
| 4-6 | 34”-35” | 26”-27” | 37”-38” | 65” |
| 8-10 | 36”-37” | 28”-29” | 39”-40” | 65” |
| 12-14 | 39”-40” | 31”-32.5” | 42”-43” | 65” |
| 16-18 | 42”-44” | 34.5”-37” | 45”-47” | 65” |
Instrucciones de costura
Color Guide

About Pattern
This pattern is a four-way stretch long sleeve leotard designed for bold stage presence. Perfect for drag queens, cosplay, and womens dancewear. This design features and extended sleeve with a fingerless glove, back zipper, and leg hole trim.
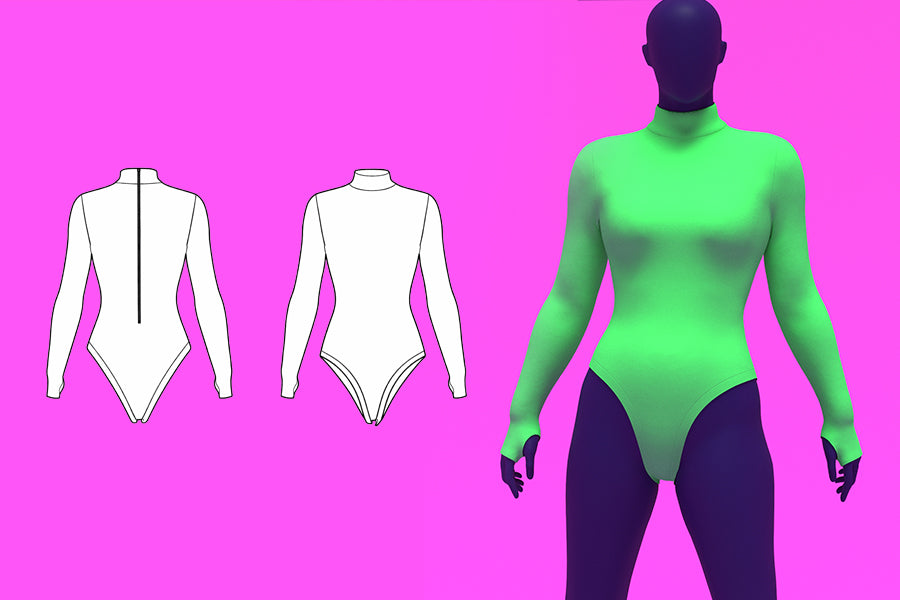
Fabric Pieces
This pattern includes 5 paper pattern pieces. Use these pieces to cut your fabric before starting construction.
Piece 1, the front of the leotard, is cut on a folded fabric layer.
Piece 2, the back of the leotard, is also cut on a folded fabric layer.
Piece 3, the sleeves, are cut on a folded fabric layer. Cut two of them mirrored. When cutting the thumb holes, only cut one thumb opening per sleeve, mirrored so each sleeve has the correct orientation.
Piece 4, the collar, is cut one on a folded fabric layer.
Piece 5, the leg hole trims, are cut on a folded fabric layer. Cut two in four way stretch fabric.

Stretch Stitches
Sew the seams using a stretch stitch. A lightning bolt stitch is preferred, or use a small zigzag stitch. Sew with a 1/2 inch seam allowance.
Once stitched, finish the raw edges on the wrong side using an overlock machine to serge and trim the seam allowance cleanly.

Preparing the Back
Take Piece 2, the back of the leotard. Along the center back, cut a vertical slit starting at the collar neckline and continuing straight down to the zipper marking. This should end approximately 2 inches below the waistline.
Make one clean, straight cut through the center back only.
At the bottom of the slit where the zipper will stop, clip a small diagonal cut into each corner. This helps release tension and allows the zipper to sit smoothly. Be sure to leave about 1/4 inch of seam allowance along each side of the center back opening for zipper installation.

Sewing the Front and Back
Take the unfolded Piece 1 front and the prepared unfolded Piece 2 back. Place them right sides facing each other and align the shoulder edges.
Sew the shoulder seams using a stretch stitch. A lightning bolt stitch is preferred, or use a small zigzag stitch. Sew with a 1/2 inch seam allowance.
Once stitched, finish the raw edges together on the wrong side using an overlock machine to serge the seam allowance.

Preparing and Attaching the Collar
Take the collar. Fold it lengthwise in half along the fold line with the wrong sides facing each other. Match the raw edges and pin along the fold to keep it in place.

Turn the leotard body right side out. With the collar still folded, position it upside down so the raw edges of the collar align with the neckline. The right side of the collar should face the right side of the leotard.
Begin pinning at the center back slit and continue around the neckline. The collar notch should align with the shoulder seam. The folded edge that was cut on fold should sit at the center front of the leotard.
Pin the collar evenly around the entire neckline. Sew through both collar layers and the neckline using a stretch stitch, preferably a lightning bolt or small zigzag, with a 1/2 inch seam allowance. Then finish the raw edge with a serger on the wrong side.

Installing the Zipper
Use a 20 to 24 inch zipper for the center back. An invisible zipper is recommended, but a regular zipper may also be used. Follow the specific instructions for your zipper type.
With the leotard right side out, place one side of the zipper right sides together with one side of the center back opening, starting at the collar edge. The top of the zipper tape should align with the collar fold. Fold the excess zipper tape at the top inward so it is cleanly finished at the collar.
Sew from the collar down to the end of the slit using a straight stitch. Keep the stitching close to the zipper teeth, depending on your zipper type.
If desired, place a strip of tearaway stabilizer between the zipper tape and the fabric before sewing. This helps prevent rippling. After stitching, gently tear away any excess stabilizer.
Repeat the same steps for the opposite side of the zipper, aligning the top edges evenly at the collar and sewing down to the base of the opening.

Once installed, the excess zipper tape should lie flat on the wrong side of the garment. You may topstitch at the base of the zipper and along each side of the zipper opening for added security and a clean finish.

Attaching the Sleeves
Take Piece 3, the sleeve pieces. Make sure the right sleeve has the thumb hole positioned toward the right side of the front, and the left sleeve has the thumb hole positioned toward the left side of the front. When worn, the thumb openings should sit correctly on each hand.
Finish the thumbhole by adding a double folded stretch bias tape, or try a rolled hem. You can also leave it raw, since this small opening can be difficult to sew.

Lay the leotard body flat with the right side facing up. Take one sleeve and place it right sides together with the armhole, aligning the sleeve cap with the shoulder seam.
Pin the sleeve along the armhole curve up to the shoulder point. You may find it easier to sew one side at a time rather than pinning the entire sleeve at once.
Sew the sleeve to the armhole using a stretch stitch, such as a lightning bolt or small zigzag, with a 1/2 inch seam allowance. After sewing, finish the raw edges together using a serger.

Repeat for the opposite sleeve.
Closing the Body
Once both sleeves are attached, turn the garment wrong side out.
Align the sleeve underarm edges and sew from the wrist up through the underarm to the armpit using a stretch stitch. Repeat for the opposite sleeve.
Next, align the front and back side seams. Sew from the underarm down to the leg opening using a stretch stitch, then finish the raw edges together with a serger.
After the side seams are complete, align the front and back crotch edges. Sew along the crotch curve using a stretch stitch, then serge the raw edges.

Hem the sleeves with a rolled hem by folding the raw edge twice, then topstitching with a stretch or zigzag stitch.

Attaching the Leg Hole Trim
Take Piece 9, the leg hole trim pieces. For each trim, fold it widthwise with right sides facing each other and sew the short ends together to create a continuous loop.

Next, fold the loop lengthwise with wrong sides facing each other, aligning the raw edges. Pin the raw edges together to keep the fold in place.
Locate the seam where the trim ends were sewn together. Match this seam to the point where the front and back crotch seams meet on the leotard. With right sides together, pin the raw edges of the trim to the leg opening, distributing evenly around the entire curve.
Sew the trim to the leg opening using a stretch stitch, keeping the folded edge facing inward toward the garment. After stitching, serge the raw edges together to finish.

Repeat the same process for the opposite leg opening. Turn the garment right side and your leotard is finished.
Obtén el patrón