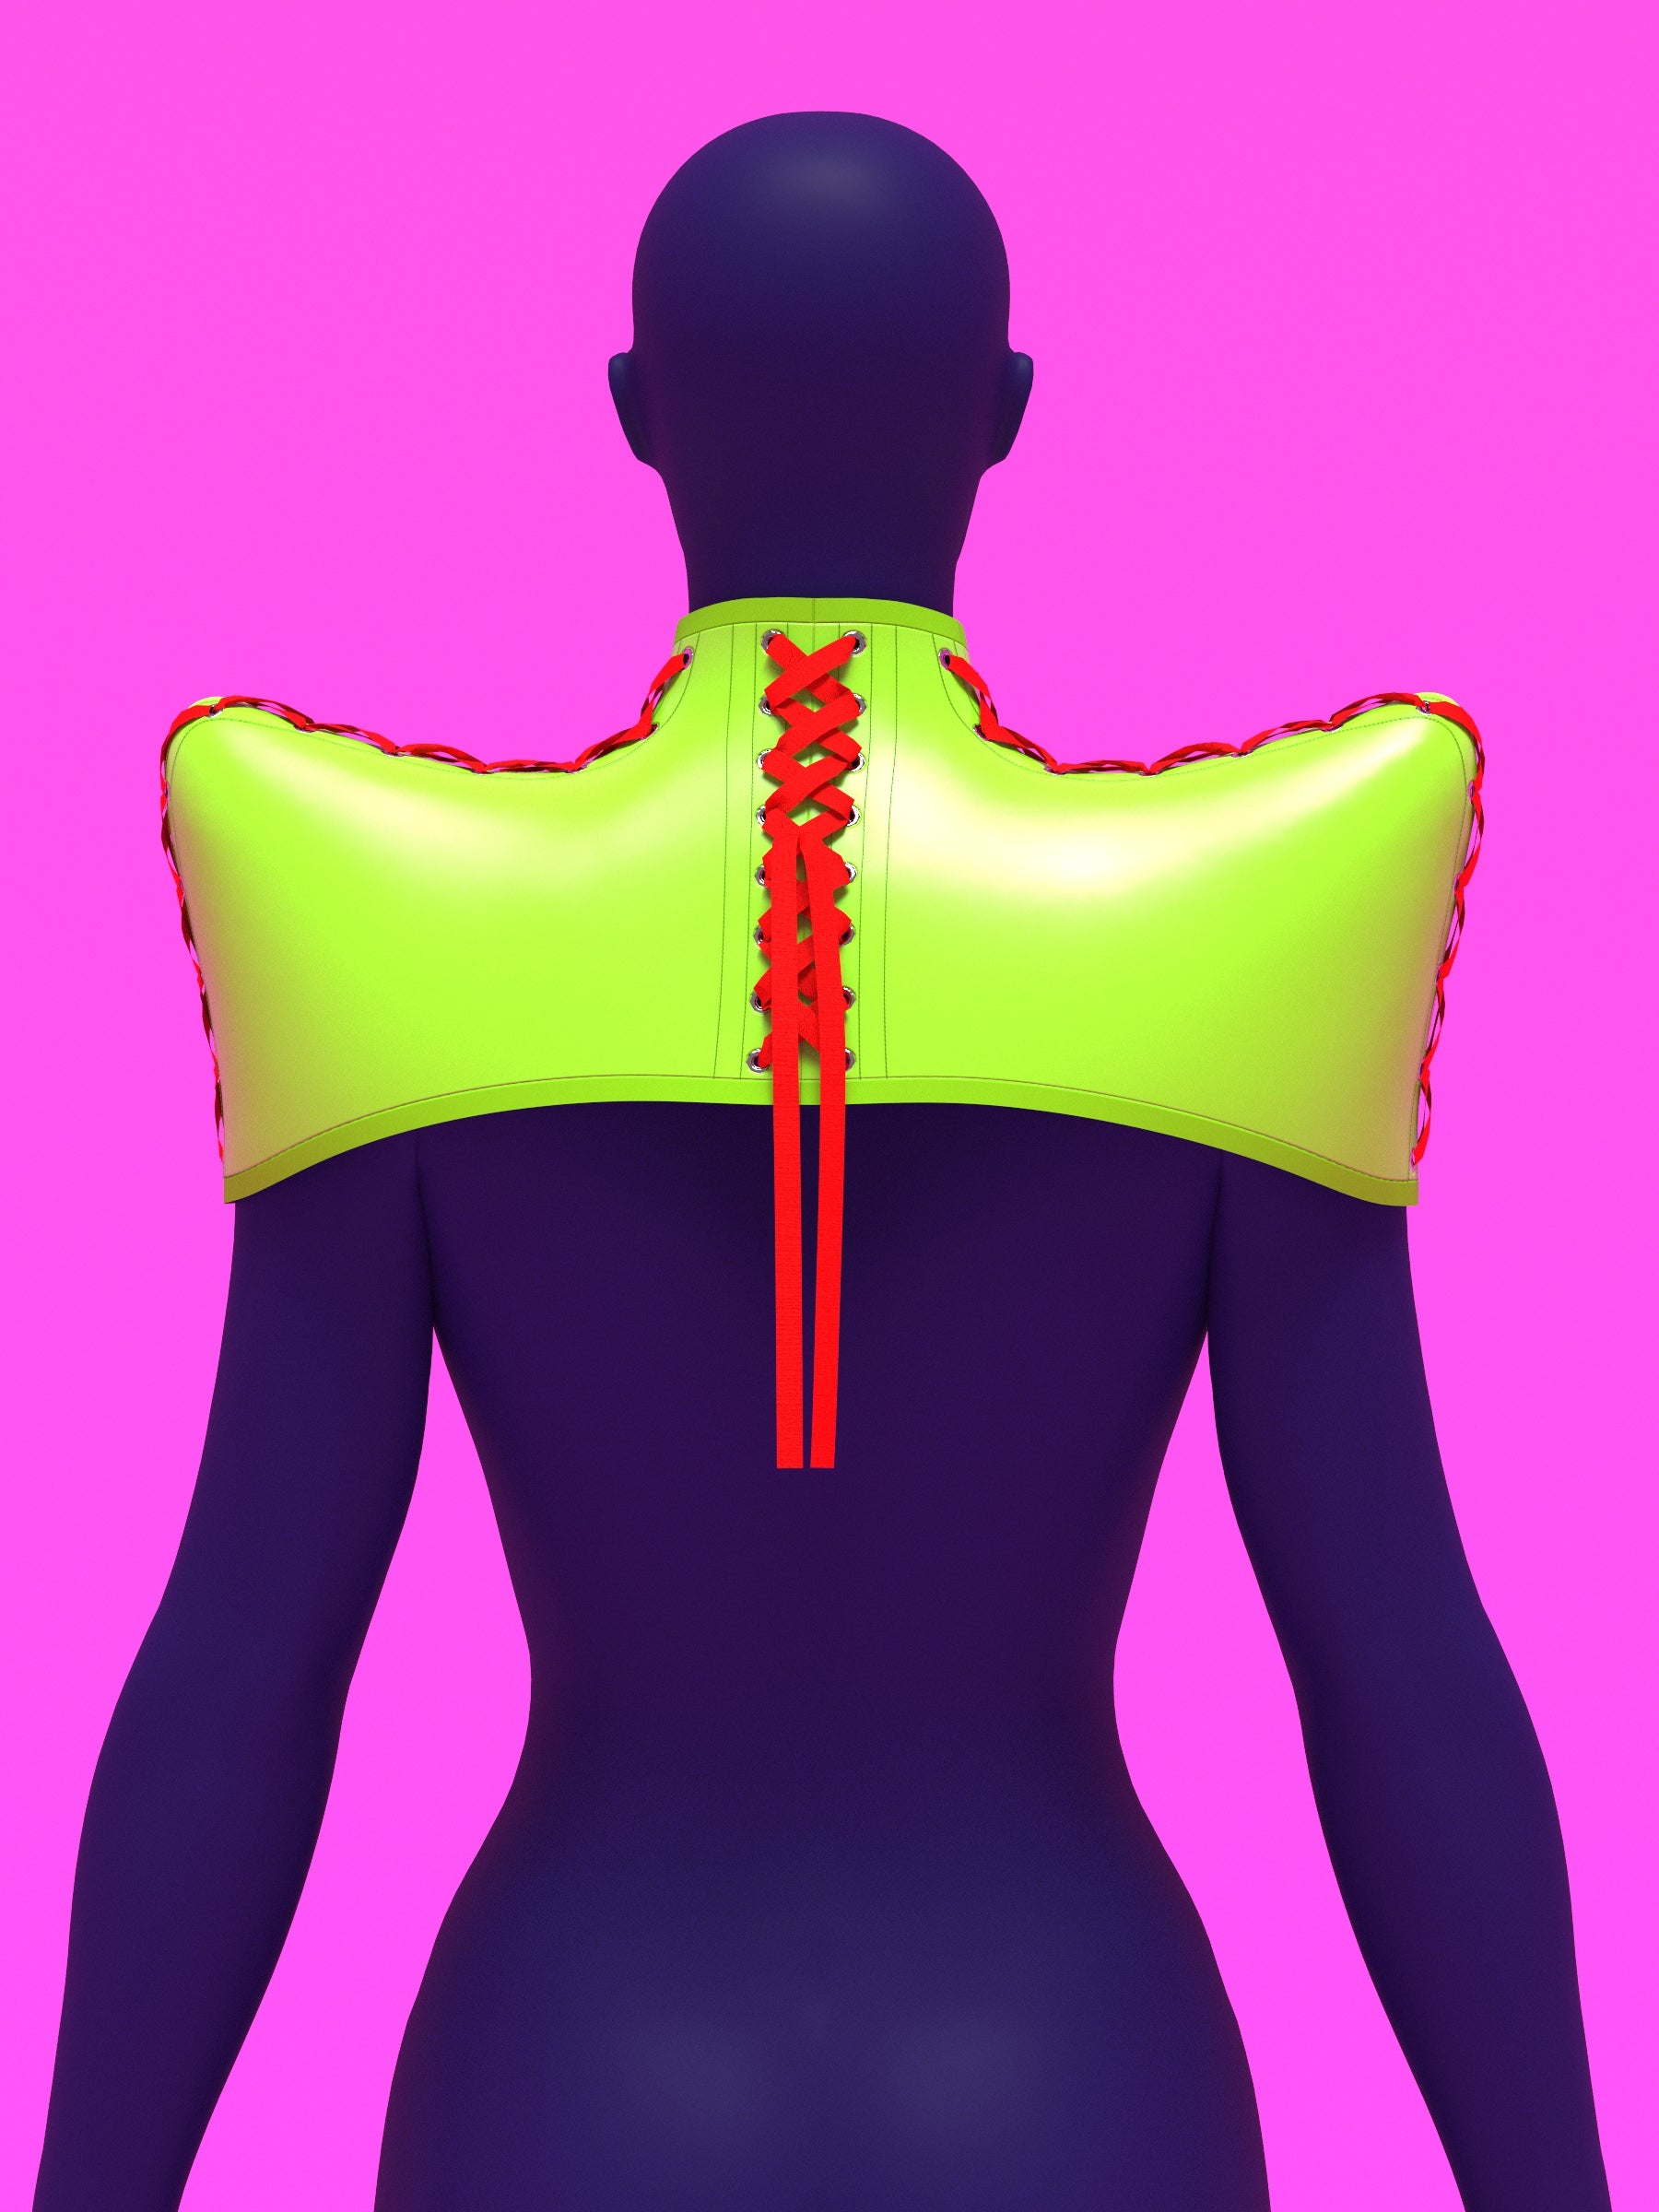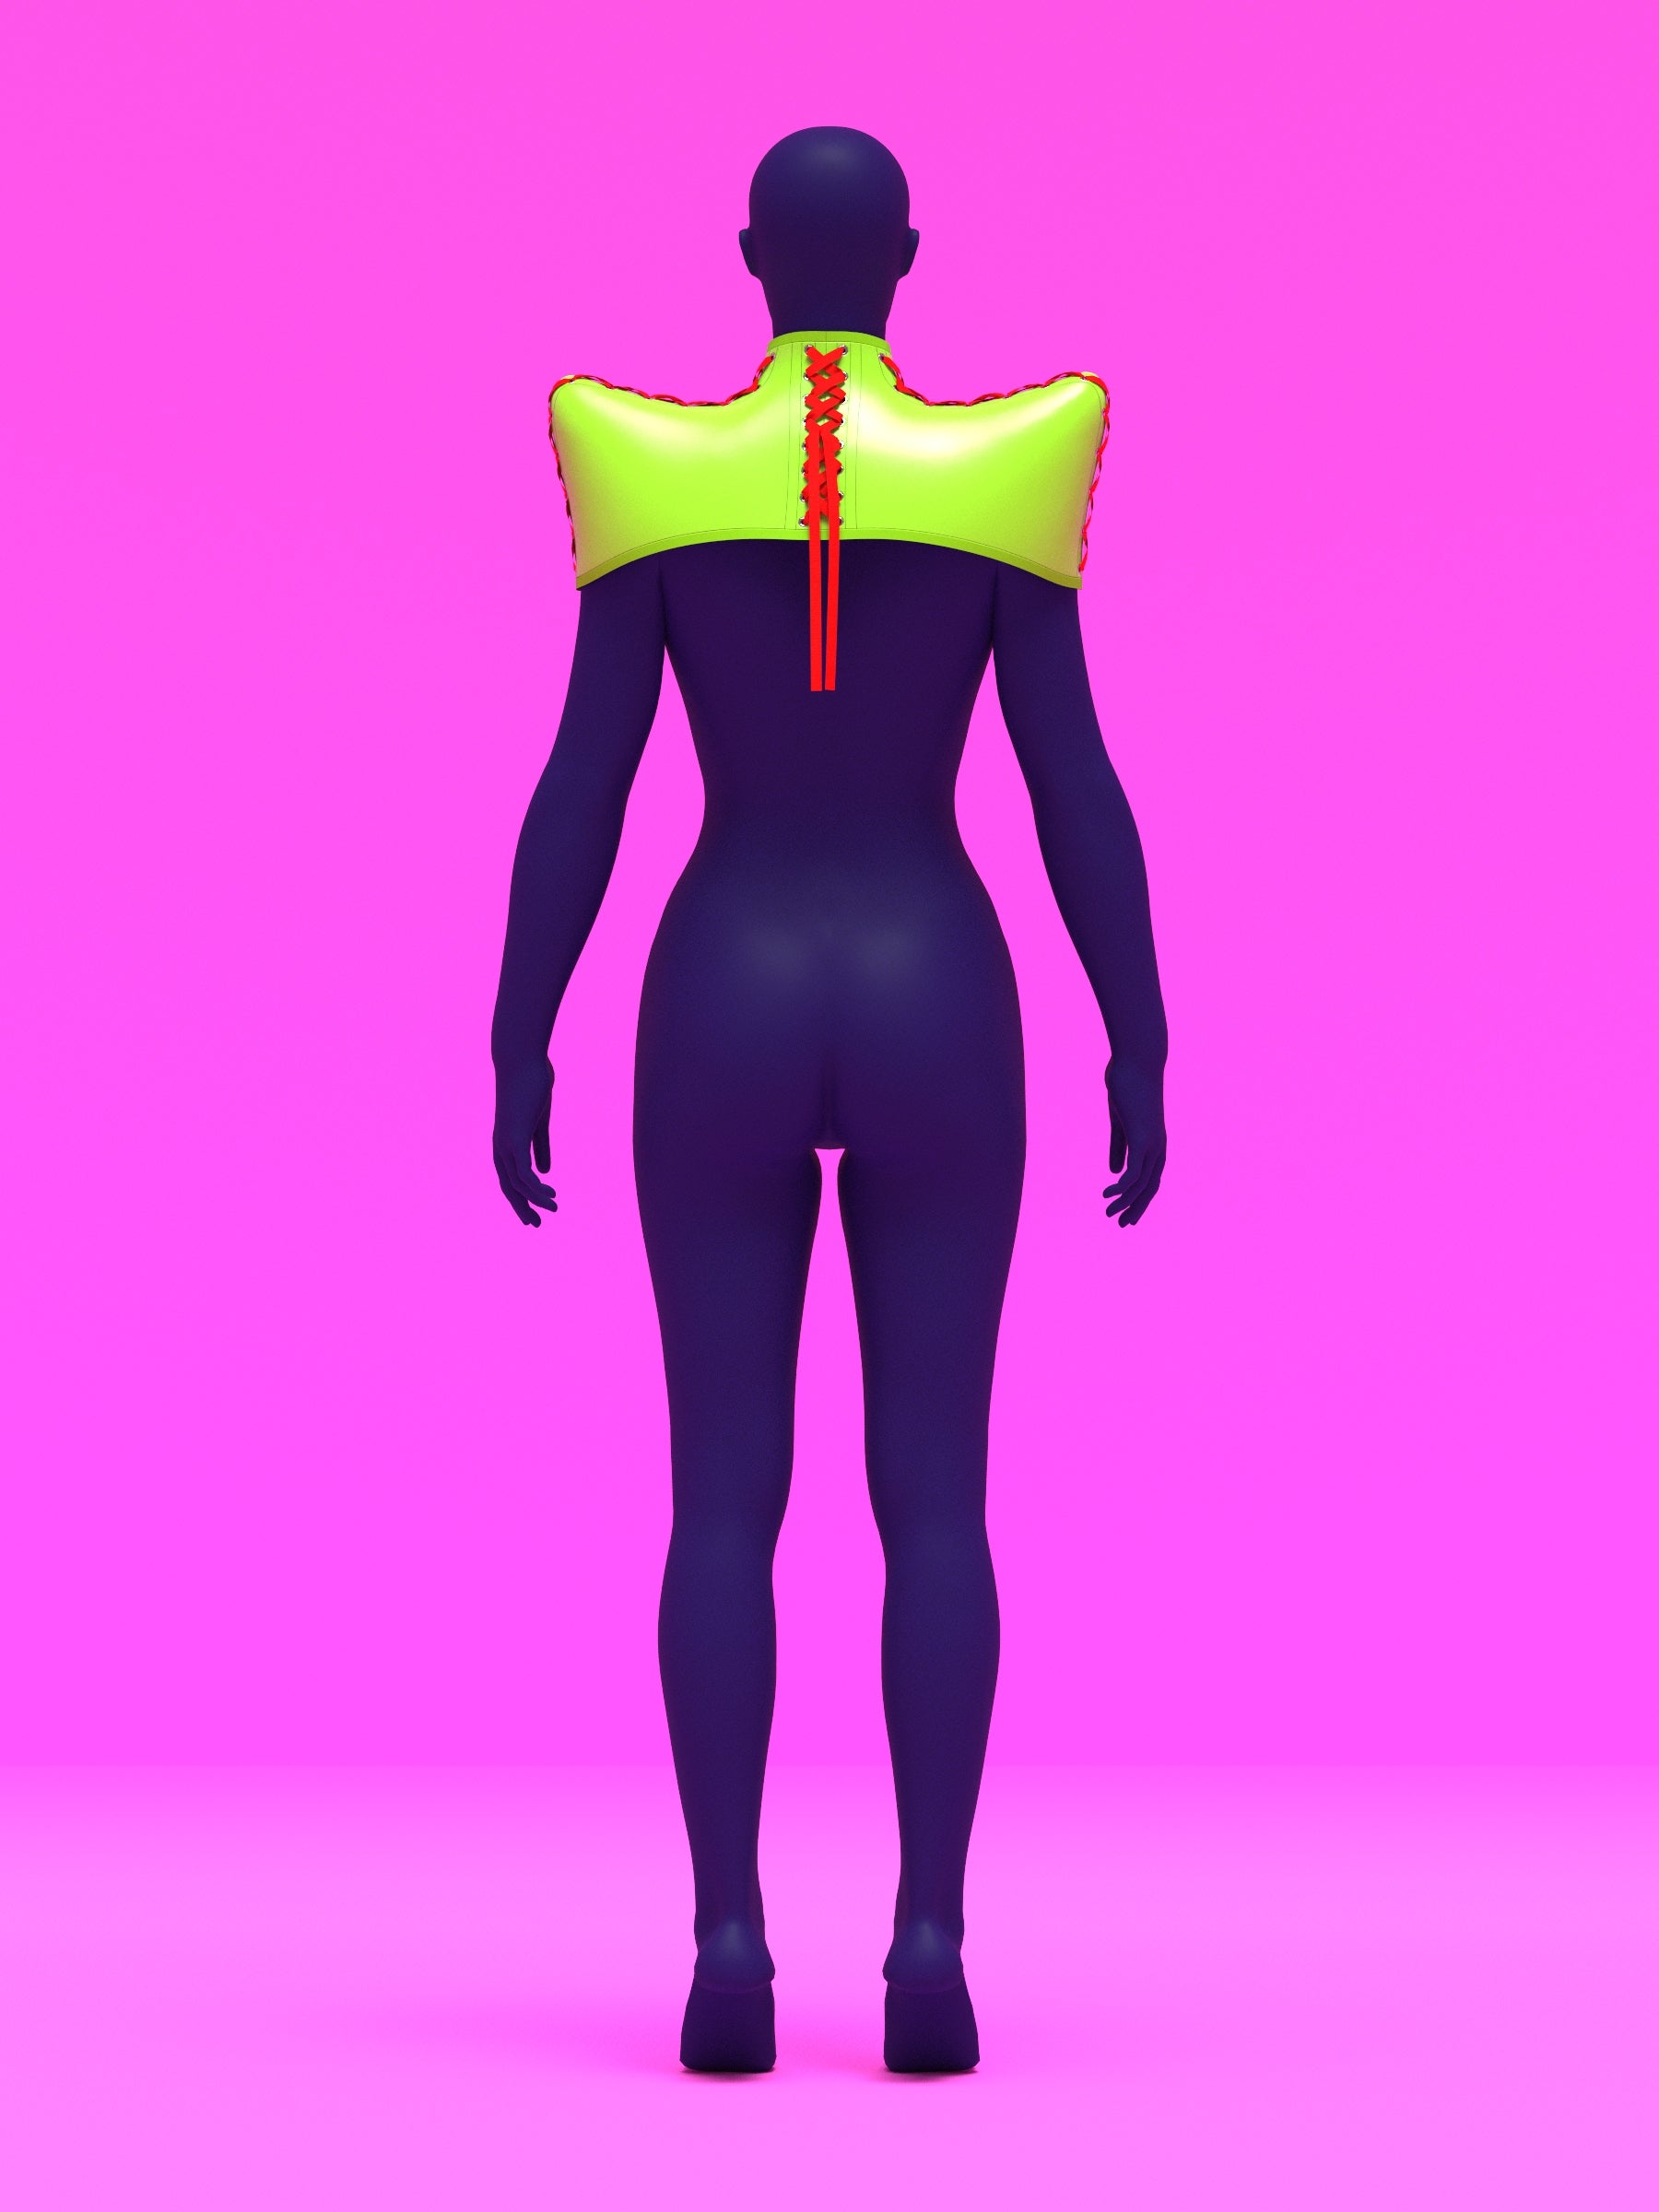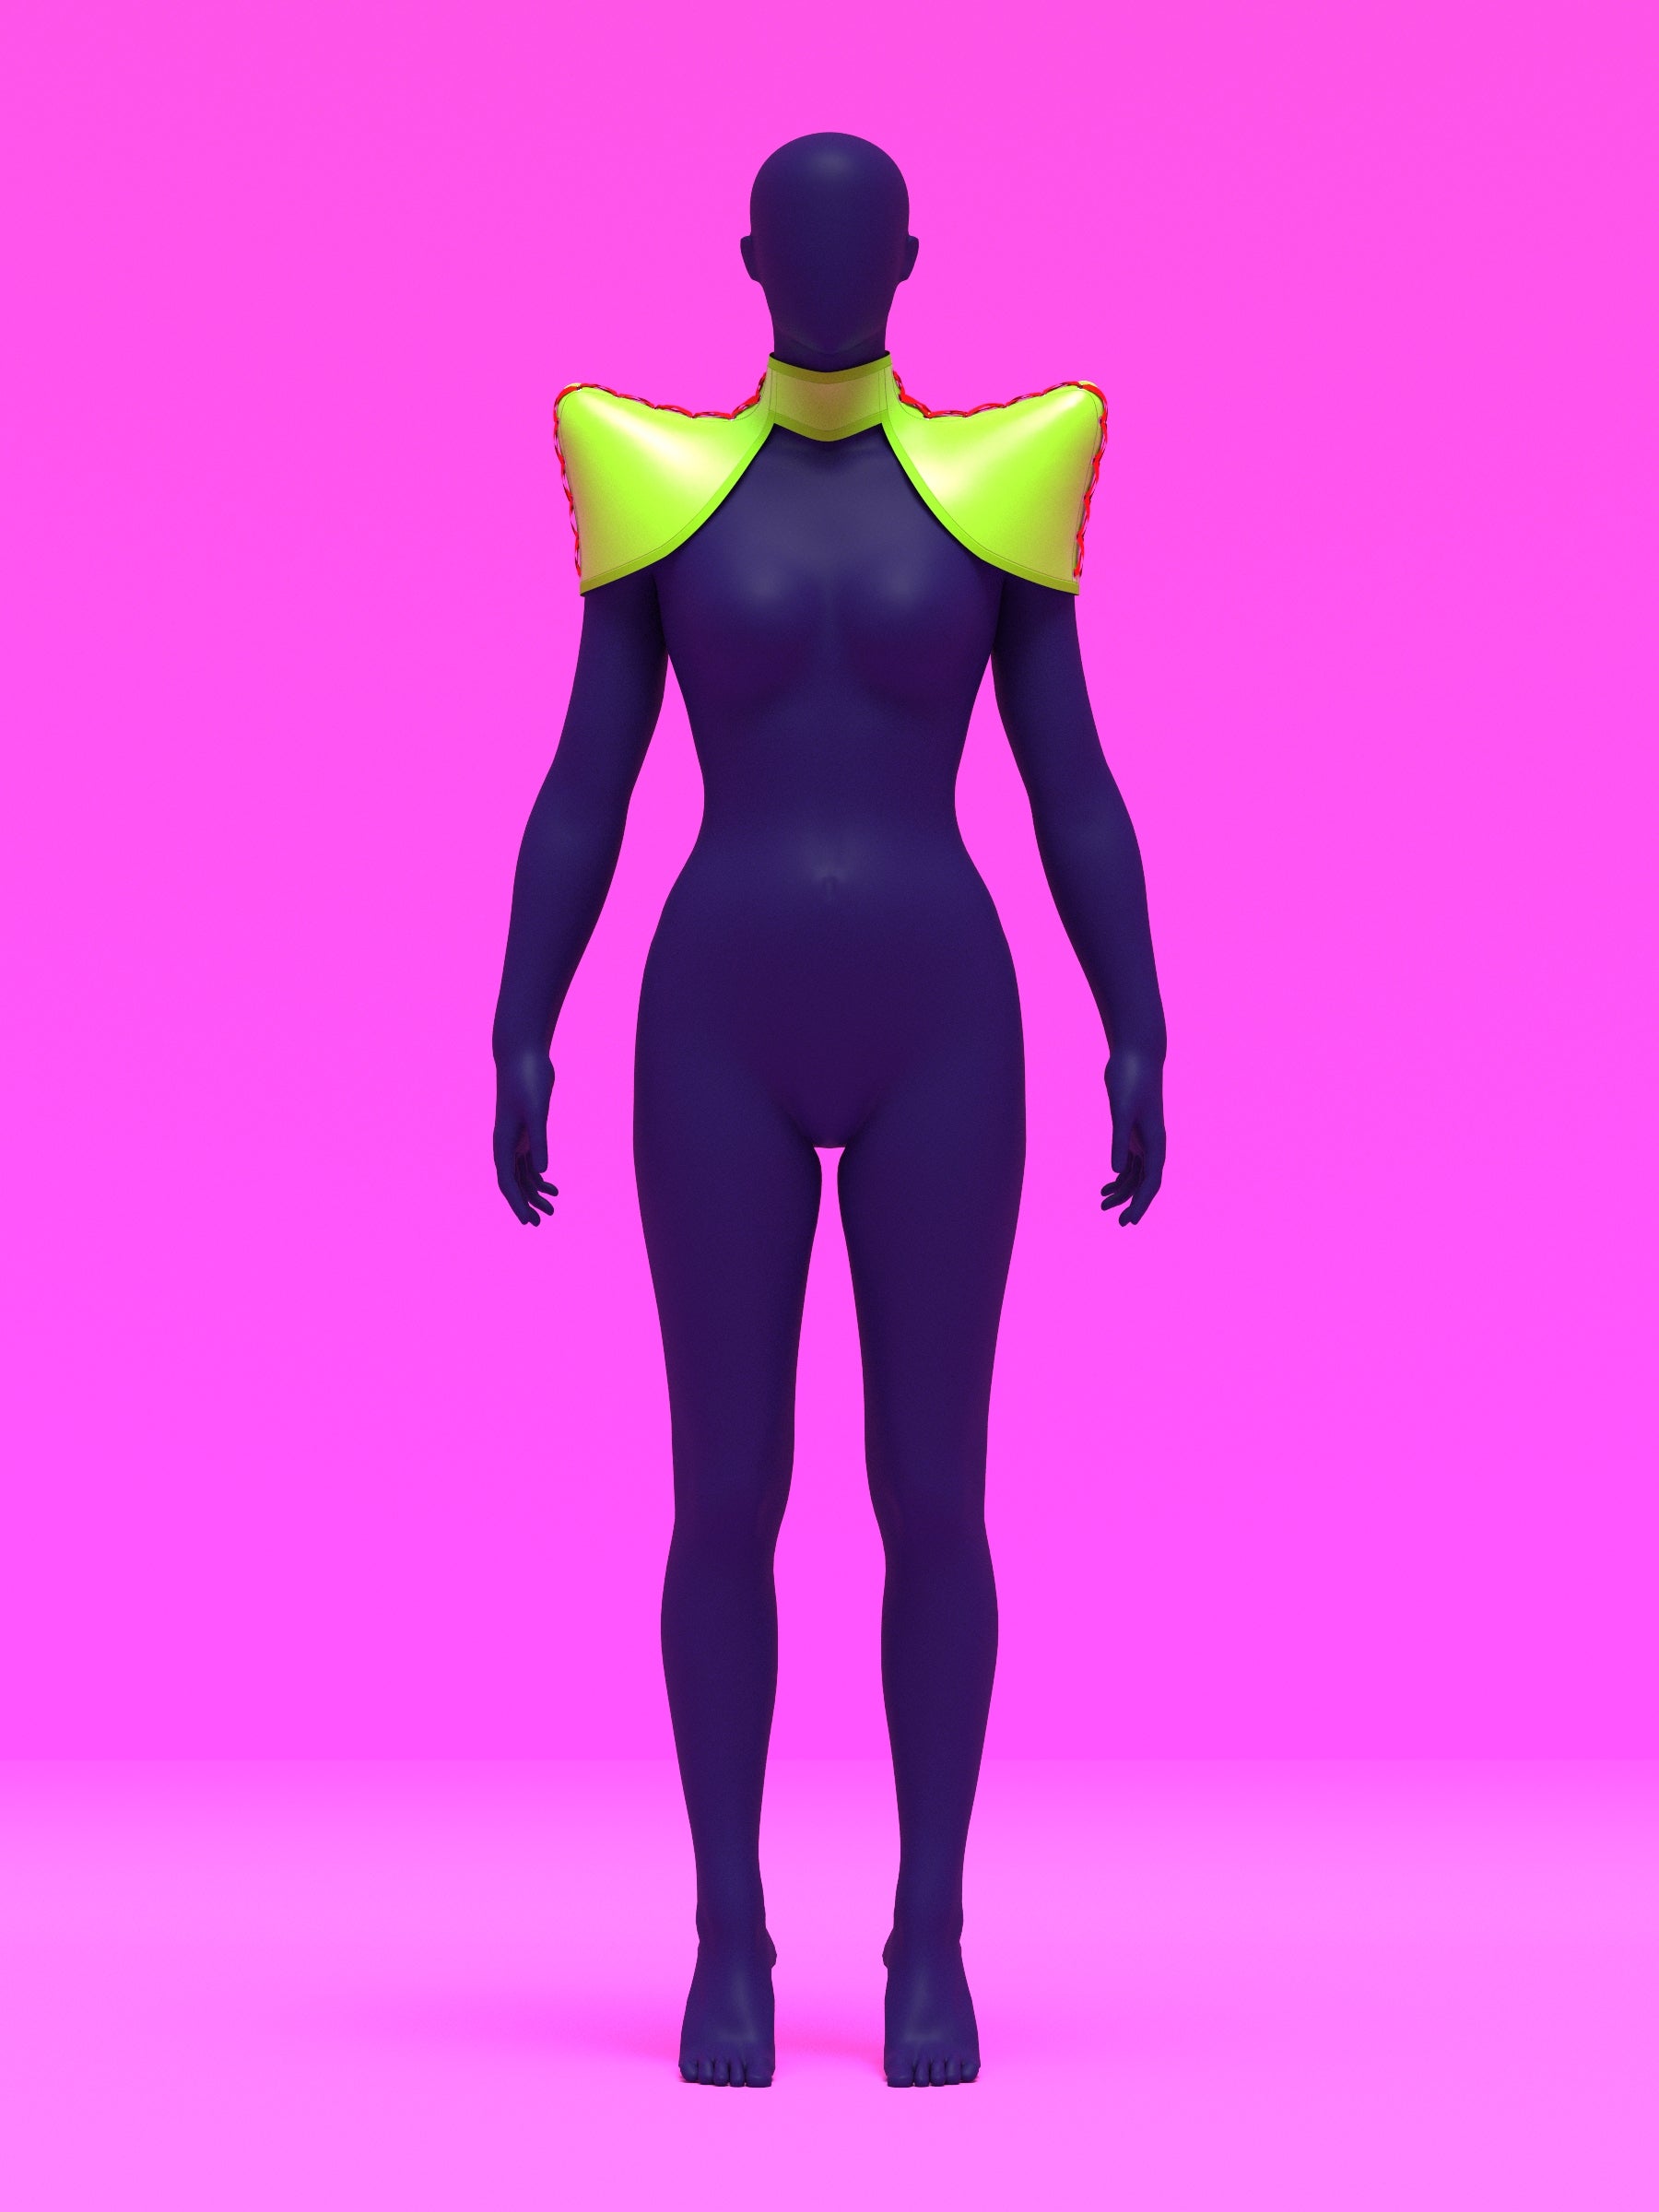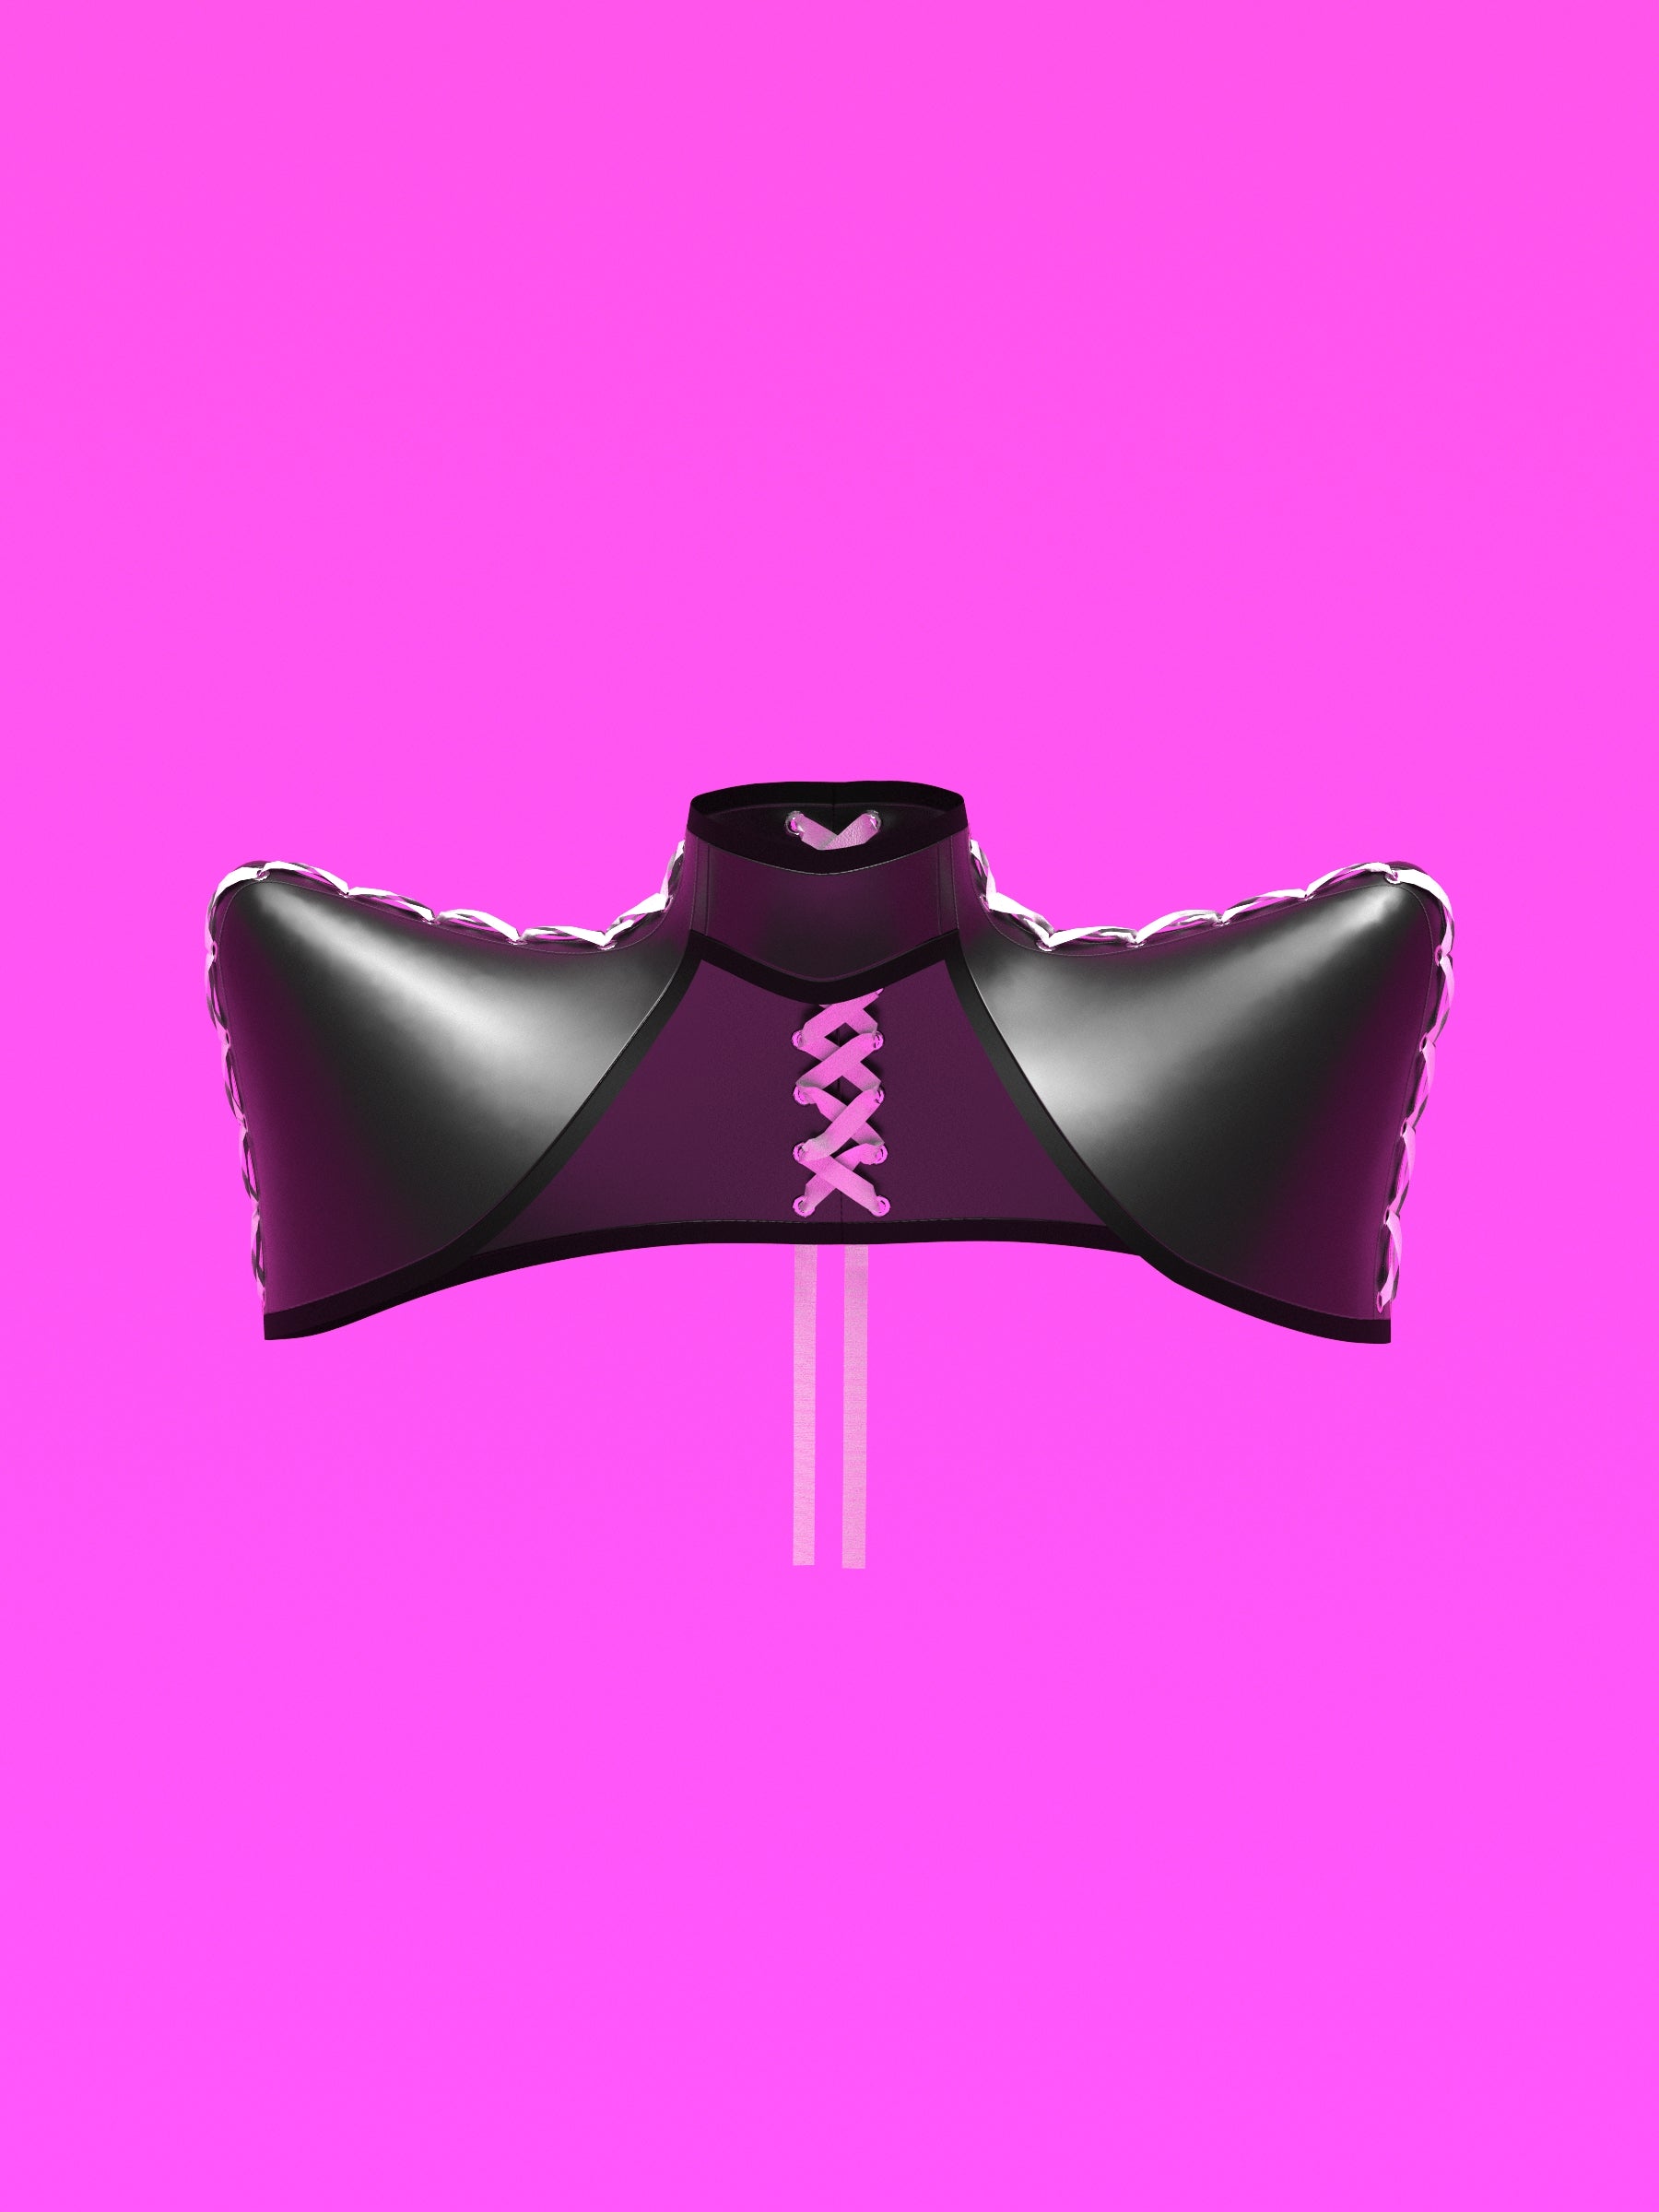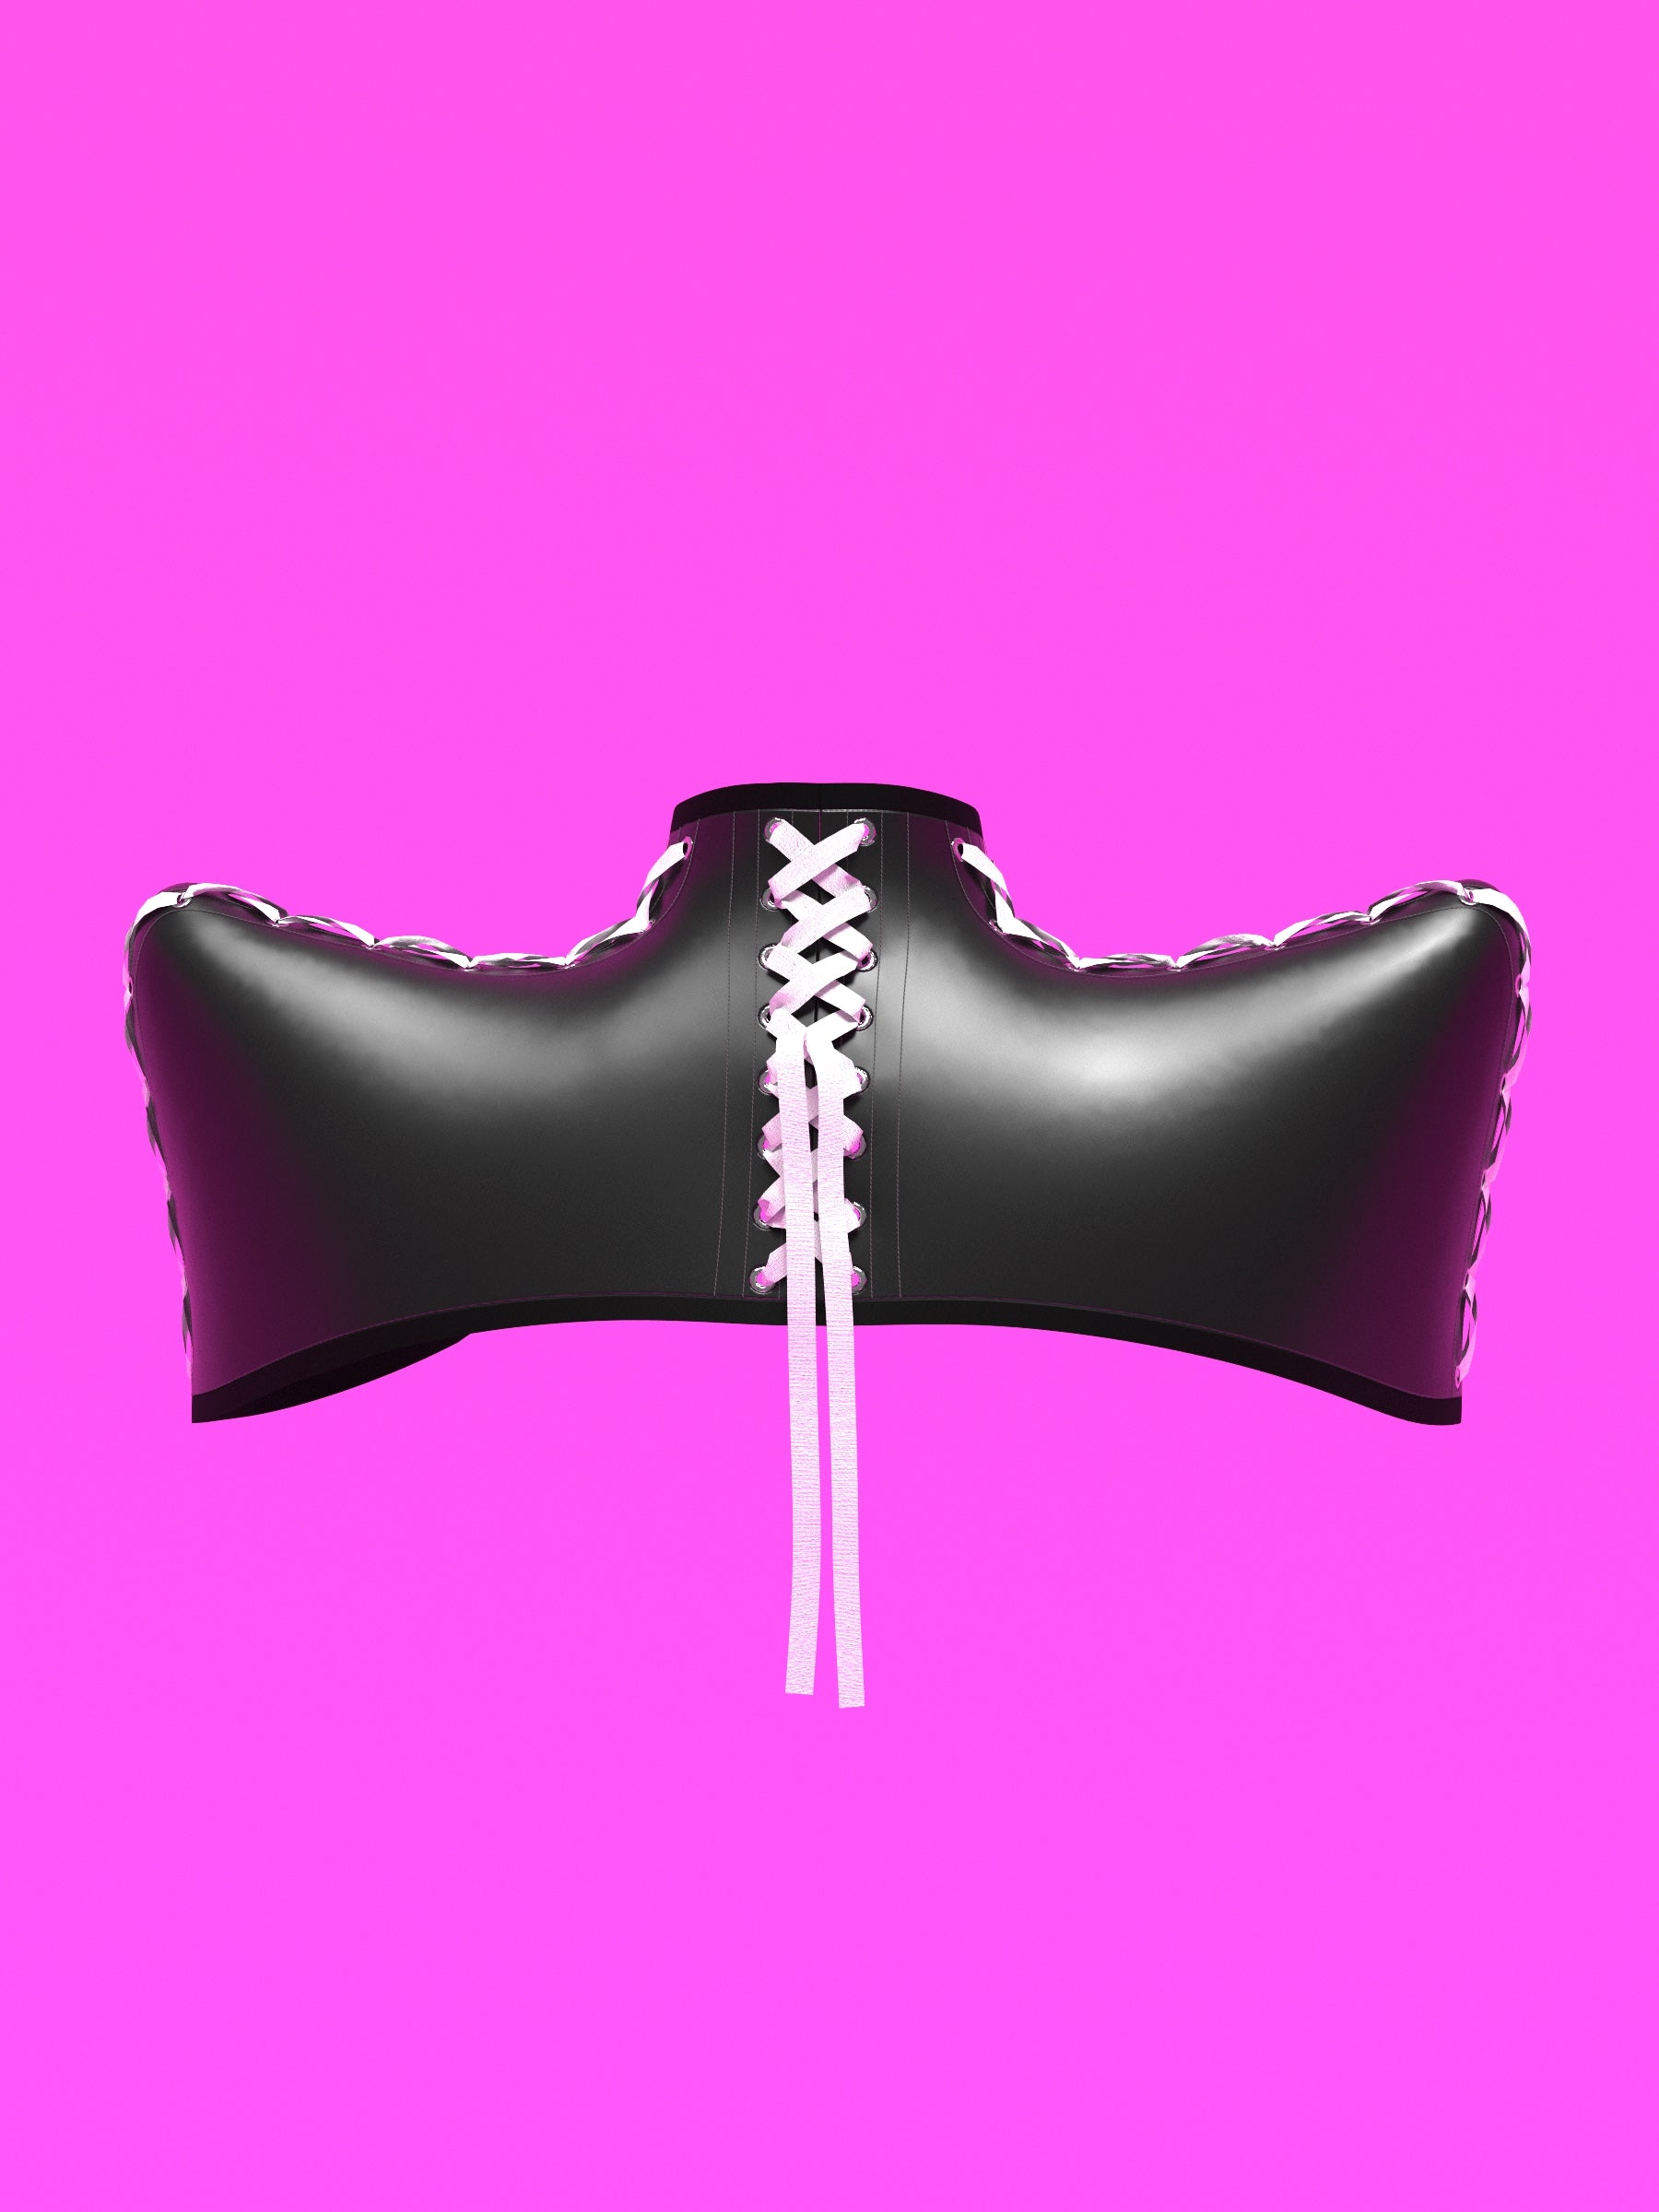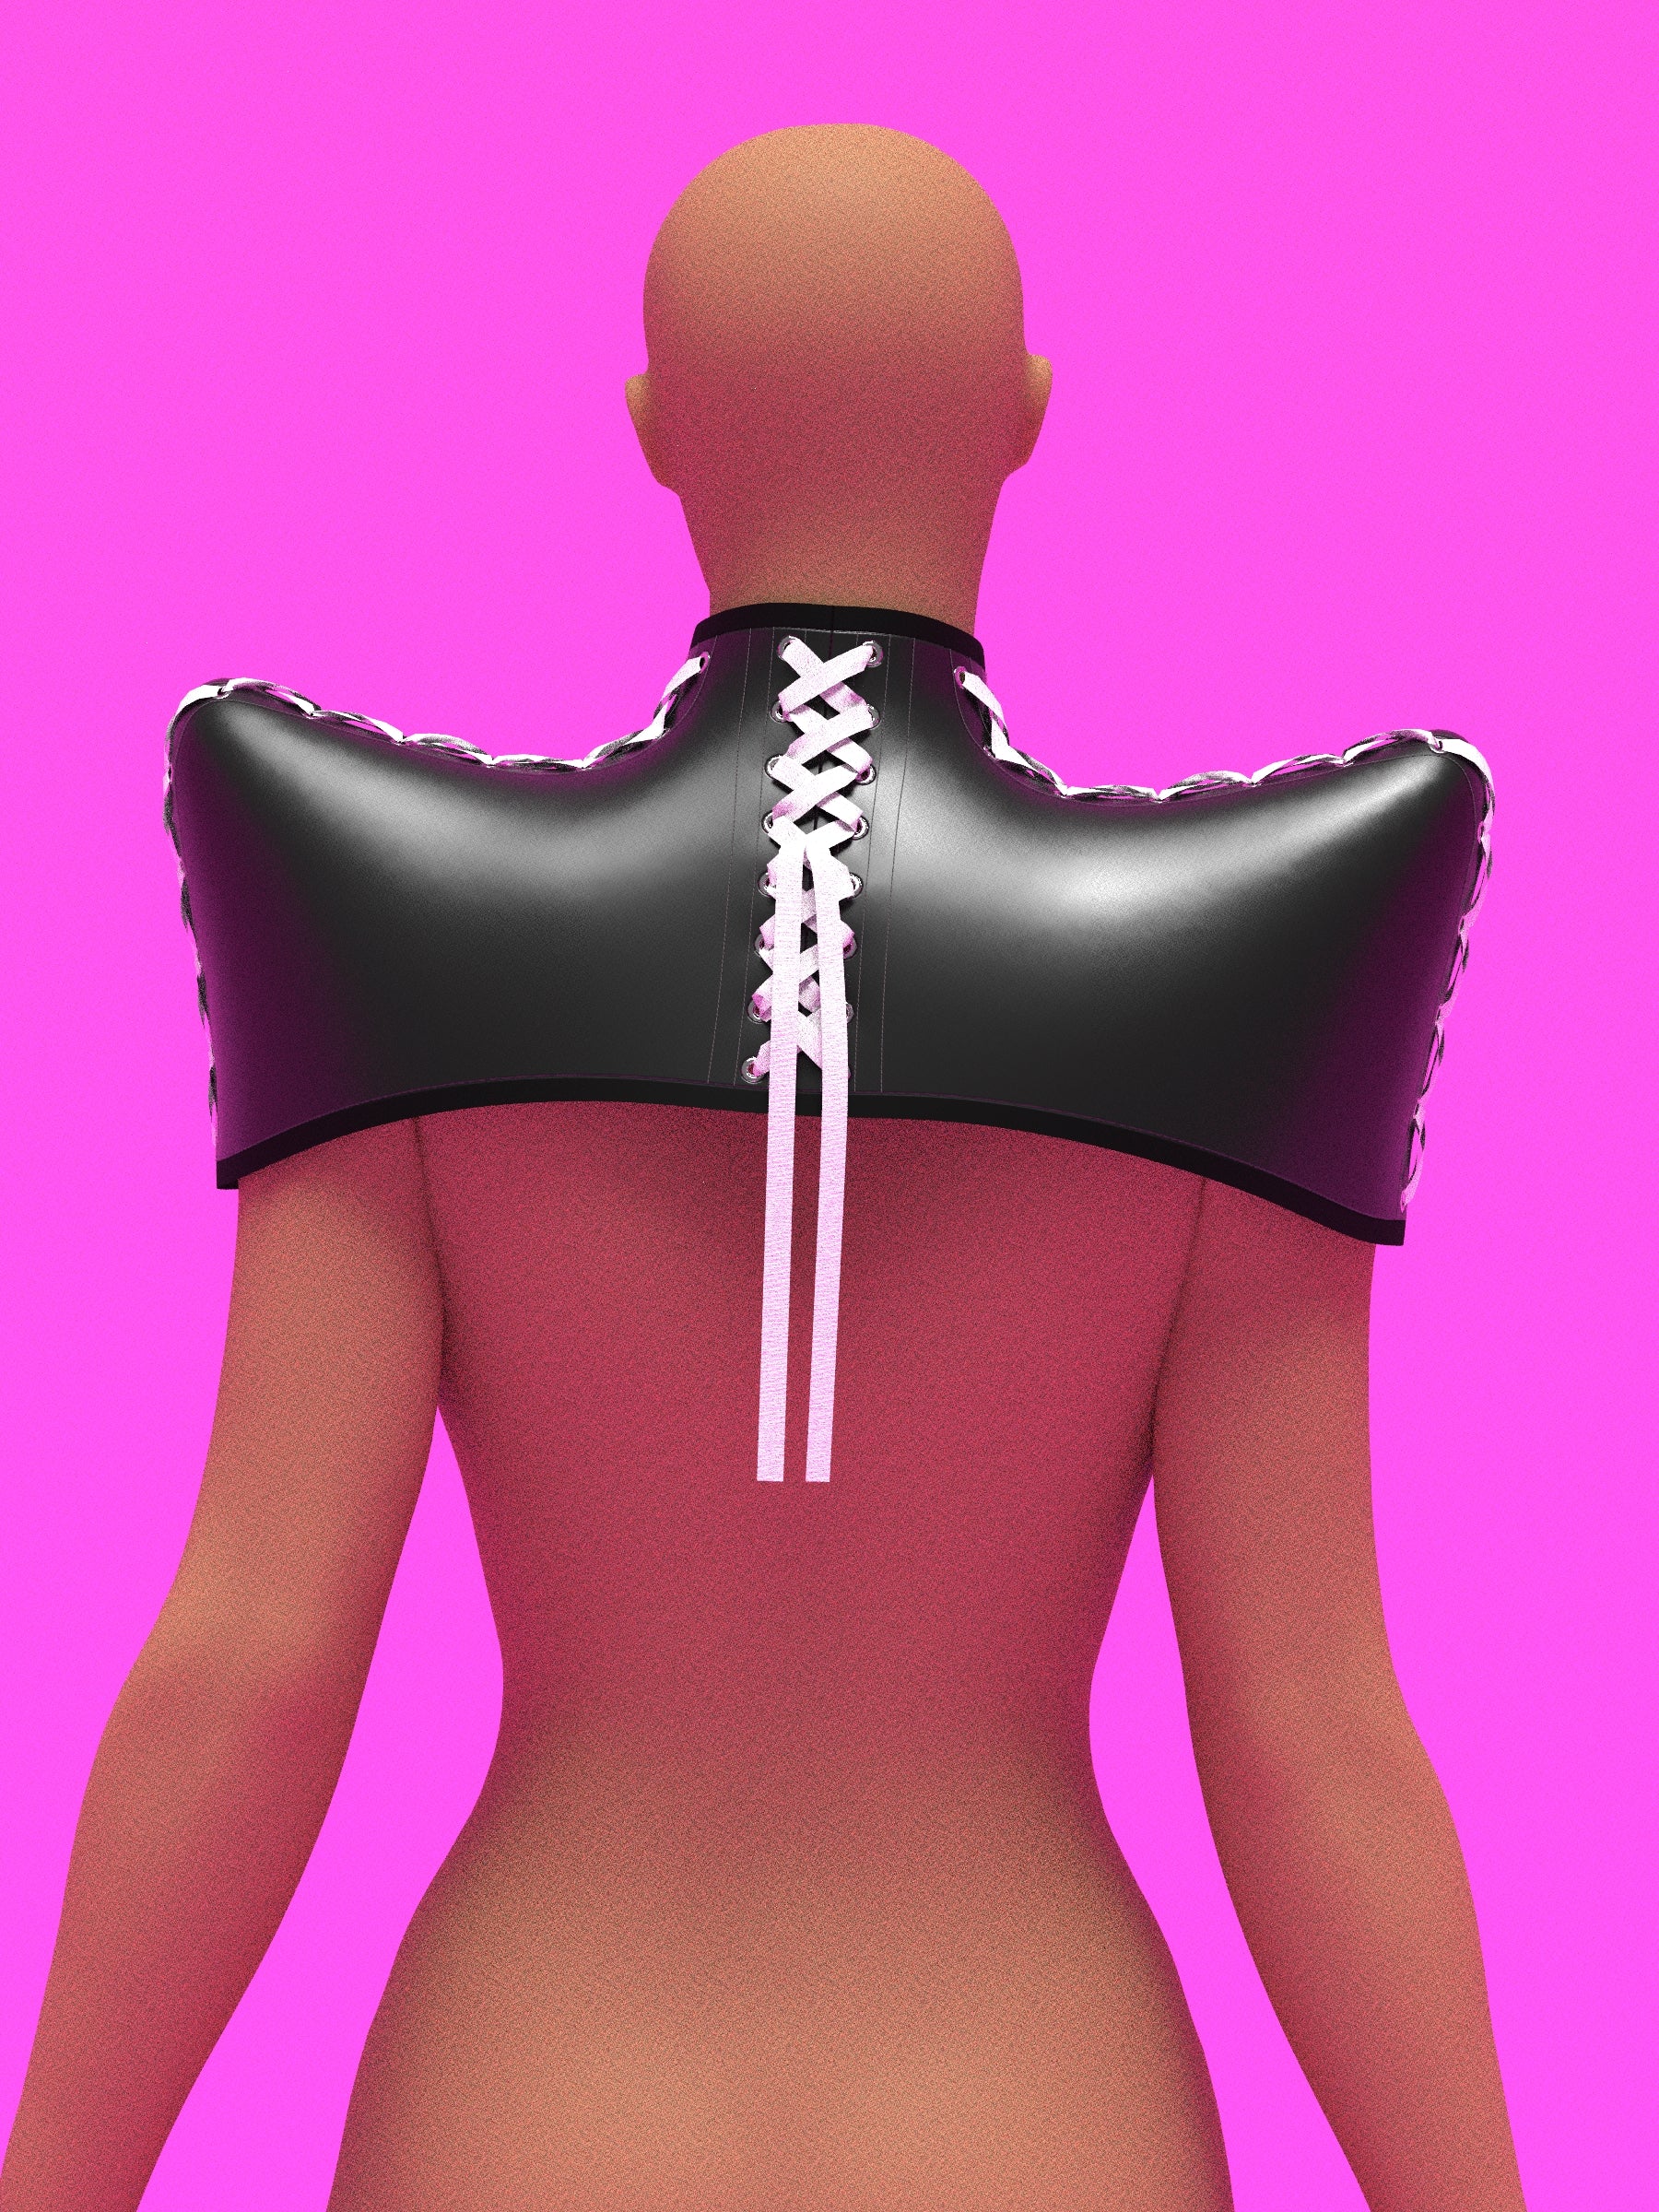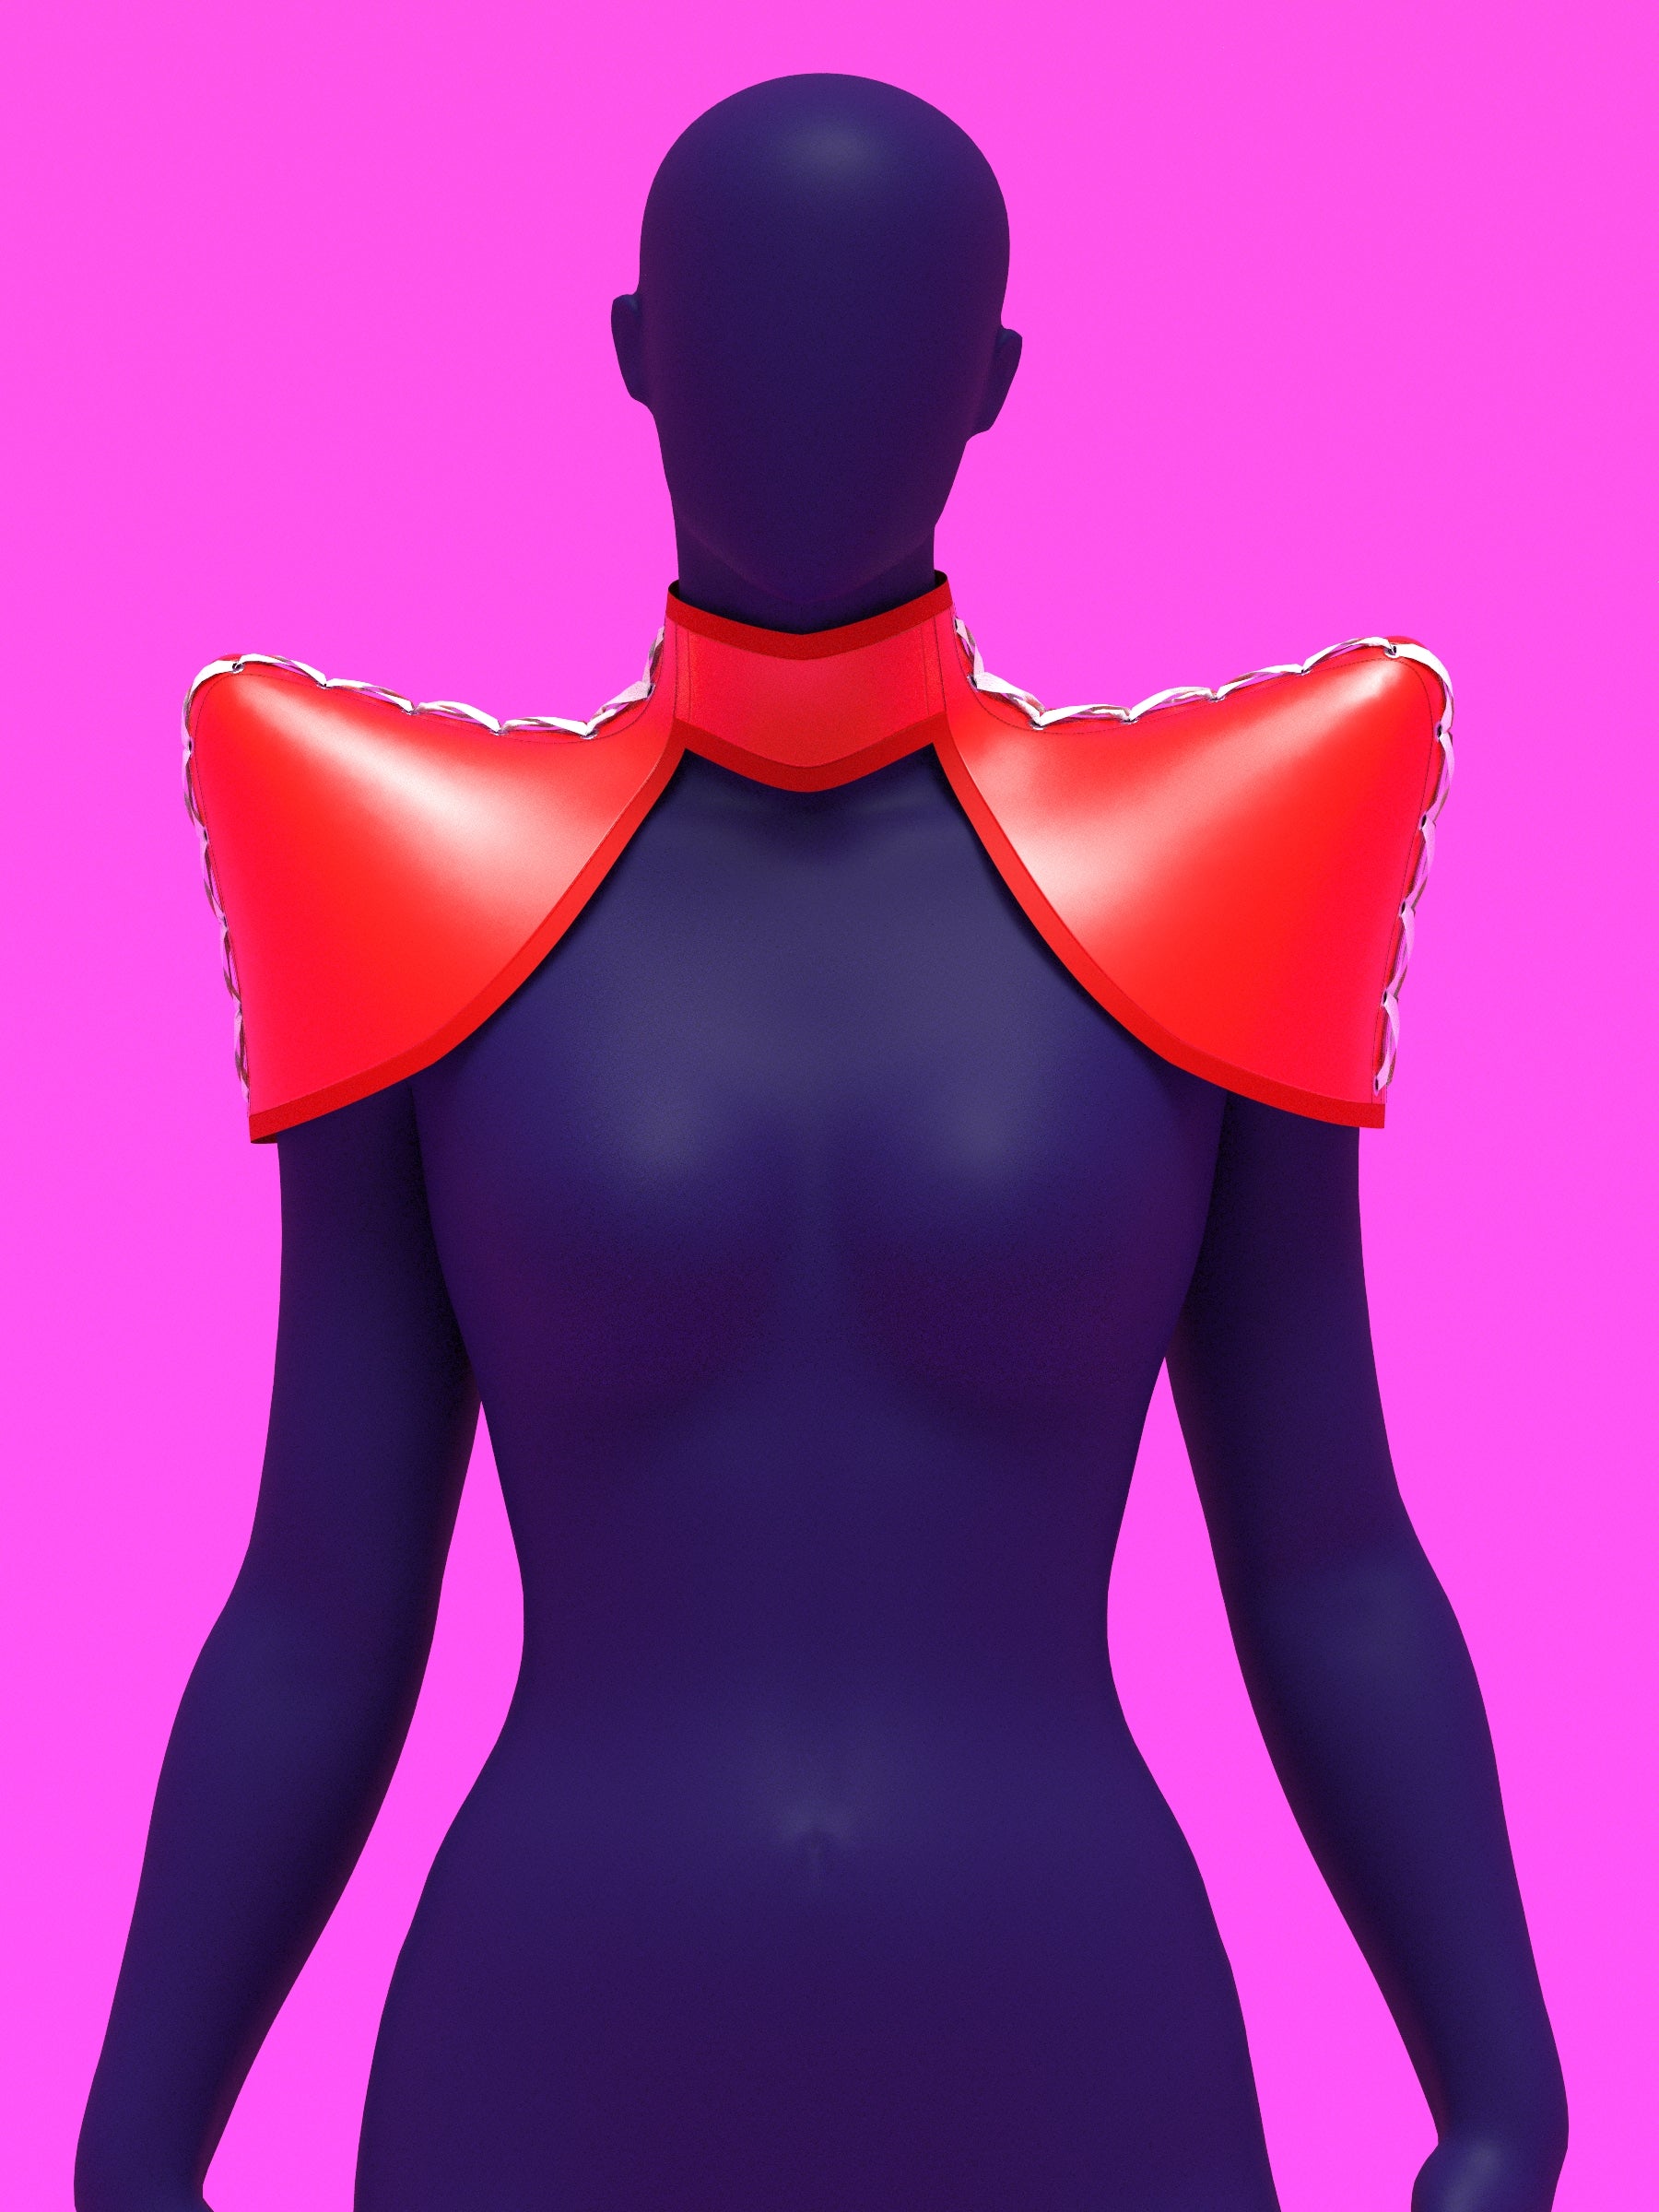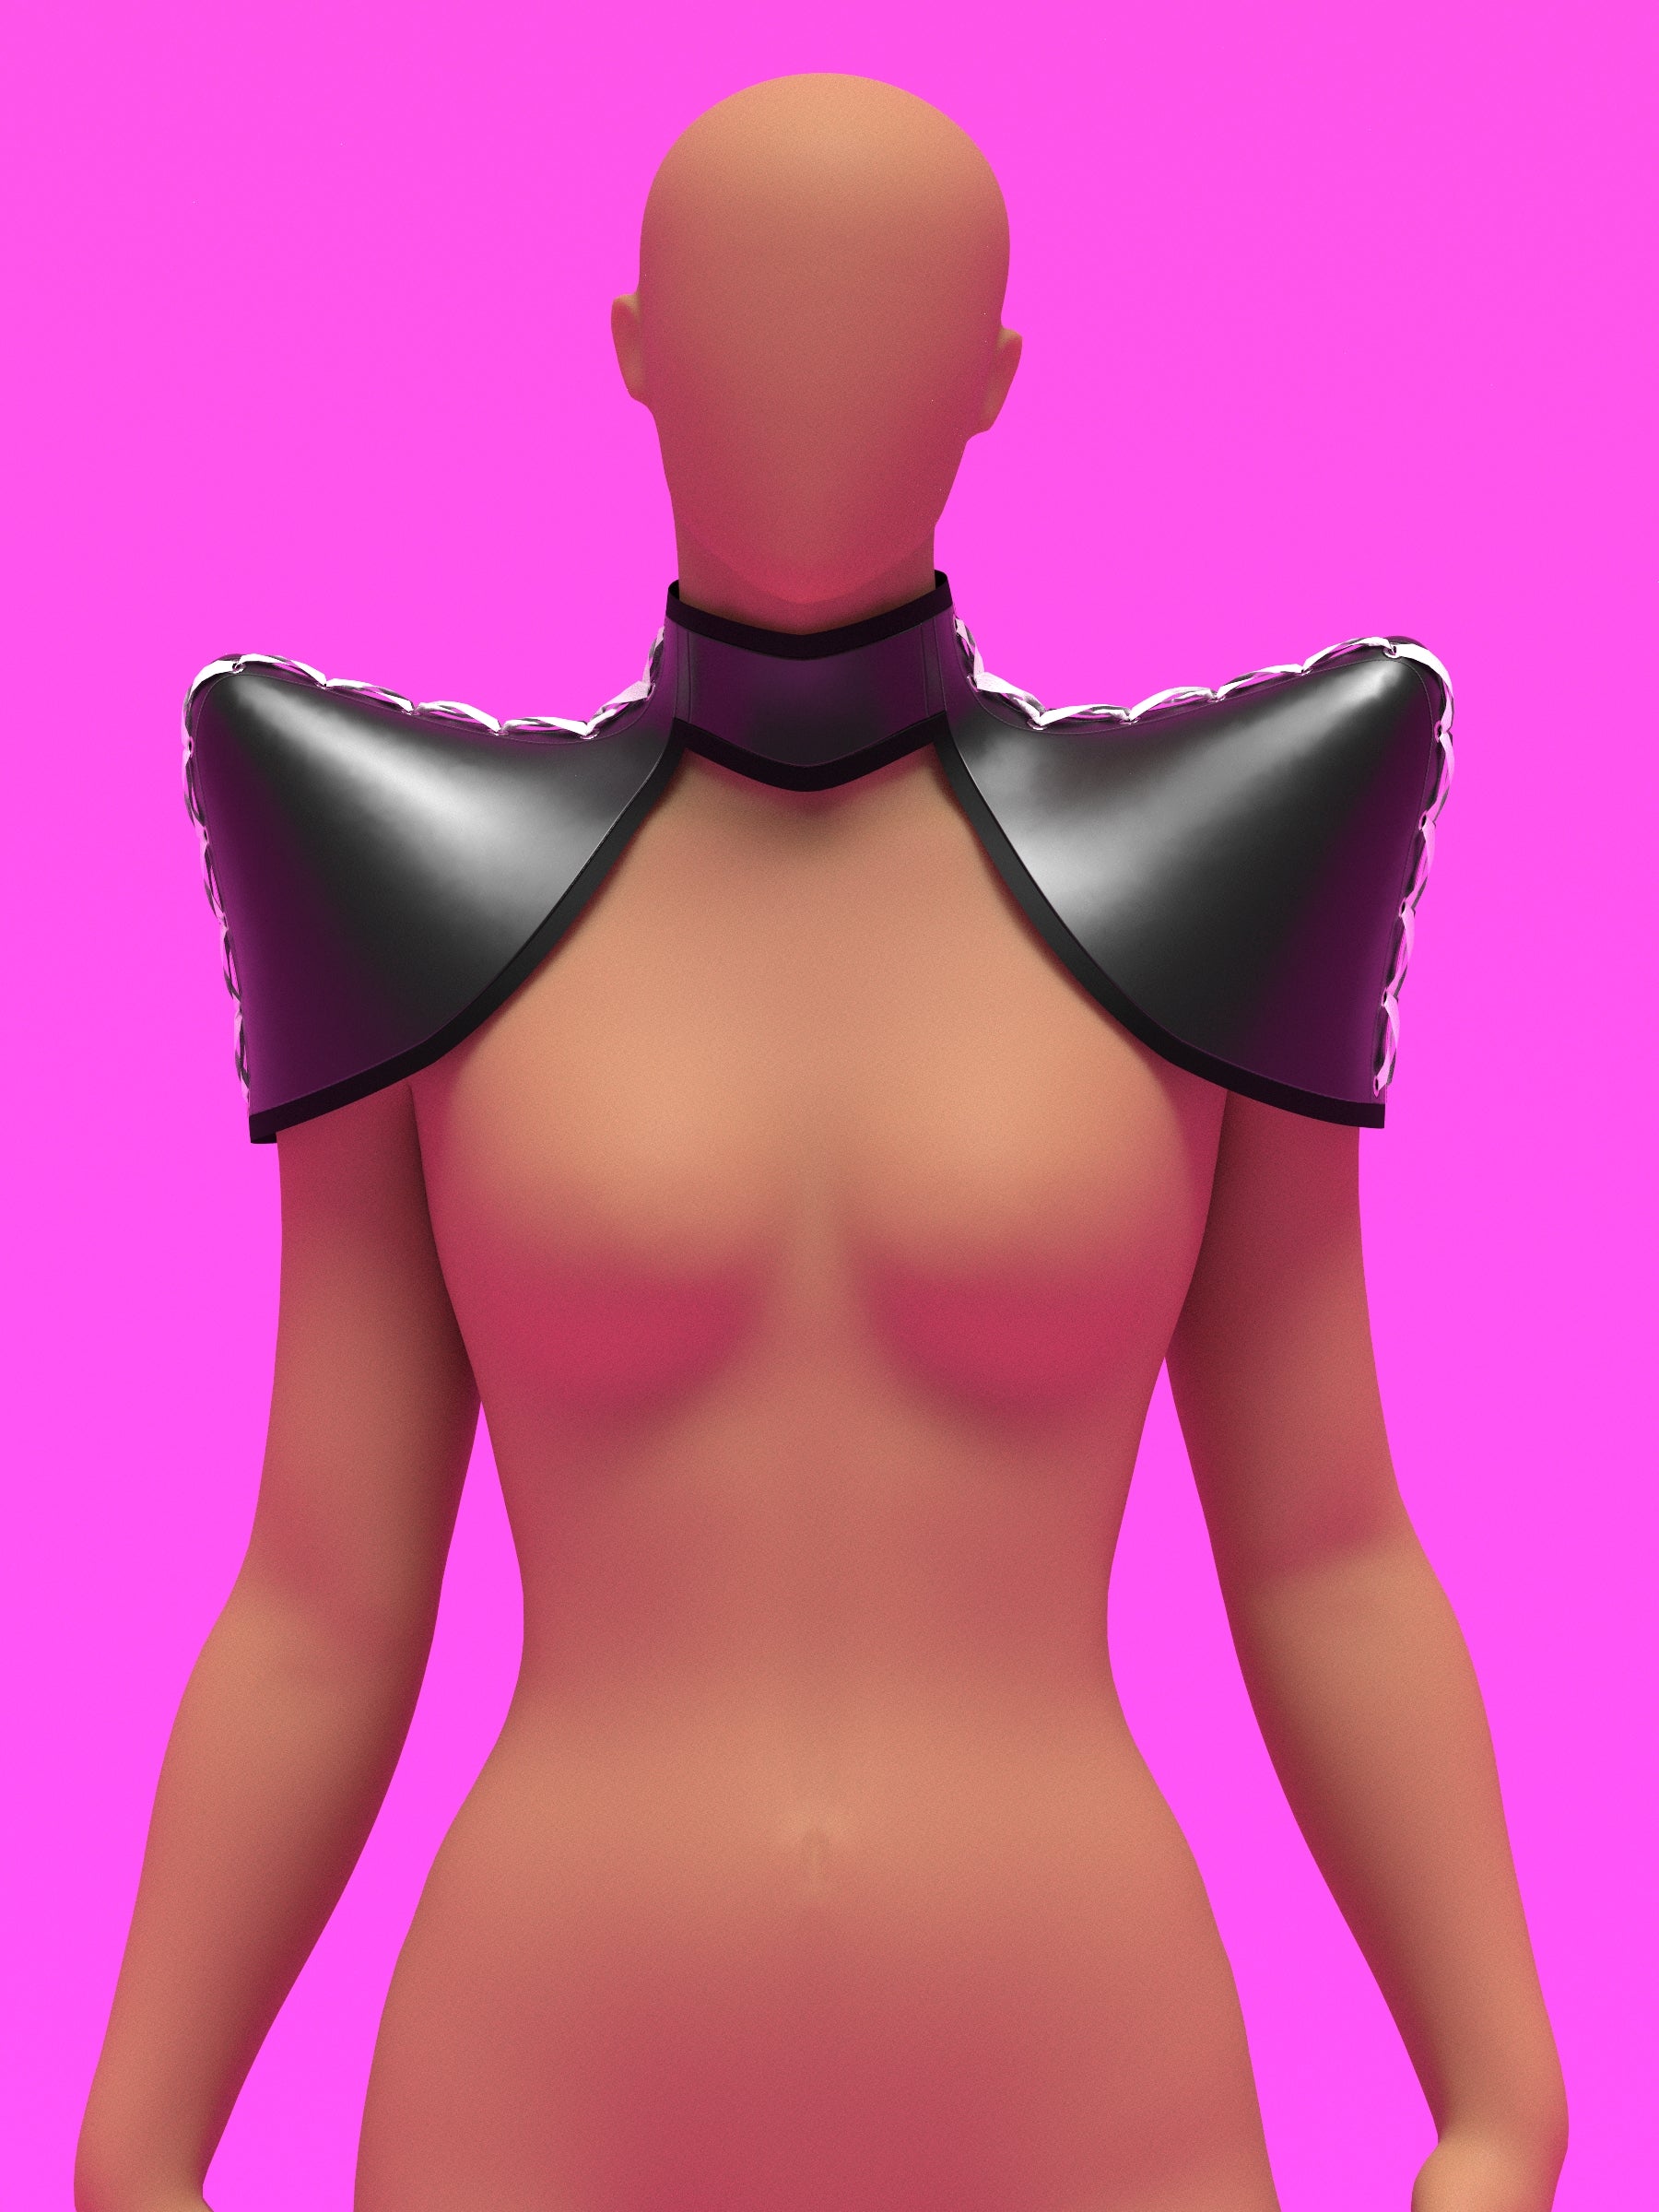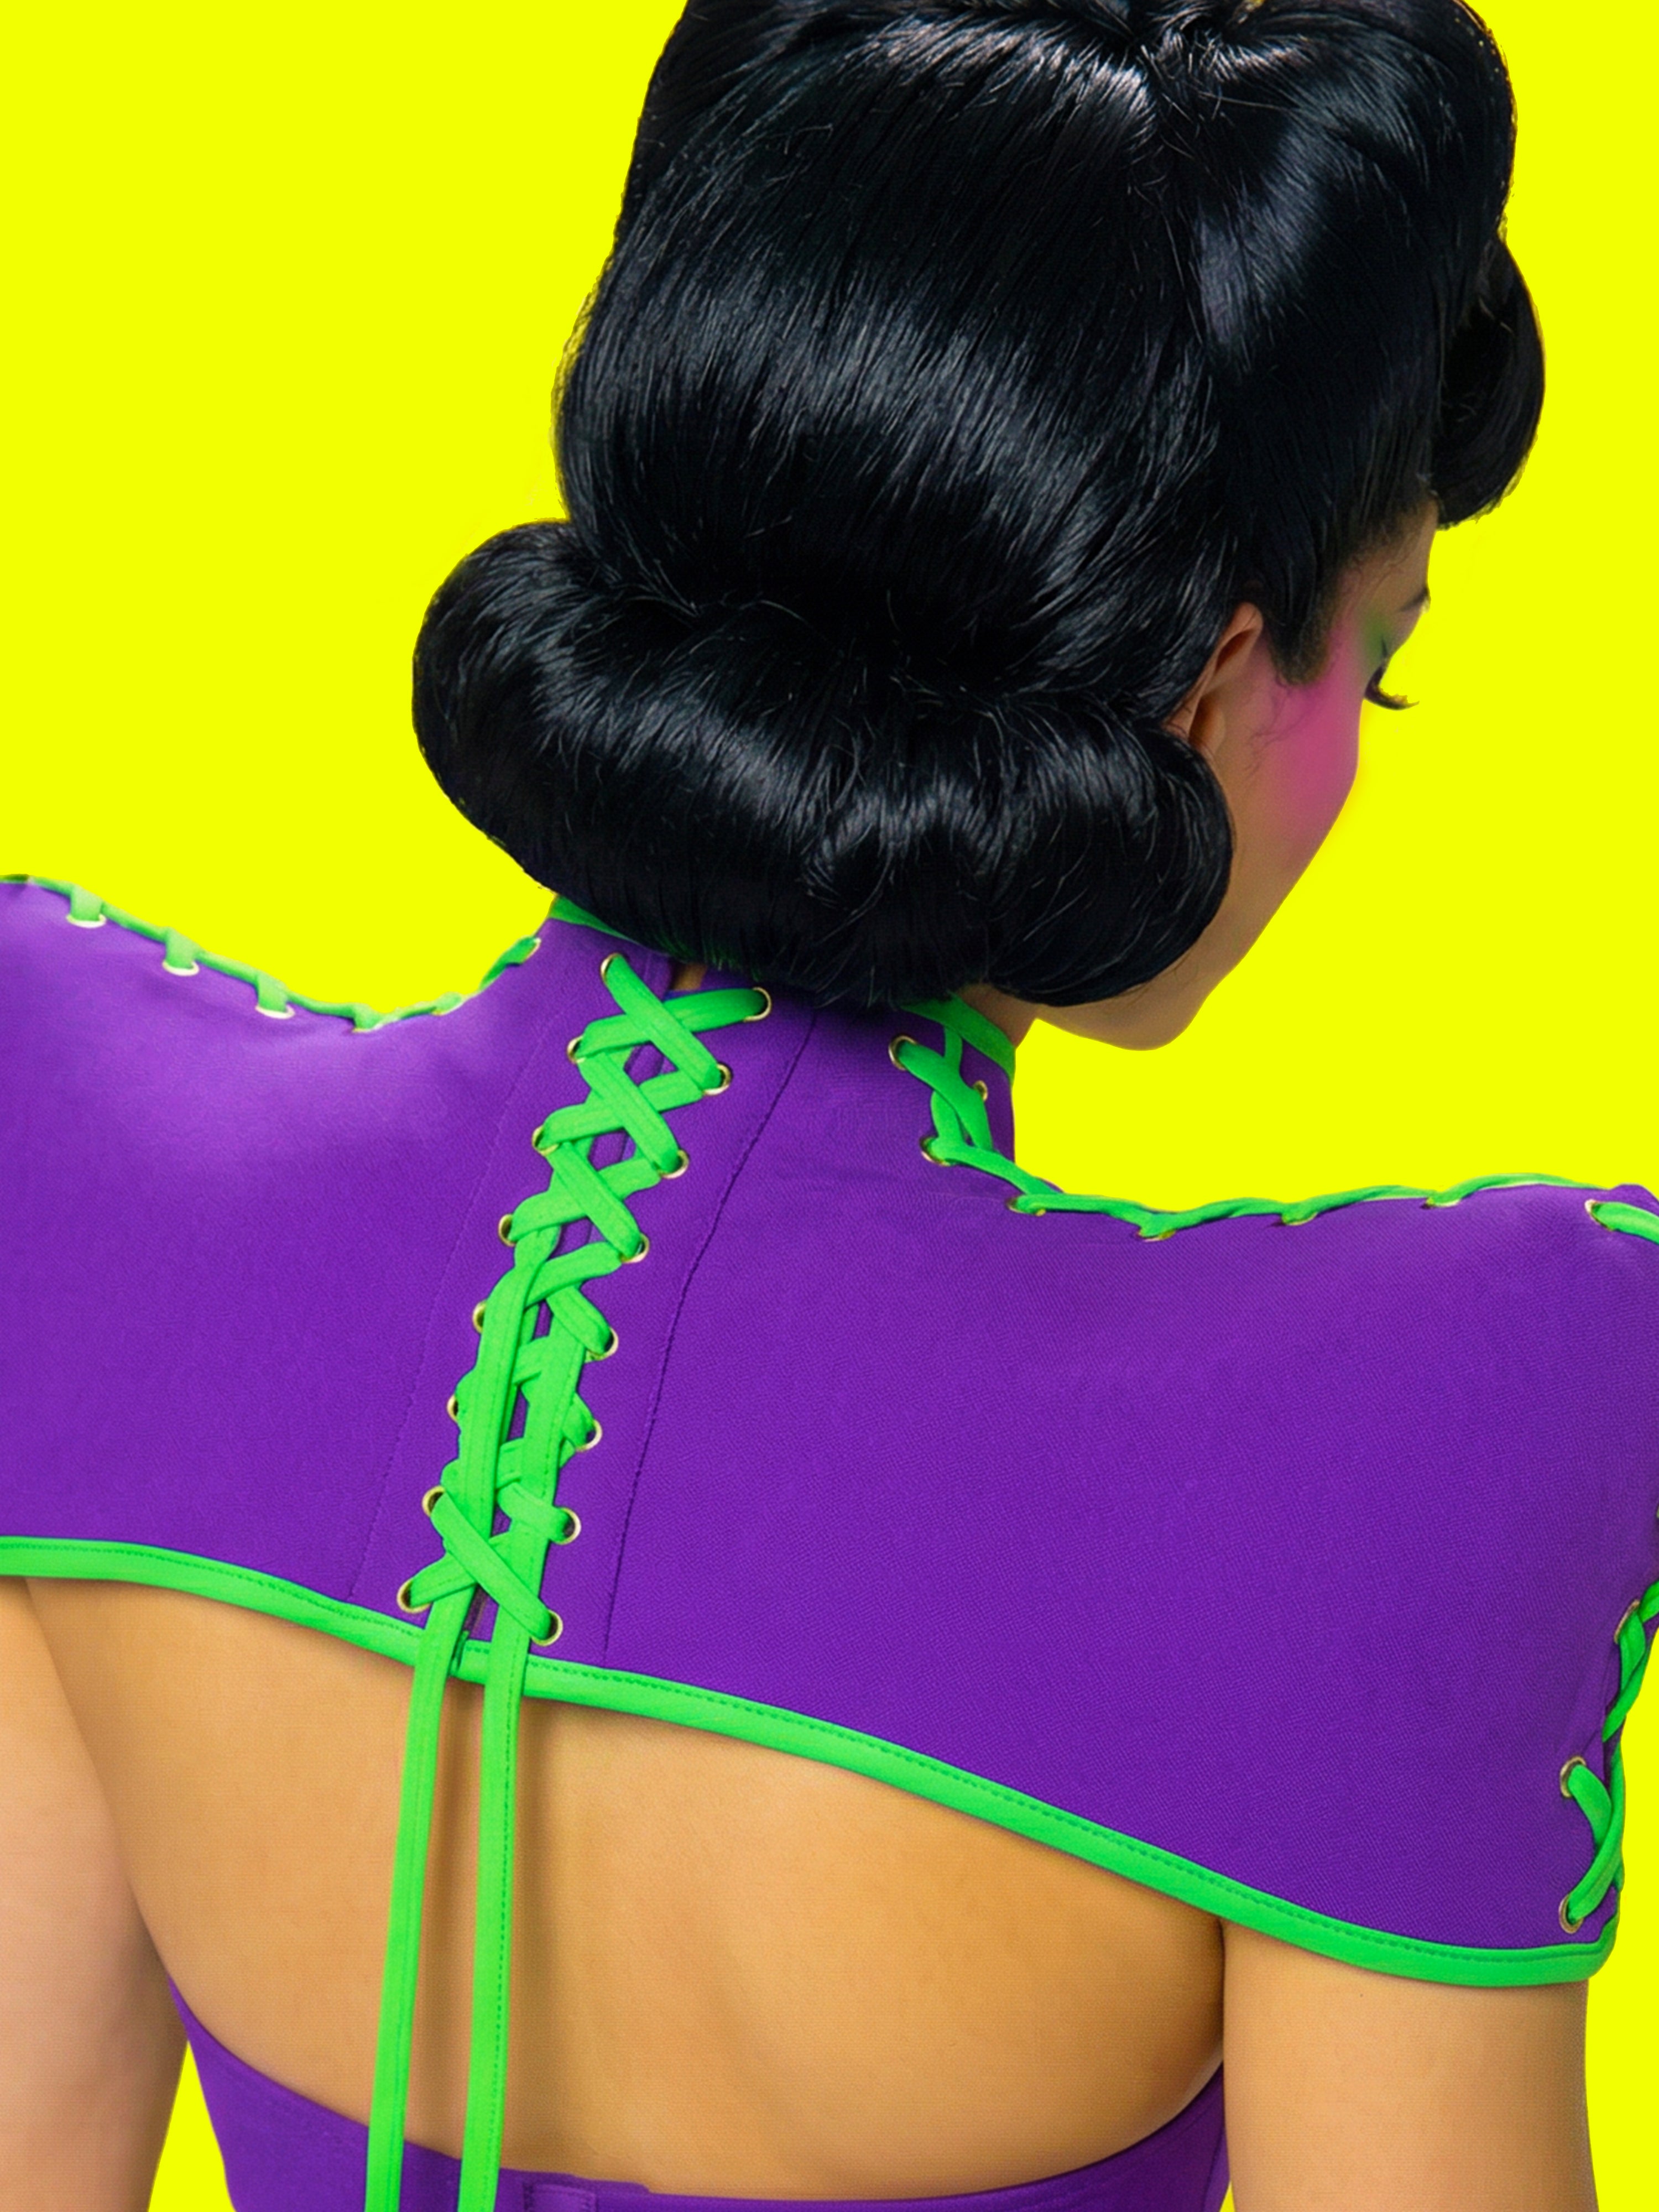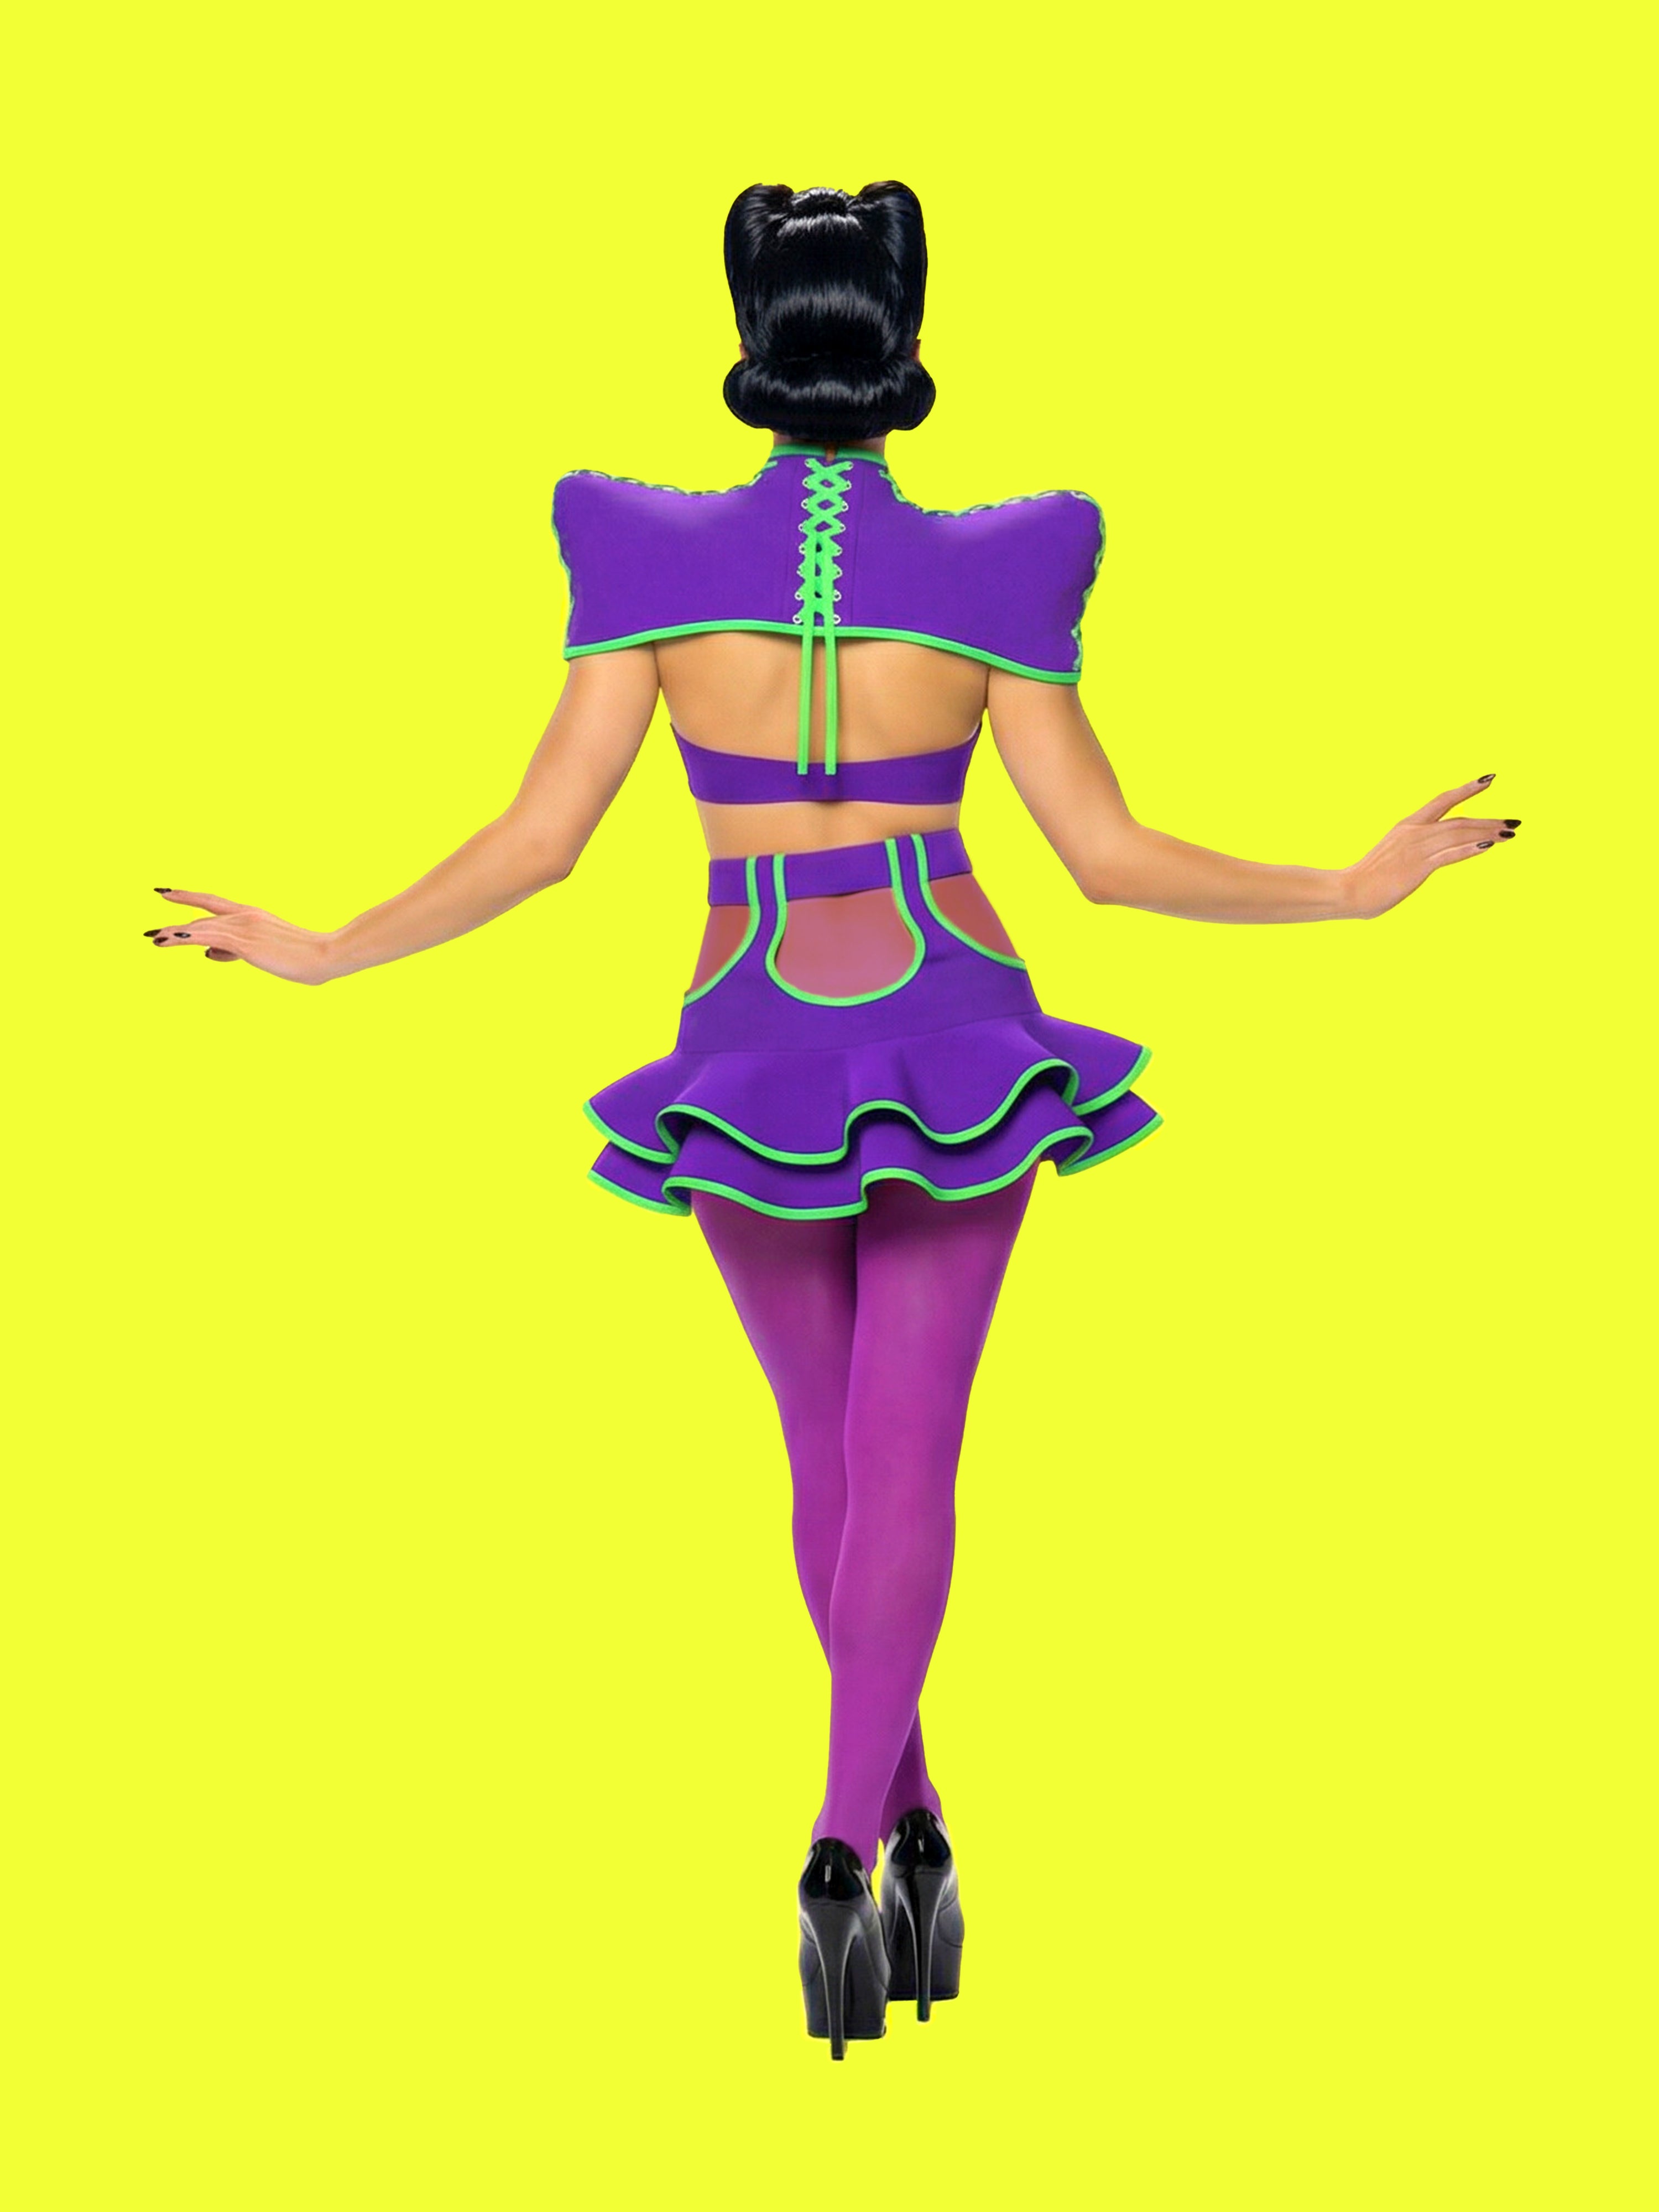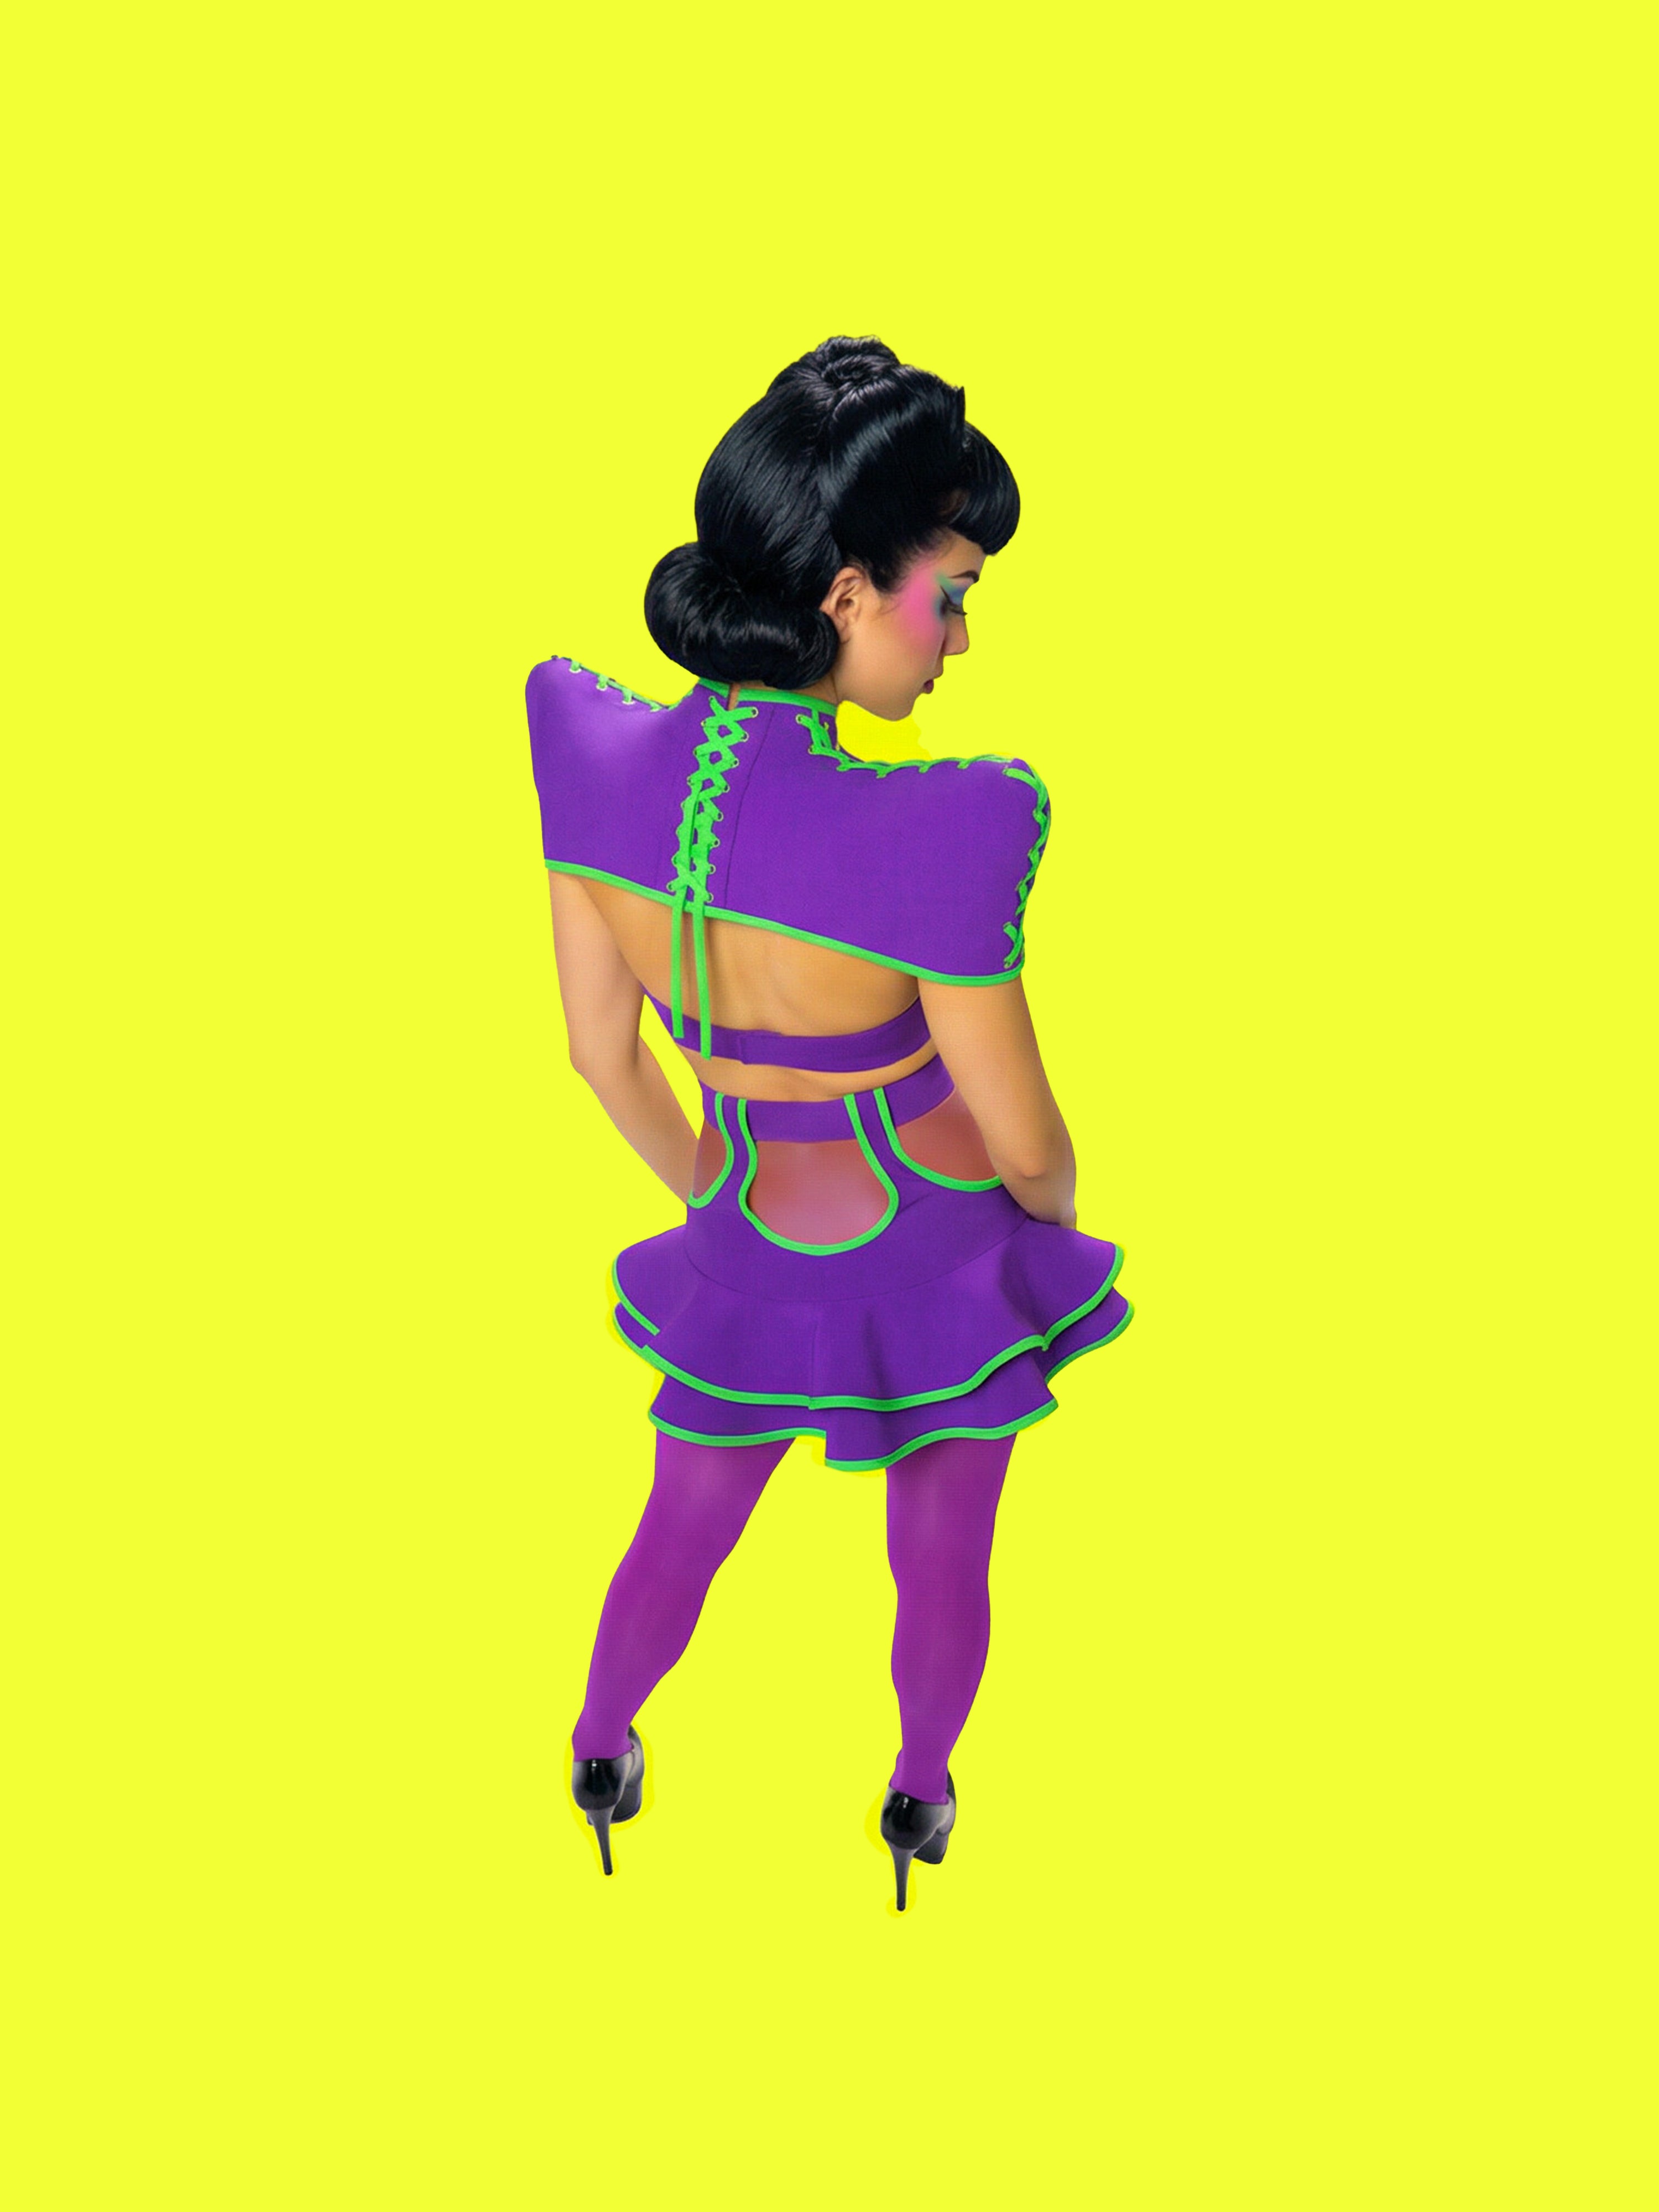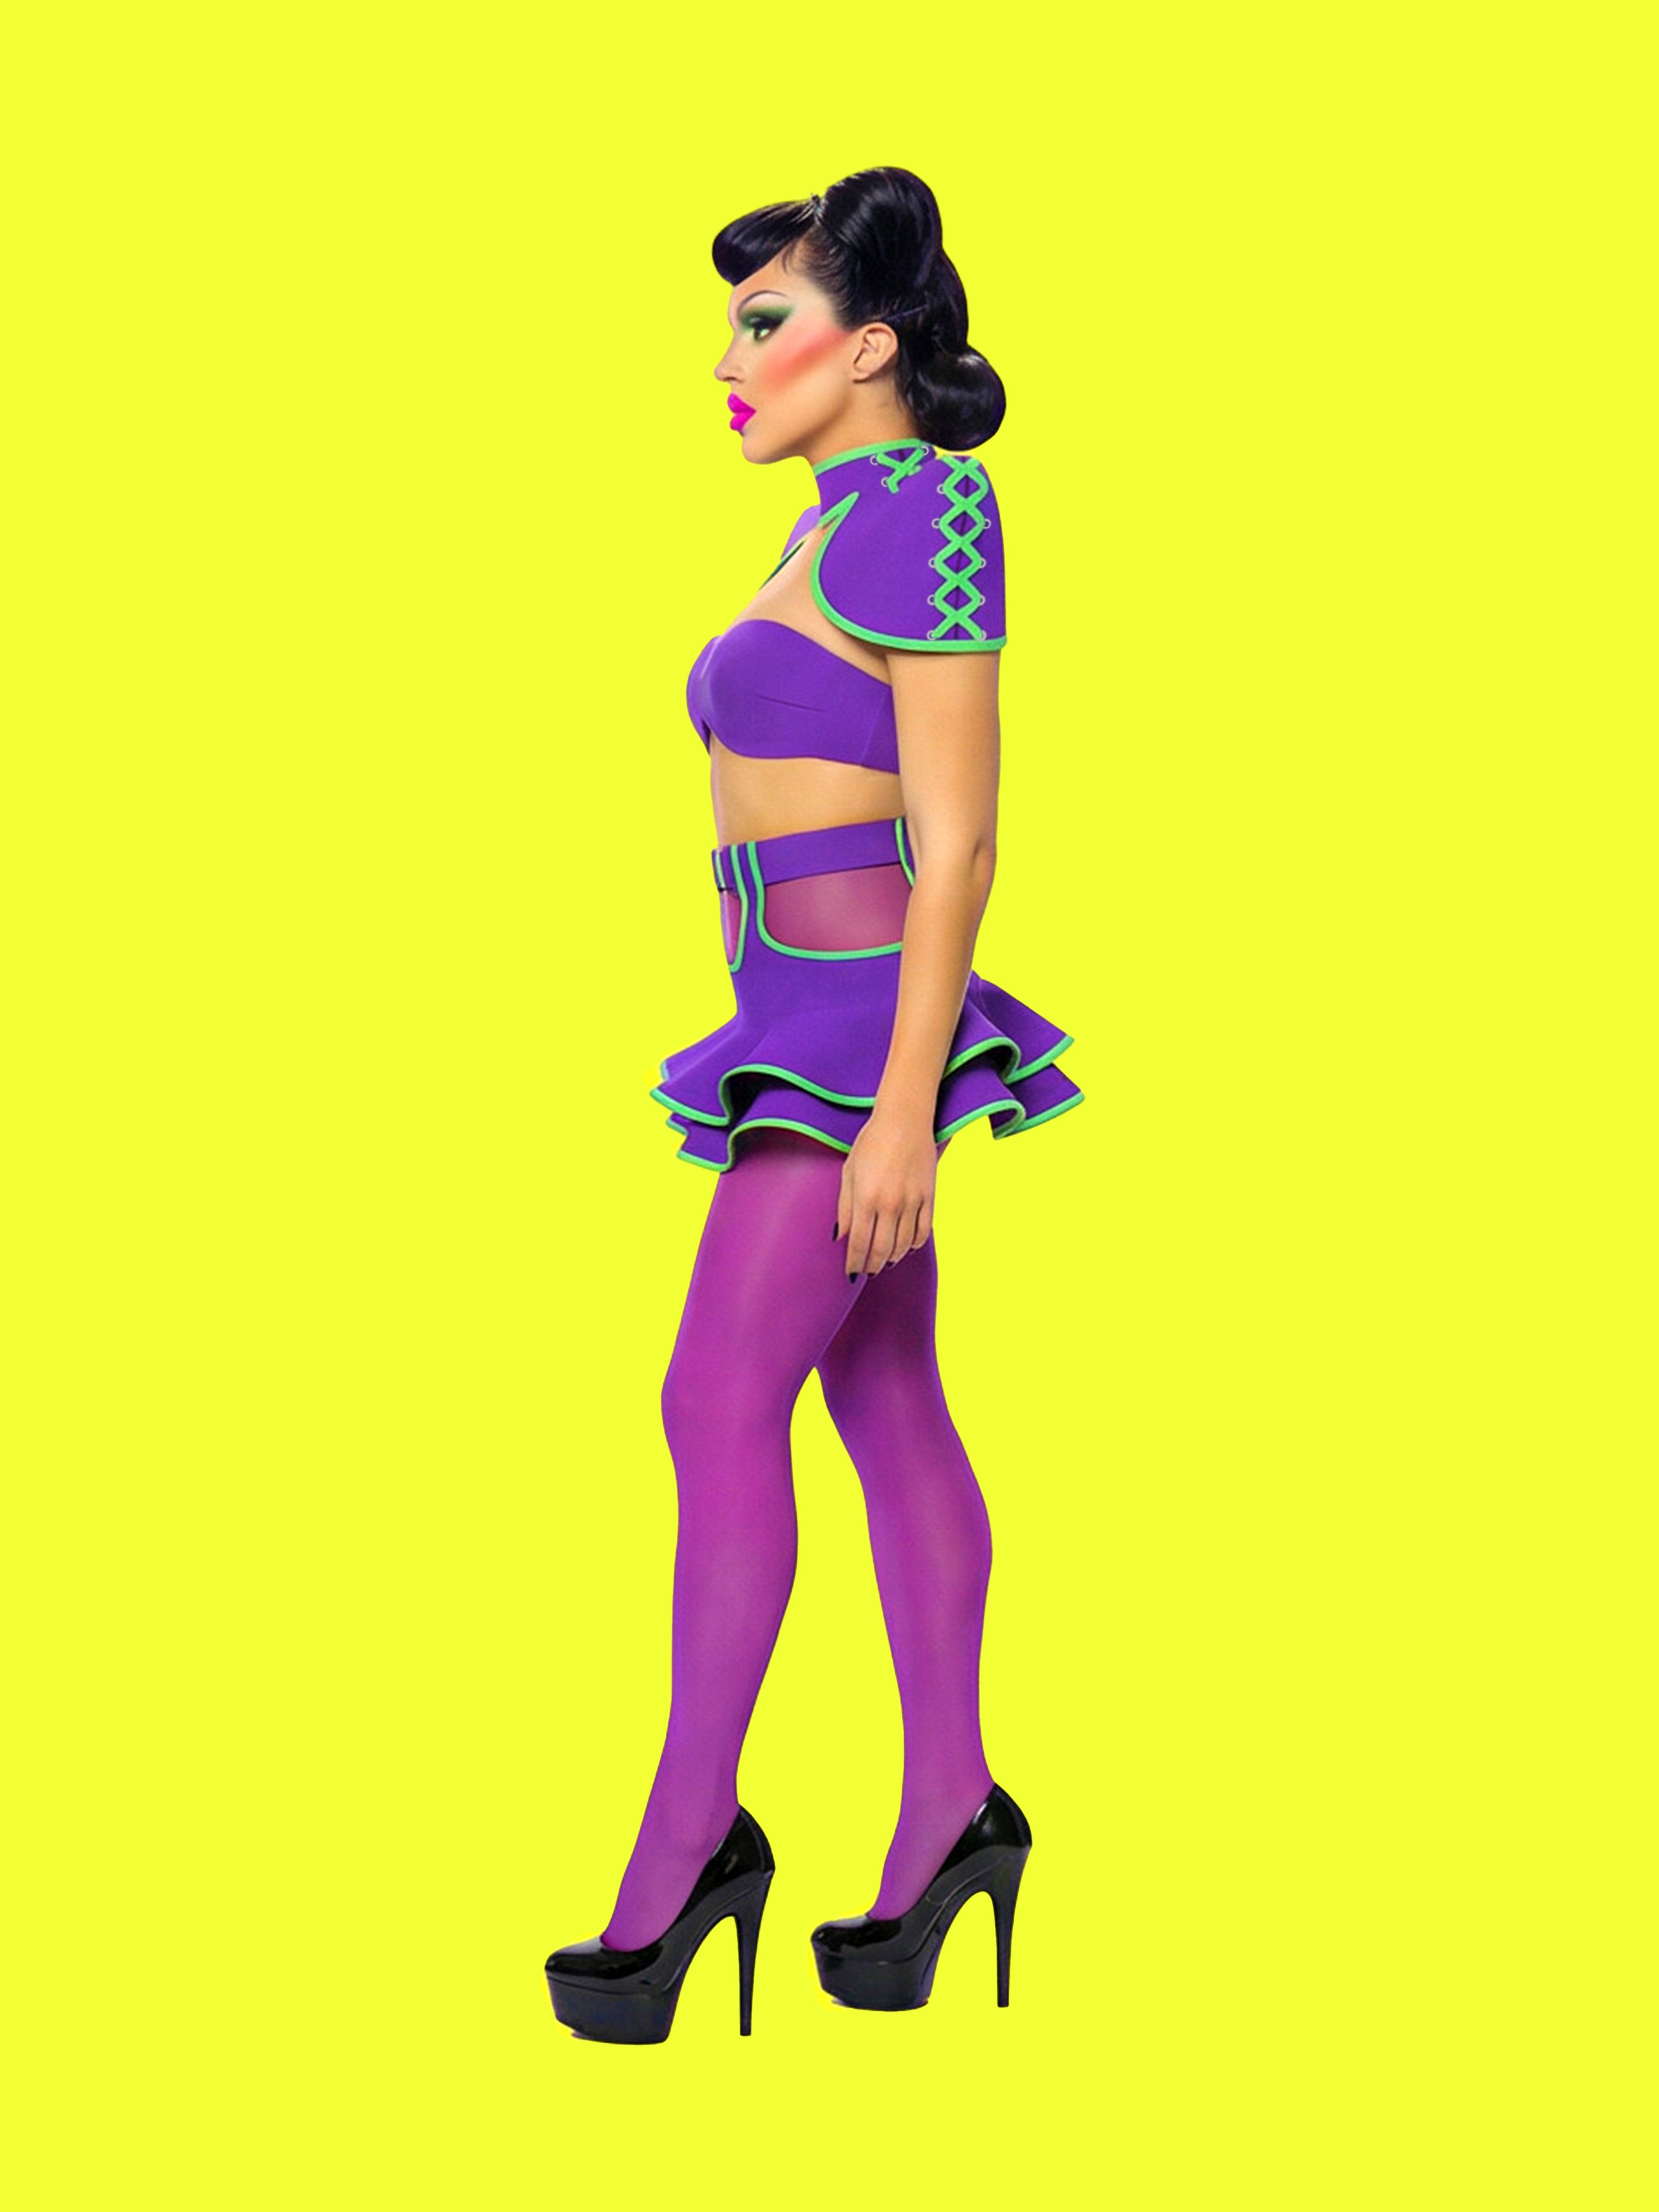
Cómo coser un corsé con hombros puntiagudos
Saltar a instruccionesDescripción general
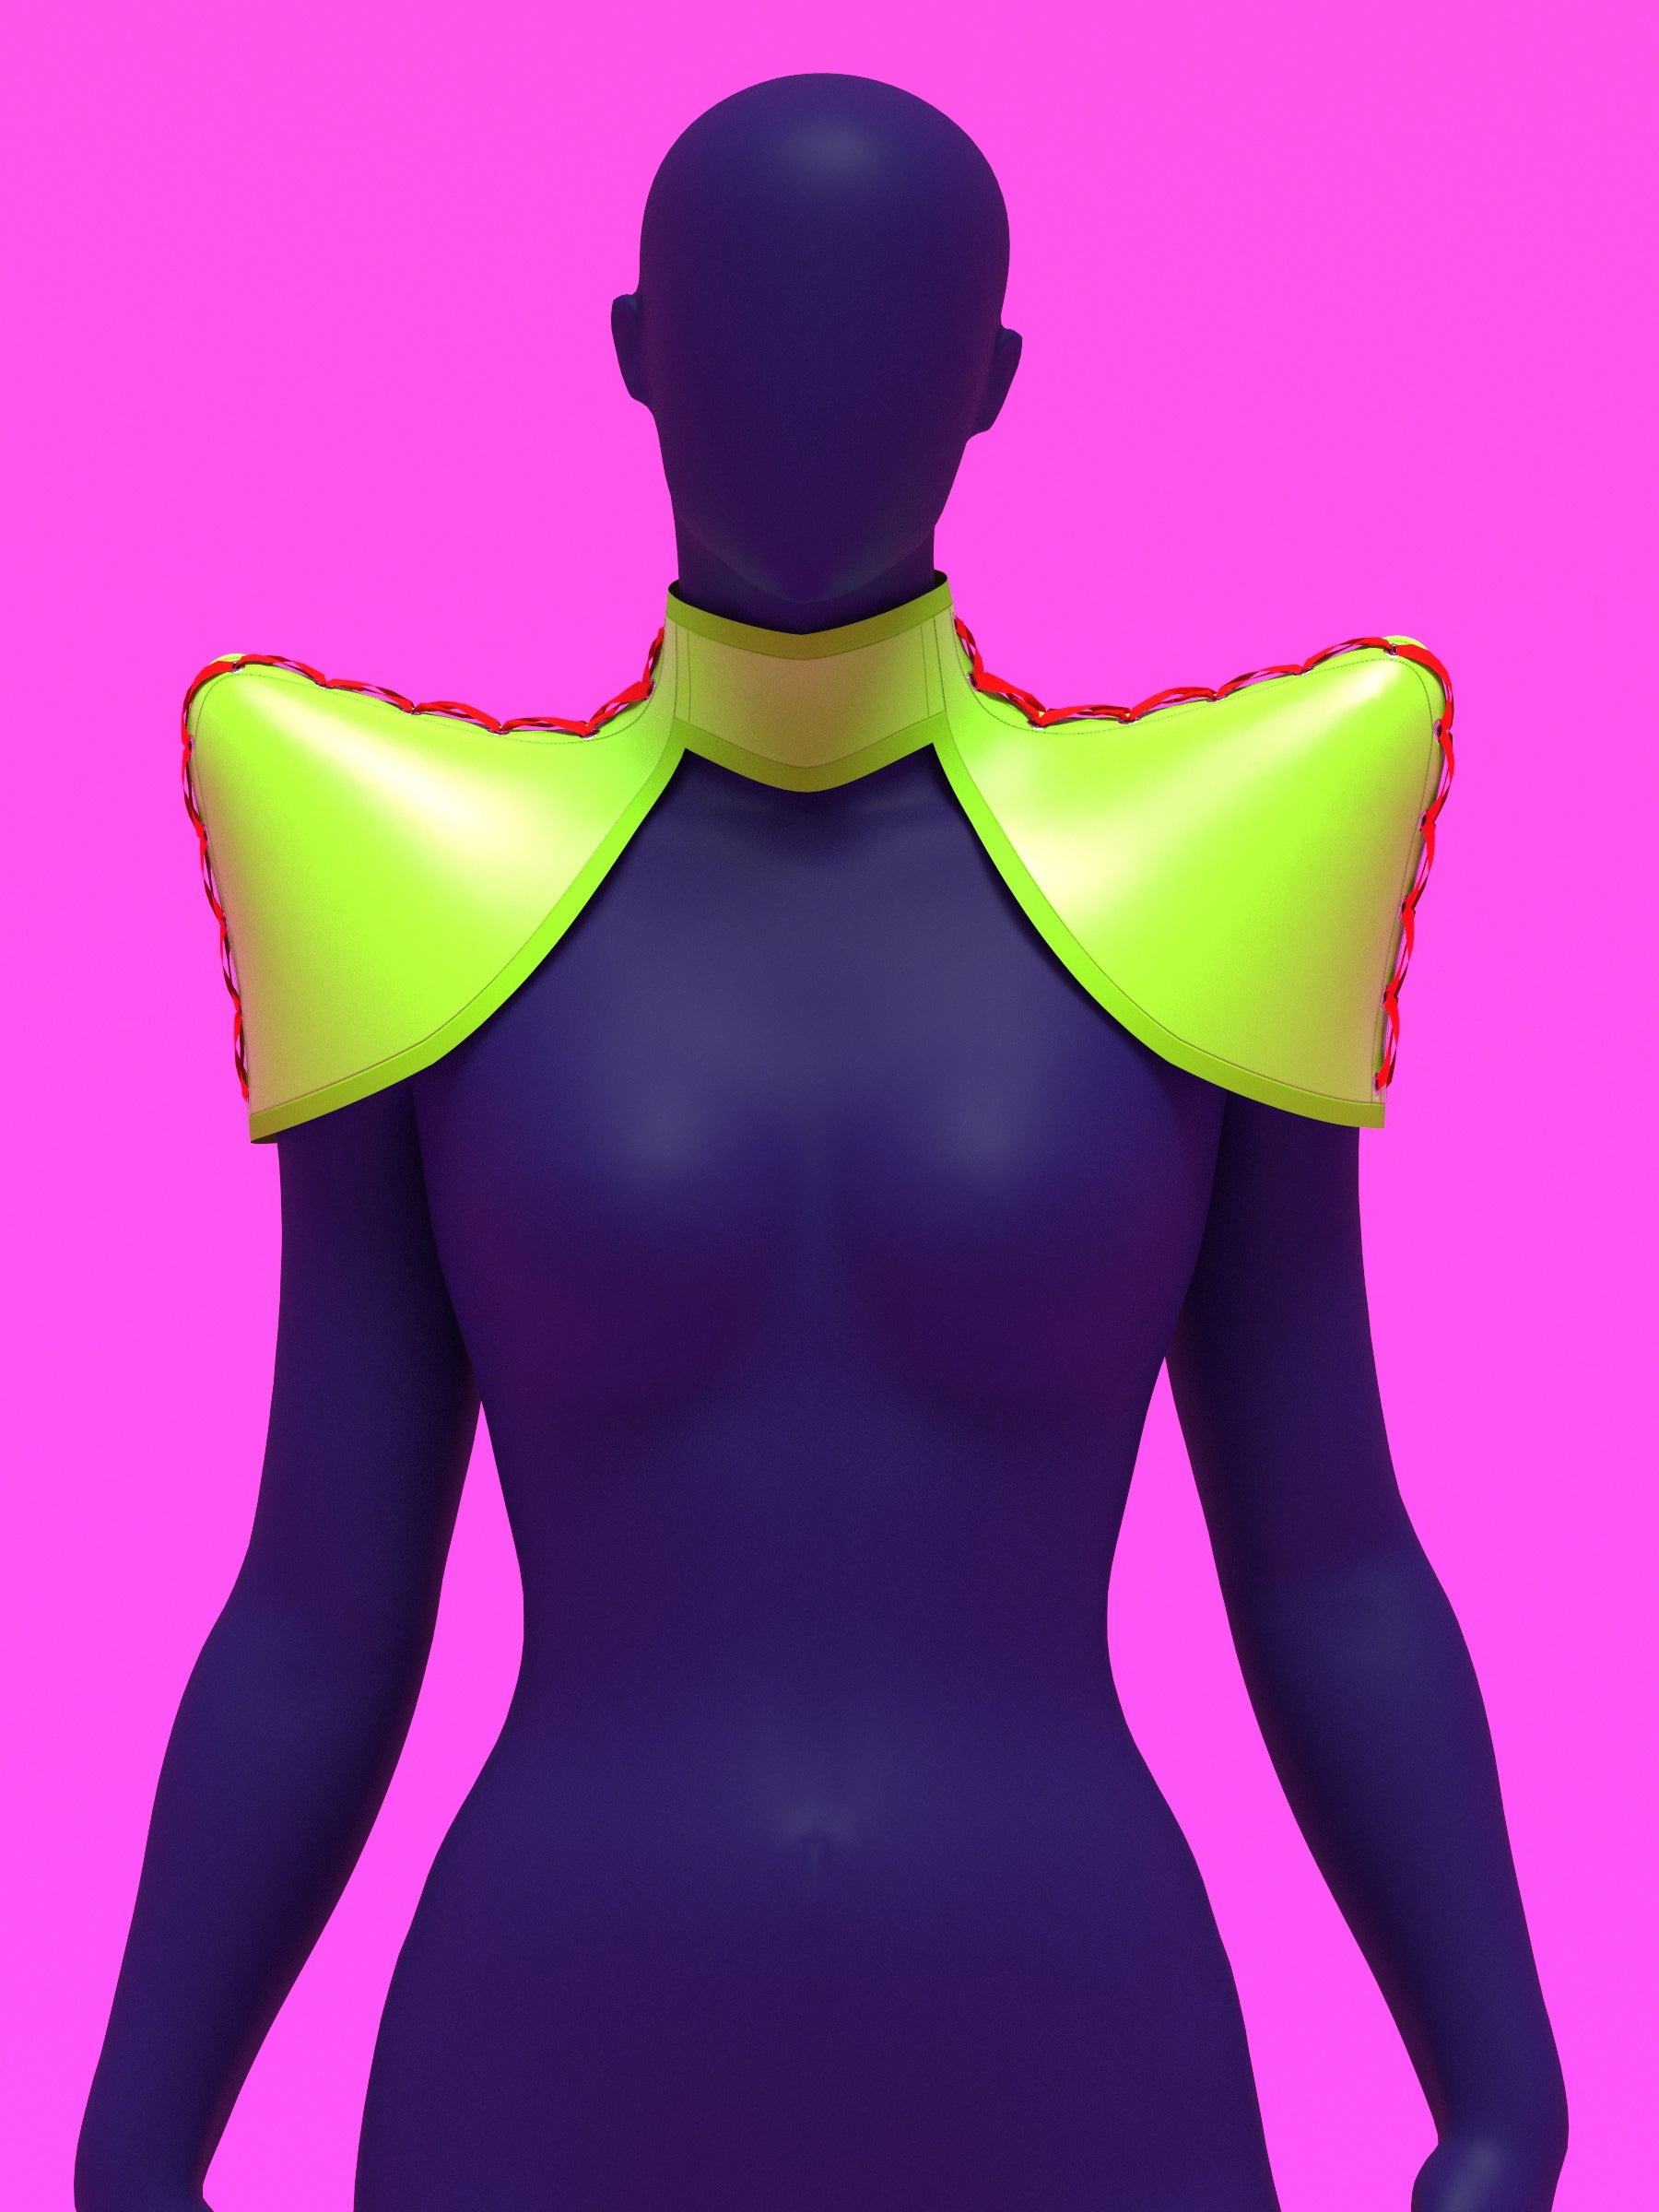
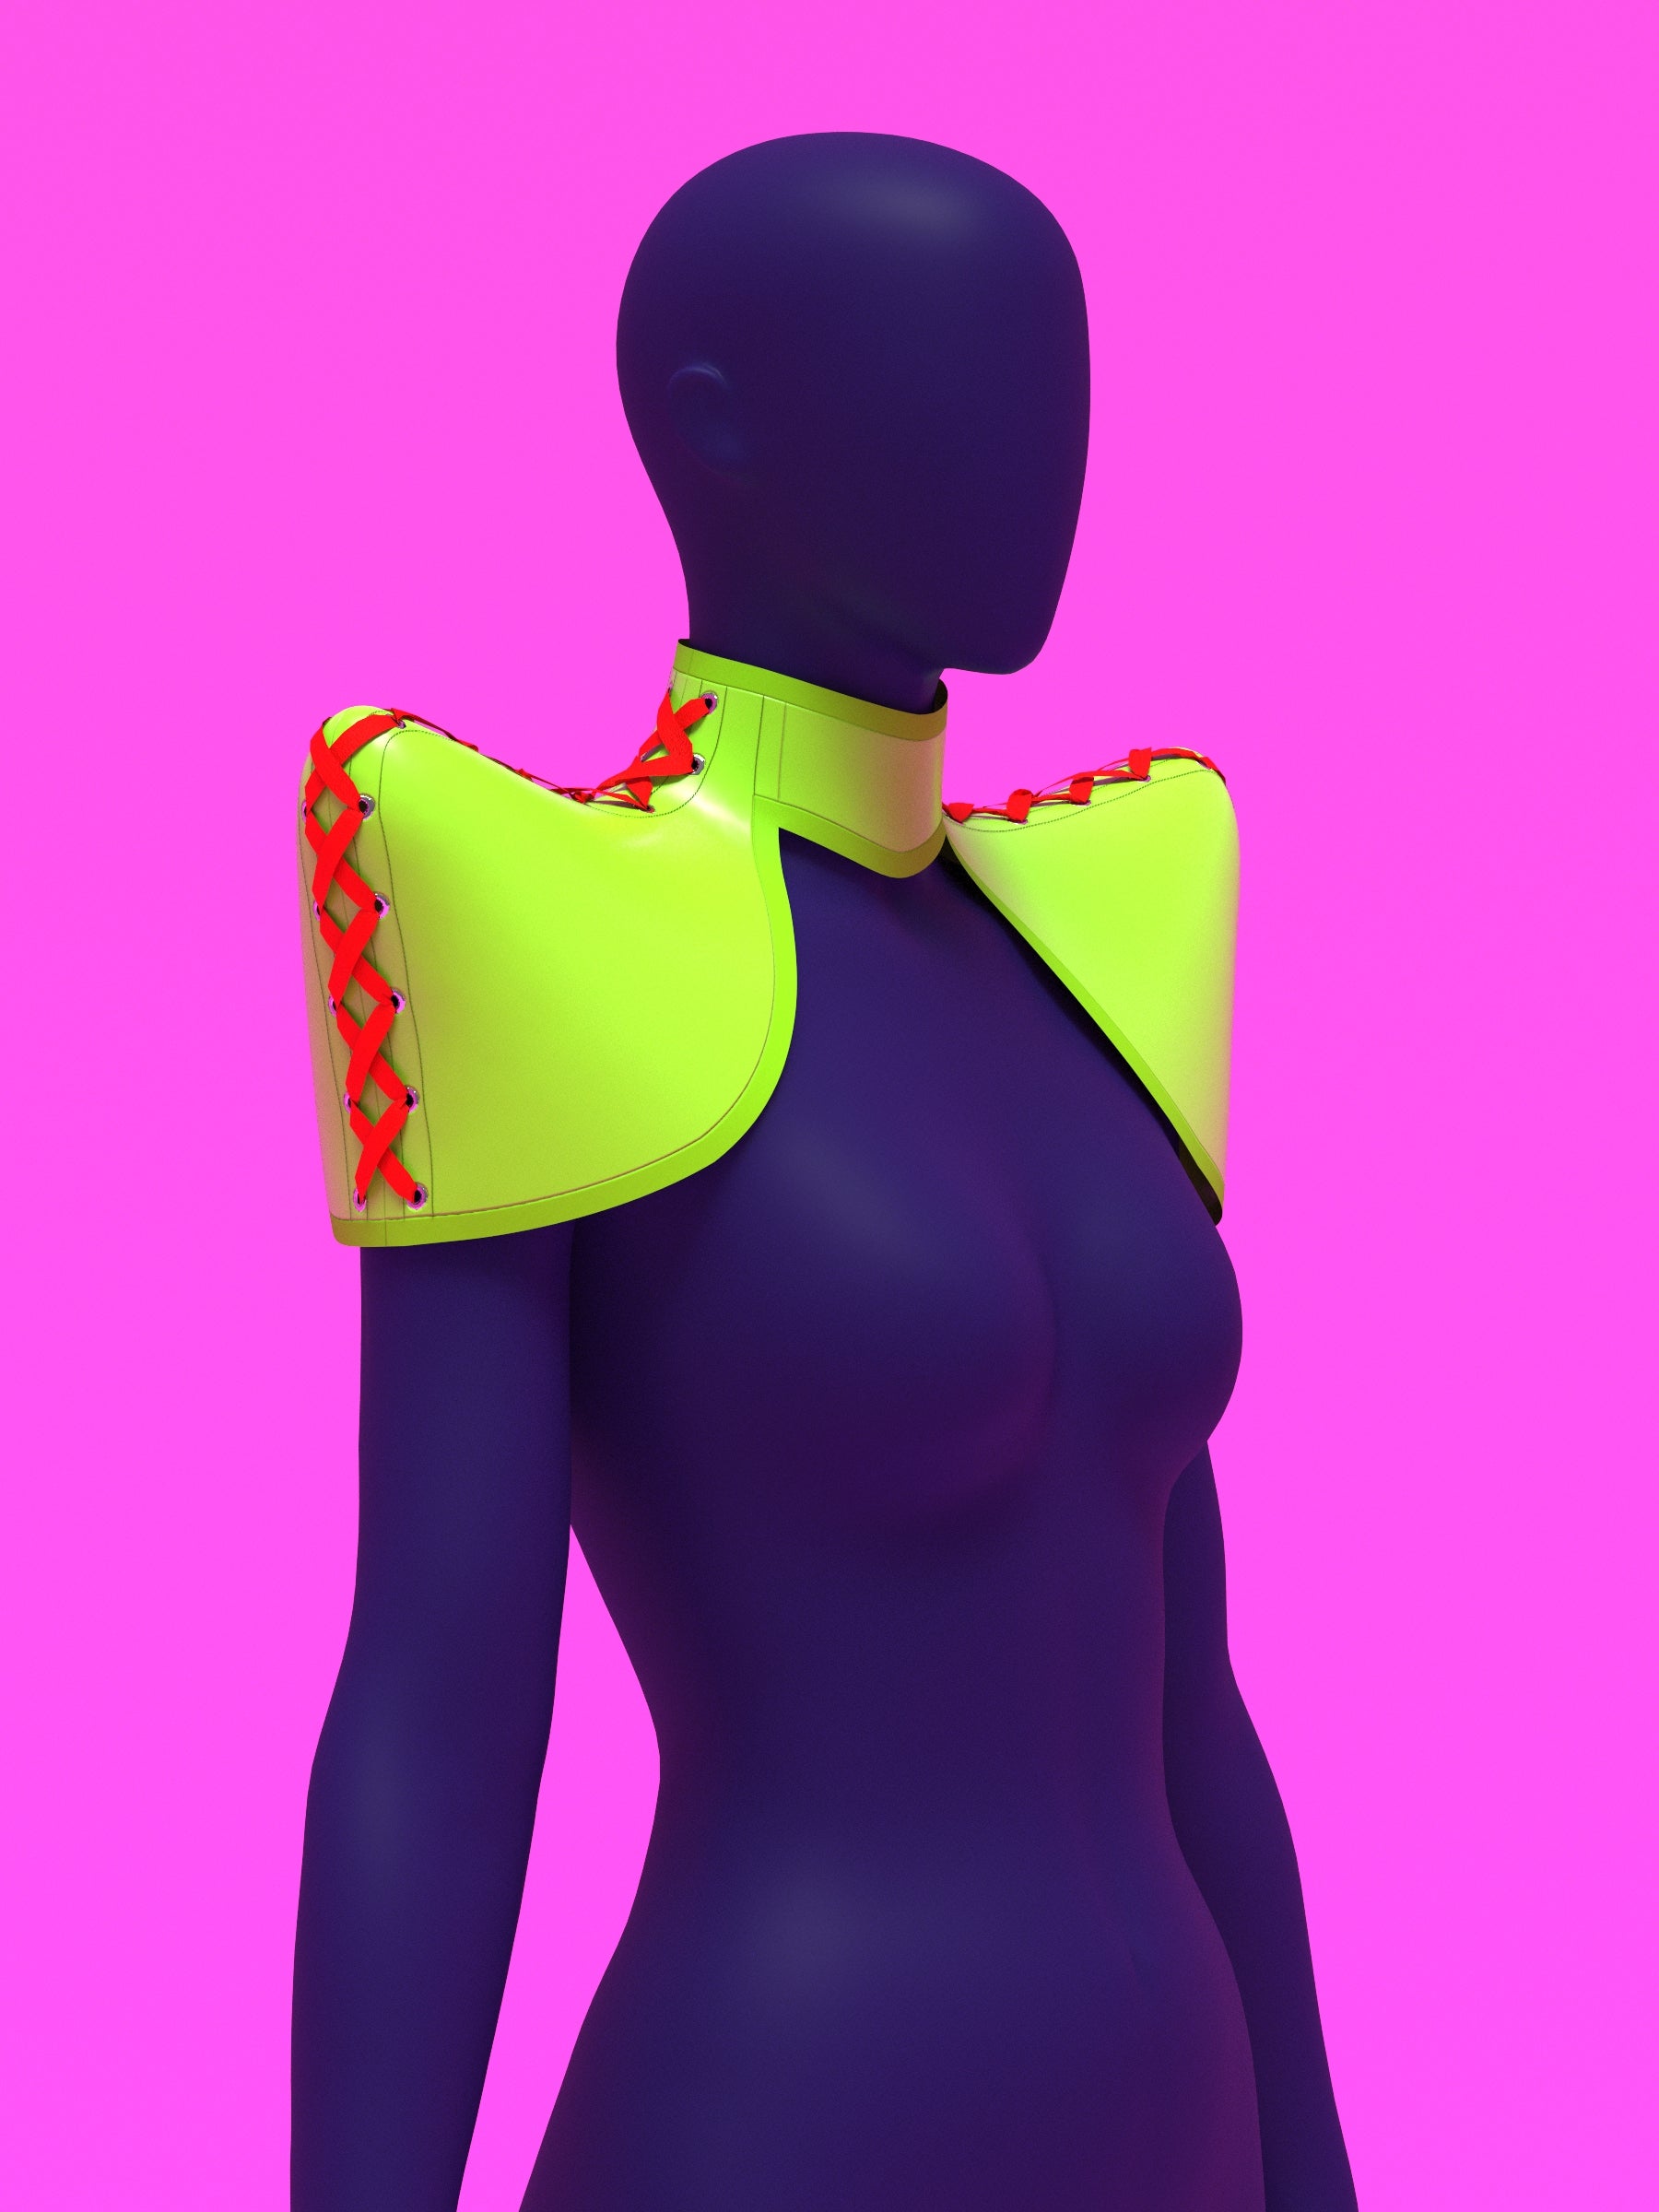
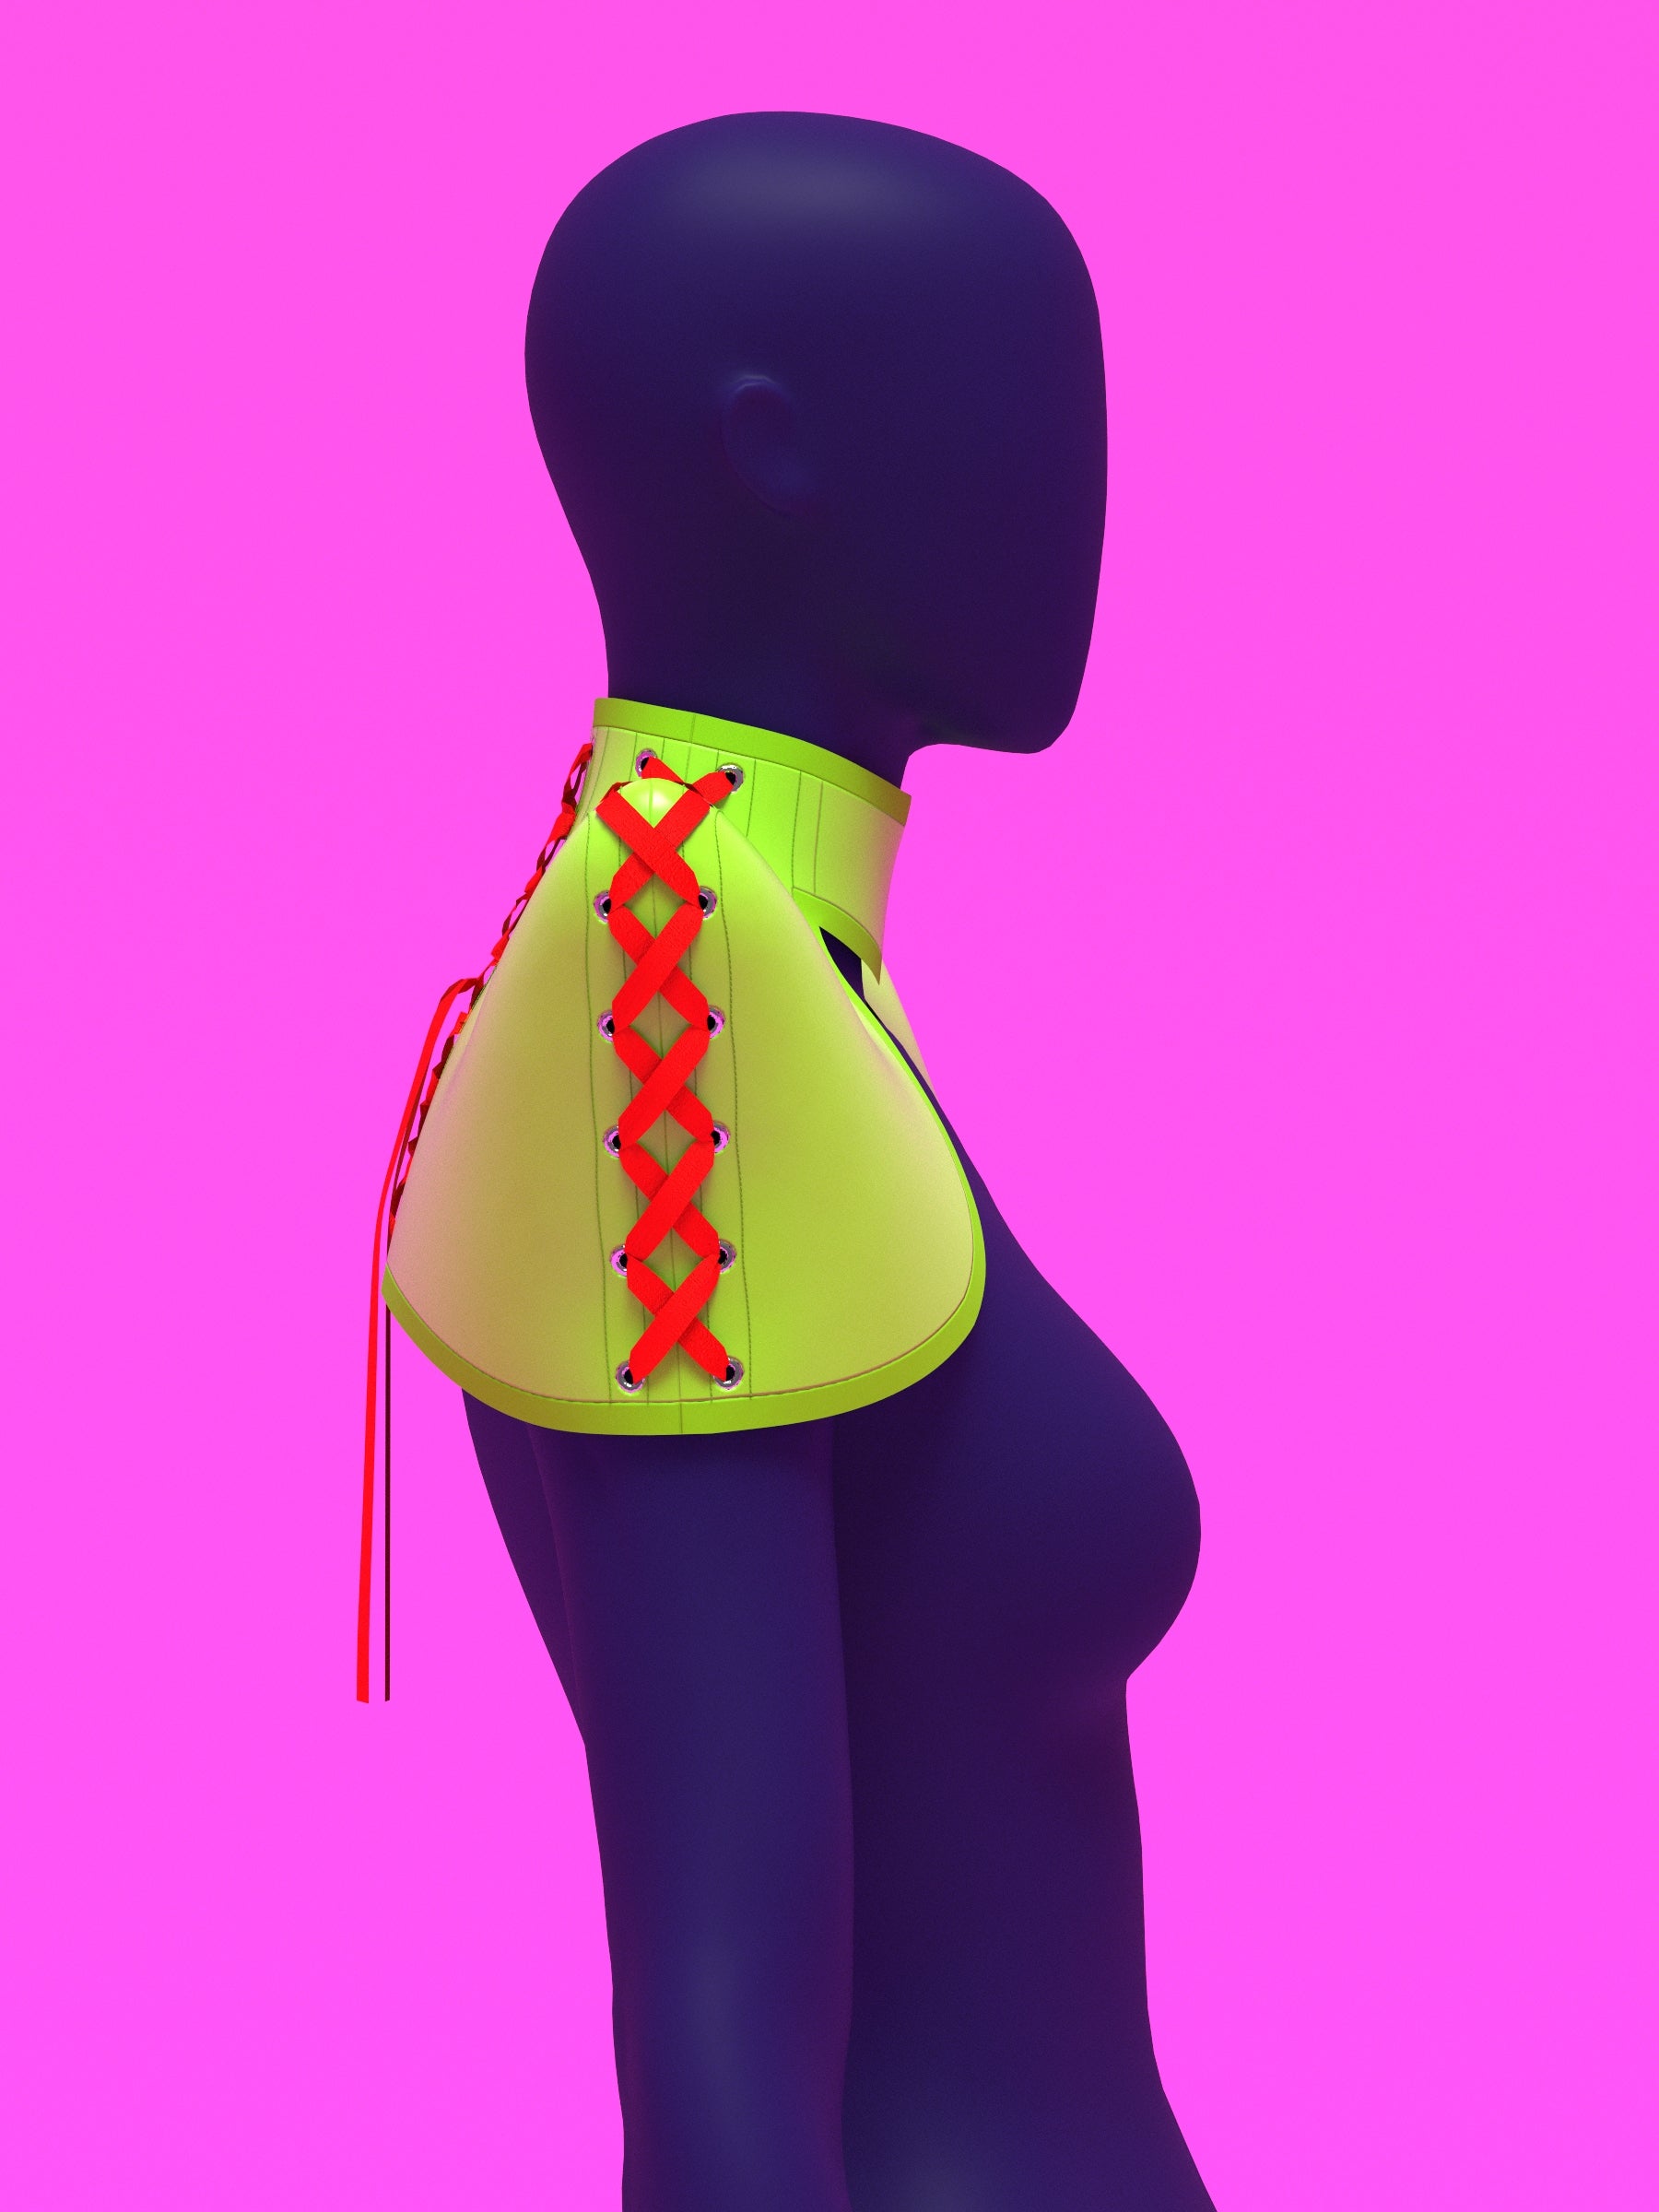
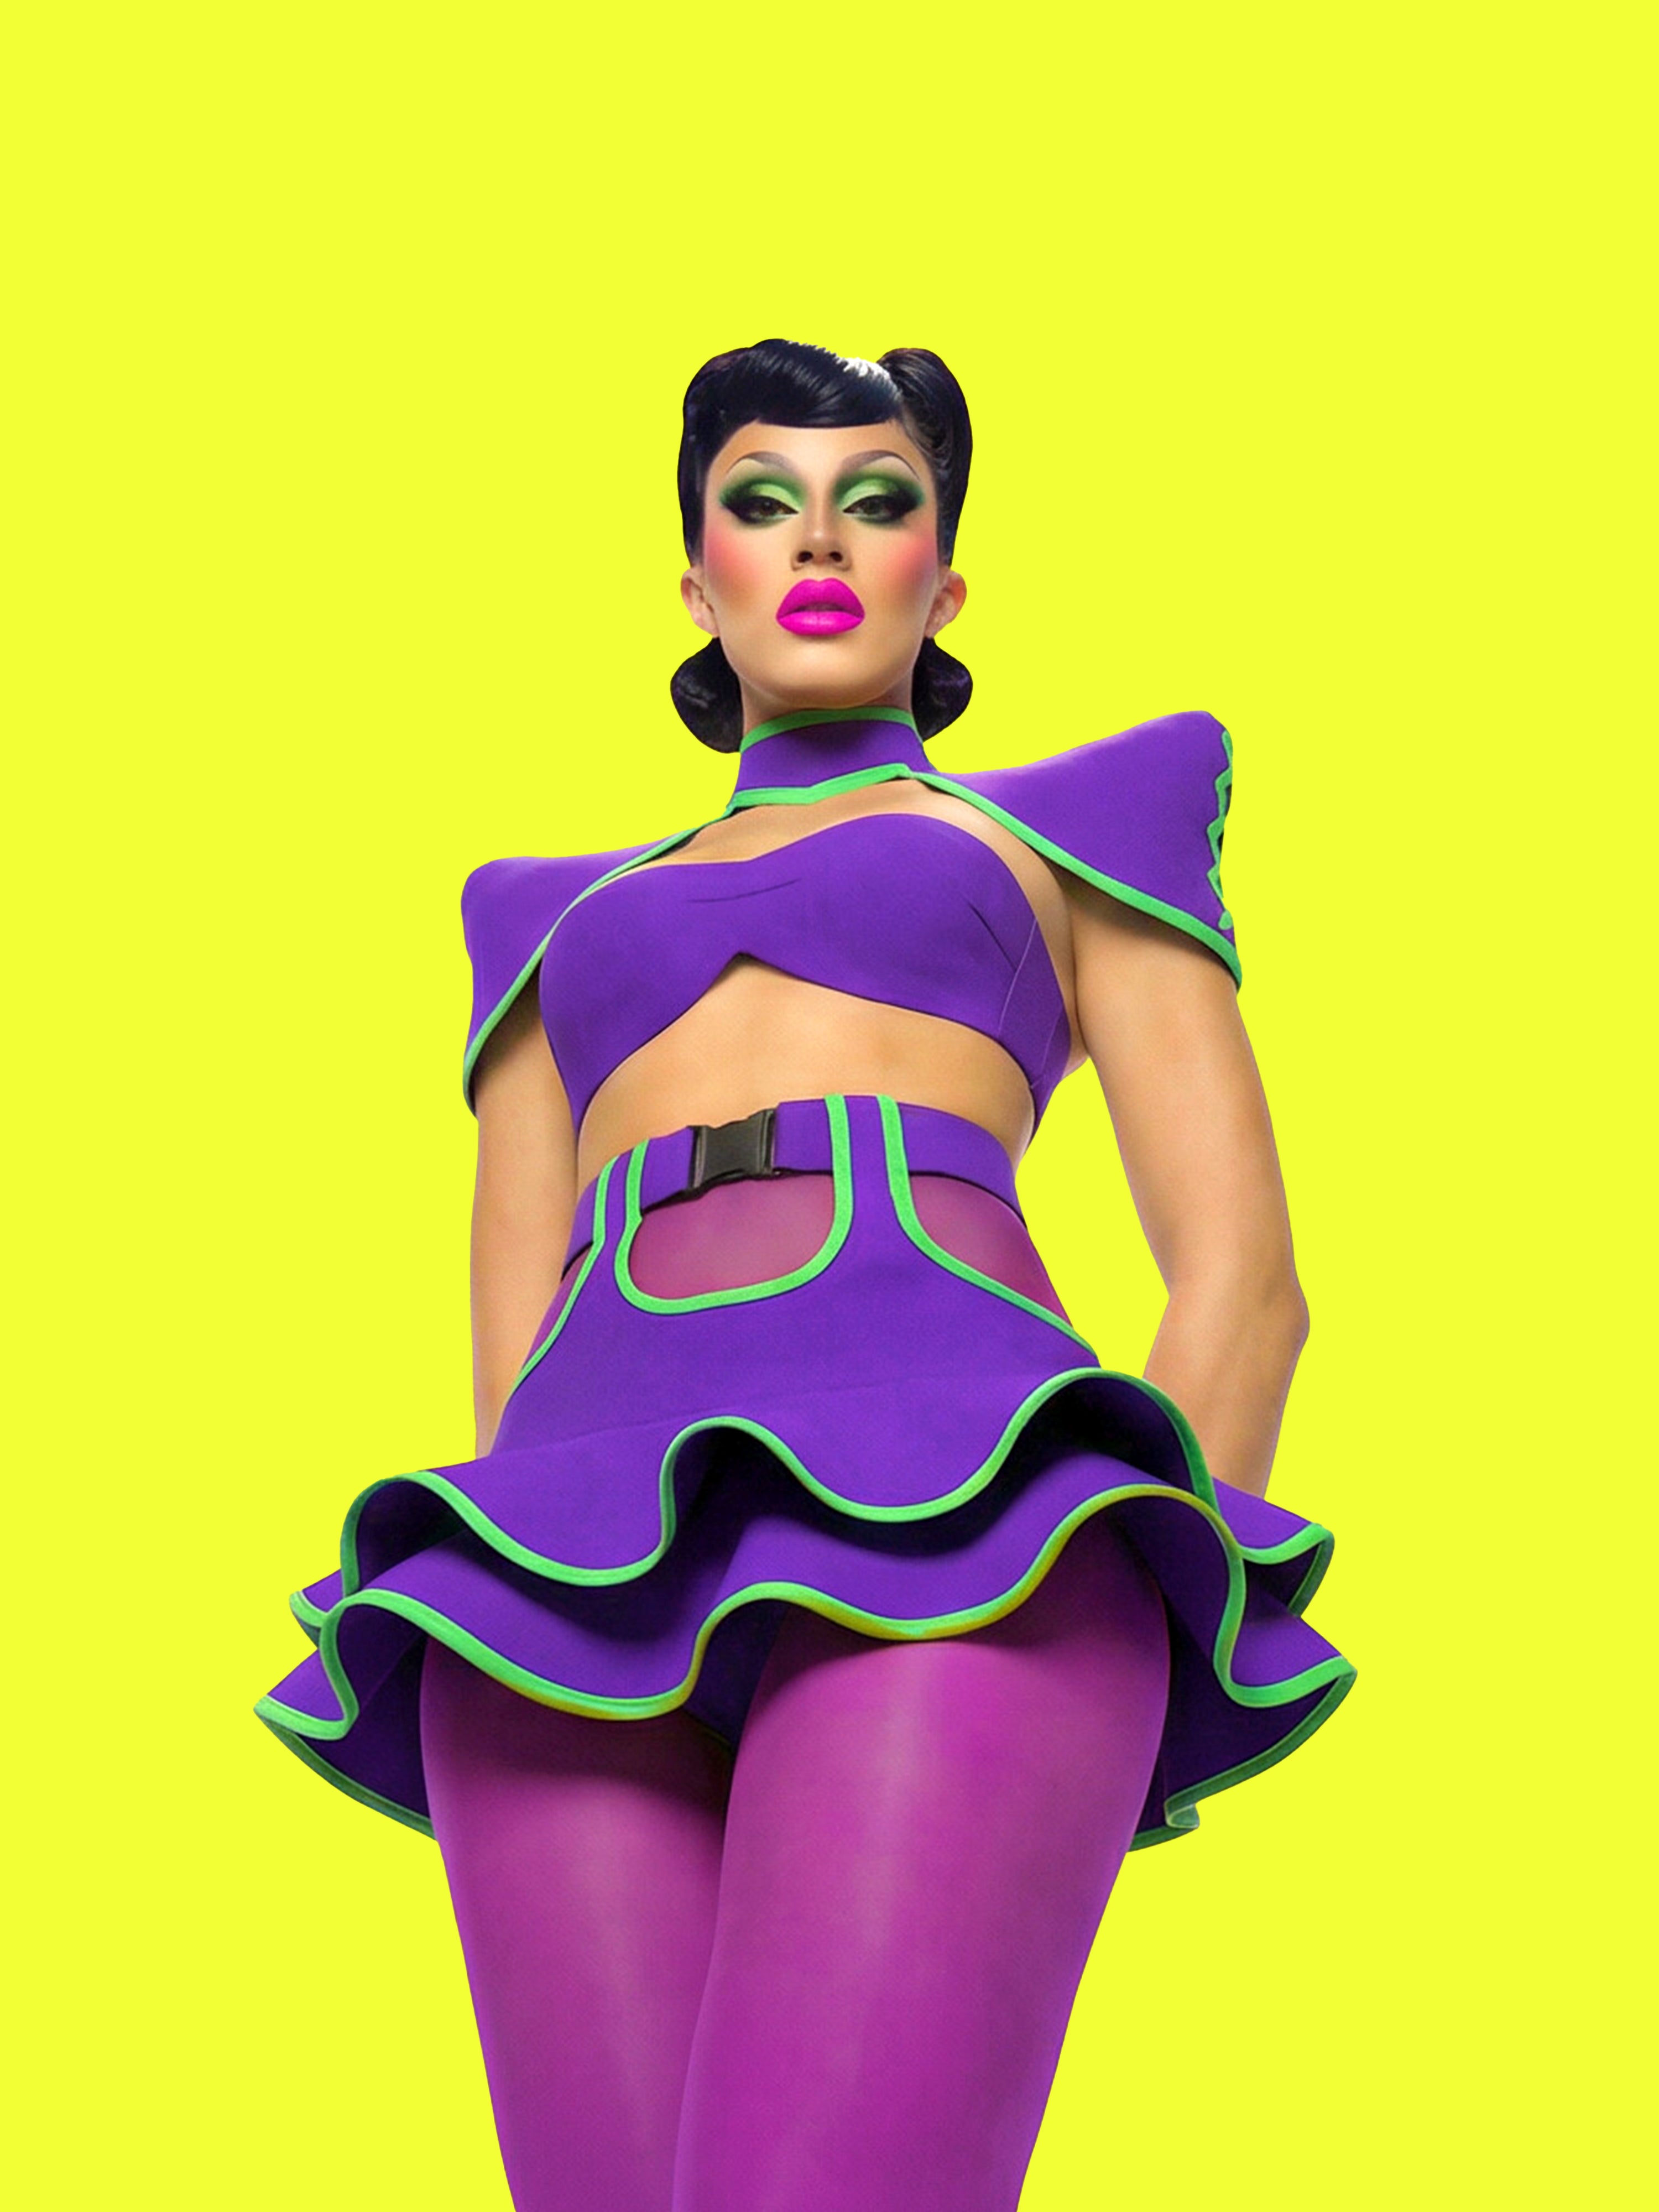
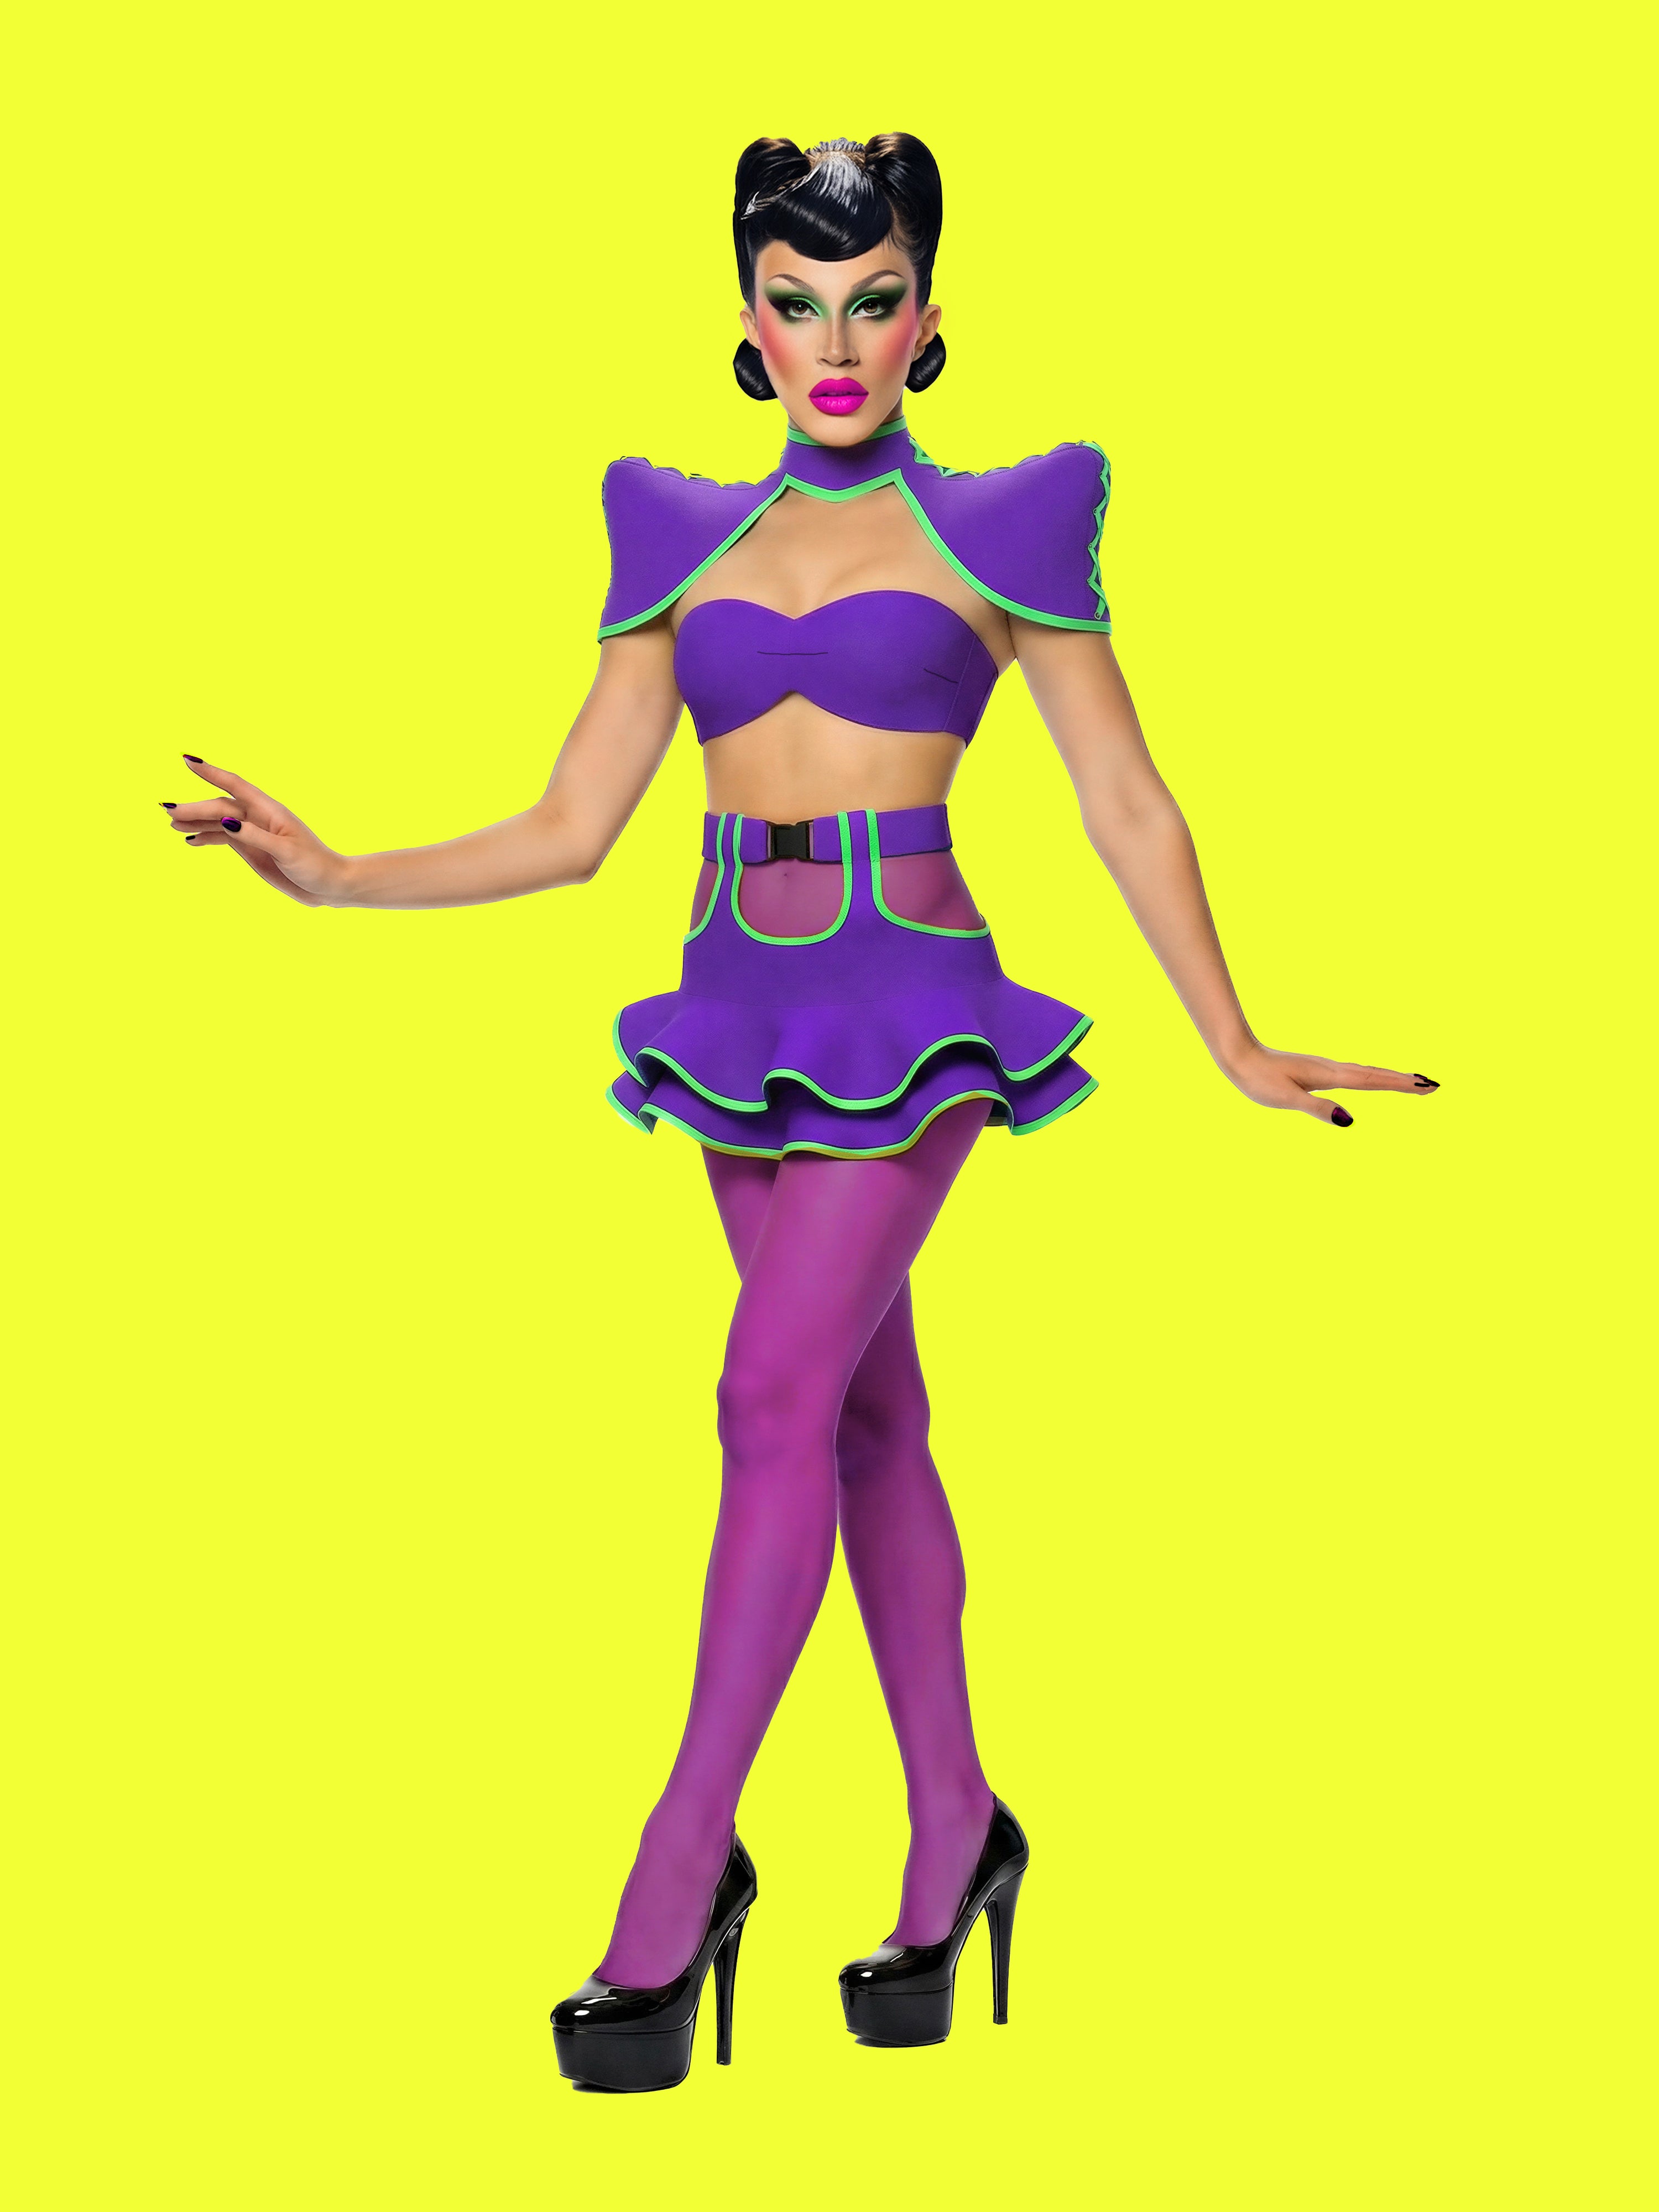
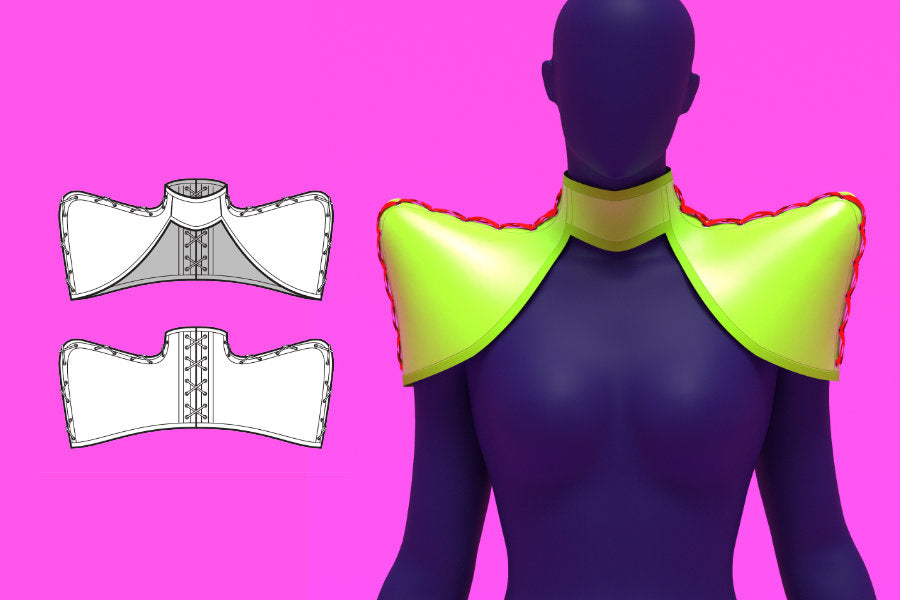
Aprende a coser nuestro arnés de hombros puntiagudos con espalda tipo corsé con cordones, diseñado para drag queens y cualquier persona a la que le gusten los accesorios atrevidos de inspiración fetichista. Este patrón te muestra cómo crear una pieza llamativa, estructurada y de cuello alto, con extensiones de hombros definidas, un busto con forma de corazón y cordones ajustables para un ajuste perfecto. Ideal para cuero, polipiel o vinilo, está diseñado para actuaciones, vestuario y looks vanguardistas para escenarios y sesiones de fotos.
Yardas de tela
Las medidas de tela a continuación corresponden a rollos de tela con un ancho de 54" o más.
| Tamaño | Tejido de concha | Tejido de forro | Recorte al bies |
|---|---|---|---|
| XS-S | 0.5 | 0.5 | 2 |
| ML | 0.5 | 0.5 | 2.5 |
| XL-2XL | 0.5 | 0.5 | 2.5 |
Telas y artículos de mercería
- Cuero sintético no elástico, vinilo, coutil, lona o tela vaquera para el tejido exterior.
- Algodón sin elasticidad, mezcla de poliéster, coutil o lona para el tejido del forro (el forro es opcional).
- Varillas de 6 mm a 8 mm. Varillas de plástico, varillas de rigilene, bridas o varillas de acero.
- Entretela termoadhesiva opcional según el grosor de la tela elegida.
- Cinta al bies de doble cara (3/8" o 1/2" cuando está doblada).
- Ojales o arandelas de 1/4".
- Cinta o cuerda.
Detalles de tallas
Este patrón de costura está diseñado en nuestras exclusivas tallas Drag Queen, desarrolladas a partir de medidas estándar masculinas y ajustadas para lograr proporciones ideales para el drag. Cada talla incluye la circunferencia de la base del cuello. Nuestras tallas drag mantienen las proporciones promedio masculinas, como el ancho del cuello y de los hombros, garantizando un ajuste cómodo y realista. Aunque están diseñados pensando en artistas drag, estos patrones son unisex y pueden ser usados por cualquier persona que cumpla con las medidas indicadas a continuación.
| Tamaño | Base del cuello | Pecho masculino | Cofre de arrastre (acolchado) |
|---|---|---|---|
| XS-S | 15-16 | 33-37 | 36-40 |
| ML | 16-18 | 39-45 | 42-48 |
| XL-2XL | 18-22 | 47-53 | 50-57 |
Instrucciones de costura
Color Guide

Fabric Pieces
After assembling your paper pattern, you should have the following pieces: Center Front Collar, Side Front, and Back.
Depending on your chosen fabric, decide how many layers you want to use. The preferred combination is a shell made from faux leather or vinyl, and a lining made from a non-stretch cotton or polyester fabric.
For number 1, cut one peice of fabric the shell and one for the lining. For both numbers 2 and 3, cut two mirrored peices for the shell, and two mirrored pieces for the lining.
Use interfacing only if your main fabric is lightweight or not faux leather. For best results, we recommend using faux leather or vinyl. You can use the same pattern peices without the seam allowance for interfacing.

Interfacing
If you are not using faux leather, the first step is to fuse interfacing to your fabric. Place the sticky or glue side of the interfacing against the wrong side of either the lining or shell fabric, depending on your preference. Press to fuse before beginning assembly.
If you’re experienced with corset construction, feel free to use your preferred type of interfacing or stabilizing method. You can adjust the technique based on your own experience and desired structure.

Center Front Assembly
Gather the number 1 and number 2 shell pieces and place it right sides together, aligning the notches. Sew a a straight stitch with a half inch seam allowance along the letter A edges.

And repeat for both sides.

Front Shell and Lining
Once 1 and 2 are sewn for the shell, repeat for sewing the lining, the same way.

Then stack the shell and lining, right sides facing each ther, and sew along the "pointed" side and shoulder edges up to the neckline.

Once sewn, you can then flip the front shell and lining right side out. You can press and edge stitch the edges for sharp edges.

Back Shell and Lining
For the back, stack the number 3 shell and lining pieces right sides facing each other. Then sew along the center back edge and pointed shoulder edge, up to the neckline. Then flip the back shell and lining right side out.

Repeat for both back sides.

Eyelet Tunnels and Boning
Create eyelet tunnels for the shoulder sides of the front and back as well as the center back edges. Start by stitching one tunnel about 0.4 inches (10 mm) away from the edge. Next to that, mark a middle column about 0.5 inches wide for your eyelets or grommets. For the center back edge you will need one other tunnel 0.4 inches (10 mm) wide. The center back eyelets should have two tunnels running alongside the eyelet tunnel. Repeat for both center back sides. For the side shoulder eyelets you only need one tunnel but you can sew 3 if you wish.

For boning, its optional to add bones the pointed shoulder sides, however its best to add them to the center back tunnels.
If adding boning, measure each boning channel to find its length. Subtract one inch from the total length to leave a half inch clearance at both the top and bottom edges for bias tape binding. You can use plastic boning, rigilene boning, zip ties, or steel boning if preferred. Note that steel boning usually needs separate boning channels rather than using seam allowances.
After cutting your boning pieces, smooth the edges by melting them slightly or wrapping them with masking tape to prevent punctures. Insert each bone into its corresponding tunnel.

Bias Tape Binding
Add bias tape to the neck edge, and bottom edge of the front assembly. Then seperartly for the two back pieces. If you wish, you use the bais tape to join the front and back together at the neck and even the sides continuously.
You can use pre-made double-fold bias tape, about 0.4 to 0.5 inches wide when folded, or make your own from any non-stretch or satin fabric. To attach it, unfold the bias tape and place it along the bottom edge of the neck corset with right sides facing. Leave about half an inch to one inch of extra tape at the center back end so you can fold it in later.
Sew along the bottom edge using a seam allowance that matches your bias tape width. After sewing, fold the bias tape over to the inside of the corset, tucking in the raw ends at the center back. Topstitch or edge stitch along the inner edge to secure all layers. Repeat the same process for the top edge and armholes of the corset.

Watch this video on how to sew bias binding on sharp angels https://www.youtube.com/shorts/oIGWphB9pCs

Eyelets and Lacing
Use your paper pattern as a guide to mark the placement of your eyelets or grommets along sides and center back edges. You can add more if you prefer, as long as they’re in even pairs for proper lacing.
Once marked, use a hole punch or awl to create the holes and install your eyelets or grommets within the center tunnel created earlier. Make sure they are aligned evenly on both sides.

Finish by lacing up the sides and back of the corset using your preferred material such as ribbon, satin cord, or shoelaces. There are many ways to lace a corset, so explore different methods online or on YouTube to find the look and fit you like best. Customize it however you prefer.

Additional Tips
There are many ways to make a corset, so feel free to adjust the process to suit your design. You can skip the lining if you prefer, or sew separate boning channels using cotton ribbon instead of using the pressed seam allowances, which works better for steel bones. Experiment with different fabrics, lacing placements, or closure types.
Obtén el patrón