Cómo coser una minifalda con volantes ondulados
Saltar a instruccionesDescripción general
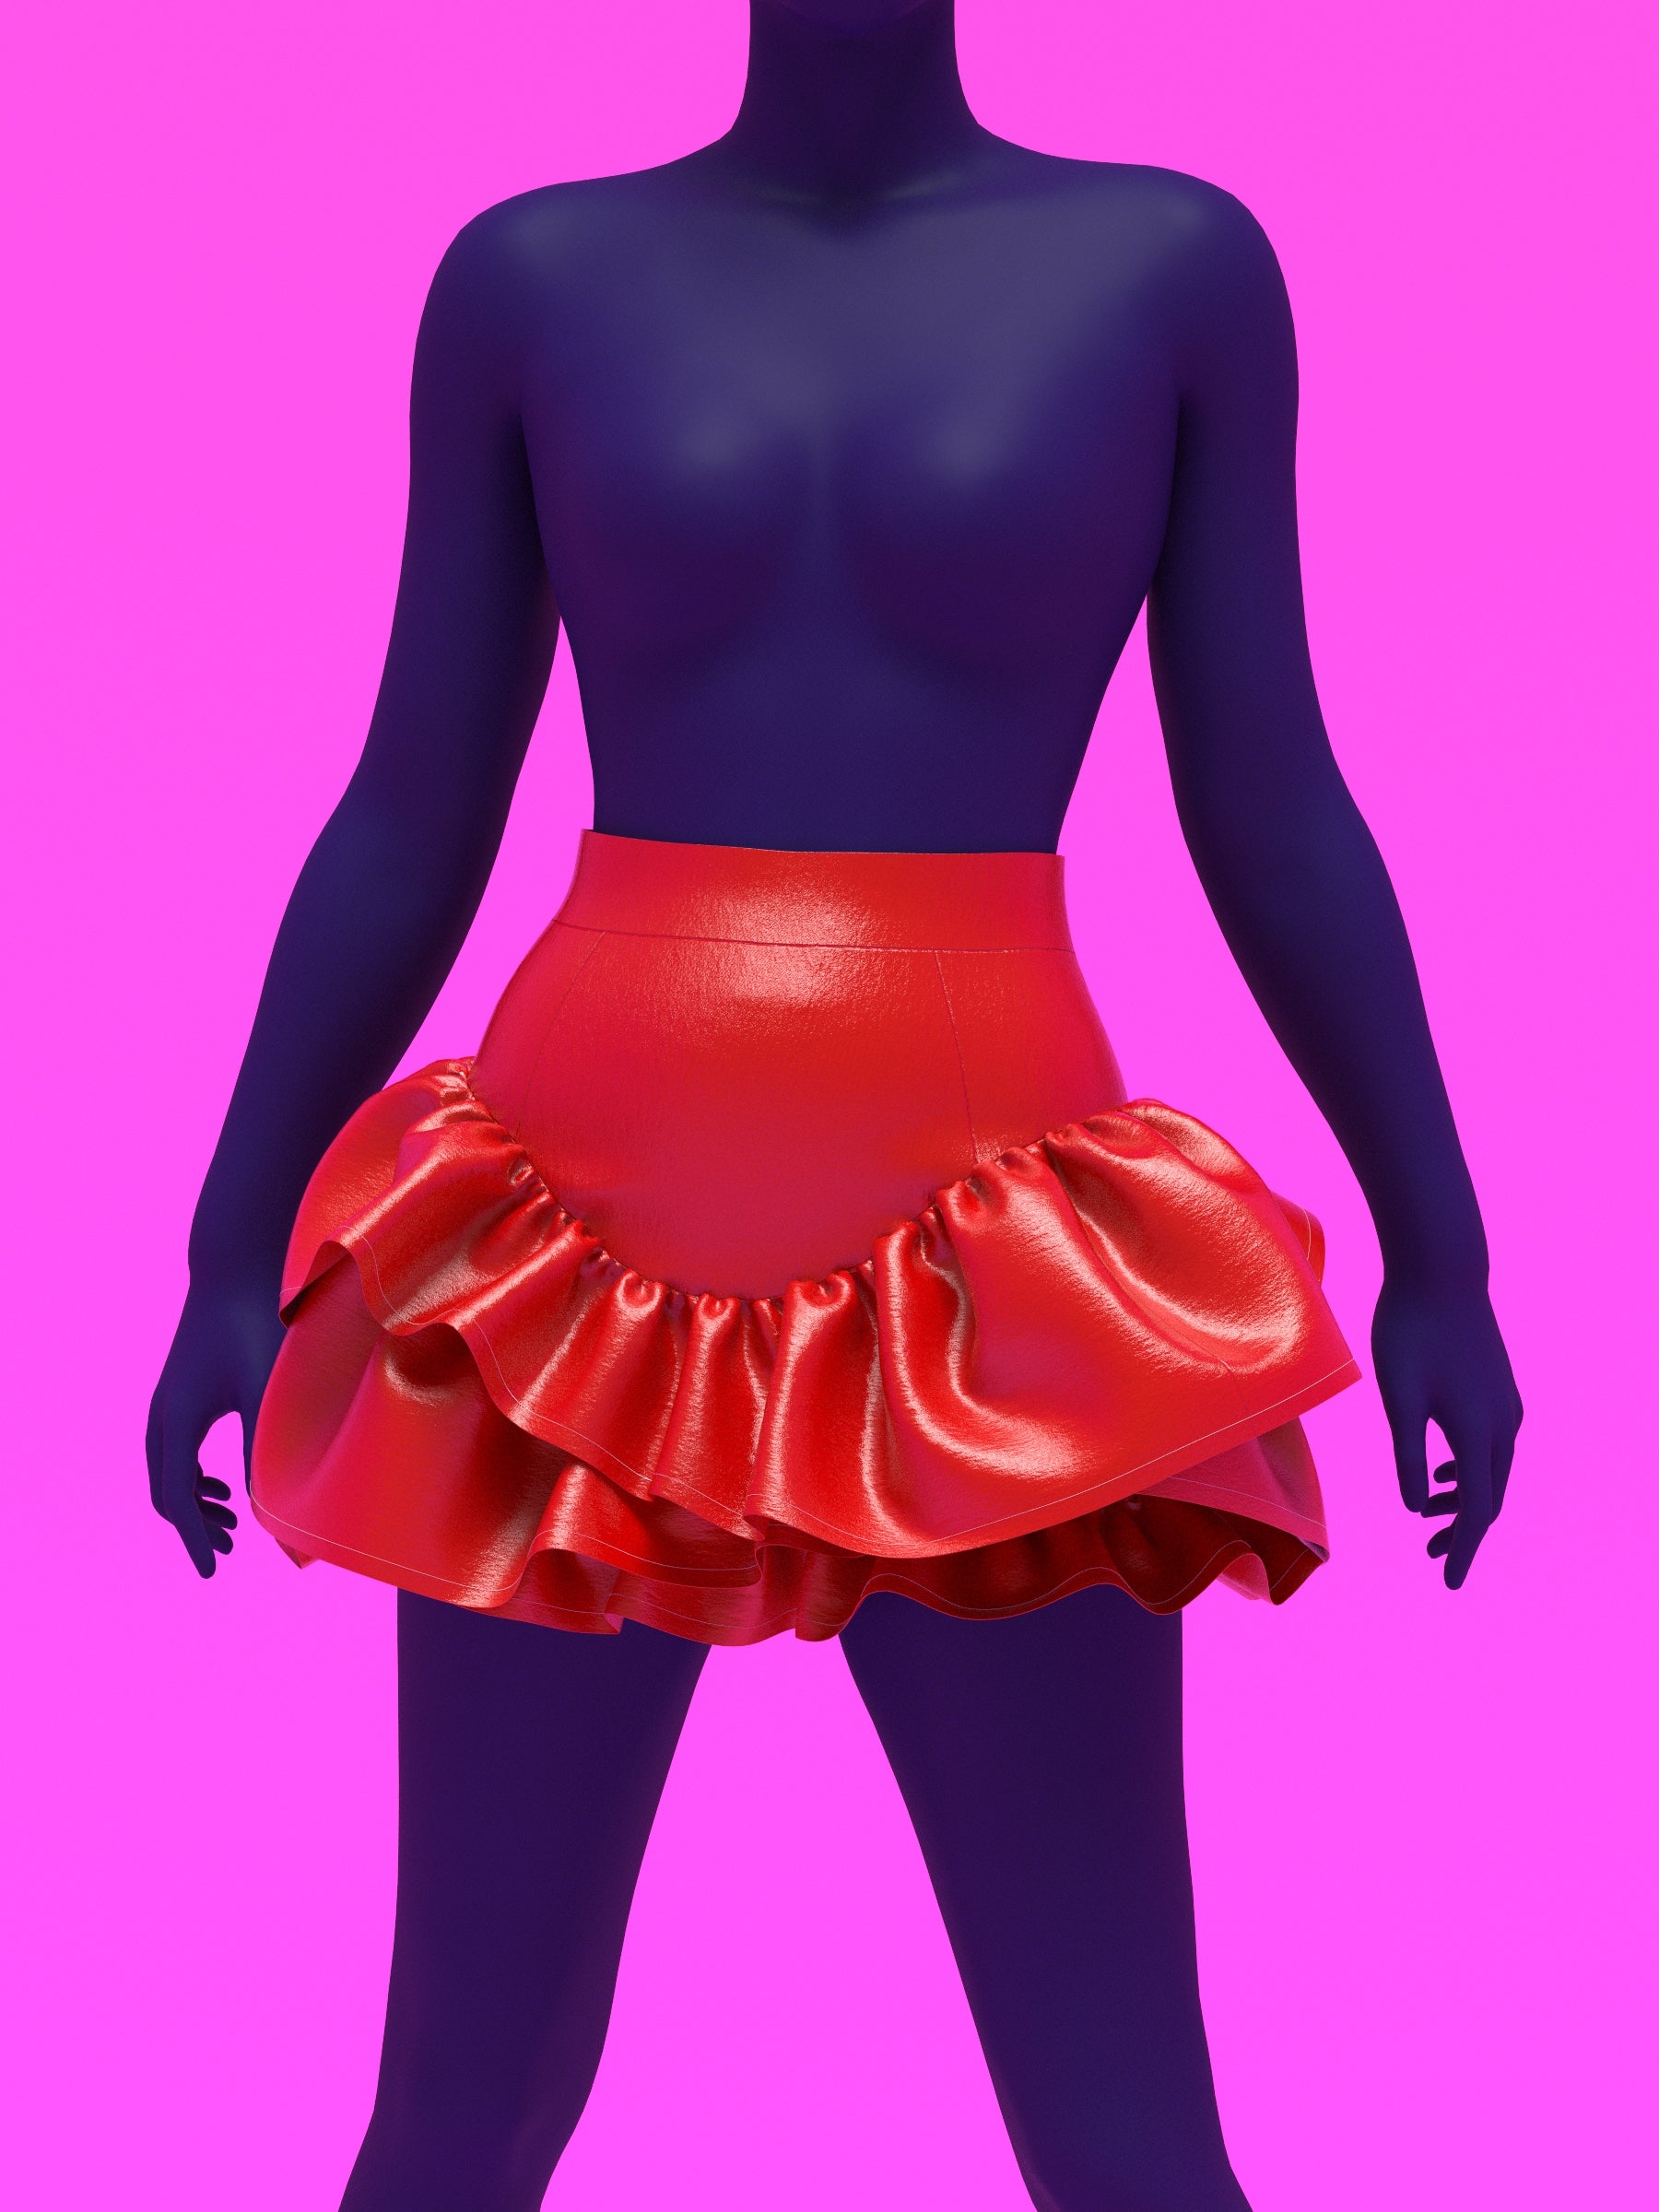
Aprende a coser una minifalda de cintura alta con volantes ondulados con este sencillo tutorial de costura. Este patrón te permite elegir entre una, dos o tres filas de volantes, ya sea simétricos o asimétricos, lo que lo hace perfecto para crear un volumen exagerado en la cadera y una silueta de minifalda impactante. Diseñado para principiantes, es ideal para drag queens, artistas y cualquiera que busque una falda atrevida y con vuelo, con un gran impacto visual.
Yardas de tela
La tabla de telas a continuación muestra el metraje sugerido para la falda y los volantes. Todas las estimaciones de metraje se basan en un ancho de tela de 54 a 58 pulgadas.
| Tamaño | Falda y volantes |
|---|---|
| XS | 2 años |
| S | 2 años |
| METRO | 2 años |
| L | 2 años |
| SG | 2,5 años |
| 2XL | 2,5 años |
Telas y artículos de mercería
Tela
Adecuado para telas ligeras a medianas sin elasticidad, como mezclilla, satén, algodón, rayón o terciopelo.
Nociones
Cremallera invisible (10 pulgadas/25 cm de largo para todos los tamaños).
Detalles de tallas
Este patrón está diseñado en nuestras exclusivas tallas drag queen, desde la XS hasta la 2XL, para cuerpos con relleno y hombros, brazos y piernas más anchos. Aunque está diseñado pensando en drag, puede ser usado por personas de cualquier género que cumplan con las medidas que se indican a continuación.
| Tamaño | Pecho de hombre | Arrastre el pecho (acolchado) | Cintura de hombre | Cintura de arrastre (con corsé) | Cadera masculina | Arrastre de cadera (acolchado) | Altura |
|---|---|---|---|---|---|---|---|
| XS | 33-35 | 36-38 | 27,5-29,5 | 24.5-26.5 | 32,5-34,5 | 38-40 | 70 |
| S | 35-37 | 38-40 | 29,5-31,5 | 26,5-28,5 | 34,5-36,5 | 40-42 | 70 |
| METRO | 39-41 | 42-44 | 33,5-35,5 | 30,5-32,5 | 38,5-40,5 | 44-46 | 70 |
| L | 43-45 | 46-48 | 37,5-39,5 | 34,5-36,5 | 42-44 | 47,5-49,5 | 70 |
| SG | 47-49 | 50-52 | 42,5-44,5 | 39,5-41,5 | 45-47 | 50,5-52,5 | 70 |
| 2XL | 51-53 | 55-57 | 47,5-49,5 | 44,5-46,5 | 48-50 | 54.5-56.5 | 70 |
Instrucciones de costura
Color Guide

Fabric Pieces
This is a non-stretch mini skirt with wave ruffles. You may choose to construct the skirt with one, two, or three rows of ruffles, depending on the volume and length you want. A lining is not required for this garment, but one may be added if desired.
After assembling your paper pattern pieces, use them to cut out your fabric. Once all pieces are cut, you should have the following components: one front waistband, two back waistbands, one front center yoke, two mirrored front side yokes, one front middle piece, one front bottom piece, two mirrored back side yokes, two mirrored back center yokes, one back middle cut on the fold, one back bottom cut on the fold, four top and middle ruffles cut on the fold, and two bottom ruffles cut on the fold.

Sewing the Yokes
Take the back center yoke and back side yoke pieces and place them right sides together. Sew them along the side seams only, using a straight stitch with a 1/2 inch seam allowance, then serge or overlock the raw edges. Repeat this process with the front center yoke and front side yoke pieces.

Next, place the front yoke and back yoke right sides together and sew the side seams in the same manner, then finish the raw edges. The center back seam should remain unsewn.

Sewing the Waistband
Take the front waistband and the two back waistband pieces and place them right sides together. Sew the side seams and press the seam allowances open. Serge one long edge of the waistband.

Place the waistband and yoke right sides together, aligning the raw edge of the waistband with the top edge of the yoke. Sew the waistband to the yoke.

Ten press the seam allowance up toward the waistband.

Attaching the Zipper
Serge the center back edges of both the yoke and the waistband.

Install a 10 inch invisible zipper along the center back opening, starting at the fold line of the waistband and sewing downward.

Once the zipper is in place, fold the waistband lengthwise with right sides together. Sew the top edge of the waistband to the zipper tape on one side, then repeat on the opposite side. Turn the waistband right side out and press carefully.

After turning the waistband right side out, press it flat, making sure all seam allowances are folded neatly to the inside. Topstitch along the bottom edge of the waistband, sewing through all layers to secure the folded waistband in place.

Assembling the Ruffles
Take two top or middle ruffle pieces and place them right sides together. Sew the side seams using a straight stitch, then serge the raw edges. Hem the ruffle using your preferred method, such as a double fold hem or add bias tape, and stitch along the bottom edge.

Repeat this process with the remaining top and middle ruffle pieces, then repeat again for the two bottom ruffle pieces.

Attaching the Ruffles
Take the back middle and front middle pieces and place them right sides together. Sew the side seams using a straight stitch, then serge the raw edges. Repeat this same process with the back bottom and front bottom pieces.

Take the bottom ruffle and sew a loose hand basting stitch along the top raw edge, leaving long thread tails at each end. Gently pull the thread tails to gather the ruffle until it matches the length of the bottom front and back pieces.

Starting from the bottom, place the gathered bottom ruffle upside down along the bottom edge of the skirt with right sides facing each other. Sew along the raw edge to attach the ruffle, then turn the ruffle downward and press.

Gather the top and middle ruffles in the same way. Hand sew a loose basting stitch along the raw edges, leaving long thread tails at each end. Gently pull the thread tails to gather the ruffles until they match the length of the skirt’s middle piece.

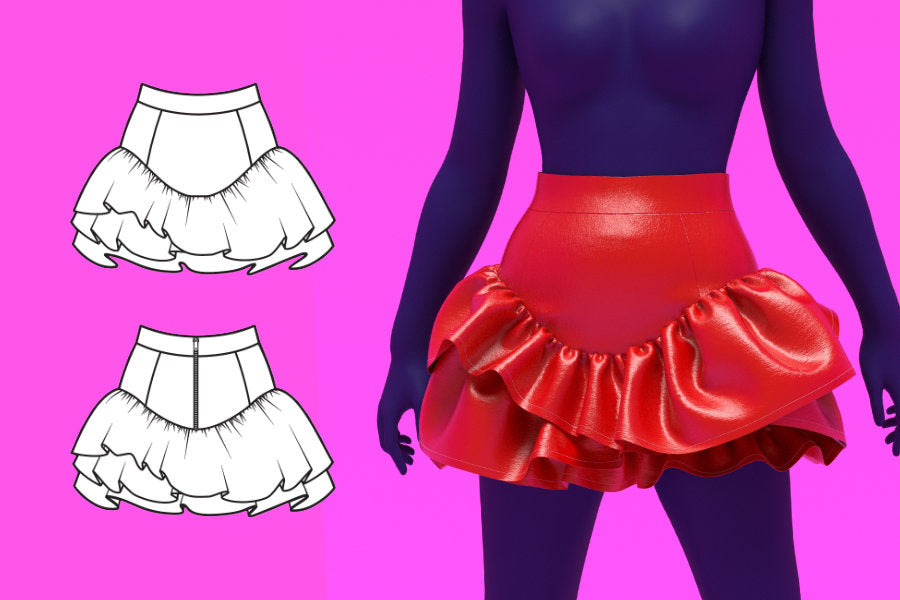
When attaching the top and middle ruffles to the skirt, you have two layout options. You may choose an asymmetrical arrangement, as shown in the product photos, for an off-center, overlapping look, or you may attach the ruffles symmetrically for a more balanced finish.
Ruffle Positions
For an asymmetrical layout, attach the middle ruffle by placing the skirt’s bottom and middle pieces right sides together, aligning the side seams and center notches. Insert the middle ruffle between them, matching the ruffle’s center notch to the notch labeled “Asymmetrical ruffle placement.” In this layout, the ruffle side seams will not align with the skirt side seams.

Next, attach the top ruffle by placing the skirt’s middle piece and the yoke right sides together, again aligning the side seams and center notches. Insert the top ruffle between these layers, matching the ruffle’s center notch to the “Asymmetrical ruffle placement” notch. The ruffle side seams will also be offset in this step.

For a symmetrical layout, attach the middle ruffle by placing the skirt’s bottom and middle pieces right sides together, aligning the side seams and center notches. Sandwich the middle ruffle between them, matching the ruffle’s center notch to the skirt’s center notches, then sew. Once sewn, remove the basting stitches.

Next, attach the top ruffle by placing the skirt’s middle piece and the yoke right sides together, aligning the side seams and center notches. Sandwich the top ruffle between these layers, matching the ruffle’s center notch to the skirt’s center notches, then sew. Once sewn, remove the basting stitches.

Finish any exposed or raw edges around the ruffles using a serger, and your garment is now finished.
Obtén el patrón