Cómo coser una capa gótica con capucha para disfraz de Halloween
Saltar a instruccionesDescripción general
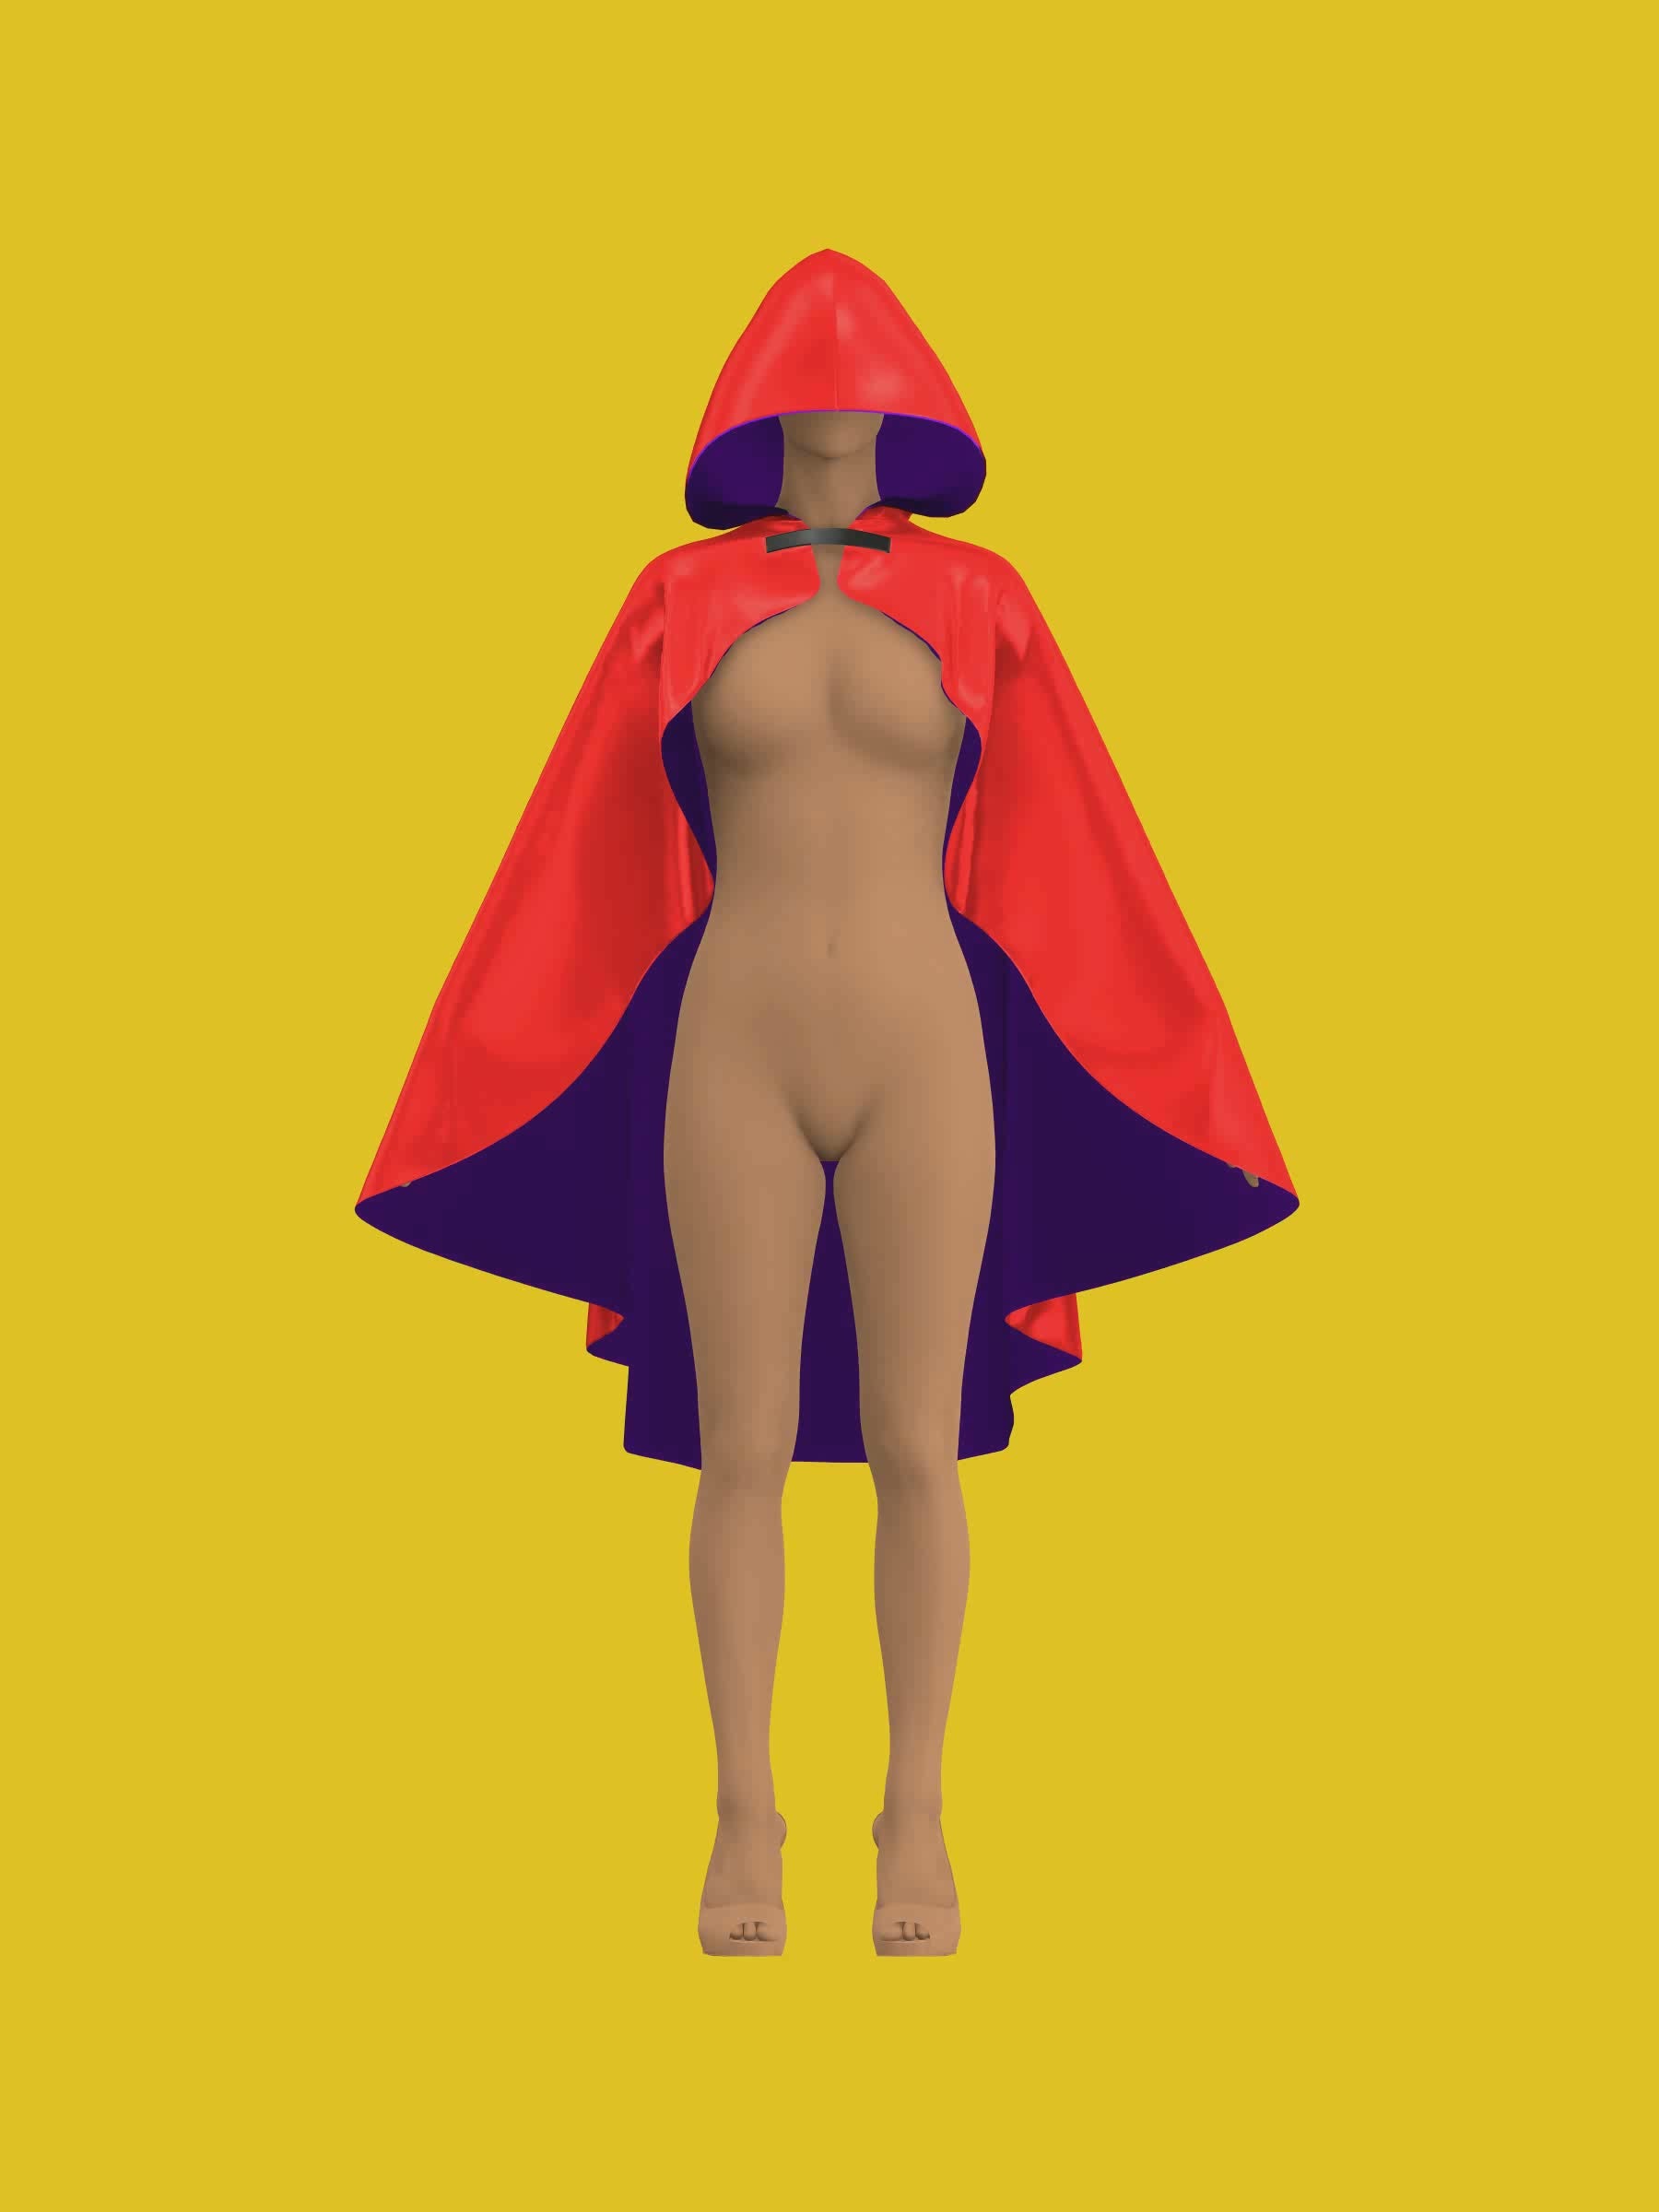
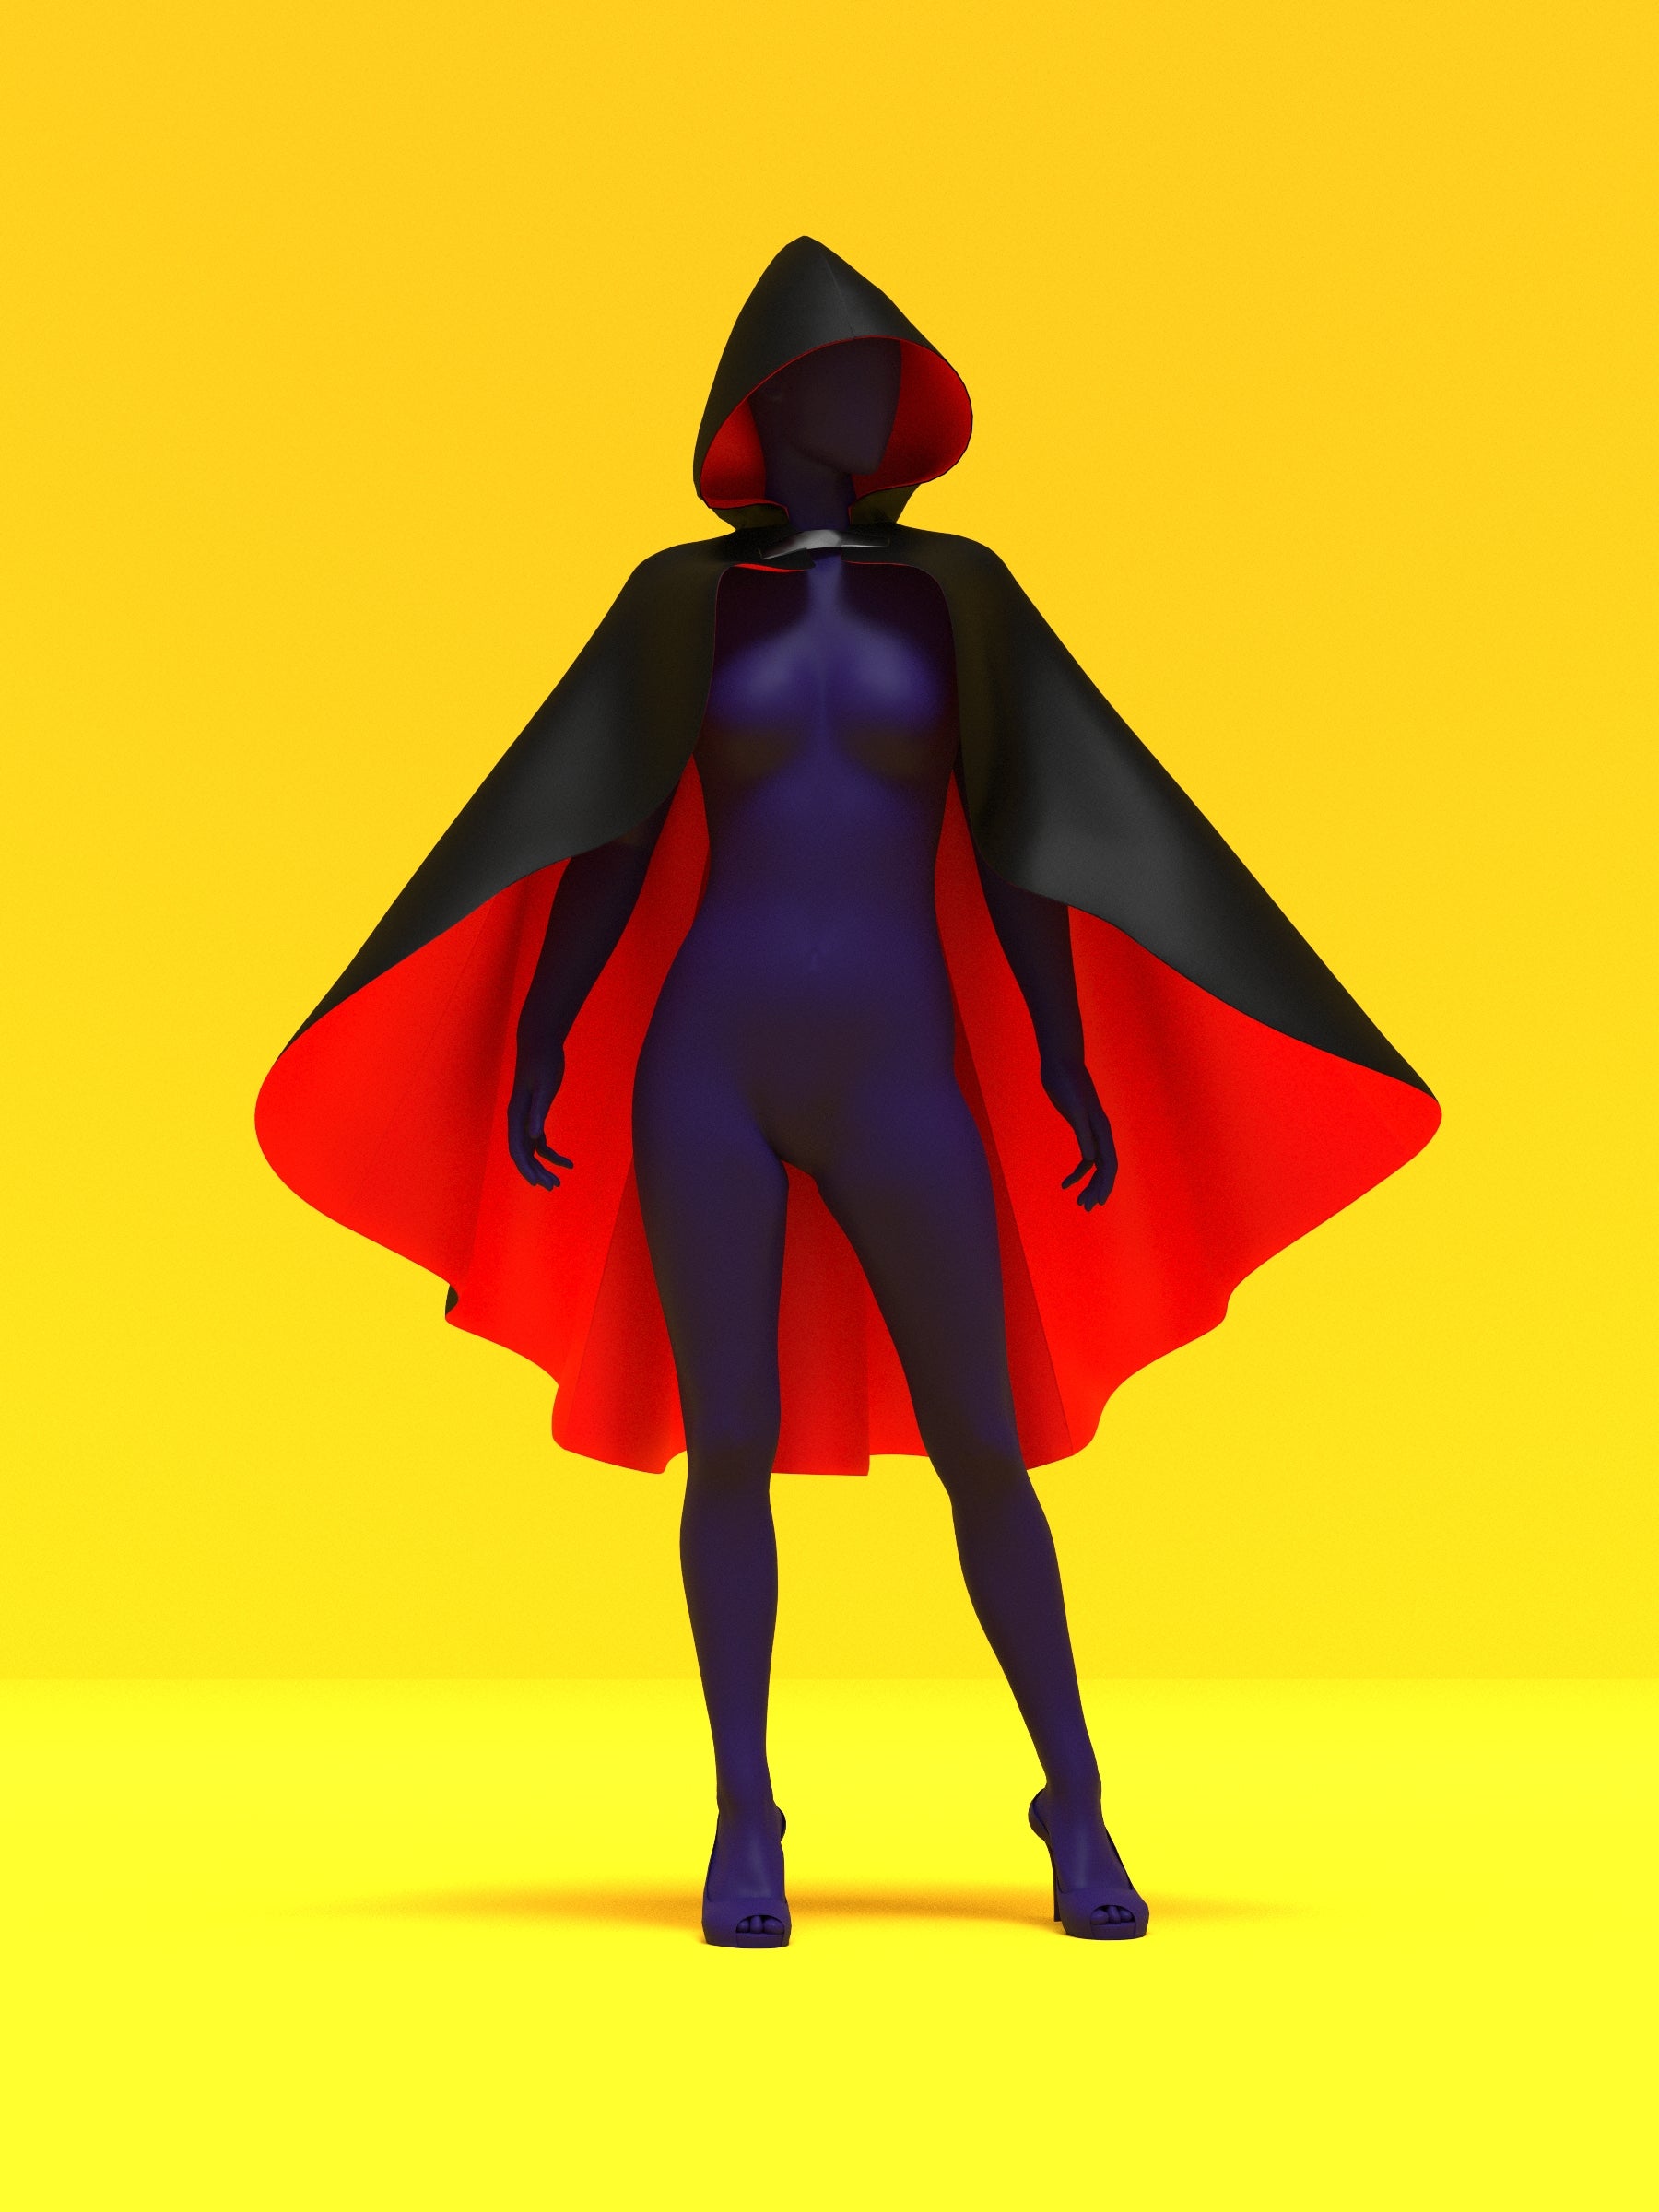
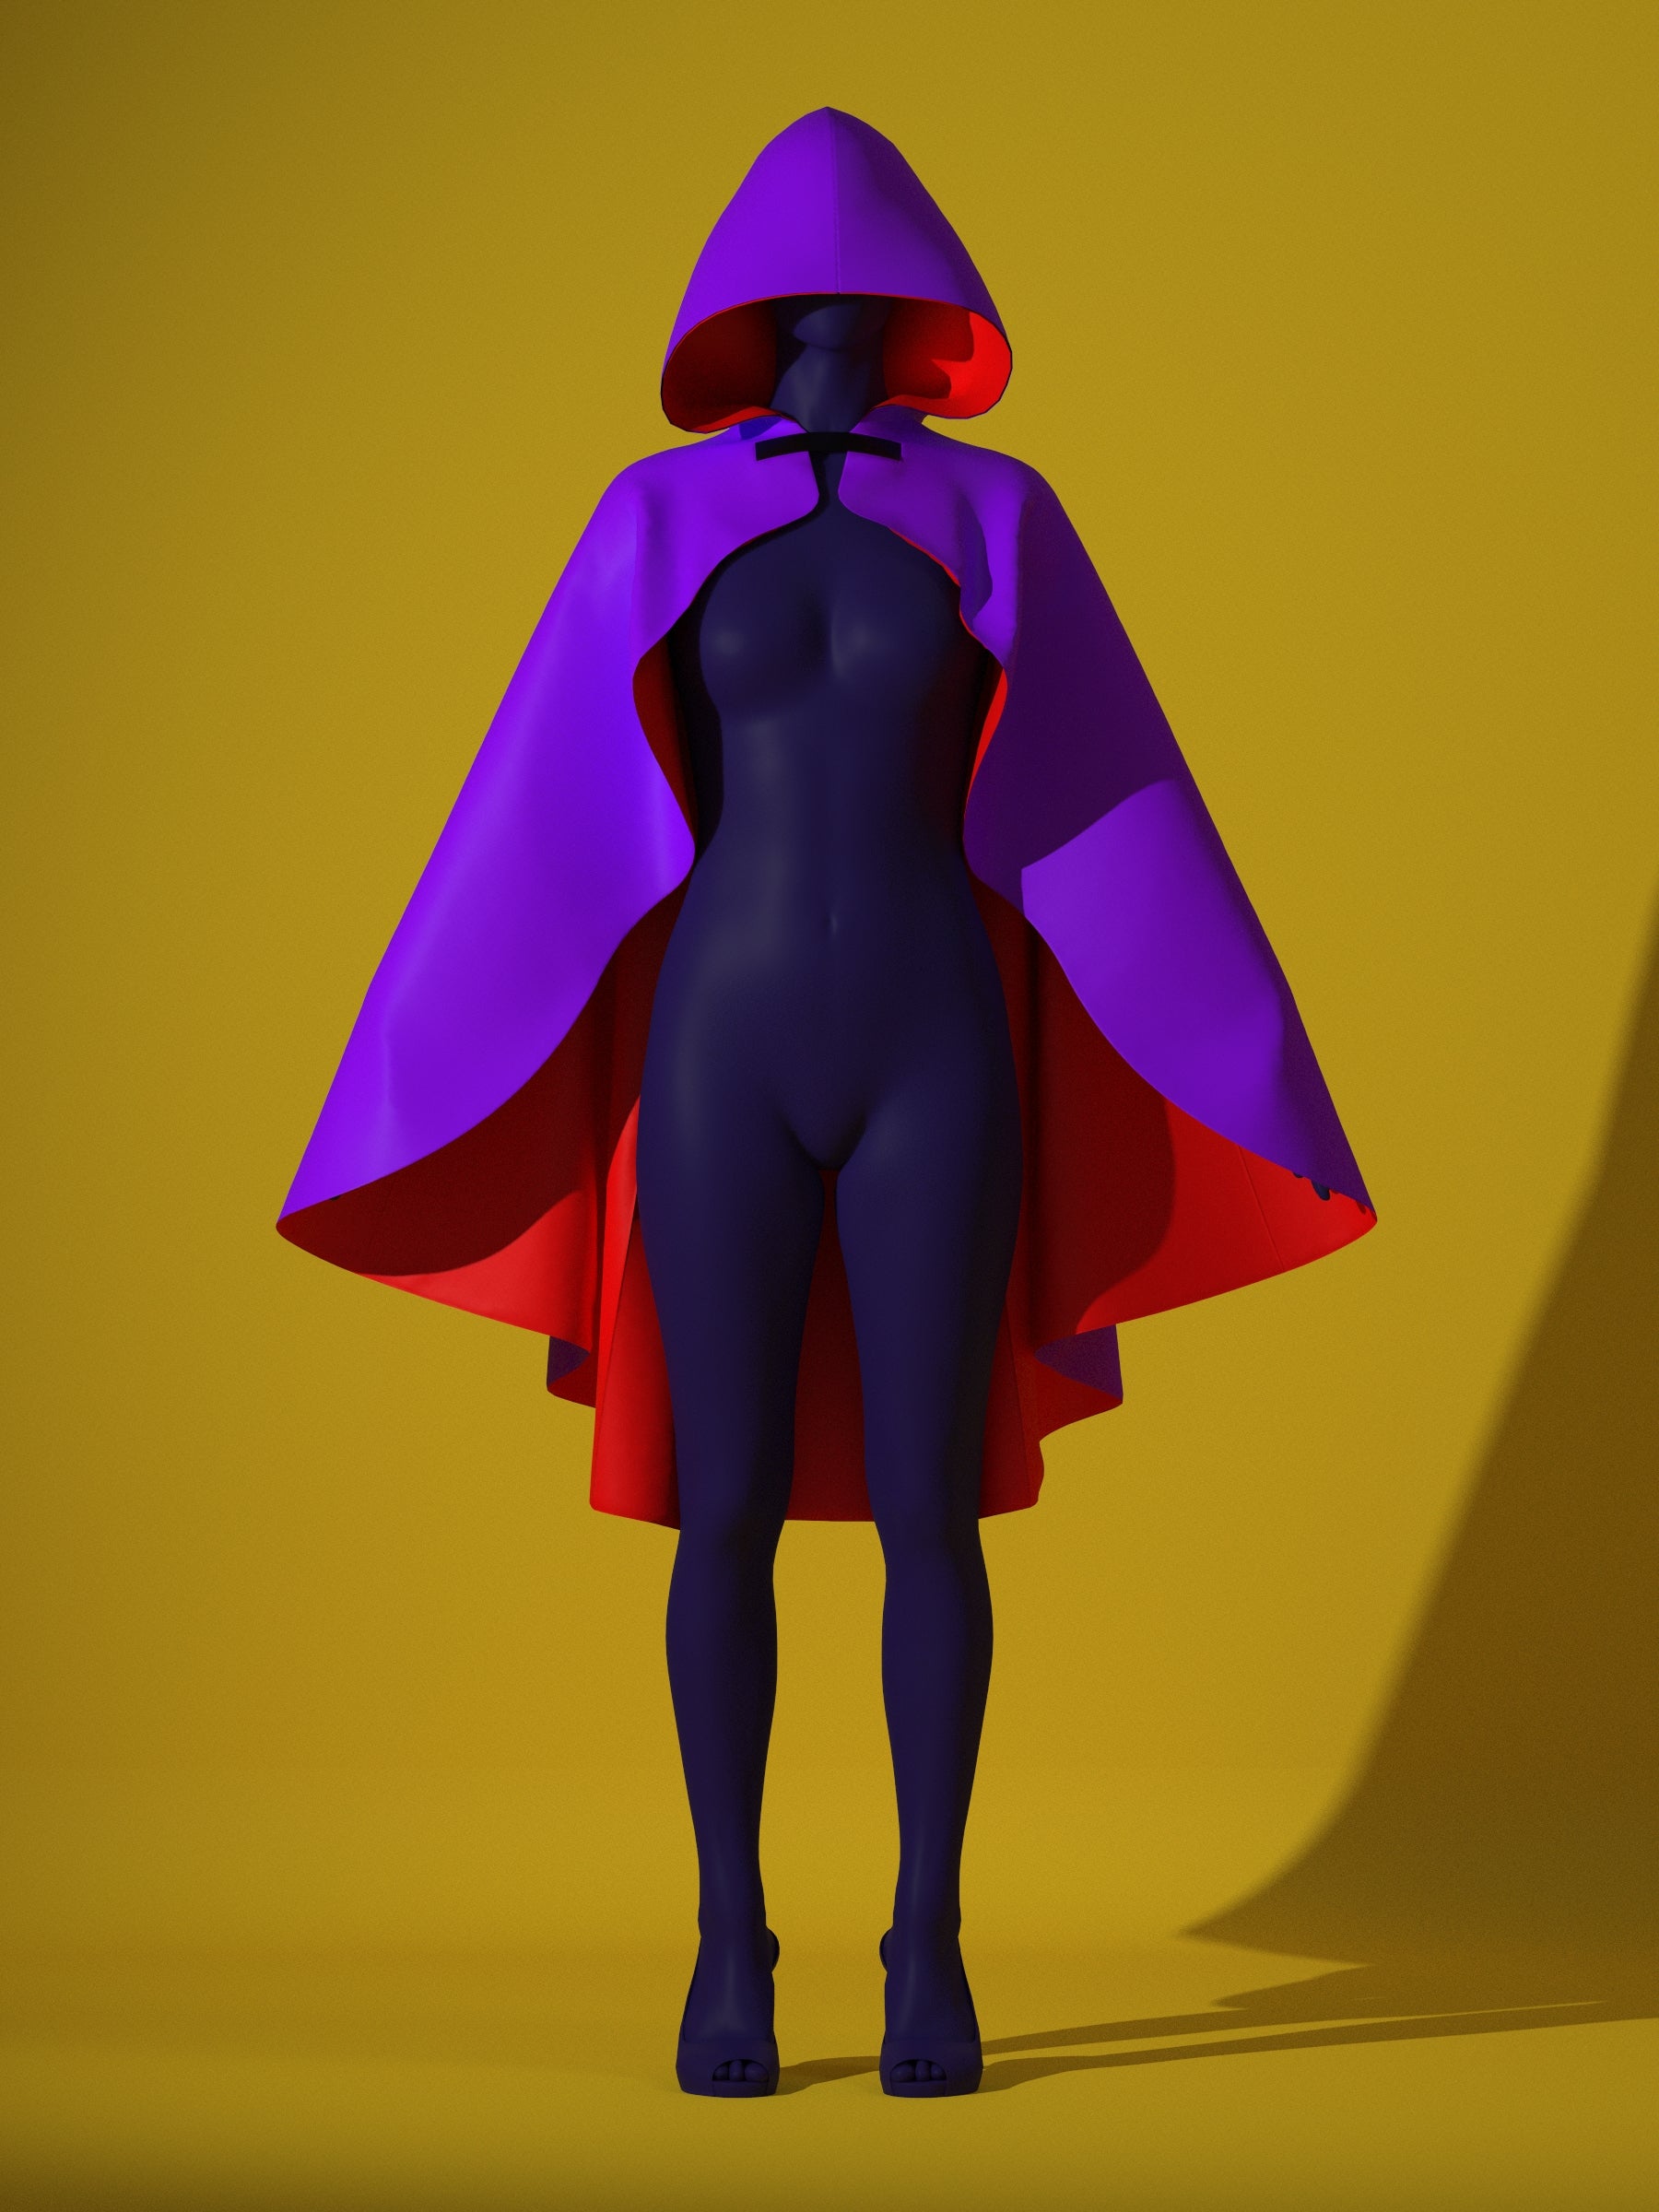
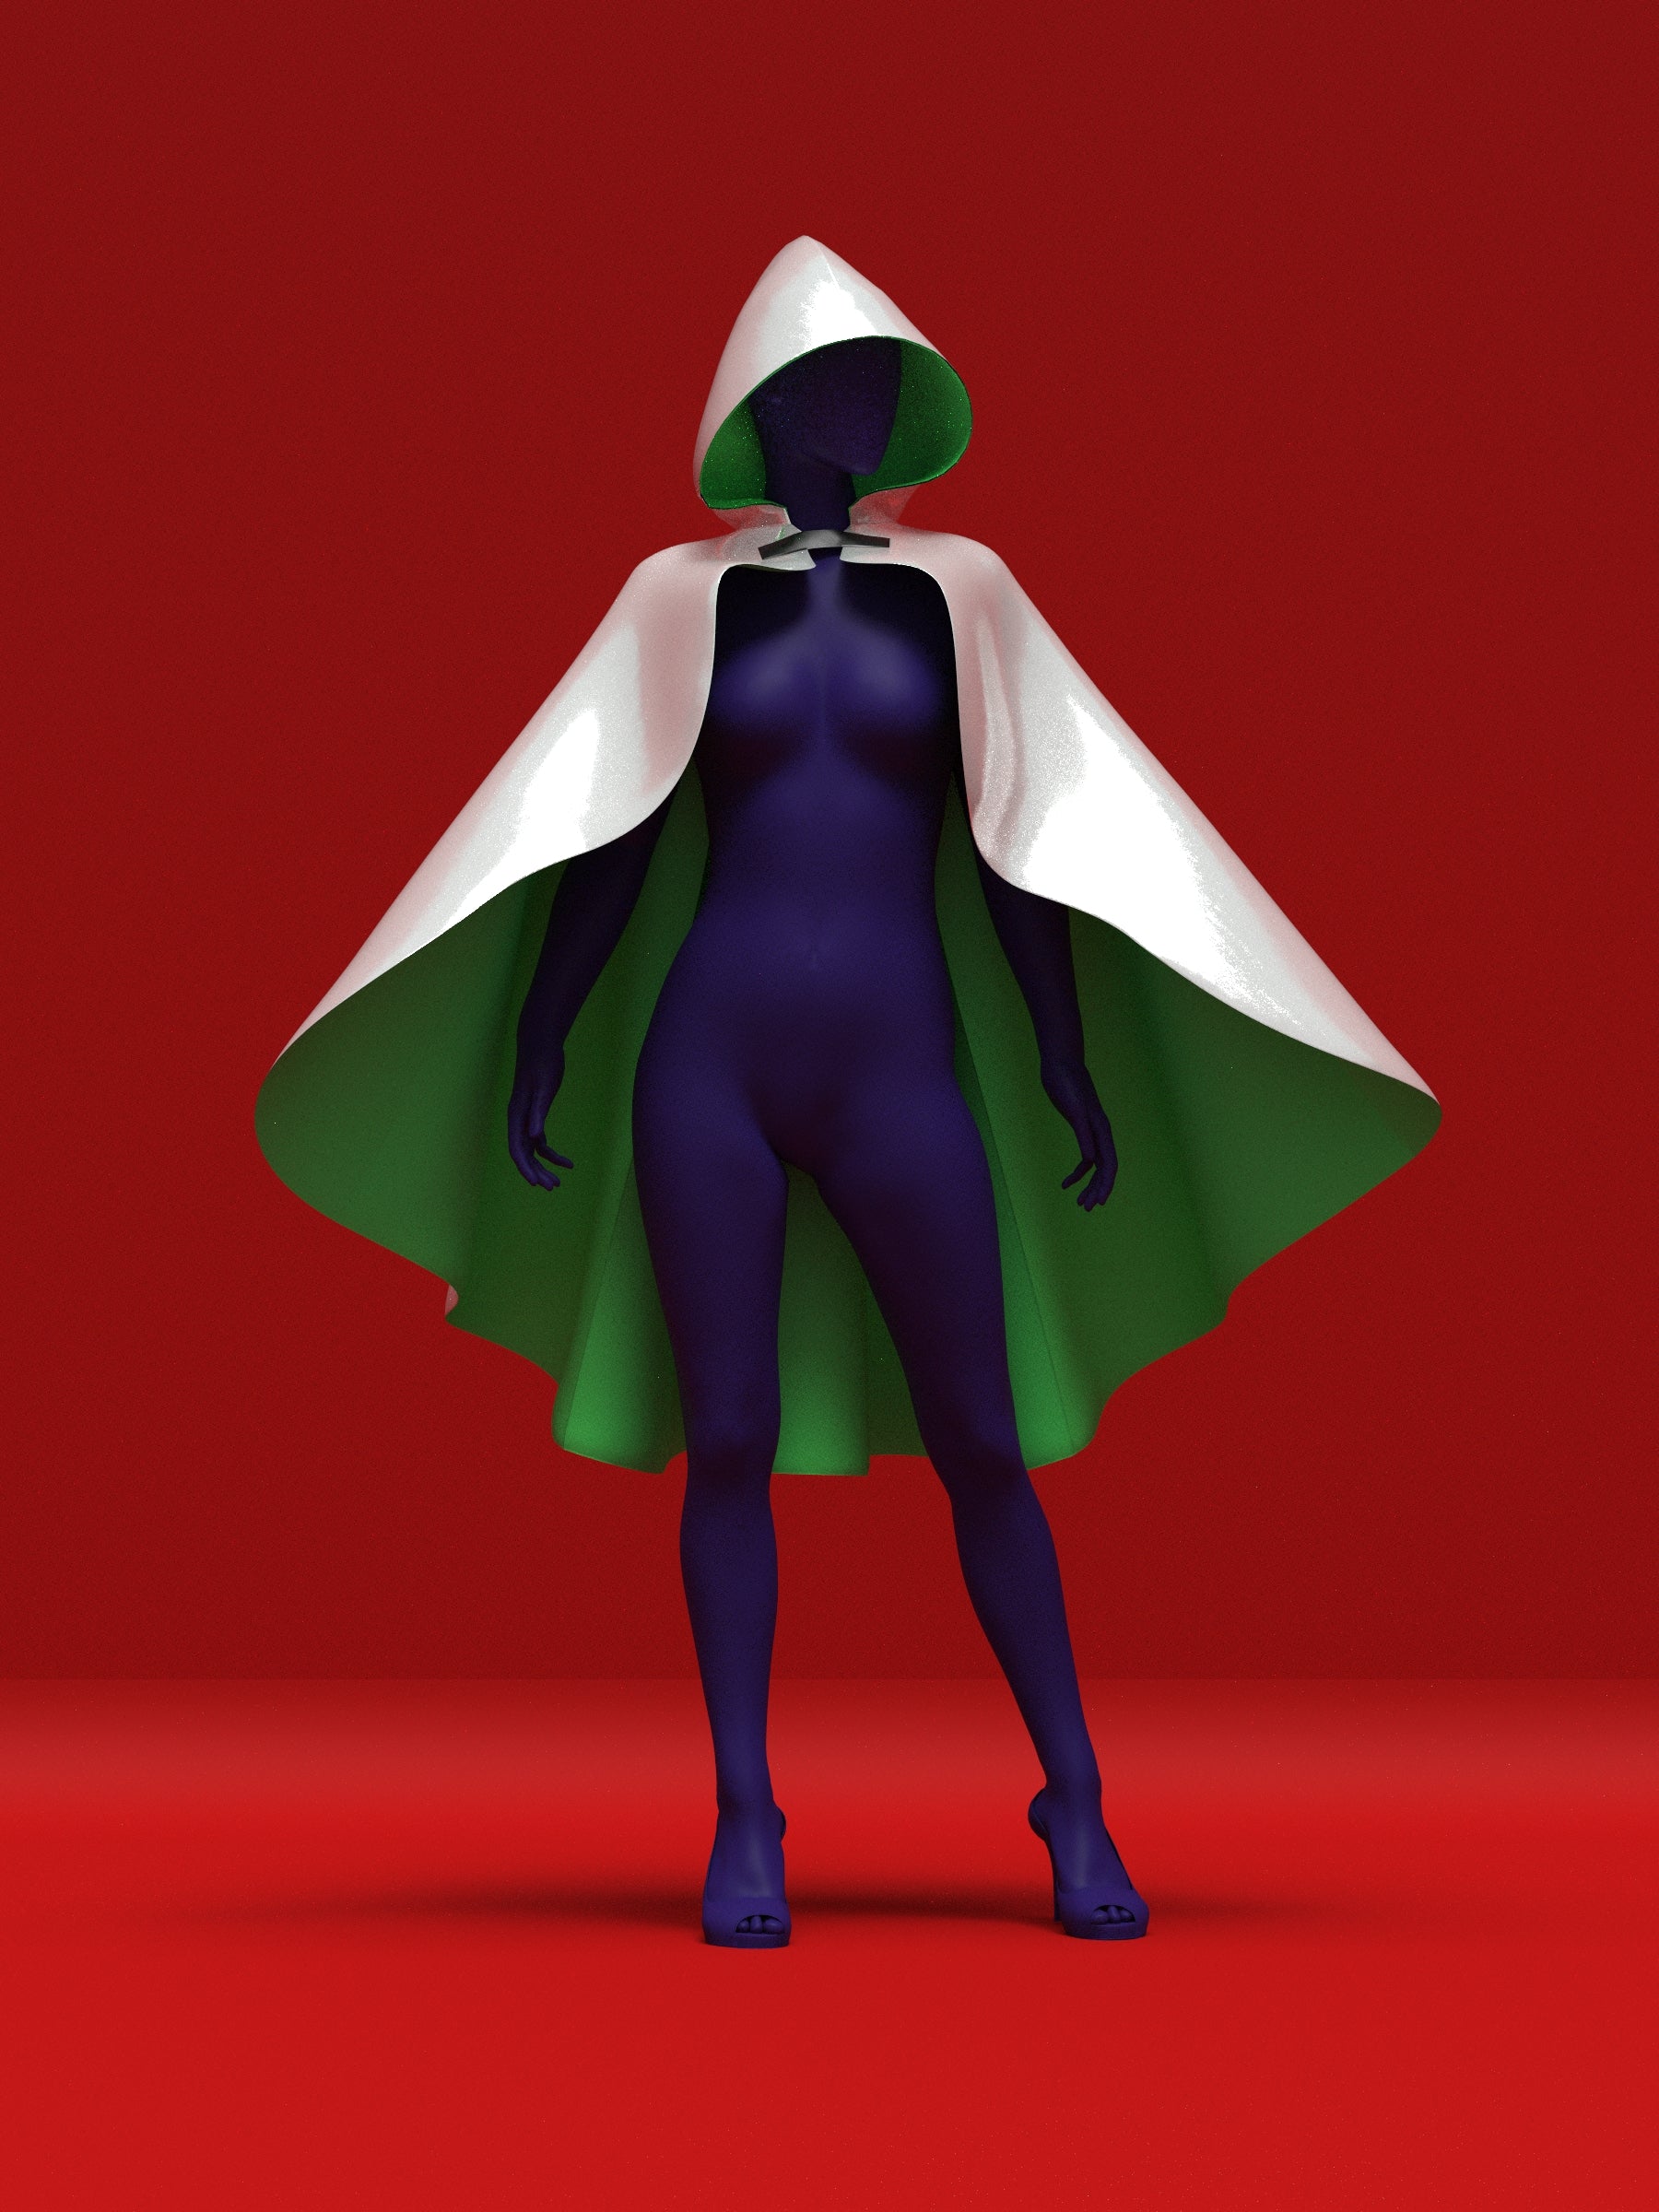
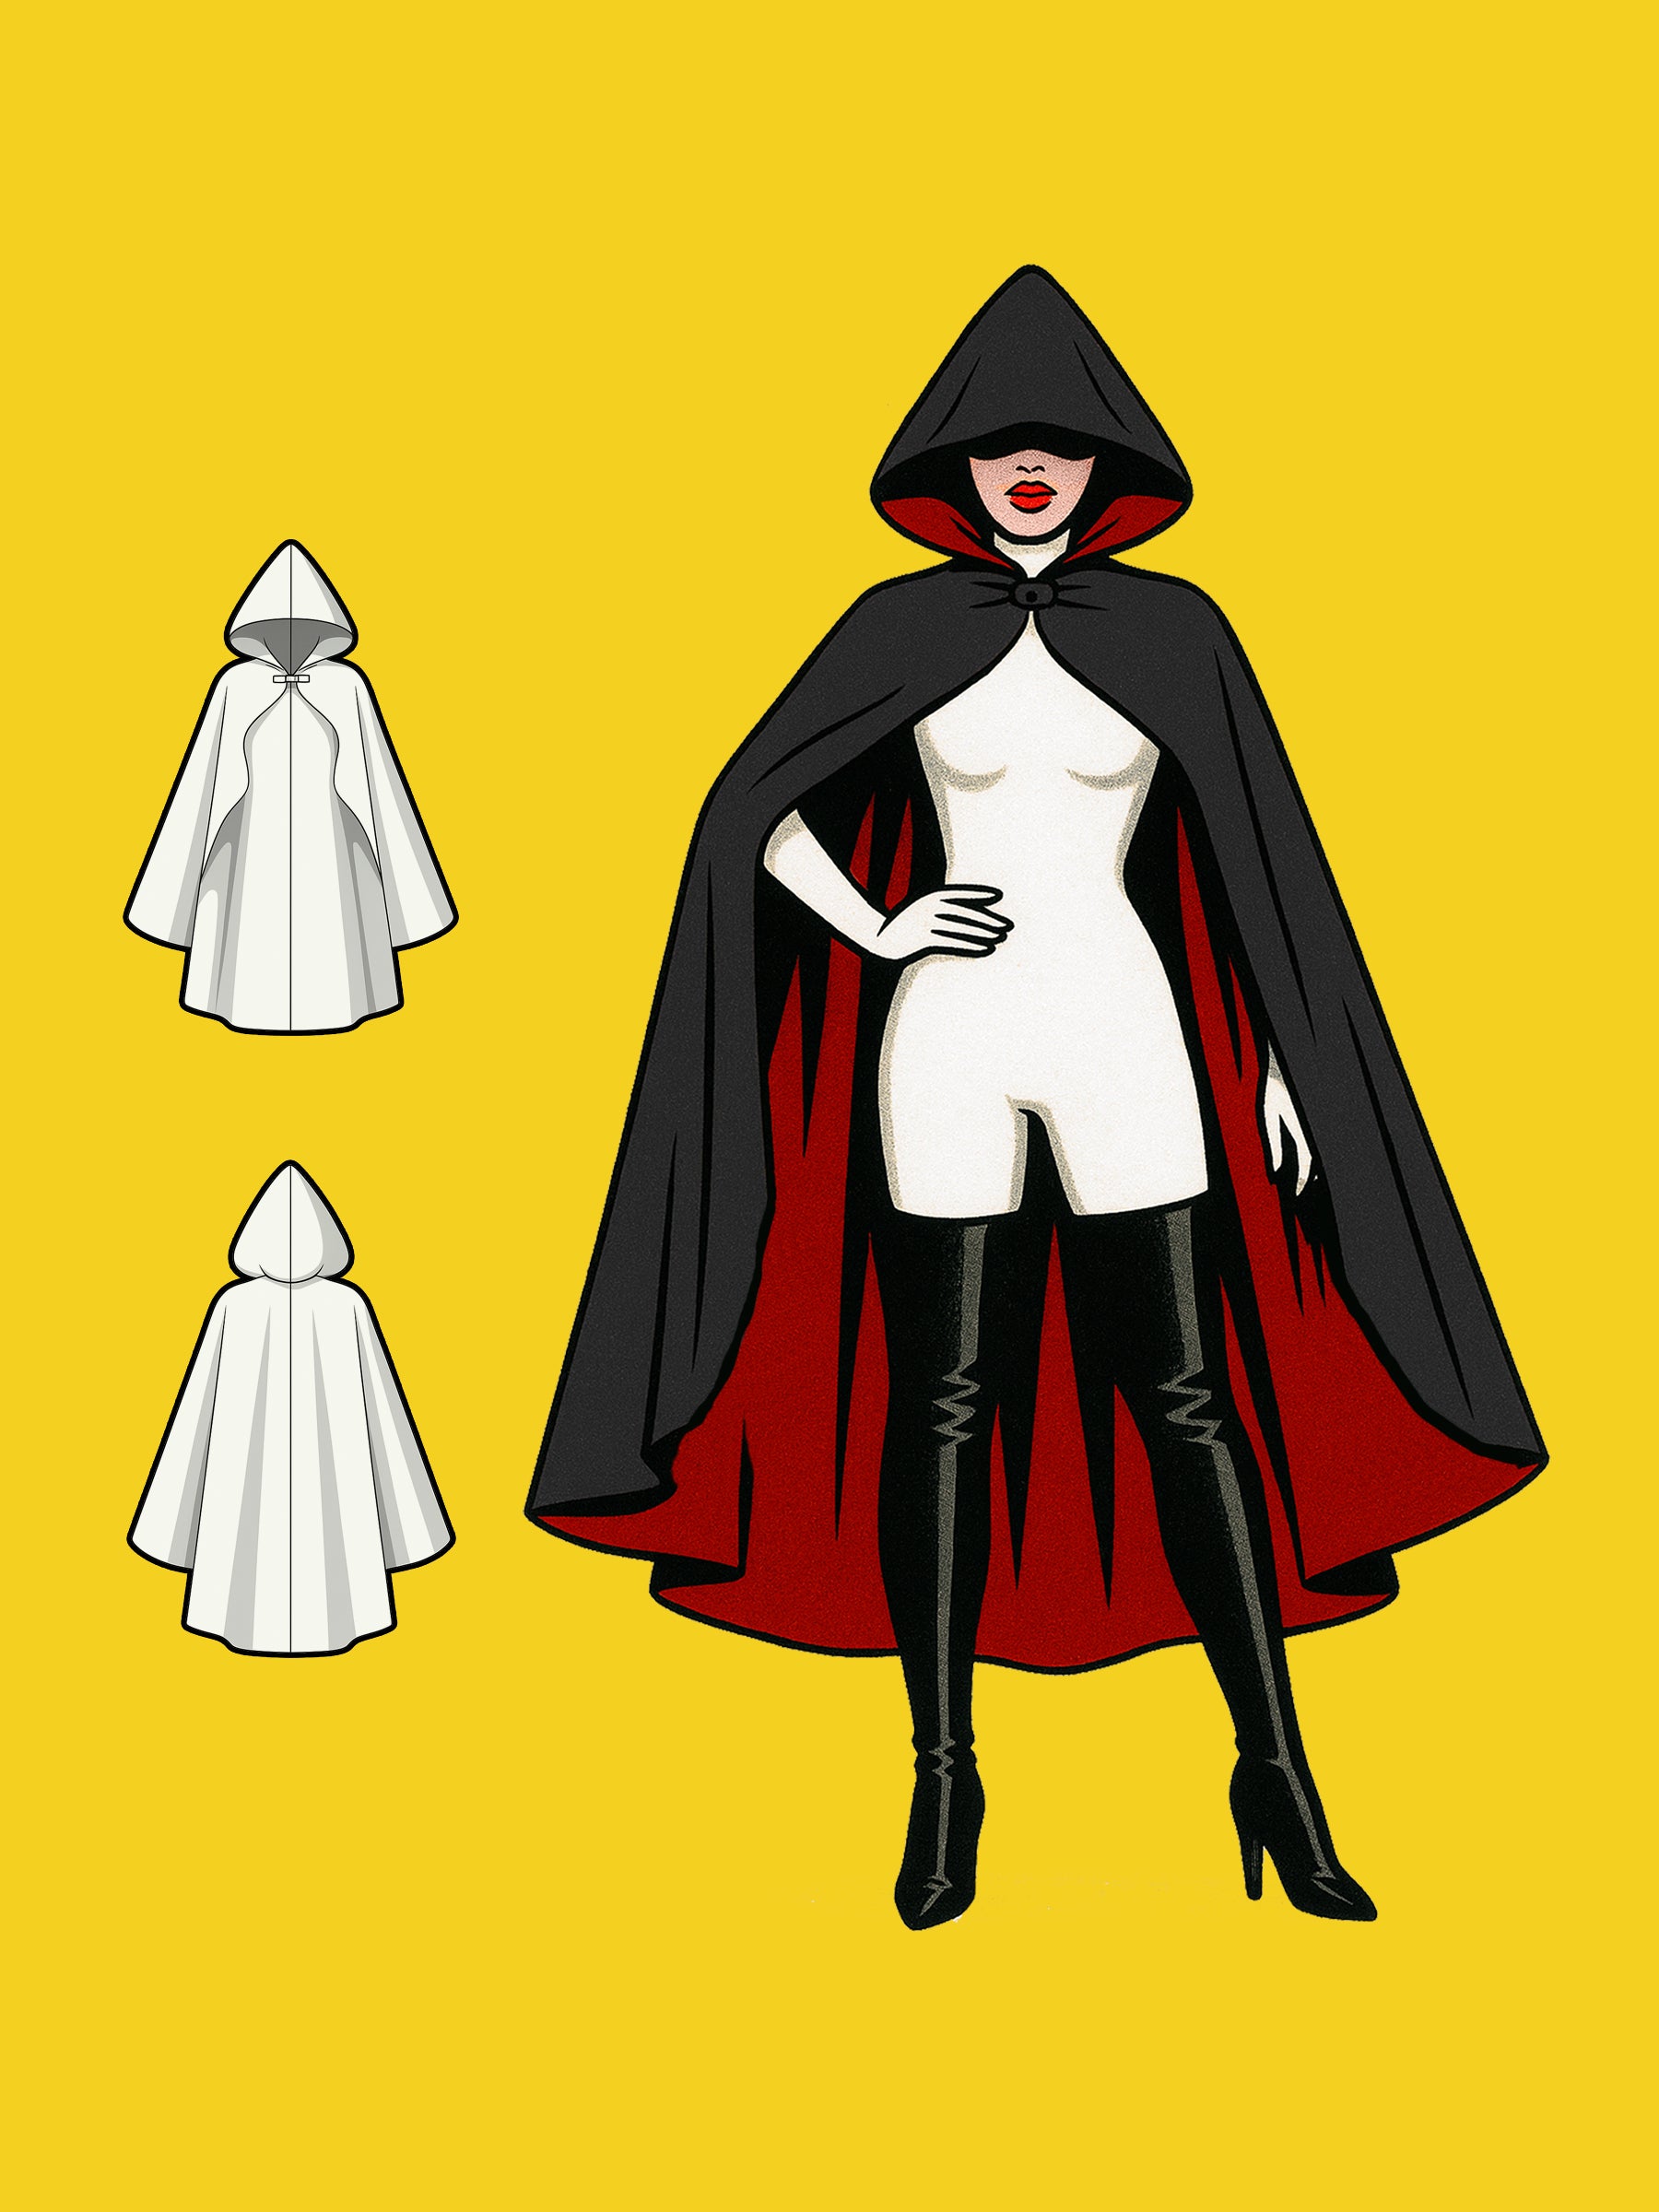
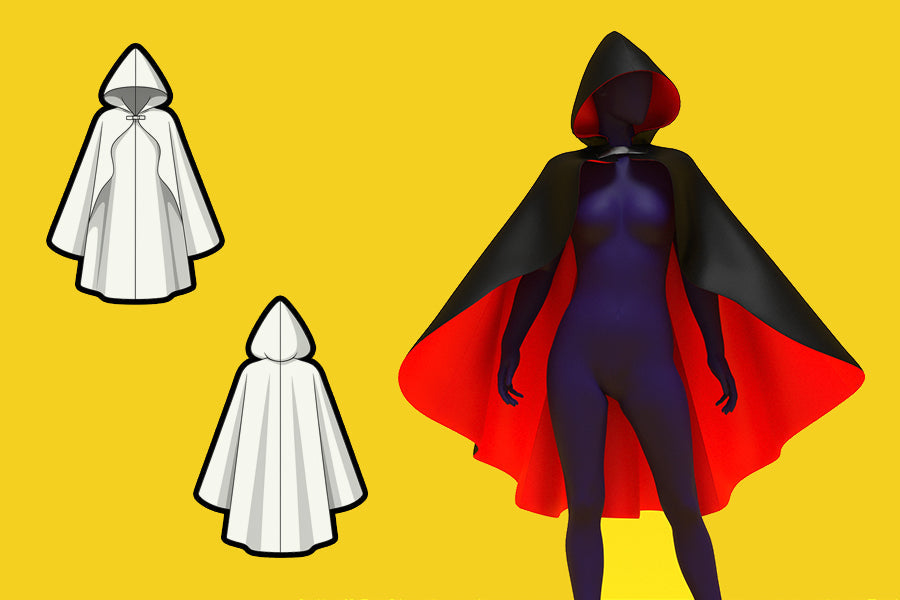
Aprende a coser nuestro patrón de capa gótica extragrande, ideal para un disfraz de drag queen en Halloween. ¡Es el complemento perfecto para arrasar esta temporada con un glamour espeluznante! Ya sea que quieras evocar la oscuridad con un disfraz de bruja, flotar como un hada misteriosa o sumergirte en la fantasía vampírica vintage, este patrón de costura en PDF te permite crear una capa espectacular y fluida, perfecta para una actuación inolvidable. Este diseño sienta de maravilla a las drag queens, pero además es unisex, así que cualquiera que se ajuste a nuestra tabla de tallas puede confeccionarlo.
Yardas de tela
La cantidad de tela que se muestra a continuación corresponde a rollos de tela de 54 pulgadas o más de ancho.
| Tamaño | Depósitos de conchas | Medidores de concha | Patios de revestimiento | Medidores de revestimiento |
|---|---|---|---|---|
| XS-S | 3 años | 2,75 m | 3 años | 2,75 m |
| ML | 3,25 años | 2,97 m | 3,25 años | 2,97 m |
| XL-2X | 3,5 años | 3,2 metros | 3,5 años | 3,2 metros |
| 3X-4X | 3,75 años | 3,43 m | 3,75 años | 3,43 m |
Telas y artículos de mercería
Tejidos sin elasticidad:
- Algodón
- Seda artificial
- Satín
- tafetán ligero
- Poliéster
Conceptos:
- Cierre de broche de capa
Detalles de tallas
Esta capa está confeccionada para nuestras tallas drag queen desde la XS hasta la 4X. Sin embargo, se trata de un diseño unisex; cualquier persona, independientemente de su género, puede usarla siempre que su cuerpo se ajuste a las medidas proporcionadas.
El patrón está disponible en cuatro grupos de tallas: XS–S, M–L, XL–2X y 3X–4X. Cada versión está diseñada para adaptarse cómodamente a dos tallas con un ajuste flexible.
Tallas de Drag Queen
| Tamaños | XS | S | METRO | L | SG | 2X | 3X | 4X | |||
|---|---|---|---|---|---|---|---|---|---|---|---|
| Pulgadas | |||||||||||
| Busto | 35”-37” | 38”-40” | 40”-42” | 44”-46” | 47”-49” | 50”-52” | 53”-55” | 56”-58” | |||
| Cintura | 26”-28” | 29”-31” | 32”-34” | 35”-37” | 38”-40” | 41”-43” | 44”-46” | 47”-49” | |||
| Caderas | 37”-39” | 40”-42” | 43”-45” | 46”-48” | 49”-51” | 52”-54” | 54”-56” | 58”-60” | |||
| Altura | 70" | 70" | 70" | 70" | 70" | 70" | 70" | 70" | |||
| centímetros | |||||||||||
| Busto | 89-94 | 96-102 | 102-107 | 112-117 | 119-124 | 127-132 | 135-140 | 142-147 | |||
| Cintura | 66-71 | 74-79 | 81-86 | 89-94 | 96-102 | 104-109 | 112-117 | 119-124 | |||
| Caderas | 94-99 | 102-107 | 109-114 | 117-122 | 124-130 | 132-137 | 137-142 | 147-152 | |||
| Altura | 178 | 178 | 178 | 178 | 178 | 178 | 178 | 178 | |||
Nuestros exclusivos tamaños de trajes de arrastre se basan en las tallas estándar estadounidenses para hombre y mujer de tallas grandes, diseñados para adaptarse a cuerpos masculinos con relleno y una altura promedio de 178 cm (70 pulgadas). Presentan torsos más largos, hombros, brazos y piernas más anchos, y una entrepierna más corta en comparación con las tallas estándar para mujer, lo que los hace inclusivos para cualquier persona que cumpla con las medidas proporcionadas.
Instrucciones de costura
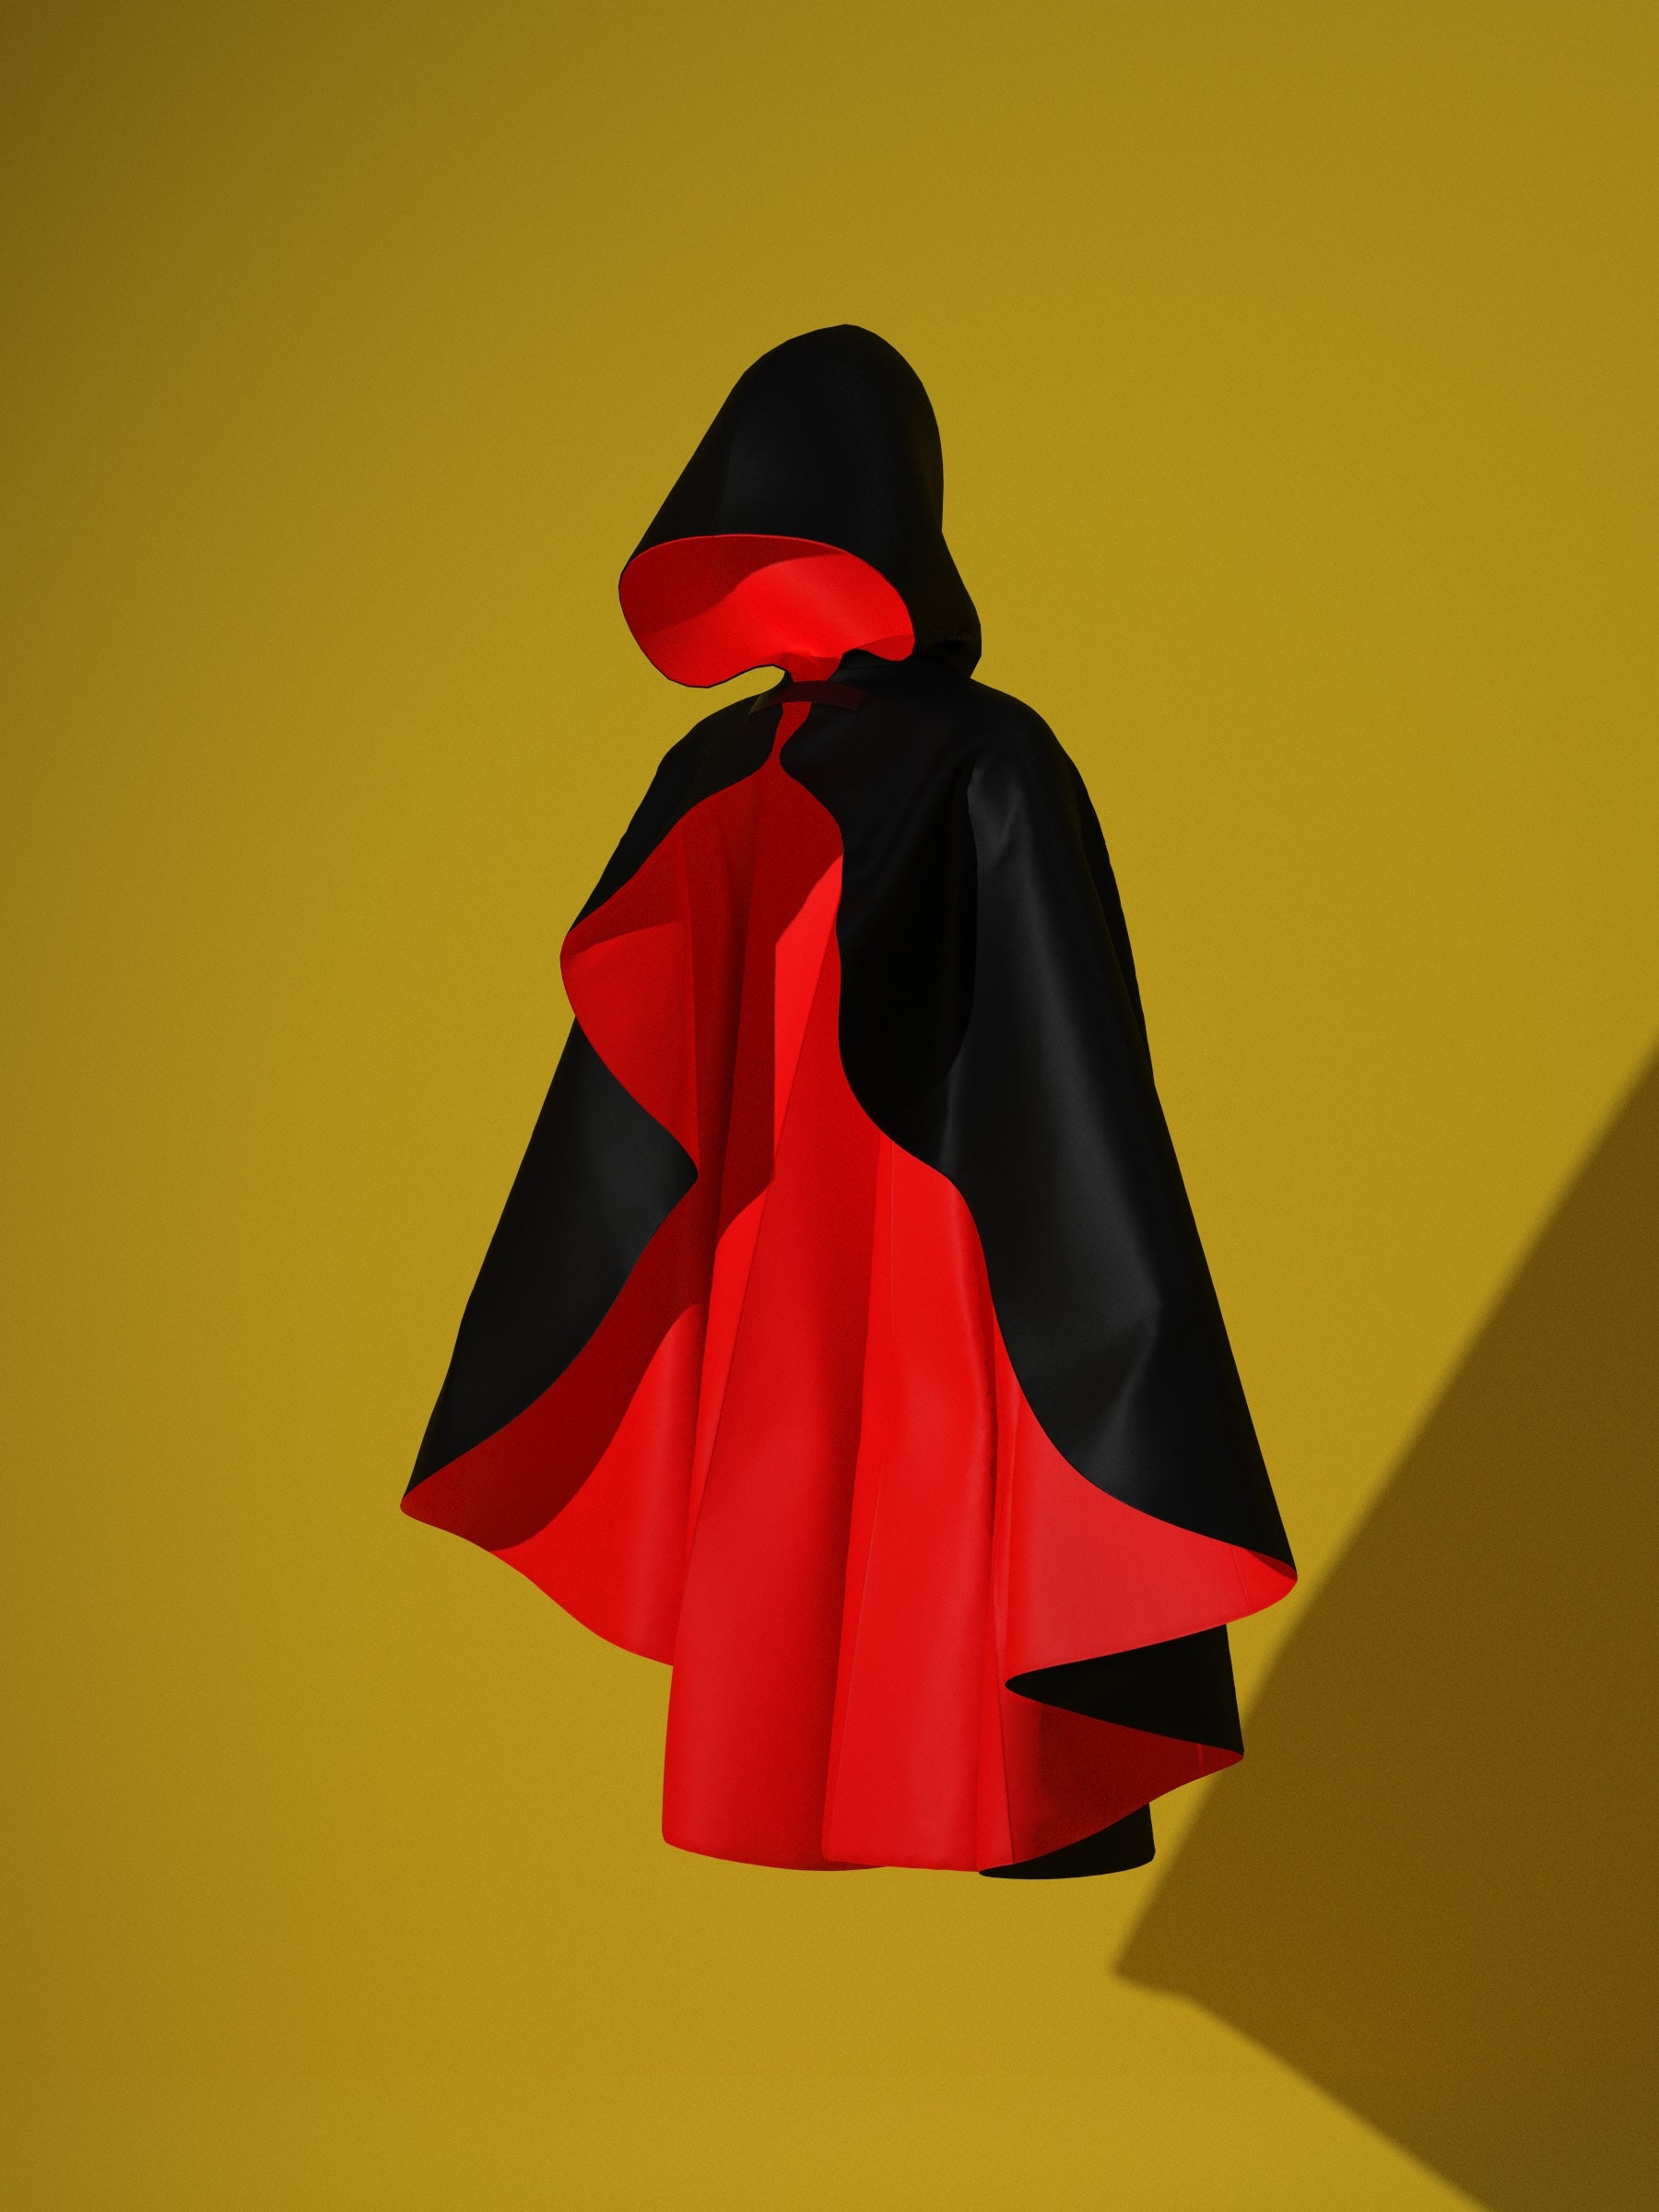
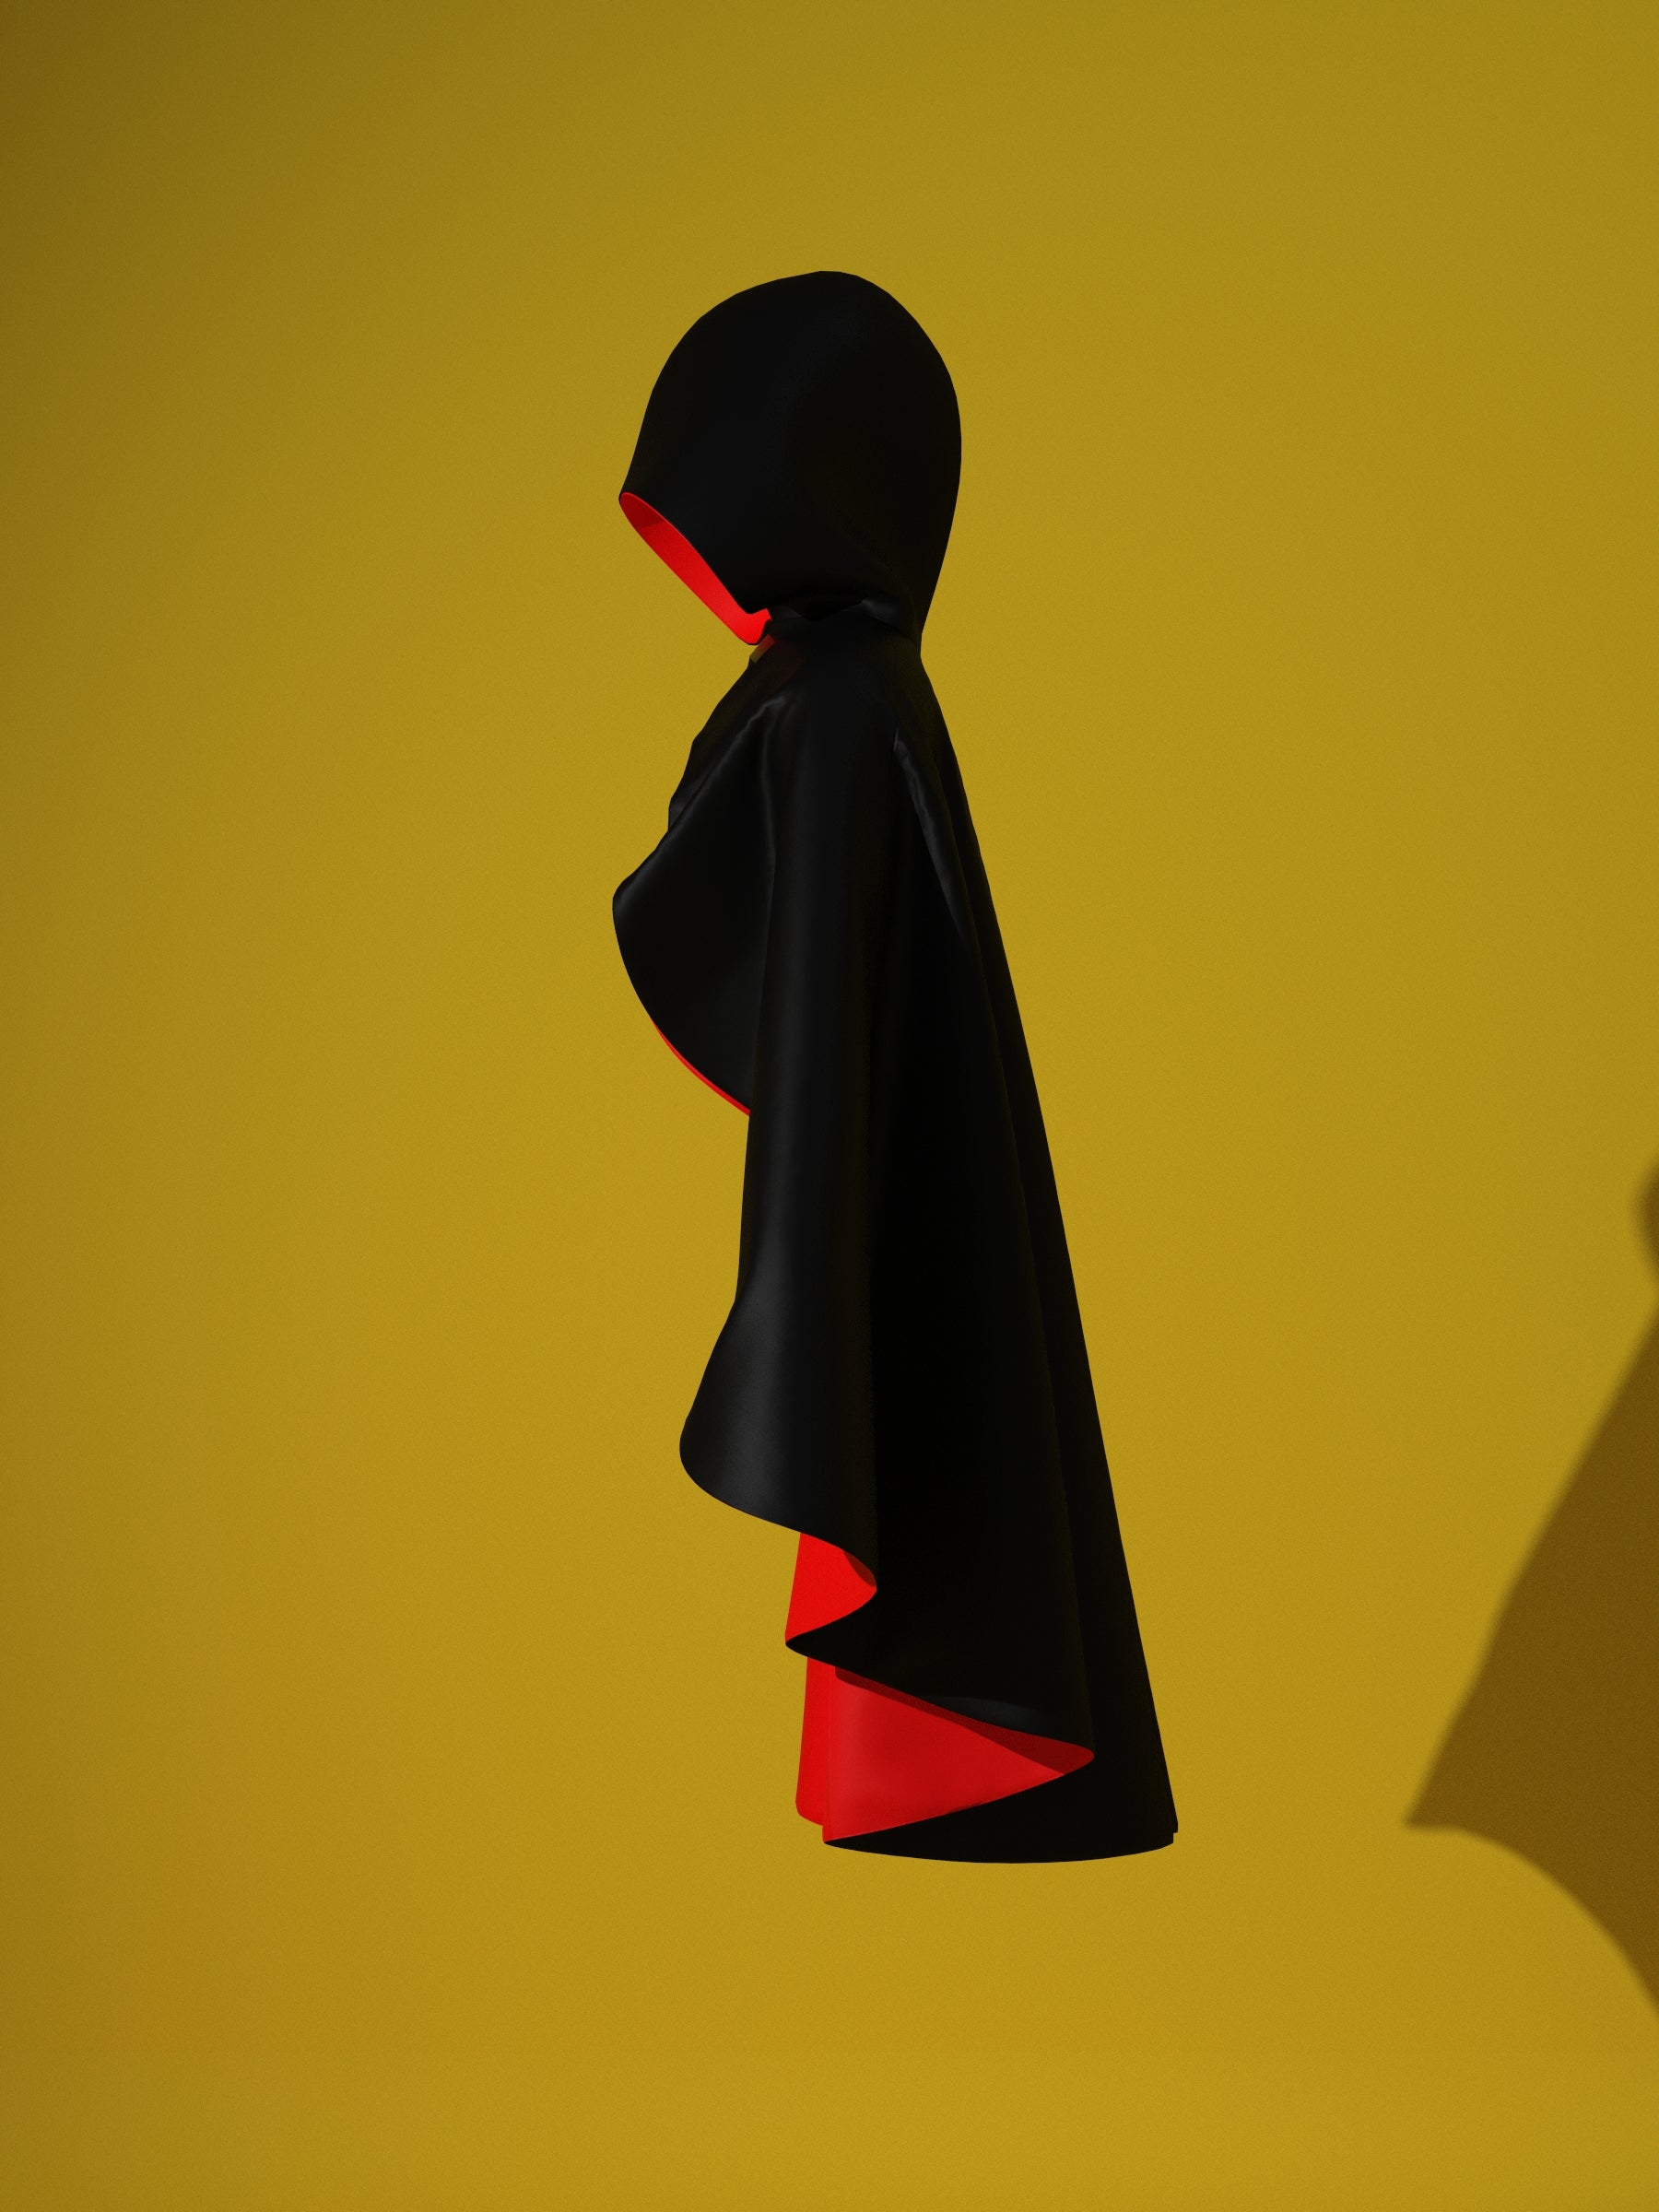
Color Guide

Paper Pattern:
You will have the following paper pattern pieces: One front piece, One back side piece, One center back piece, One hood piece.
Use these paper pattern pieces to cut out your shell fabric: 2 mirrored front pieces, 2 mirrored back side pieces, 2 mirrored center back pieces, 2 mirrored hood pieces.
Repeat the same process using your lining fabric.

Step 1: Center Back
Gather the two shell center back pieces. Stack them together with the right sides of the fabric facing each other along the center back seam.
The center back seam will have three notches along the vertical edge. Pin and align your notches, then sew them together using a straight stitch along the center back edge.
Once sewn, spread the seams open and press them with an iron. You may also choose to serge the raw seam edges for a clean finish.

Step 2: Back Sides
Gather the back side pieces and place them against the center back pieces along the side edge with two notches.
Pin and align the notches. With right sides facing each other, sew the back side pieces to the center back pieces along the side edge using a straight stitch.
Once sewn, press the seams flat with an iron or finish the raw edges with a serger.

Step 3: Front Pieces
Gather the front pieces and place them against the back side pieces along the edge with one notch.
Pin and align the notches. With right sides facing each other, sew the front pieces to the back side pieces using a straight stitch.
Finish the seams as before by pressing them flat with an iron or serging the raw edges.

Step 4: Hood
Gather the two shell hood pieces and stack them together with right sides facing each other.
Sew them together along the curved center back edge of the hood using a straight stitch.
Finish the seam by pressing it flat with an iron or serging the raw edges.

Step 5: Attach Hood
Lay the cloak right side up, then position the hood on top with right sides facing each other.
Pin the hood evenly along the neckline of the cloak, using the notches as guides.
Once pinned and aligned, sew the hood to the cloak along the neckline edge with a straight stitch.

Step 6: Lining
Your shell cloak with the attached hood should now be complete. Repeat the same steps to create the lining.
Once both the shell and lining are assembled, stack them together with right sides facing each other.
Sew around the entire cloak and hood, but leave a small unsewn gap along the edge — either on the side or at the bottom. This opening will allow you to flip the cloak right side out.
After sewing, turn the cloak right side out through the gap.

Step 7: Finishing
Reposition the shell and lining fabric so they lay flat together. Press the seams if needed to help them align smoothly.
Sew a topstitch around the hood, about 1 inch from the edge, to secure the shell and lining together.
At the unsewn gap below, press the raw edges inward between the shell and lining. Topstitch this area closed.
Then, topstitch or edge stitch all around the cloak so the edges of the shell and lining lay flat and neatly finished.

Step 8: Closure
Install the cloak closure or hardware of your choice. You can use any sewable hardware that suits your design.
Undo the hardware and topstitch the ends directly onto the Square and X guides, or create your own placement for the closure.
Once the closure is installed, your cloak is complete.

Obtén el patrón