Cómo coser un pantalón cargo holgado de cintura alta
Saltar a instrucciones
Descripción general
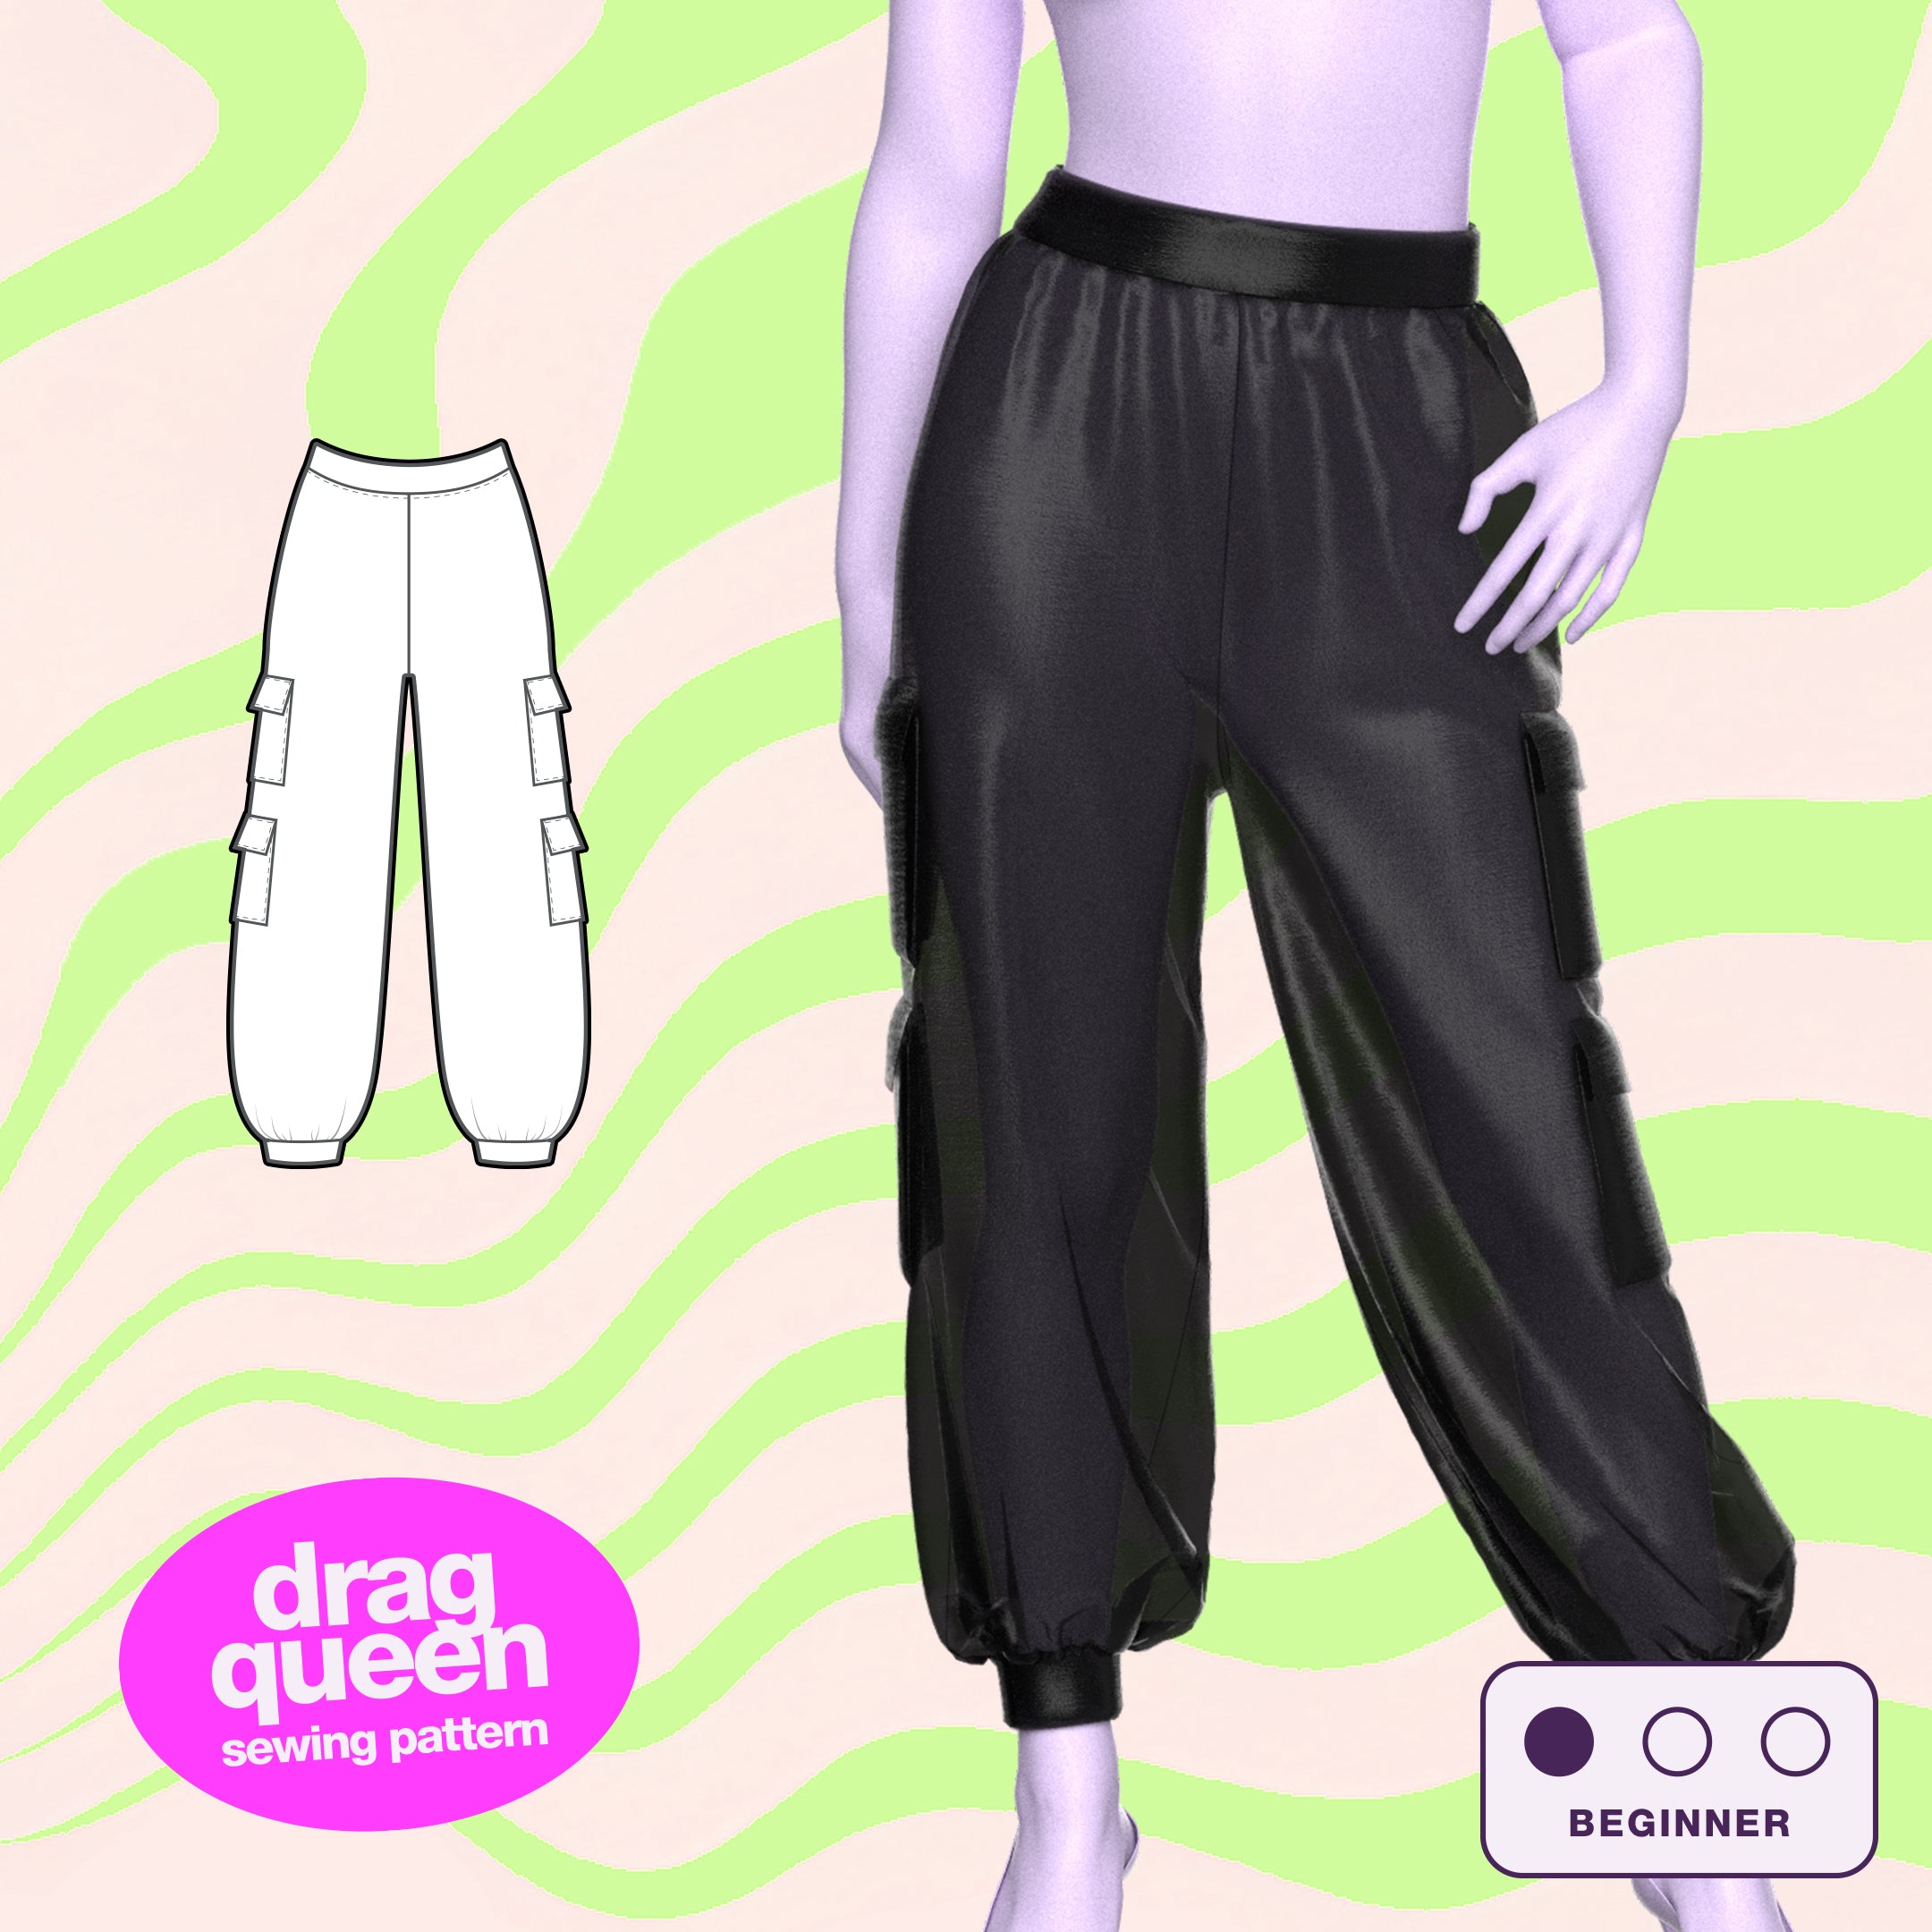
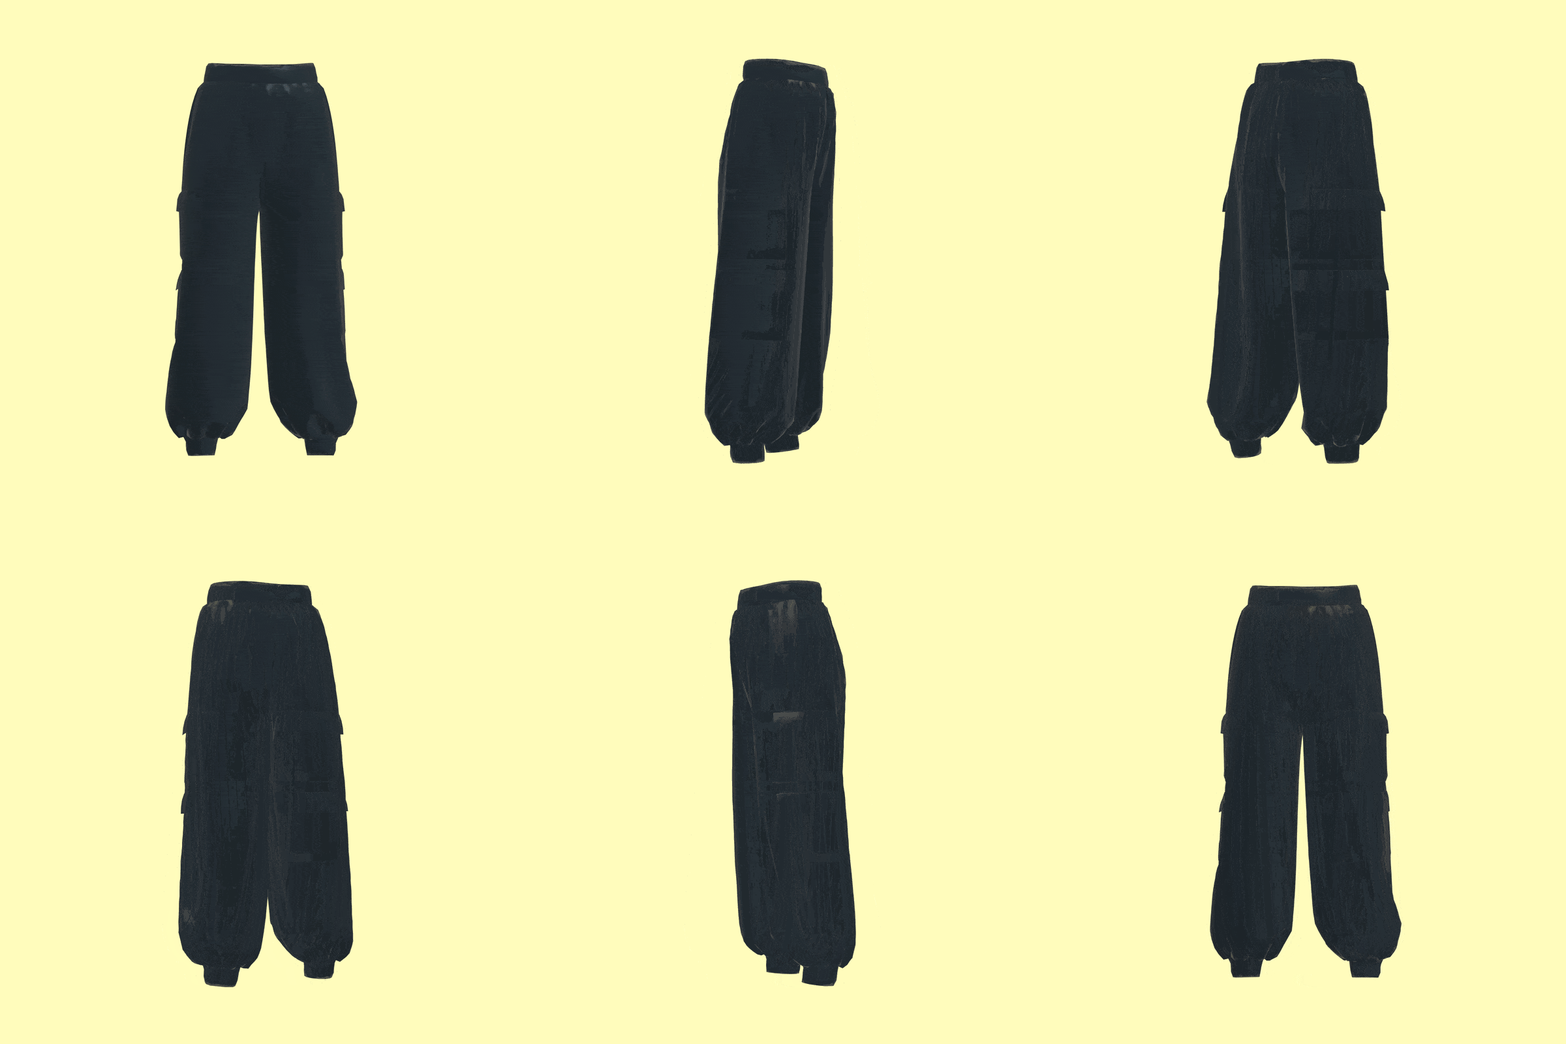
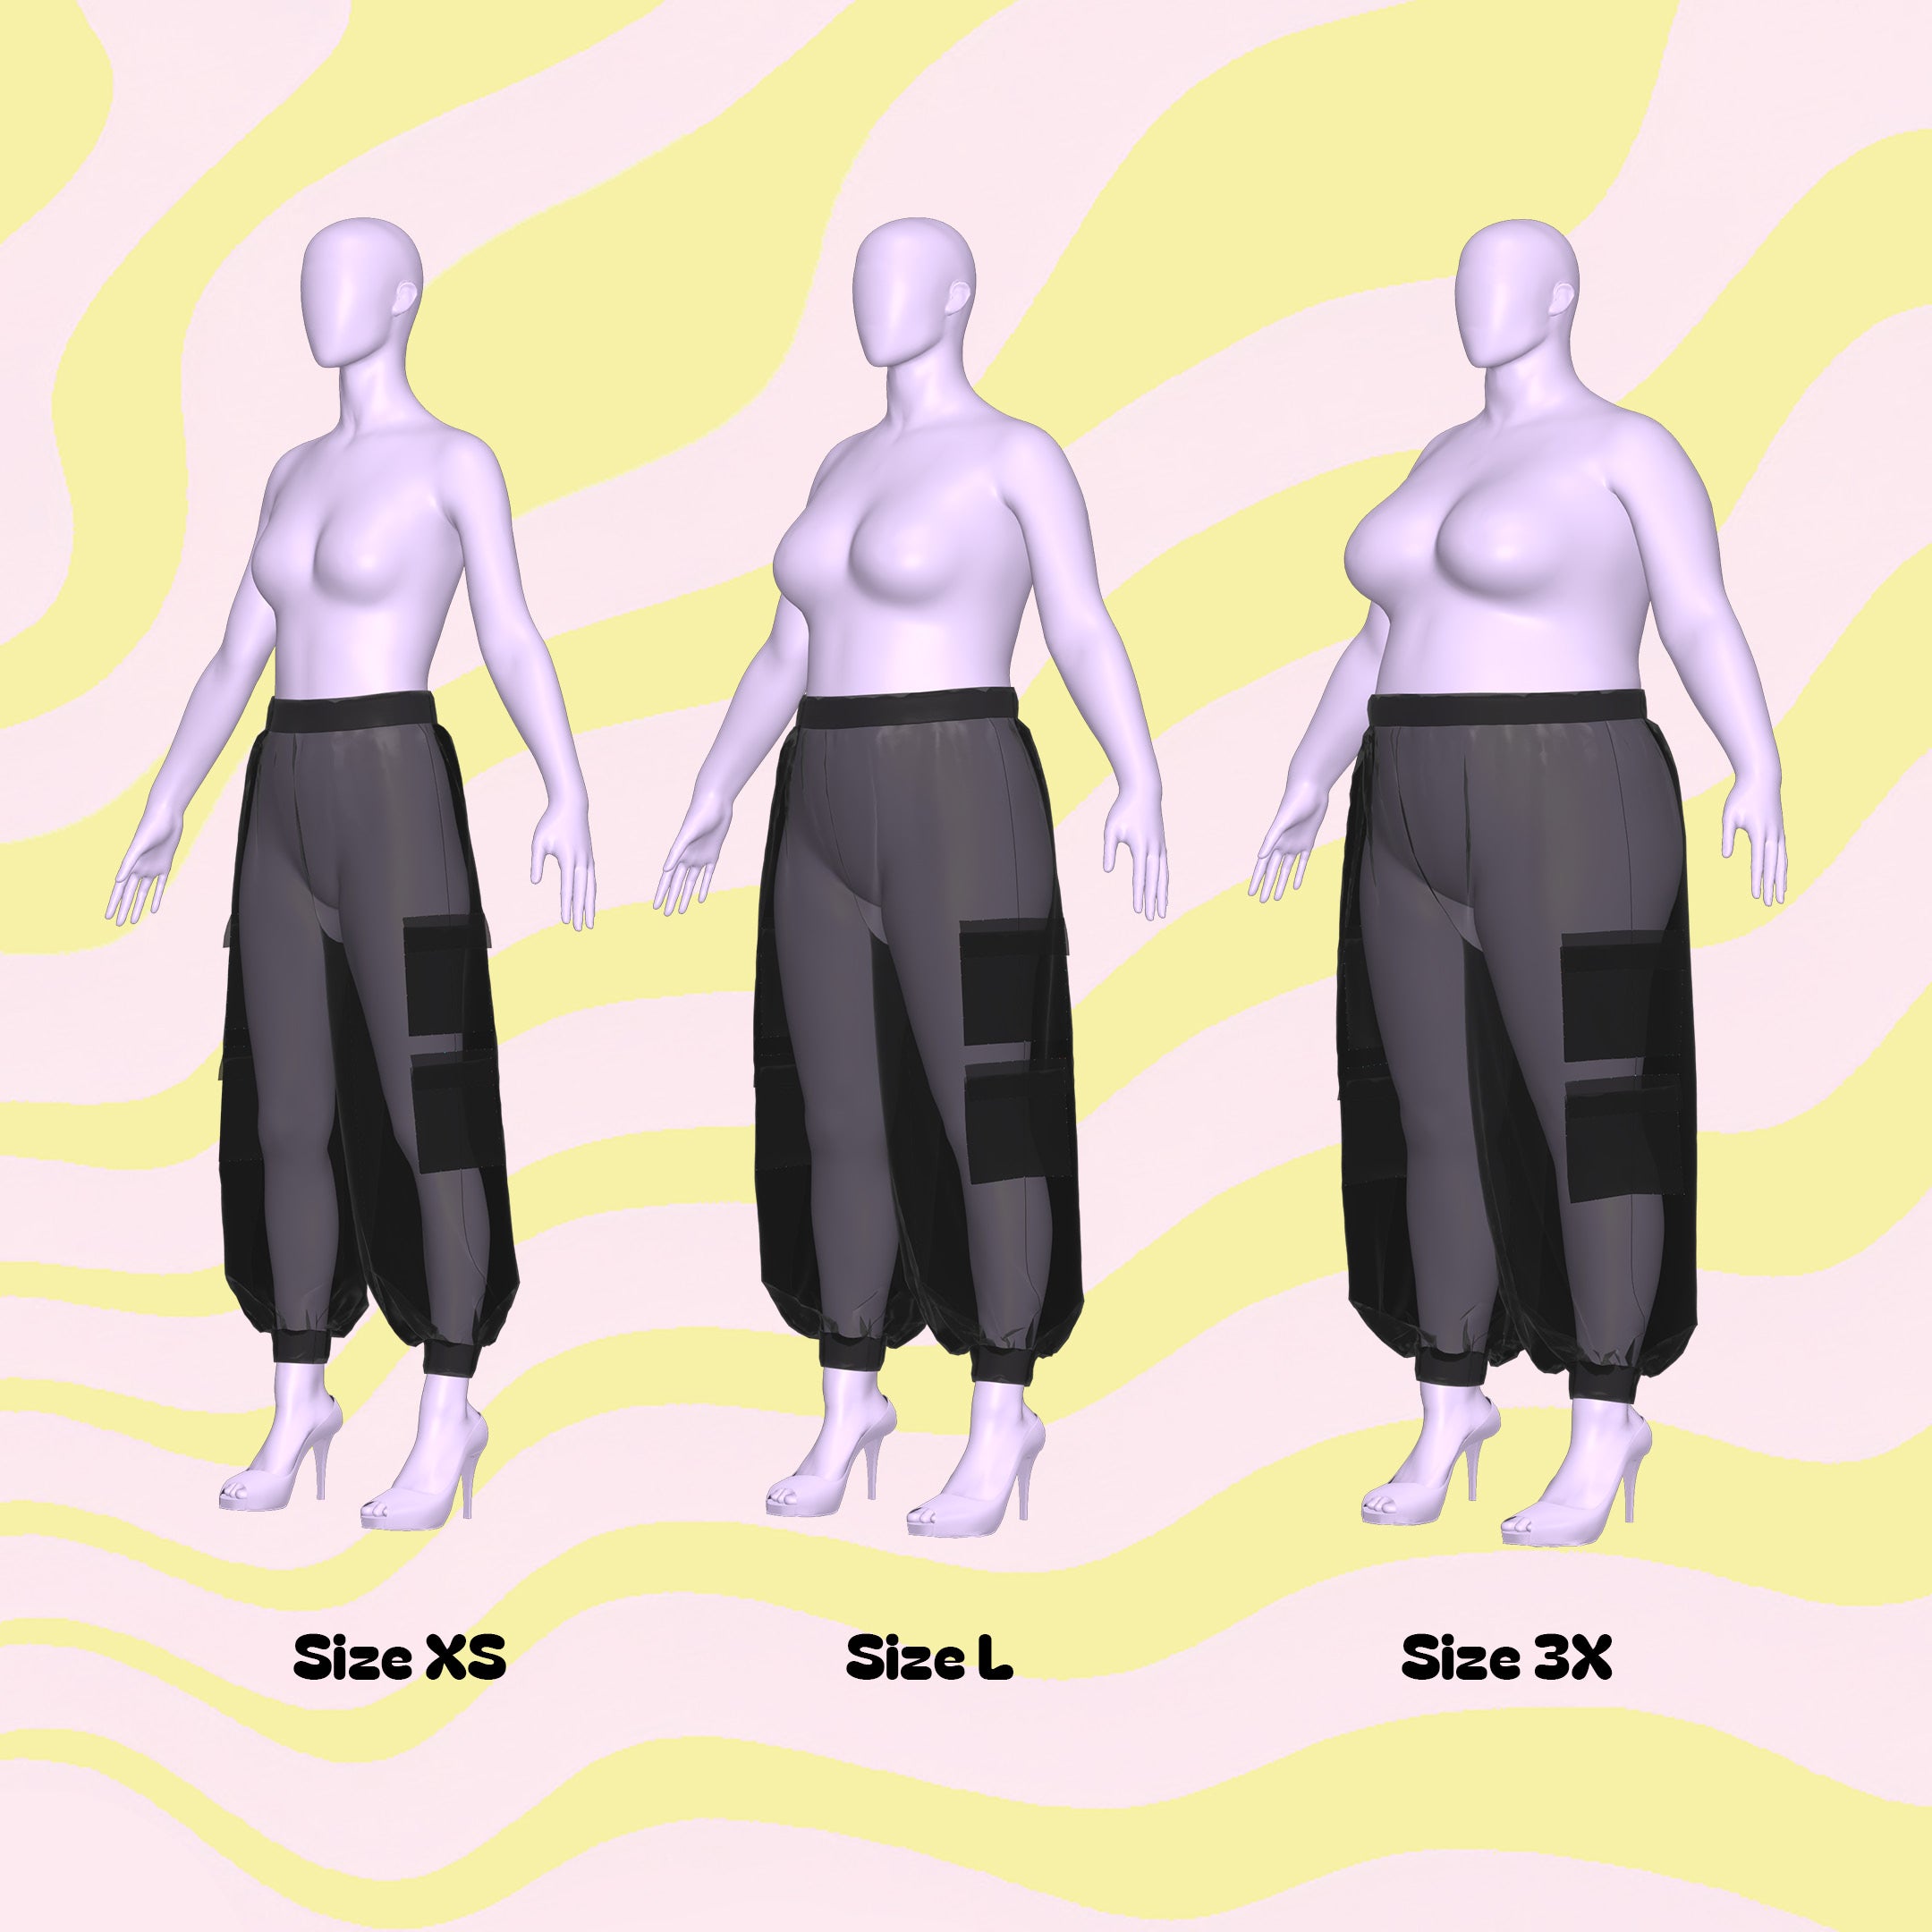
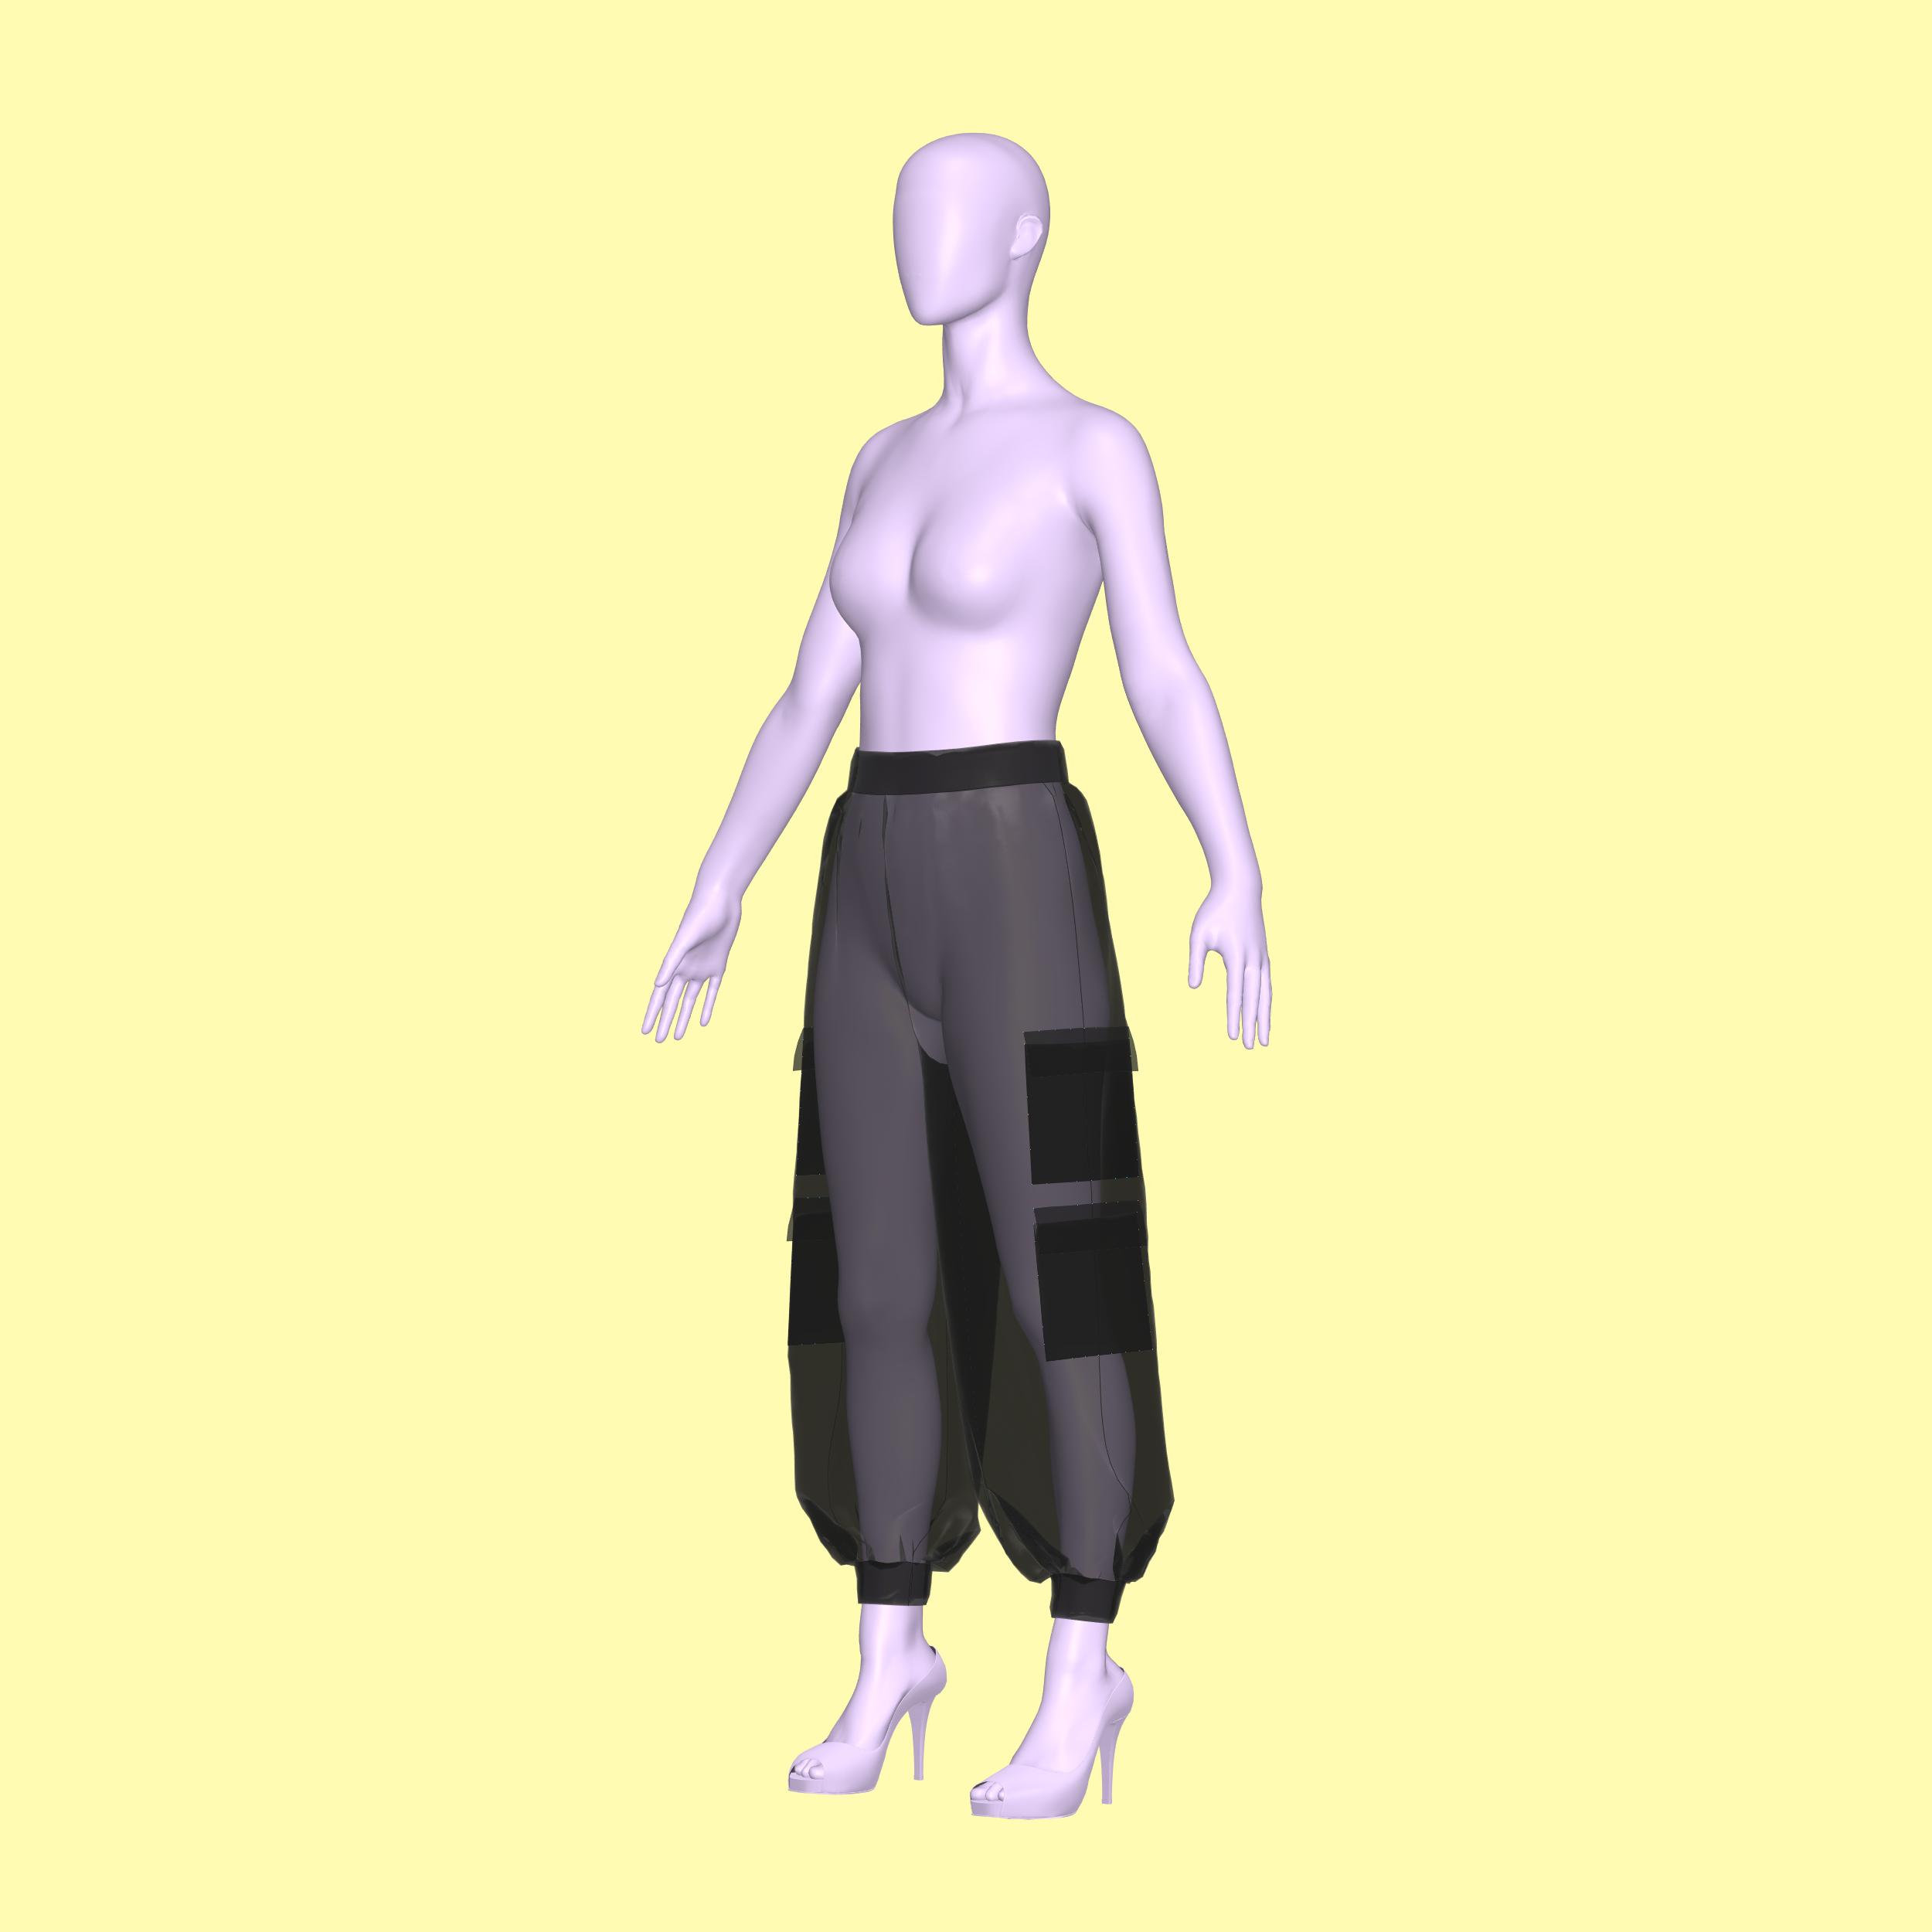
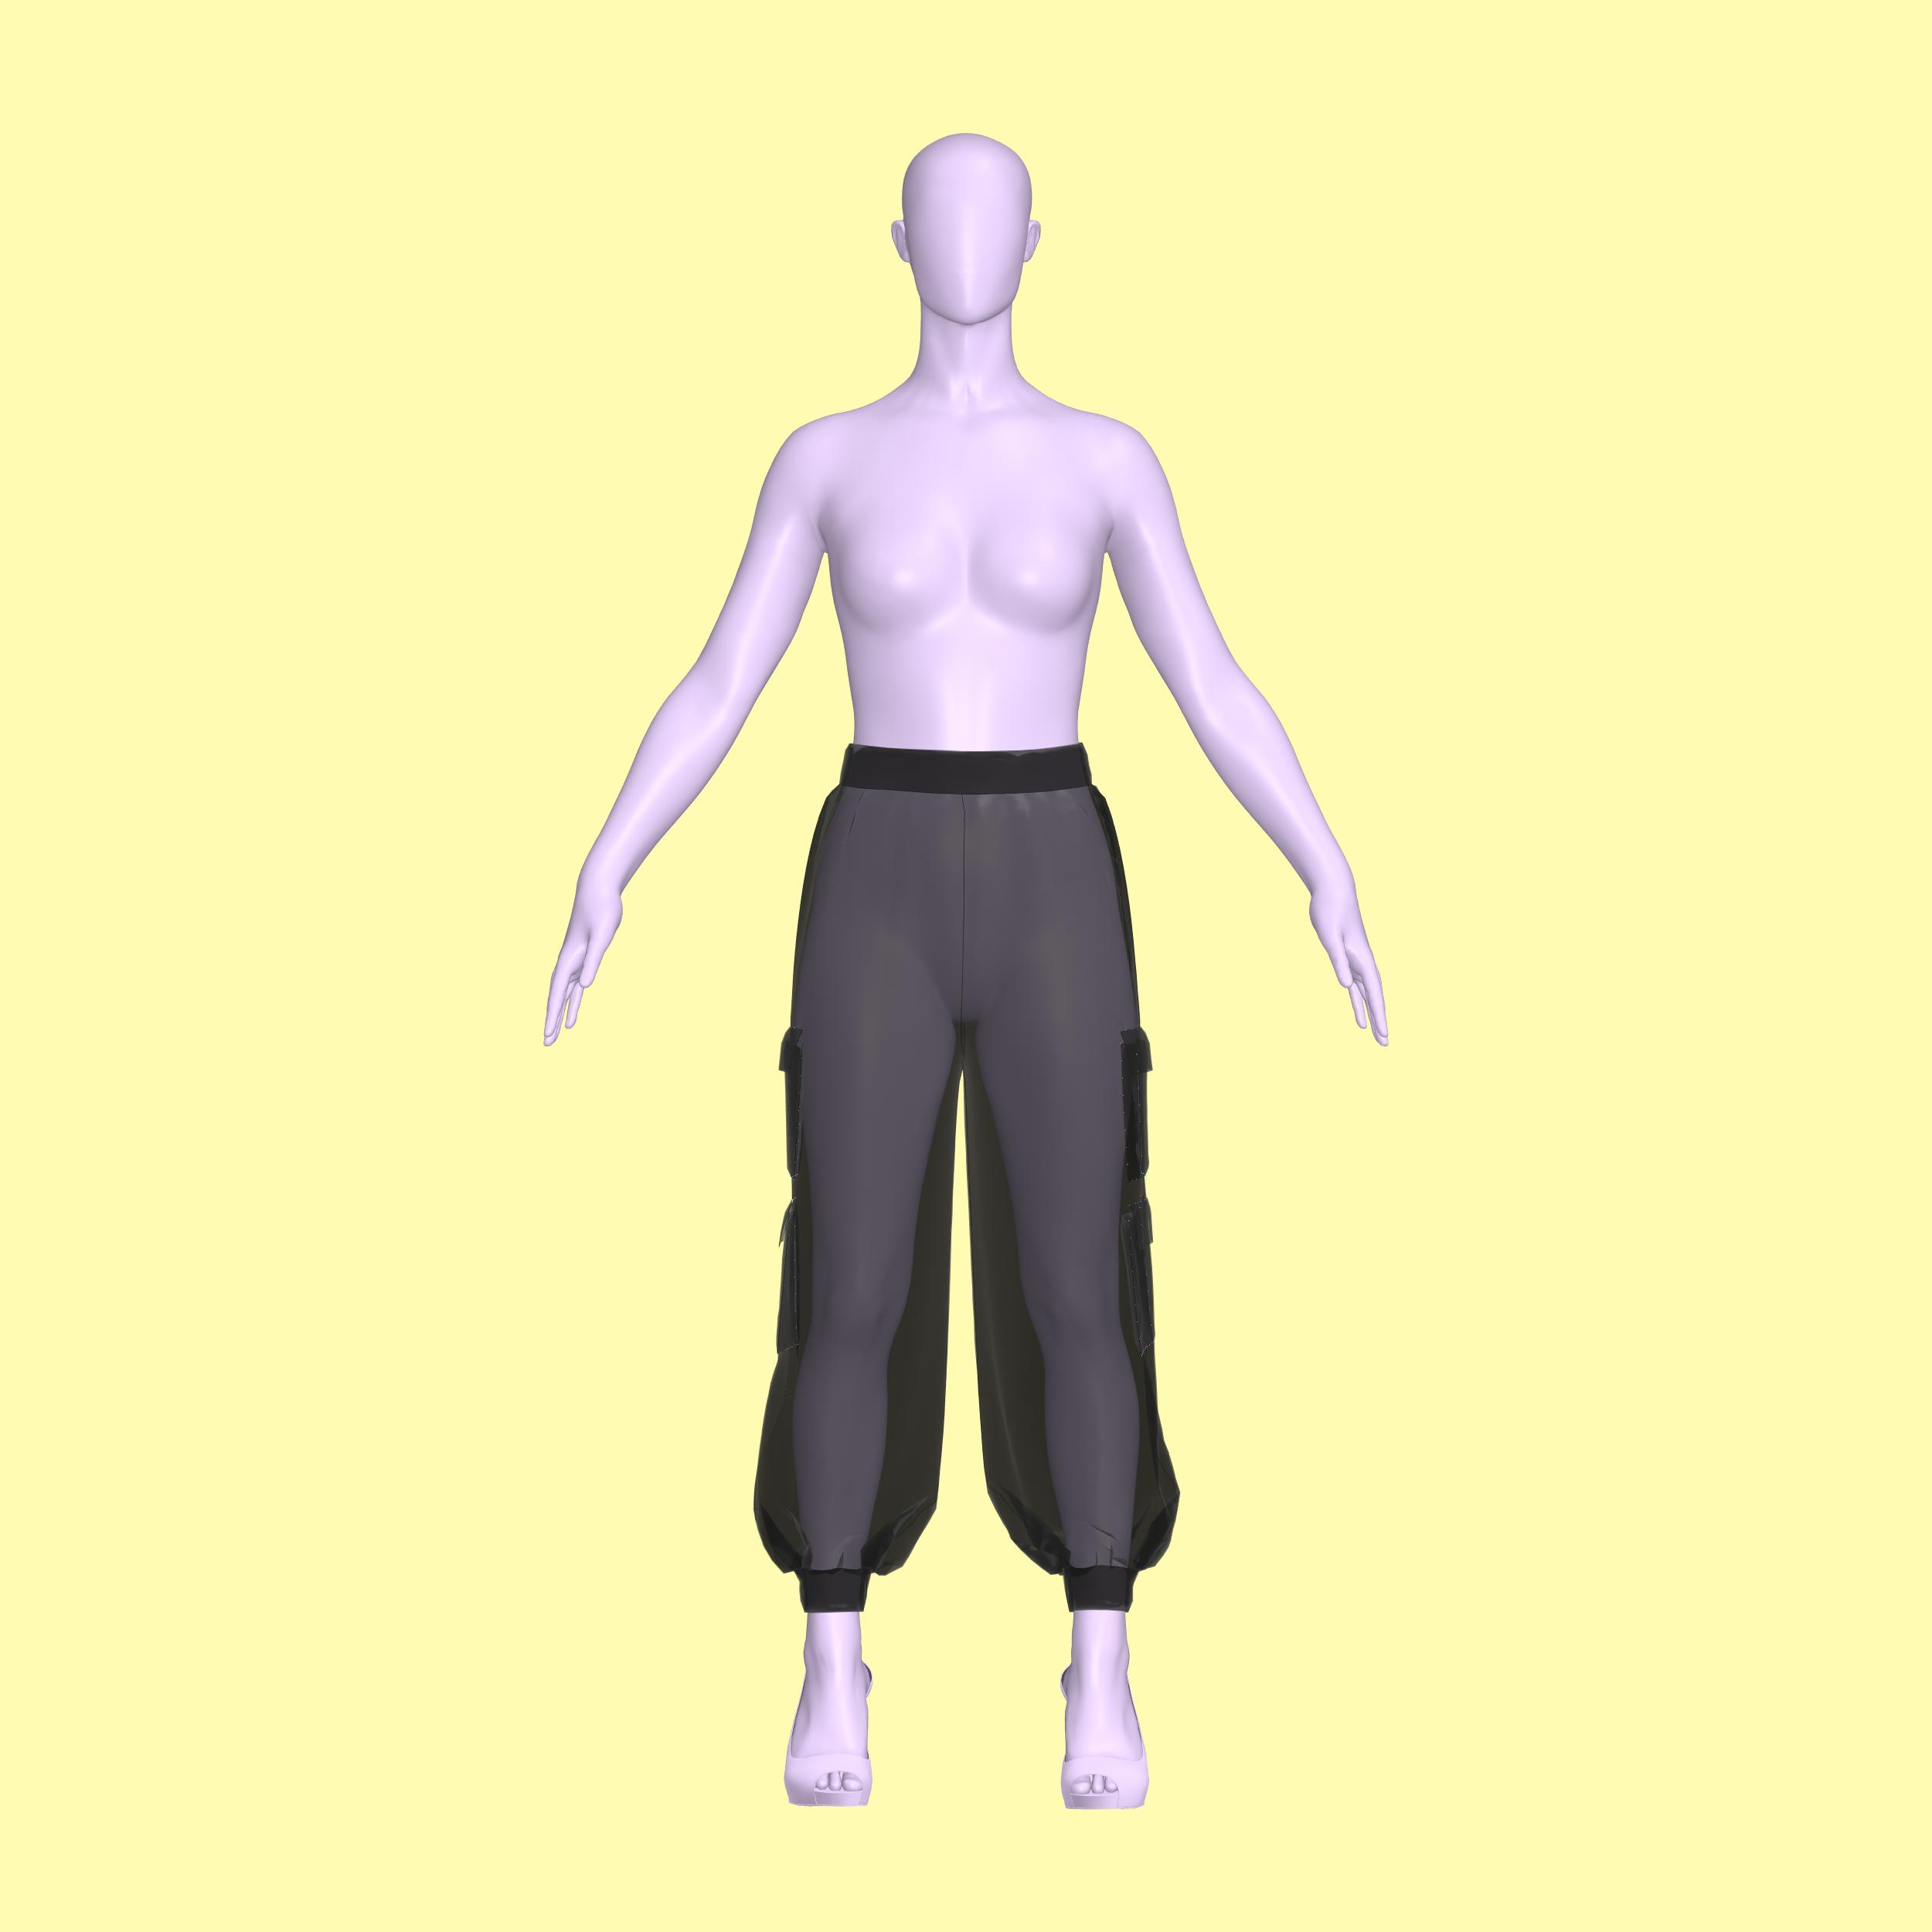
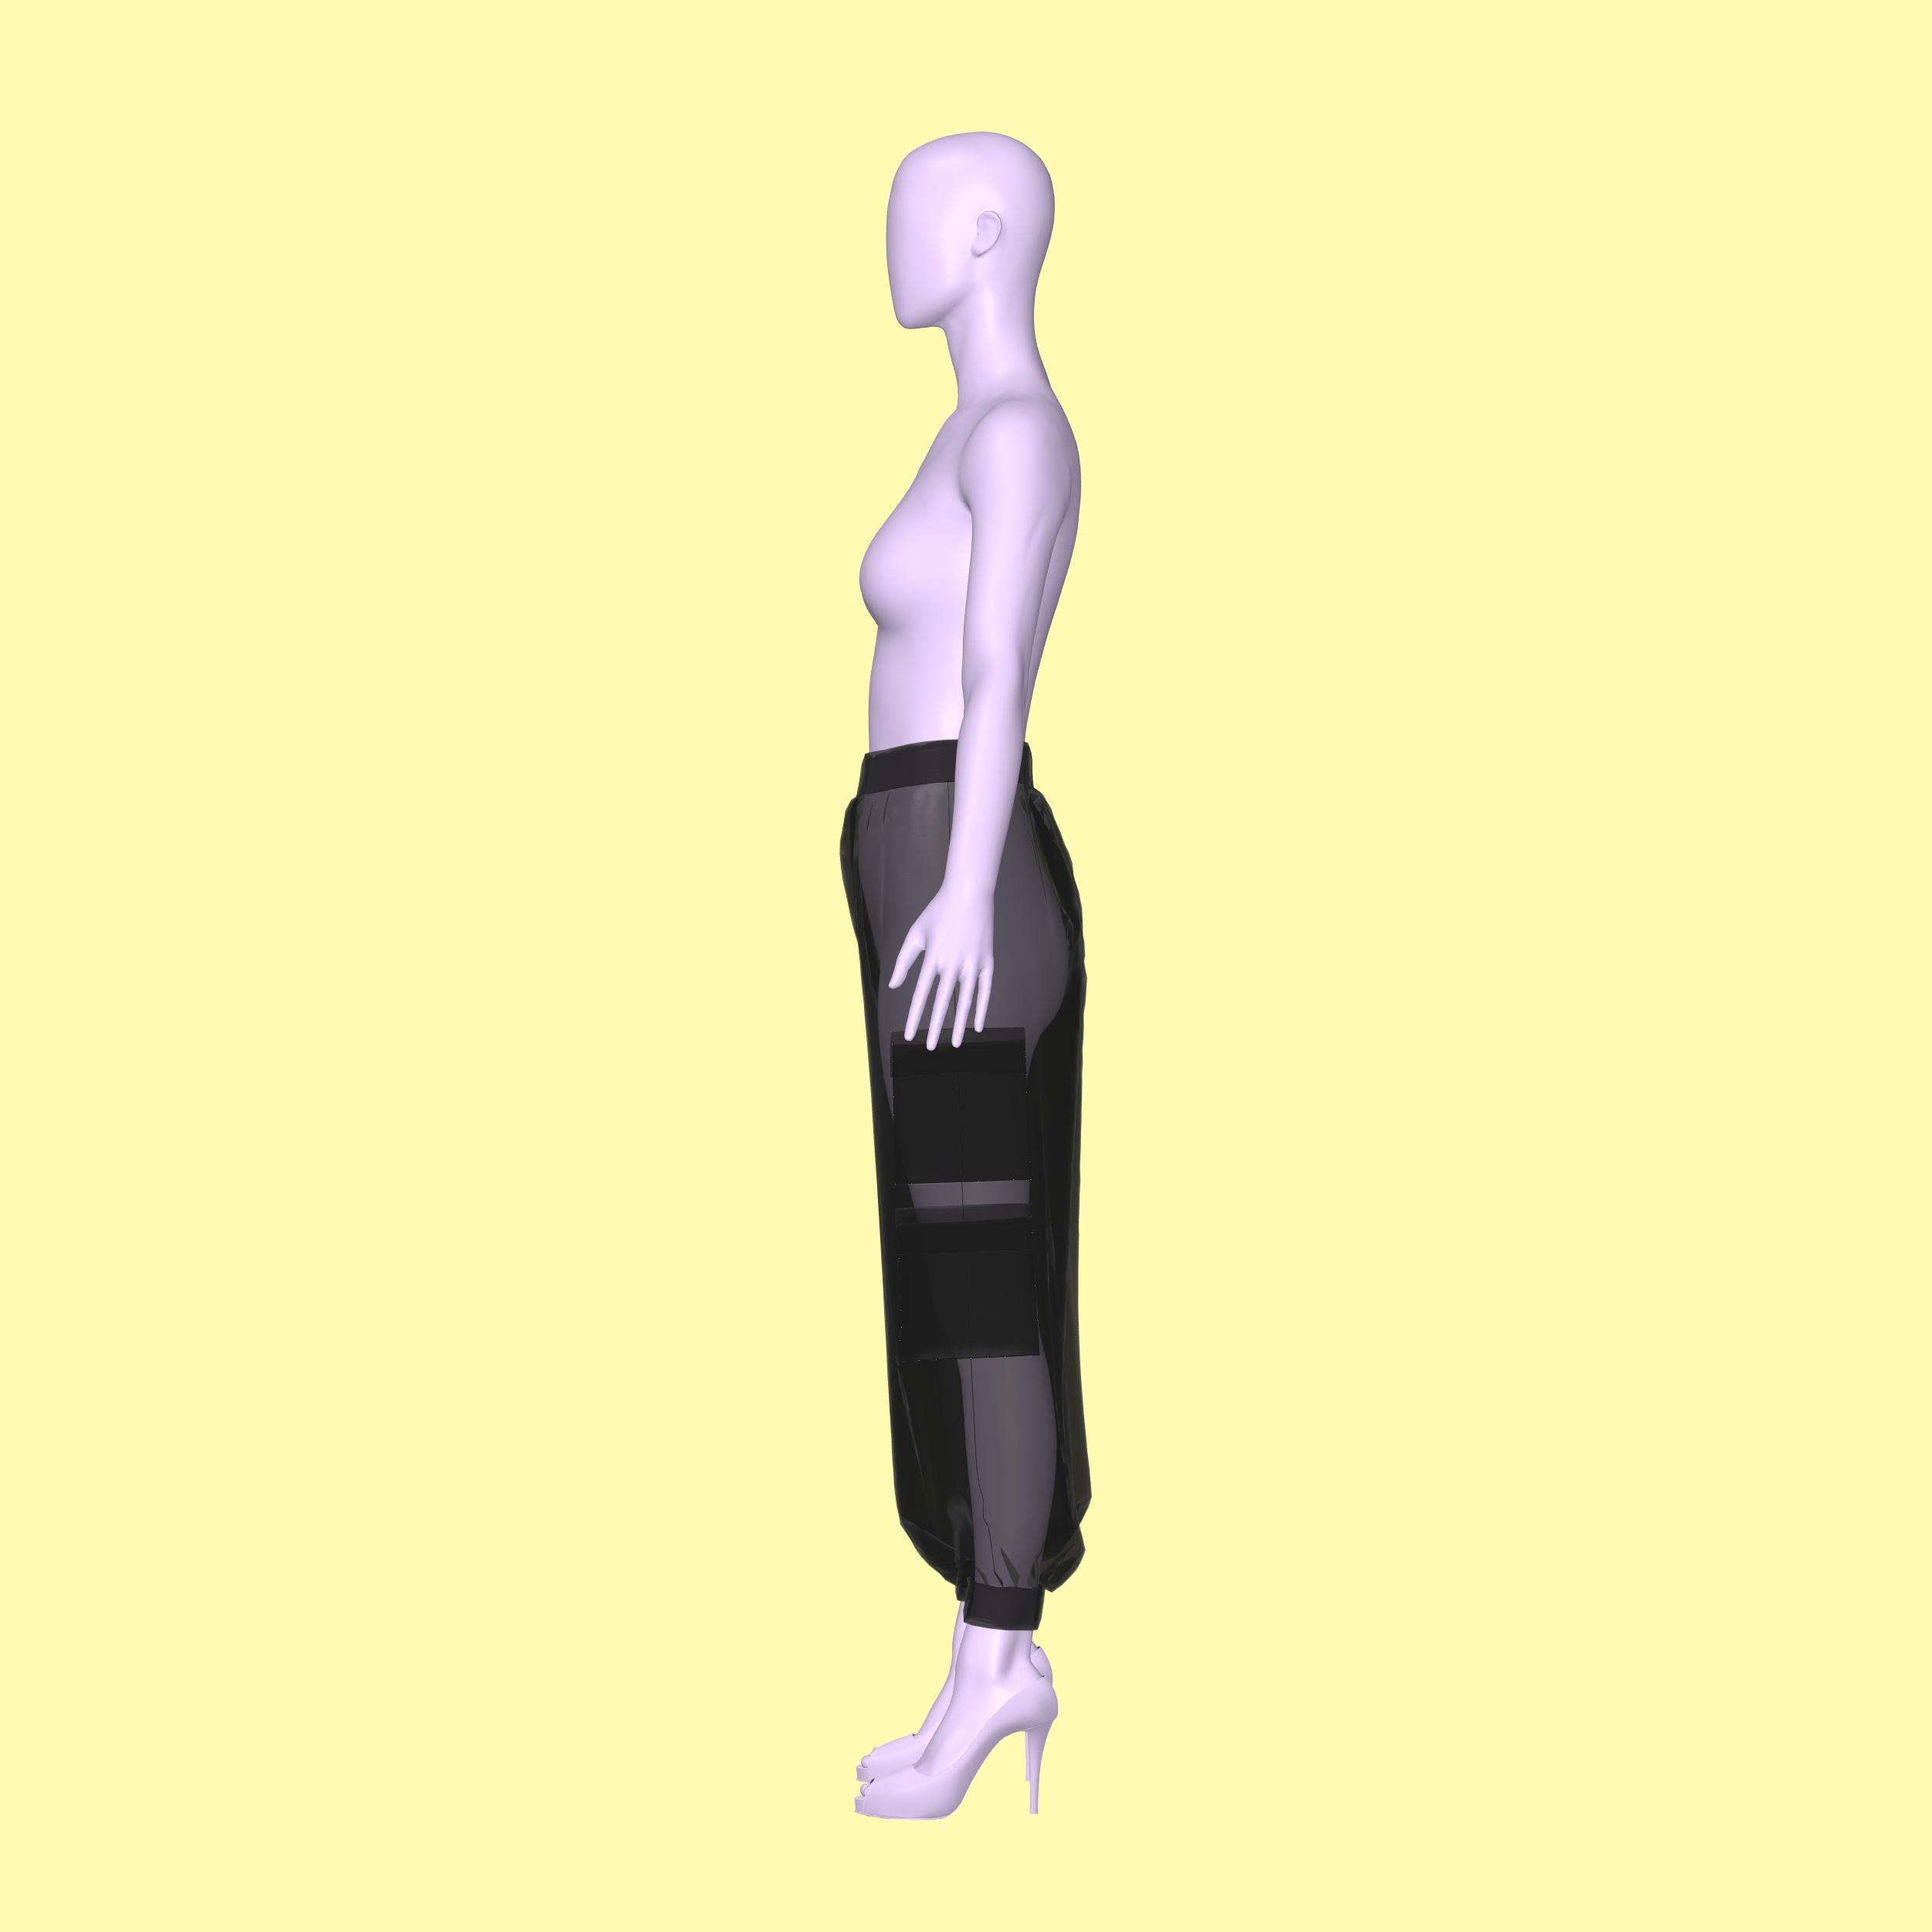
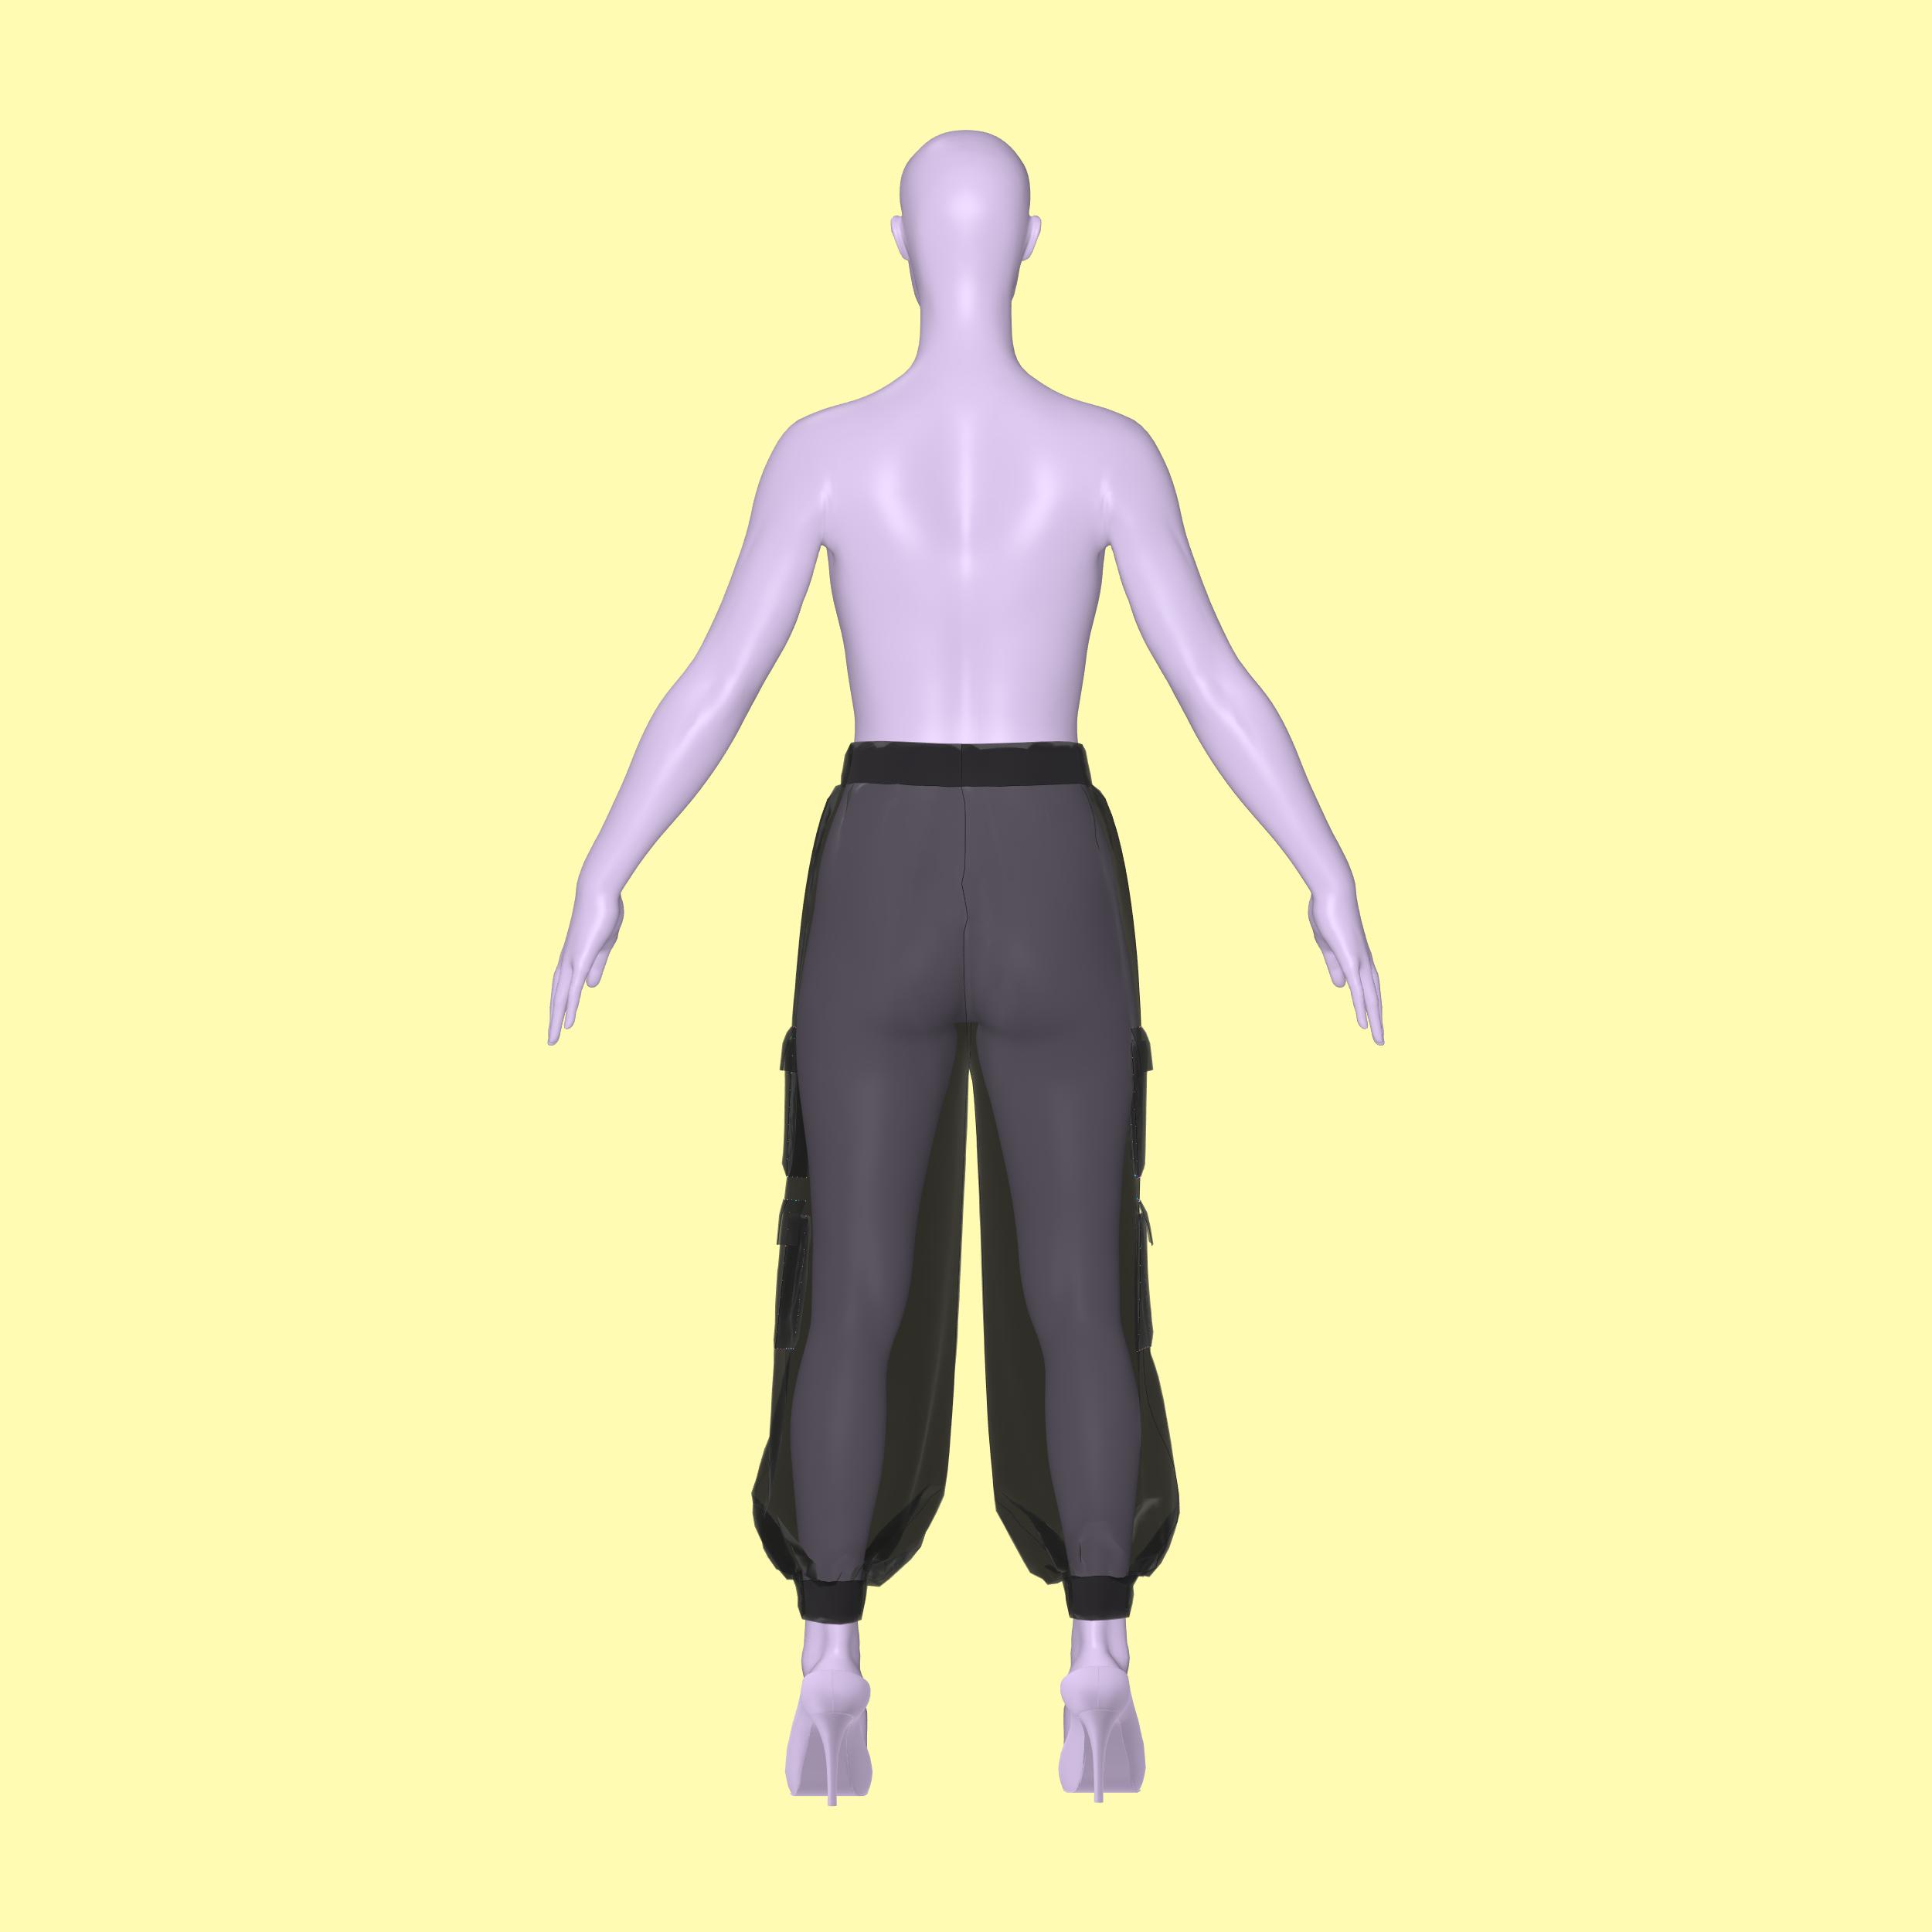
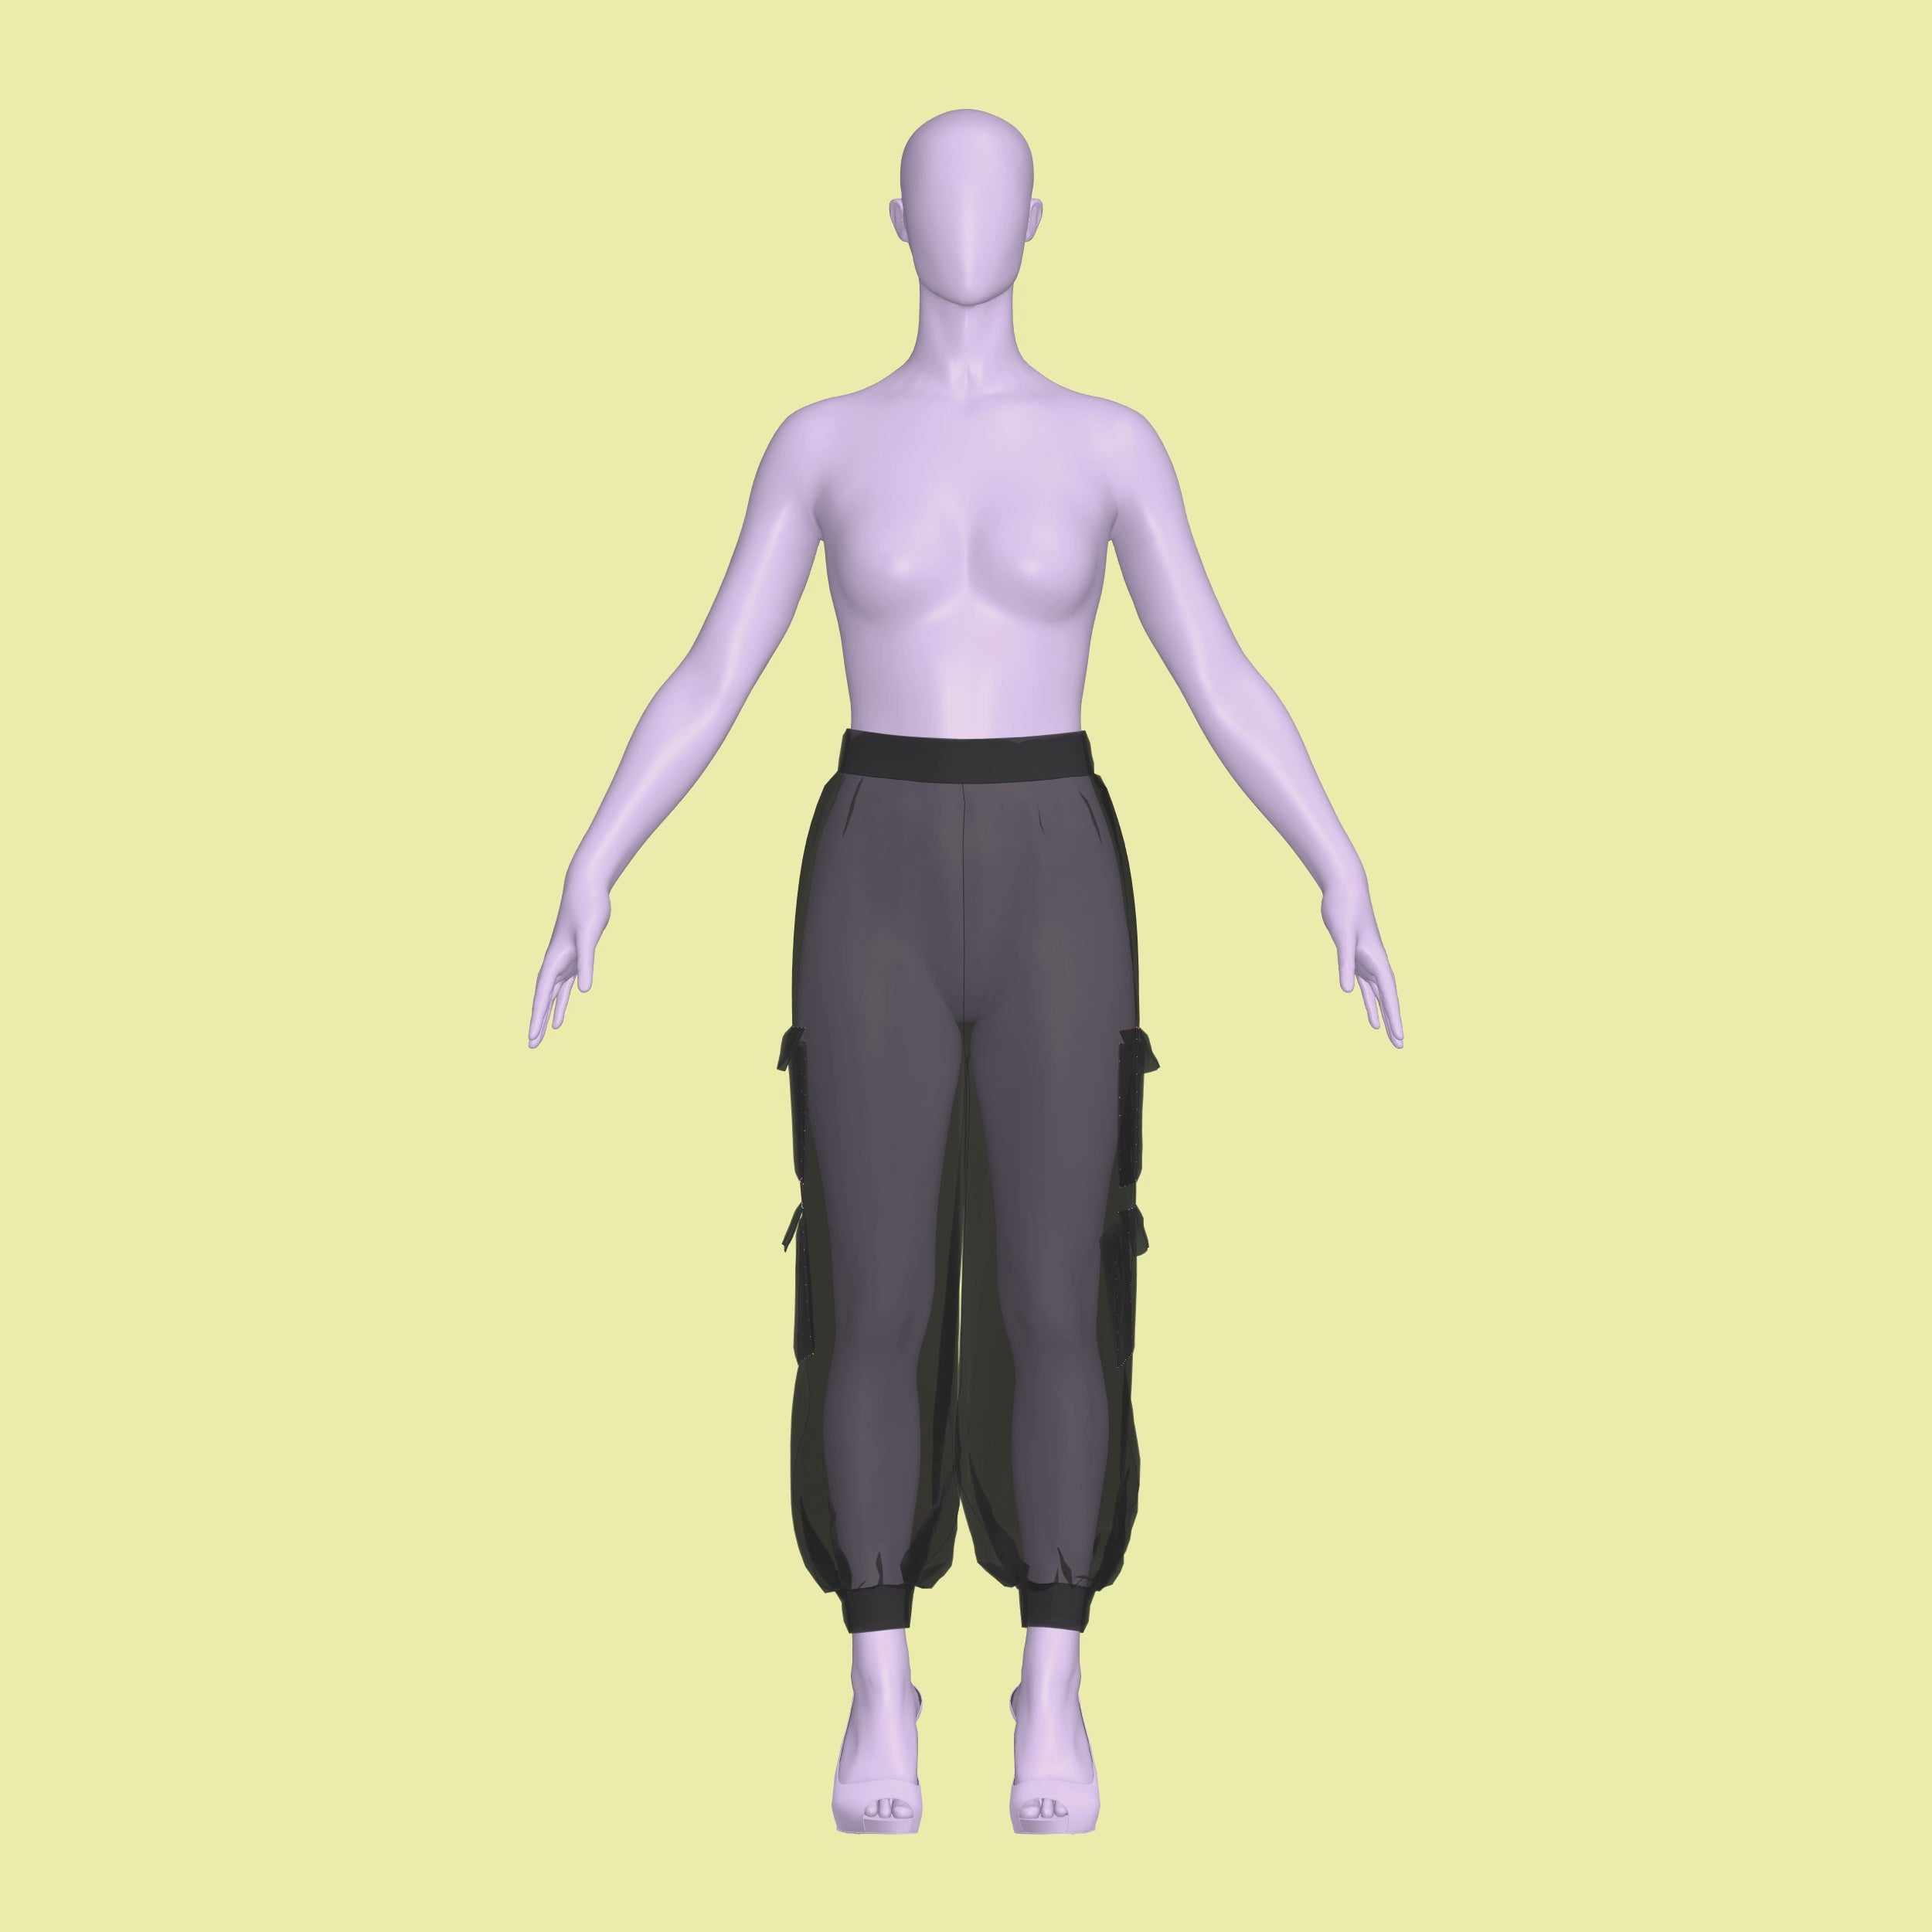
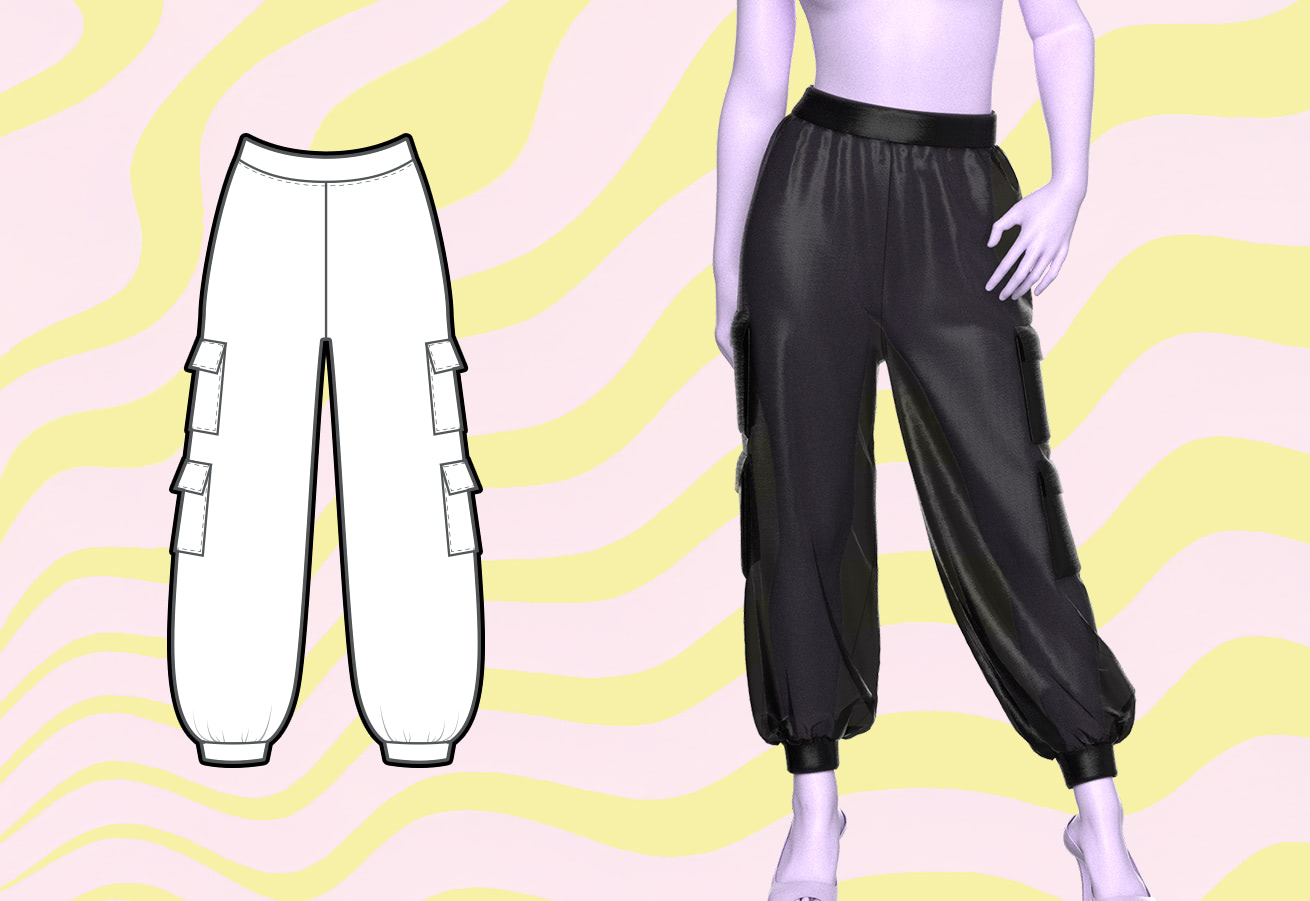
¡Aprenda a coser nuestros pantalones holgados de cintura alta estilo cargo Y2K, diseñados exclusivamente para drag queens! Estos pantalones llamativos son perfectos para quienes aman una combinación de estilo y comodidad. Con una cintura elástica y puños en la pantorrilla, lucirás bien y te mantendrás cómoda toda la noche. Estos pantalones son perfectos para cualquiera que quiera lucir un estilo elegante pero funcional.
Dificultad del patrón: Para principiantes
Yardas de tela
Las medidas a continuación se basan en anchos de tela de 58 pulgadas.
| Tamaño | Yardas | Metros |
|---|---|---|
| XS | 2 años | 1,7 metros |
| S | 2 años | 1,8 metros |
| METRO | 2,25 años | 2 metros |
| yo | 2,25 años | 2 metros |
| SG | 2,25 años | 2,1 metros |
| 2X | 2,25 años | 2,1 metros |
| 3 veces | 2,25 años | 2,1 metros |
| 4X | 2,5 años | 2,2 metros |
Para obtener información sobre la conversión de pulgadas a metros, consulte nuestra guía de conversión.
Telas y artículos de mercería
Adecuado para tejidos ligeros con algo de elasticidad:
- Tela con lentejuelas
- Satén elástico
- Organdí
- Gasa
- Mezclas de licra y spandex
- Malla
- Elástico de 2 pulgadas/5 cm
Detalles de tallas
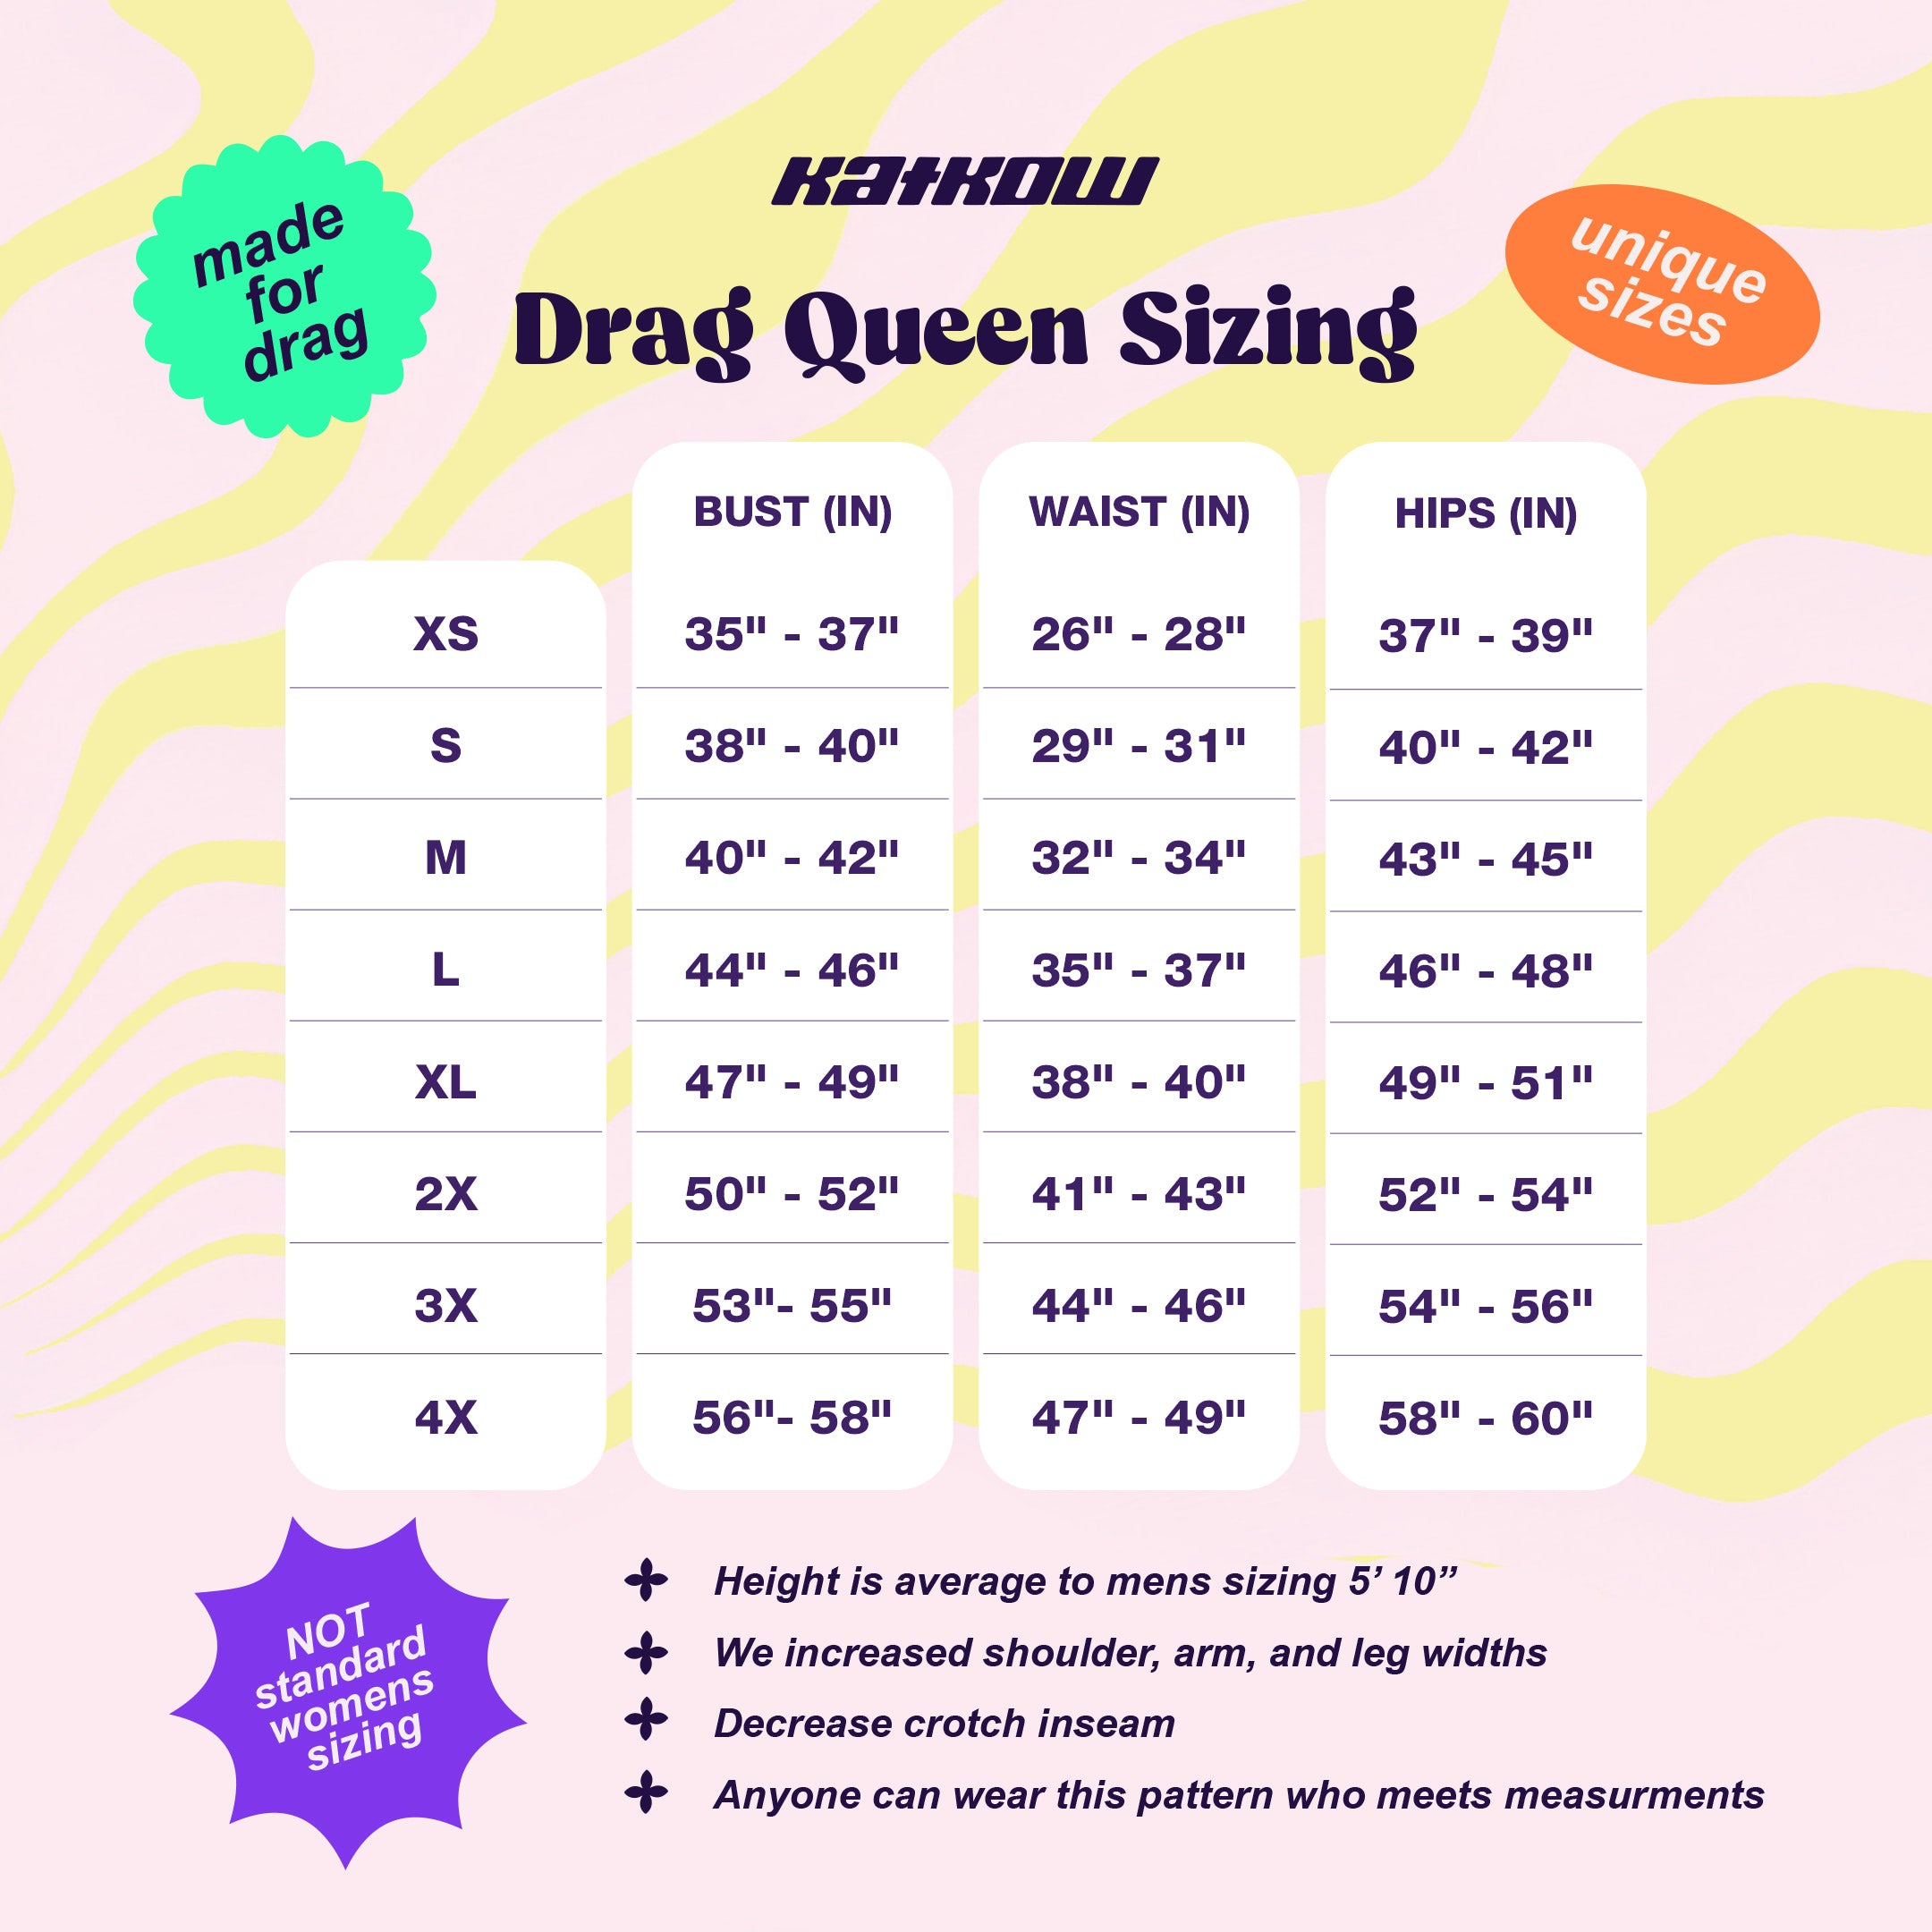
Este patrón está disponible en nuestros exclusivos talles Drag Queen (XS-4X). Consulta nuestra guía de talles para obtener más información sobre nuestras medidas de talle.
Instrucciones de costura


Fabric Pieces
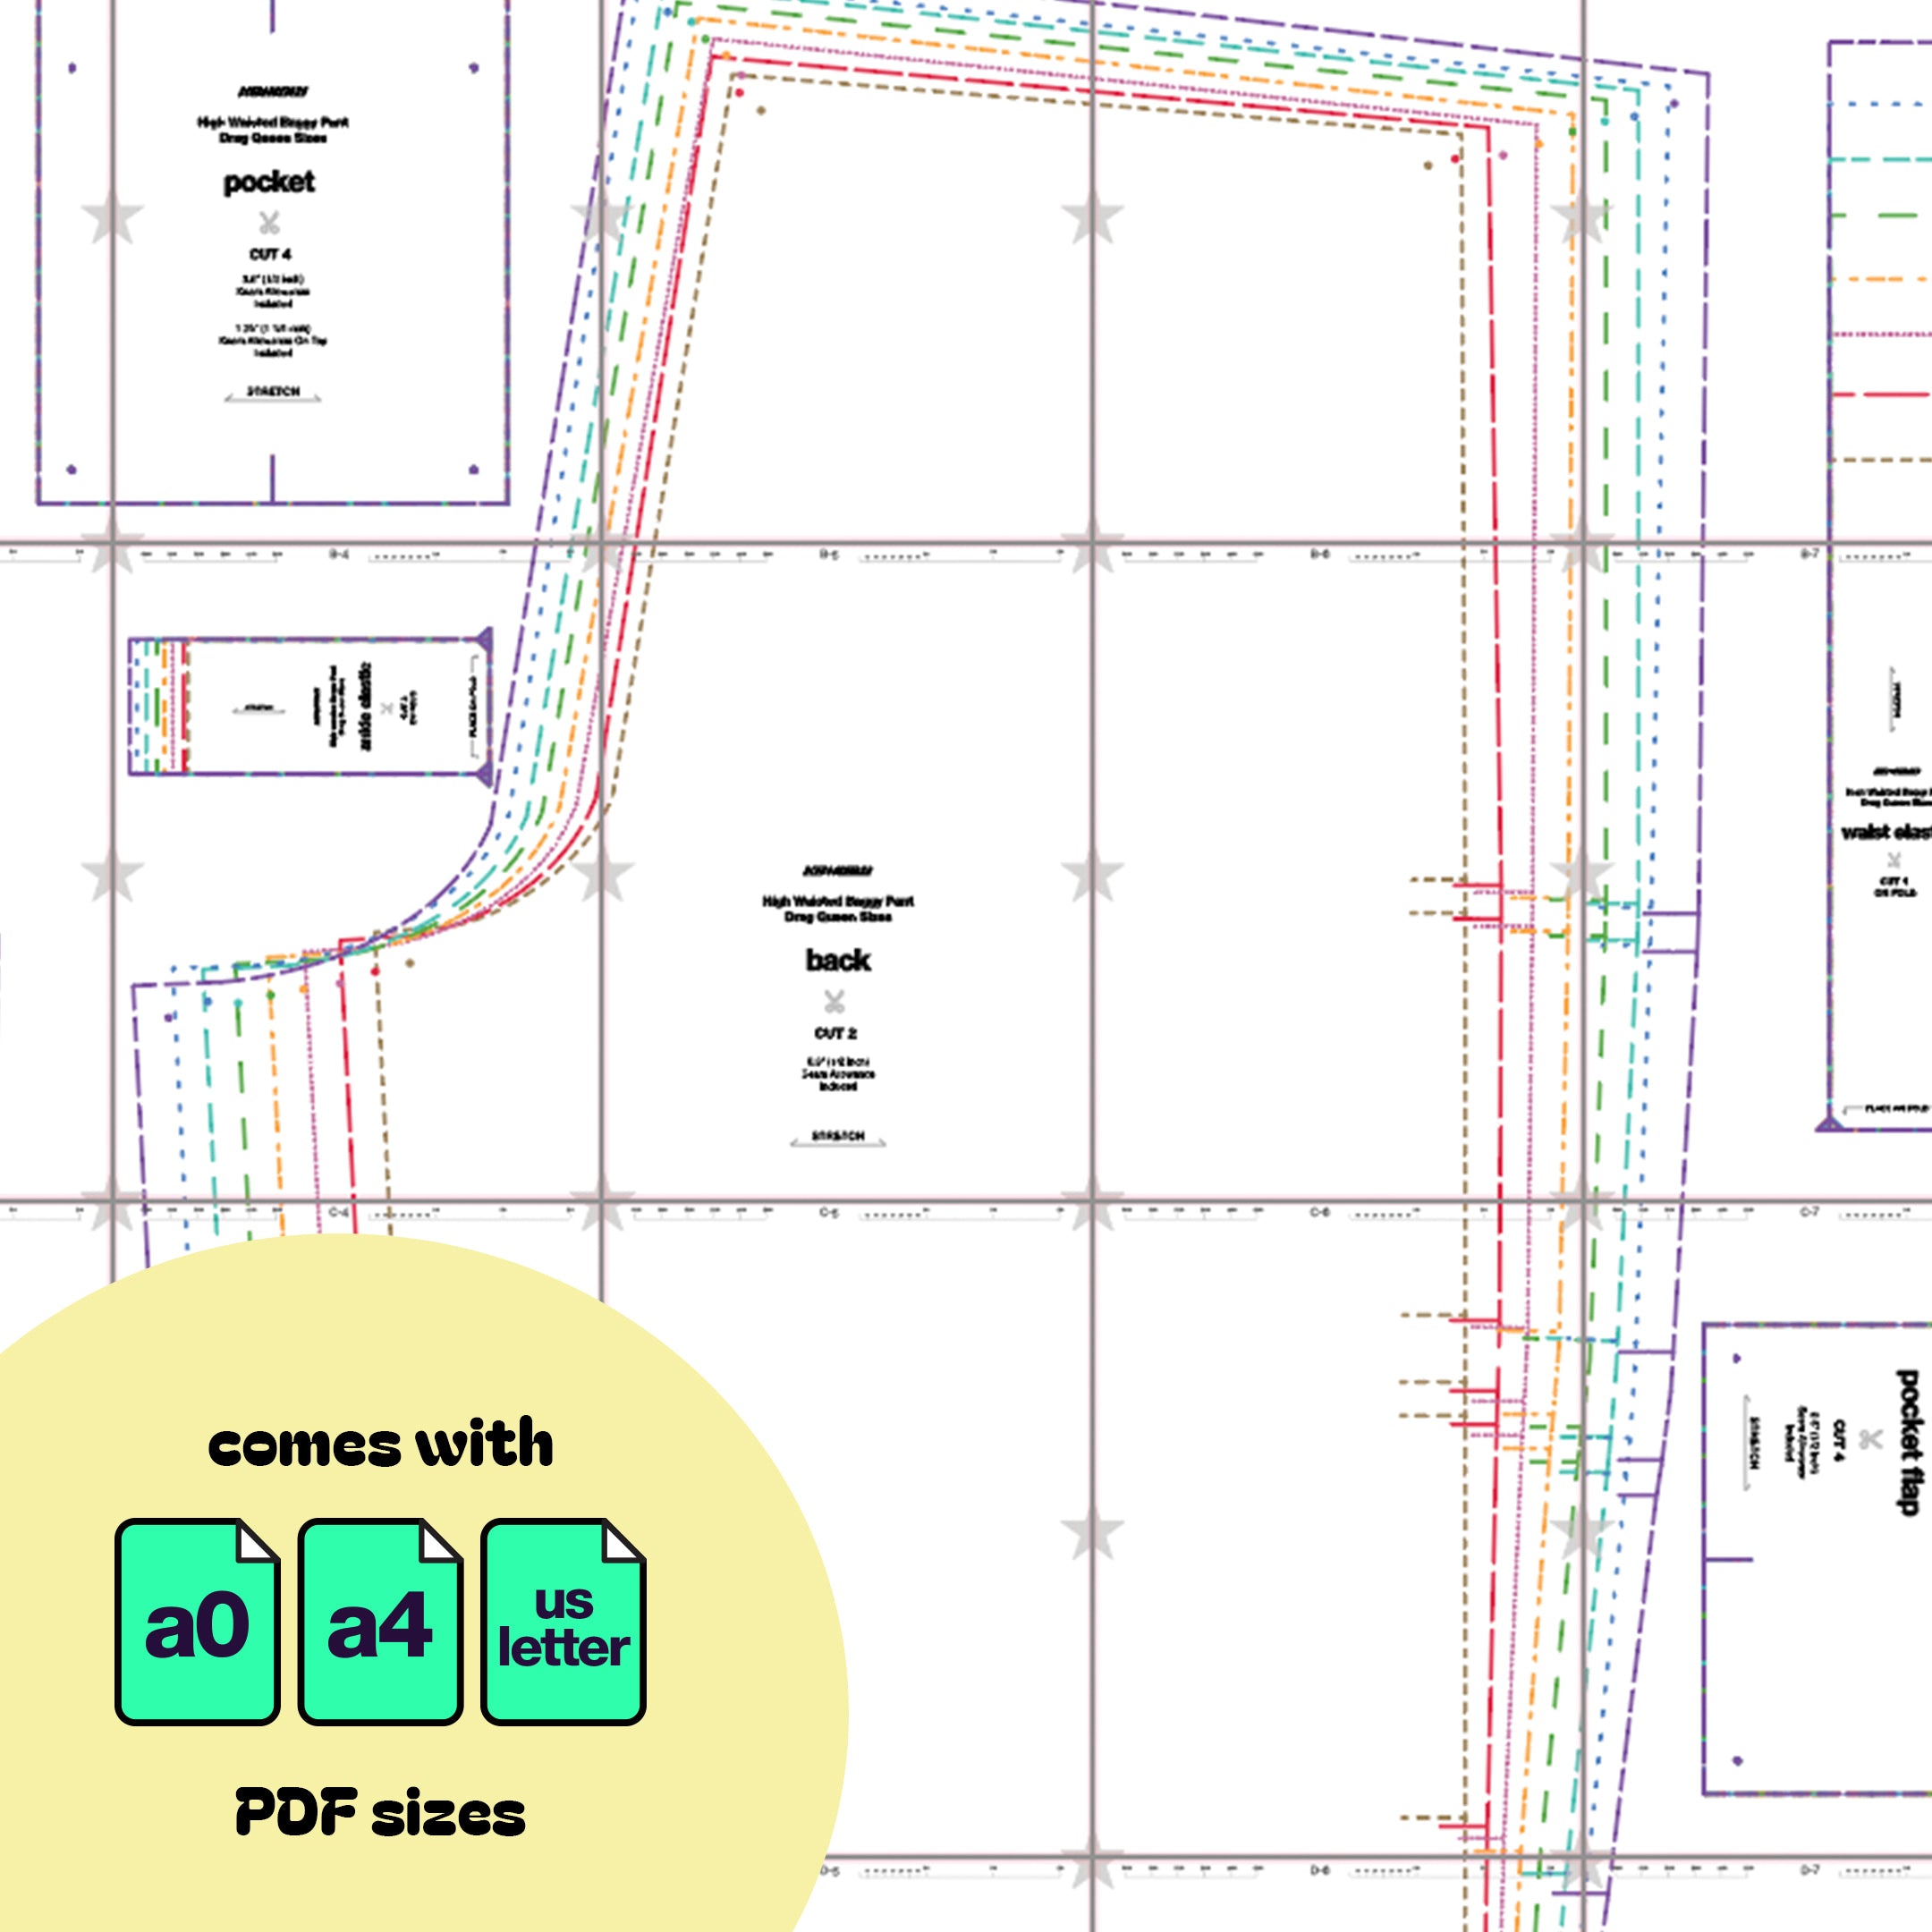
After cutting your fabric, you should have the following pieces:
- Two front pieces
- Two back pieces
- One waistband
- One waistband elastic
- Two calf bands
- Two calf elastic bands
Pockets are optional: one pocket piece, and one pocket flap for each pocket (up to two pockets)

Stitches
Preferred stitches: Stretch stitch, zigzag stitch, or serger overlock stitch. You can use a straight stitch only on non-stretch areas.

STEP 1
Gather one front and one back piece, sew them together, right sides facing each other, along the side seam. And repeat for the other side.

STEP 2
On the wrong side press down your seams. Optionally you can top-sitch the seam down on the right side of the fabric.

STEP 3
If you are adding pockets, gather your pocket peices.
On the wrong side of the pocket, on the top edge, fold over 0.25 inches and press it down. Then fold over another 1 inch and press it down. So the 0.25 fold is folded in between.
Then sew a horizontal stitch over those folds to keep them in place.

STEP 4
Then fold in the sides of the pocket 0.5” inches and press.
Position the pocket to the notches on the side seam of the front and back pant pieces. And sew the pocket down along the edges and the bottom of the pocket.

STEP 5
For the pocket flap, fold it vertically in half, right sides facing each other, and sew the side seams and the folded edge together.
Then flip the flap right side out and press. You can then top-stitch the edges.

STEP 6
Position the flap upside down wrong side out, above the pocket matching the notches and sew the bottom edge of the flap to the pant. Then flip the flap over and press and top stitch on the fold.
Repeat steps for all other pockets.

STEP 7
Stack both pant legs right sides facing each other, and sew them together along the front crotch and back crotch seams.

STEP 8
Sew the inseams of the front and back together.

STEP 9
Gather the waistband right side up. Fold it horizontally in half and sew the ends closed. Creating a loop.
Then roll and fold the right side of the fabric over, vertically in half.

STEP 10
With the waistband folded, sew the bottom ends together, leaving an unsewn gap 2-3 inches at the center back seam. This will create an open tunnel for your elastic.
Elastic should be slightly shorter than the width of your waist band.
Then Insert elastic with a safety pin attached to one end. Guide the elastic through the unswend gap and pull the safety pin to help feed the elastic through the tunnel.
Once the elastic is in the tunnel you can sew the gap closed. Then stretch the band so the elastic is evenly distributed inside.

STEP 11
Add four pins evenly around the waist band.

STEP 12
Gather the elastic waistband, flip it upside down and wrong side out. Position the band over and outside of the pants. The pants should be right side out.
Pin the band around the waist of the pants. The center back seam of the waistband should line up to the center back seam of the pants. The center front pin of the waistband should match the center front seam of the pants. The side pins should then be evenly distributed in between.

STEP 13
Sew the band around the pants, right sides facing each other, using a stretch stitch, zig zag stitch, or serger.

STEP 14
Once sewn, flip the band right side up, and press the seam so it faces down. You can then top stitch the band seam facing down around the top edge of the pants.

STEP 15
Repeat steps 9-15 for the elastic bands around the ankles.
Get the Pattern
