How To Sew An Oversized Bag
Jump to InstructionsOverview
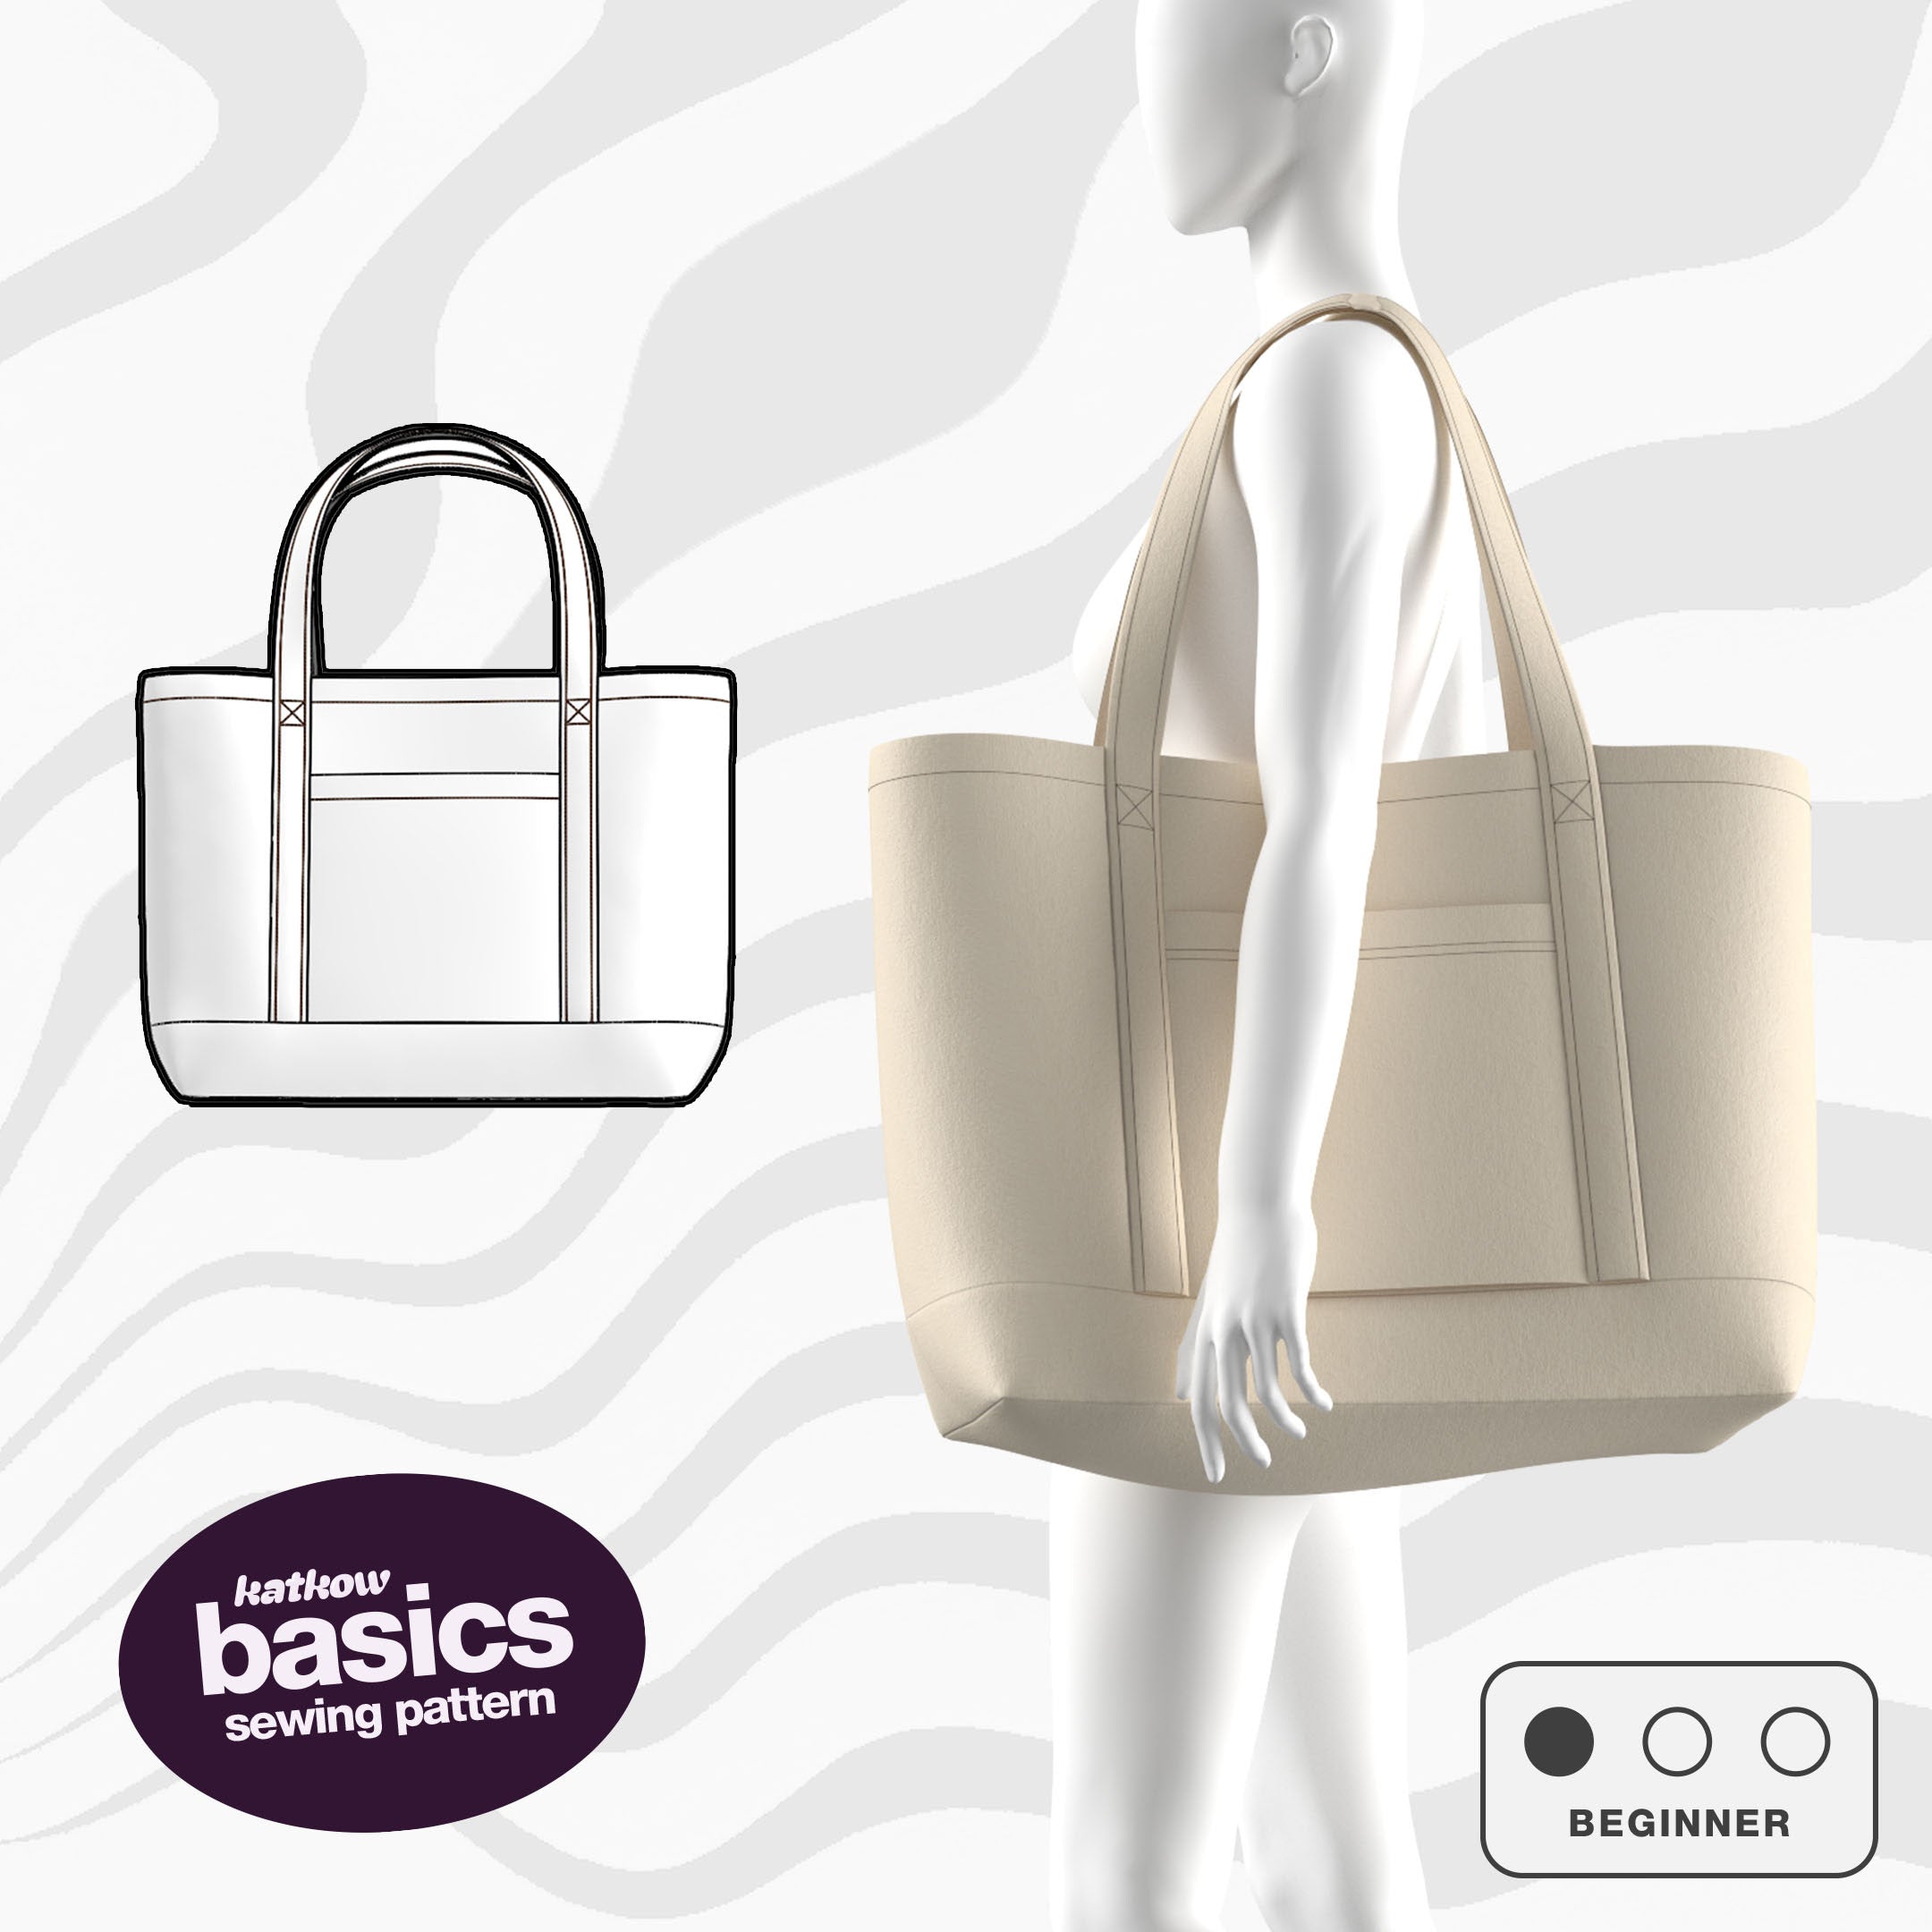
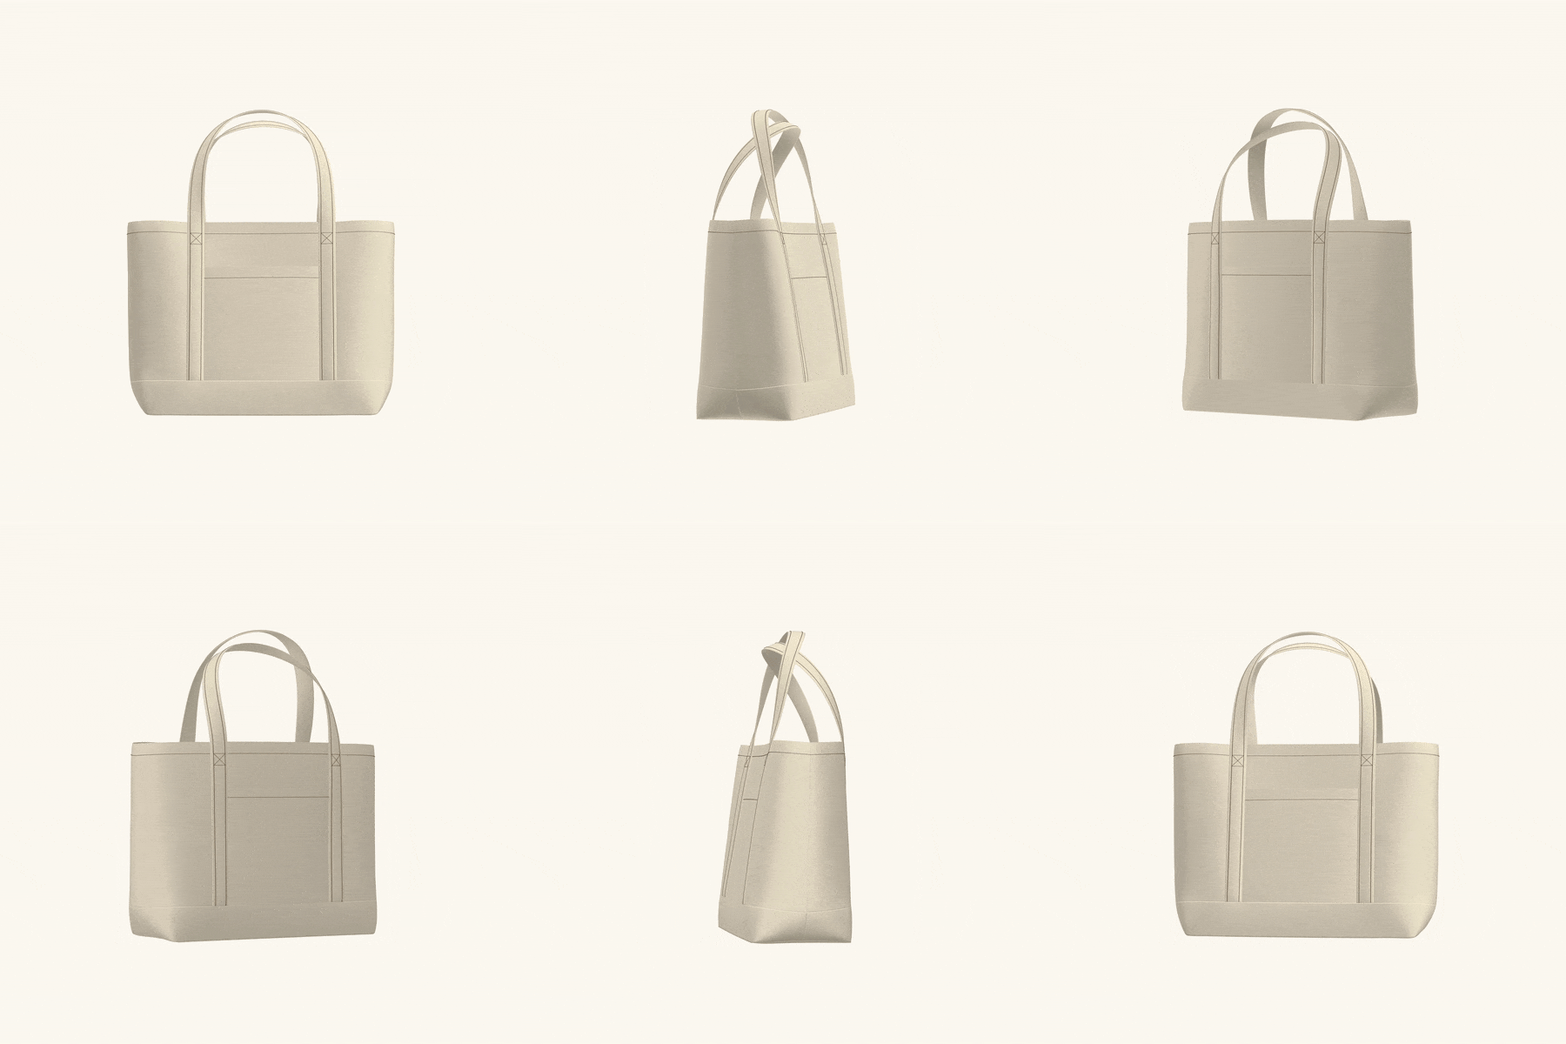
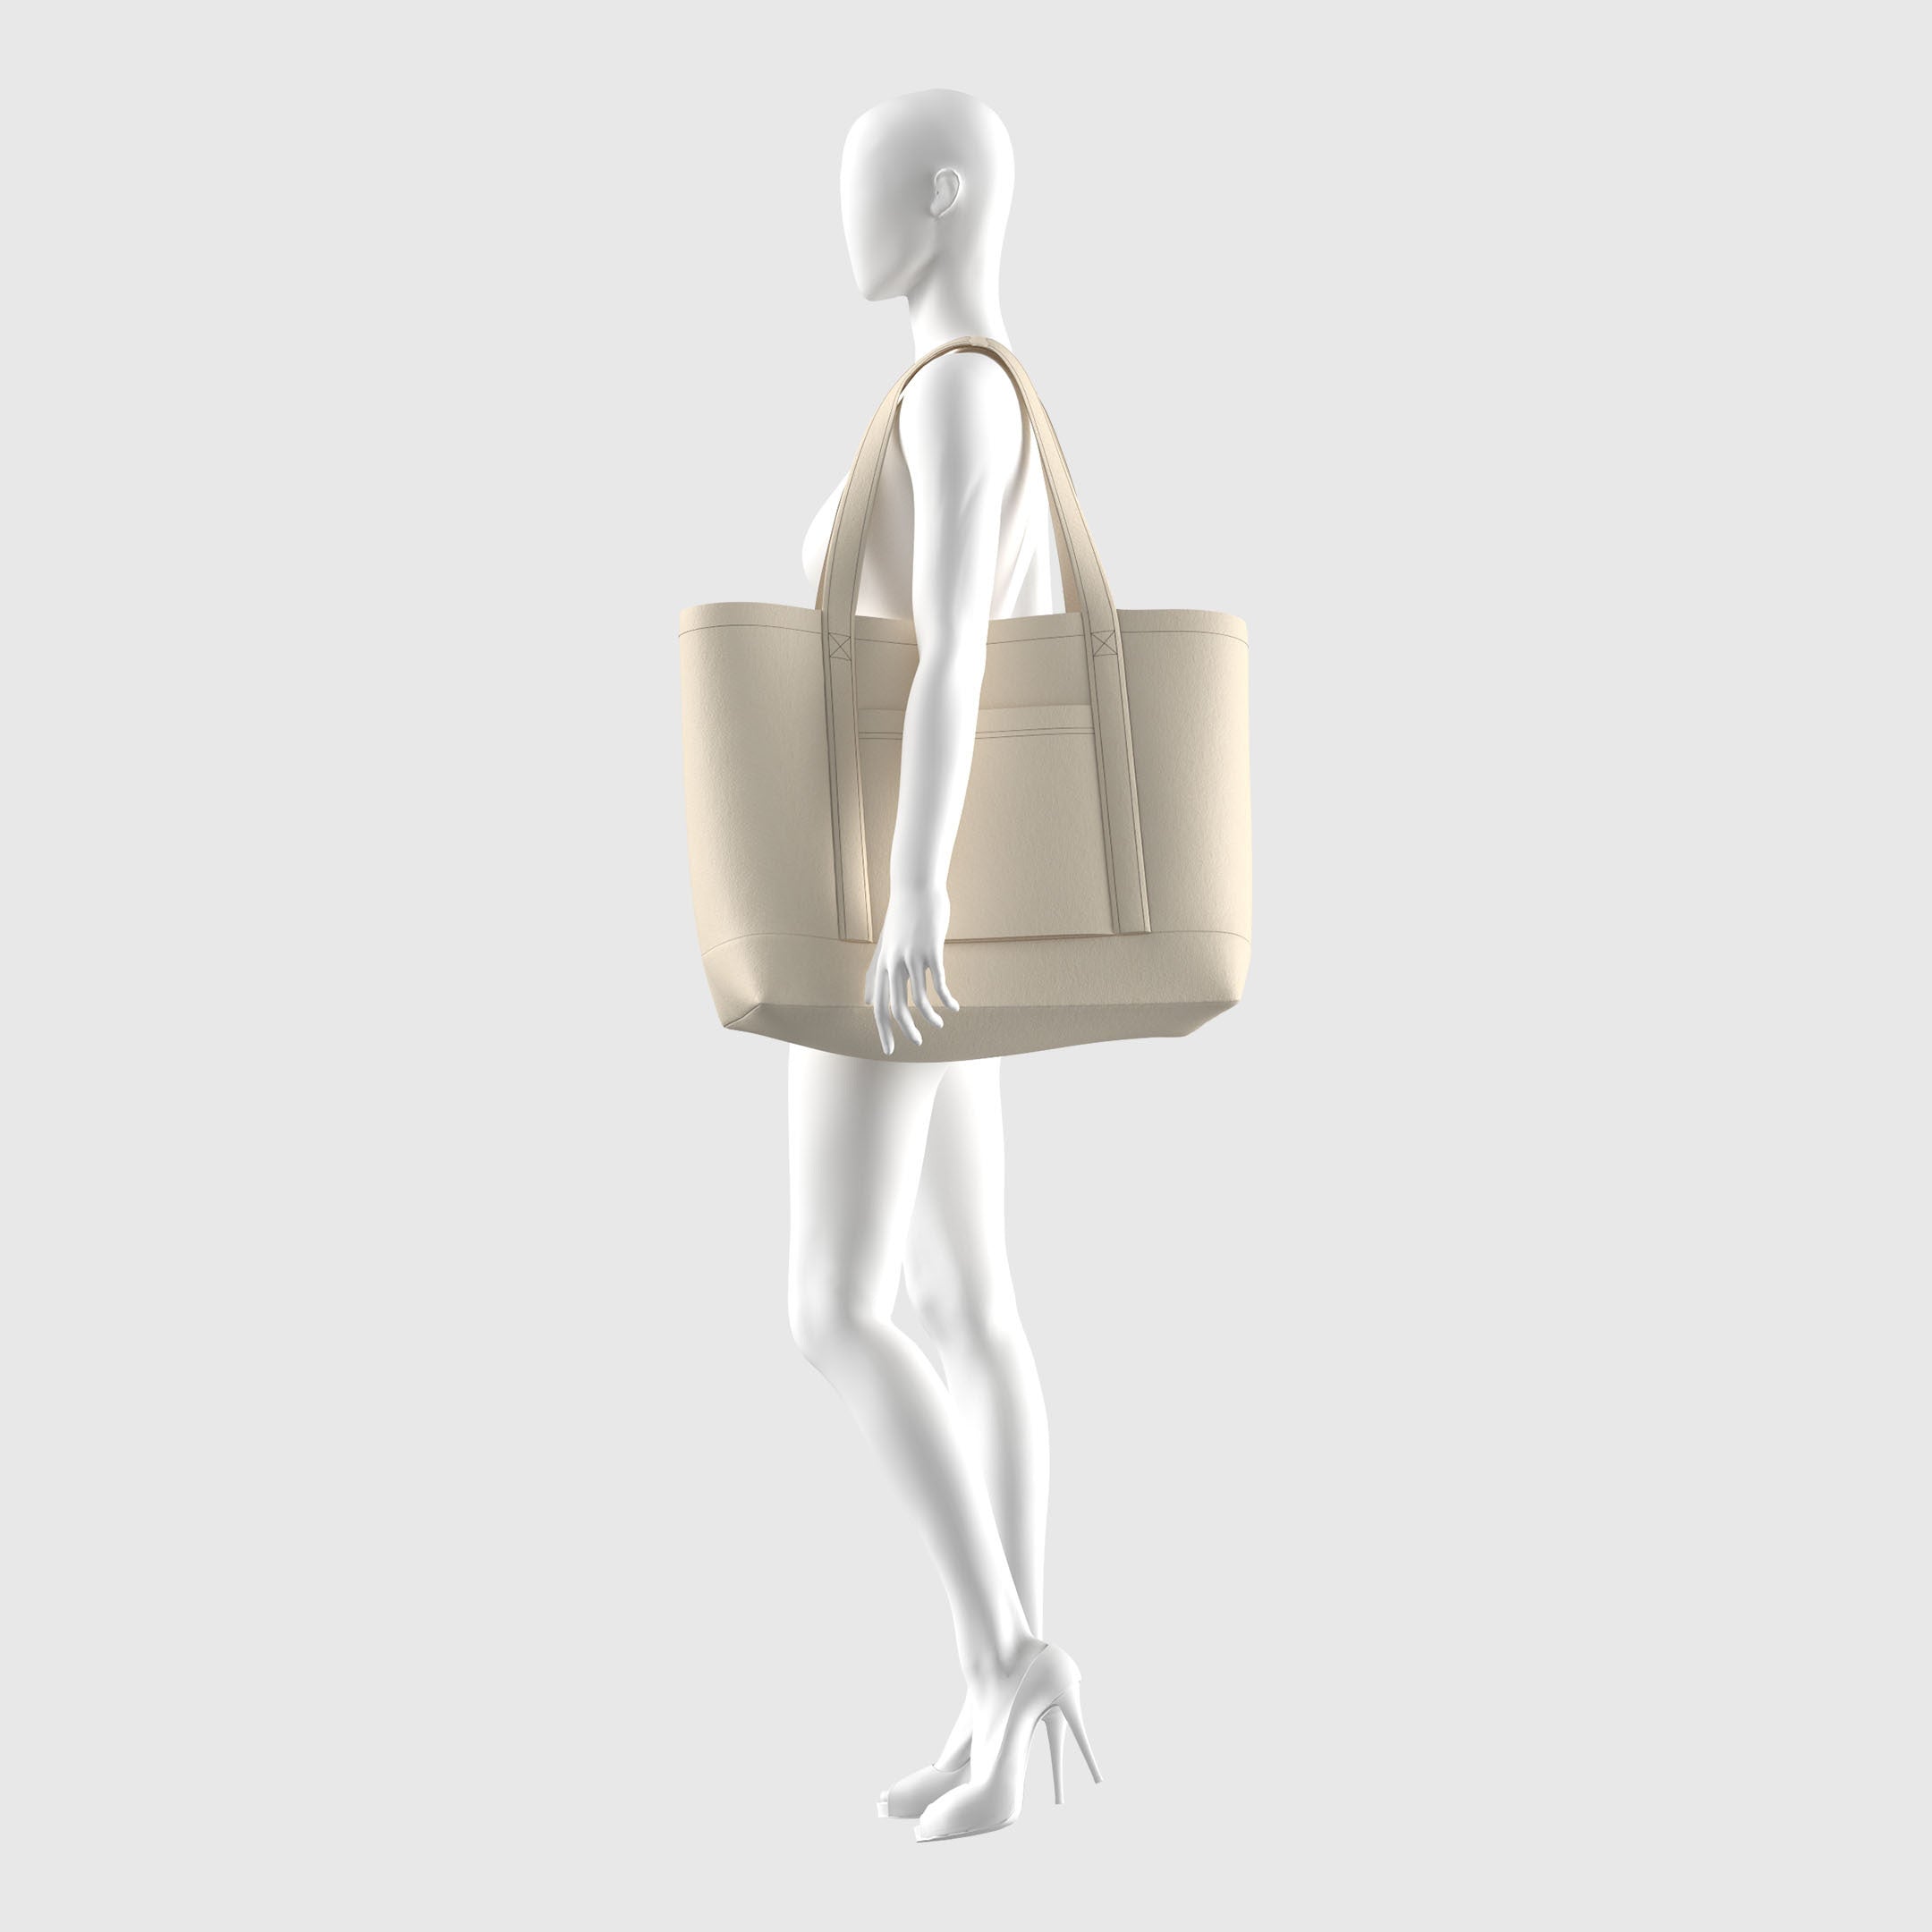
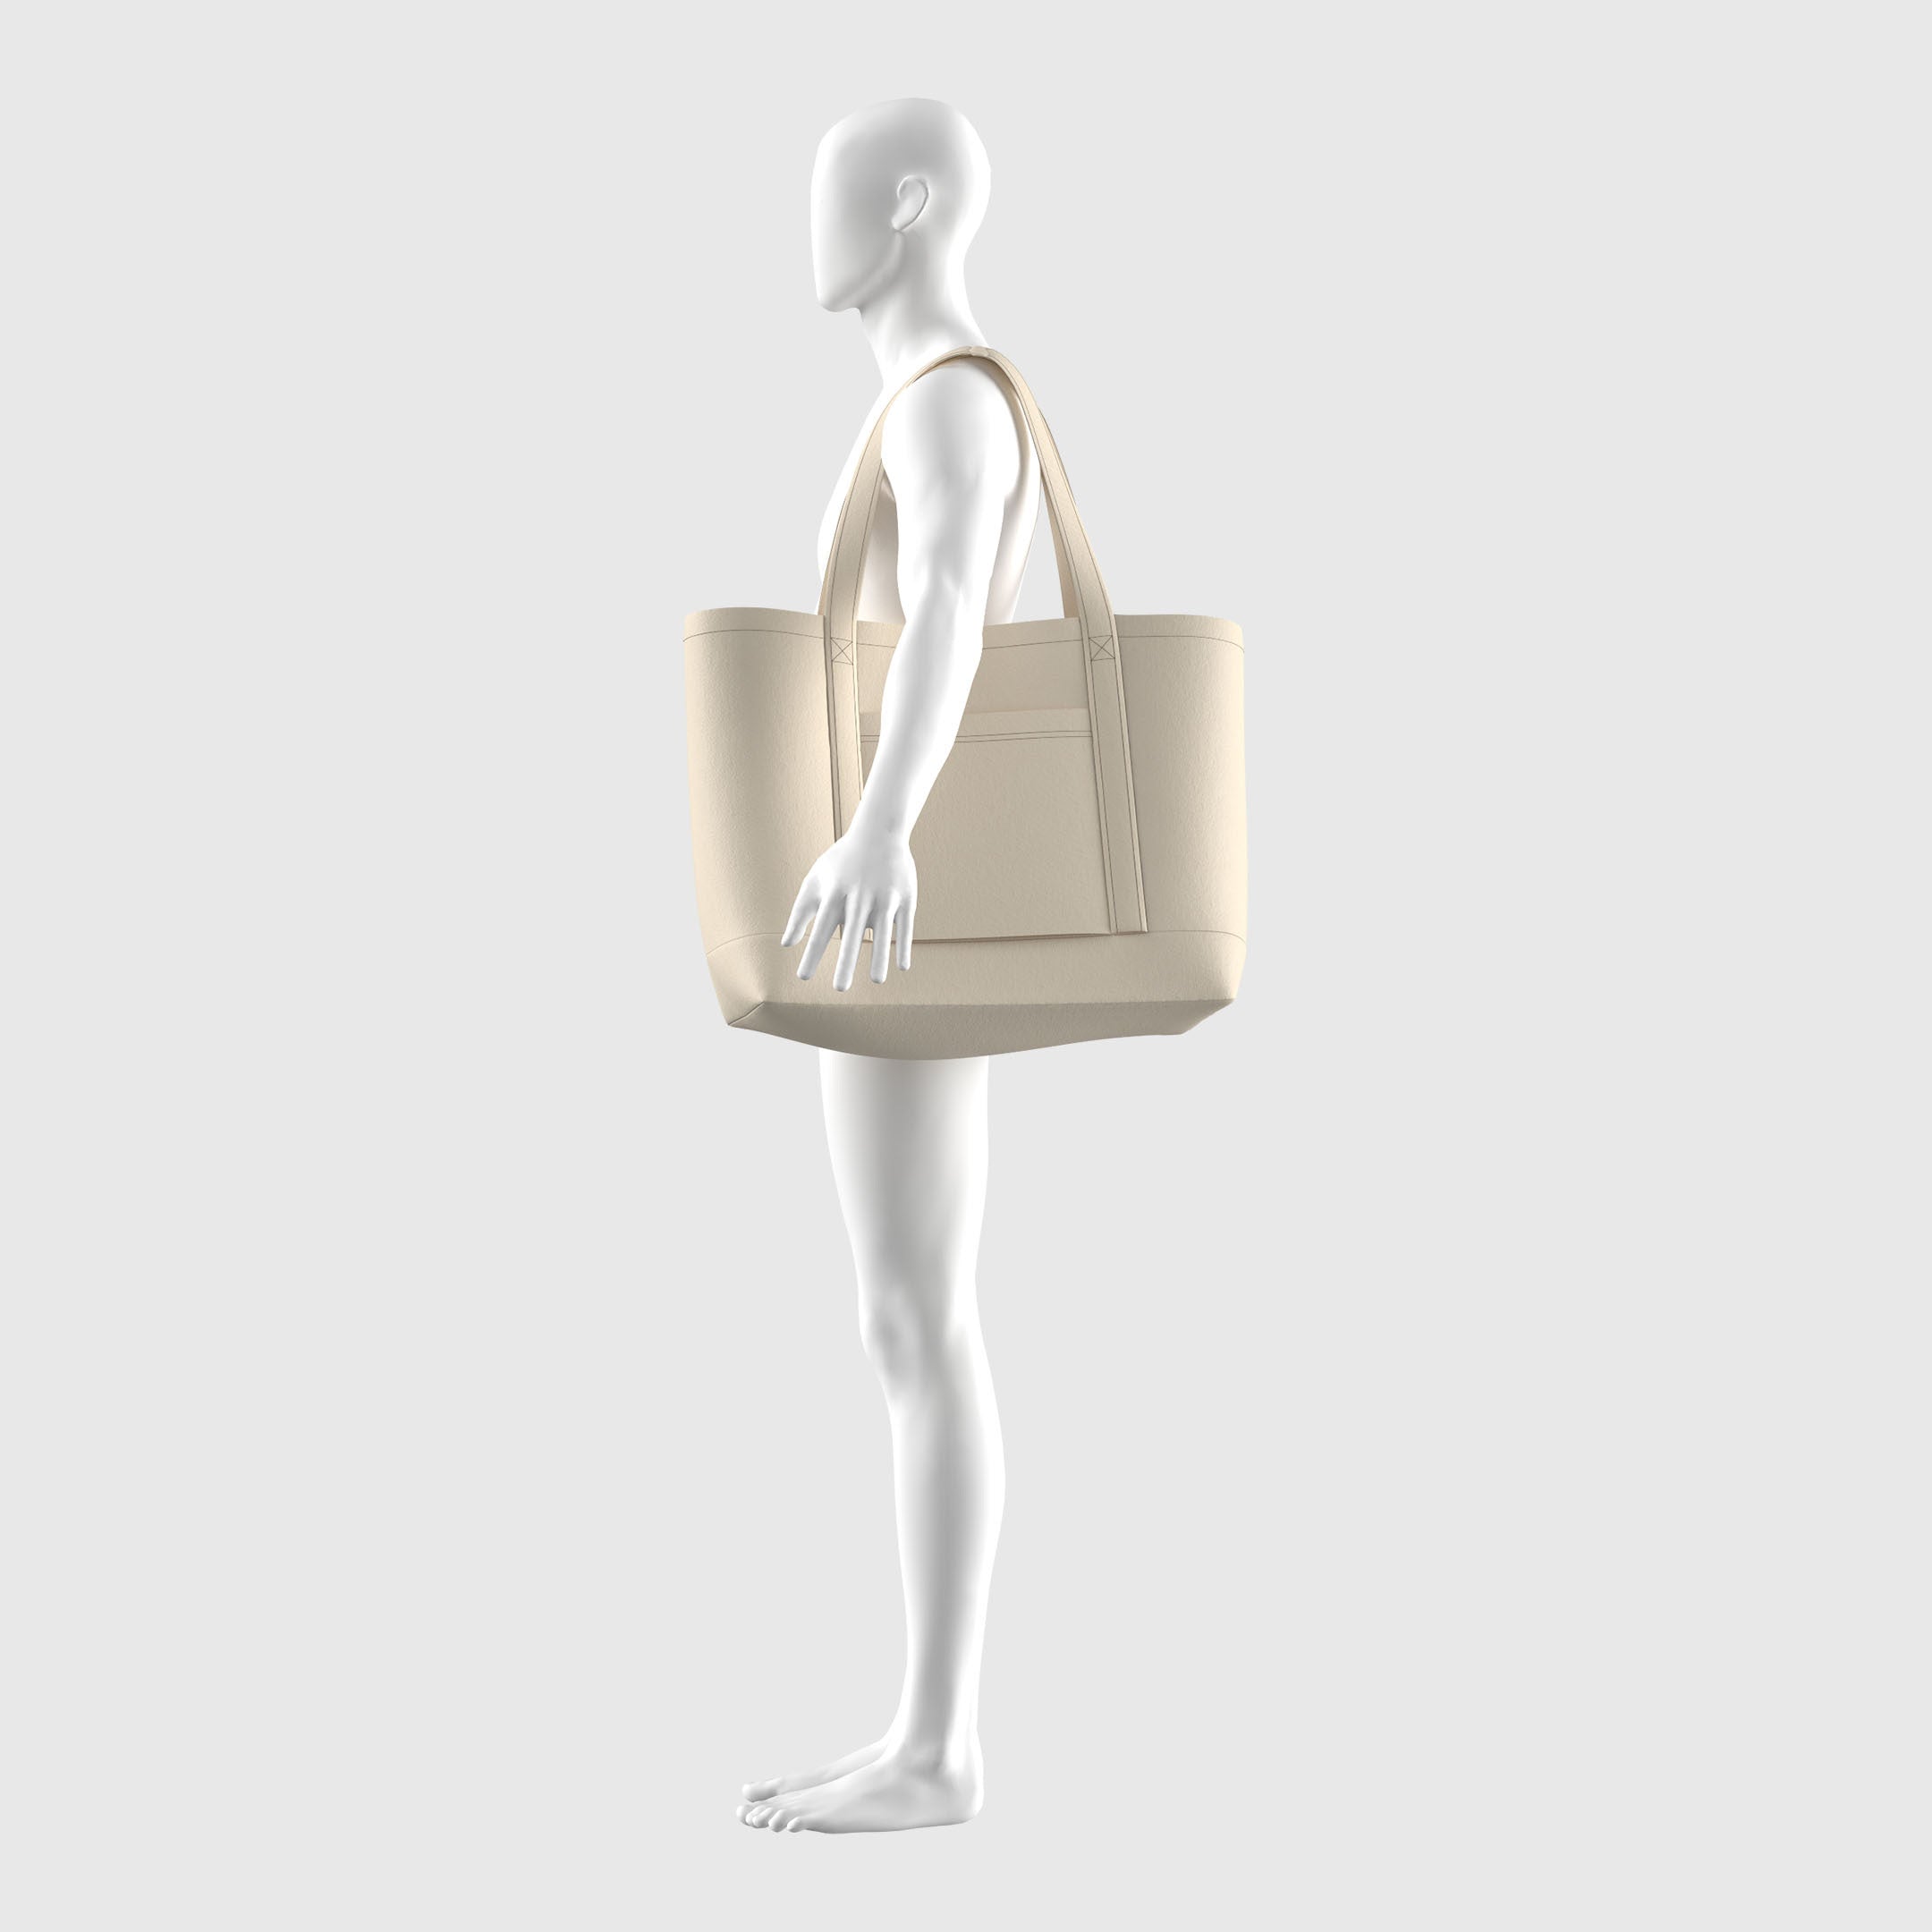
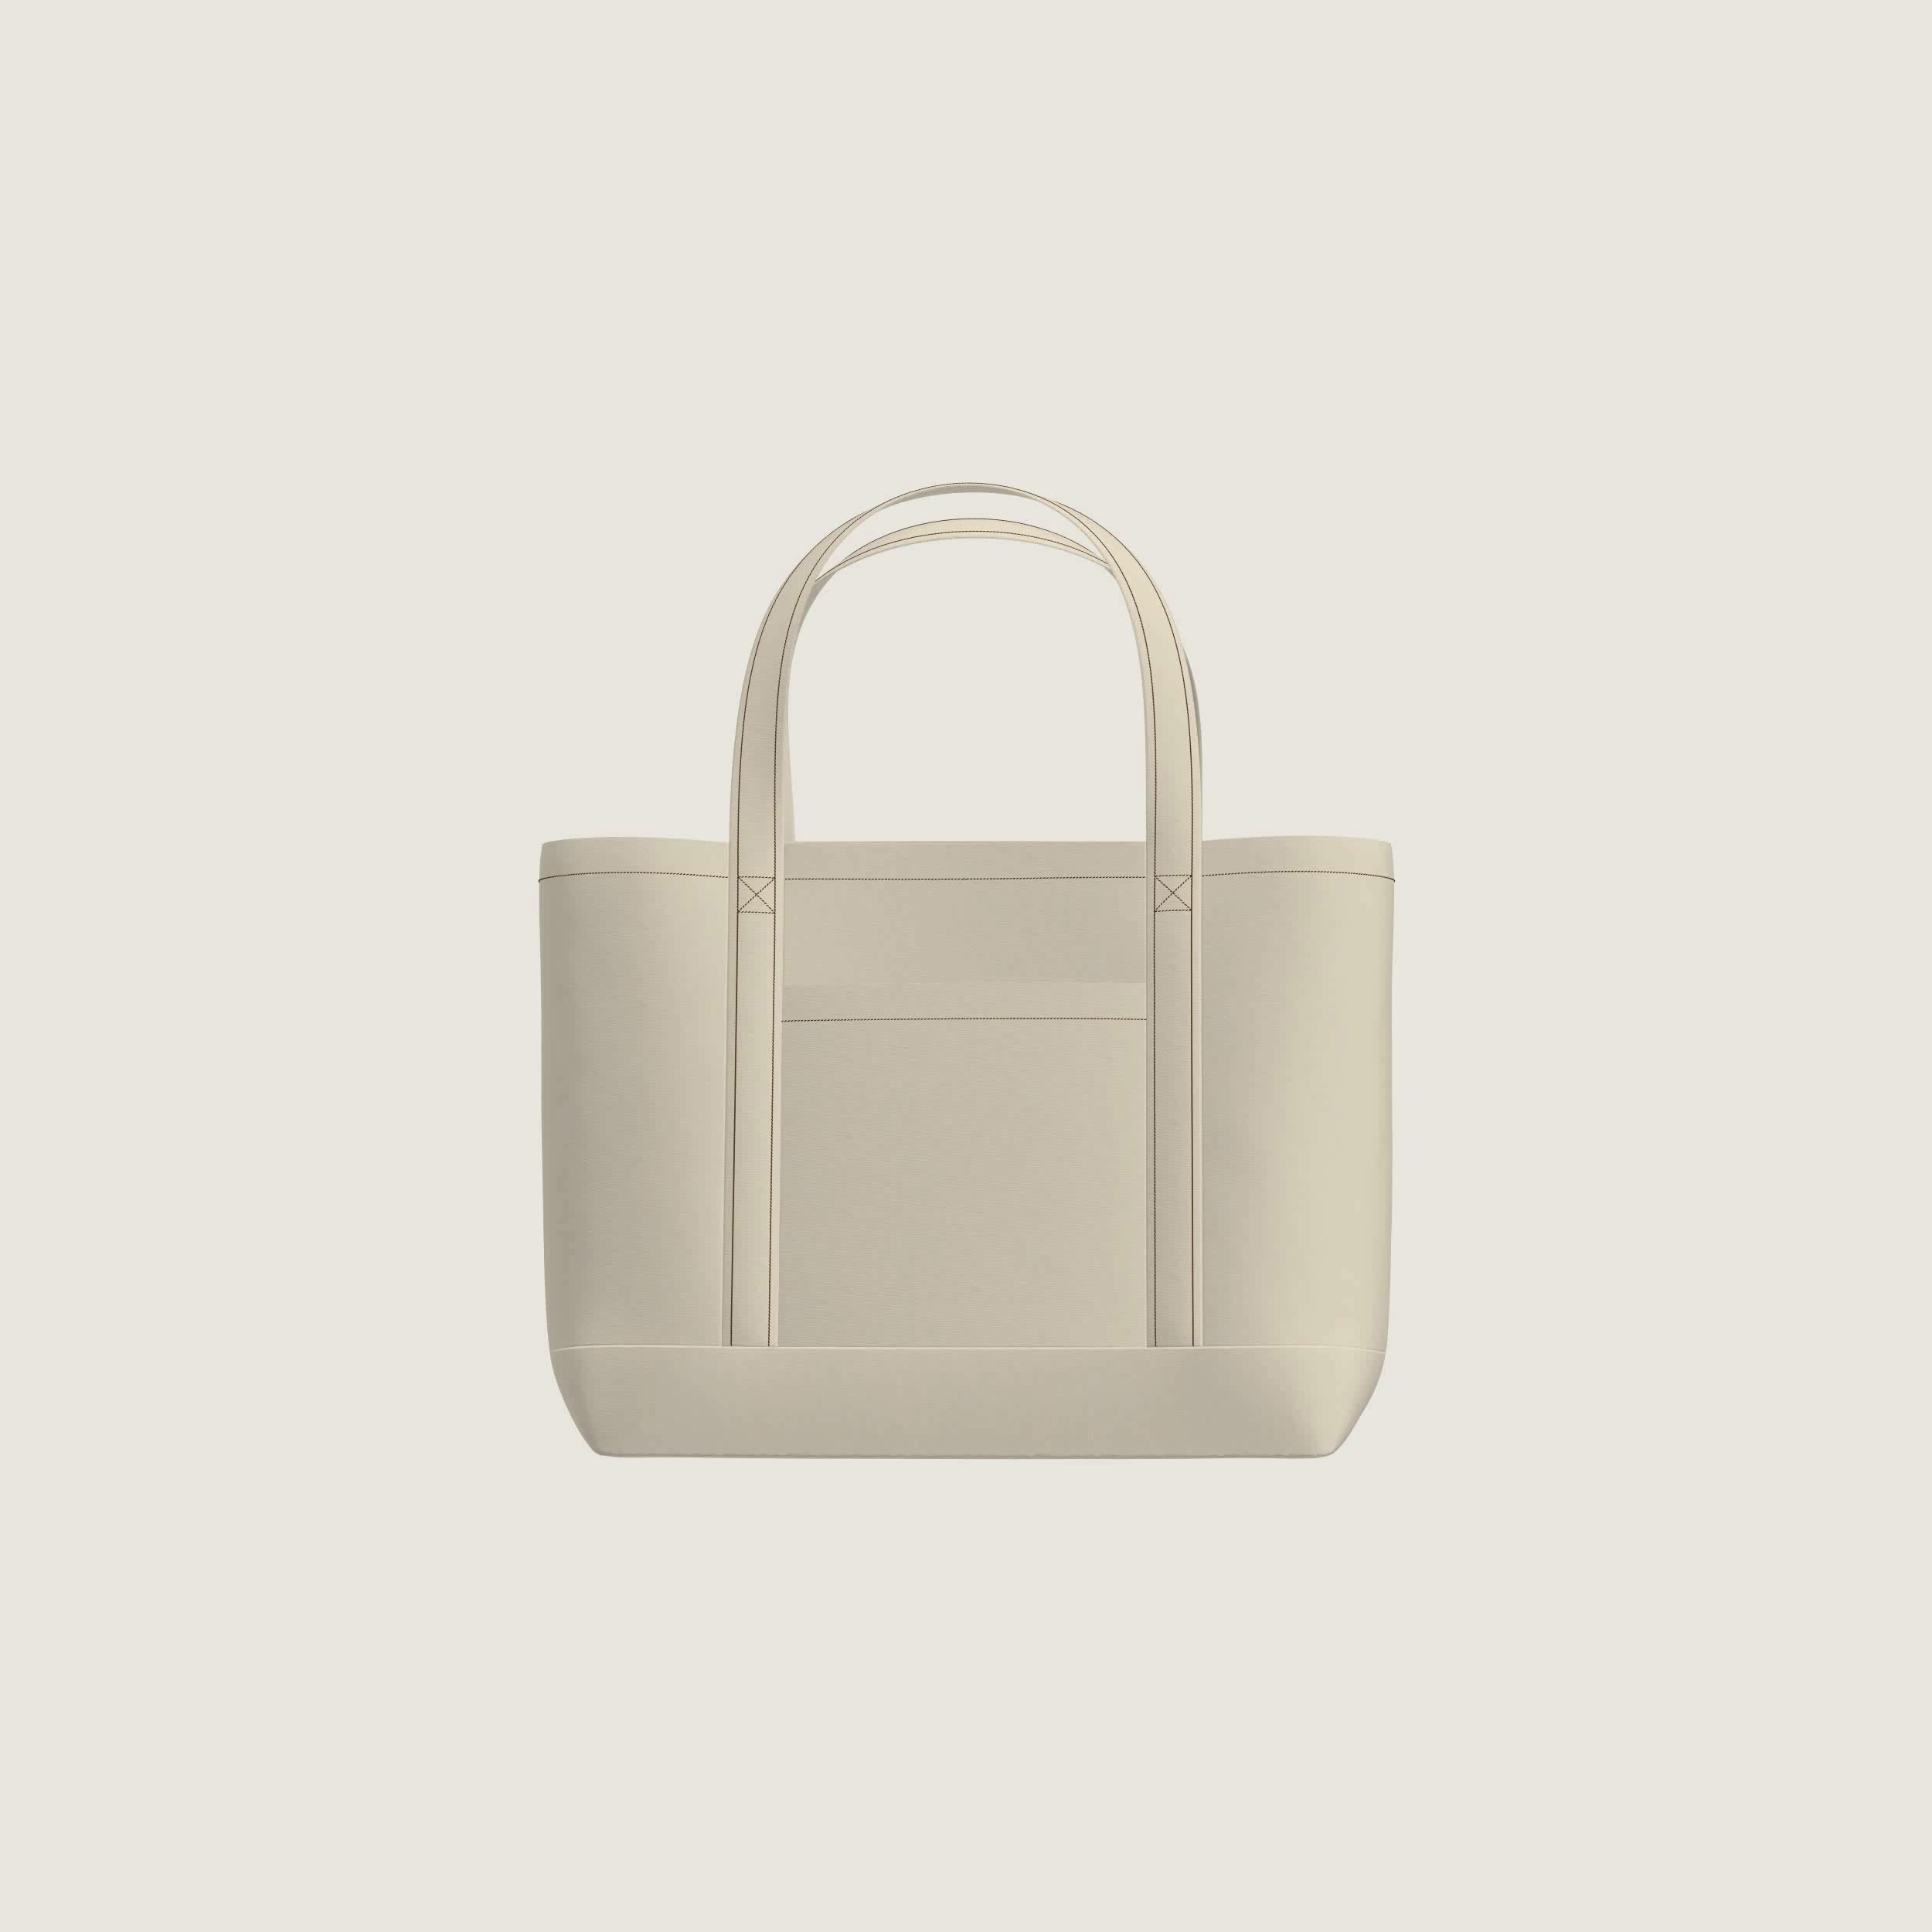
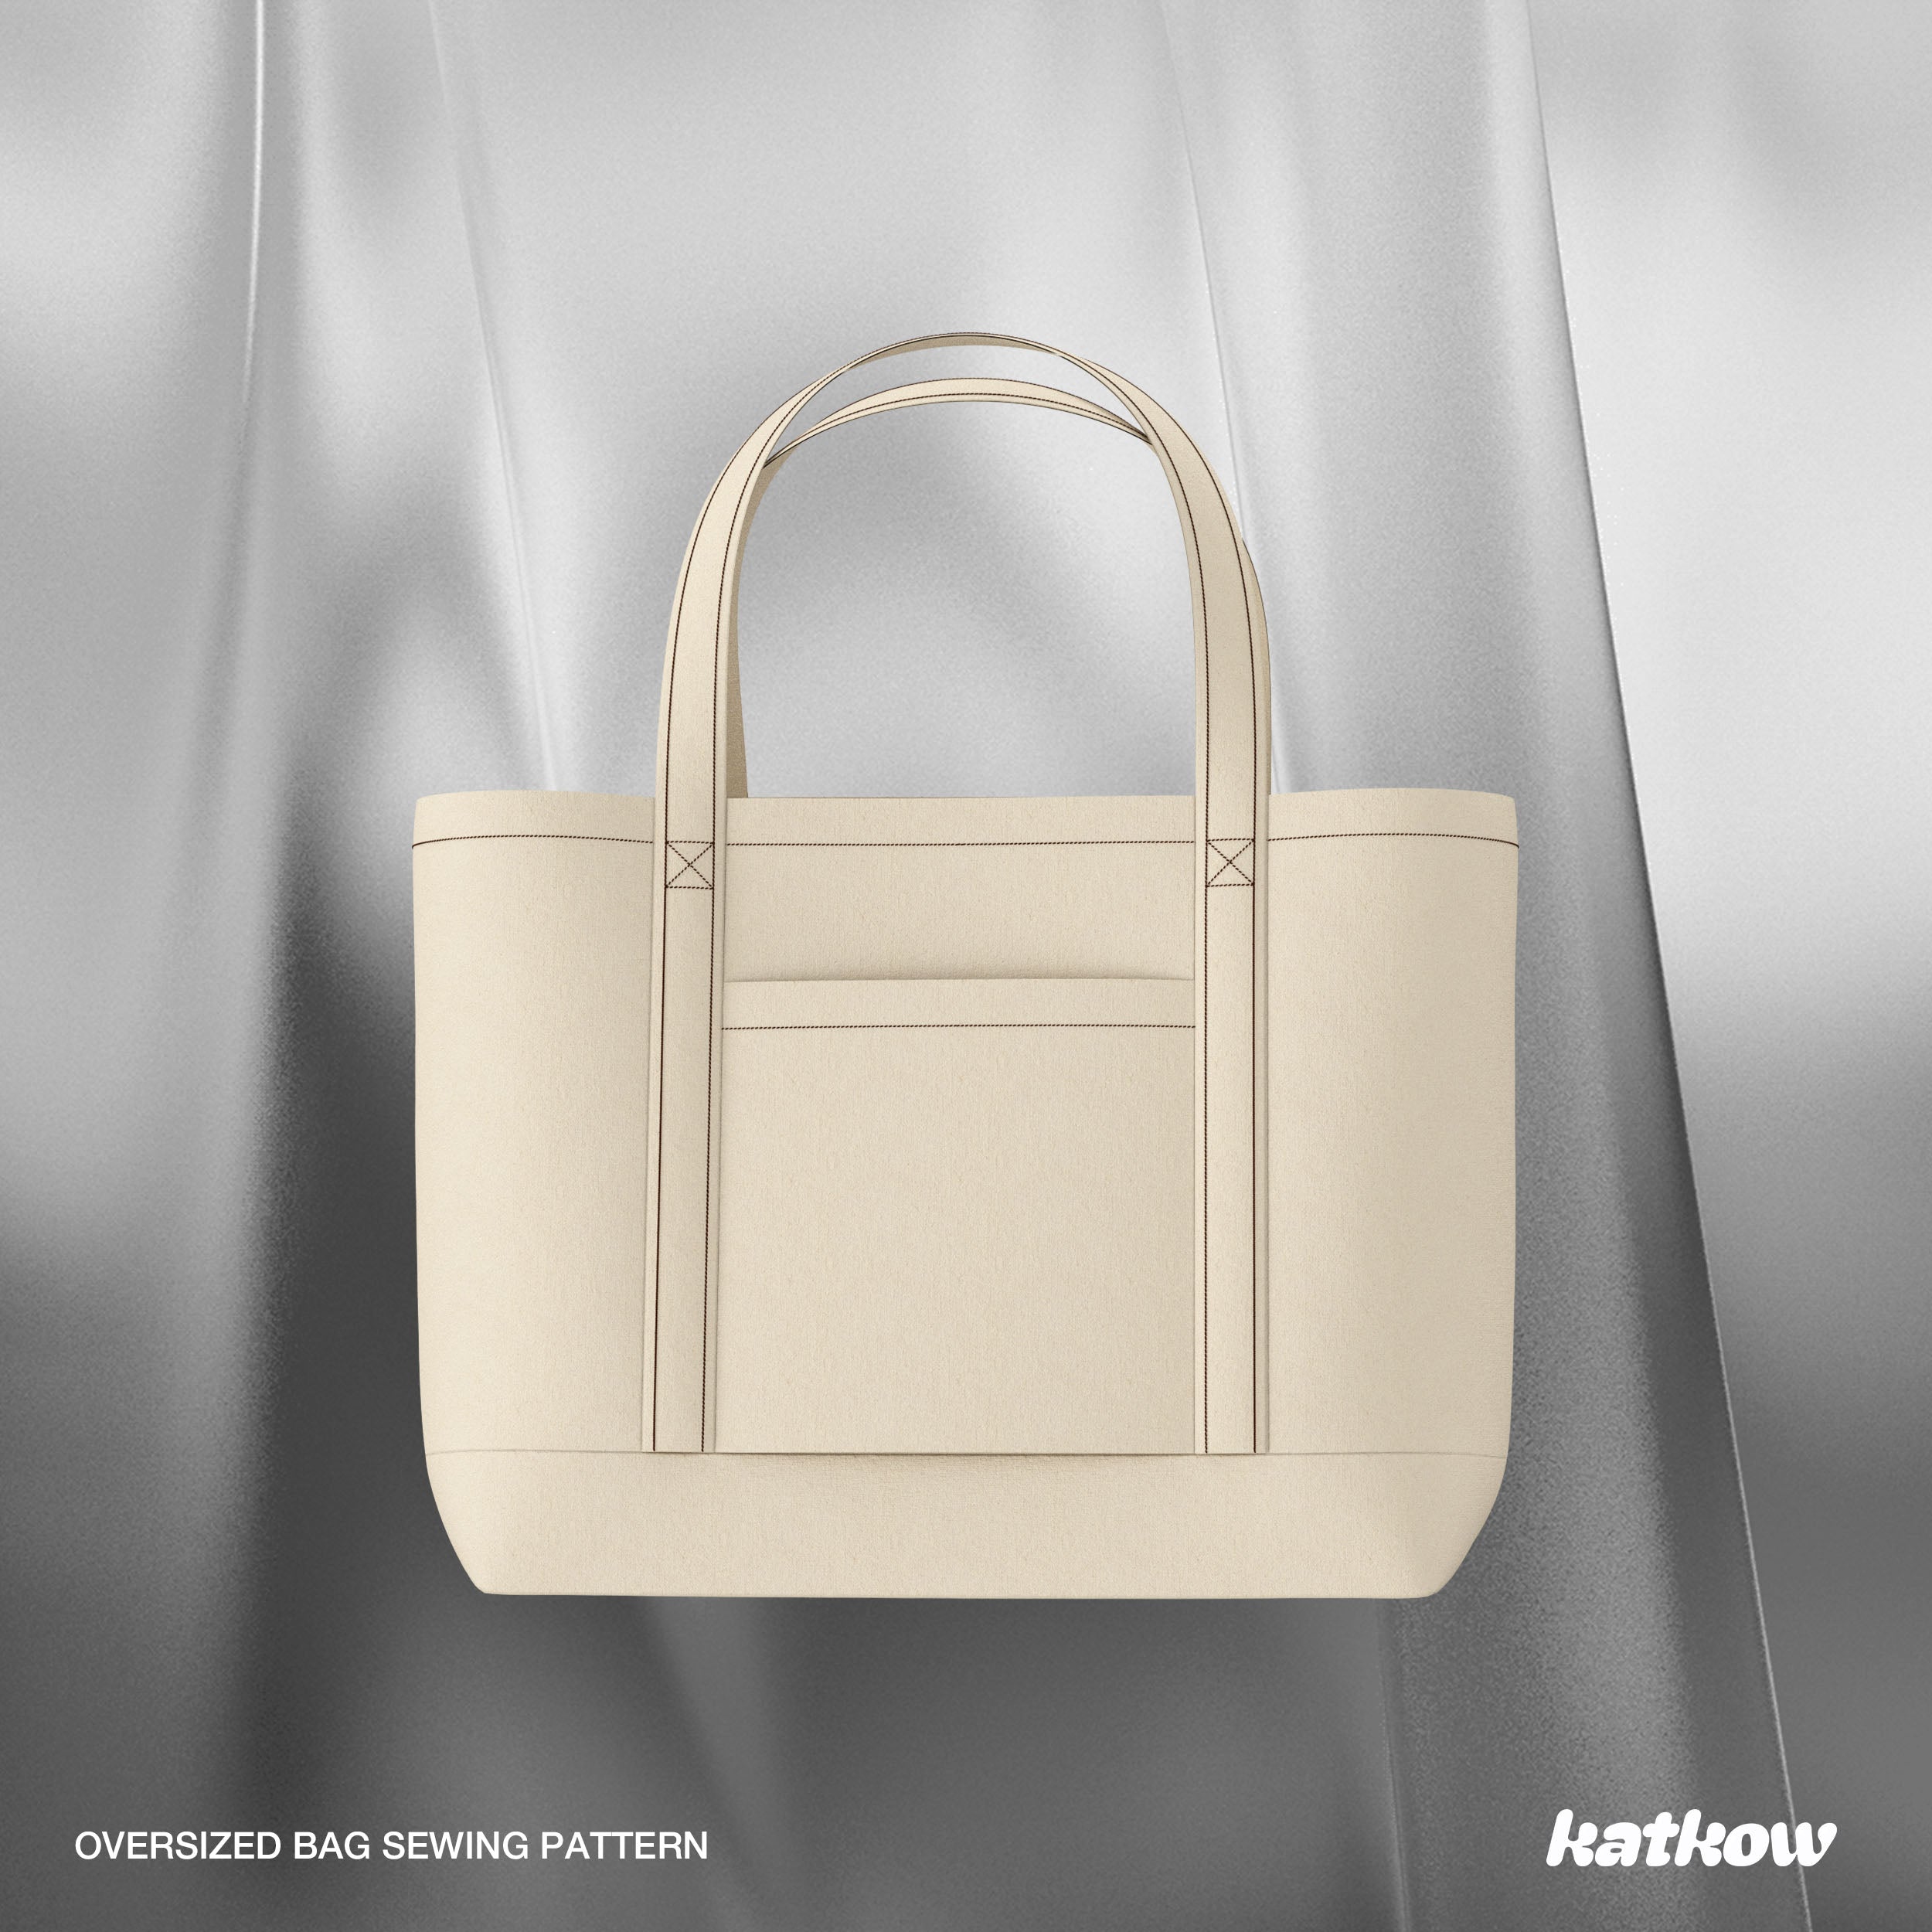
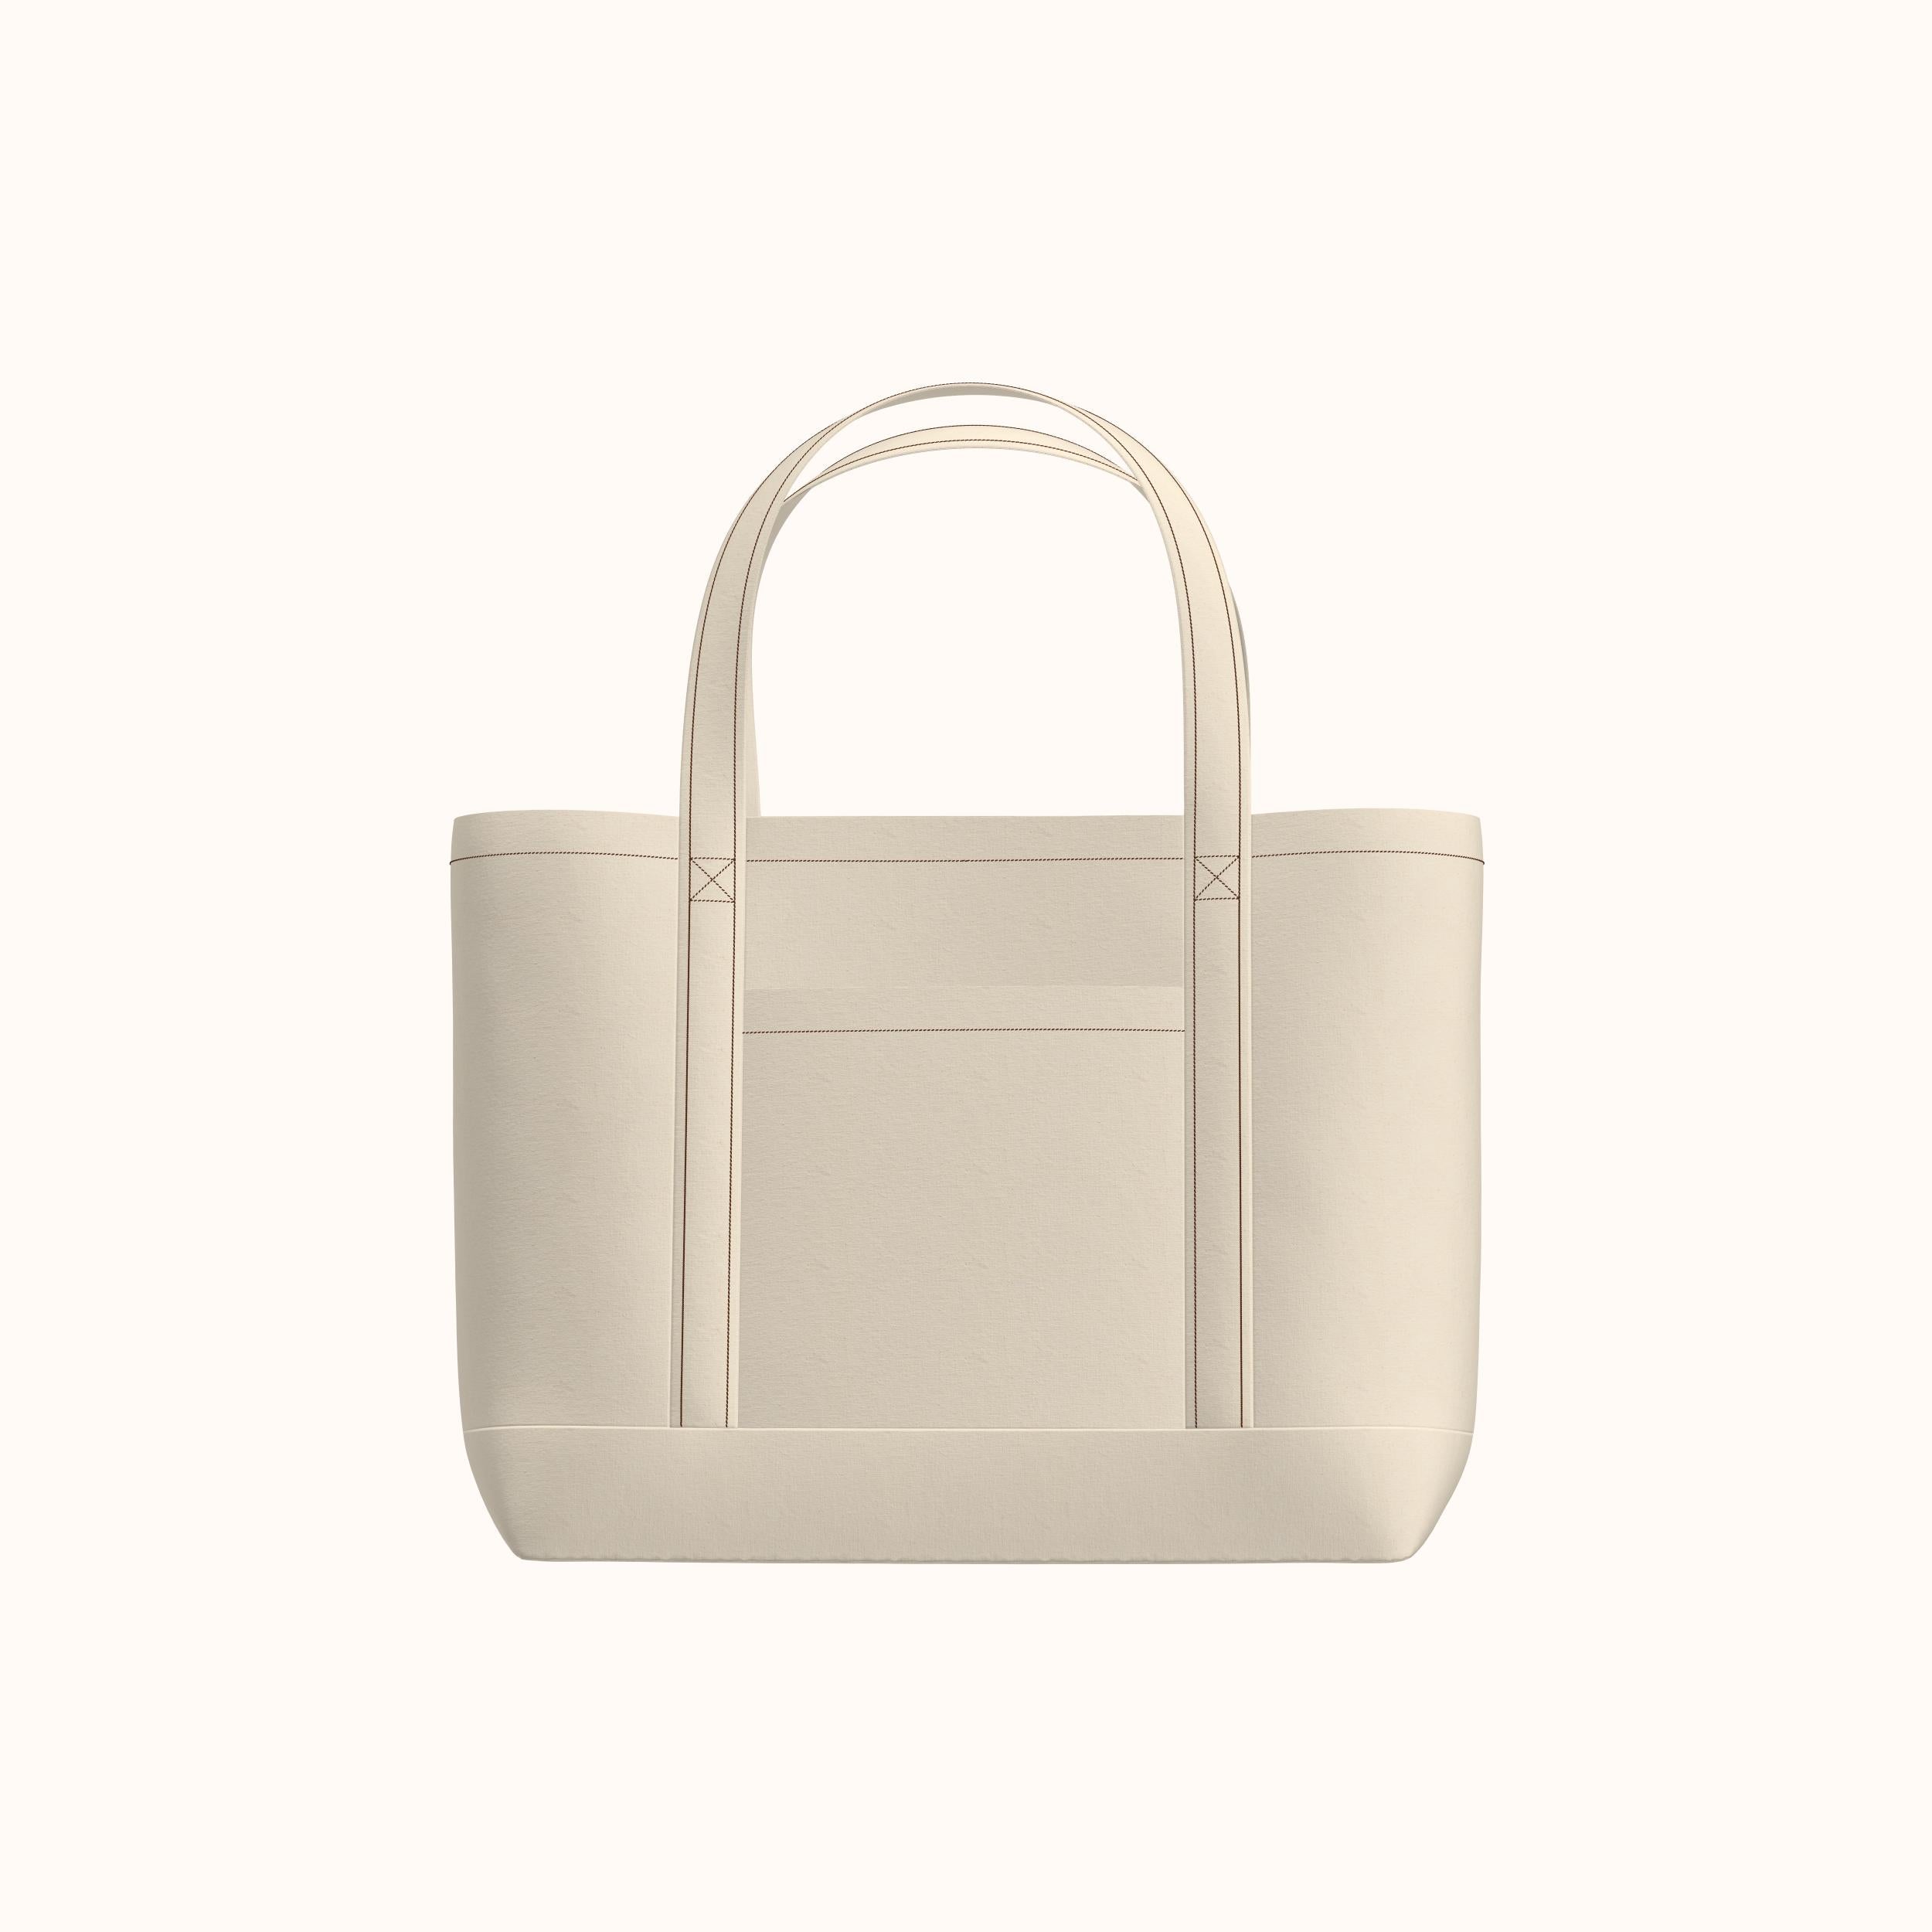
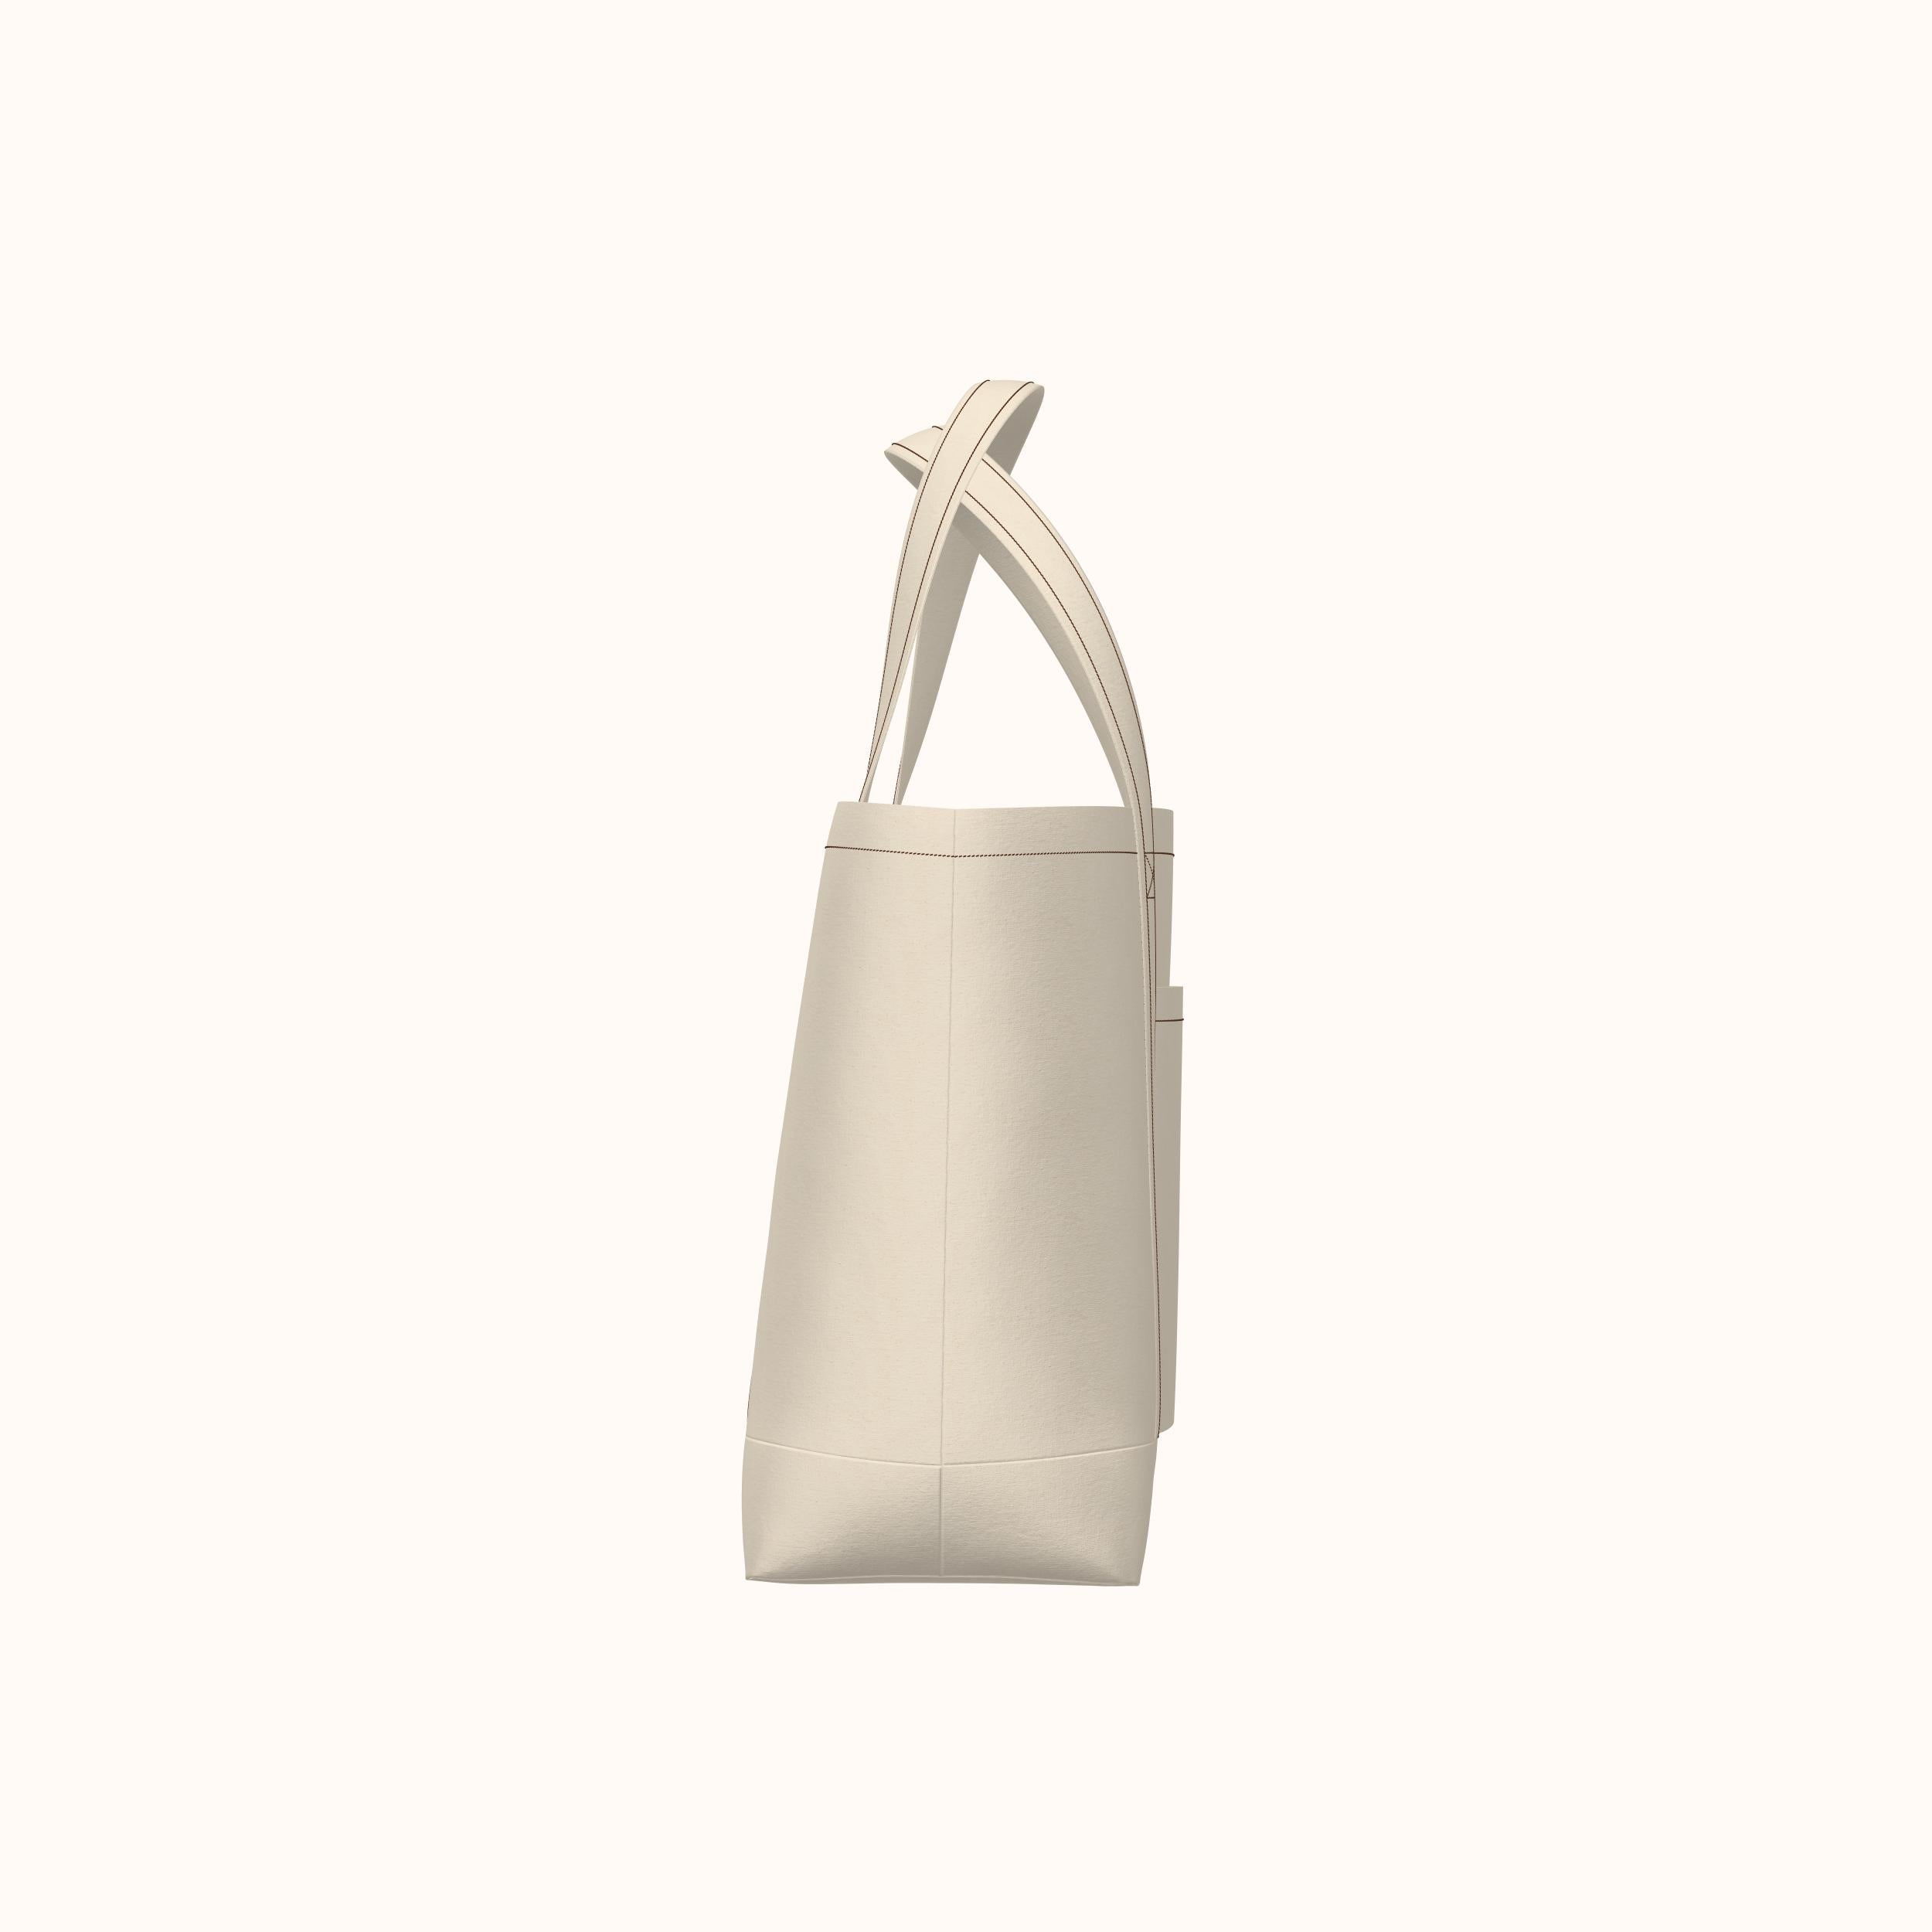
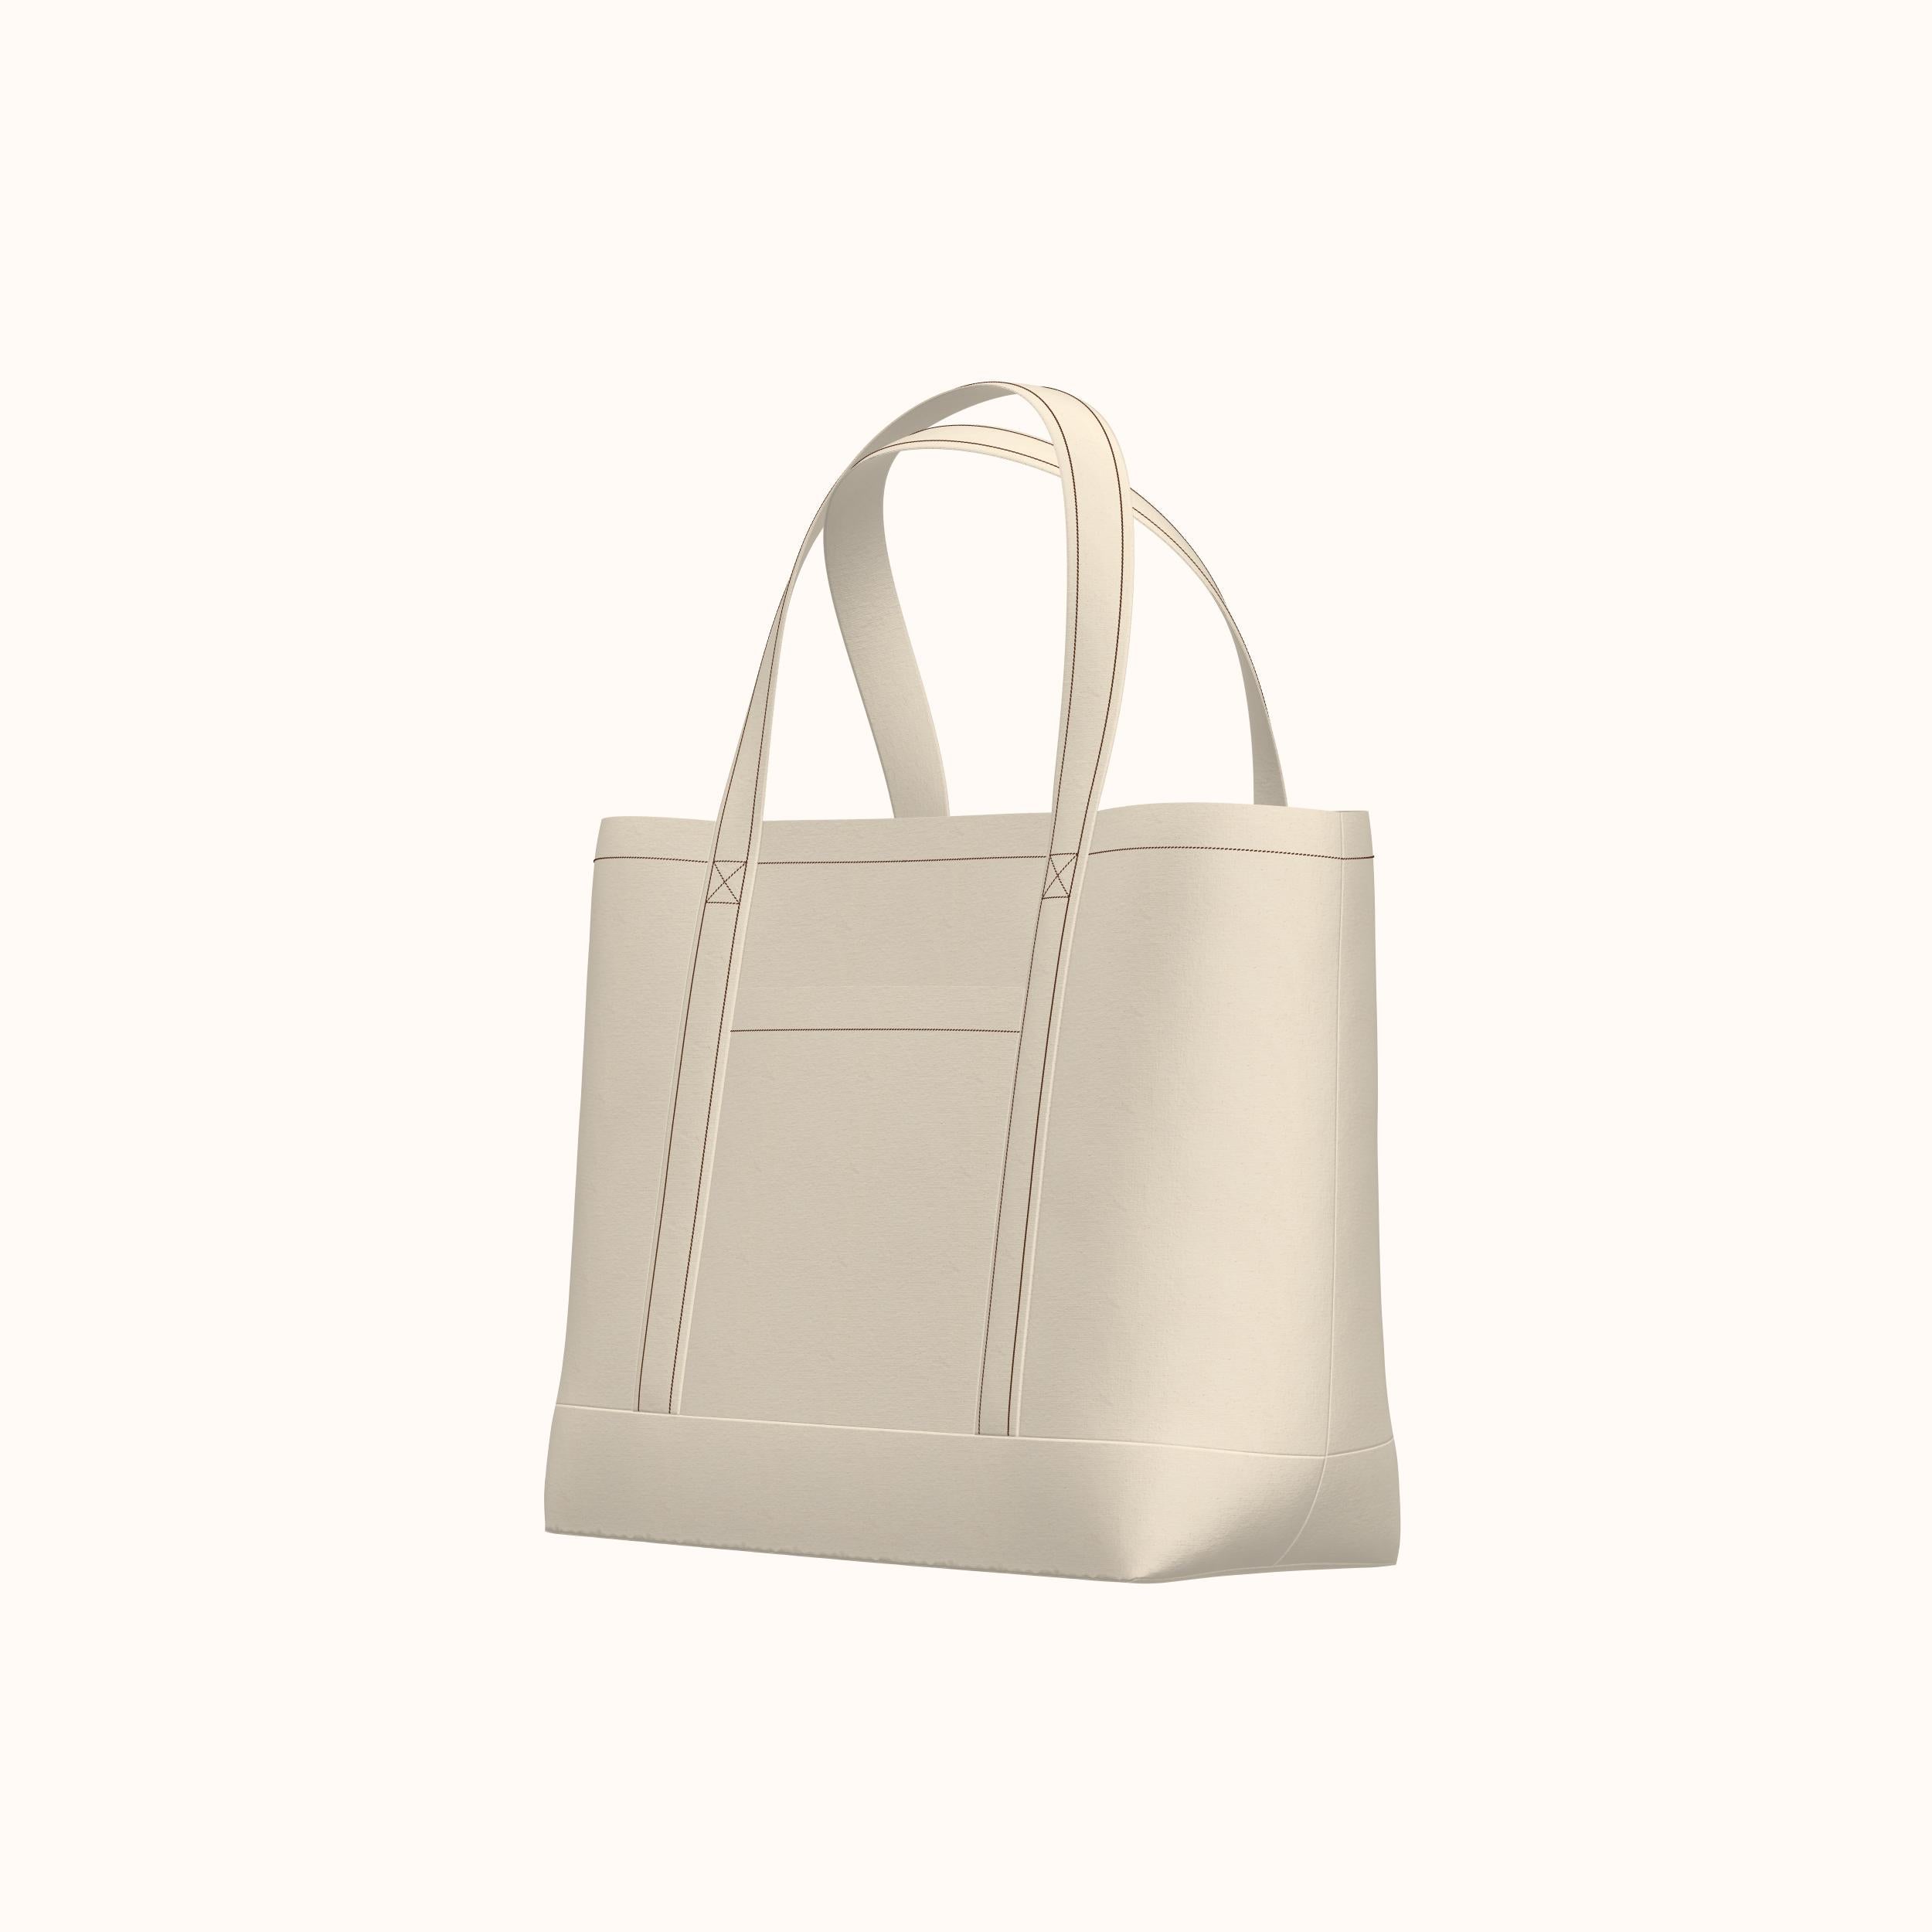
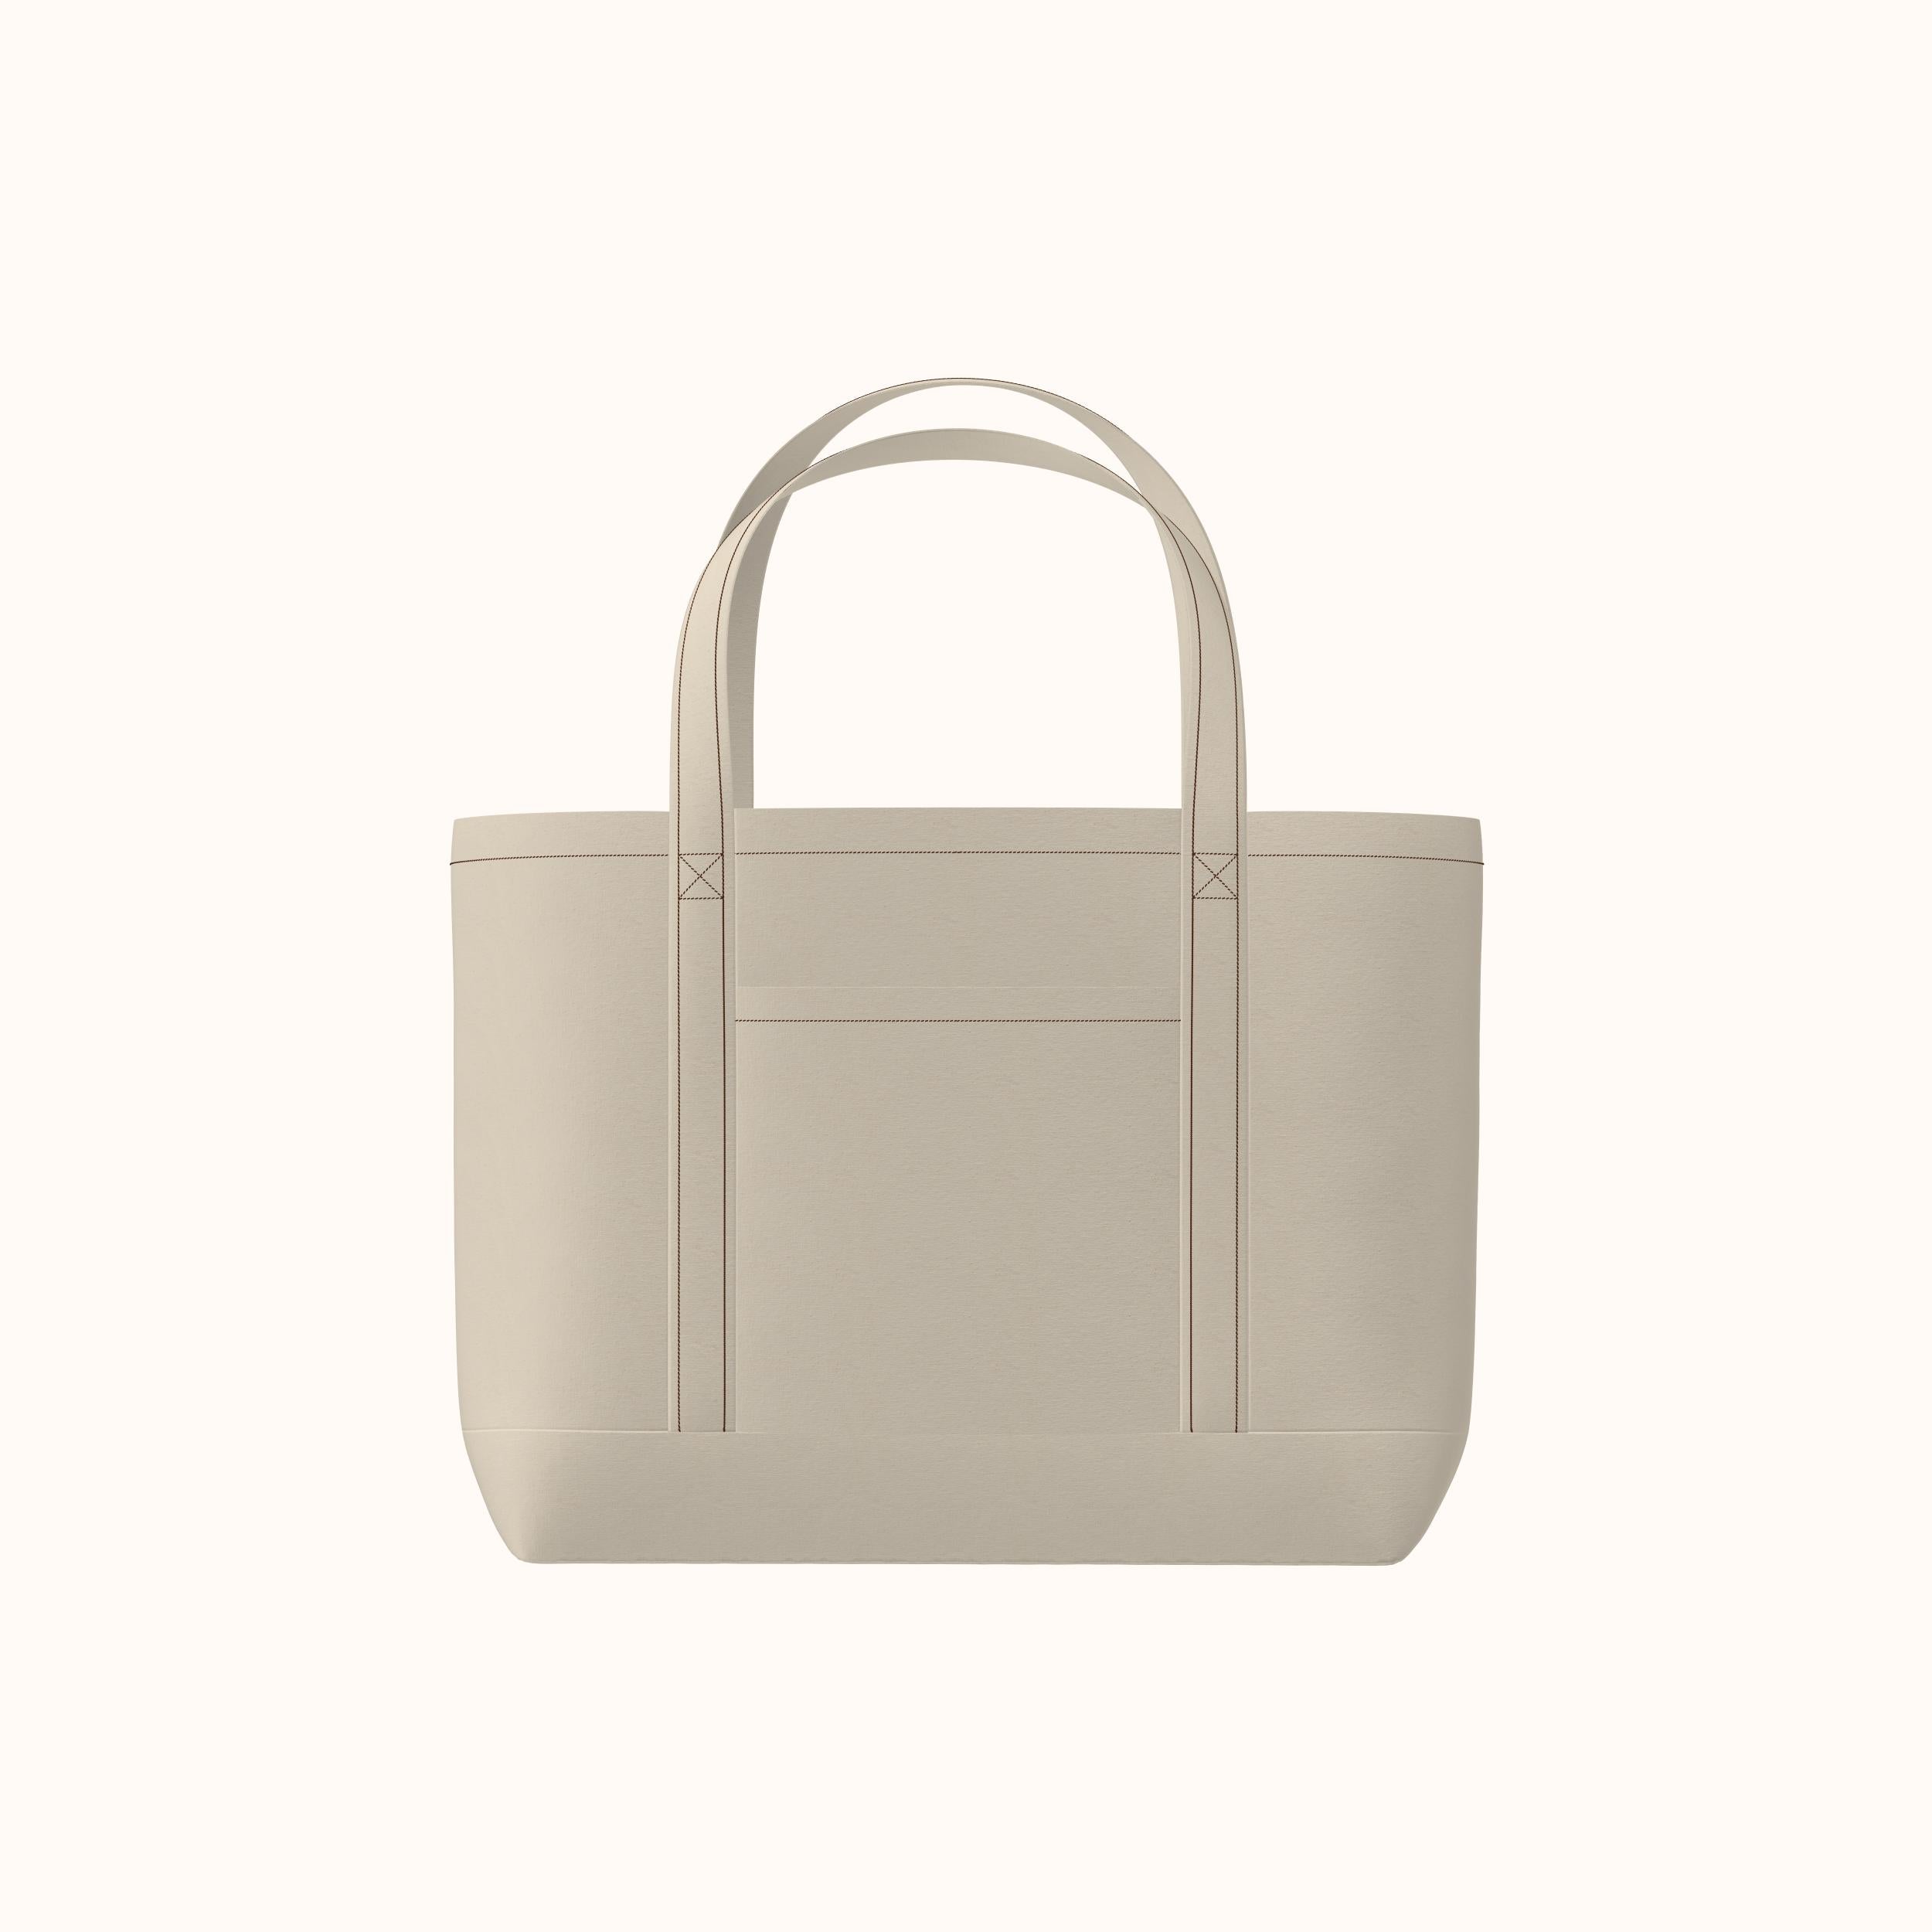
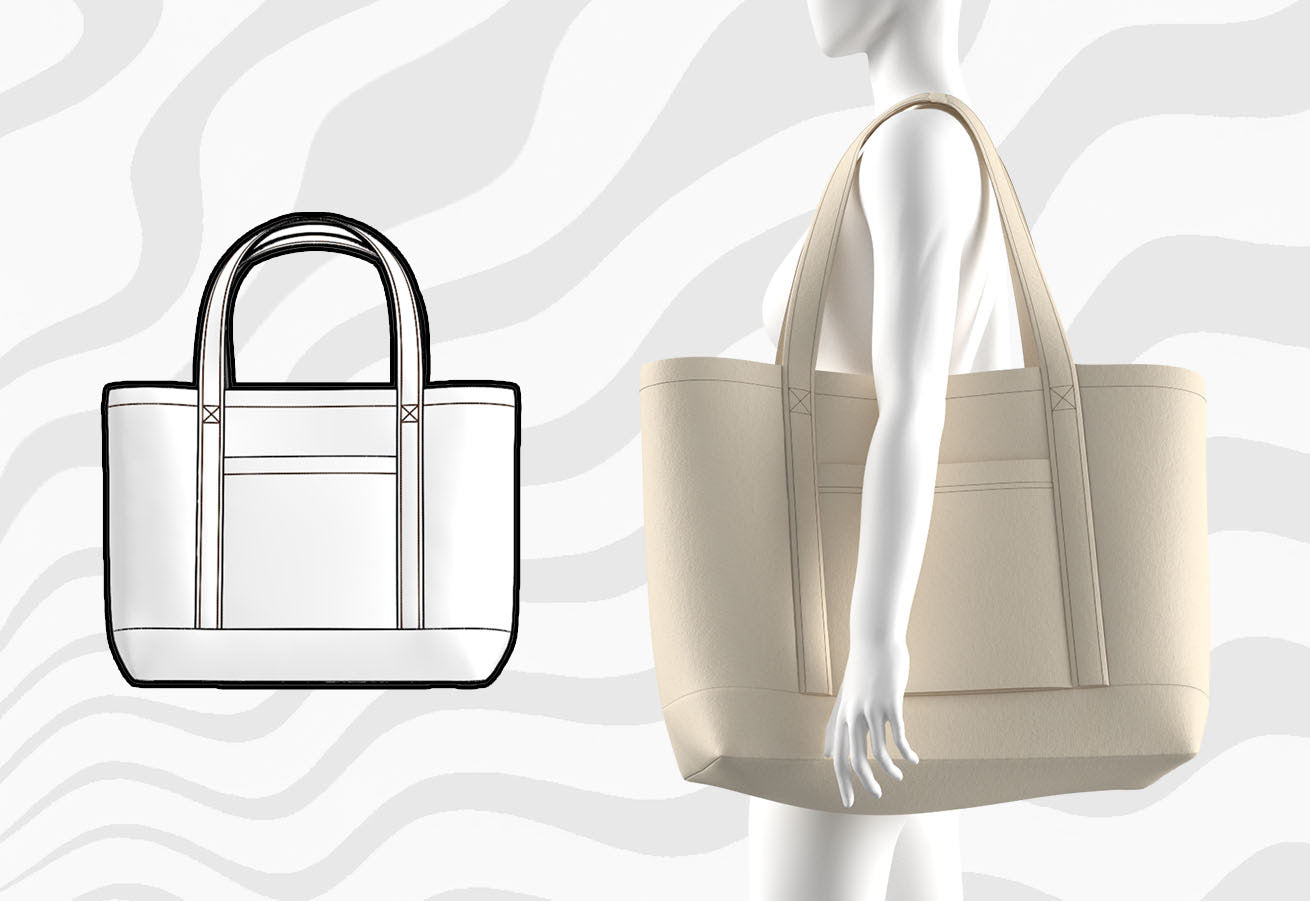
Learn how to sew our oversized beach bag, perfect for beginners and ideal for carrying a variety of items like beach essentials, groceries, or even drag costumes. Using durable fabric like canvas or denim, you'll create a sturdy, stylish bag that can handle heavy loads. With easy-to-follow instructions and a straightforward design, this project is a great introduction to sewing practical, everyday items.
Pattern Difficulty: For Beginners
Fabric Yardage
The yardage below is based on fabric widths of 44 inches.
| Size | Fabric |
|---|---|
| One Size | 2y / 1.9m |
For information on converting inches to meters, please check out our conversion guide.
Fabric & Notions
Suitable for non-stretch heavy-weight fabrics:
- Canvas
- Denim
- Twill
- Duck cloth
- Upholstery fabric
- Burlap
- Corduroy
- Heavy cotton
- Linen
- Light-weight to Medium-weight Fusible Interfacing
- 0.5" - 1" Elastic
Sizing Details
This spacious bag features a 27-inch wide opening and a 16-inch depth, offering plenty of room for all your needs.
Sewing Instructions


Fabric Pieces
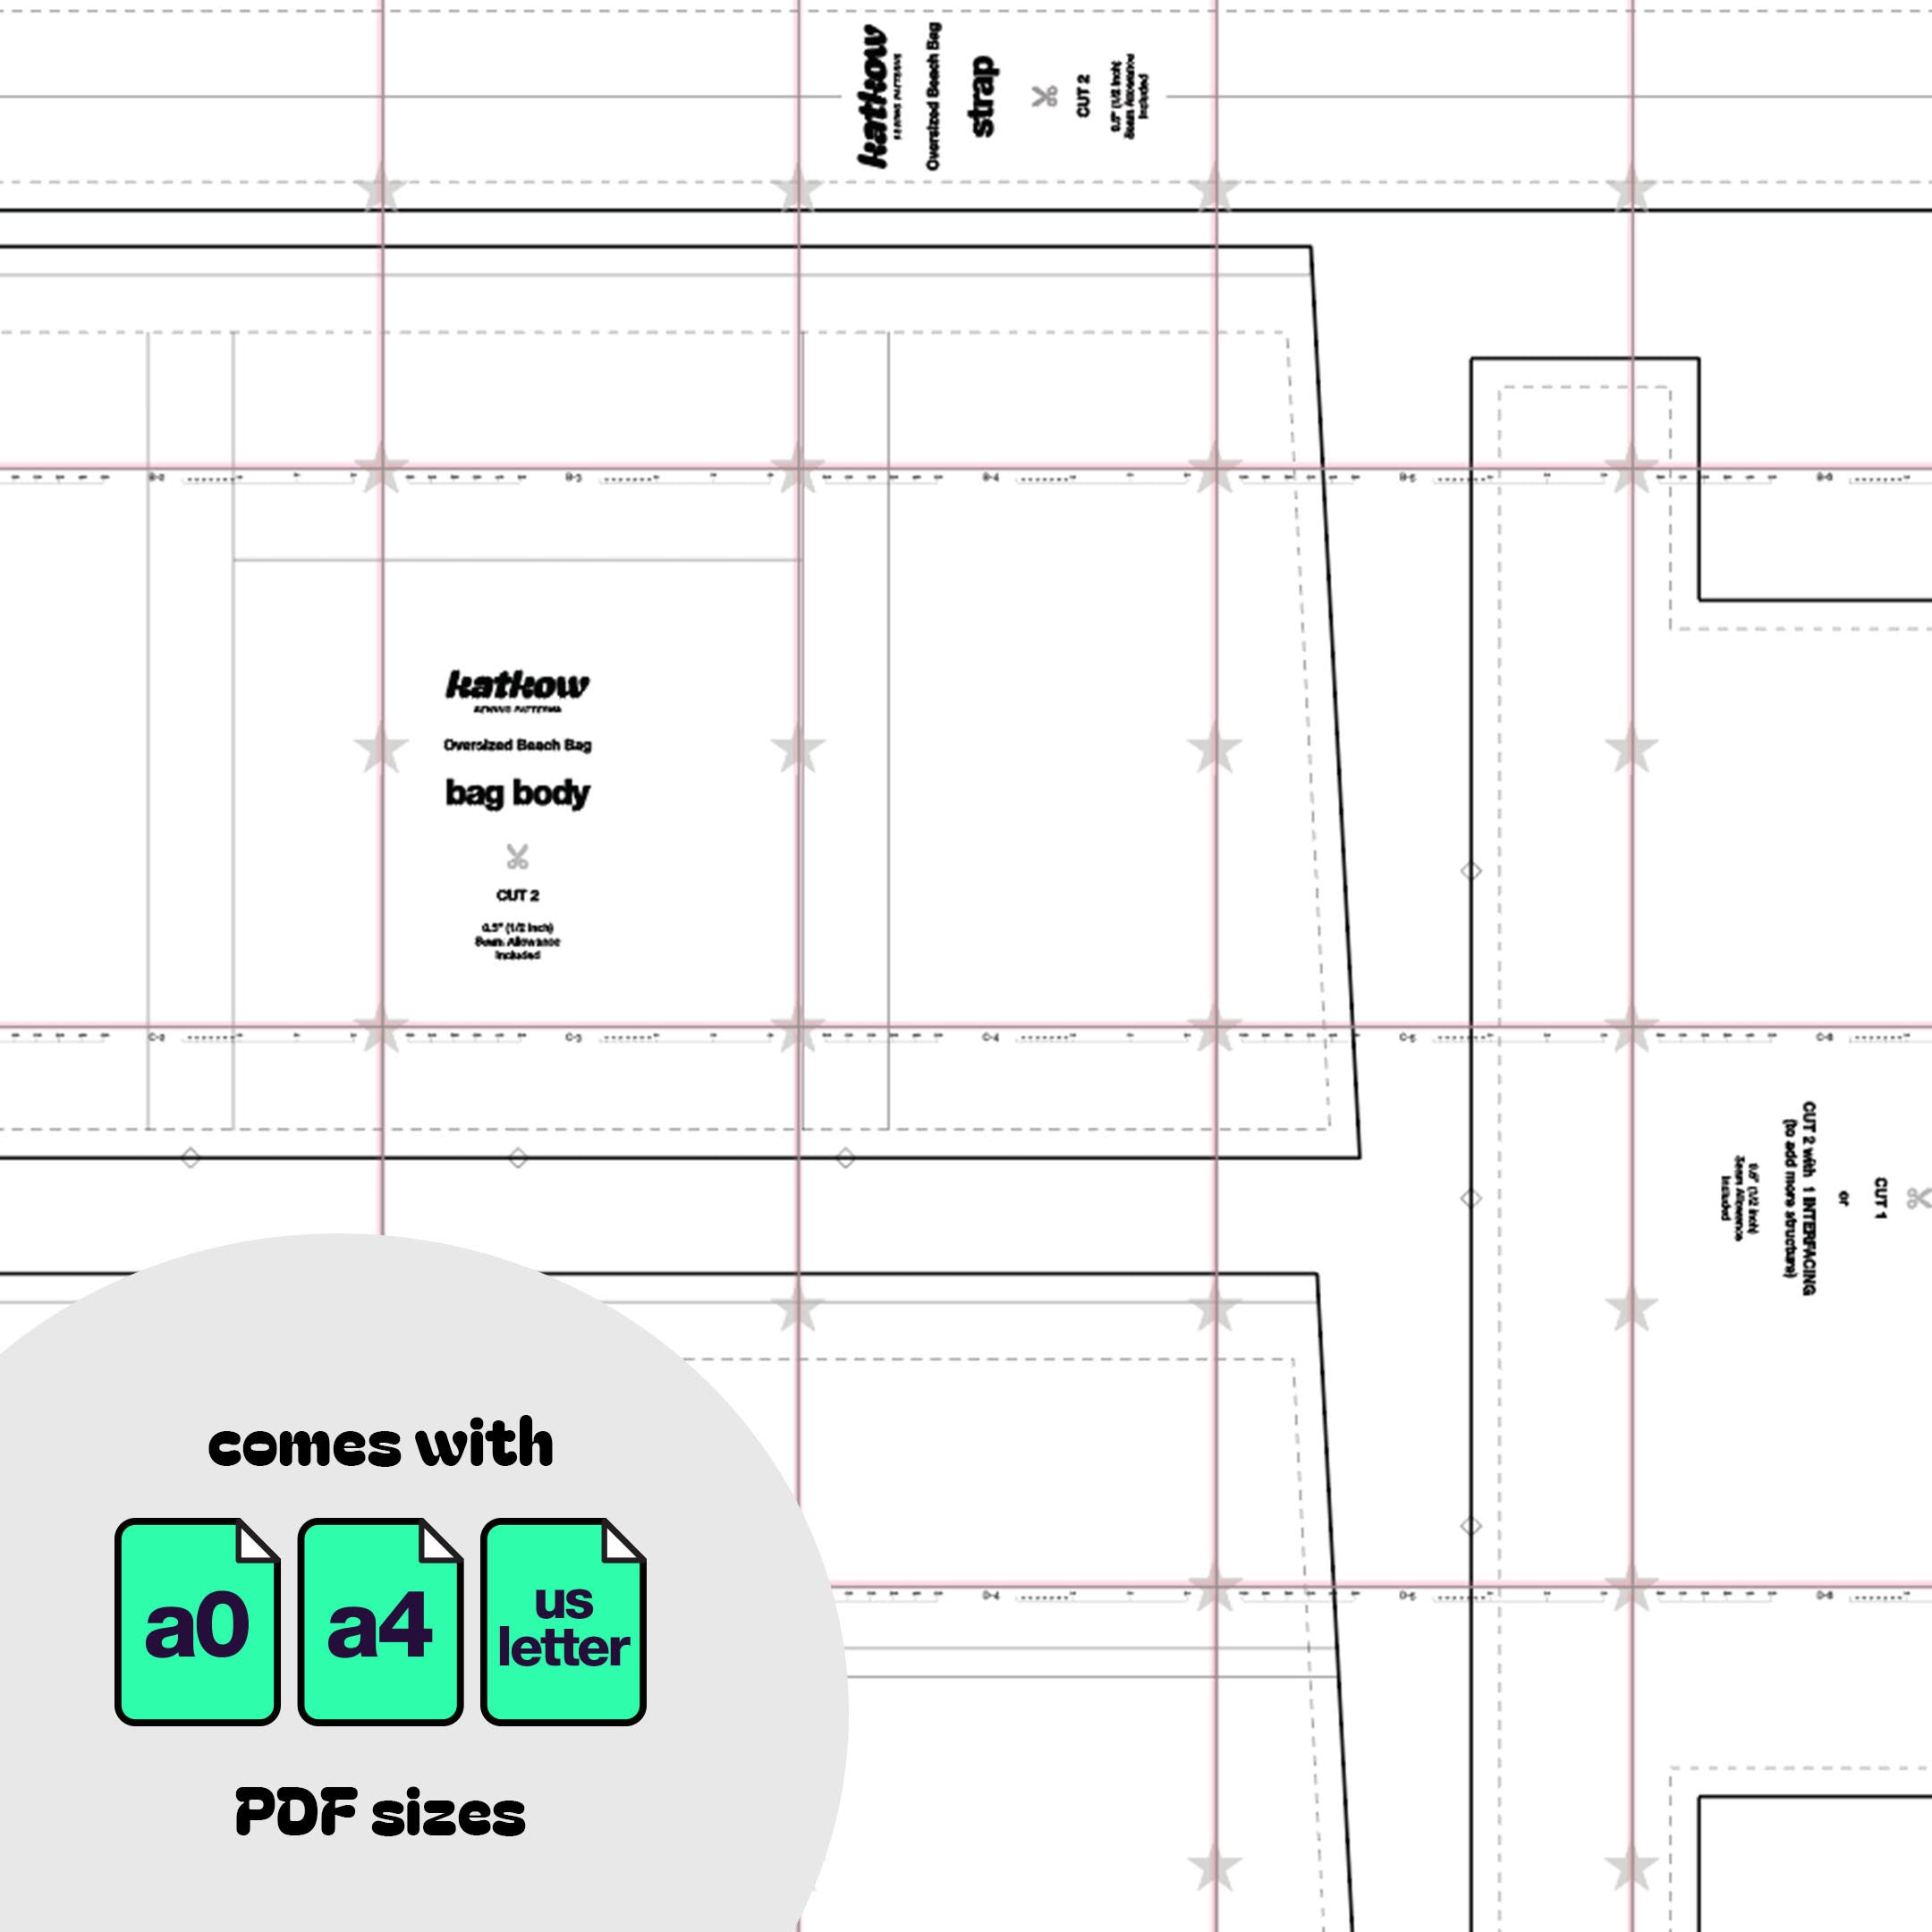
After cutting your fabric, you should have the following pieces:
- Two Bag Body pieces
- Two Outer Pocket pieces
- Two Inner Body Pocket pieces
- Two Straps
- Two Elastic Strips
- One Bottom Panel Piece
- Optional Interfacing for bottom panel and lining

STEP 1
Gather your straps, fold them vertically in half with the wrong side of the fabric facing out. Sew or serge the ends together, then trim off the seam allowance.

STEP 2
Flip the straps right side out using a loop turner or safety pin.

STEP 3
With the wrong side of the outer pocket facing up, fold 0.5 inches on the top edge and press with an iron. Then fold over another 1 inch, press, then sew the folds down with a straight stitch. Repeat for both pockets.

STEP 4
Repeat Step 3 for the inner body pockets.

STEP 5
Add elastic strips to the wrong side of the inner body pockets in the center. Sew four evenly spaced lines to secure the elastic to the fabric, creating an elastic organizer.

STEP 6
With the bag body piece right side up, align the outer pocket on top and match the center bottom notch. Sew around the sides and bottom of the pocket, sewing close to the edge (use a 0.25 inch seam allowance or less).

STEP 7
Layer the straps over the outer pocket so the ends meet the notches on the sides of the pocket. The straps should overlay the pocket seam allowance. Sew the straps along the sides and around the handle. Sew a square with an X pattern about 2-3 inches away from the edge.

STEP 8
Stack the bag body over the inner body pocket, wrong sides facing each other. Pin or sew in place along the sides and bottom edges, using less than a 0.5 inch seam allowance. Repeat for the other side.

STEP 9
Stack the two bag body pieces right sides facing each other and sew or serge the sides together with a 0.5 inch seam allowance.

STEP 10
If you wish to add more structure to the bottom of the bag, add interfacing to the wrong side of the bottom panel. Optionally, add another lining layer to hide the interfacing.

STEP 11
Fold the bottom panel vertically in half, wrong side out, and sew the short ends together.

STEP 12
Fold the bottom panel so the sewn ends meet in the crease of the fold, then sew the side ends together, creating a bucket-like shape.

STEP 13
Insert the bottom panel inside the bottom part of the bag body, right sides facing each other.

STEP 14
Sew or serge the bag body to the bottom panel.

STEP 15
Hem the top open edge of the bag similarly to the front pockets.
Get the Pattern

