How to Sew a Pointed Shoulder Shrug
Jump to InstructionsOverview
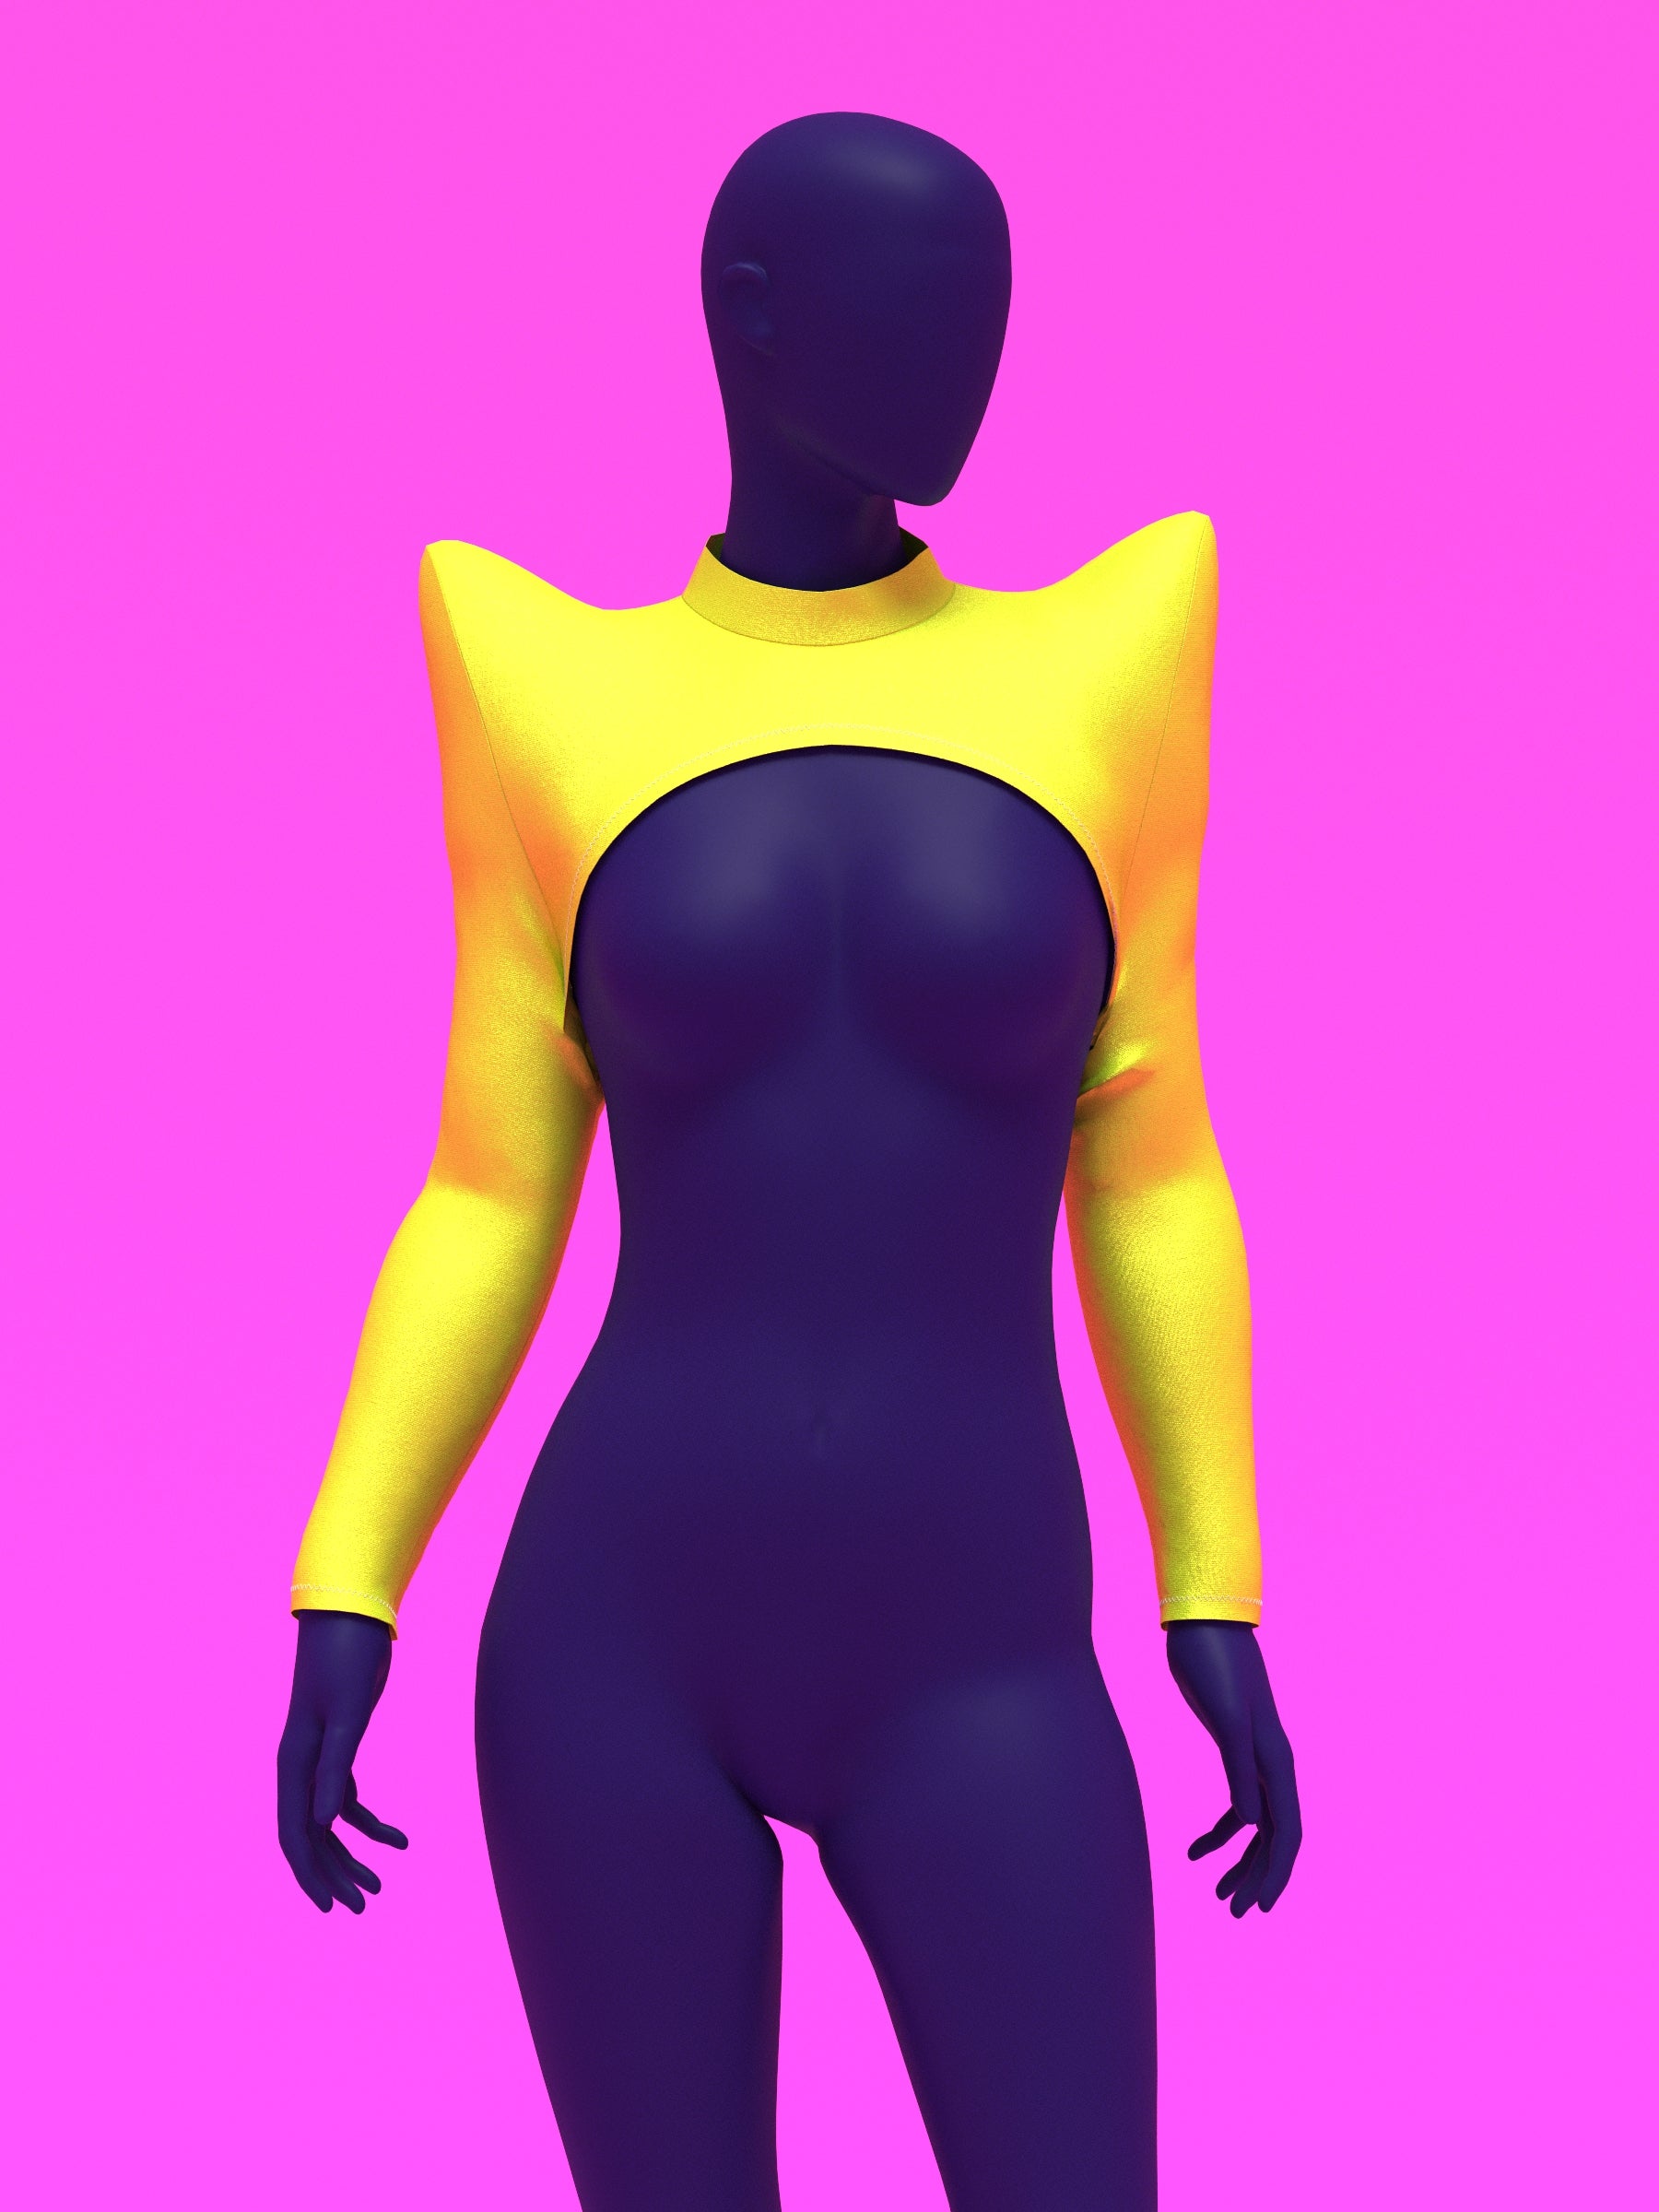
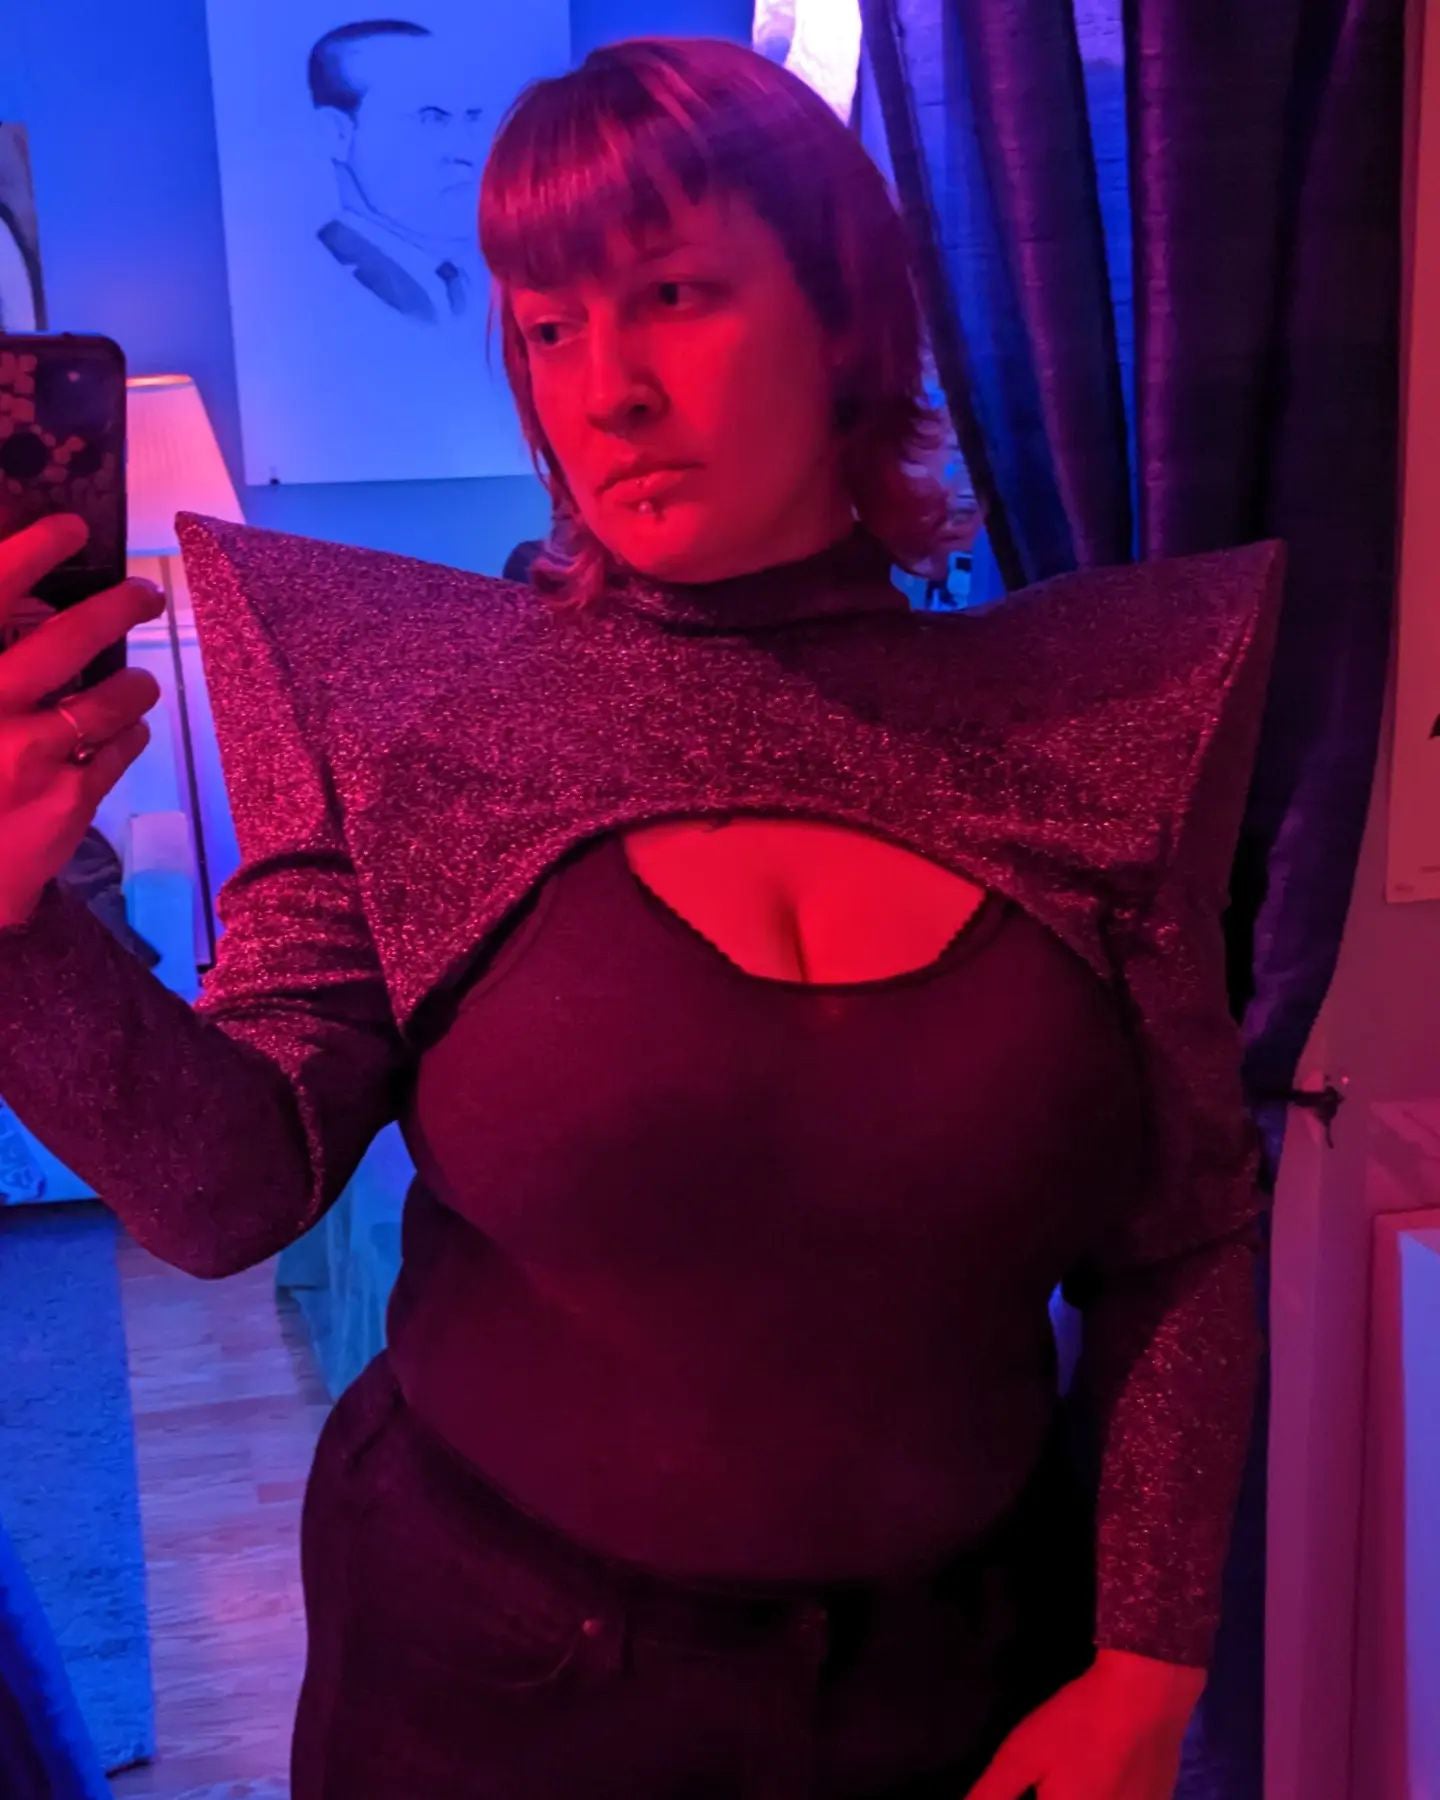
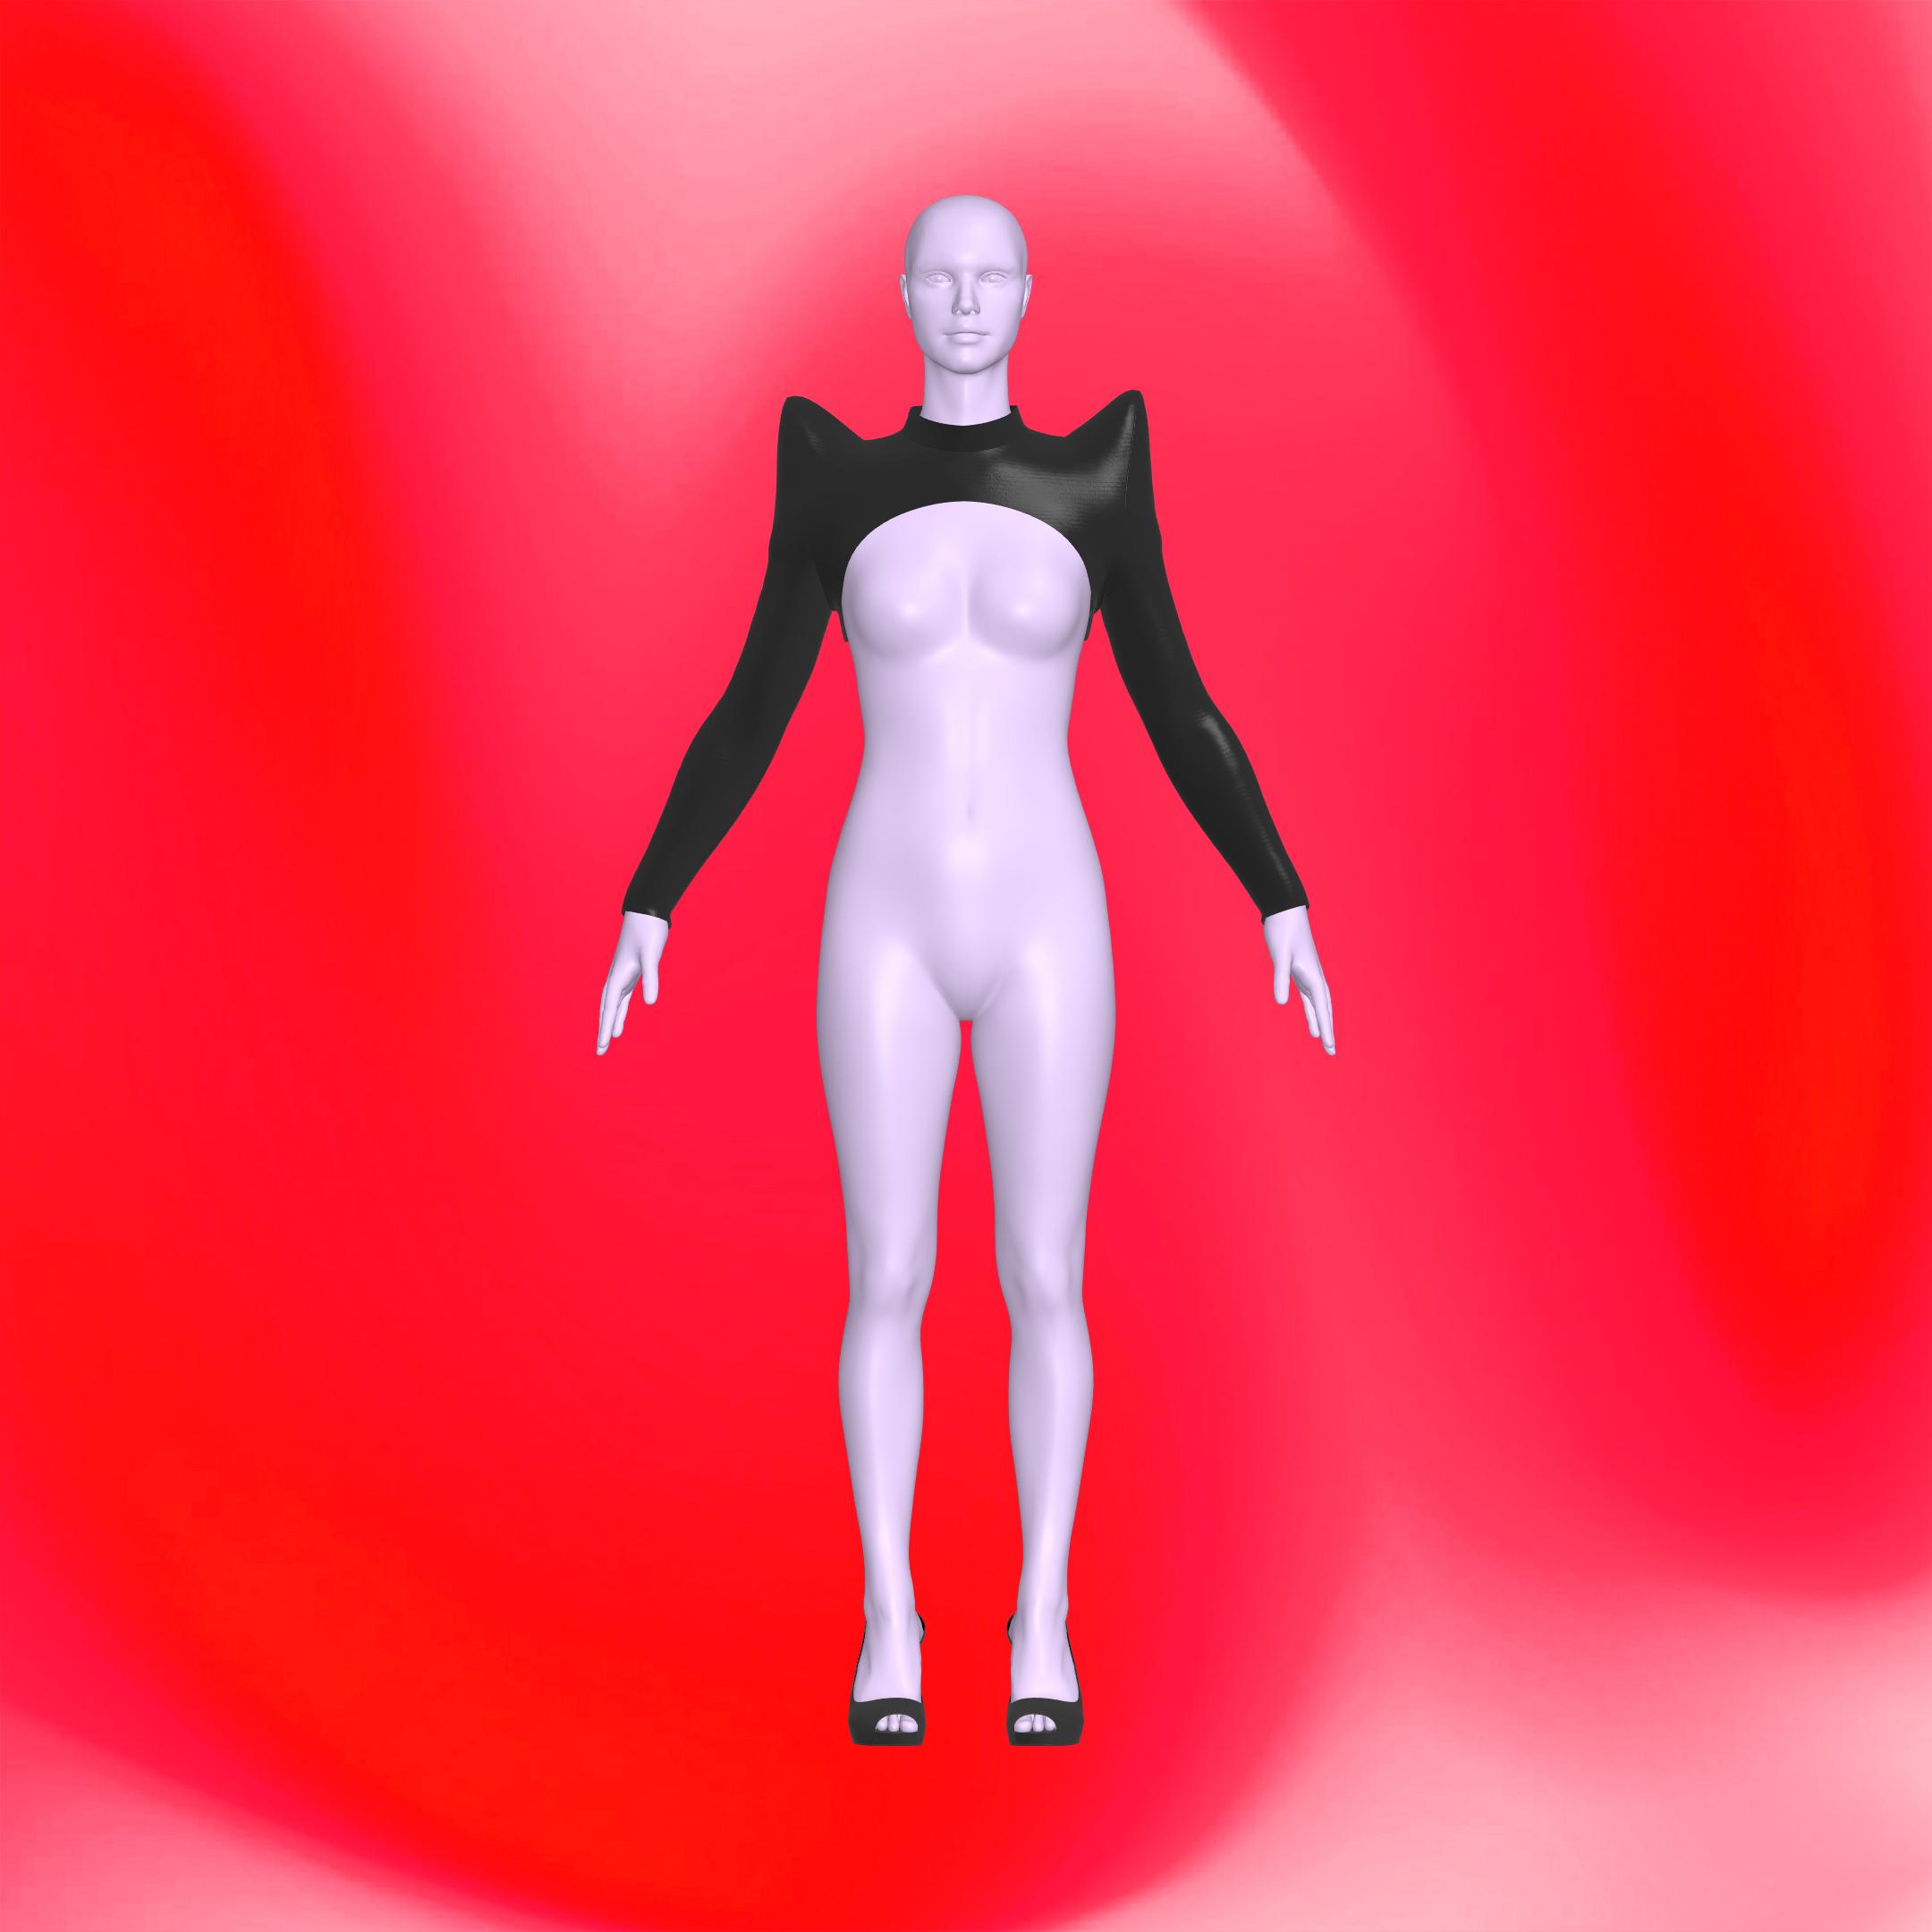
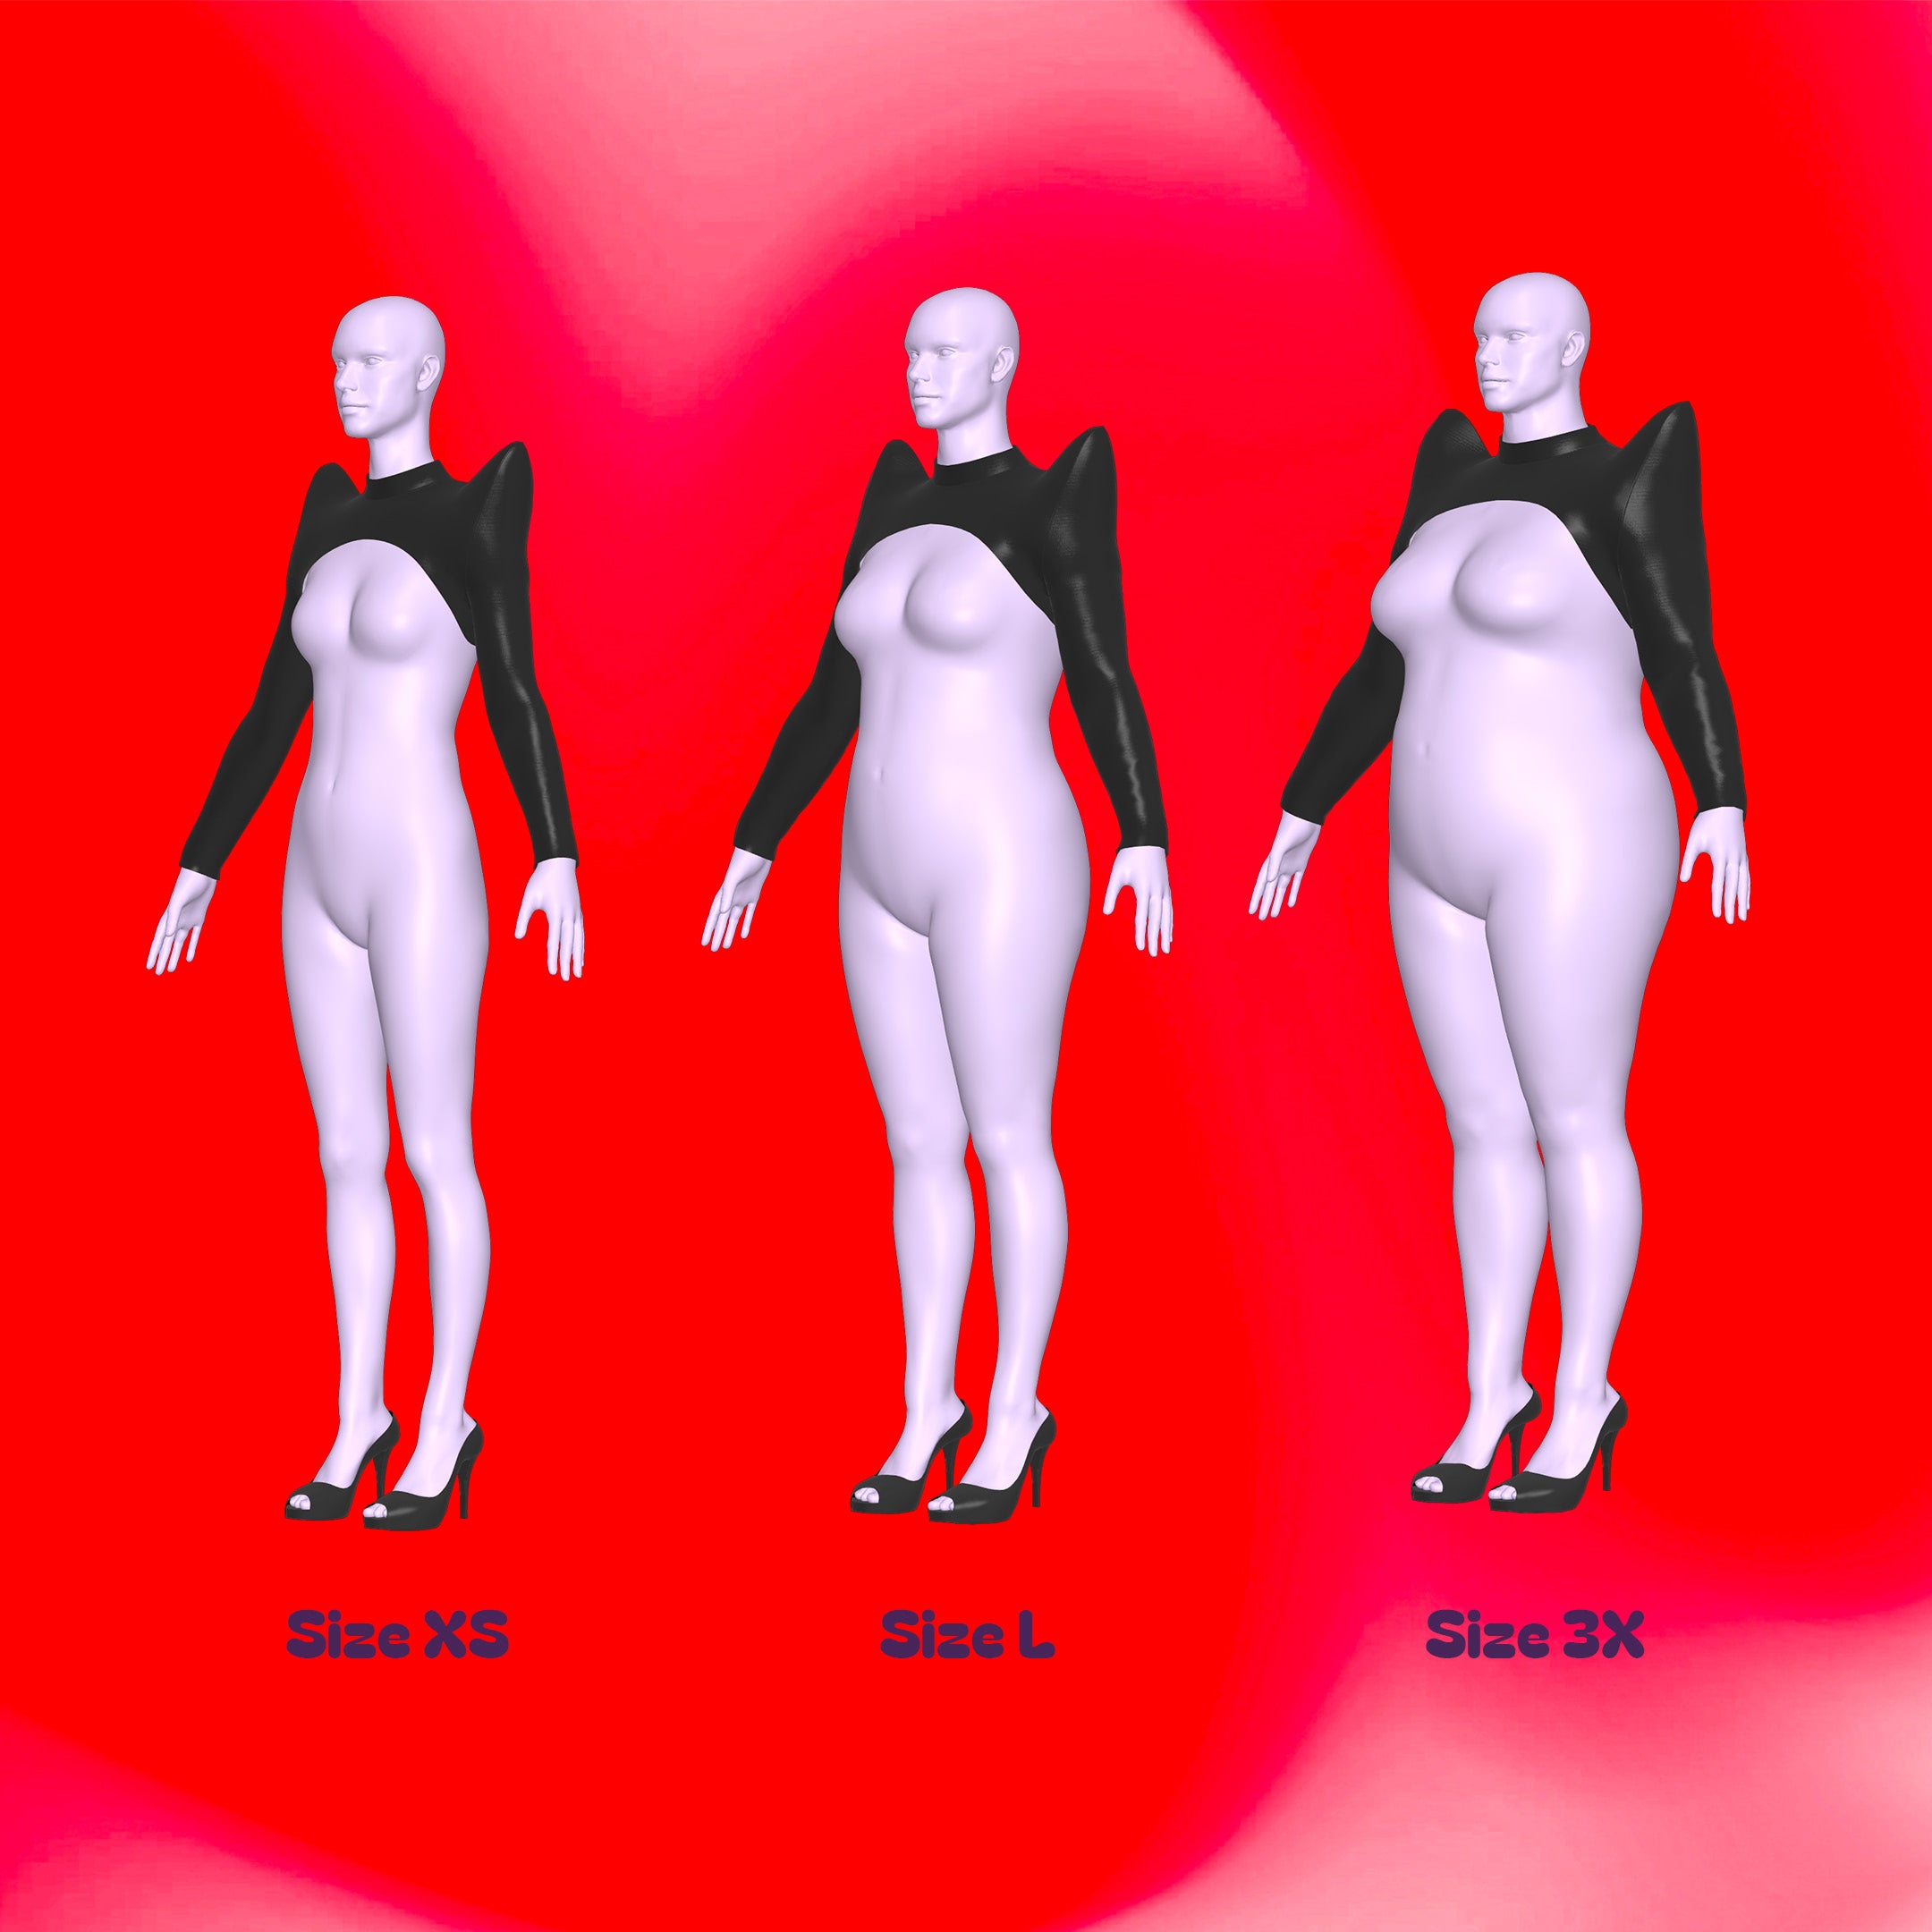
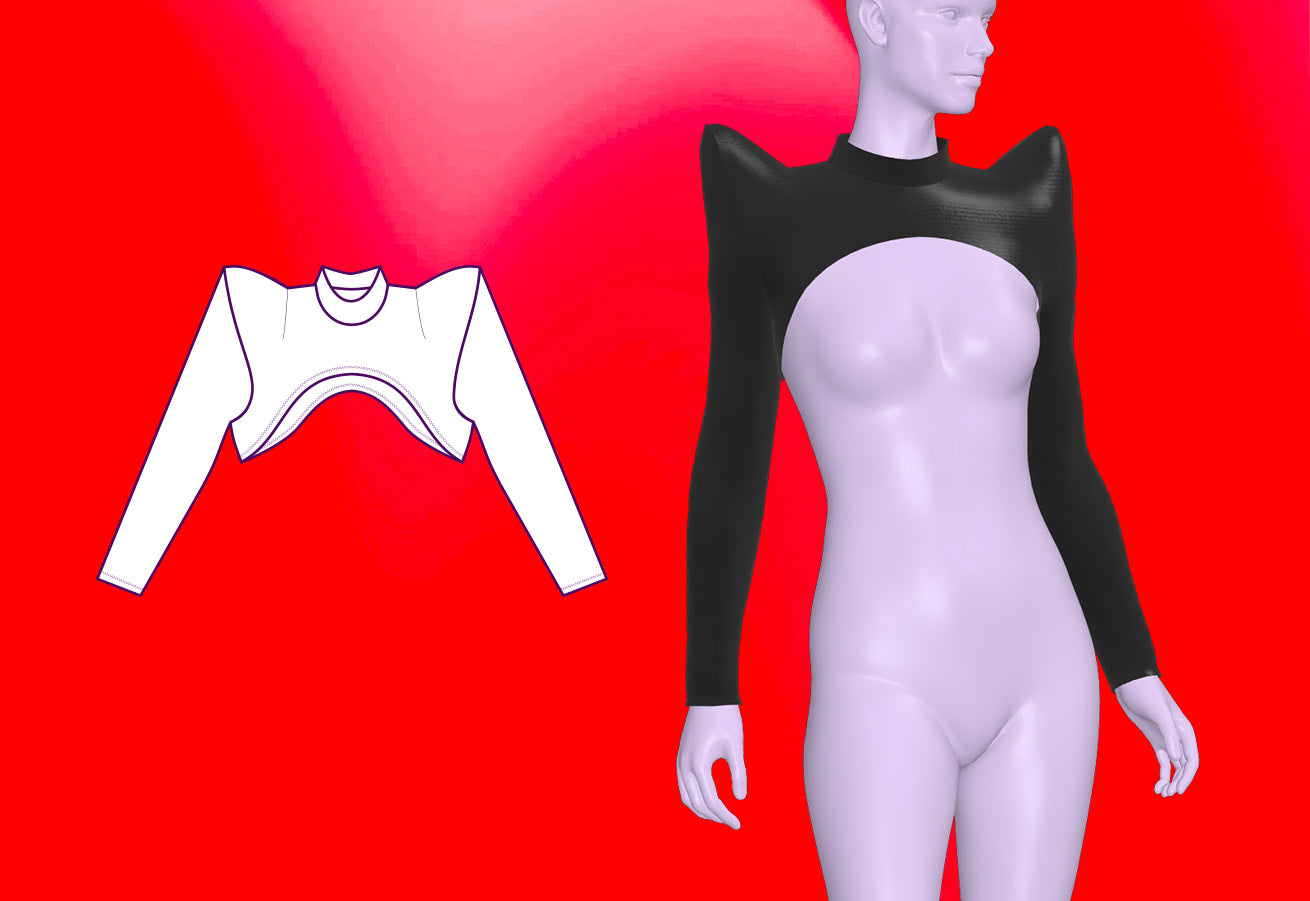
Introducing our Long Sleeve Pointed Shoulder Shrug sewing pattern, specially designed for drag queens who want to make a bold statement with their style. This pattern features a seamless front and back, with distinctive pointed shoulders reminiscent of pyramid shapes, allowing you to create a powerful and striking silhouette. Whether you're looking to enhance your drag persona or add a touch of drama to your outfit, this shrug is the perfect choice. Shoulder pad patterns are included. Crafted for comfort and flexibility, this pattern is suitable for use with 4-way stretch fabrics. Elevate your drag ensemble and turn heads with this unique and eye-catching shrug pattern.
This pattern is now available for women’s (AFAB) sizes sizes. Sold as a separate pattern.
Pattern Difficulty: For Beginners
Fabric Yardage
This pattern requires the use of 4-way stretch fabric. Please find the yardage needed for each size below.
| Size | Fabric Yardage (58"-60” width) | |
|---|---|---|
| Drag Queen Sizes | Womens AFAB Sizes | |
| XS | 0.75 yard | 0.75 yard |
| S | 0.75 yard | 0.75 yard |
| M | 1 yard | 0.75 yard |
| L | 1 yard | 0.75 yard |
| XL | 1 yard | 0.75 yard |
| 2X | 1 yard | 1 yard |
| 3X | 1 yard | -- |
| 4X | 1 yard | -- |
For information on converting inches to meters, please check out our conversion guide.
Fabric & Notions
Suitable for 4-way stretch fabrics:
- Miliskin
- Spandex
- Lycra
- Stretch Knits
- Ultra Firm Fusible Interfacing (1/2 yard)
Sizing Details
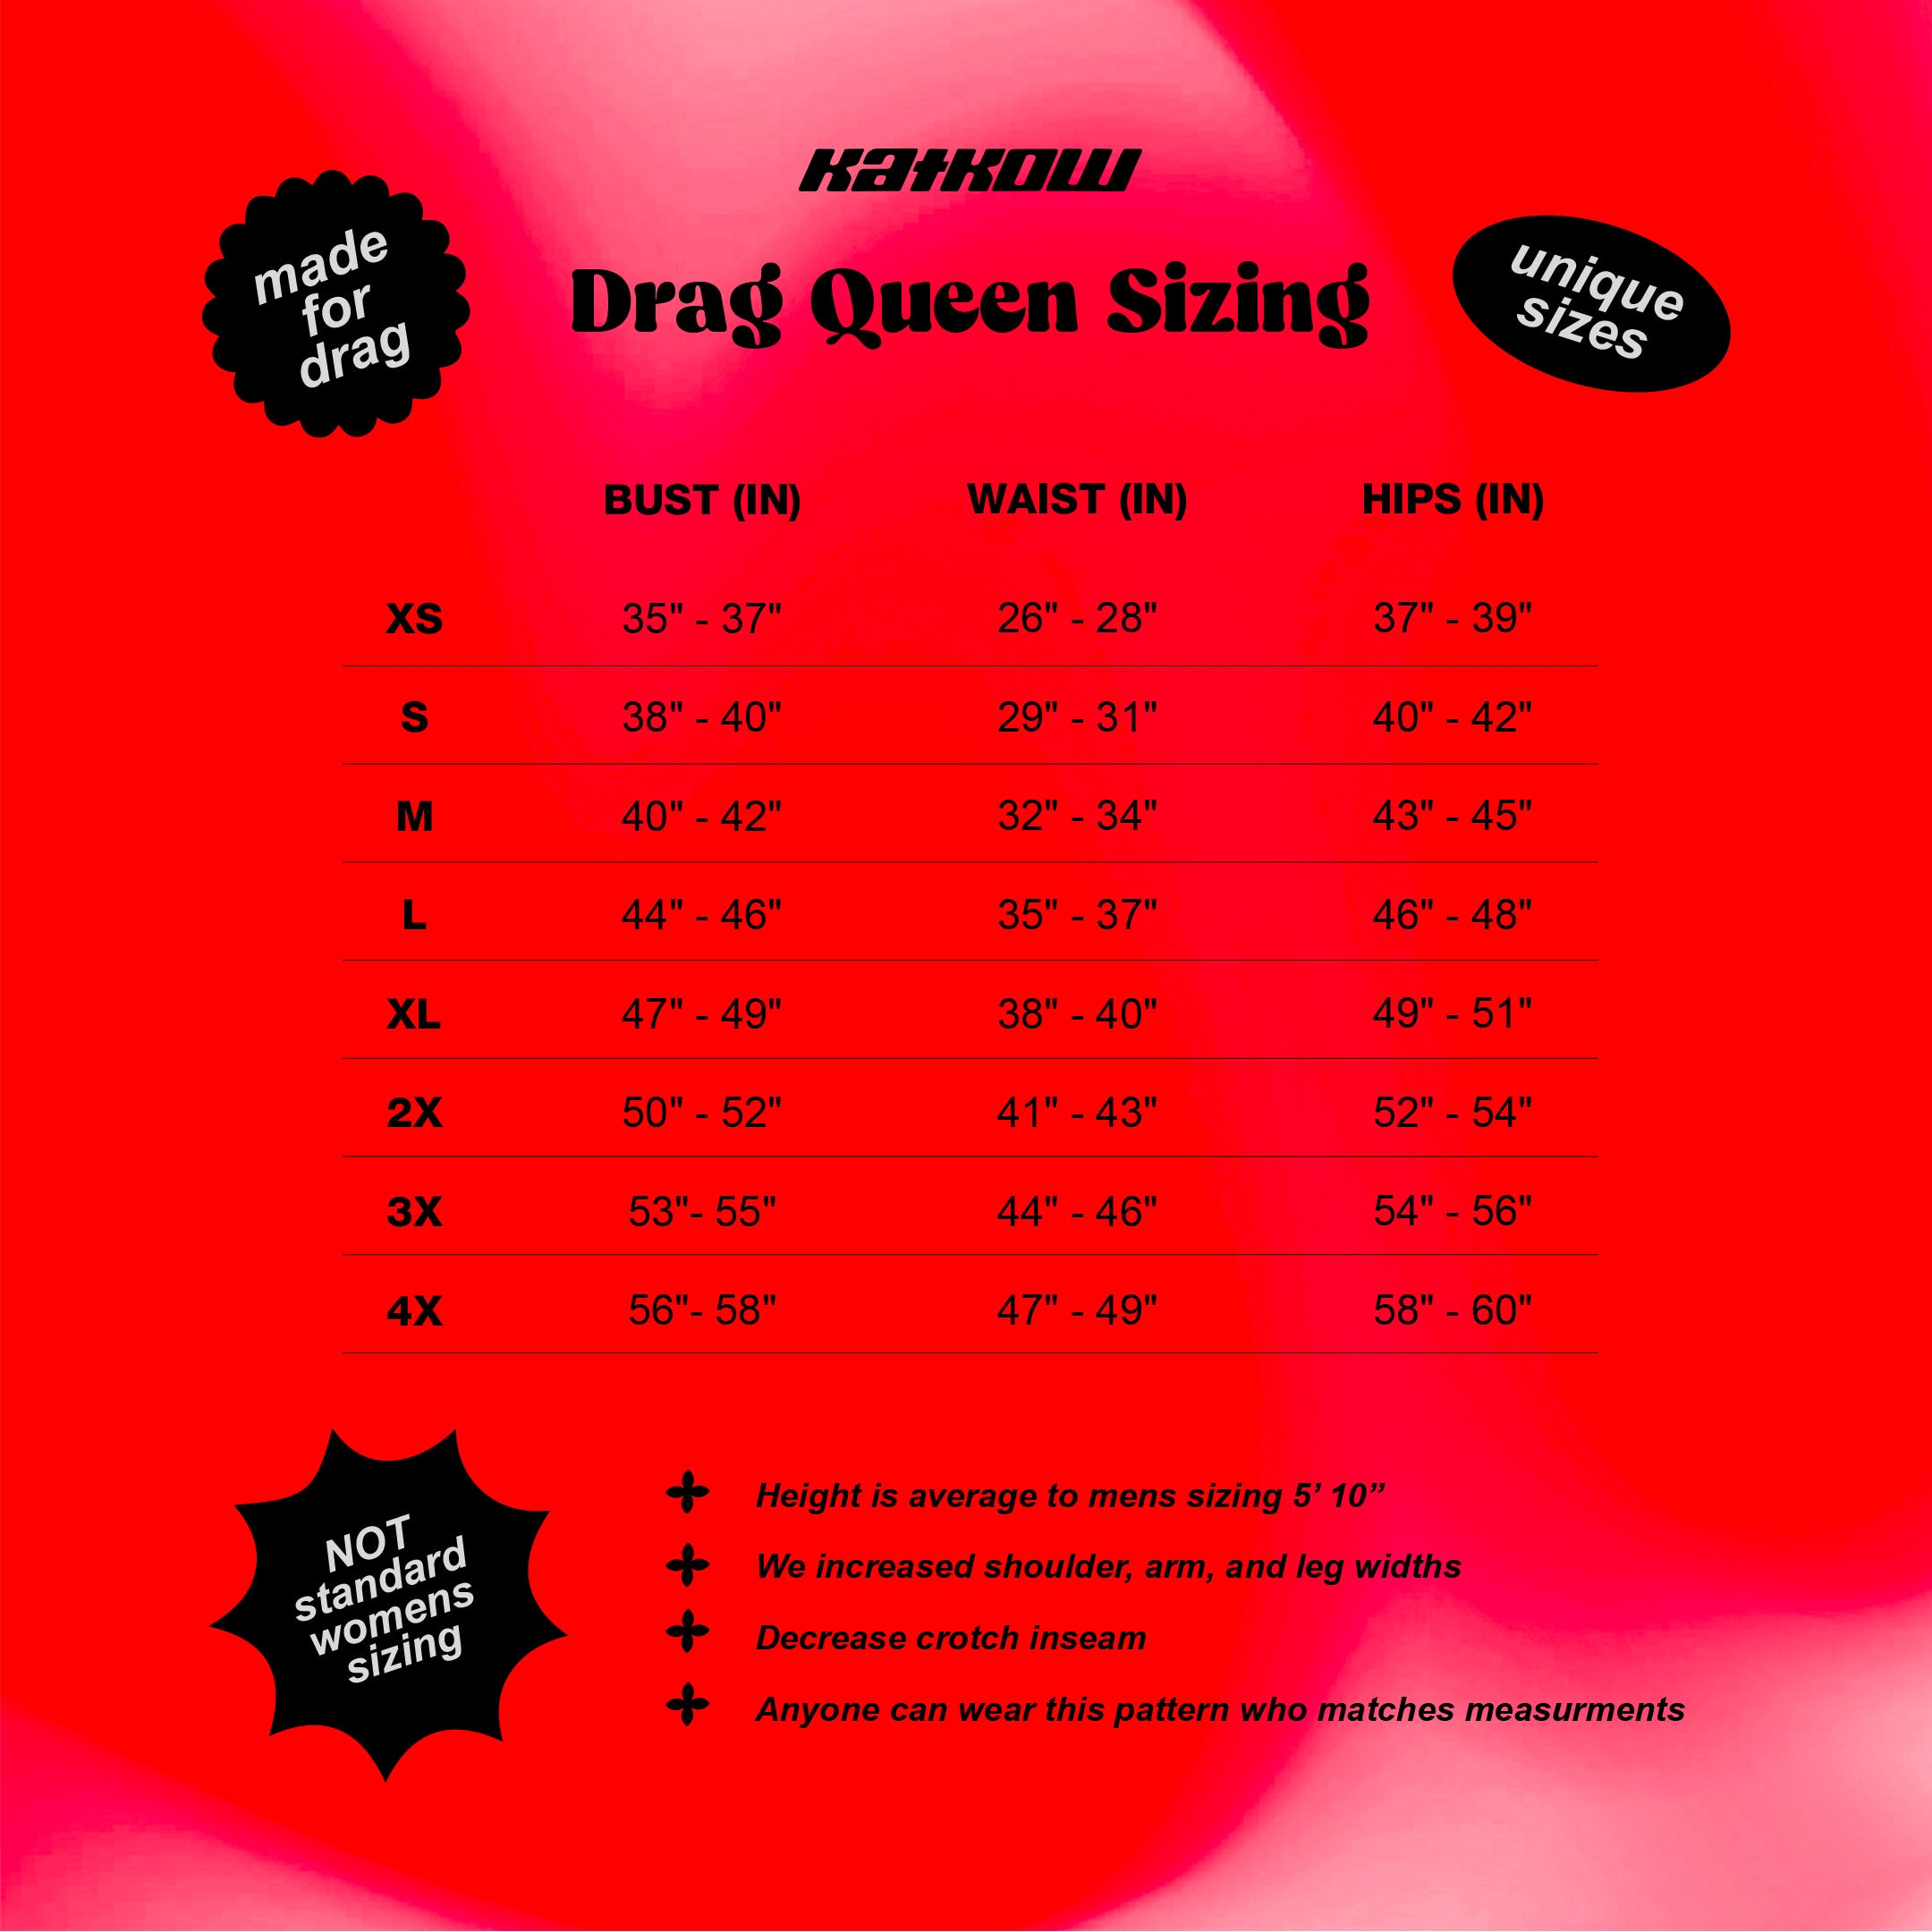
This pattern is available in our unique drag queen sizes ranging from (XS-4X). It is also available in AFAB womens sizing ranging from (XS-XXL). Both pattern size types are sold separately. Please review our sizing guide for more information on our size measurements.
Sewing Instructions


Fabric Pieces
Once your fabric is cut, you should have one seamless front piece, one seamless back piece, two long sleeves, one collar piece, and 2 sets of shoulder pads (3 pieces for each pad).

Stitches
For this project, the recommended stitches are a serger overlock stitch, a stretch stitch, or a zigzag stitch. A straight stitch may cause the threads to snap and is not advisable.

STEP 1
Cut the shoulder pads from ultra-firm fusible interfacing, or a thick sturdy type of interfacing. No seam allowance is included in the shoulder pads and is not needed.
Gather the front, back, and sleeve shoulder pad pieces, sewing them together side by side with a zigzag stitch as close to the edges as possible.
Next, fold the shoulder pad in half horizontally and secure it by sewing along the shoulder seam with a zigzag stitch.
These pads are designed to form a sturdy, triangular pyramid-like shape and should have enough structure to stand upright on their own.

STEP 2
Take the front and back pieces, with right sides of the fabrics facing each other, pin them together at the shoulder seams and sew along the shoulder seams.

STEP 3
Layout the front and back pieces right side up and gather the sleeves.

STEP 4
Align and pin the sleeves around the armholes, right side of the sleeve facing the right side of the front and back, using notches as a guide. Each sleeve curve is symmetrical, so there's no designated front or back. Serge or sew the sleeves in place and repeat for the other side.

STEP 5
Turn the garment wrong side out and sew the inner sleeve seams closed, continuing down the sides of the garment and the crotch.

STEP 6
Gather your collar, fold it horizotnally in half and sew the ends closed, right sides facing each other. Then flip the collar right side out and add a pin to the center front of the collar.

STEP 7
With the garment right side out, and the collar upside down, pin the collar around the outside of the neckline with the center pin of the collar meeting the center front. Serge or sew in place.

STEP 8
Hem the sleeves and the bottom of the front and back using a zig zag stitch or fold over twice for a rolled hem effect with a stretch stitch.

STEP 9
Insert your ultra firm shoulder pads into the upper part of the sleeve and shoulder. The pad should stay in place however you can hand stitch it along the seam to keep it in place.
Get the Pattern
