How To Sew A Pointed Shoulder Cape
Jump to InstructionsOverview
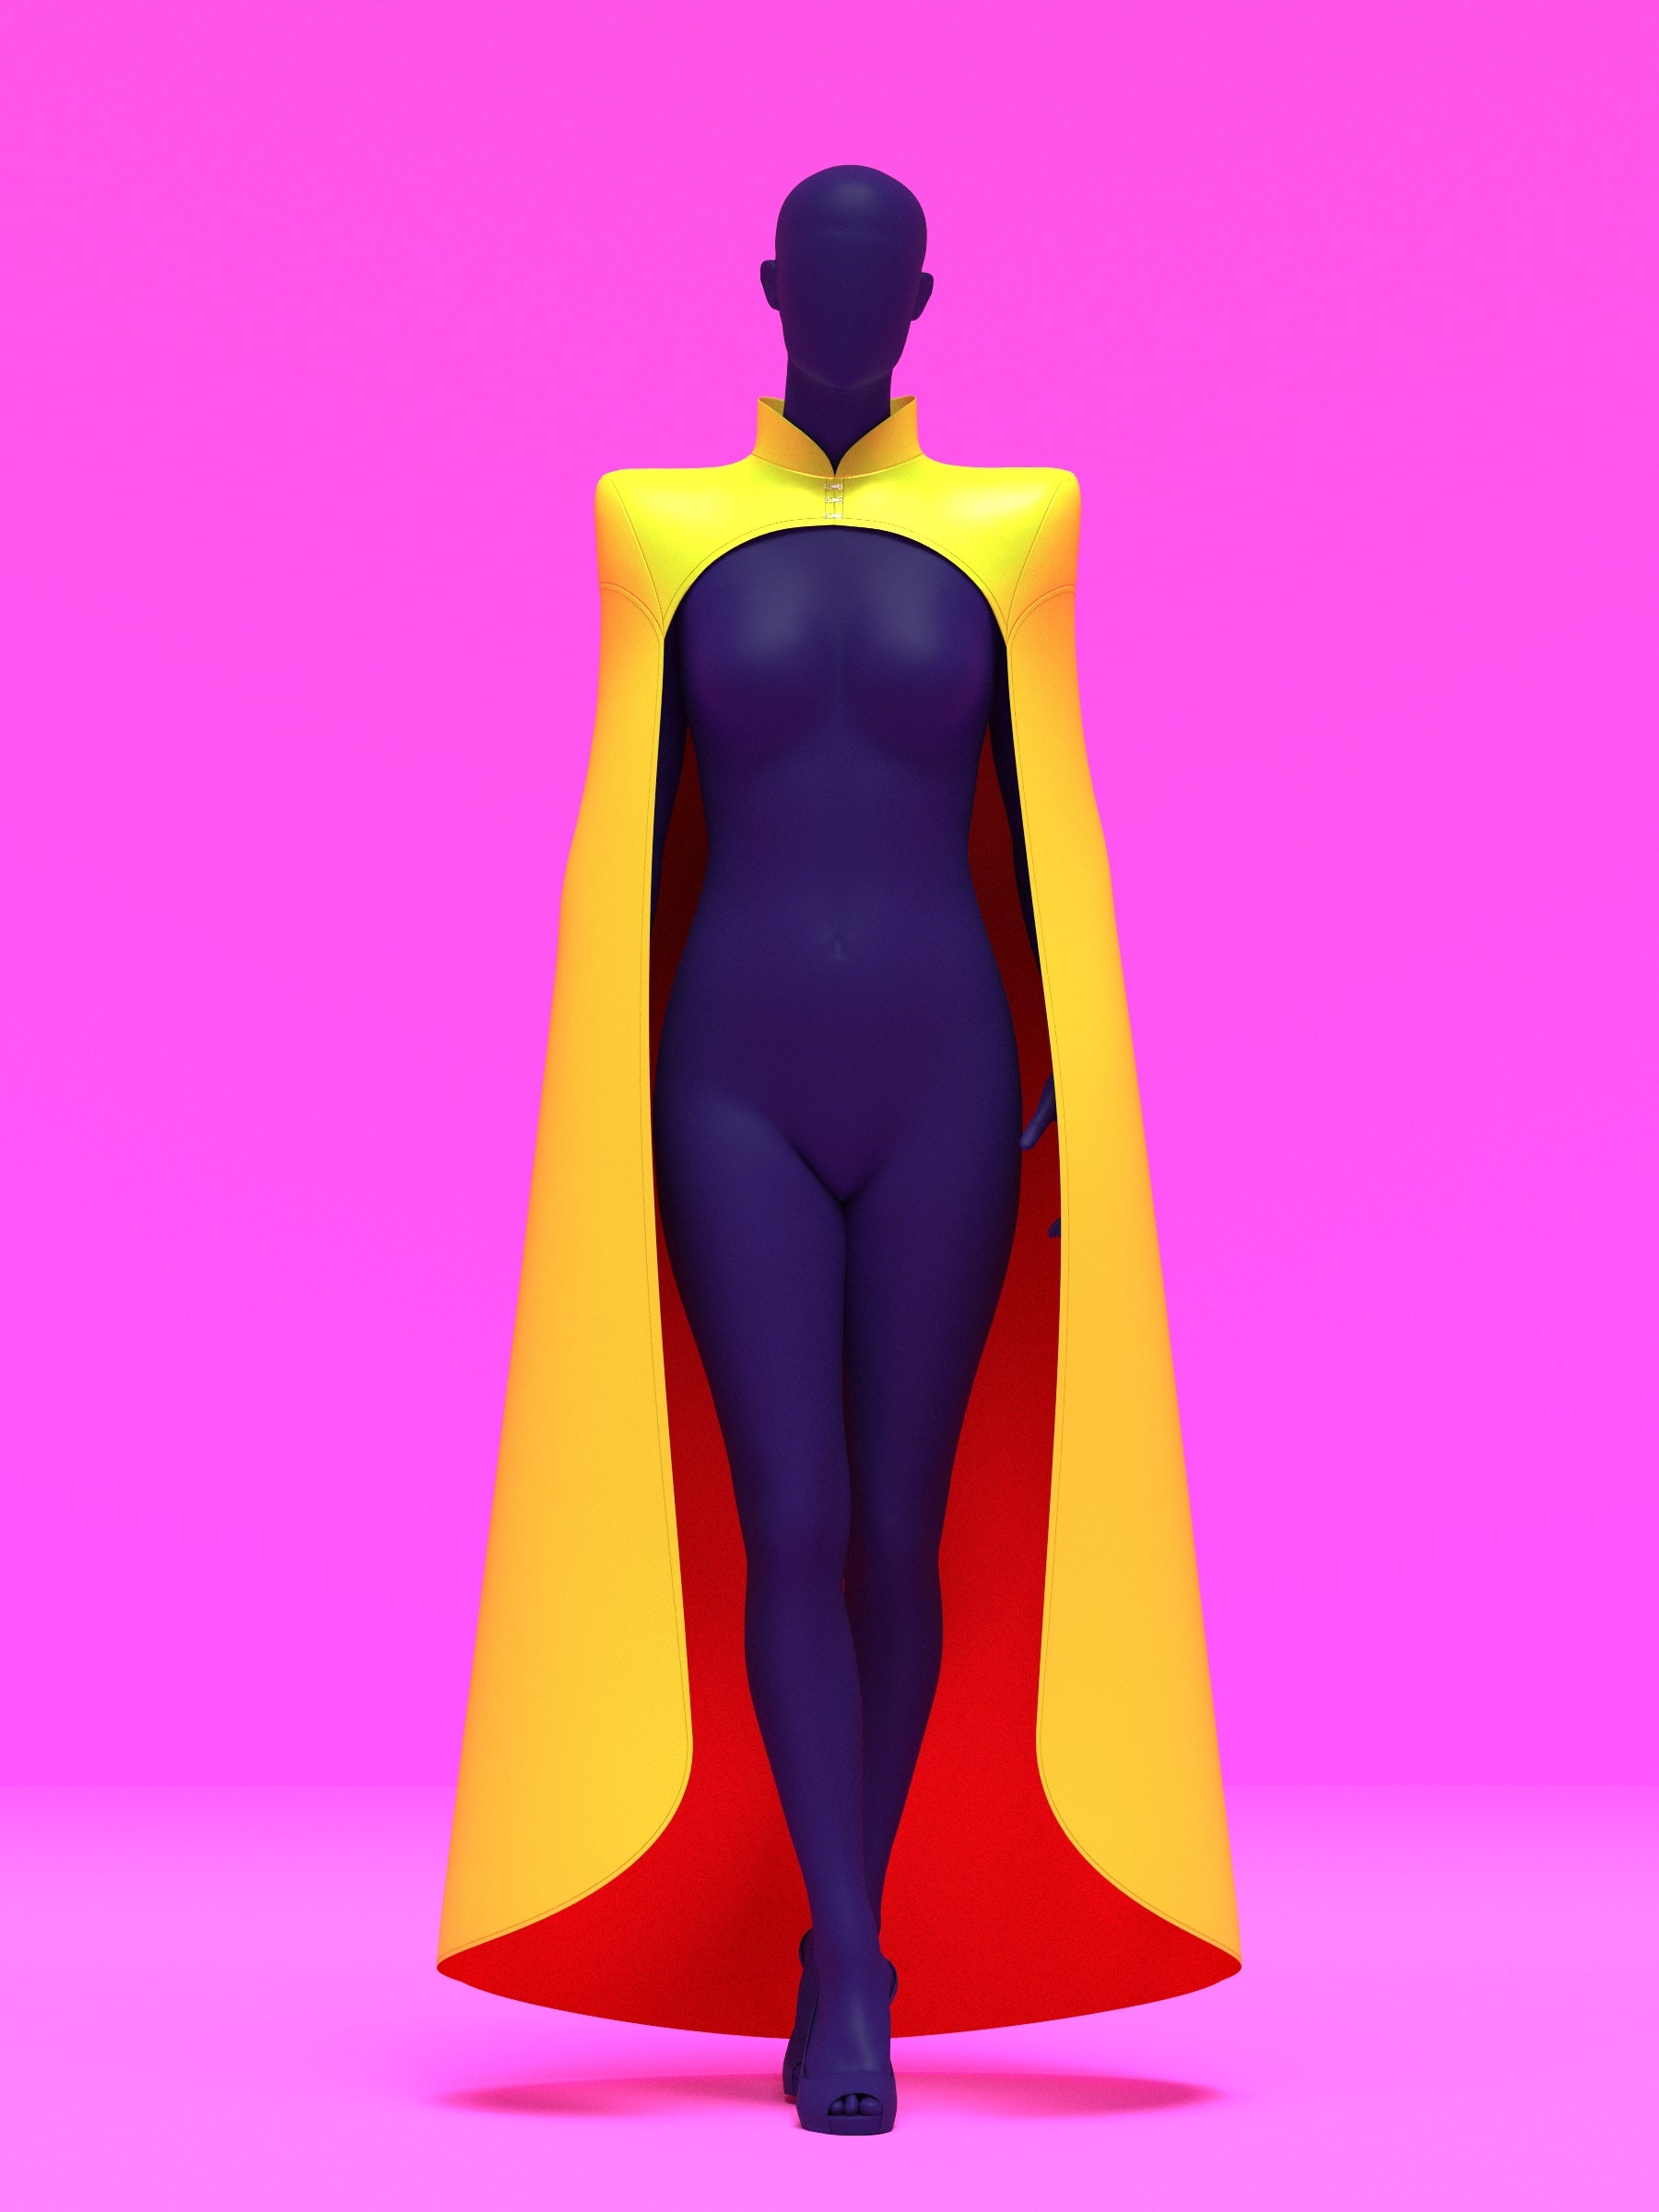
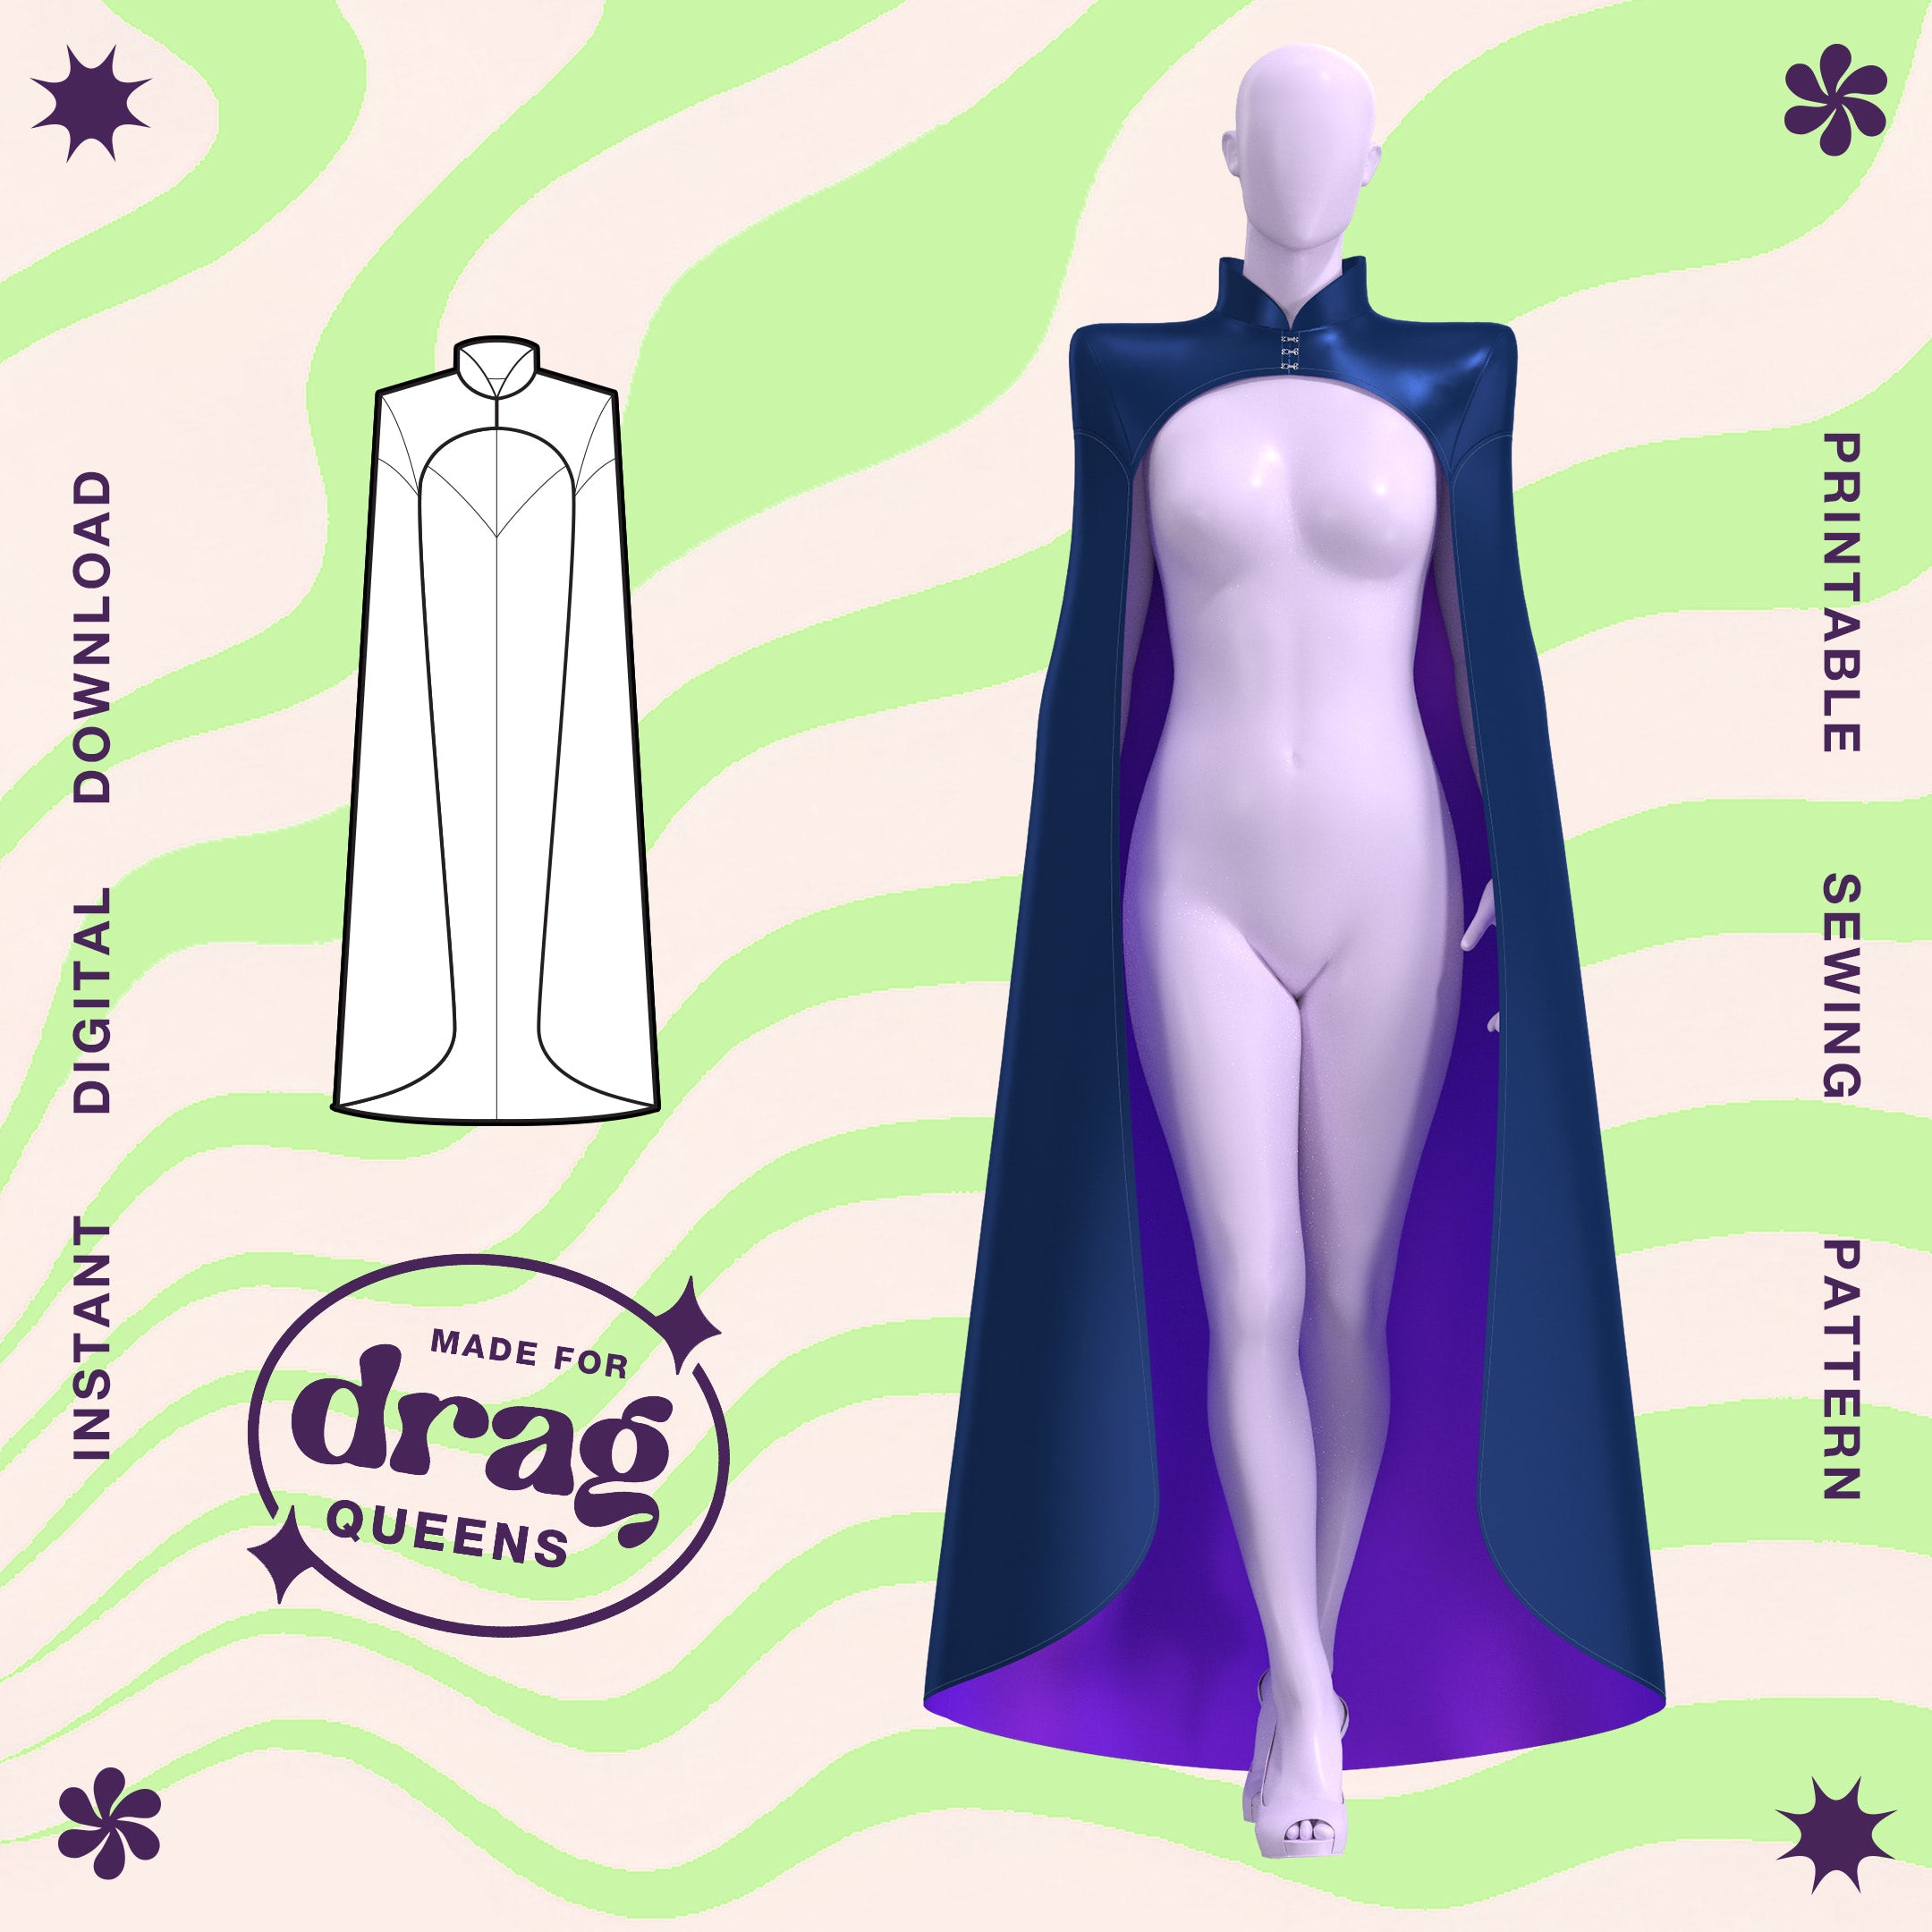
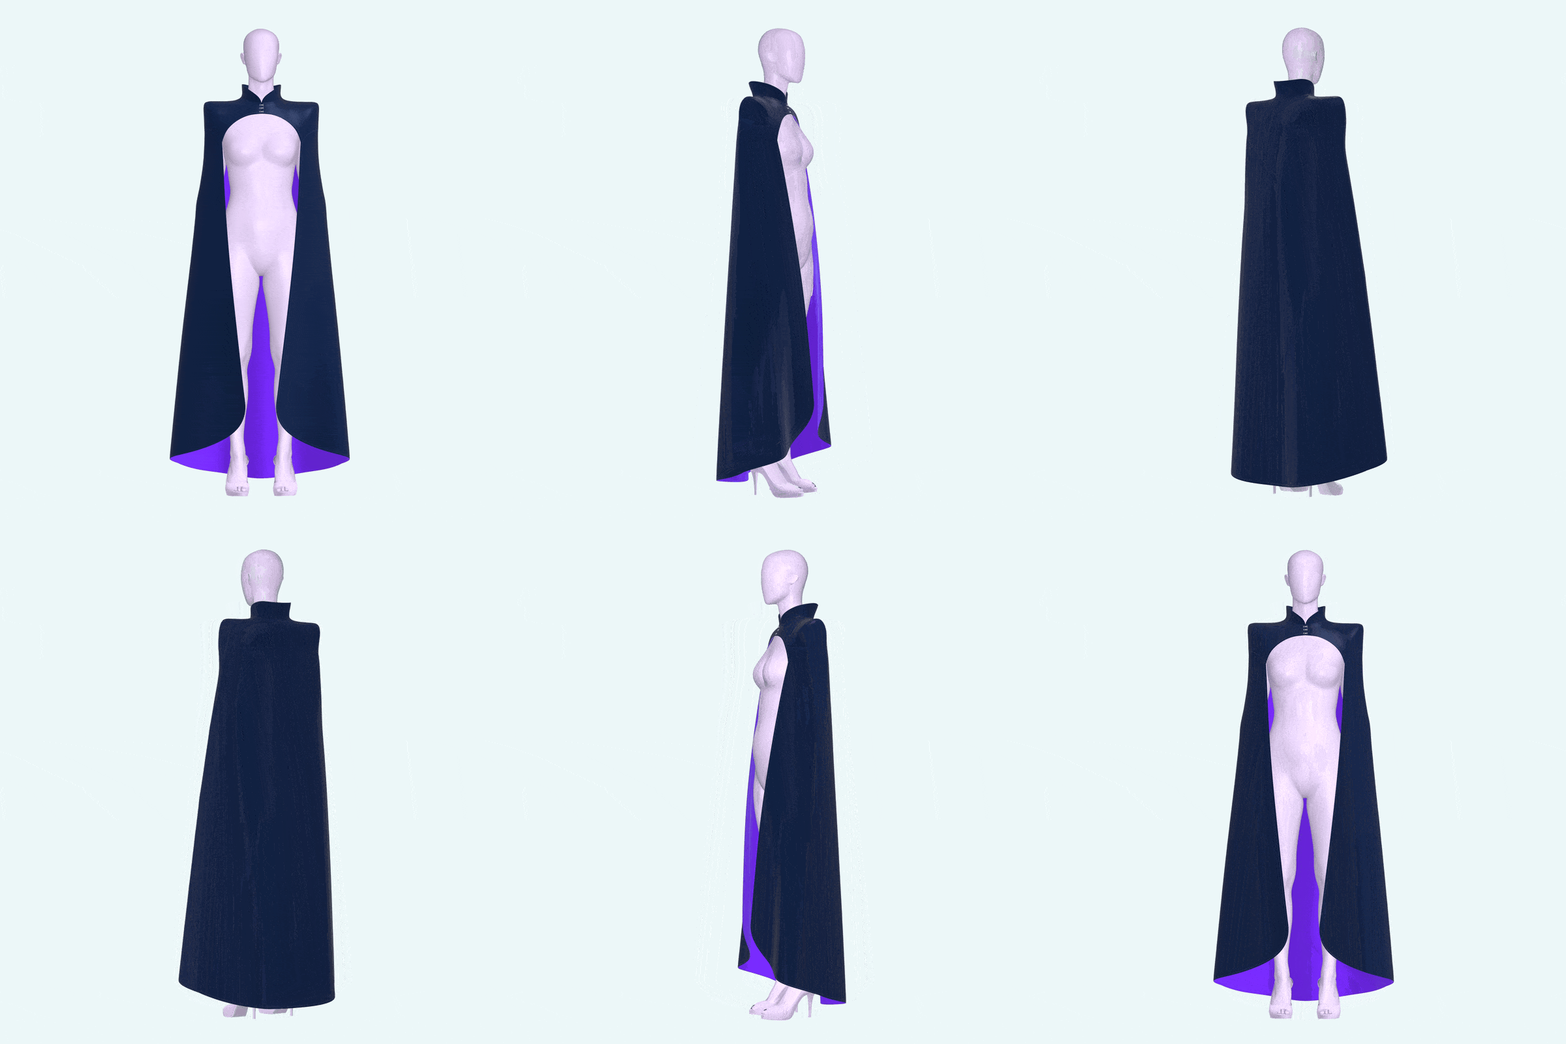
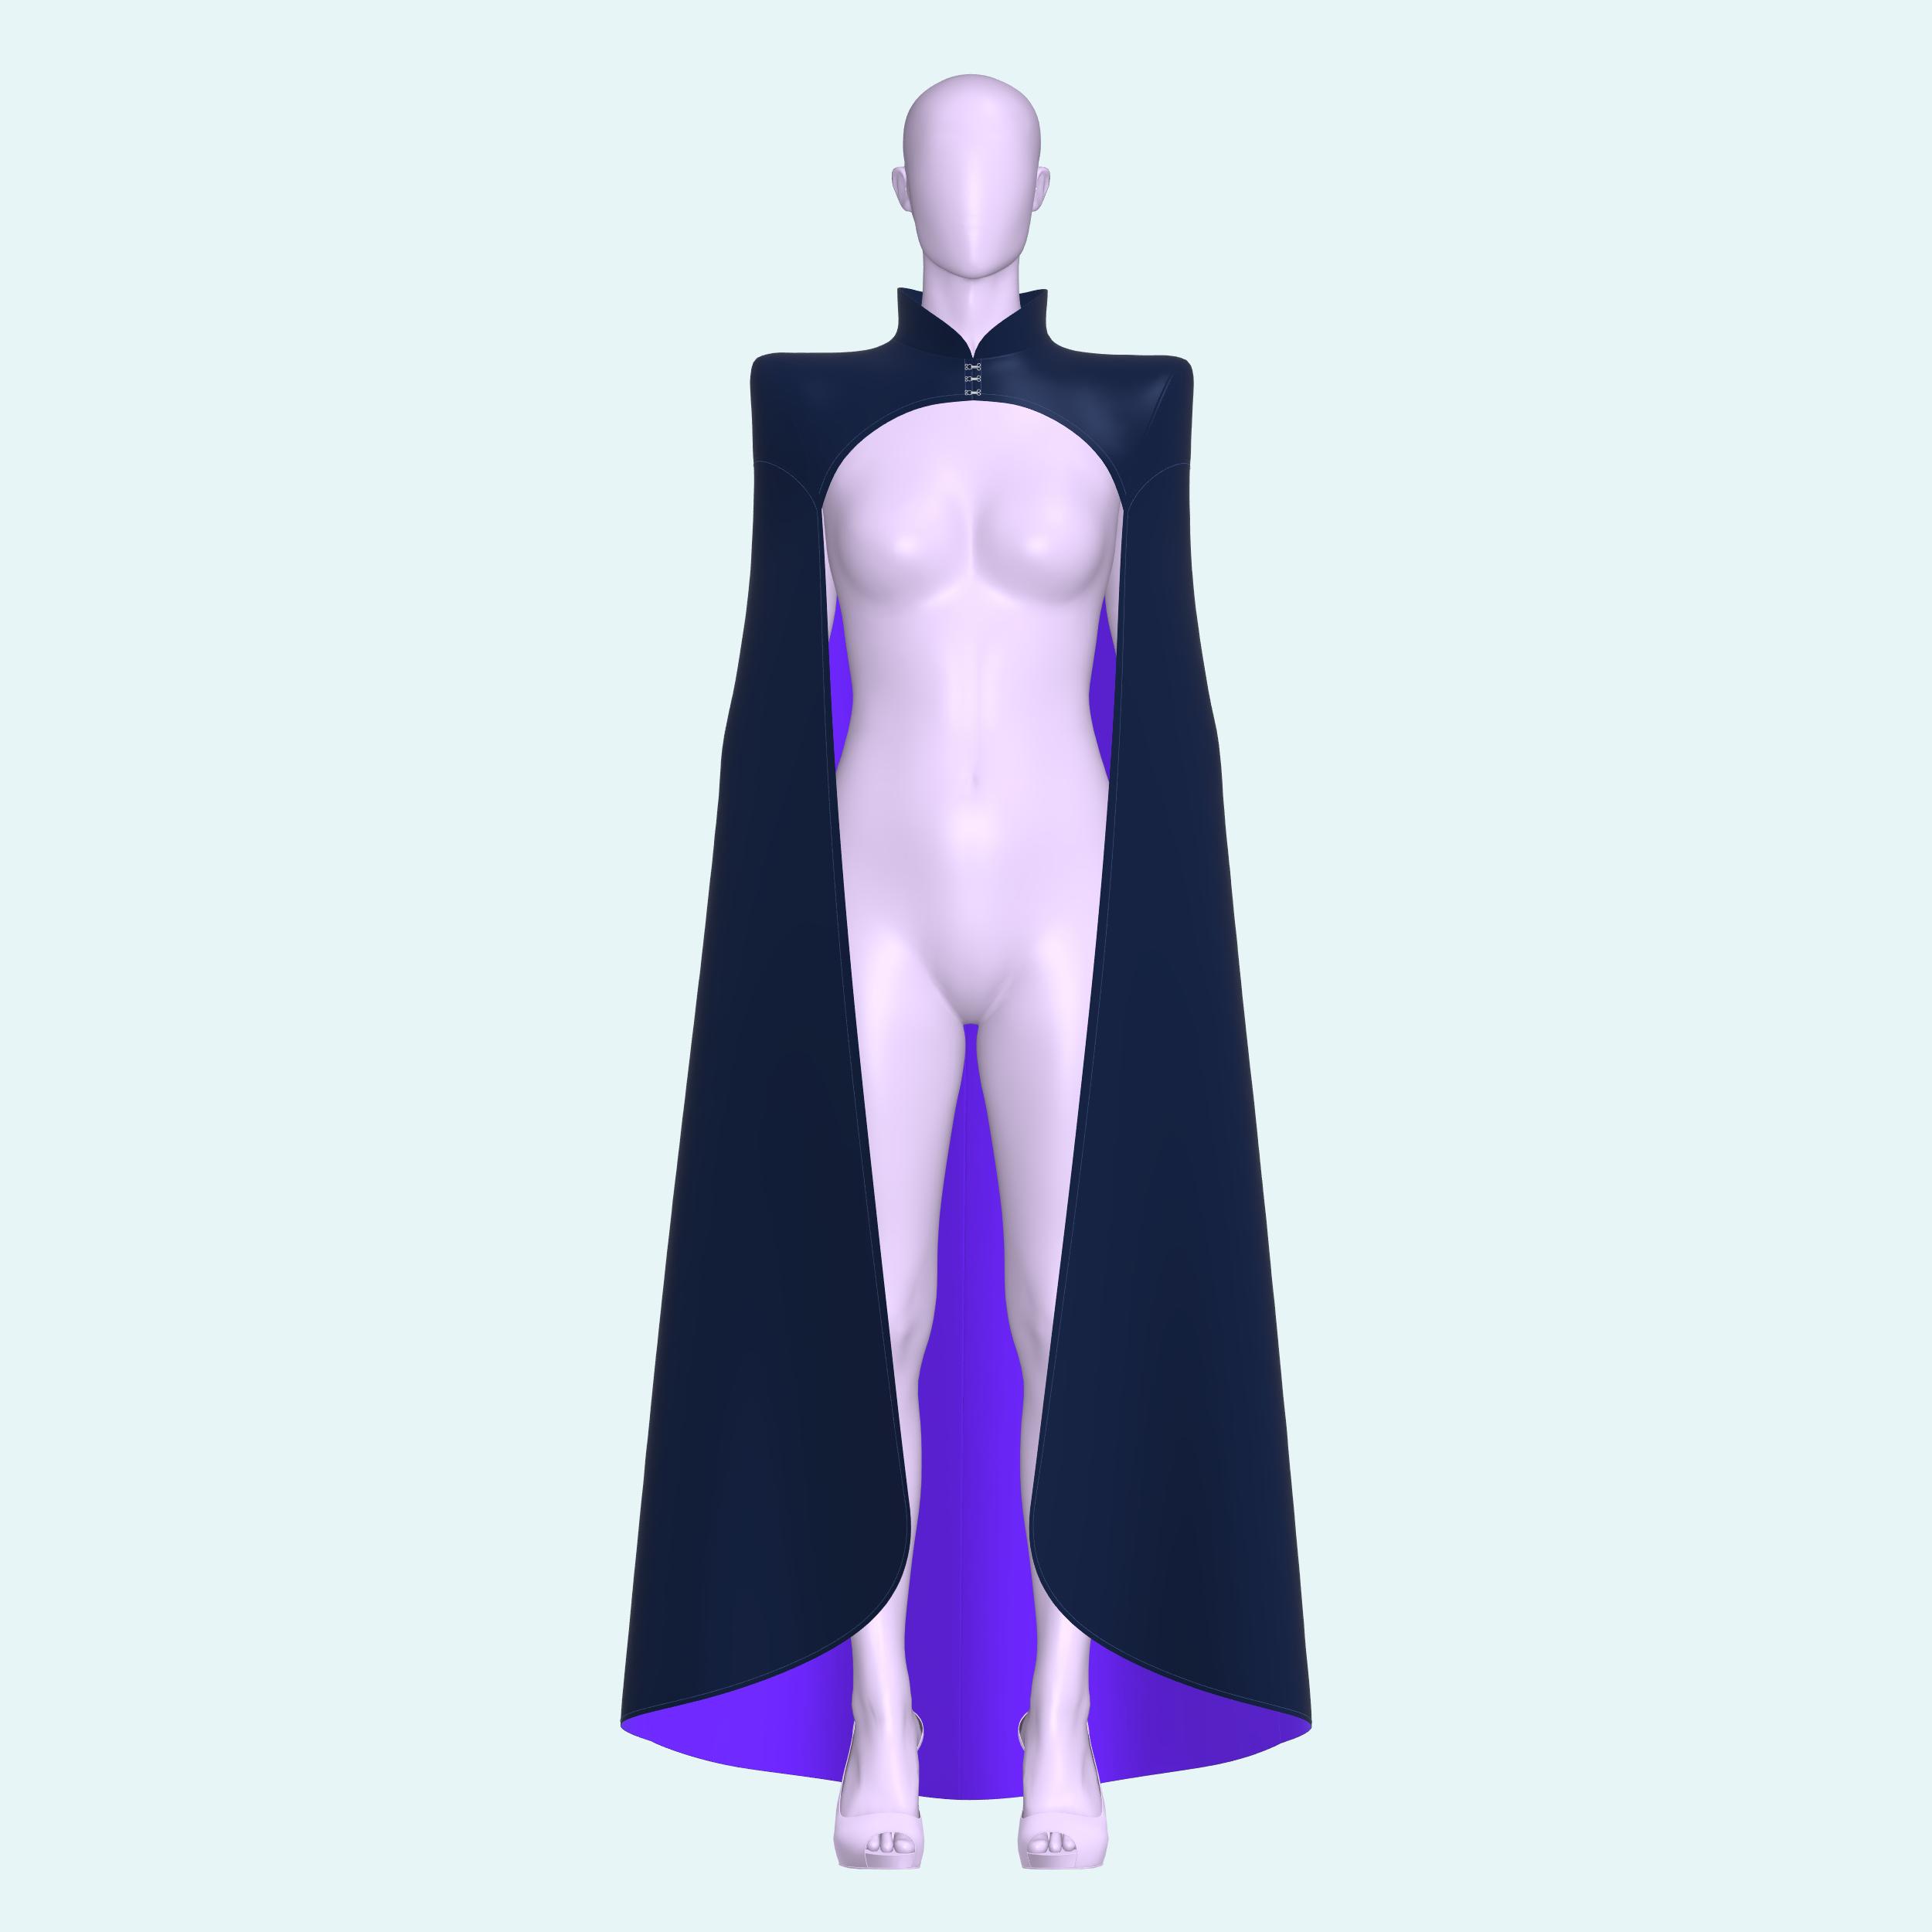
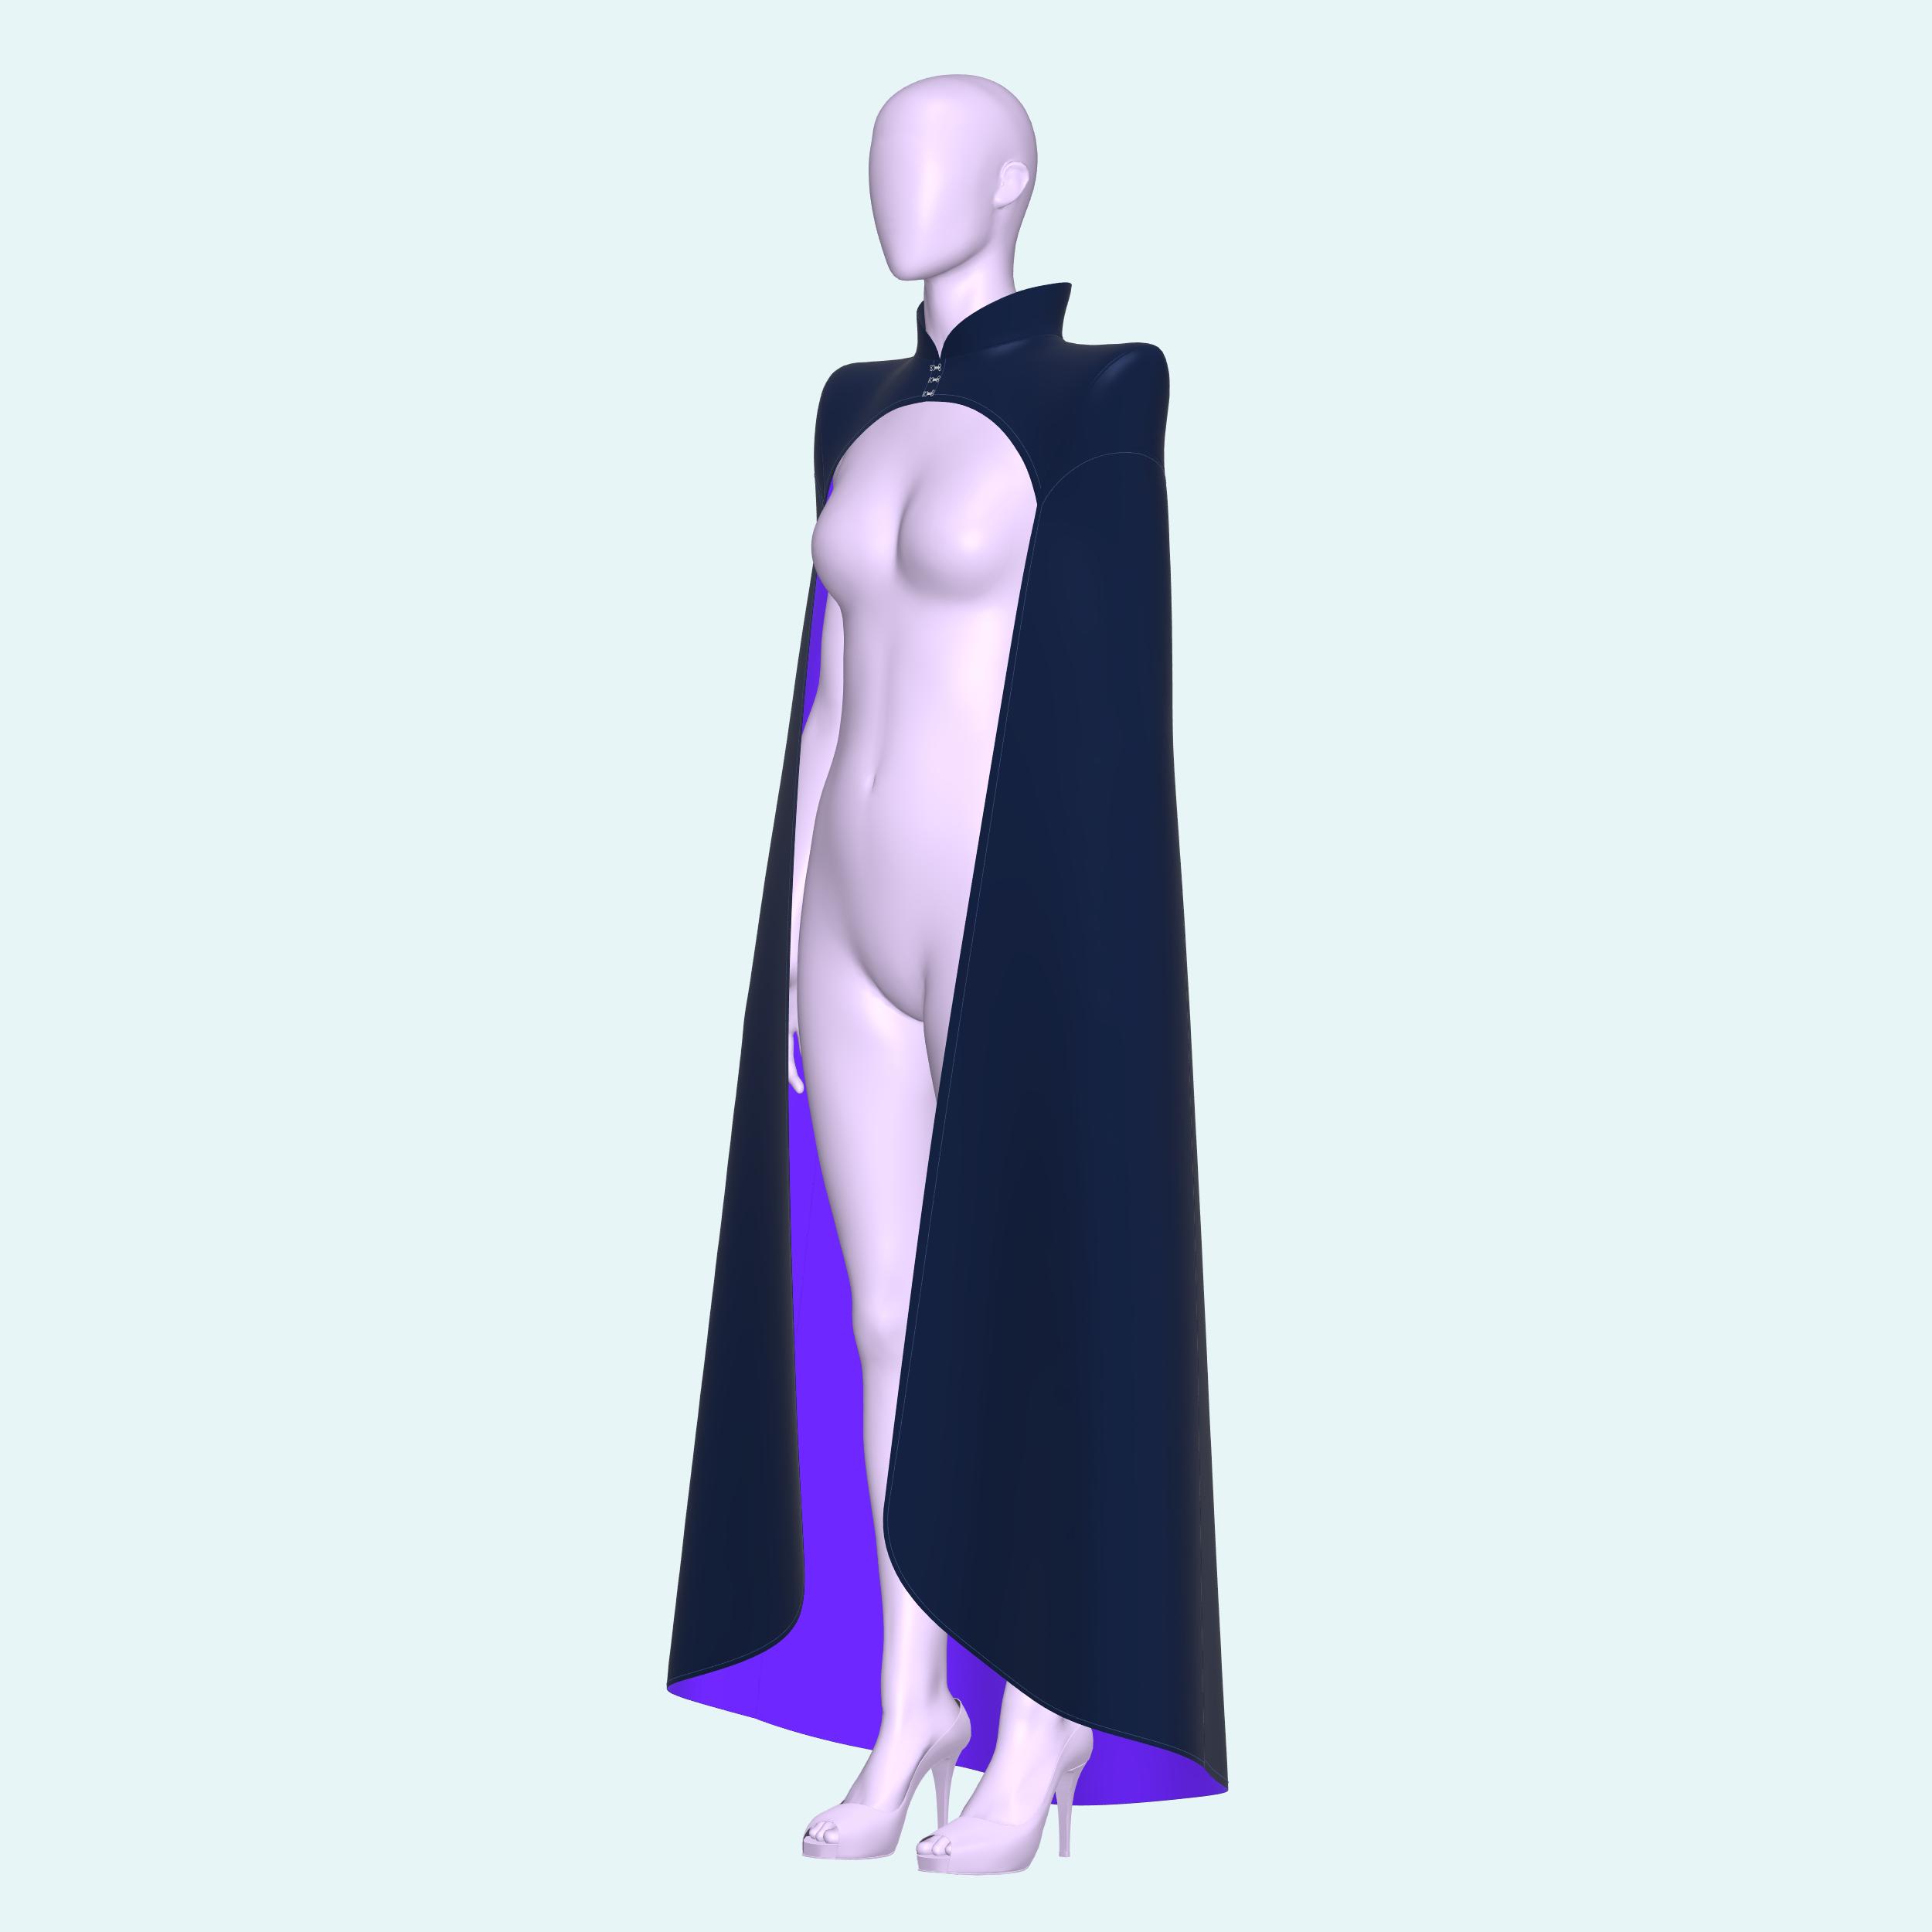
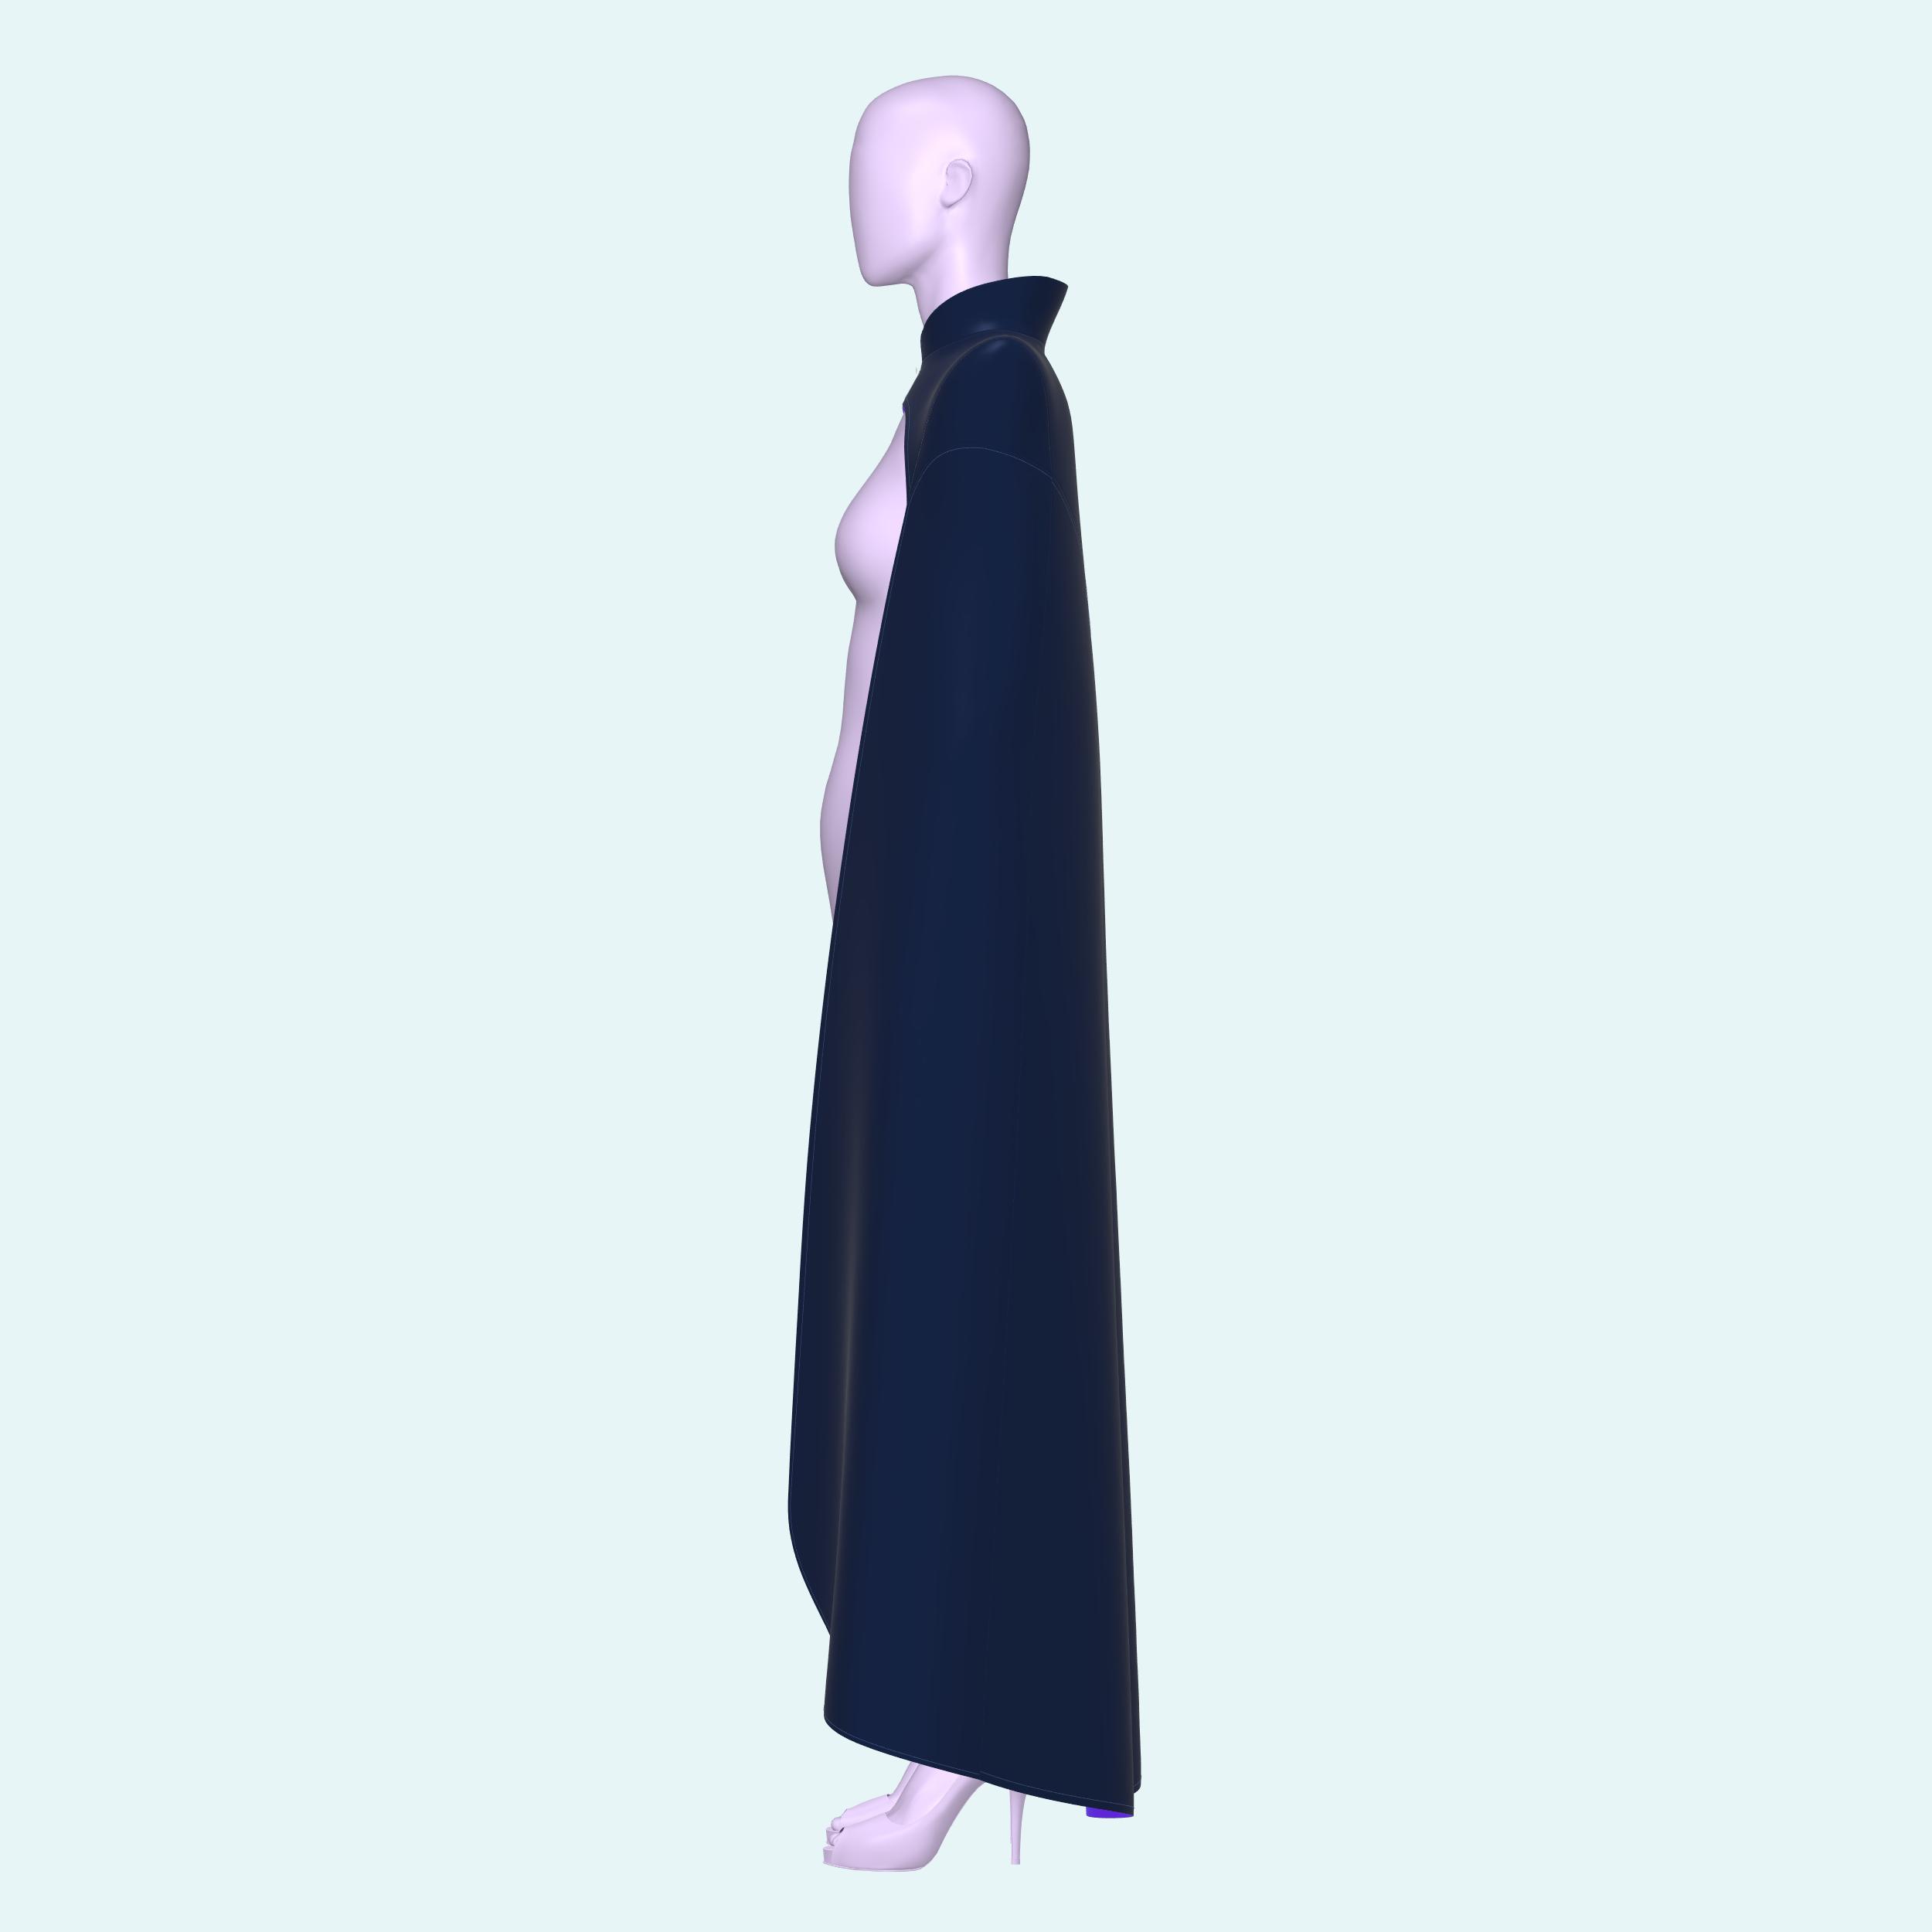
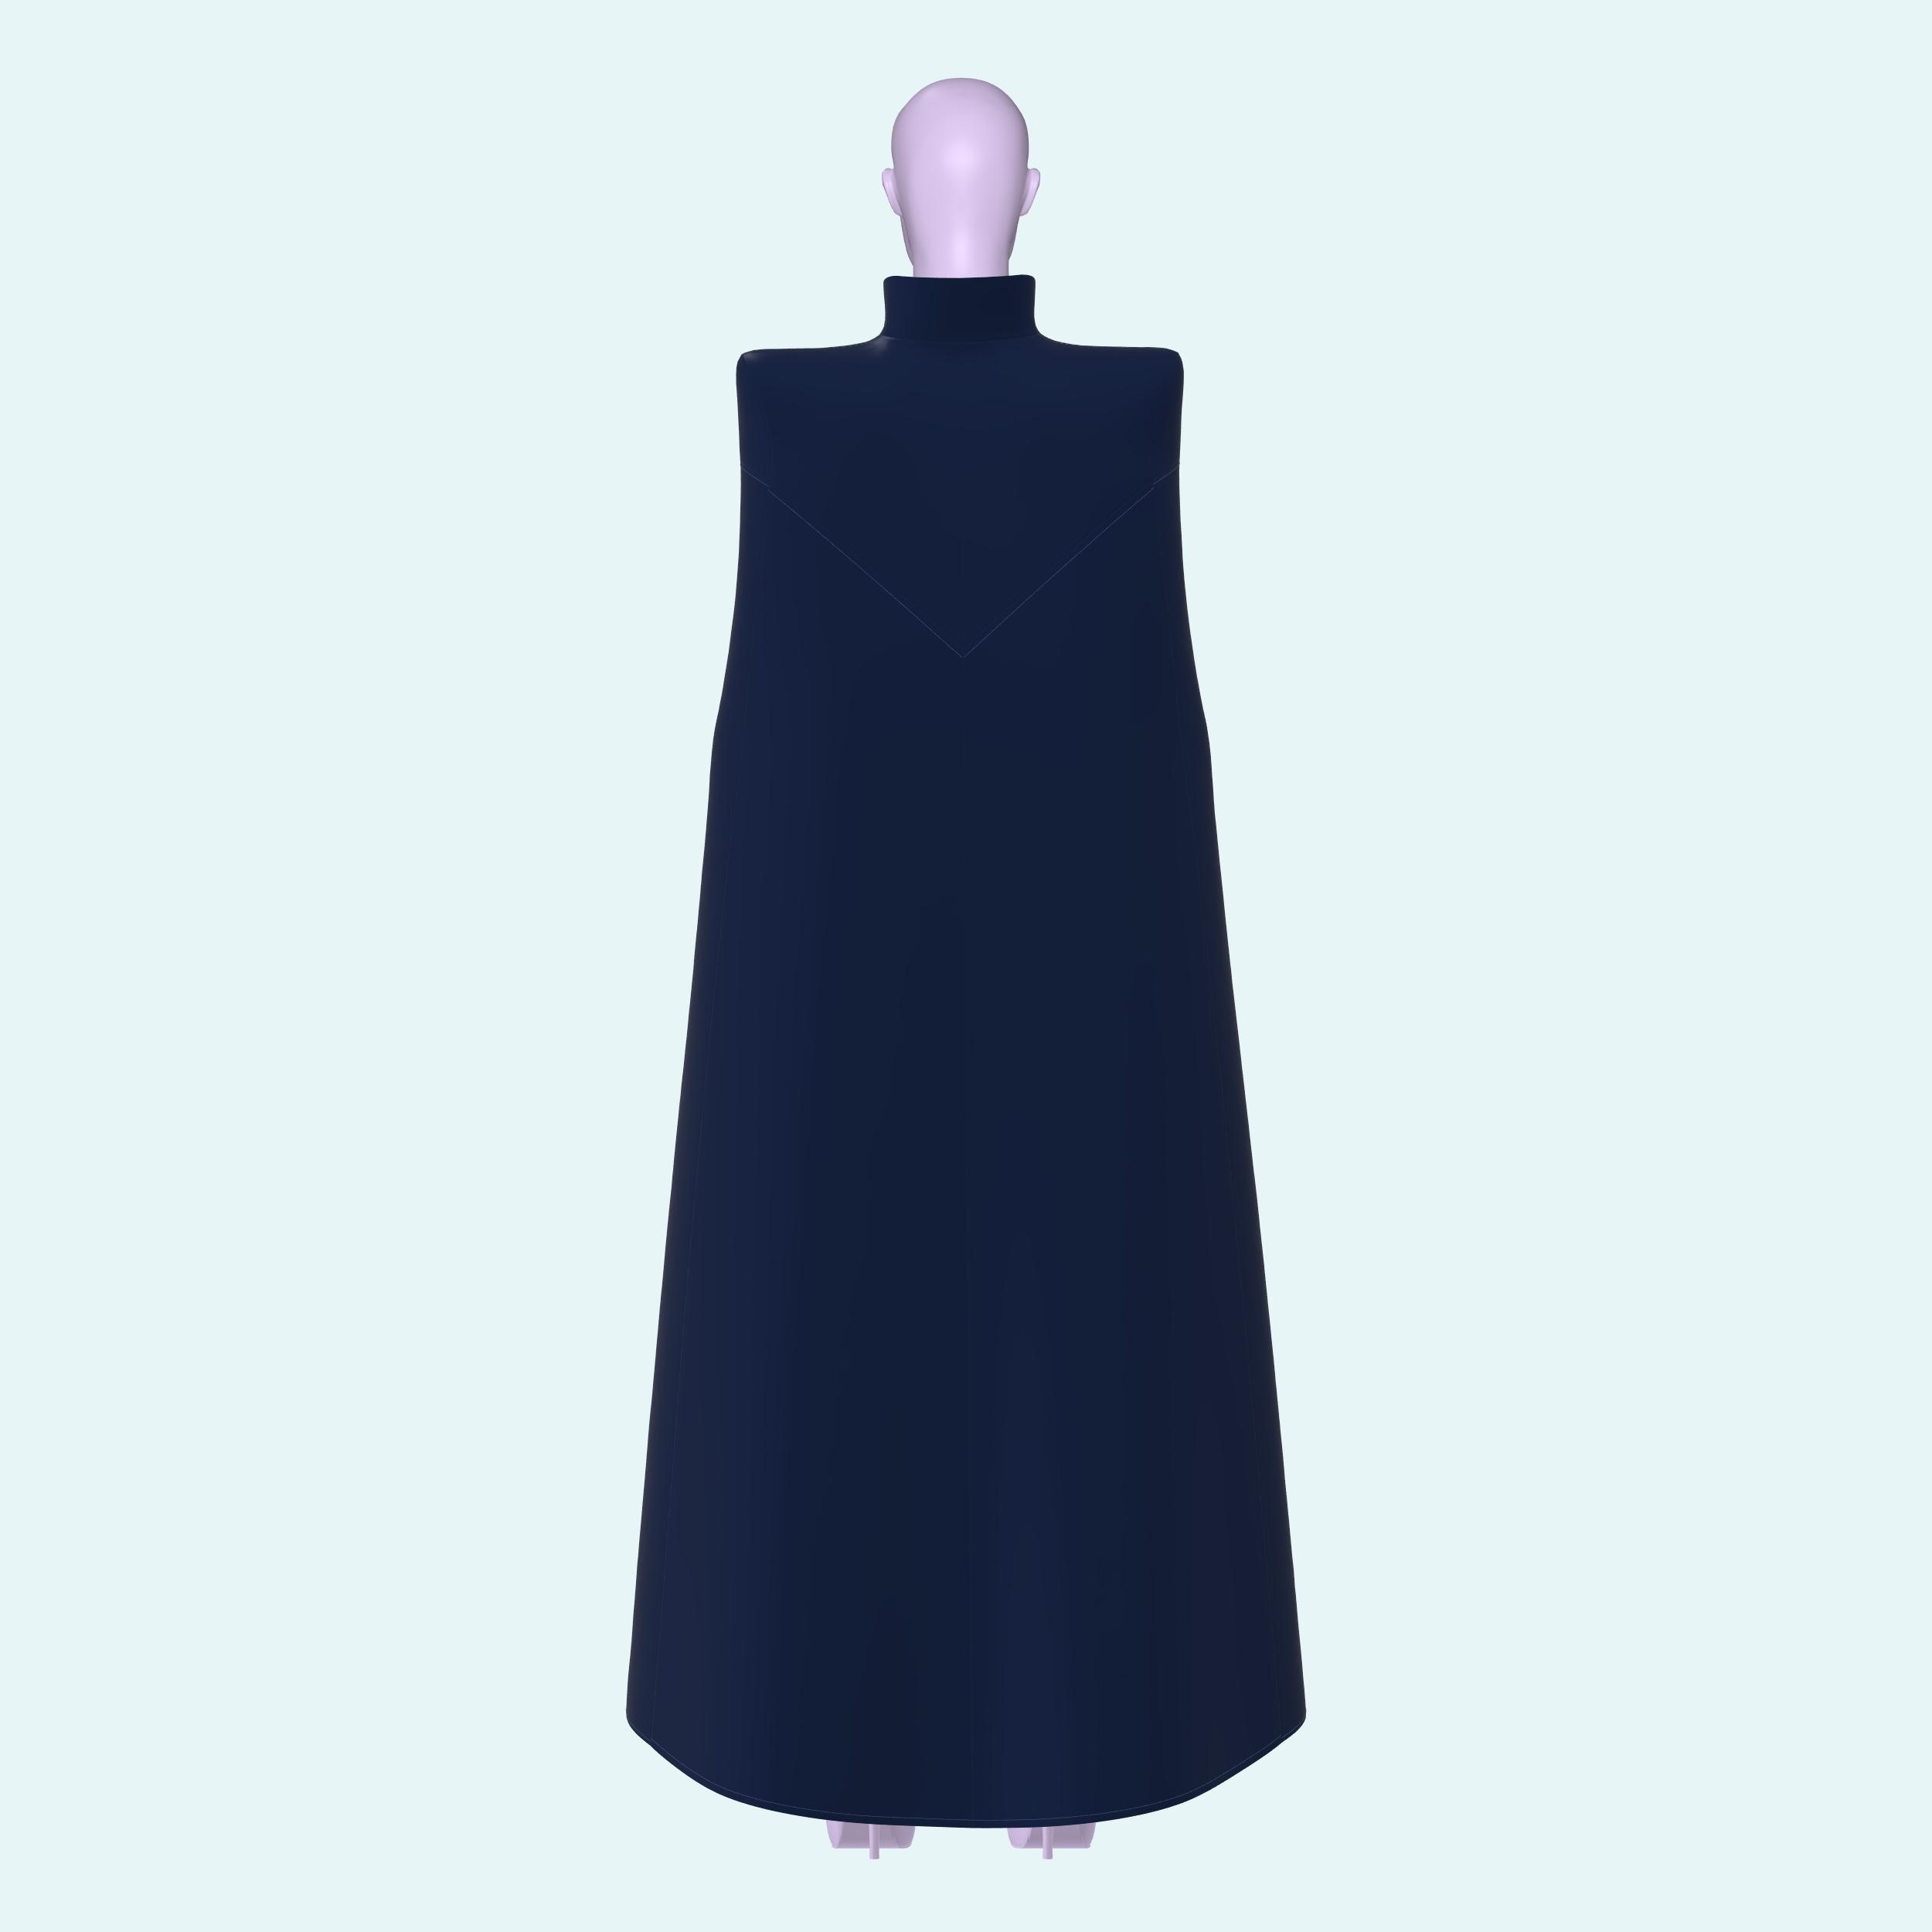
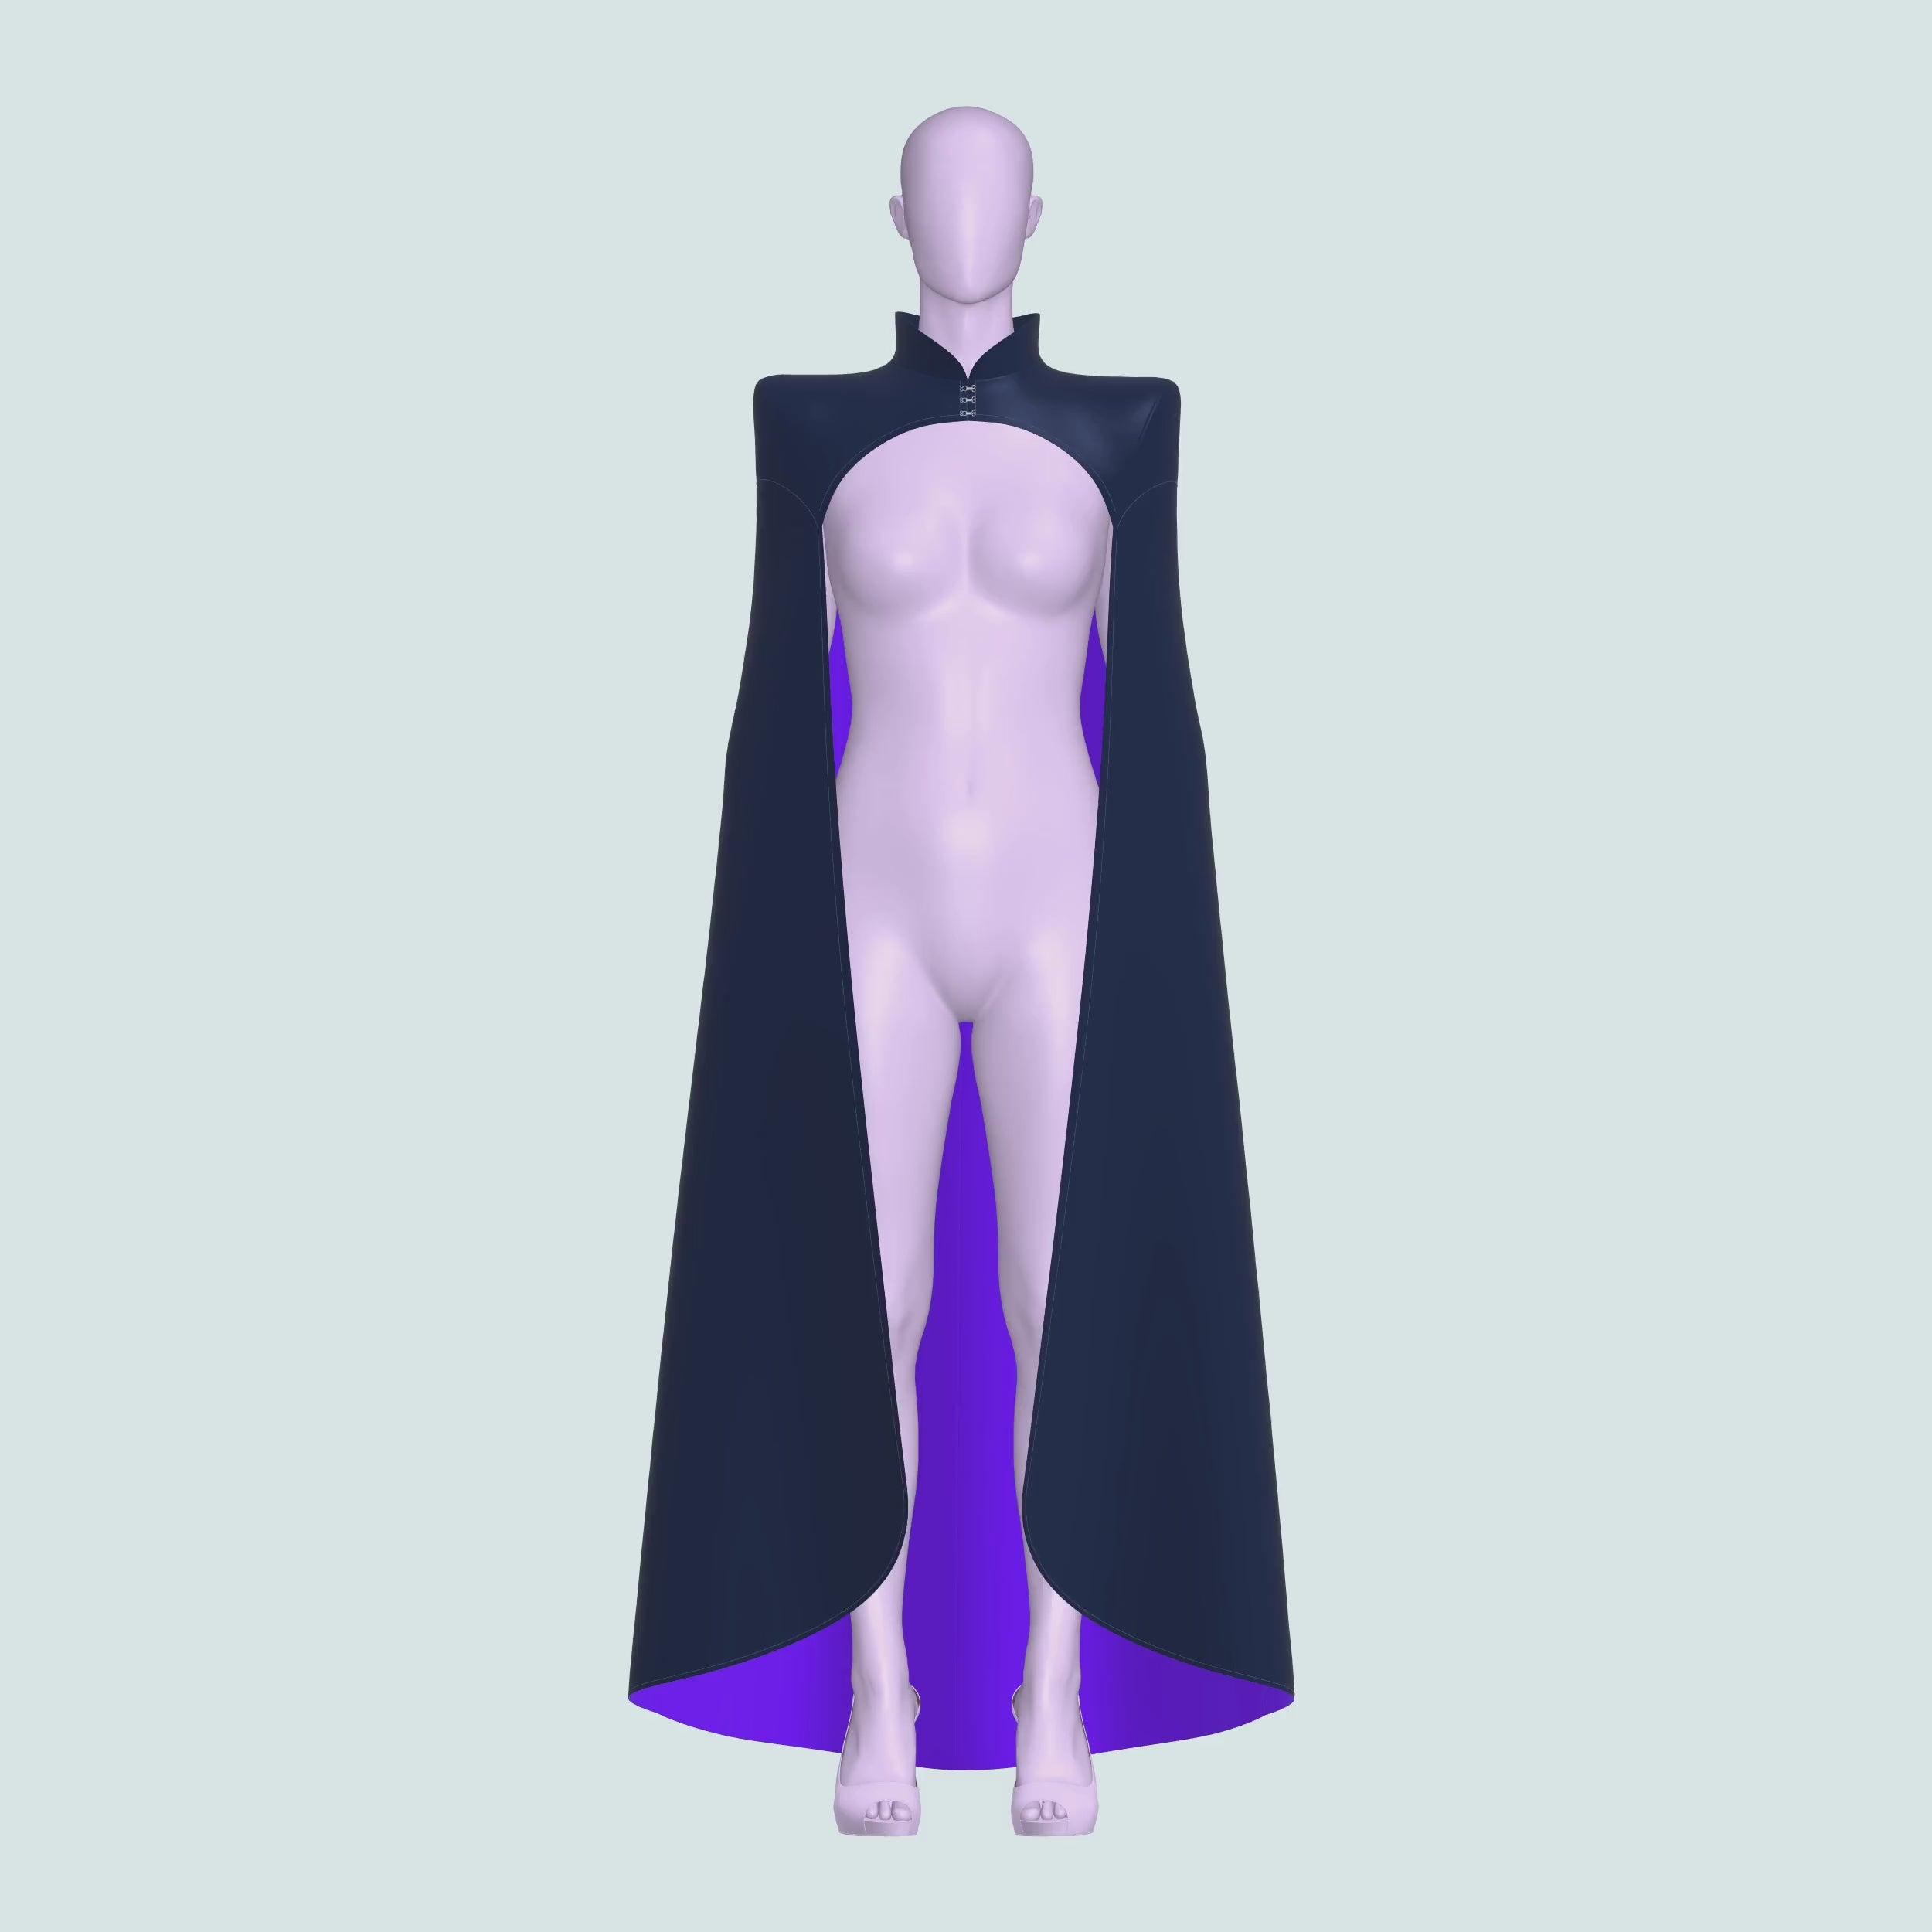
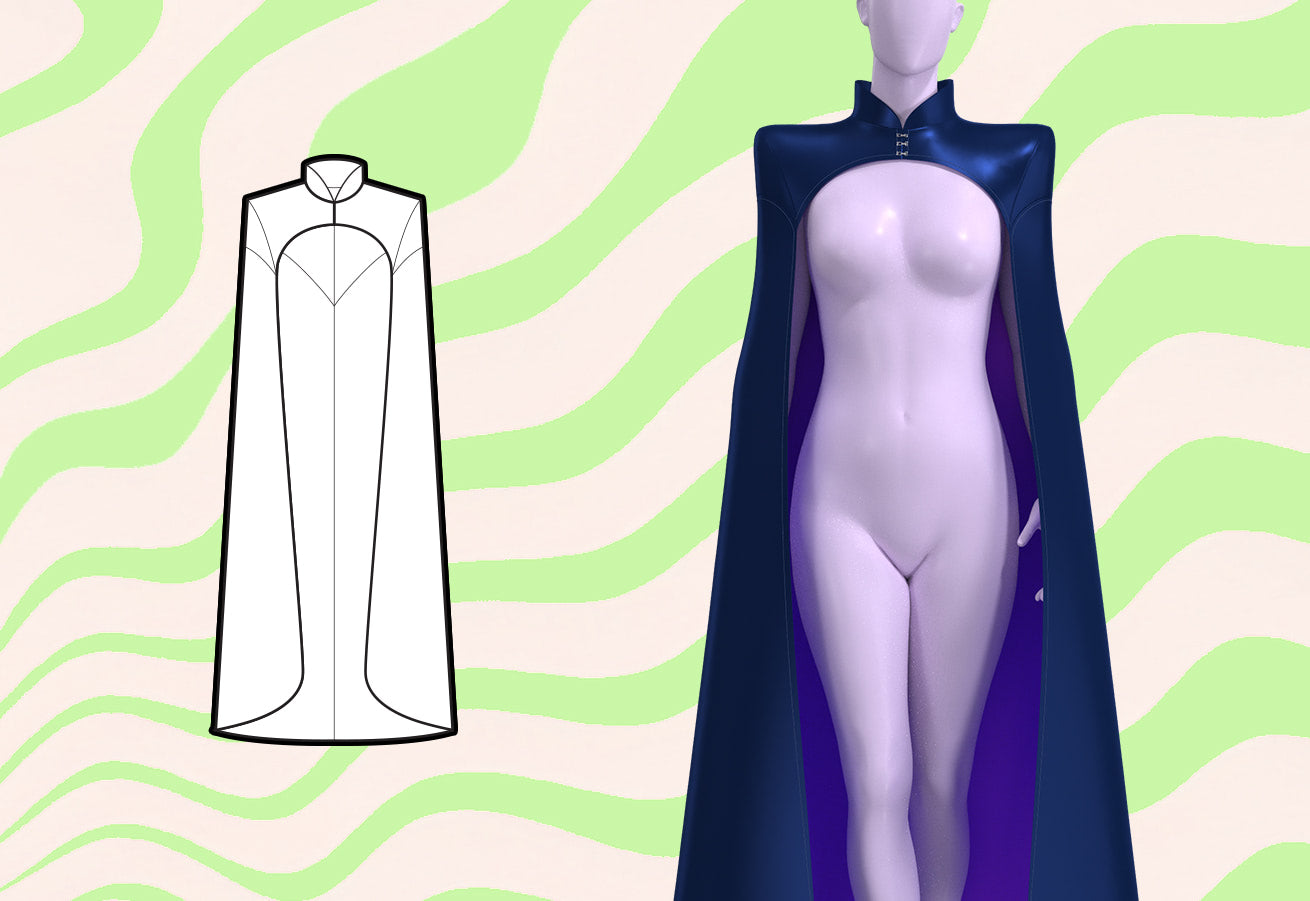
Step into the spotlight with our the Pointed Shoulder Cape Sewing Pattern, tailored specifically for drag queens who want to slay in fantasy and villainous costume looks. This cape features a high collar and pointed shoulders, adding drama and flair to any ensemble. Designed with hooks and eyes in the front, it's perfect for those jaw-dropping reveals during performances, whether on stage or at cosplay events.
Pattern Difficulty: For Beginners
Fabric Yardage
This pattern requires the use of a shell fabric with a lining fabric and interfacing. Suitable for lightweight non-tretch fabric. Please find the yardage needed for each size below.
| Size | Shell Fabric (Width 58”) |
Lining Fabric (Width 58”) |
Interfacing (Width 20”) |
|||
|---|---|---|---|---|---|---|
| Yards | Meters | Yards | Meters | Yards | Meters | |
| XS | 2.25 | 2 | 2.25 | 2 | 0.75 | 0.6 |
| S | 2.5 | 2.2 | 2.25 | 2 | 0.75 | 0.6 |
| M | 2.5 | 2.2 | 2.25 | 2 | 0.75 | 0.7 |
| L | 3 | 2.6 | 2.5 | 2.3 | 0.75 | 0.7 |
| XL | 3 | 2.6 | 2.75 | 2.5 | 0.75 | 0.7 |
| 2X | 3 | 2.7 | 2.75 | 2.5 | 1 | 0.7 |
| 3X | 3 | 2.7 | 3 | 2.6 | 1 | 0.8 |
| 4X | 3 | 2.7 | 3 | 2.7 | 1 | 0.8 |
For information on converting inches to meters, please check out our conversion guide.
Fabric & Notions
Suitable for lightweight non-stretch fabrics:
- Poly Cotton
- Cotton Voile
- Satin
- Rayon
- Firm to Ultrafirm Fusible Interfacing
- 3-4 Metal Hooks and Eyes Closures
Sizing Details
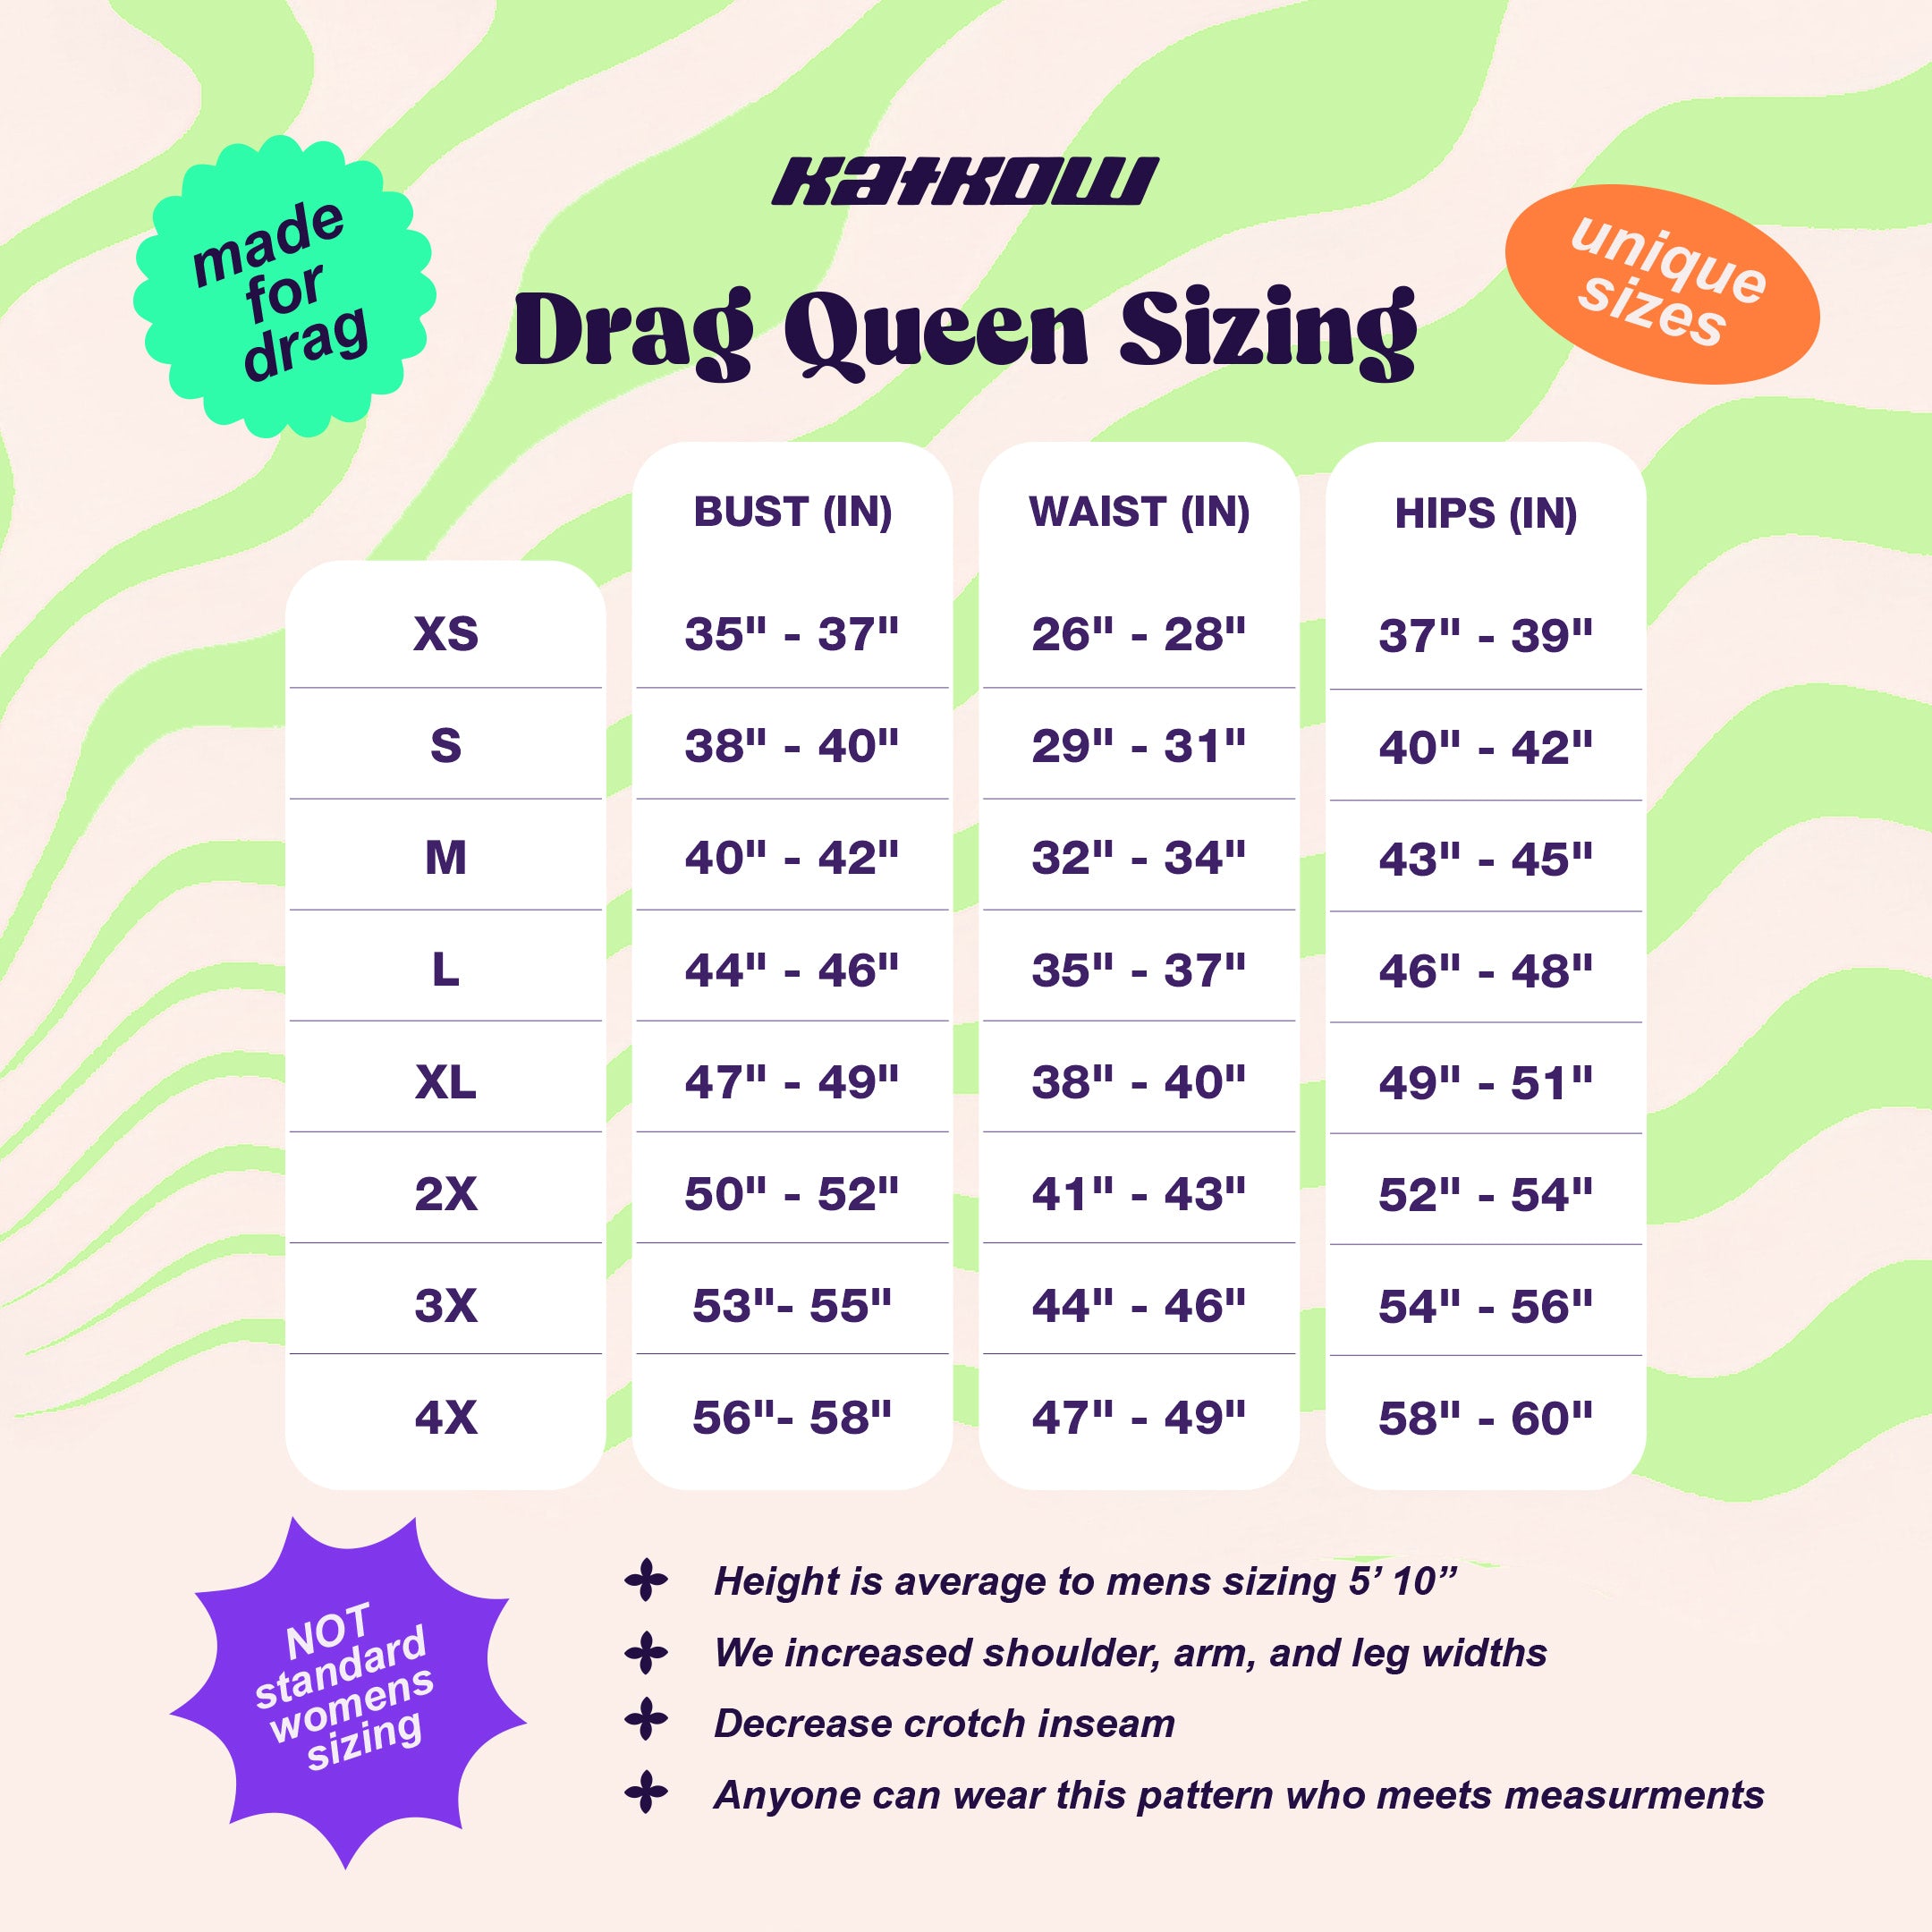
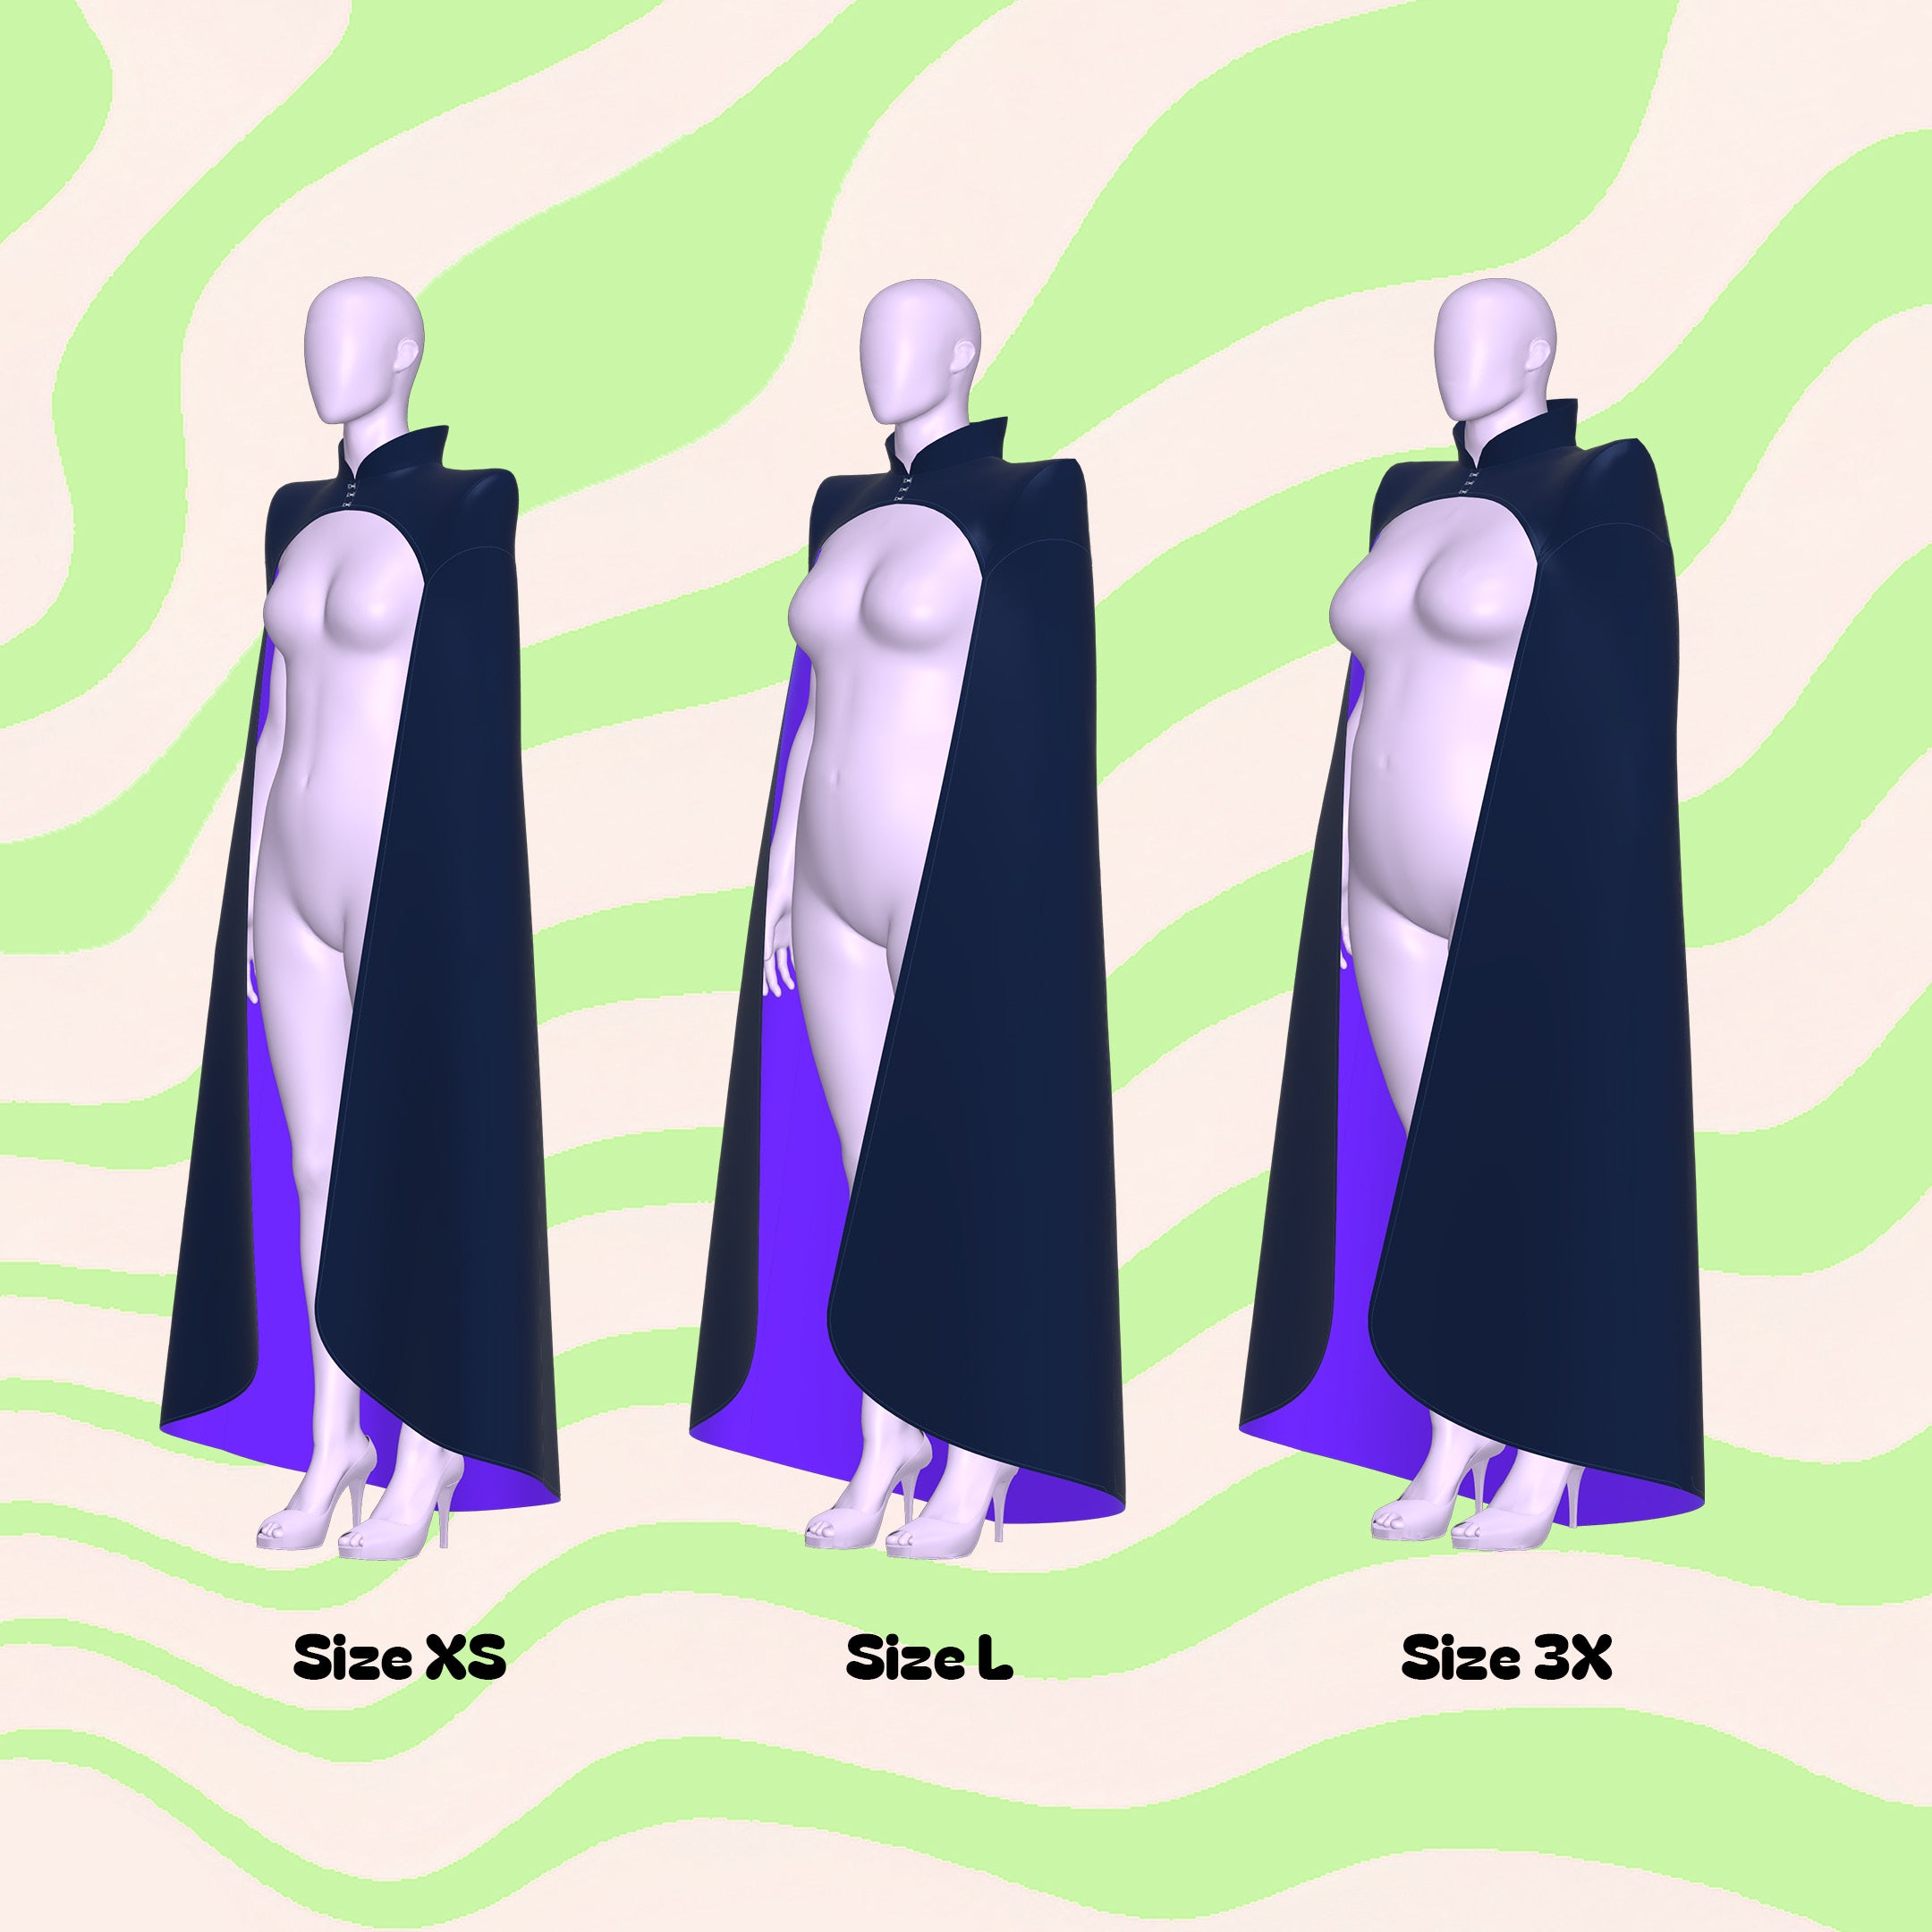
This pattern is available in our unqiue drag queen sizes (XS-4X). Please review our sizing guide for more information on our size measurements.
Sewing Instructions
Fabric Pieces
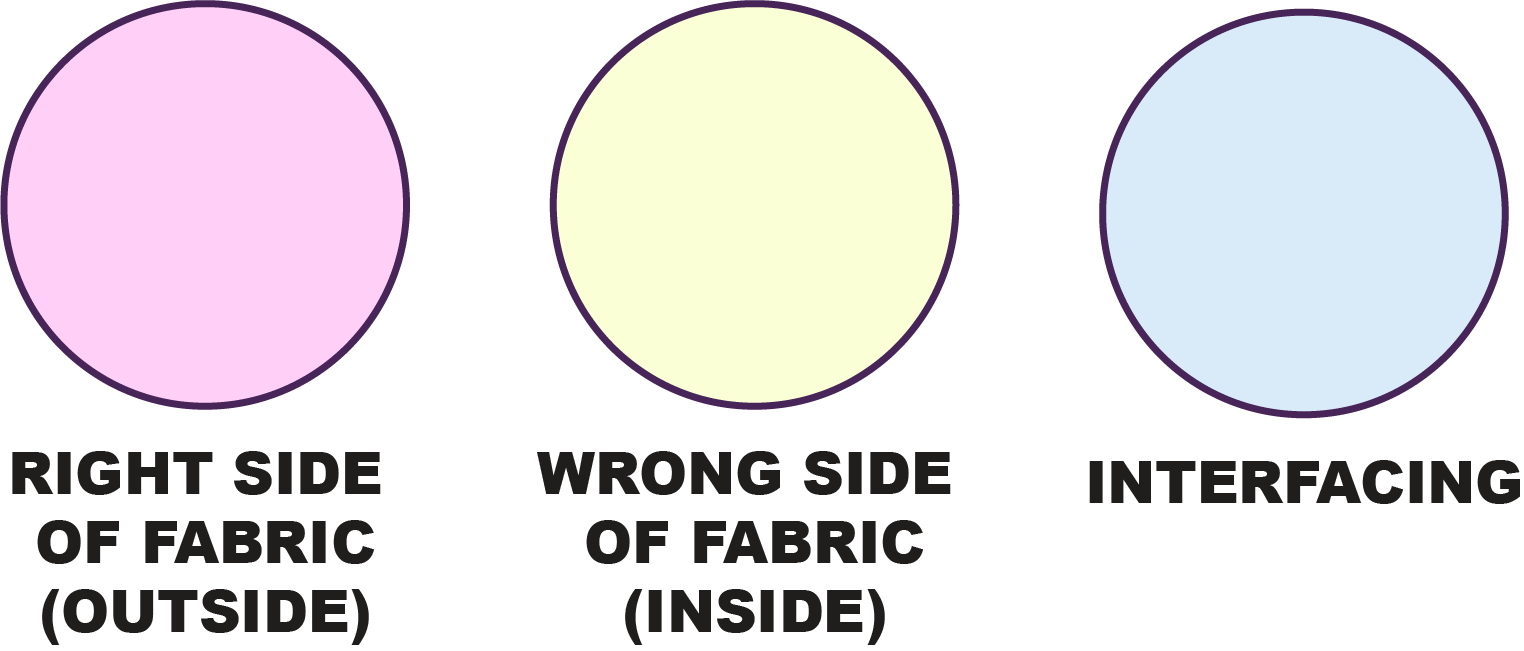
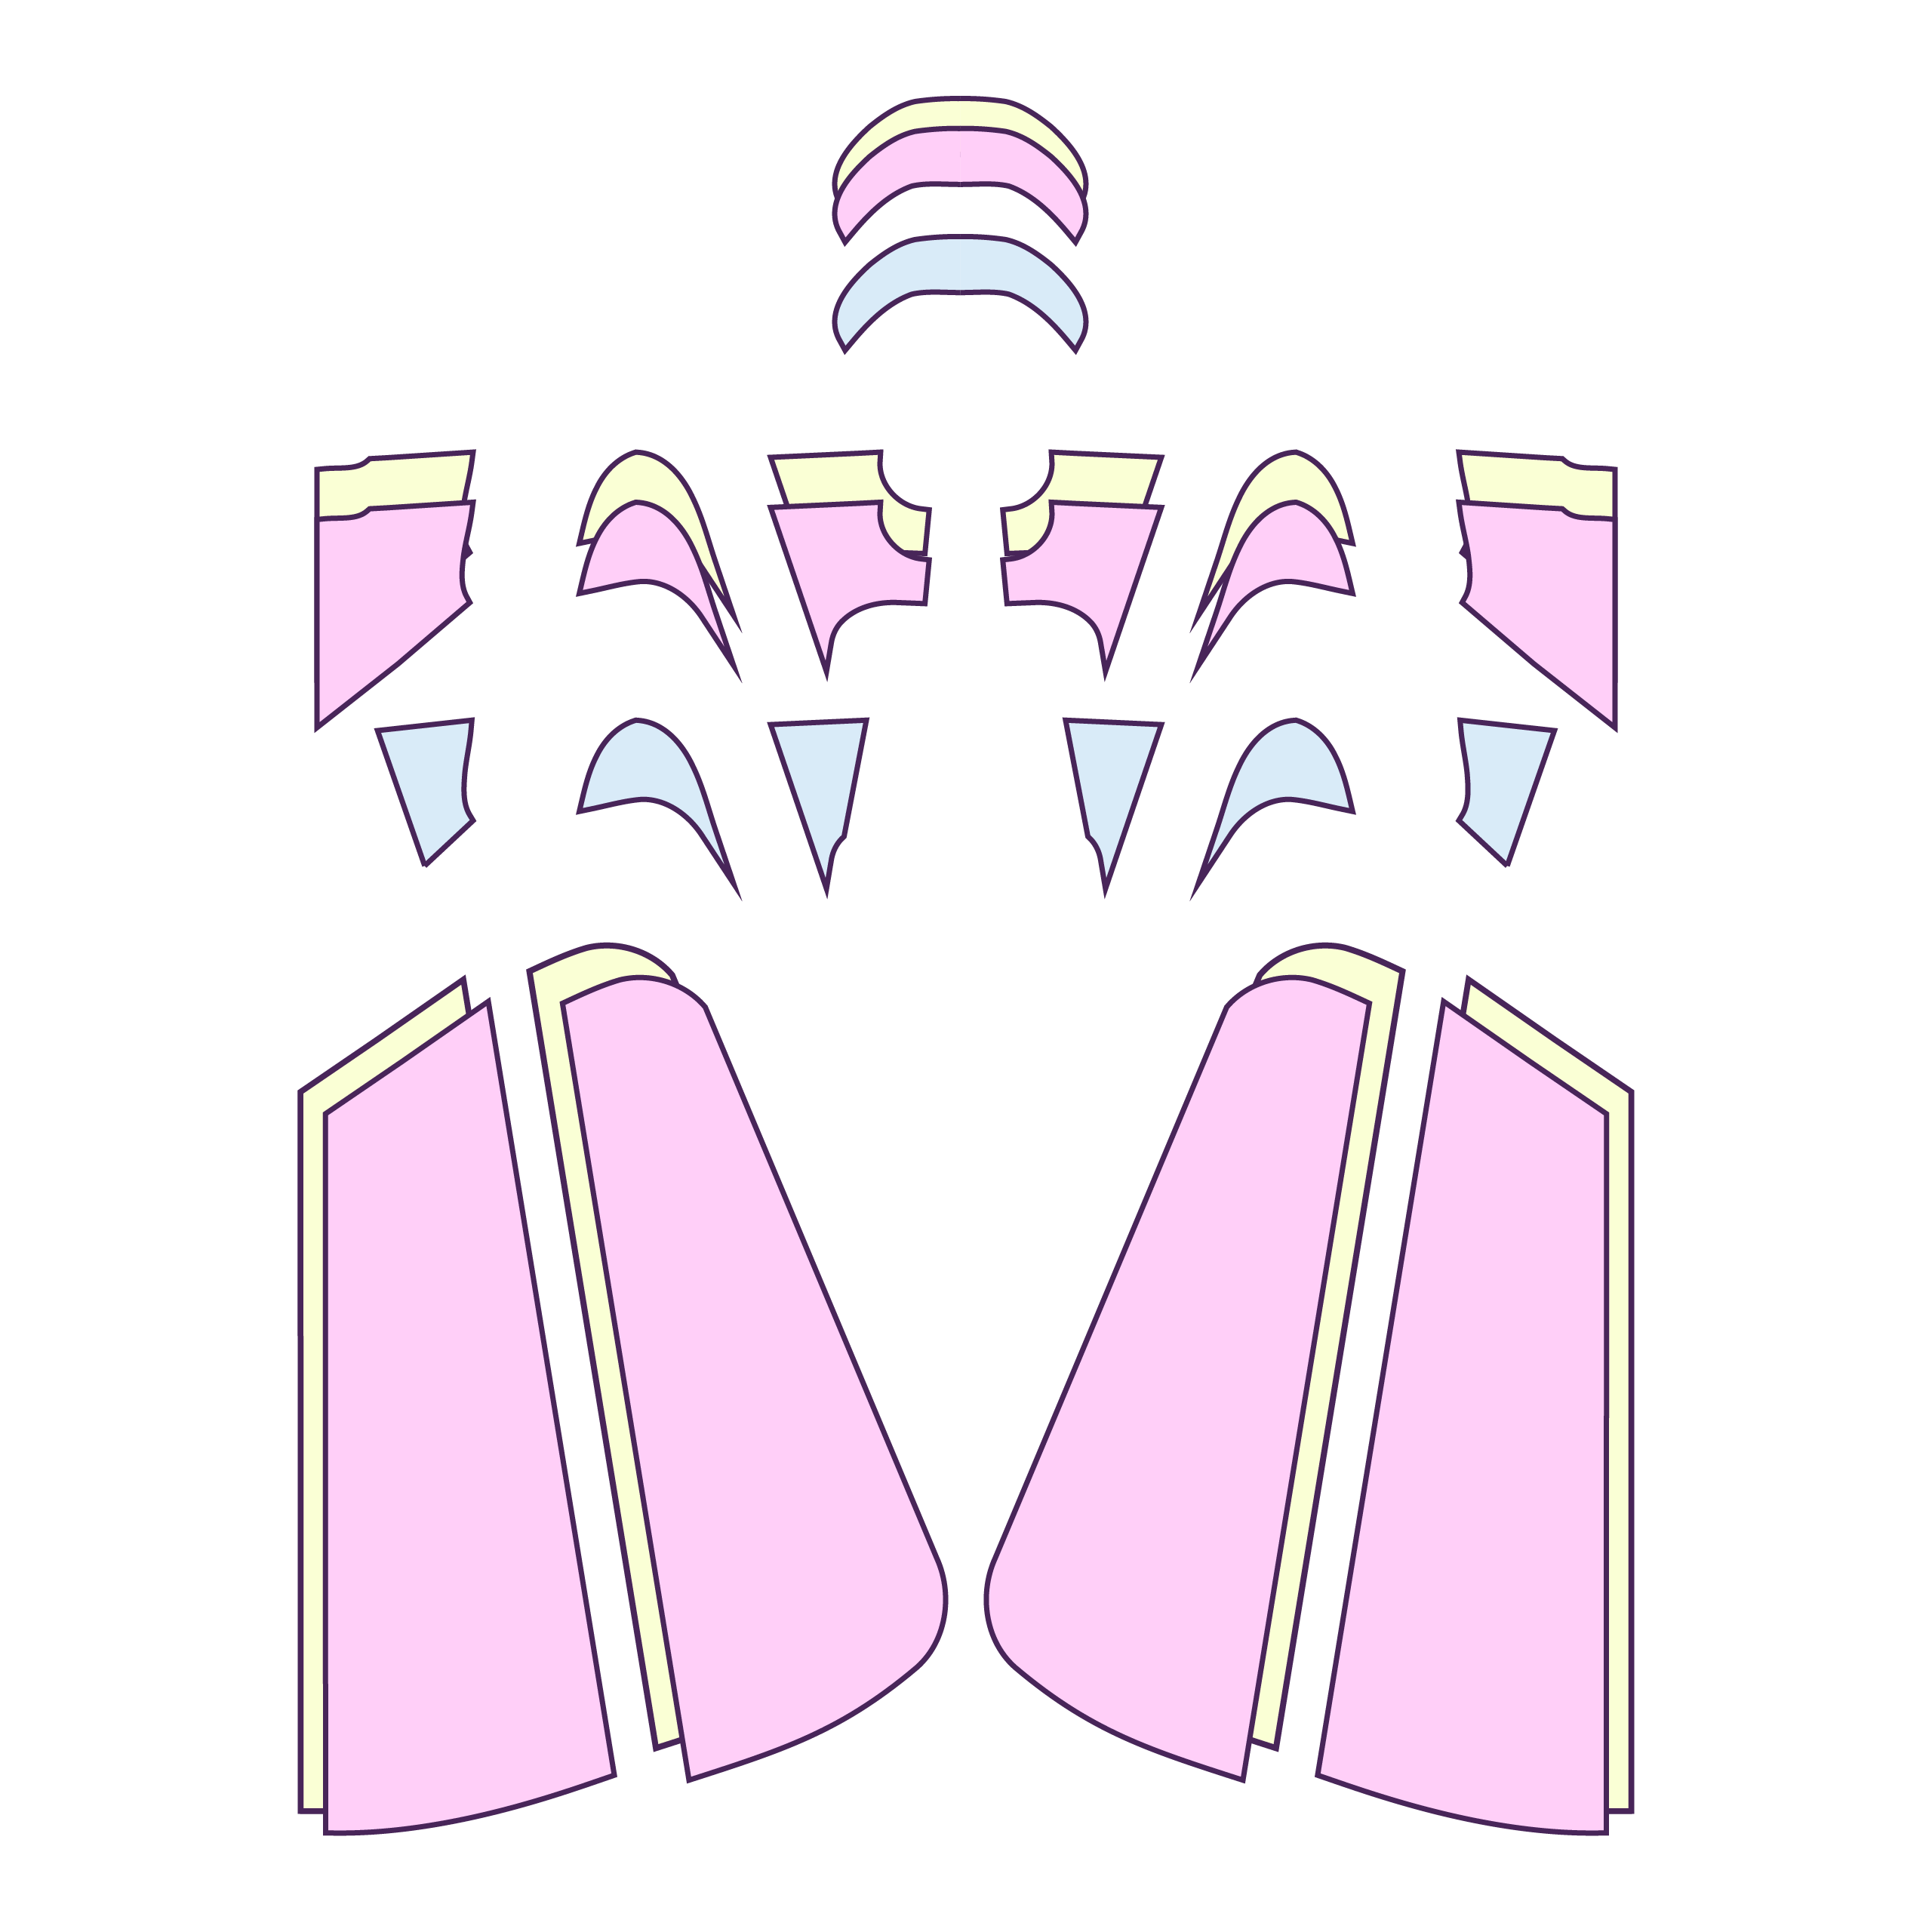
Once your fabric is cut you should have the following layers:
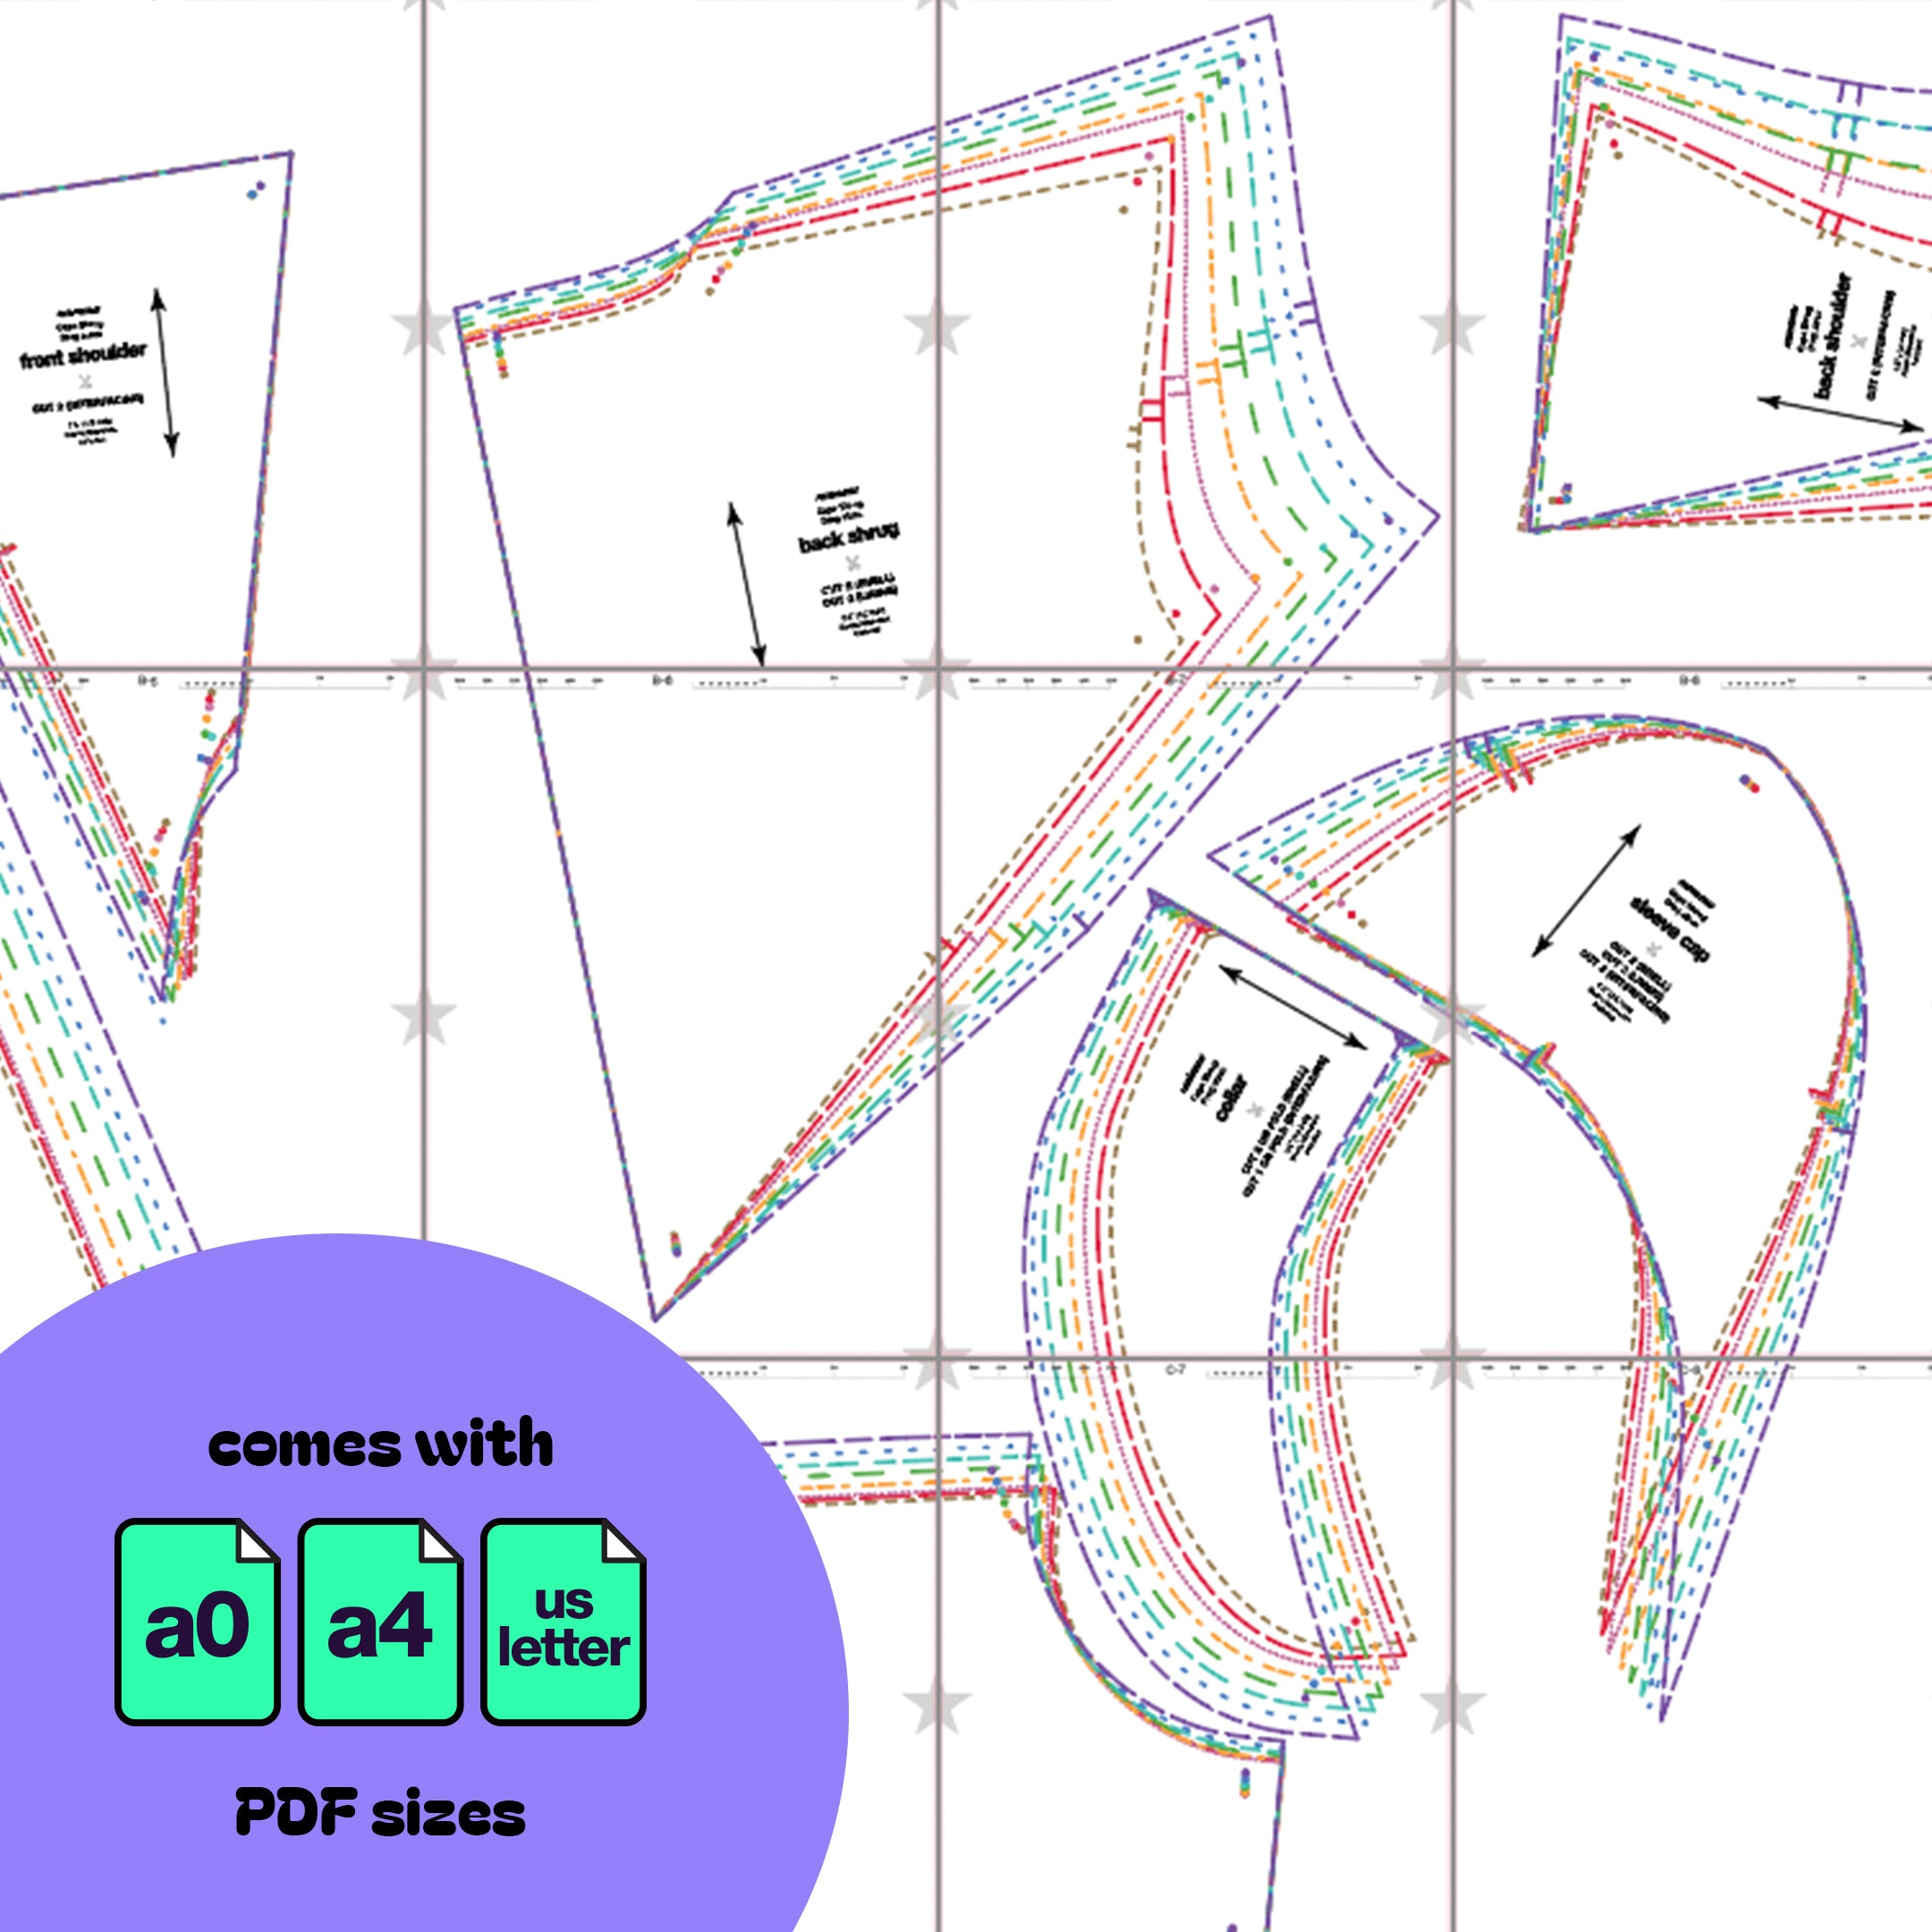
For the shell fabric: two collars, two front shrug pieces, two back shrug pieces, two sleeve caps, two back capes, and two side capes.
For the lining fabric: two front pieces, two back pieces, two sleeve caps, two back capes, and two side capes. Note: the collar lining should be the same fabric as the shell.
For interfacing: one collar piece, two front shoulders, two back shoulders, and two sleeve caps.
STEP 1
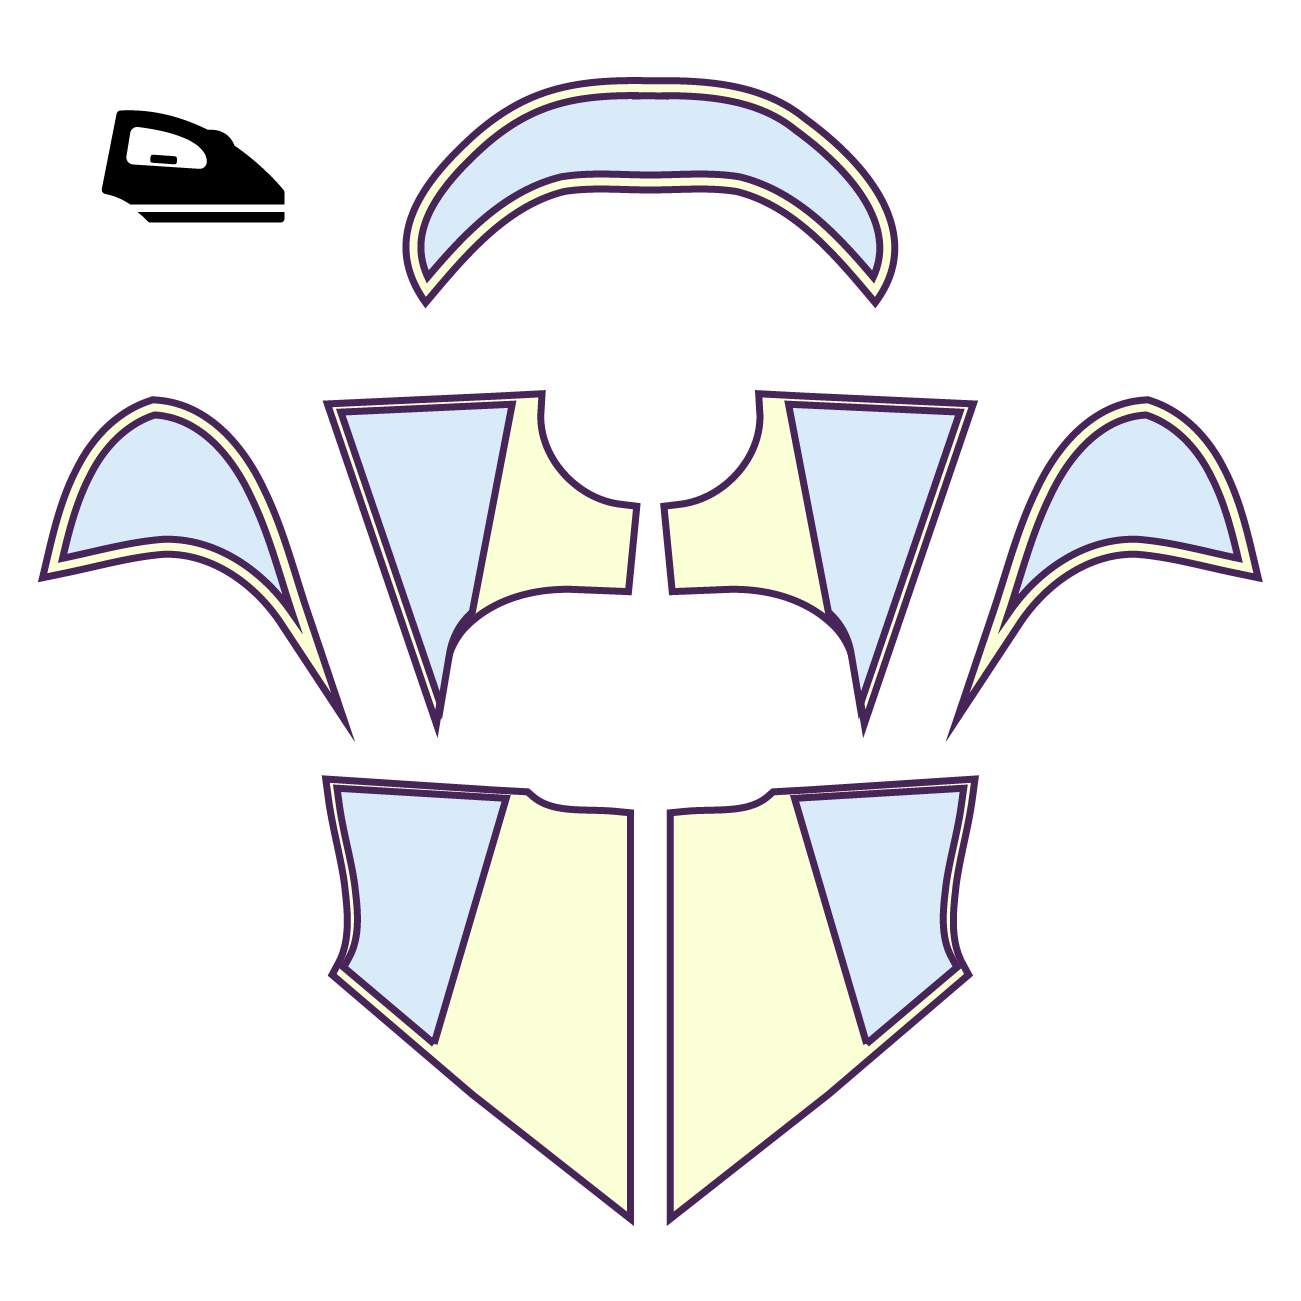
Gather your interfacing pieces, depending on your fabric type you may want to fuse the interfacing to either the shell or lining fabric.
Fuse the interfacing to the collar, front pieces, back pieces, and sleeve caps. For the front and back, the interfacing should line up to the outer corner edge of the shoulders.
STEP 2
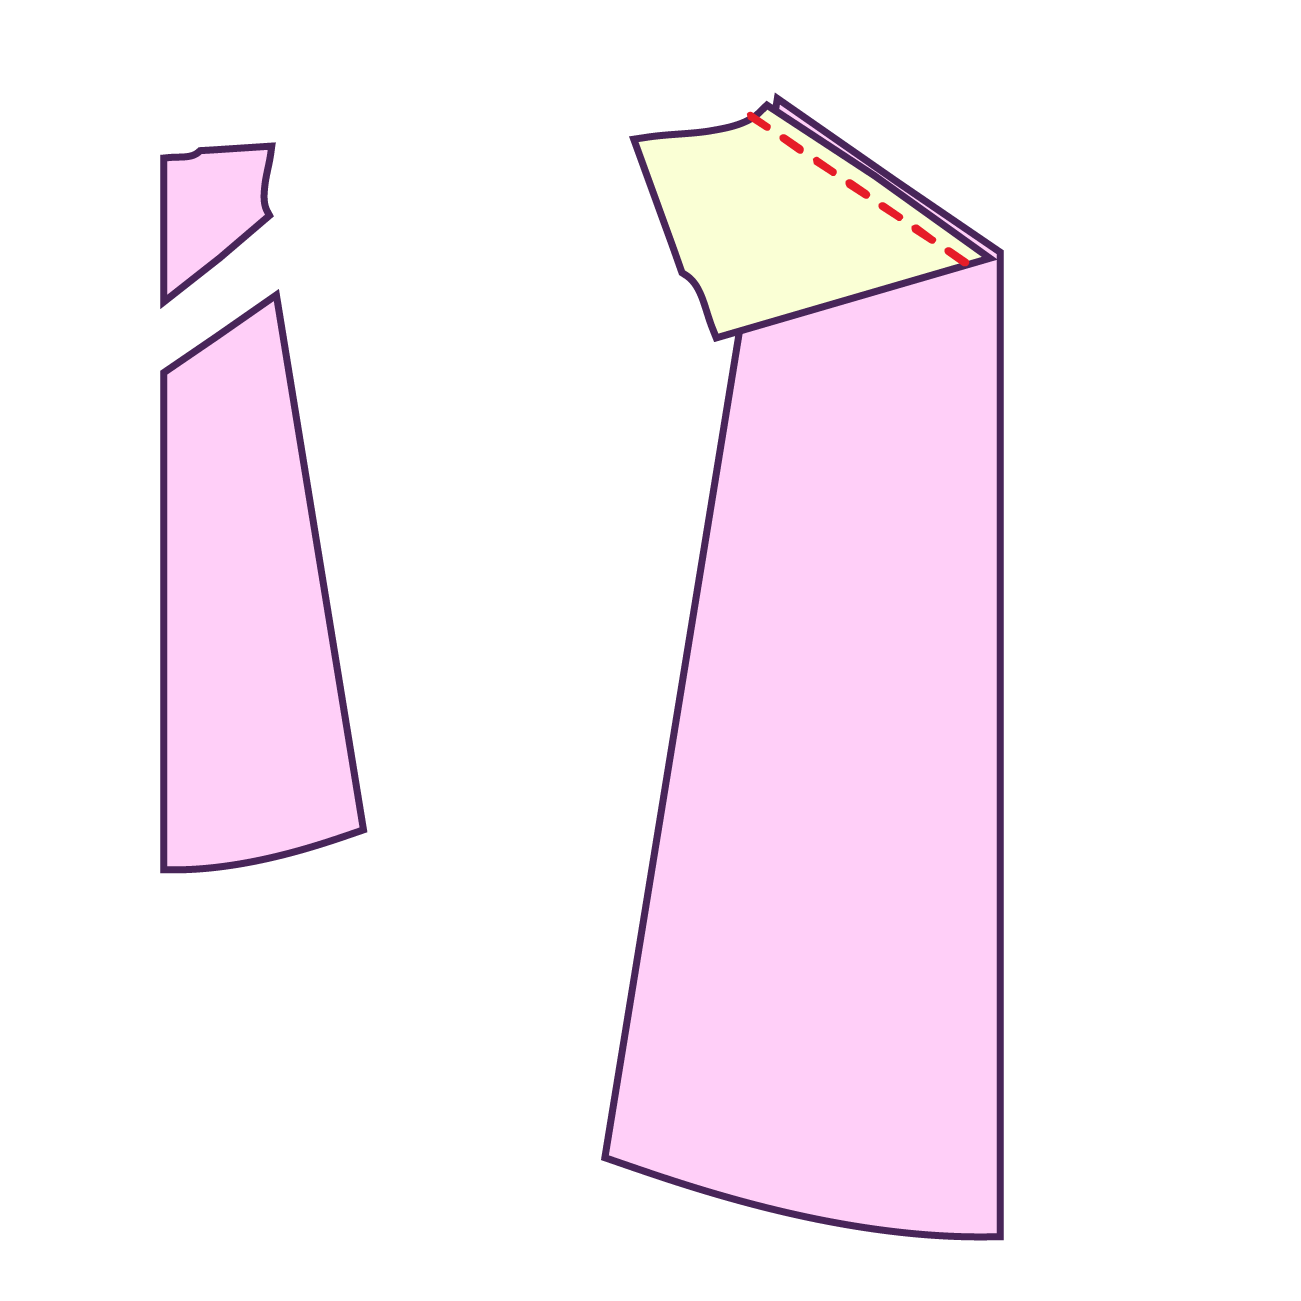
Gather one side of the back pieces (back shrug and back cape). Stack them right sides facing each other, meeting at the angled edge at the bottom of the back shrug. Match the notches and sew together along that angled edge. Sew with a straight stitch or serger.
STEP 3
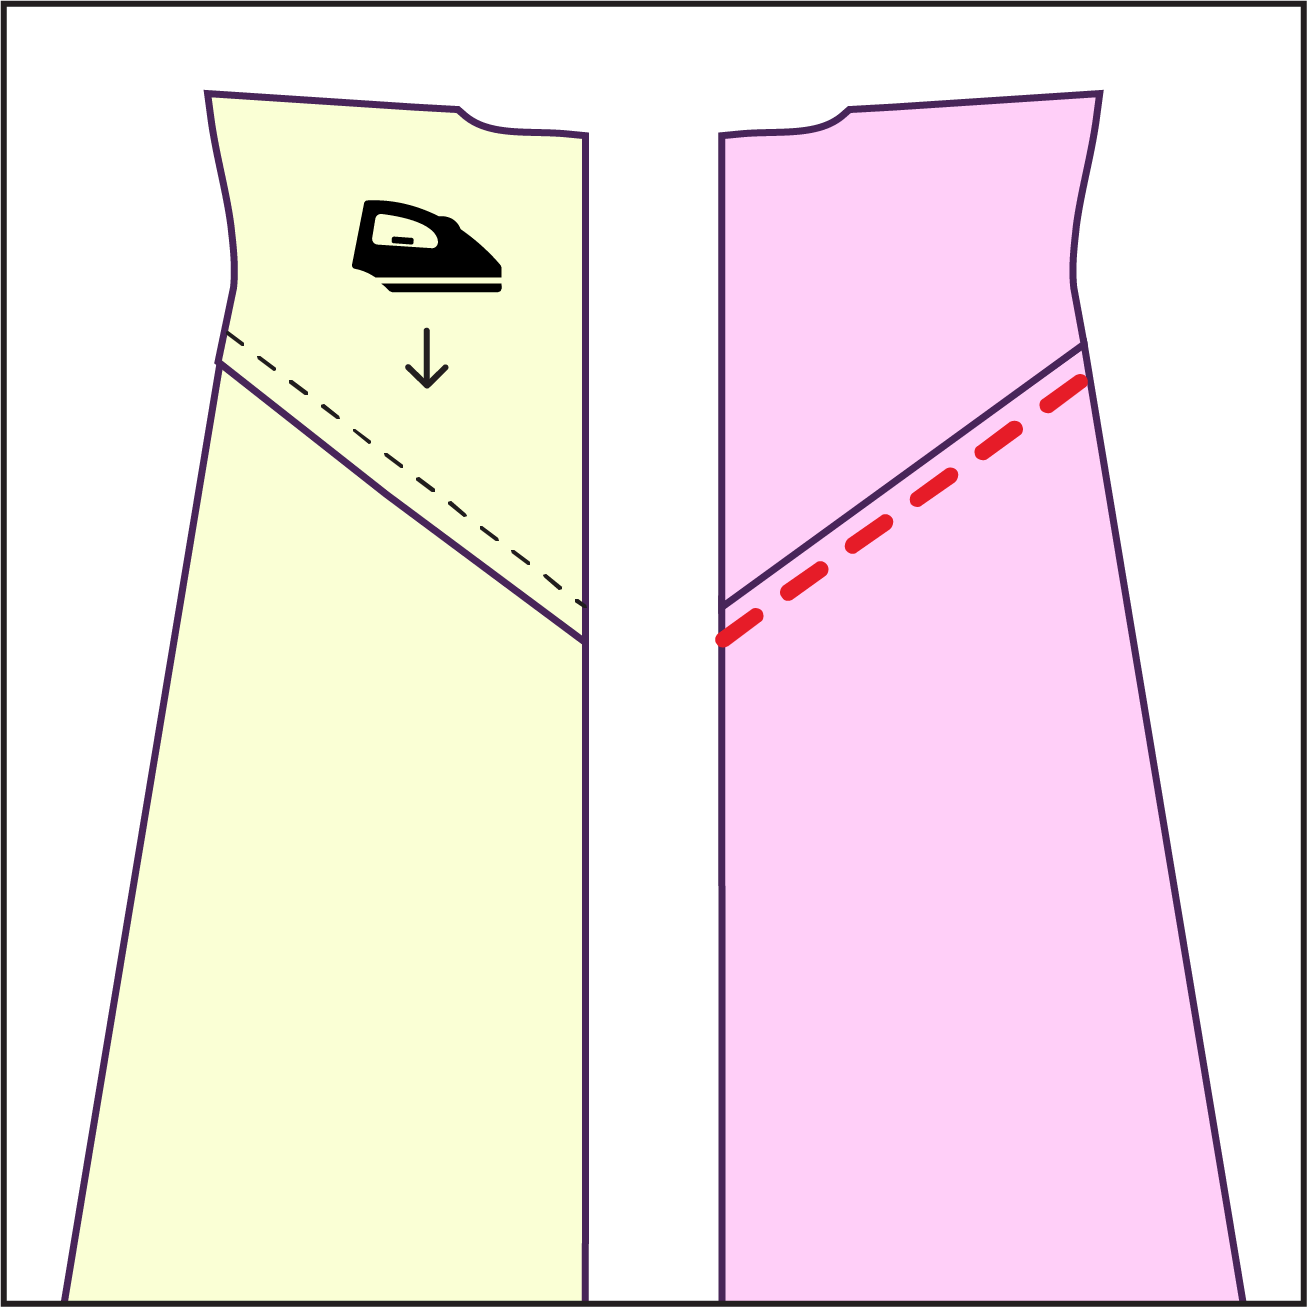
Press the seam allowance on the wrong side of the fabric pointed downward. Then top stitch the seam down on the right side of the cape fabric.
Repeat Steps 2-3 for the opposite side.
STEP 4
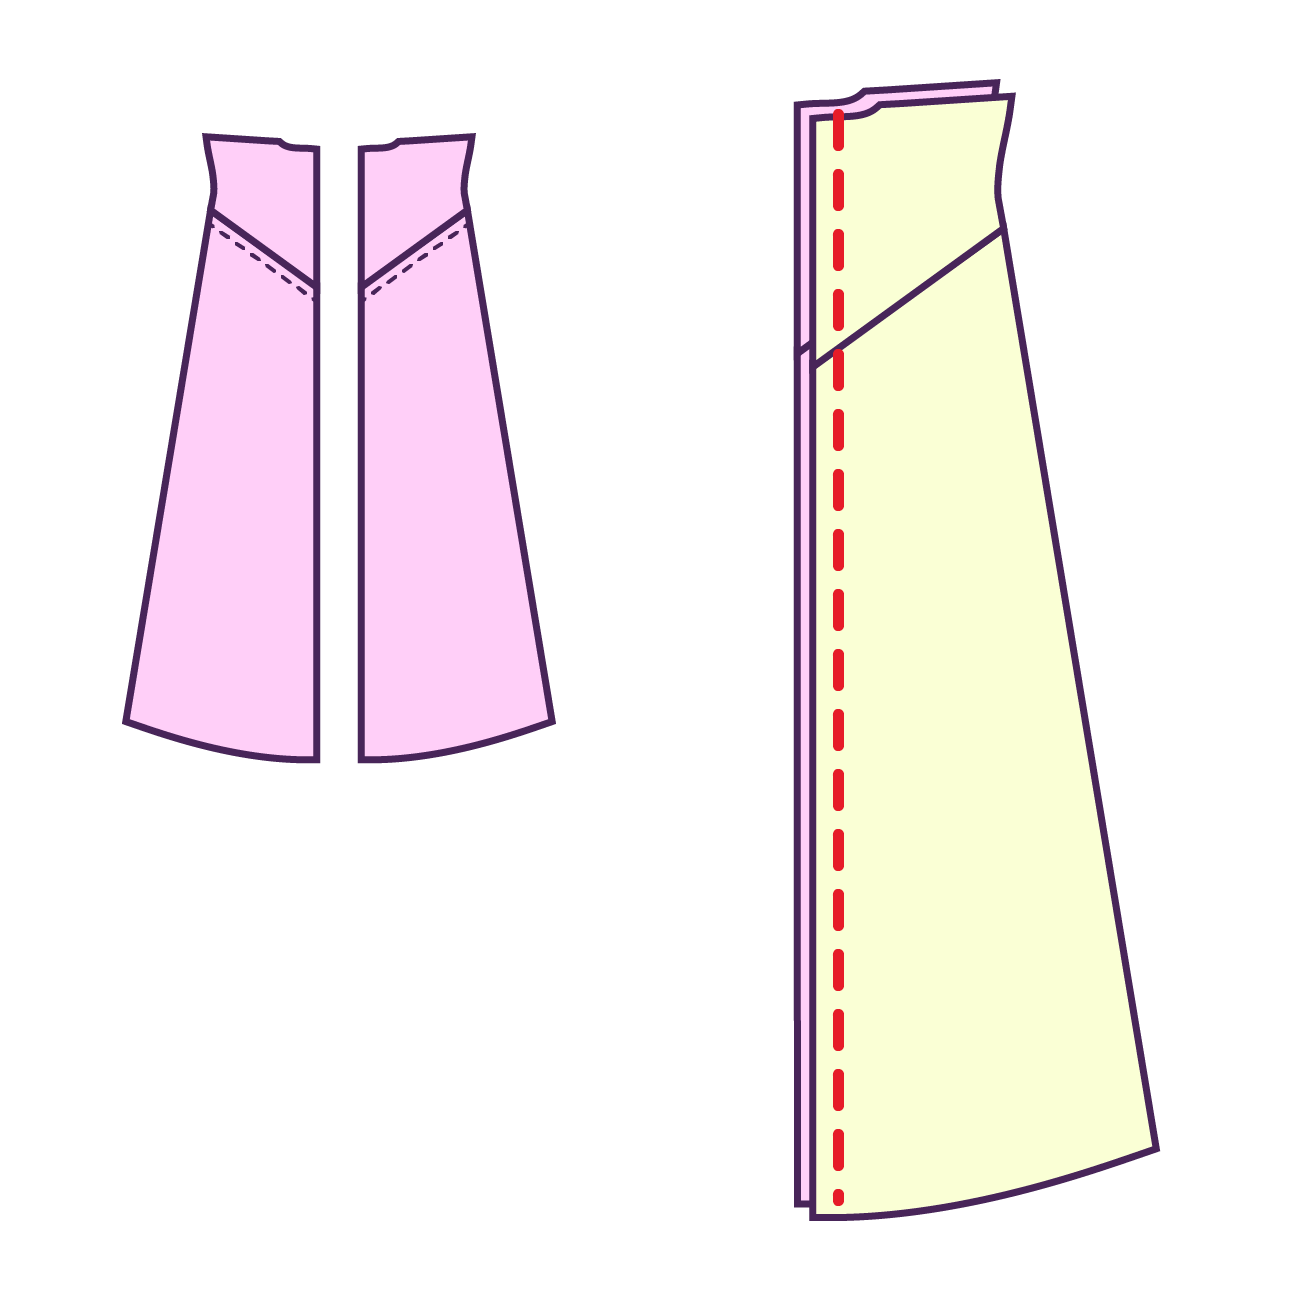
Gather your two large back pieces, stack them right sides facing each other and sew together along the center back seam from the shrug down the cape. Sew with a straight stitch or serger.
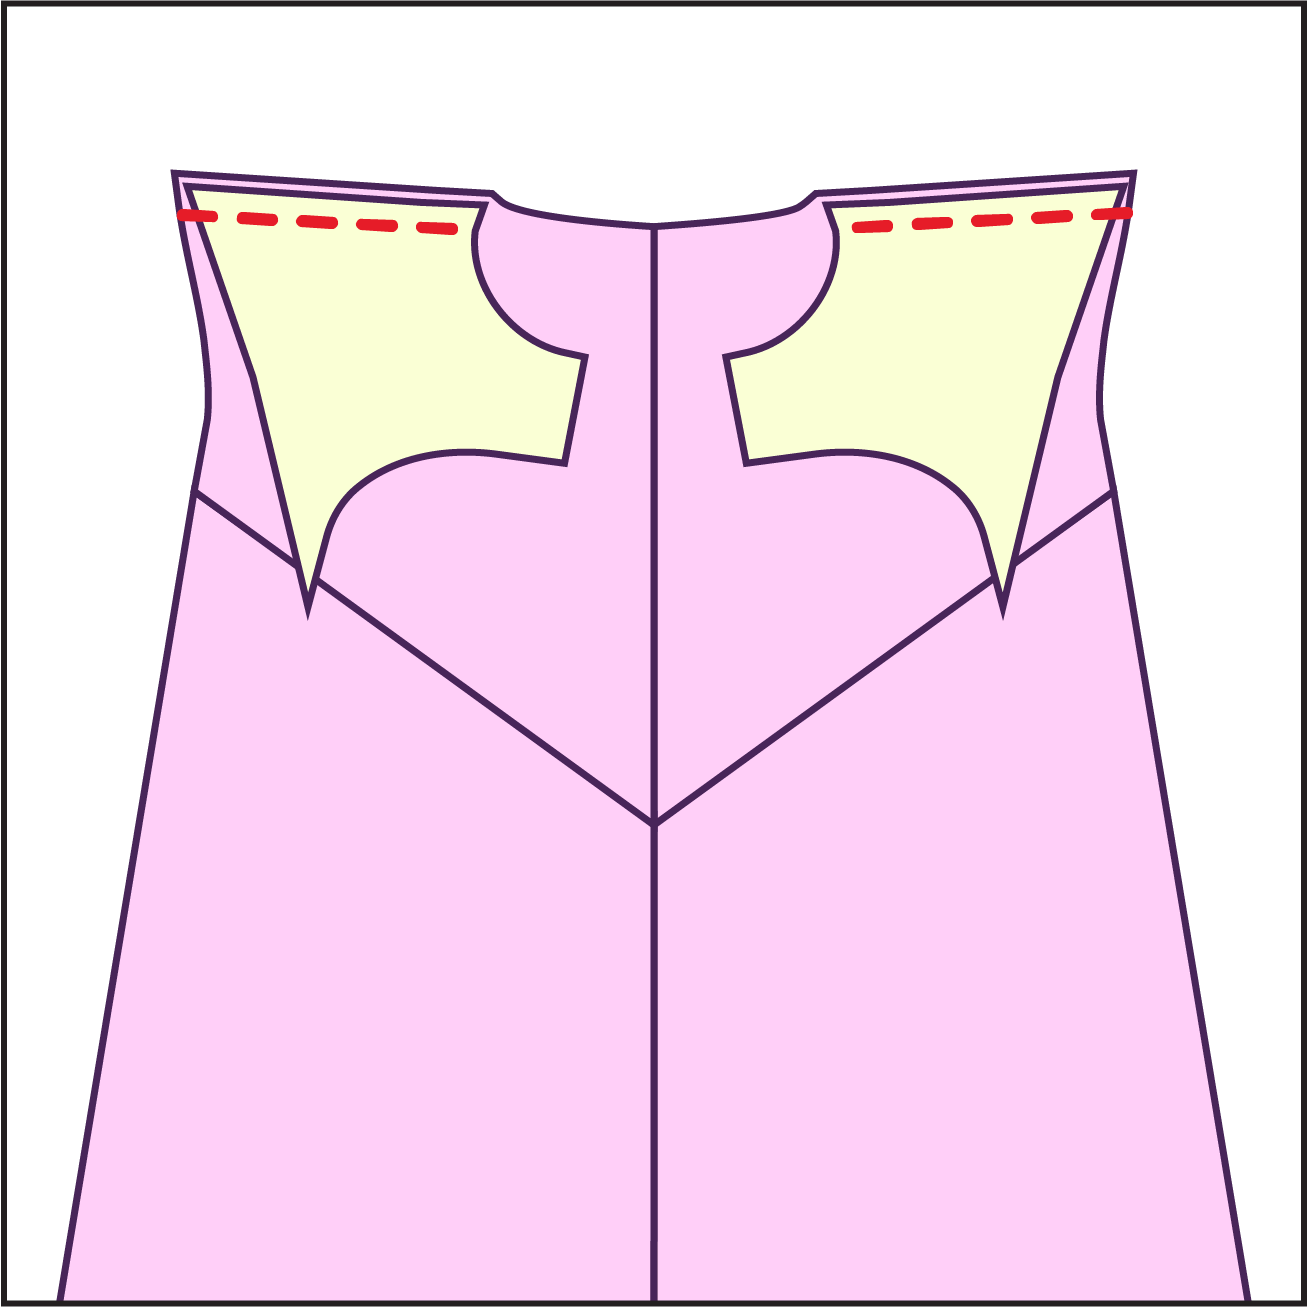
STEP 5
With the back right side up. Take the two front shrug pieces, wrong sides up, and pin them to the back at the shoulder seams. Sew along the shoulder seams with a straight stitch or serger.
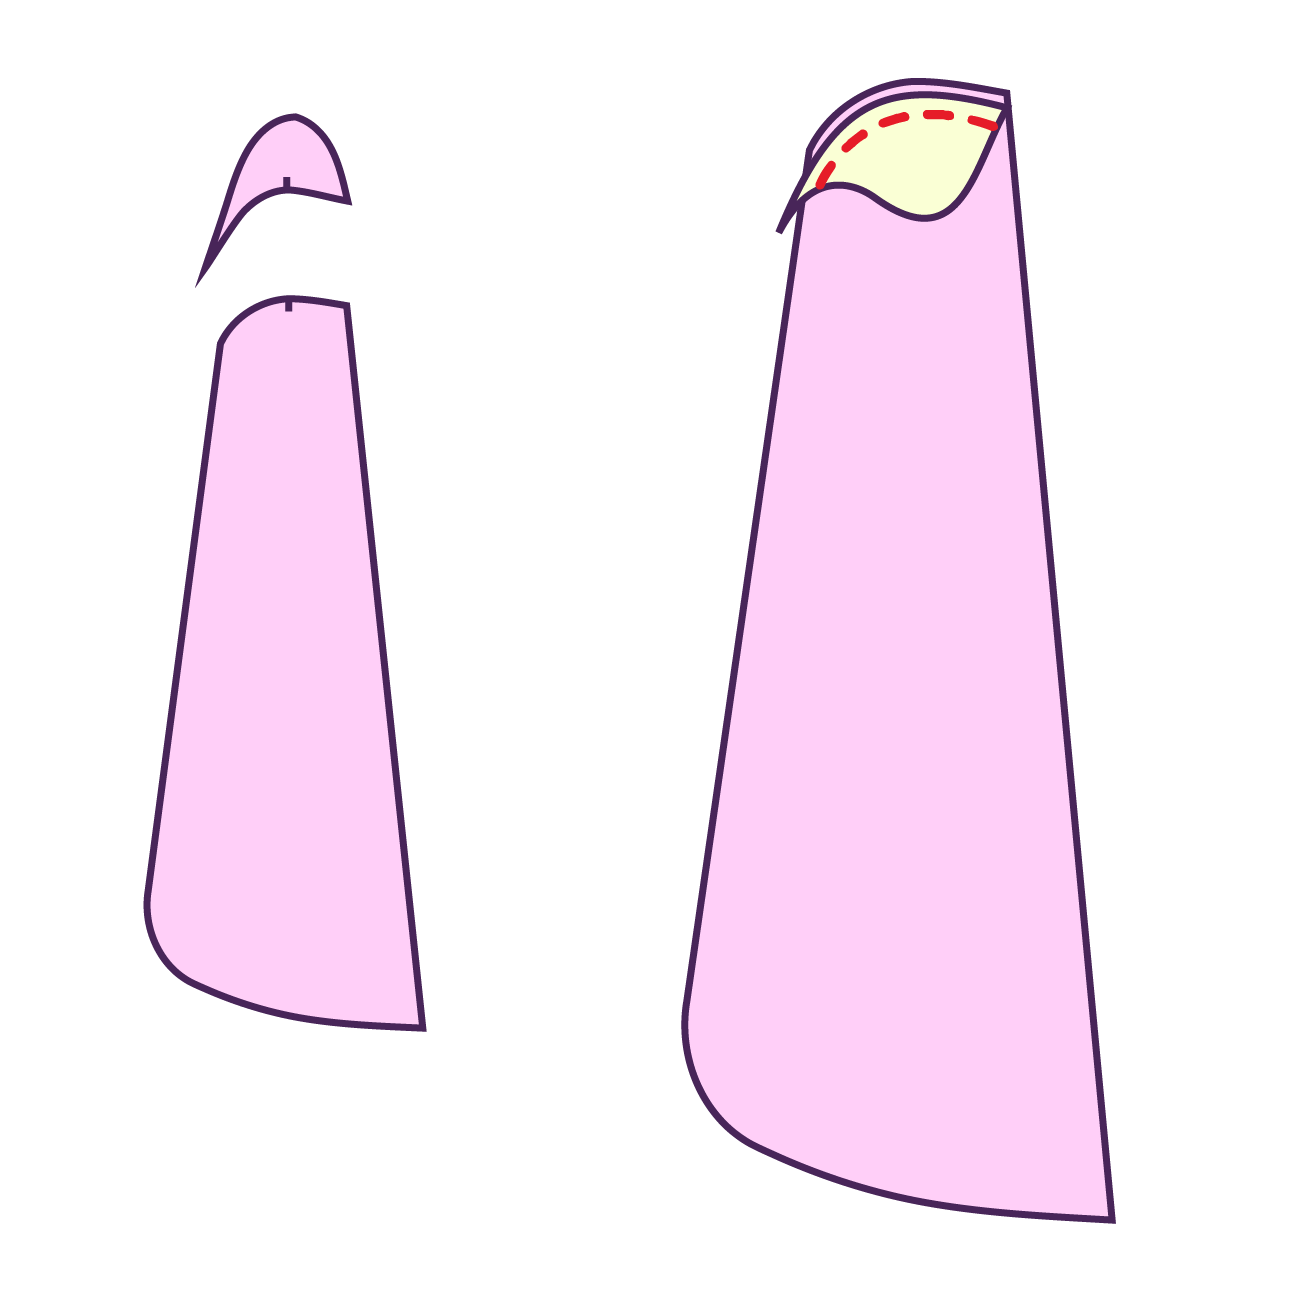
STEP 6
Gather your sleeve caps and side cape pieces. Sew them tougher along the bottom curve of the sleeve caps right sides facing each other, aligning notches.
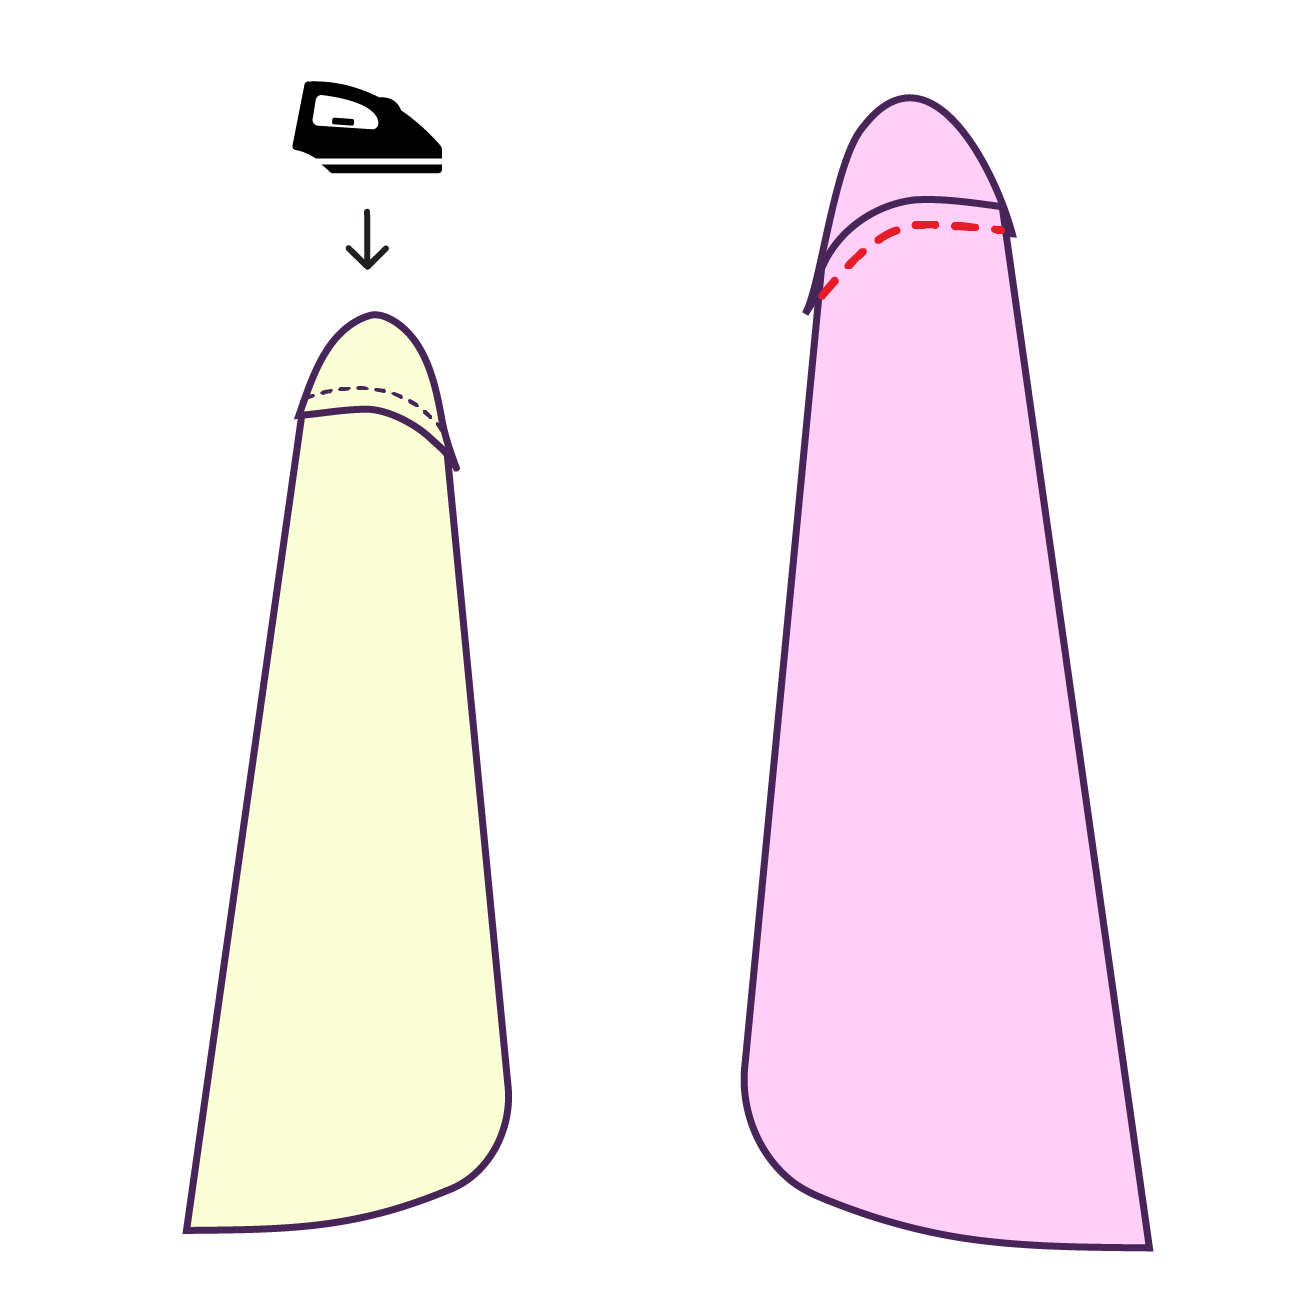
STEP 7
Press the seam allowance on the wrong side of the fabric pointed down. Then top stitch the seam down on the right side of the cape fabric.
Repeat Steps 6-7 for the opposite side.
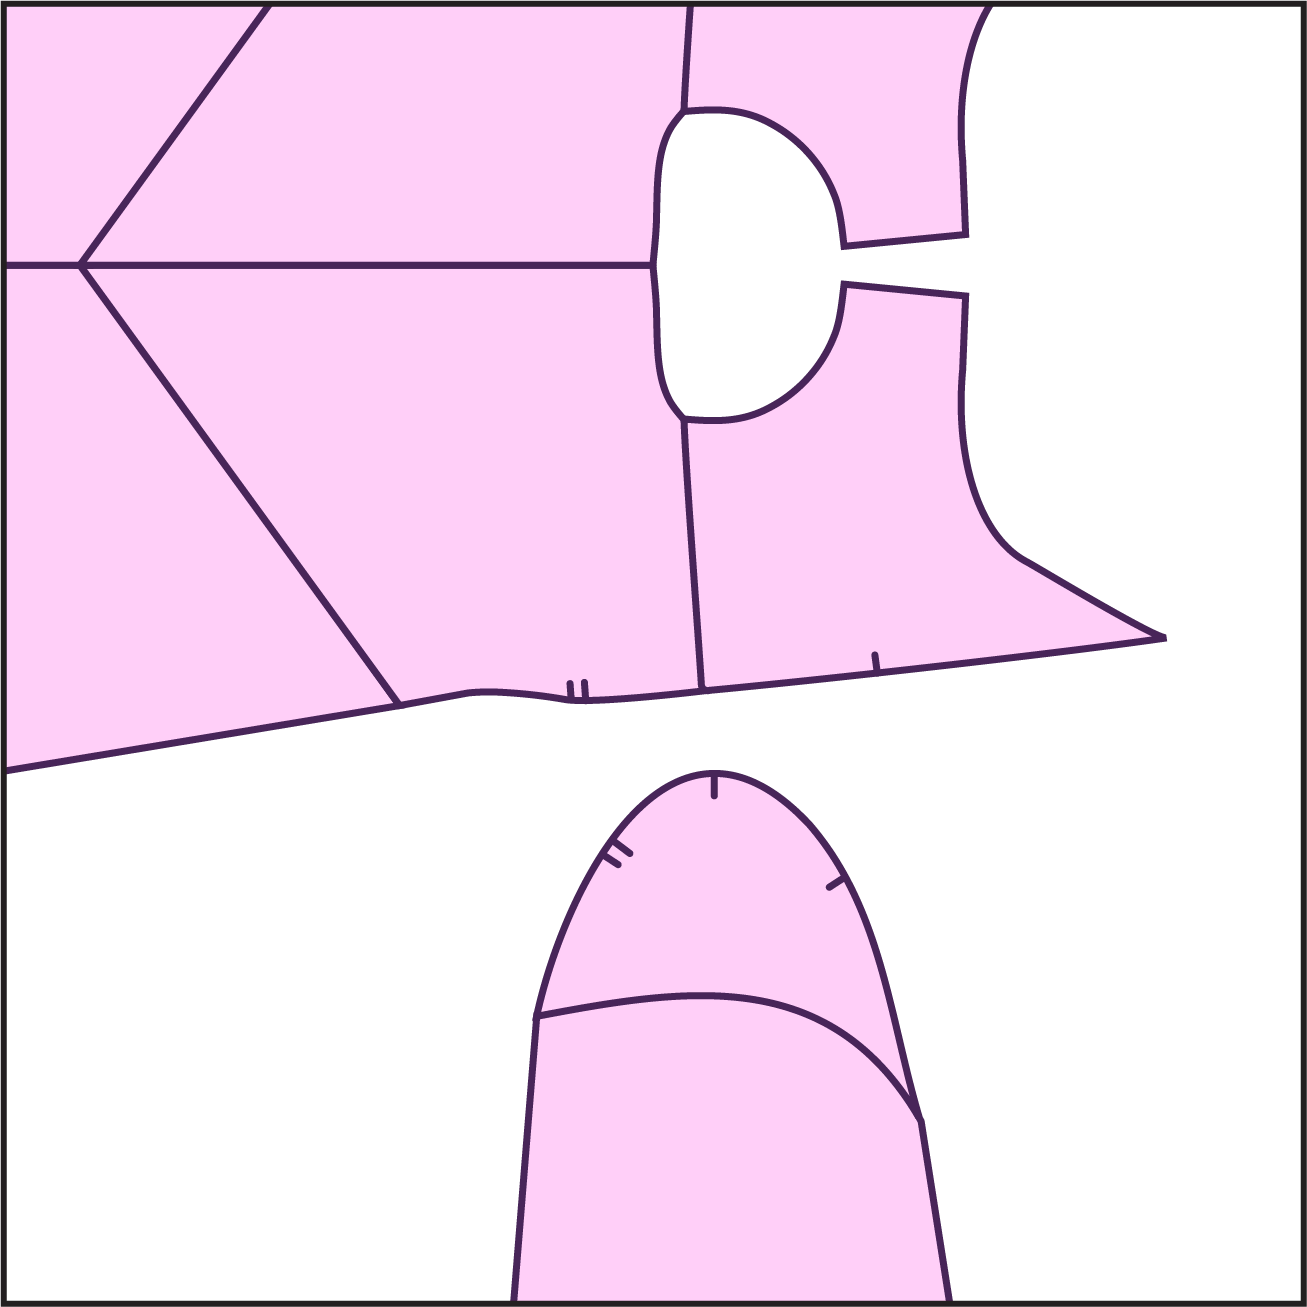
STEP 8
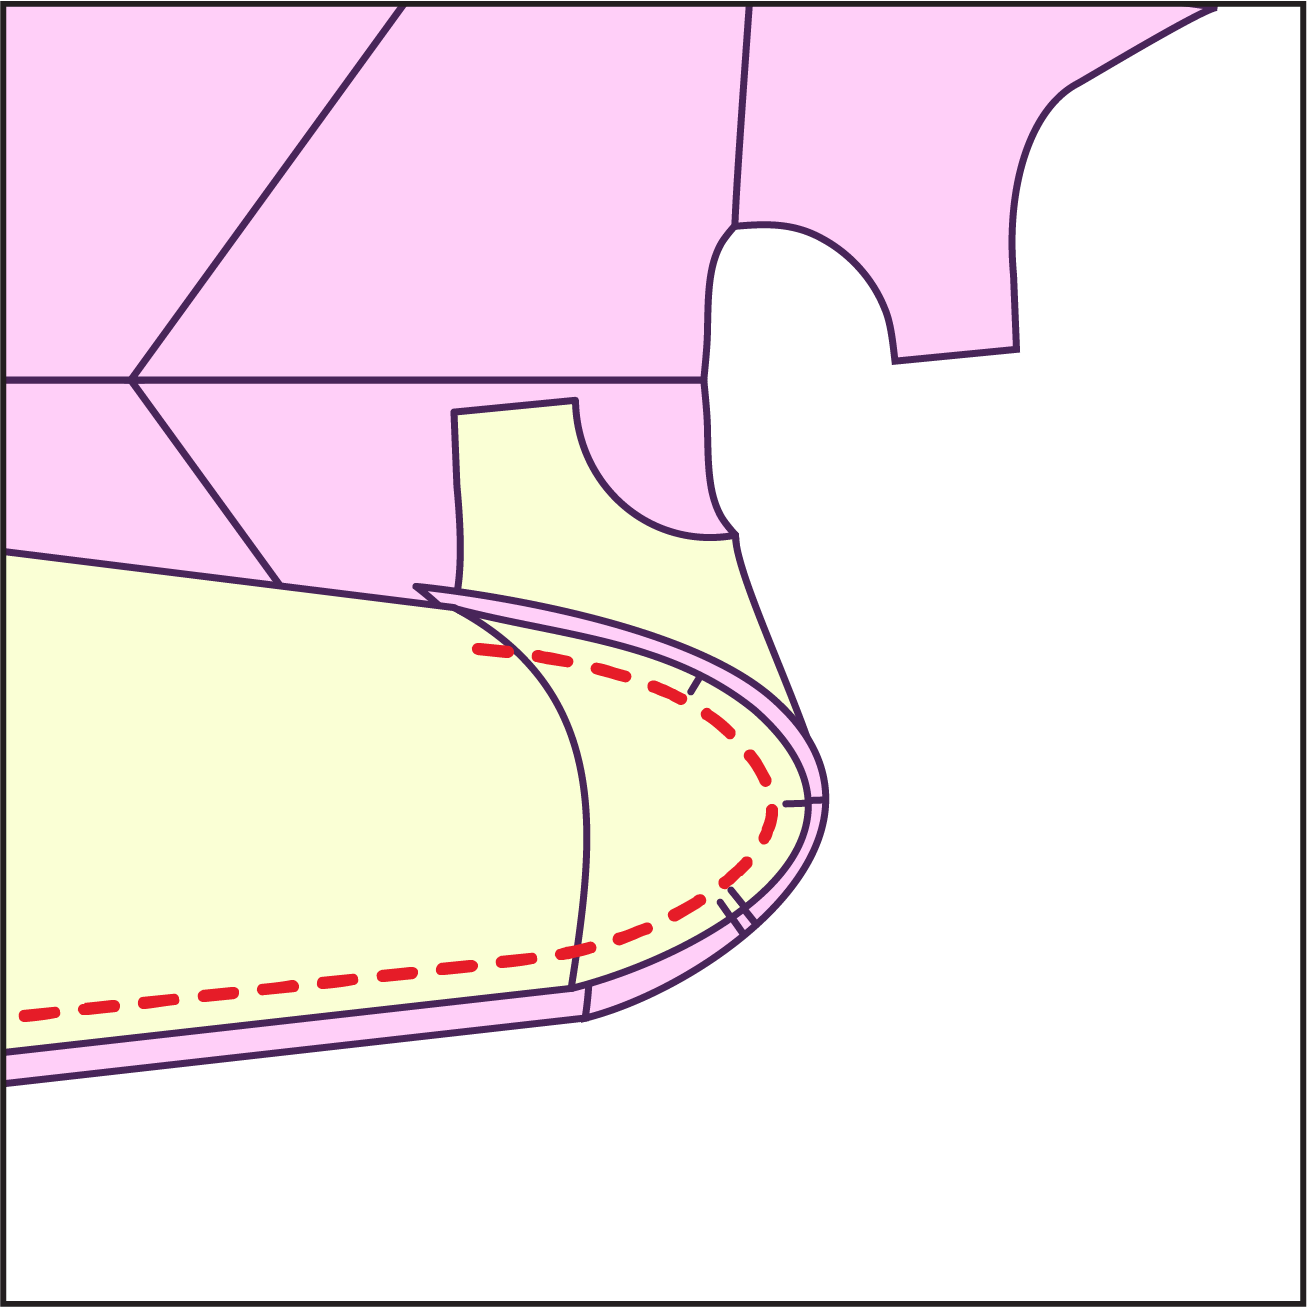
Layout out the front and back right side up and gather your side sleeve cape.
STEP 9
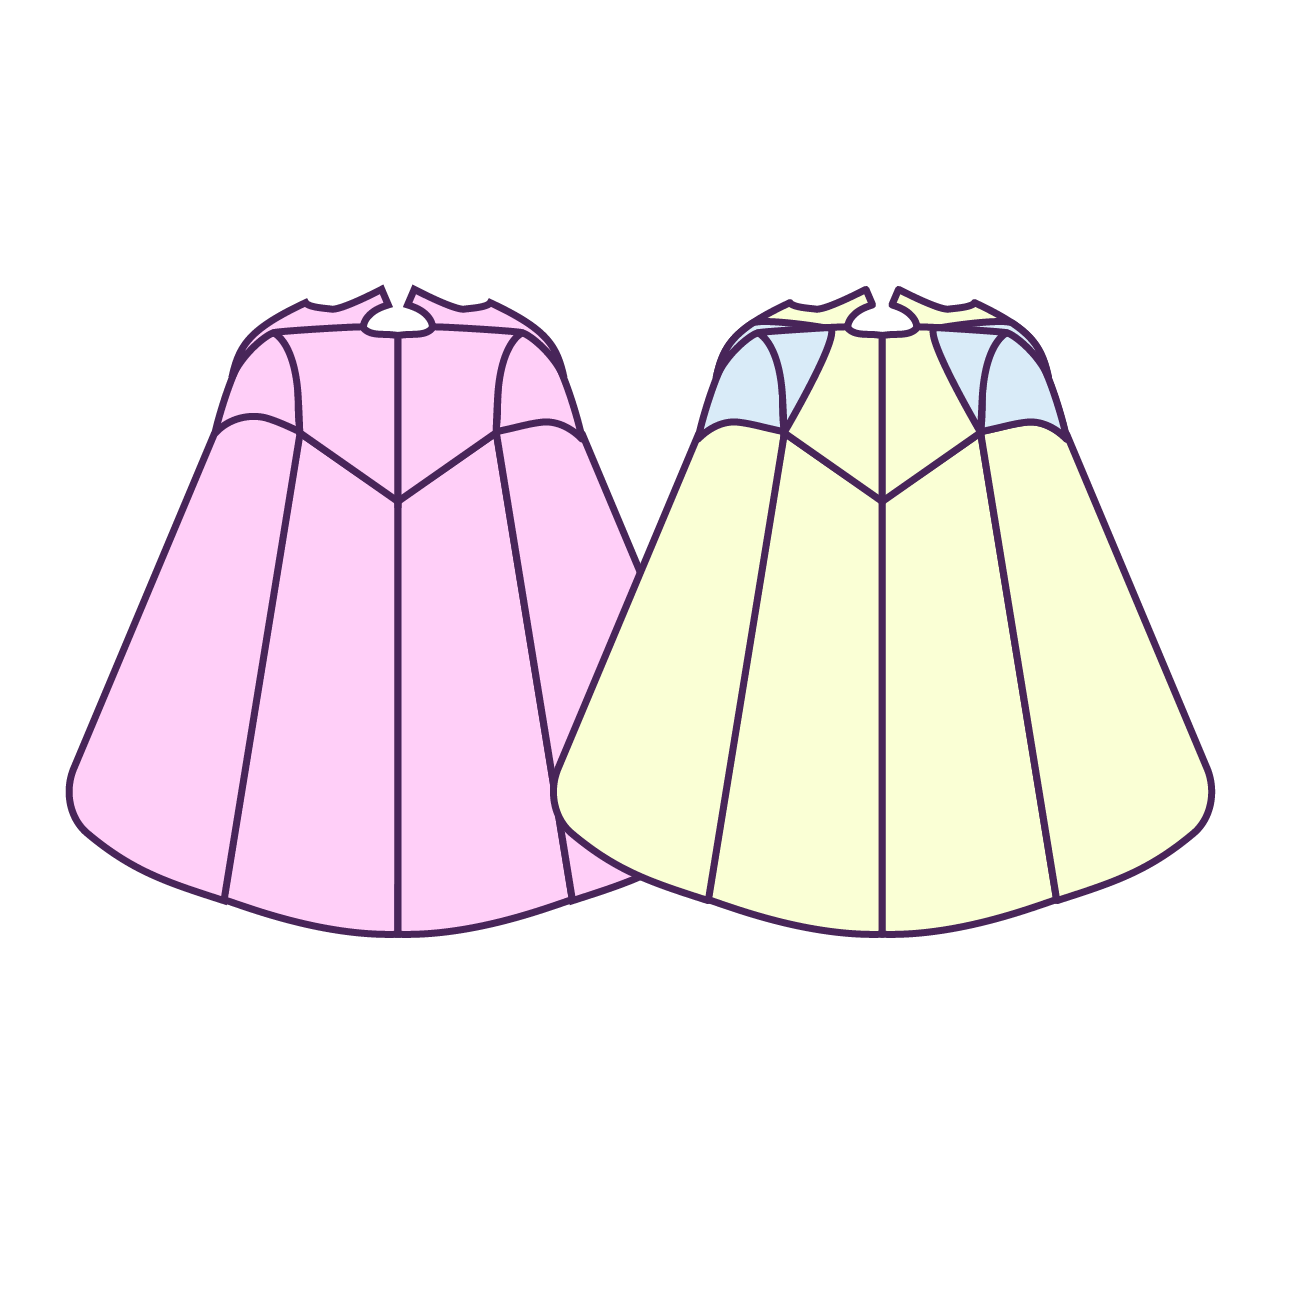
Align and pin the sleeve caps around the front and back armholes, right sides facing each other, using notches as a guide. Sew the sleeve caps in place and continue sewing down so the back and side capes are also sewn together. Then repeat for the other side.
STEP 10
Repeat steps 2-9 for your lining fabric.
STEP 11
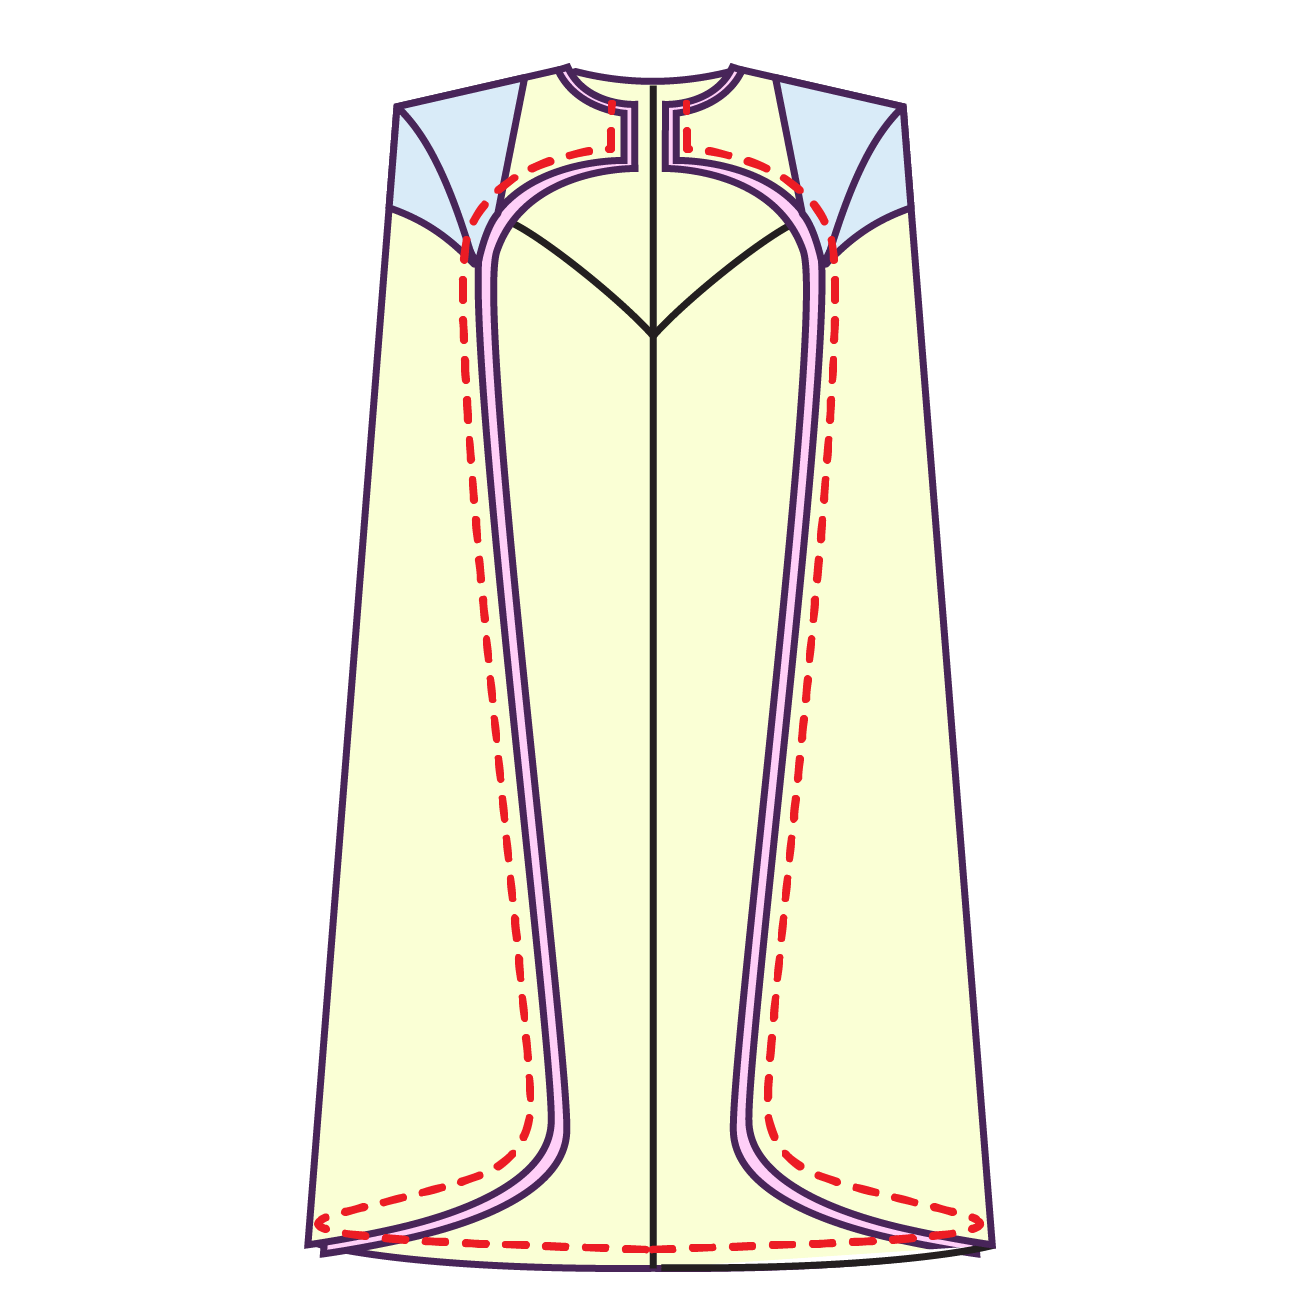
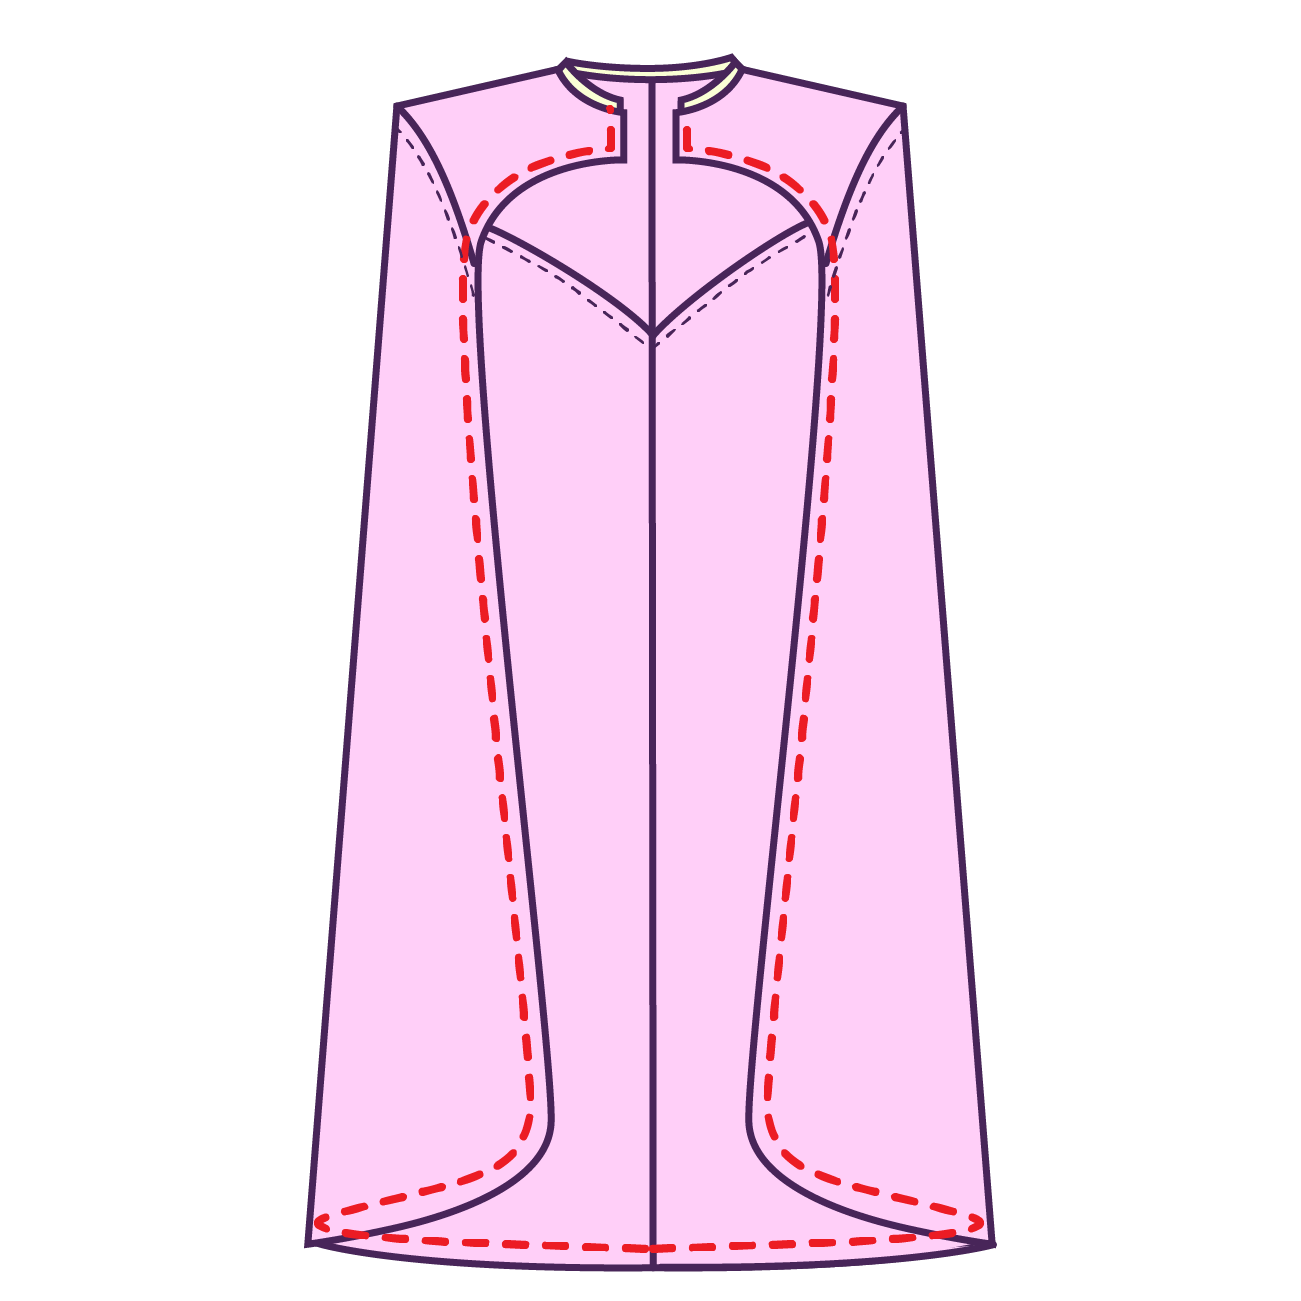
Gather your shell and lining. Stack them right sides facing each other. Sew along the center front edge of the front shrug down and around the front edge of the side cape to the bottom back cape. Do not sew the collar
STEP 12
Flip the lining and shrug right side out through the collar and press around the edges, you can also top stitch around the edges if you wish.
STEP 13
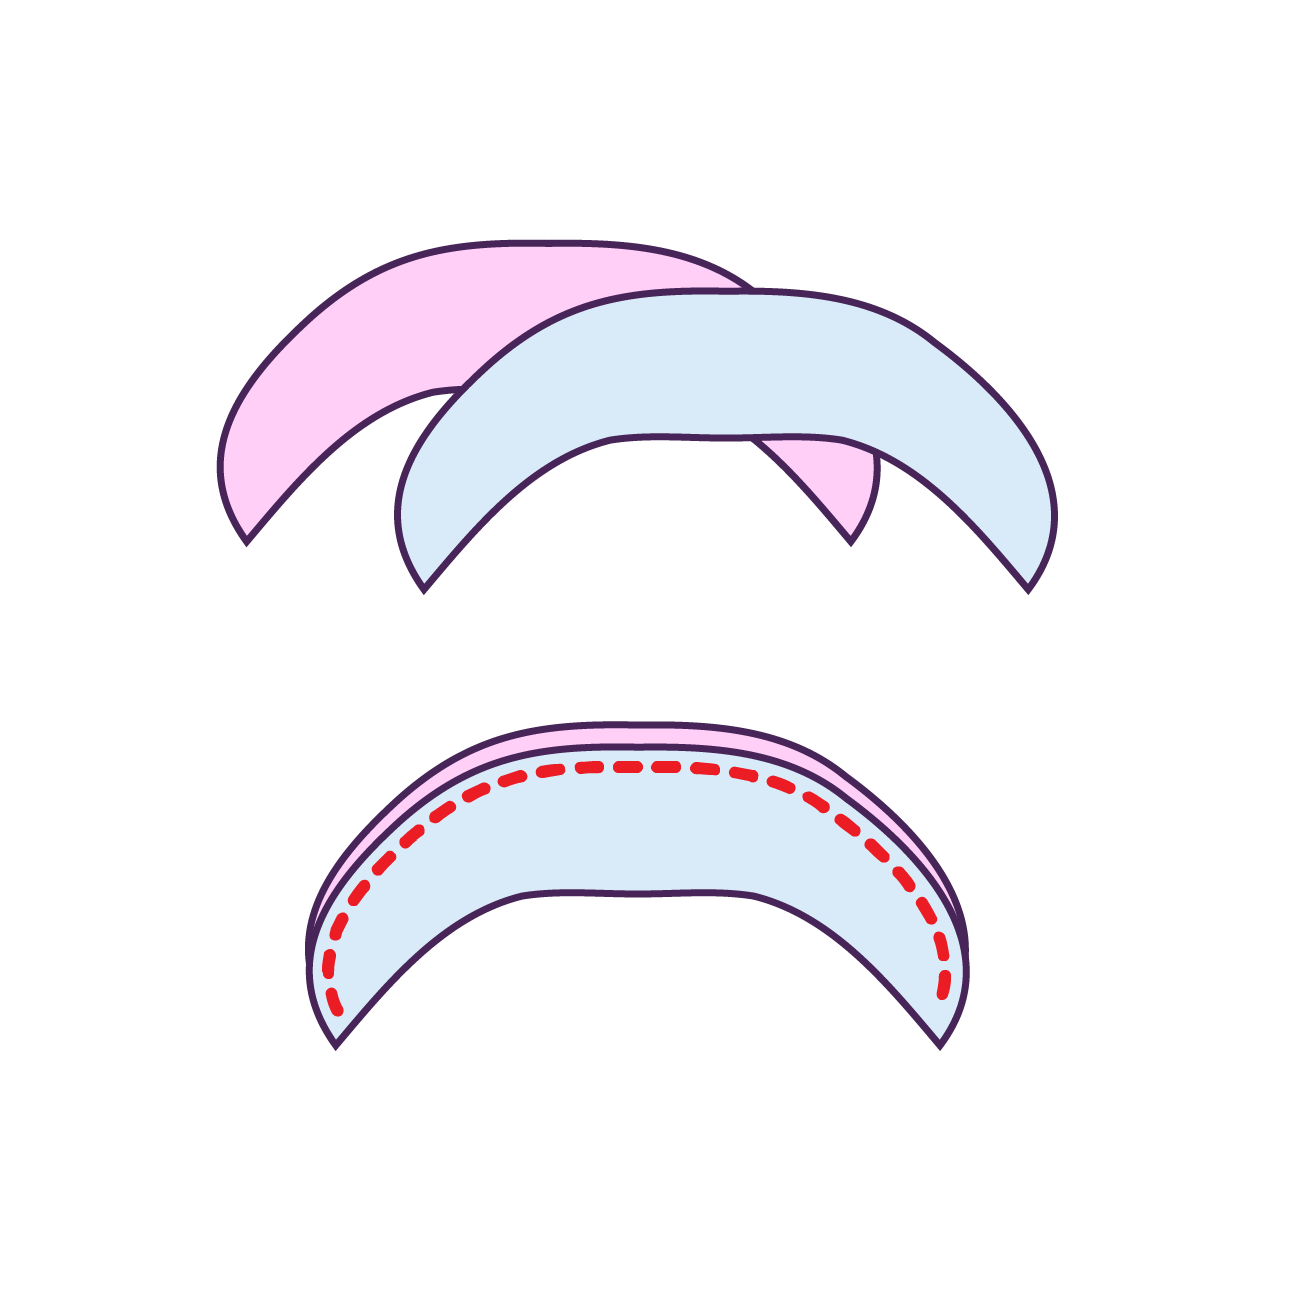
Gather the shell and lining collar pieces, one should have interfacing fused to it. Stack them right sides facing each other, and sew along the top outer curve.
STEP 14
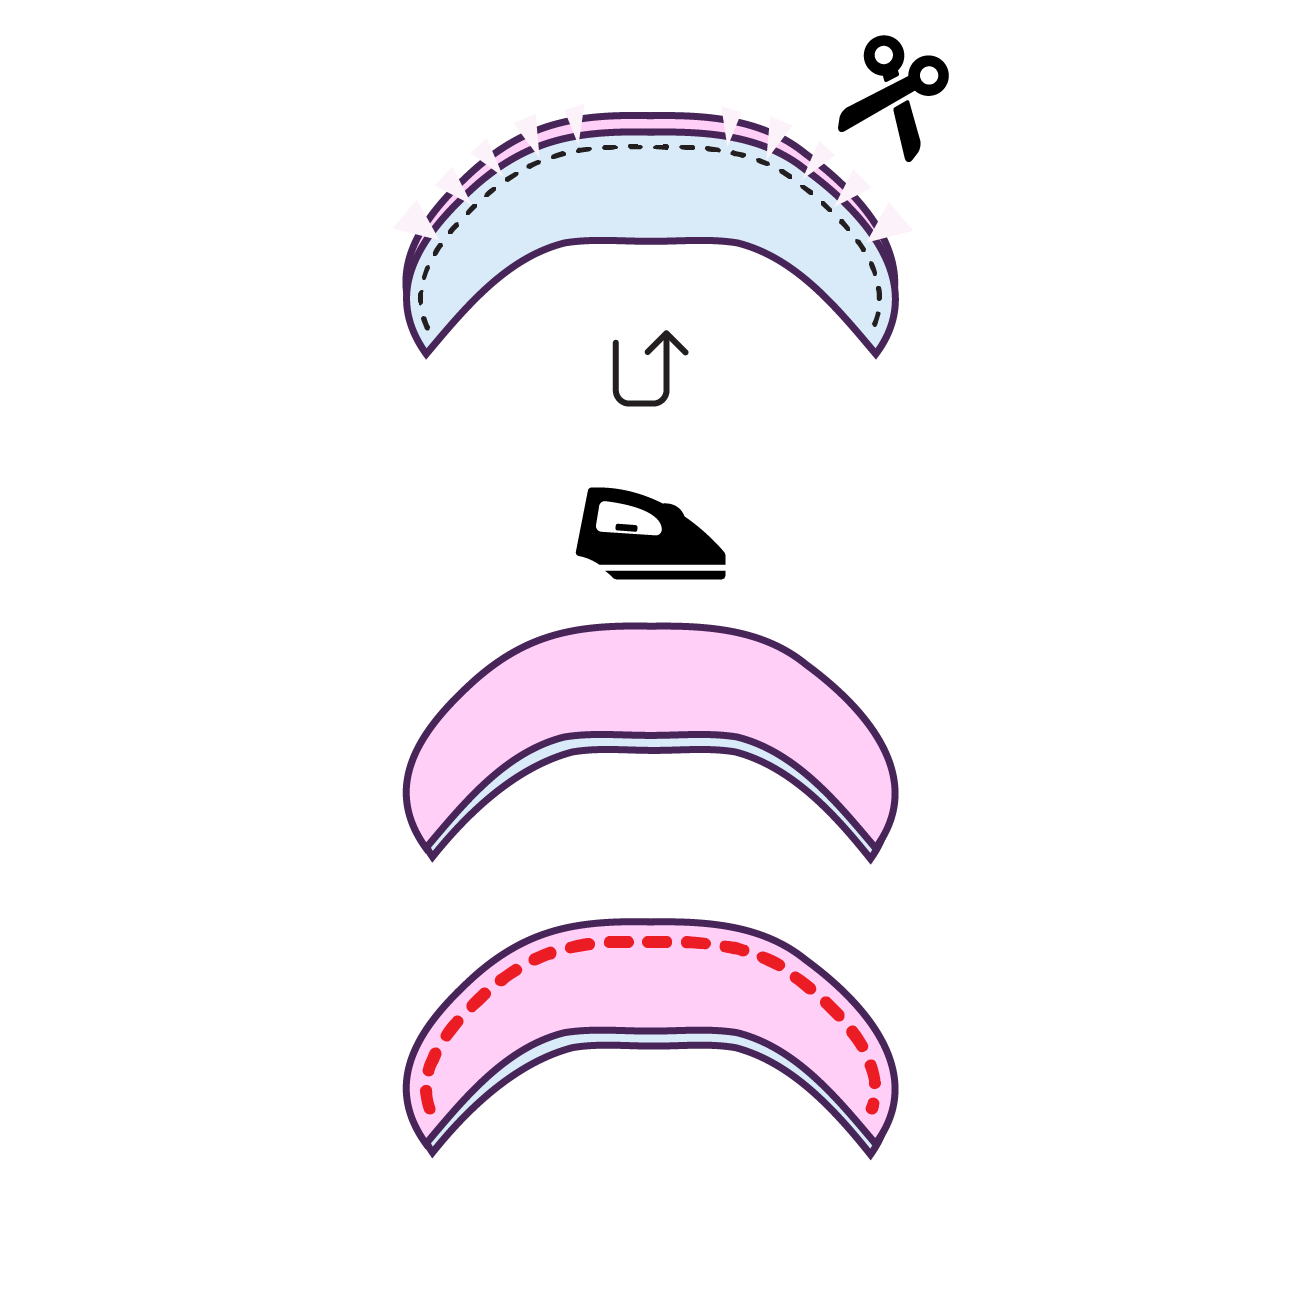
Flip the collar right side out and press around the sewn edge. You can clip the curved edges to help you fold the curves easier. You can then top stitch the top edge on the right side of the fabric.
STEP 15
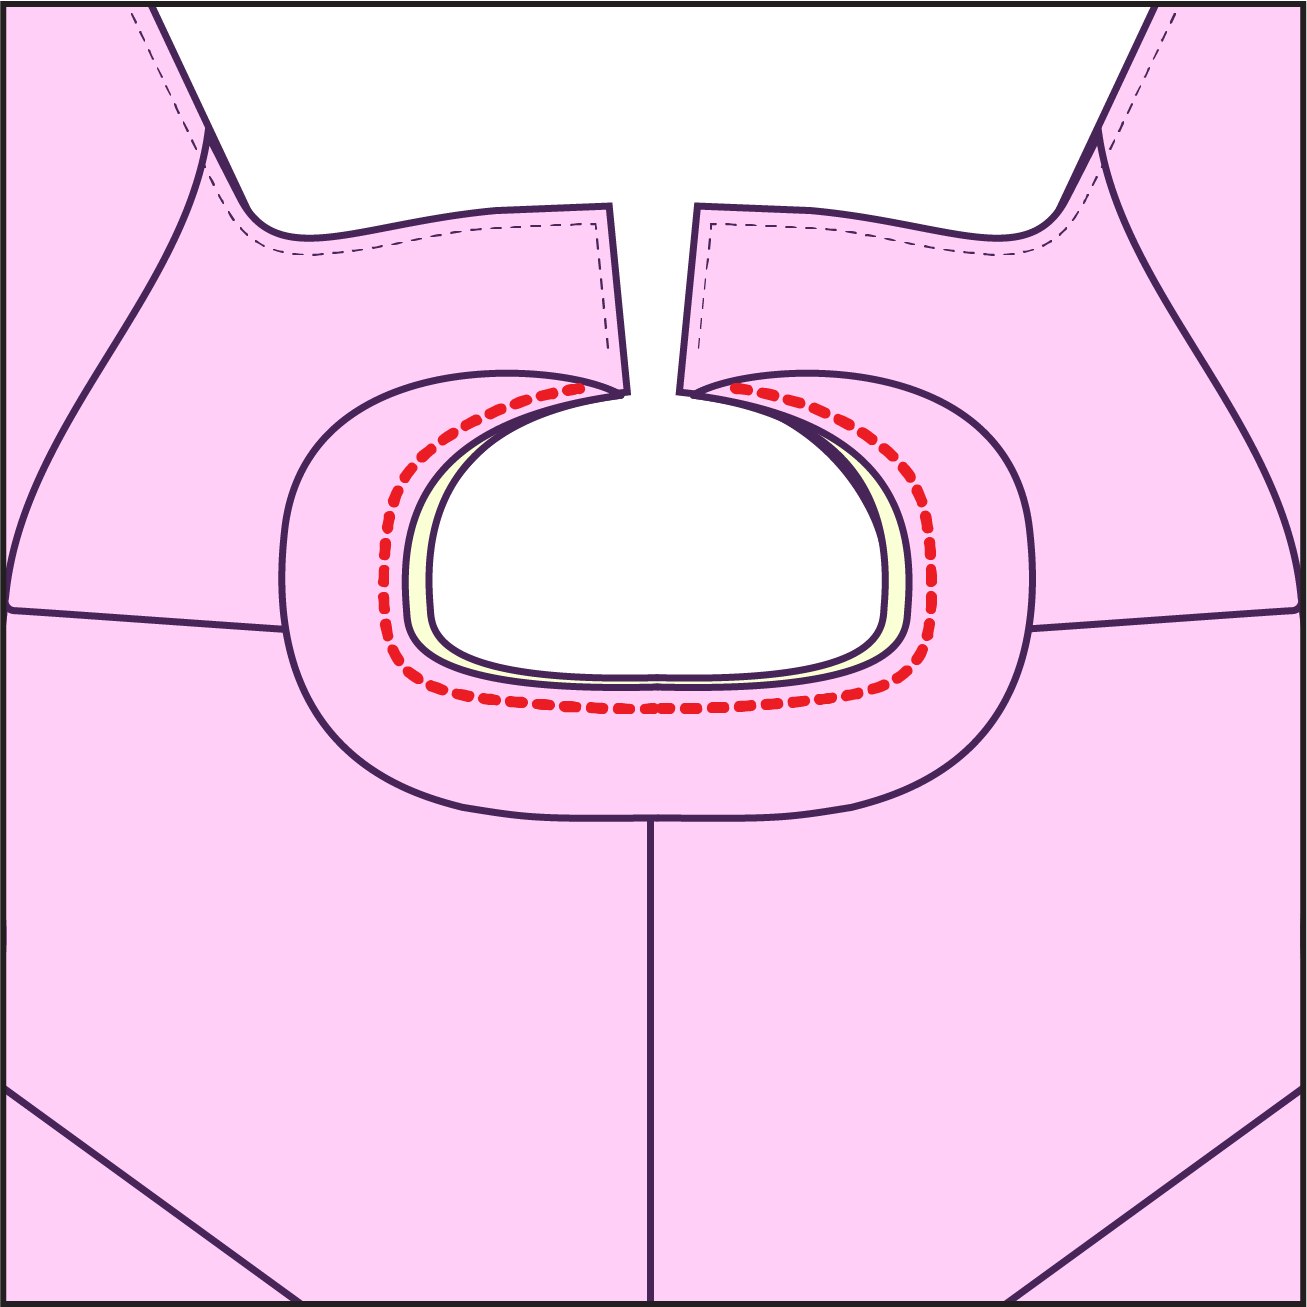
Align and pin the collar around the front and back neck, right sides facing each other and sew.
STEP 16
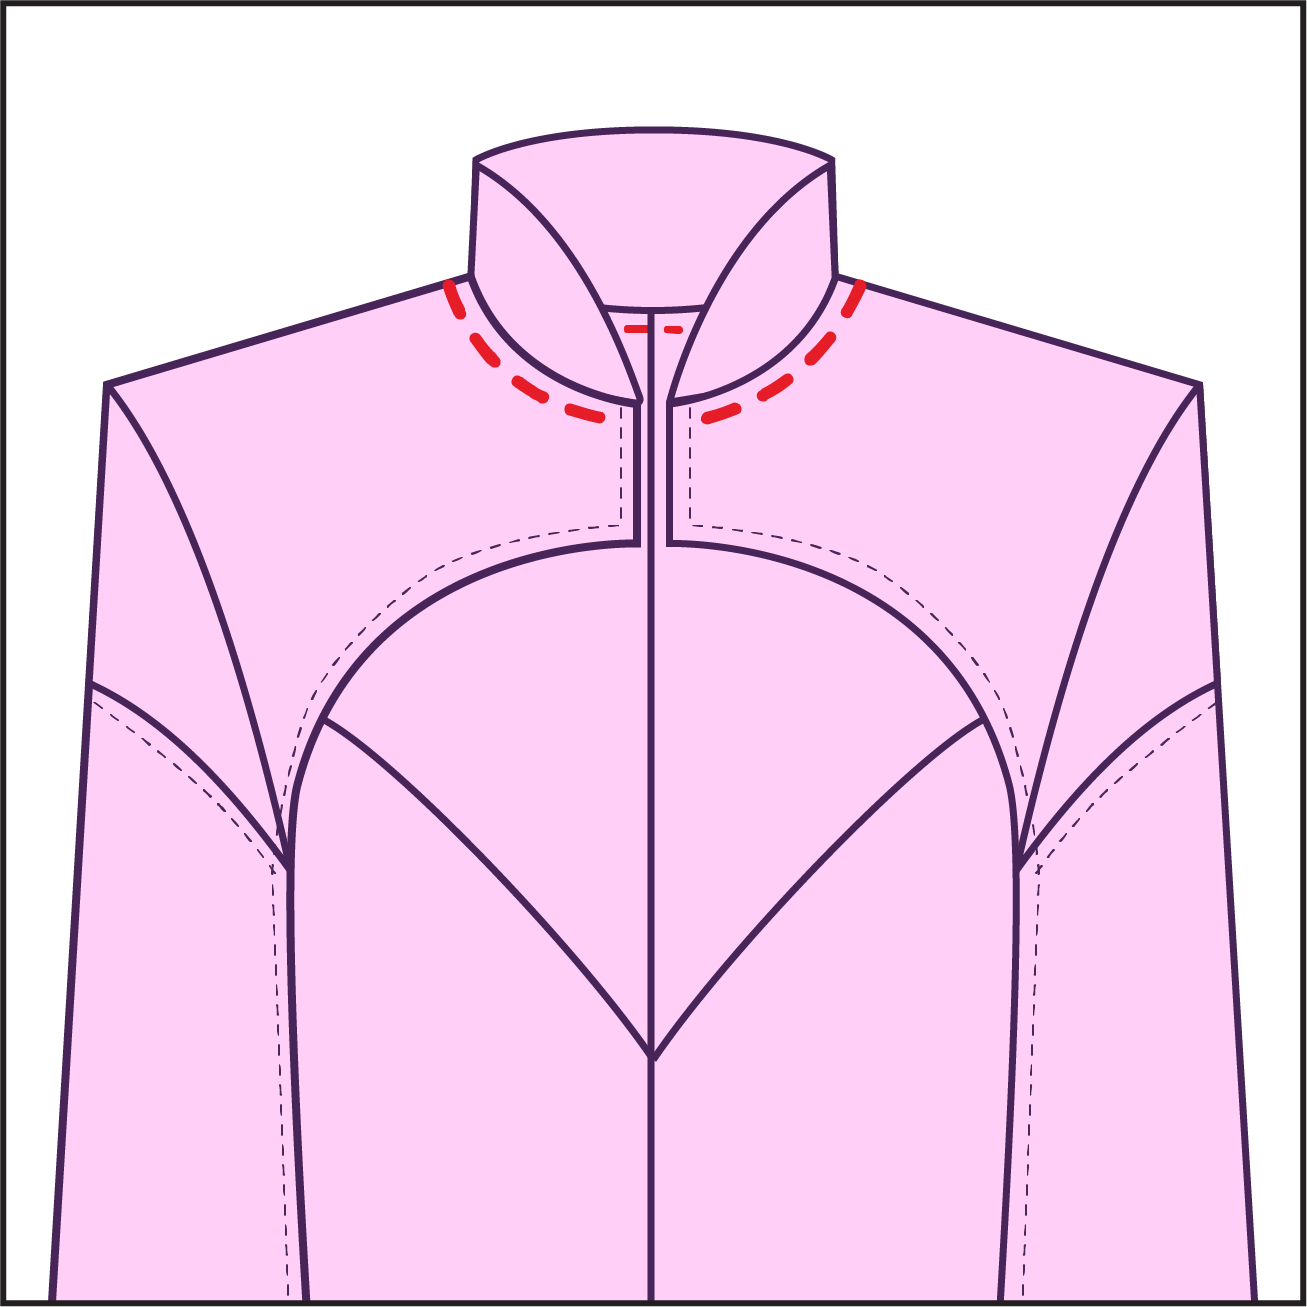
Flip collar over and top stitch the seam down around the neck if you wish.
STEP 17
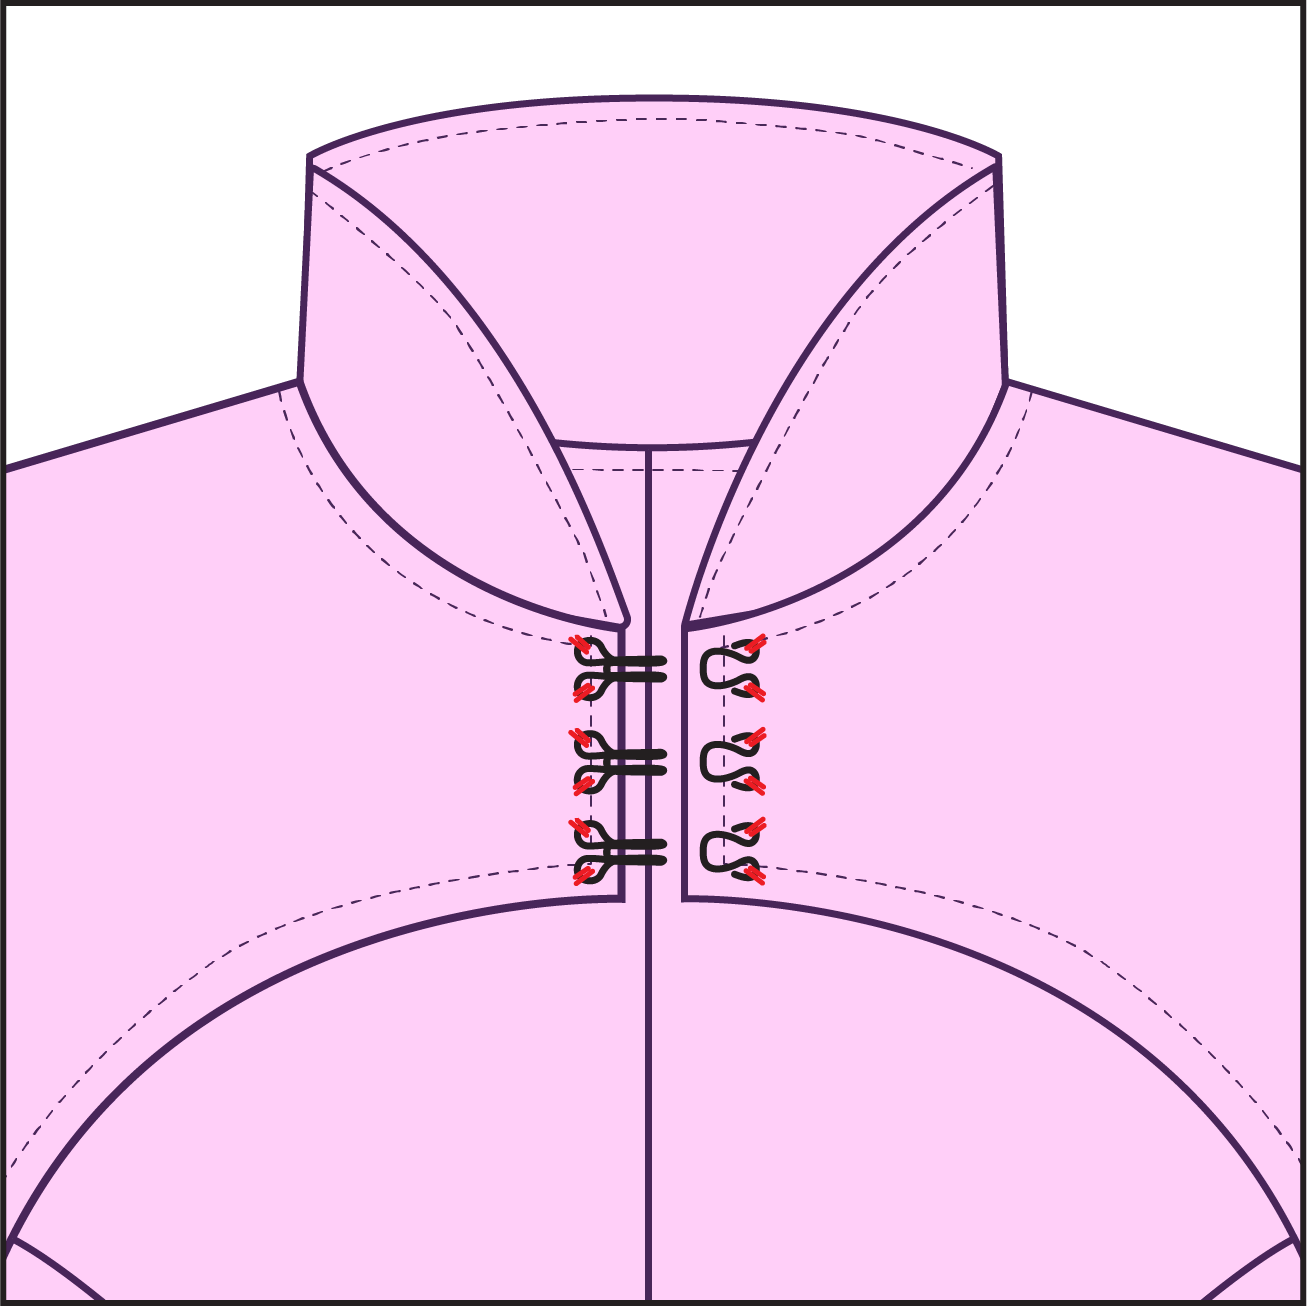
Install hooks and eye closures by hand to the center front of the garment. These can be outside or inside the garment.
Get the Pattern
