How to Sew a Gothic Hooded Cloak for Halloween Costume
Jump to InstructionsOverview
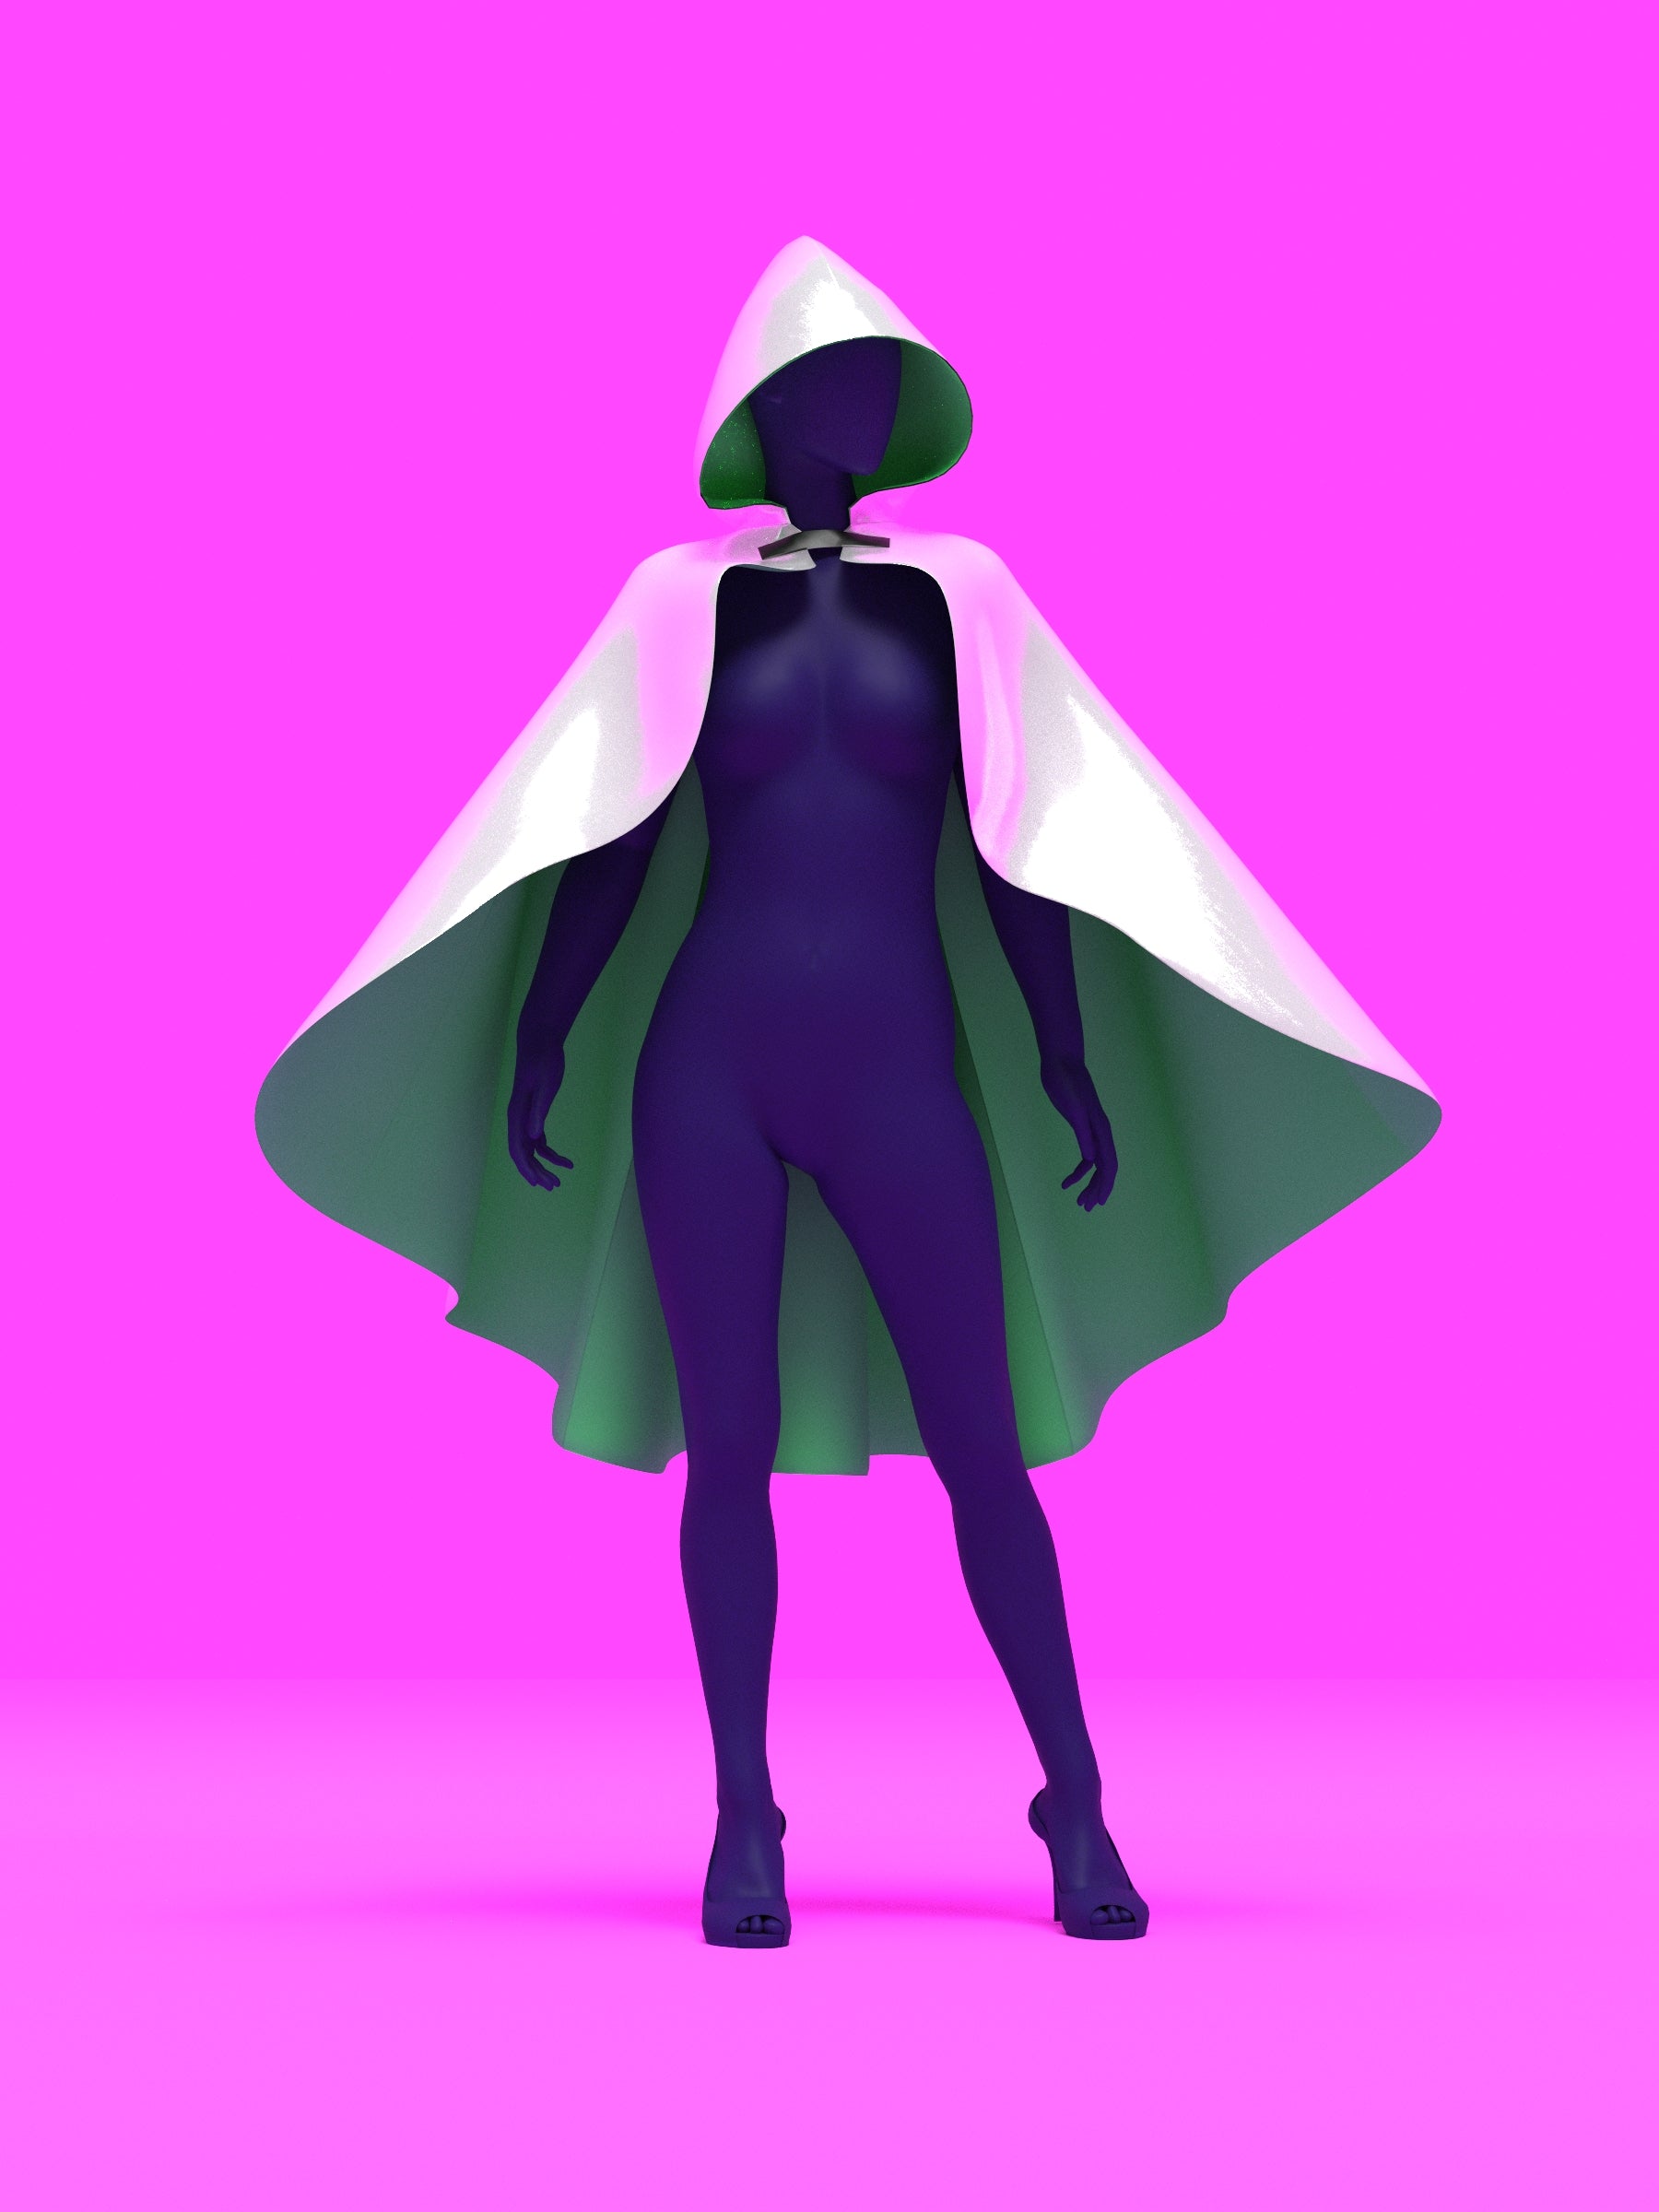
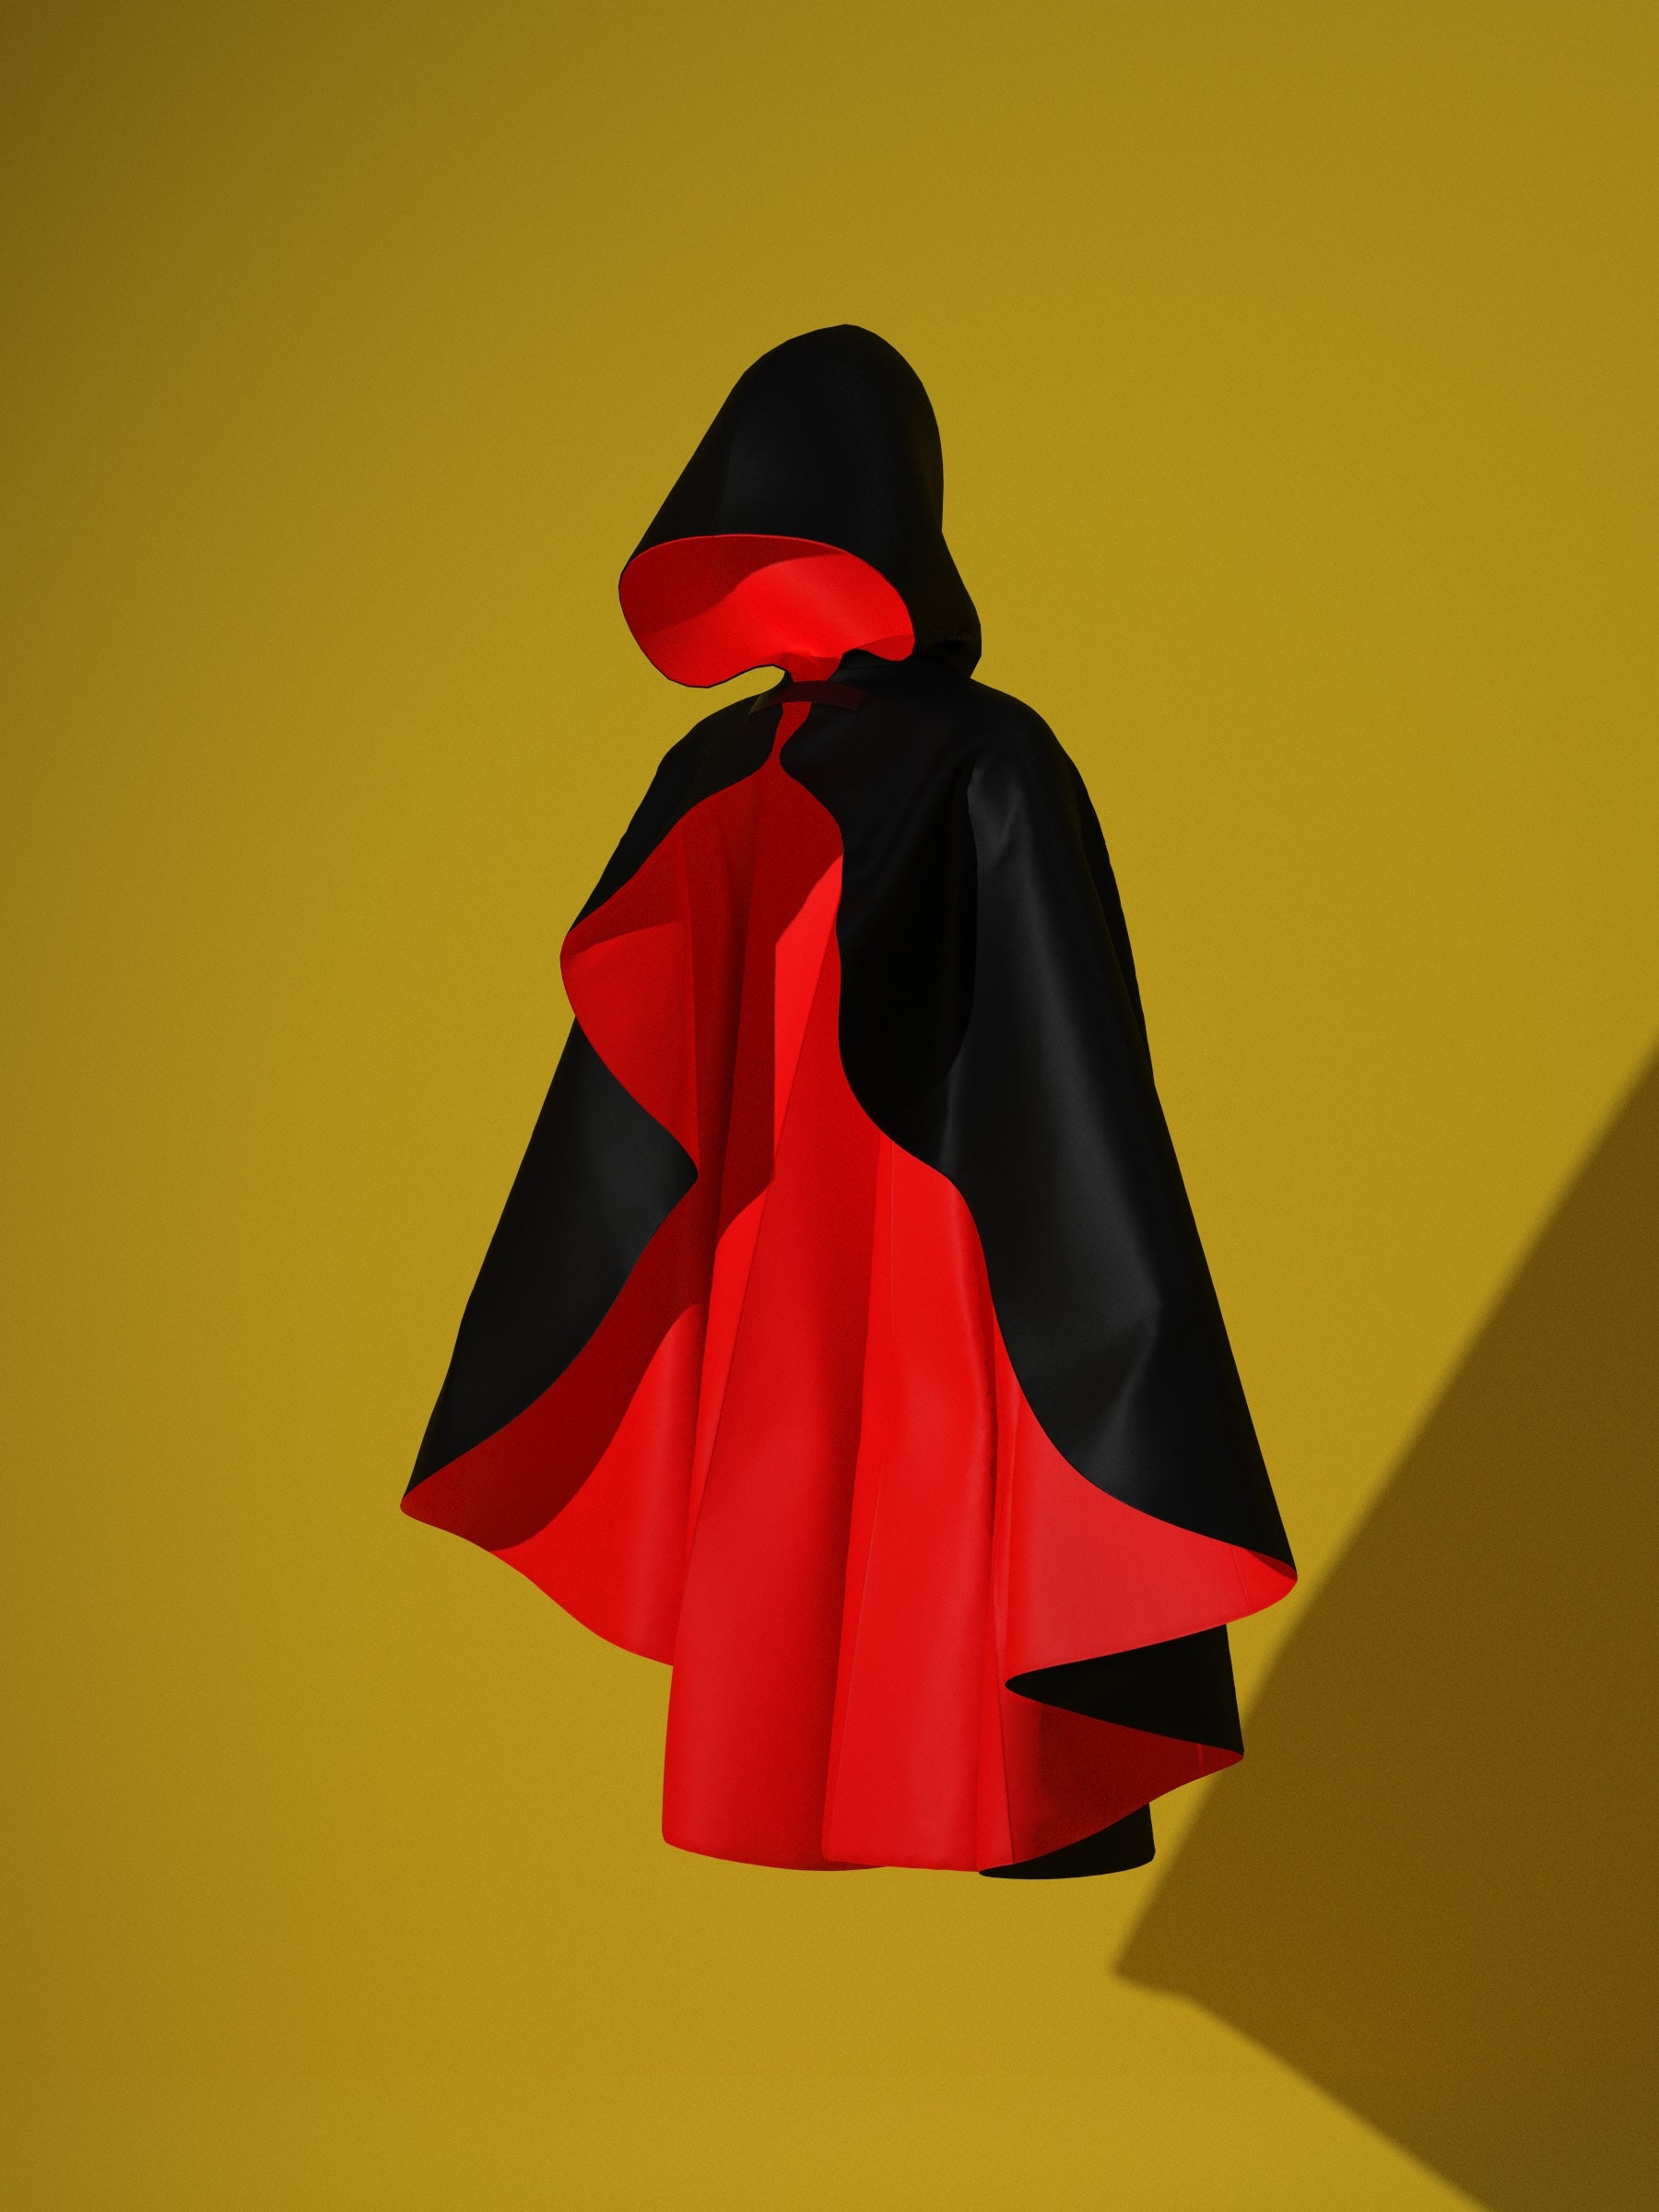
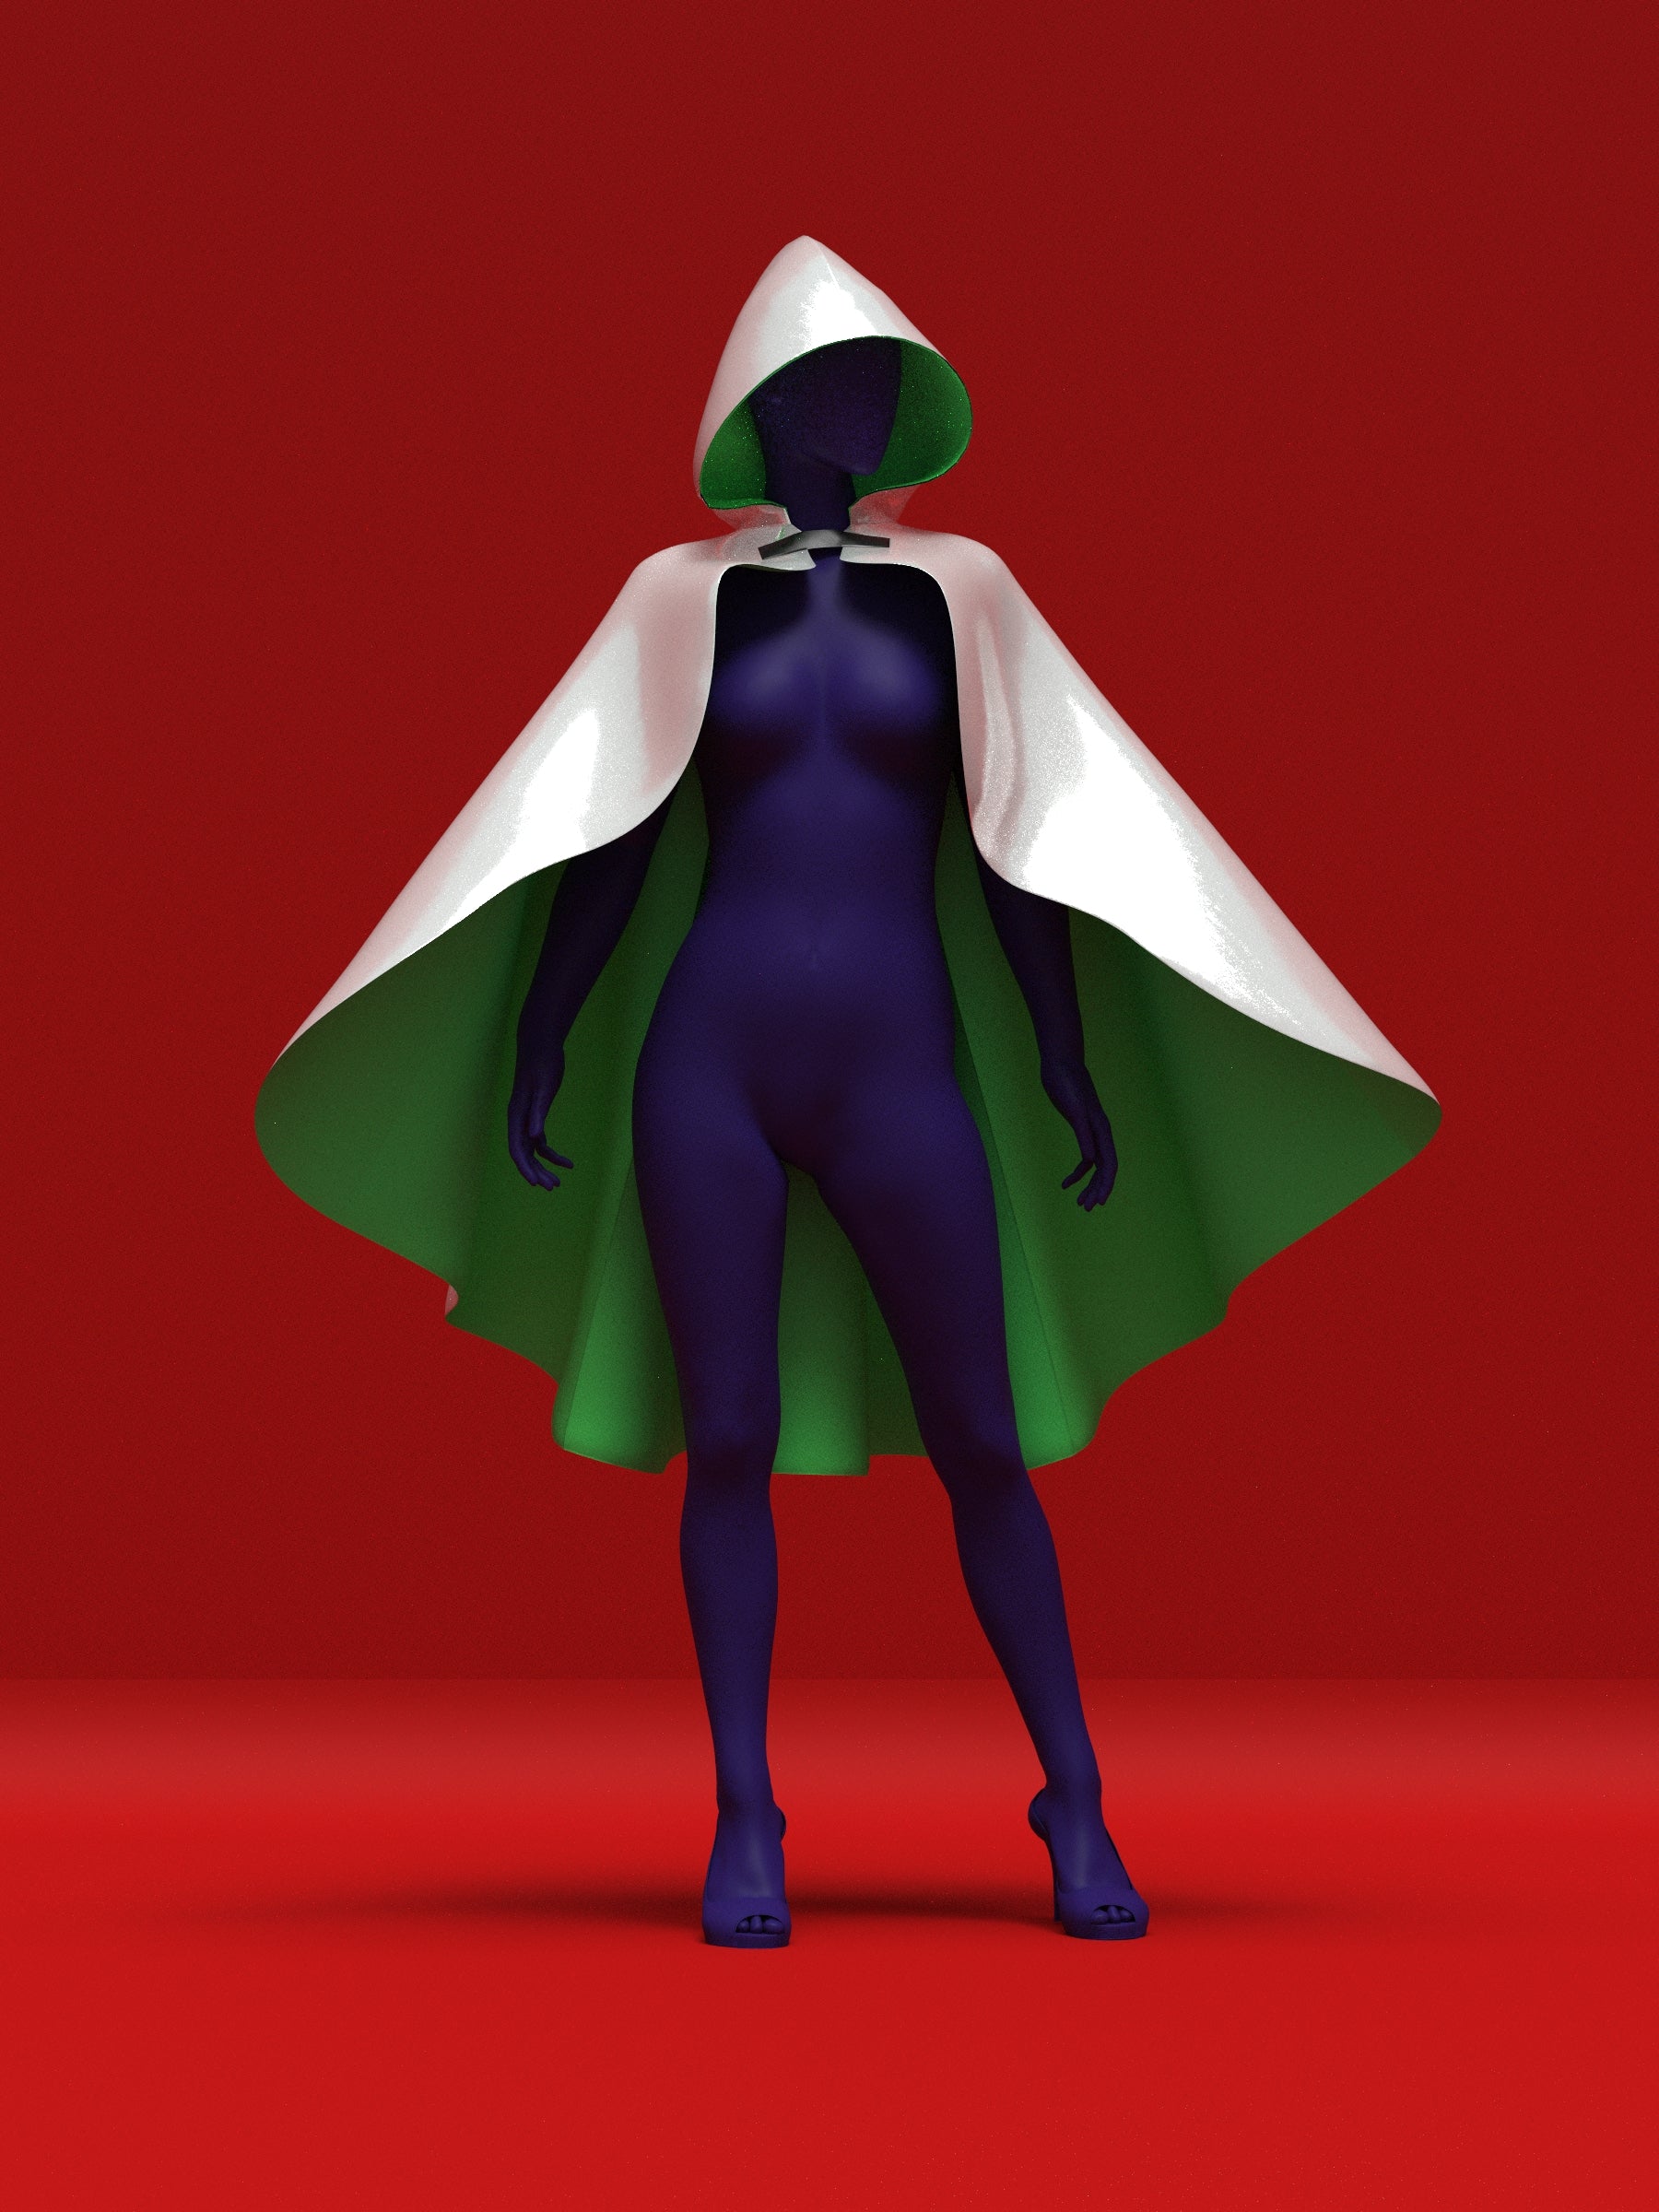
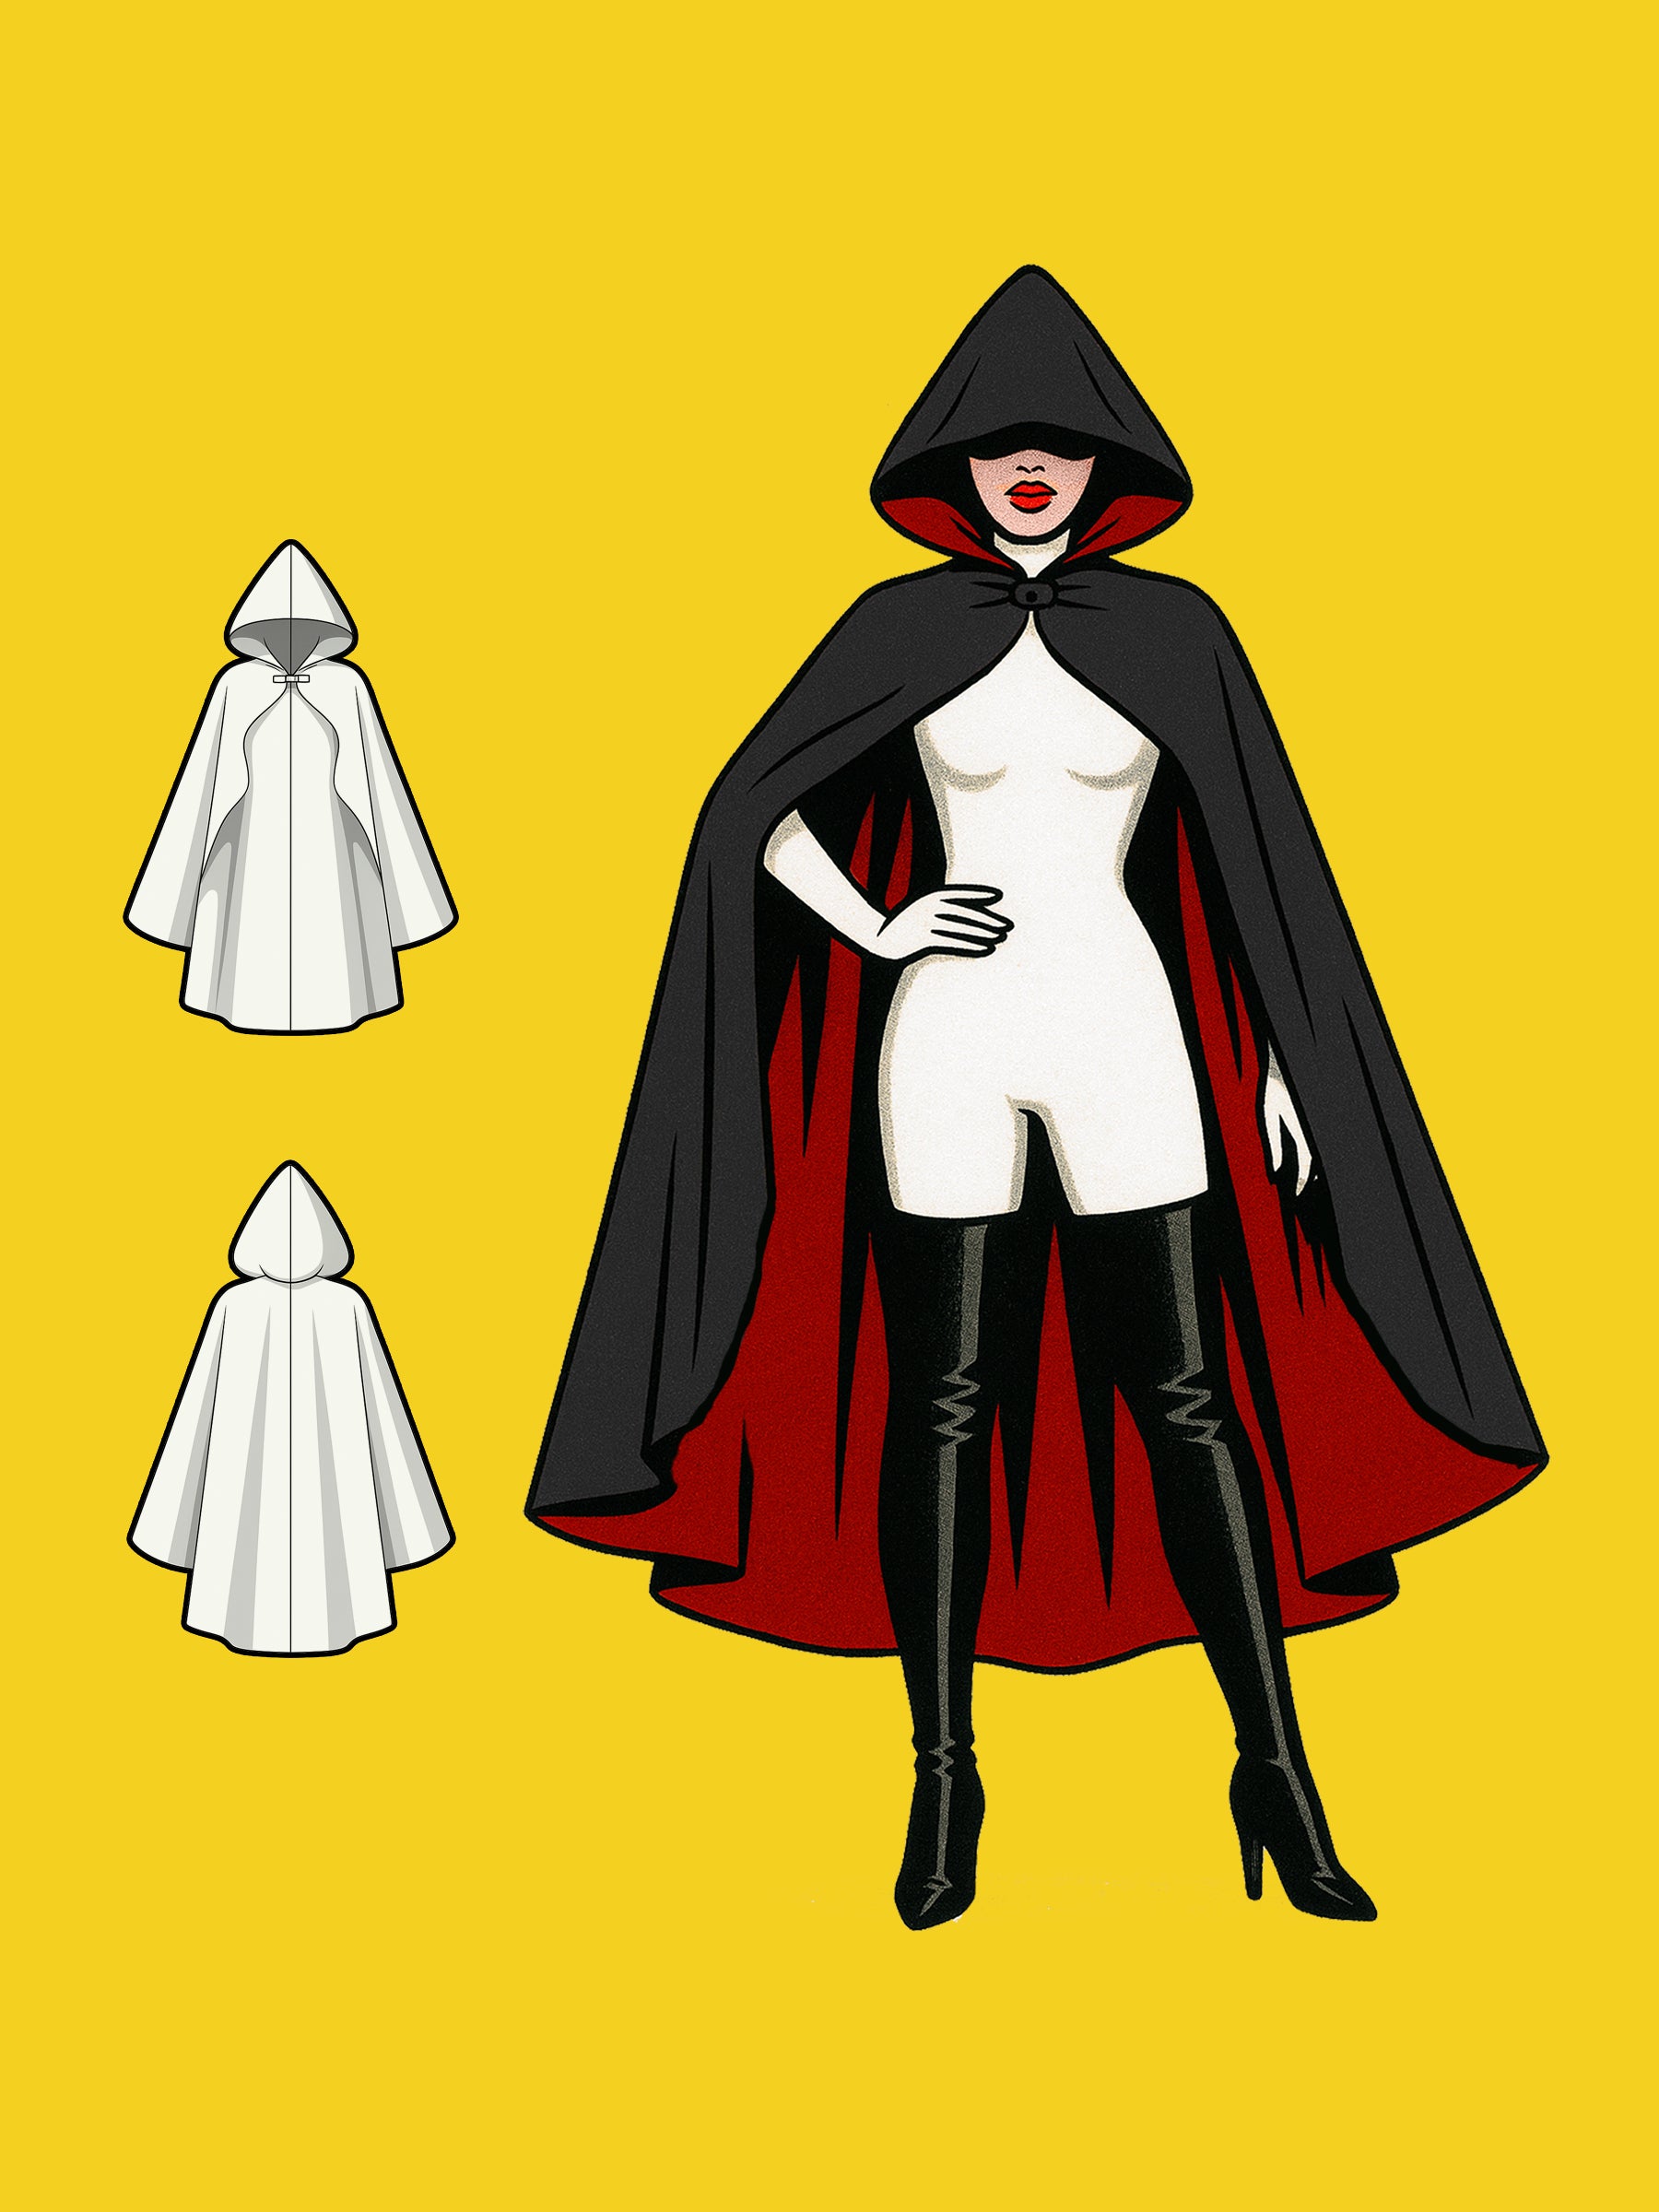
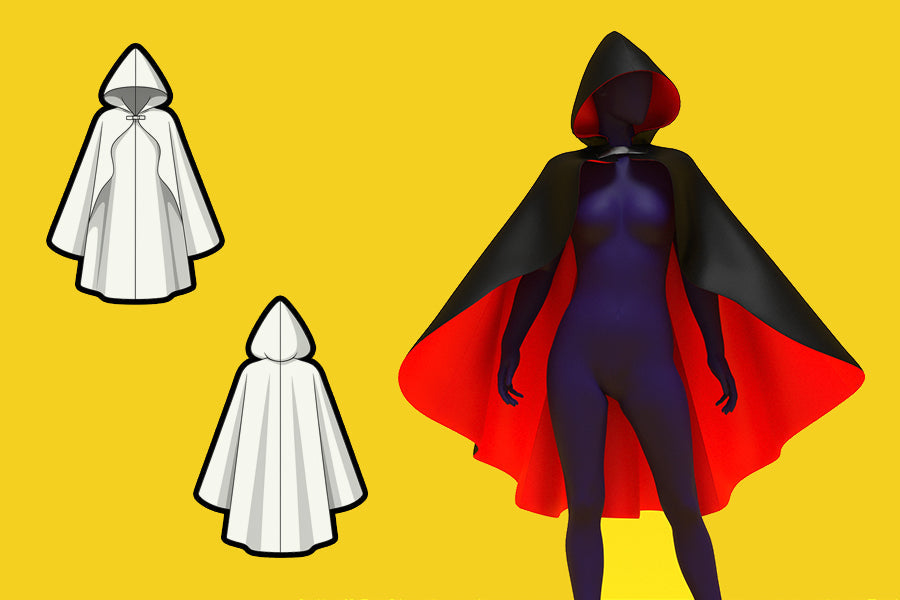
Learn how to sew our Gothic Oversized Cloak Sewing Pattern, made for a Drag Queen Halloween Costume is your must-have moment for slaying the season in true spooky glamour. Whether you’re conjuring darkness in a witch costume, floating like a moody fairy costume, or dripping in vintage vampire fantasy, this PDF sewing pattern lets you create a dramatic, sweeping cloak made for a full-on performance. This design fits like a dream on drag artists — but it’s unisex sizing too, darling, so anyone who matches our size chart can make it.
Fabric Yardage
The fabric yardage below is for fabric bolt widths of 54" or more.
| Size | Shell Yards | Shell Meters | Lining Yards | Lining Meters |
|---|---|---|---|---|
| XS-S | 3y | 2.75m | 3y | 2.75m |
| M-L | 3.25y | 2.97m | 3.25y | 2.97m |
| XL-2X | 3.5y | 3.2m | 3.5y | 3.2m |
| 3X-4X | 3.75y | 3.43m | 3.75y | 3.43m |
Fabric & Notions
Non-Stretch Fabrics:
- Cotton
- Rayon
- Satin
- Lightweight taffeta
- Polyester
Notions:
- Cloak Clasp Closure
Sizing Details
This cloak is made for our drag queen sizes from XS to 4X. However, this is a unisex design—any gender can wear it, as long as your body matches the size measurements provided.
The pattern is available in four grouped size ranges: XS–S, M–L, XL-2X, and 3X–4X. Each version is designed to comfortably fit two sizes in one flexible fit.
Drag Queen Sizes
| Sizes | XS | S | M | L | XL | 2X | 3X | 4X | |||
|---|---|---|---|---|---|---|---|---|---|---|---|
| Inches | |||||||||||
| Bust | 35”-37” | 38”-40” | 40”-42” | 44”-46” | 47”-49” | 50”-52” | 53”-55” | 56”-58” | |||
| Waist | 26”-28” | 29”-31” | 32”-34” | 35”-37” | 38”-40” | 41”-43” | 44”-46” | 47”-49” | |||
| Hips | 37”-39” | 40”-42” | 43”-45” | 46”-48” | 49”-51” | 52”-54” | 54”-56” | 58”-60” | |||
| Height | 70" | 70" | 70" | 70" | 70" | 70" | 70" | 70" | |||
| Centimeters | |||||||||||
| Bust | 89-94 | 96-102 | 102-107 | 112-117 | 119-124 | 127-132 | 135-140 | 142-147 | |||
| Waist | 66-71 | 74-79 | 81-86 | 89-94 | 96-102 | 104-109 | 112-117 | 119-124 | |||
| Hips | 94-99 | 102-107 | 109-114 | 117-122 | 124-130 | 132-137 | 137-142 | 147-152 | |||
| Height | 178 | 178 | 178 | 178 | 178 | 178 | 178 | 178 | |||
Our unique drag sizes are based on U.S. Standard Men’s and Women’s Plus sizes, designed to fit male bodies with padding with an average height of 70 inches. They feature longer torsos, wider shoulders, arms, and legs, and a shorter crotch inseam compared to standard women’s sizing, making them inclusive for anyone matching the provided measurements.
Sewing Instructions
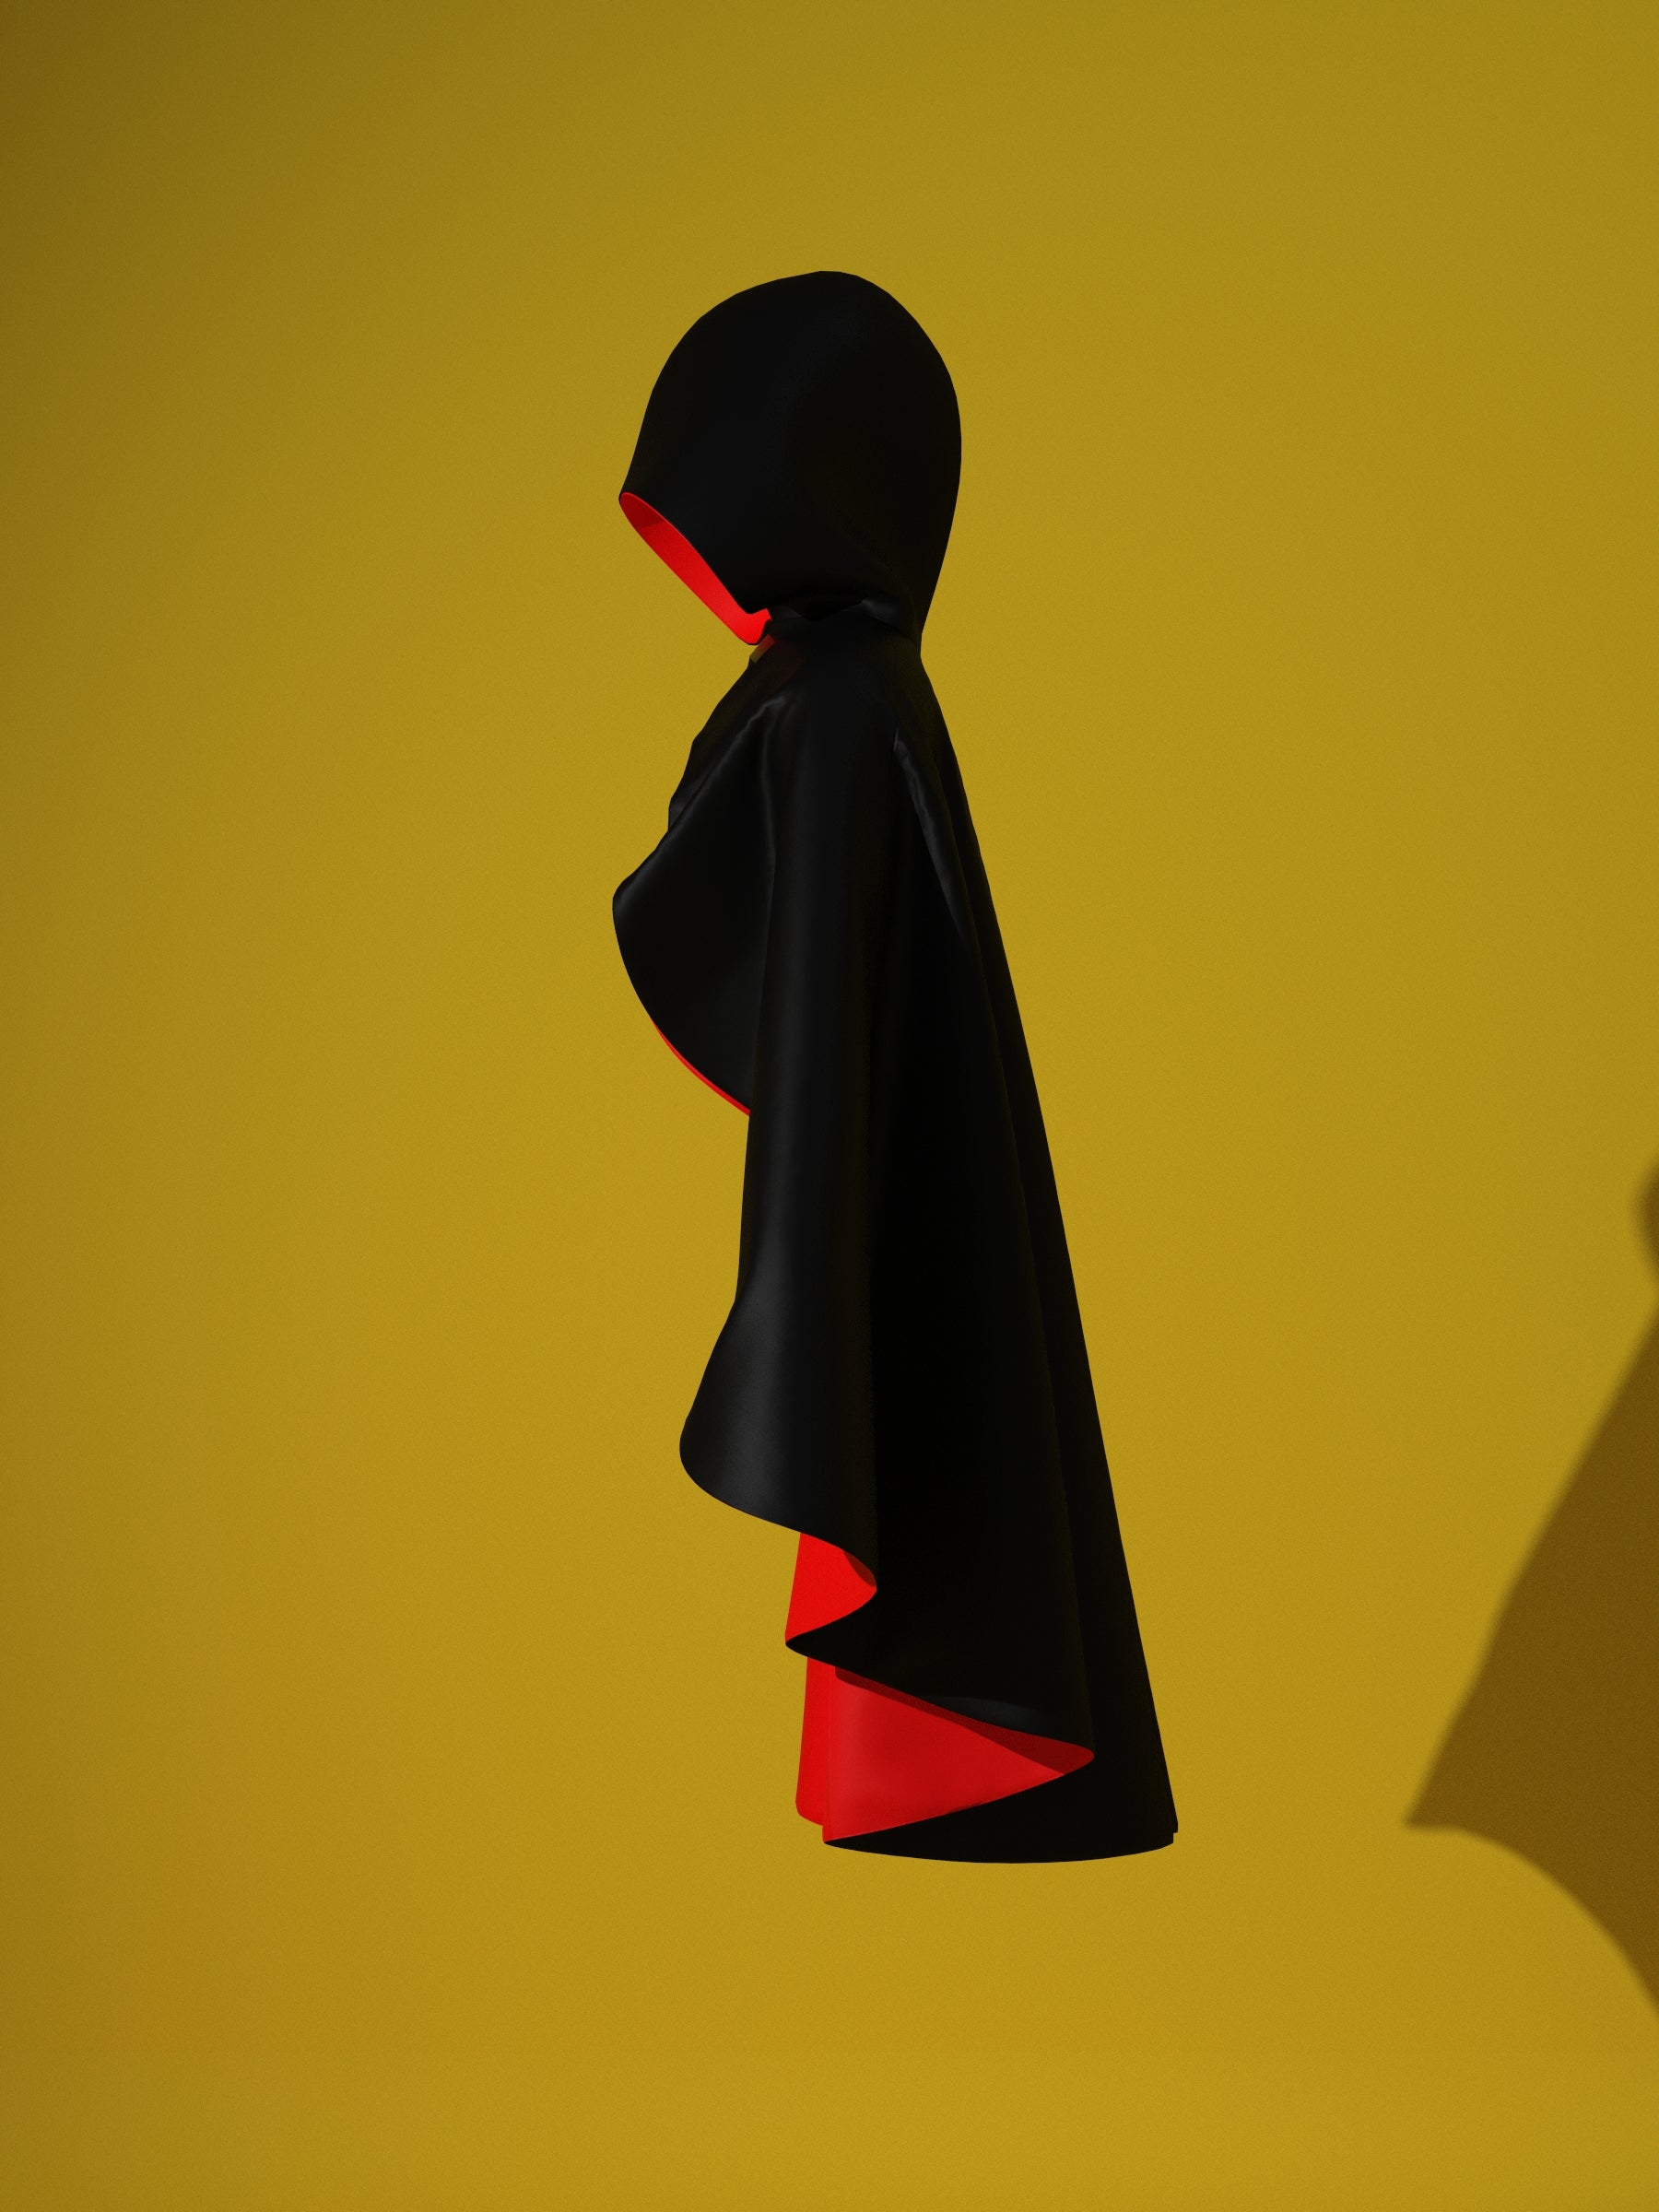
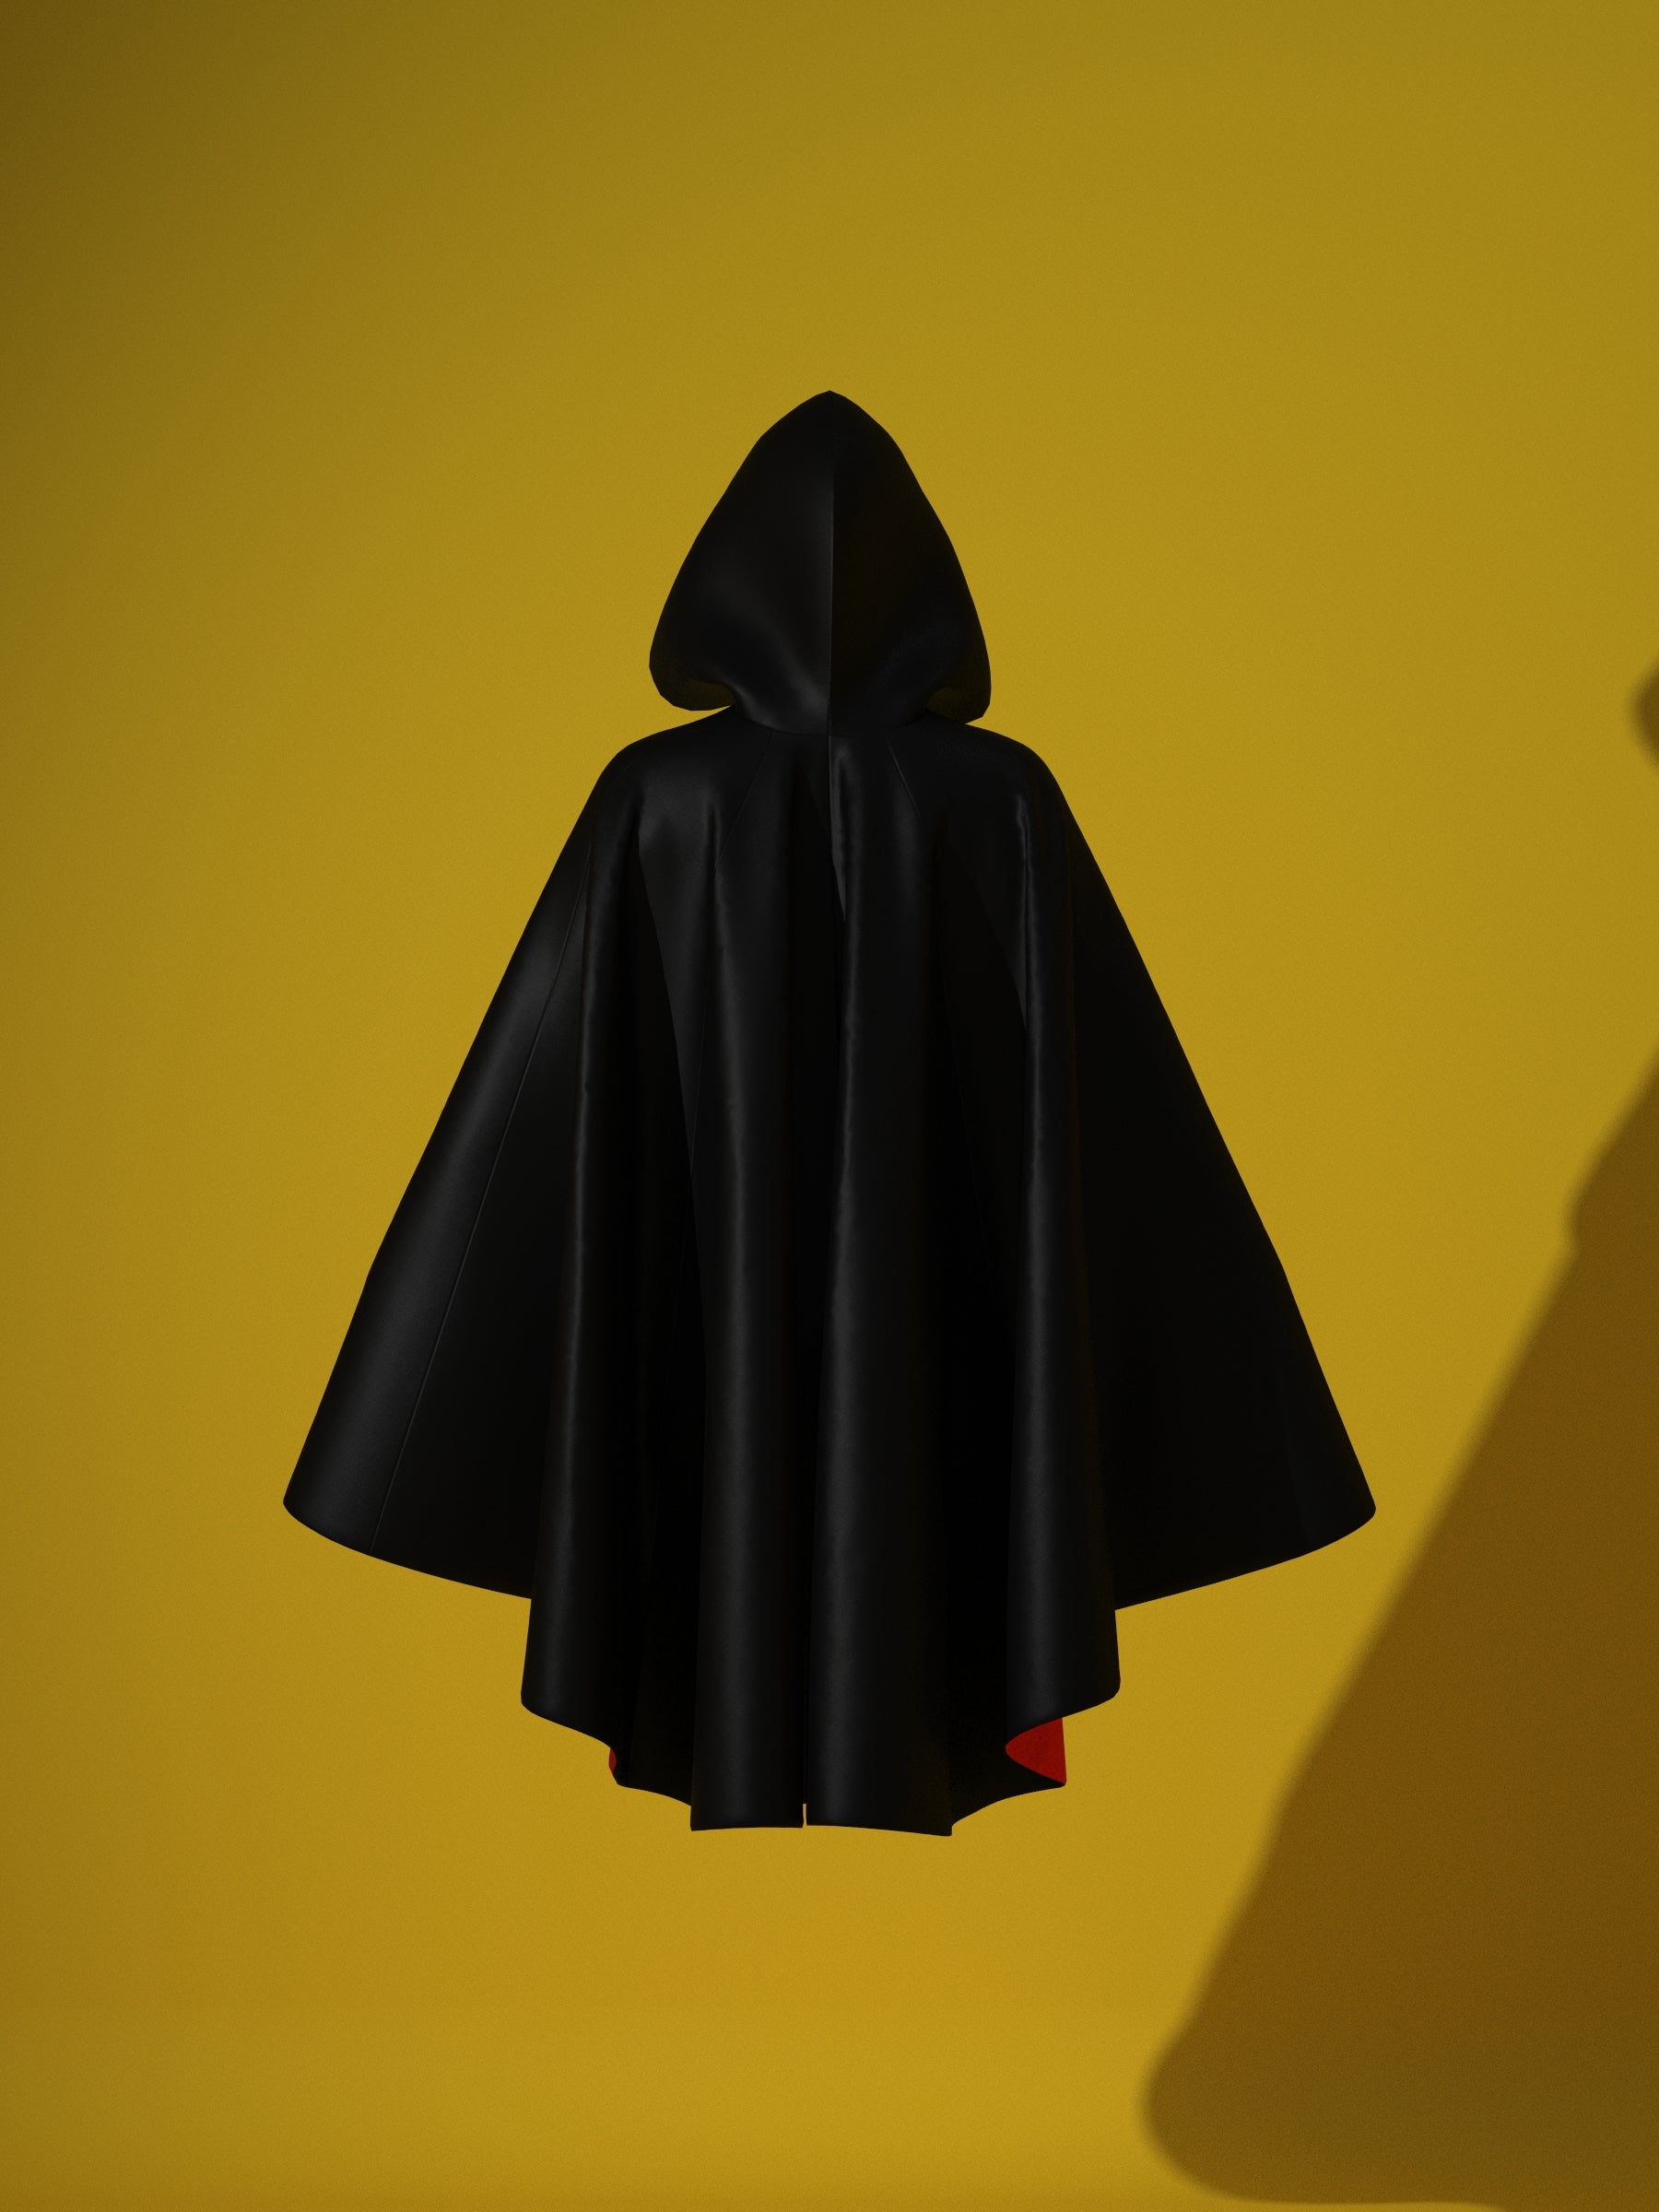
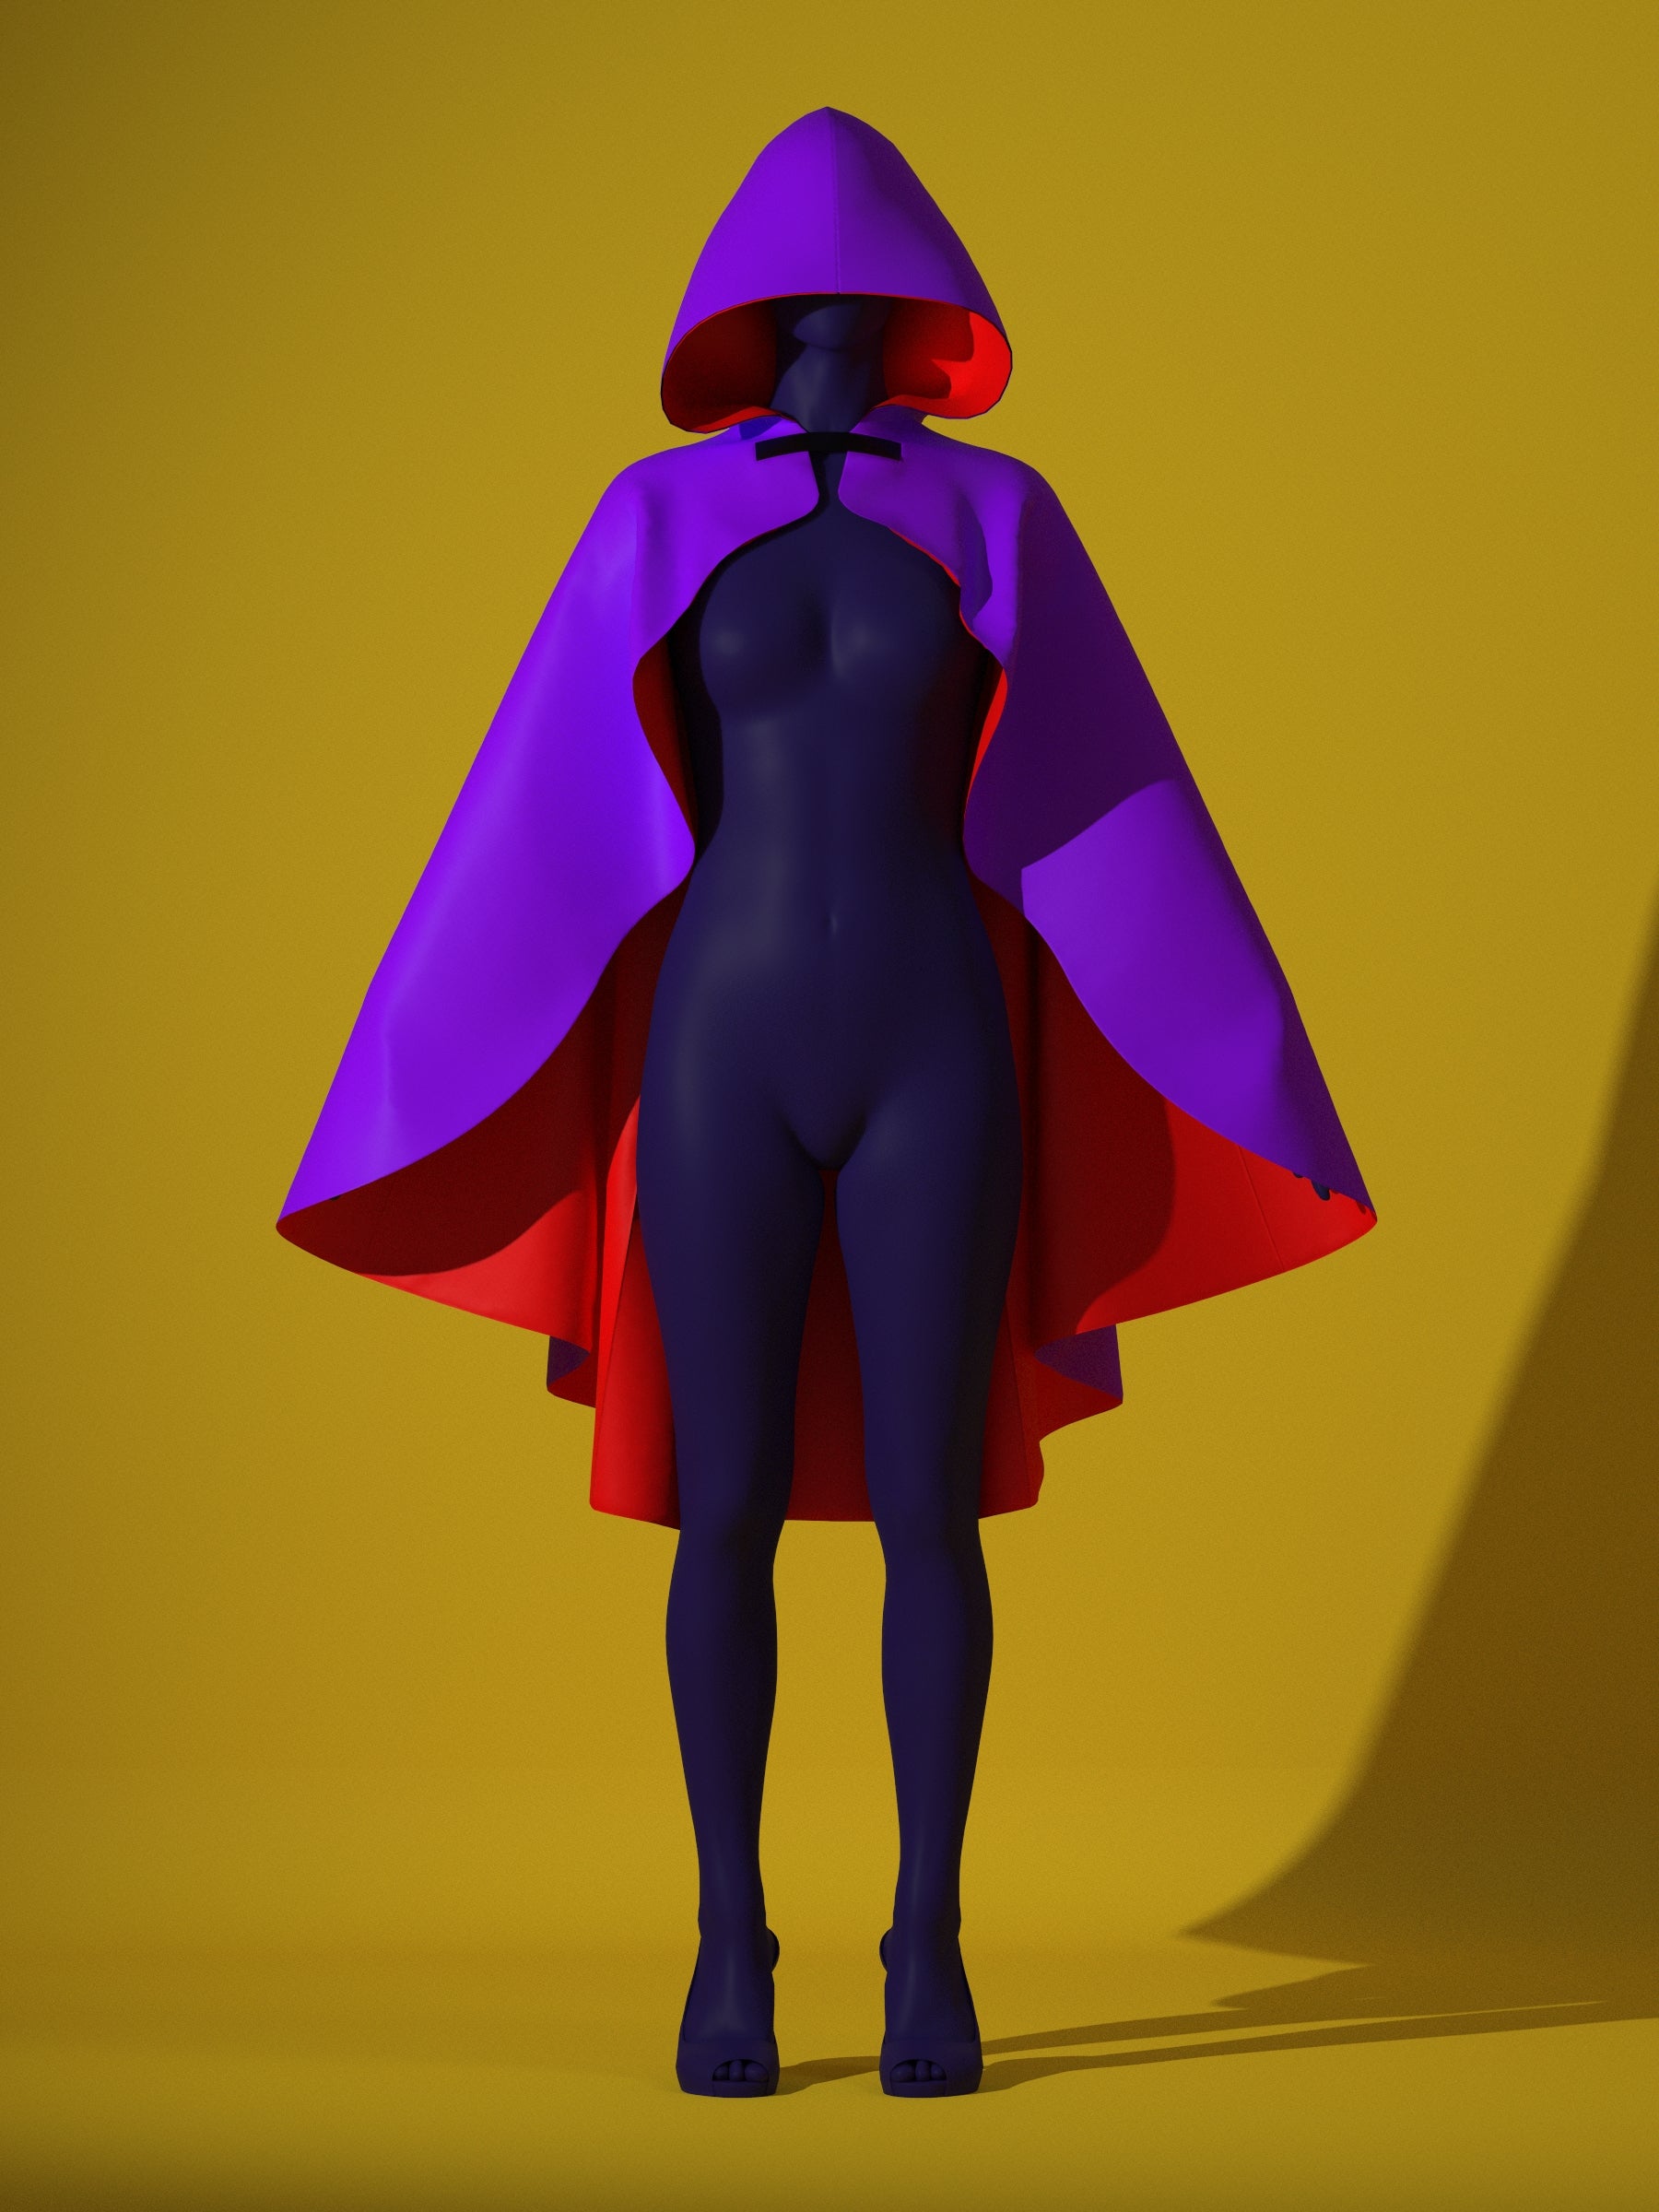
Color Guide

Paper Pattern:
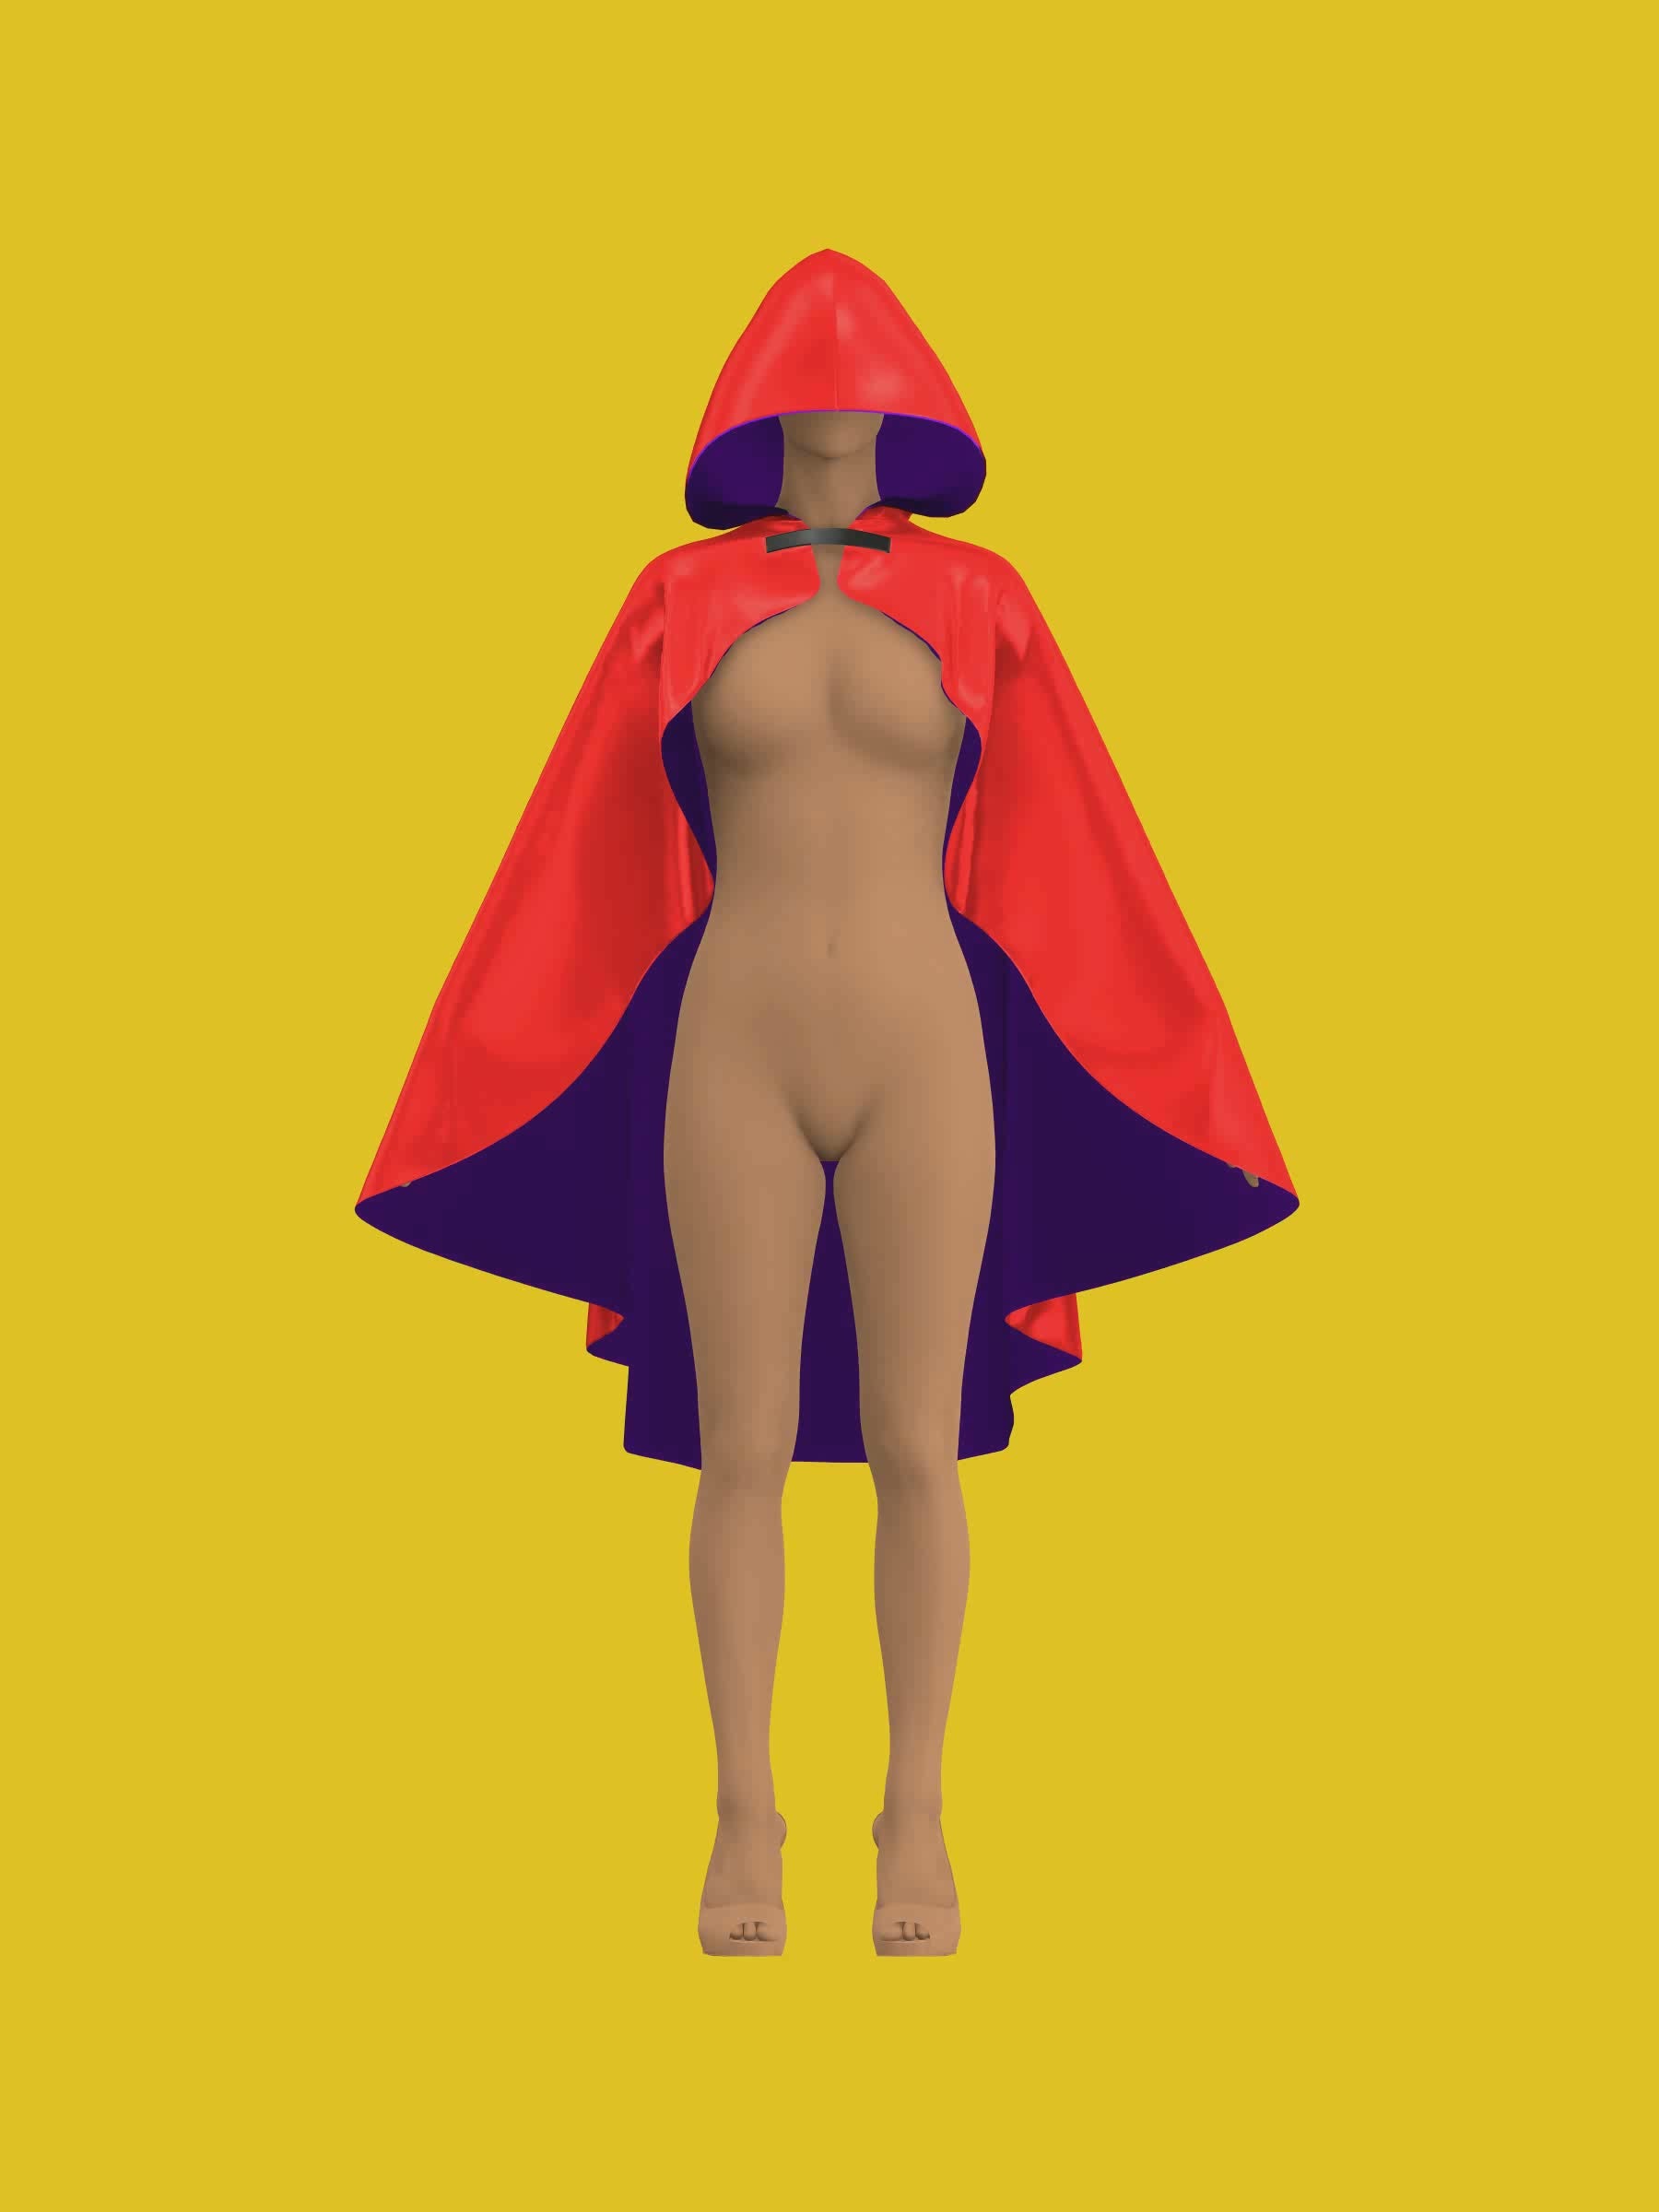
You will have the following paper pattern pieces: One front piece, One back side piece, One center back piece, One hood piece.
Use these paper pattern pieces to cut out your shell fabric: 2 mirrored front pieces, 2 mirrored back side pieces, 2 mirrored center back pieces, 2 mirrored hood pieces.
Repeat the same process using your lining fabric.

Step 1: Center Back
Gather the two shell center back pieces. Stack them together with the right sides of the fabric facing each other along the center back seam.
The center back seam will have three notches along the vertical edge. Pin and align your notches, then sew them together using a straight stitch along the center back edge.
Once sewn, spread the seams open and press them with an iron. You may also choose to serge the raw seam edges for a clean finish.

Step 2: Back Sides
Gather the back side pieces and place them against the center back pieces along the side edge with two notches.
Pin and align the notches. With right sides facing each other, sew the back side pieces to the center back pieces along the side edge using a straight stitch.
Once sewn, press the seams flat with an iron or finish the raw edges with a serger.

Step 3: Front Pieces
Gather the front pieces and place them against the back side pieces along the edge with one notch.
Pin and align the notches. With right sides facing each other, sew the front pieces to the back side pieces using a straight stitch.
Finish the seams as before by pressing them flat with an iron or serging the raw edges.

Step 4: Hood
Gather the two shell hood pieces and stack them together with right sides facing each other.
Sew them together along the curved center back edge of the hood using a straight stitch.
Finish the seam by pressing it flat with an iron or serging the raw edges.

Step 5: Attach Hood
Lay the cloak right side up, then position the hood on top with right sides facing each other.
Pin the hood evenly along the neckline of the cloak, using the notches as guides.
Once pinned and aligned, sew the hood to the cloak along the neckline edge with a straight stitch.

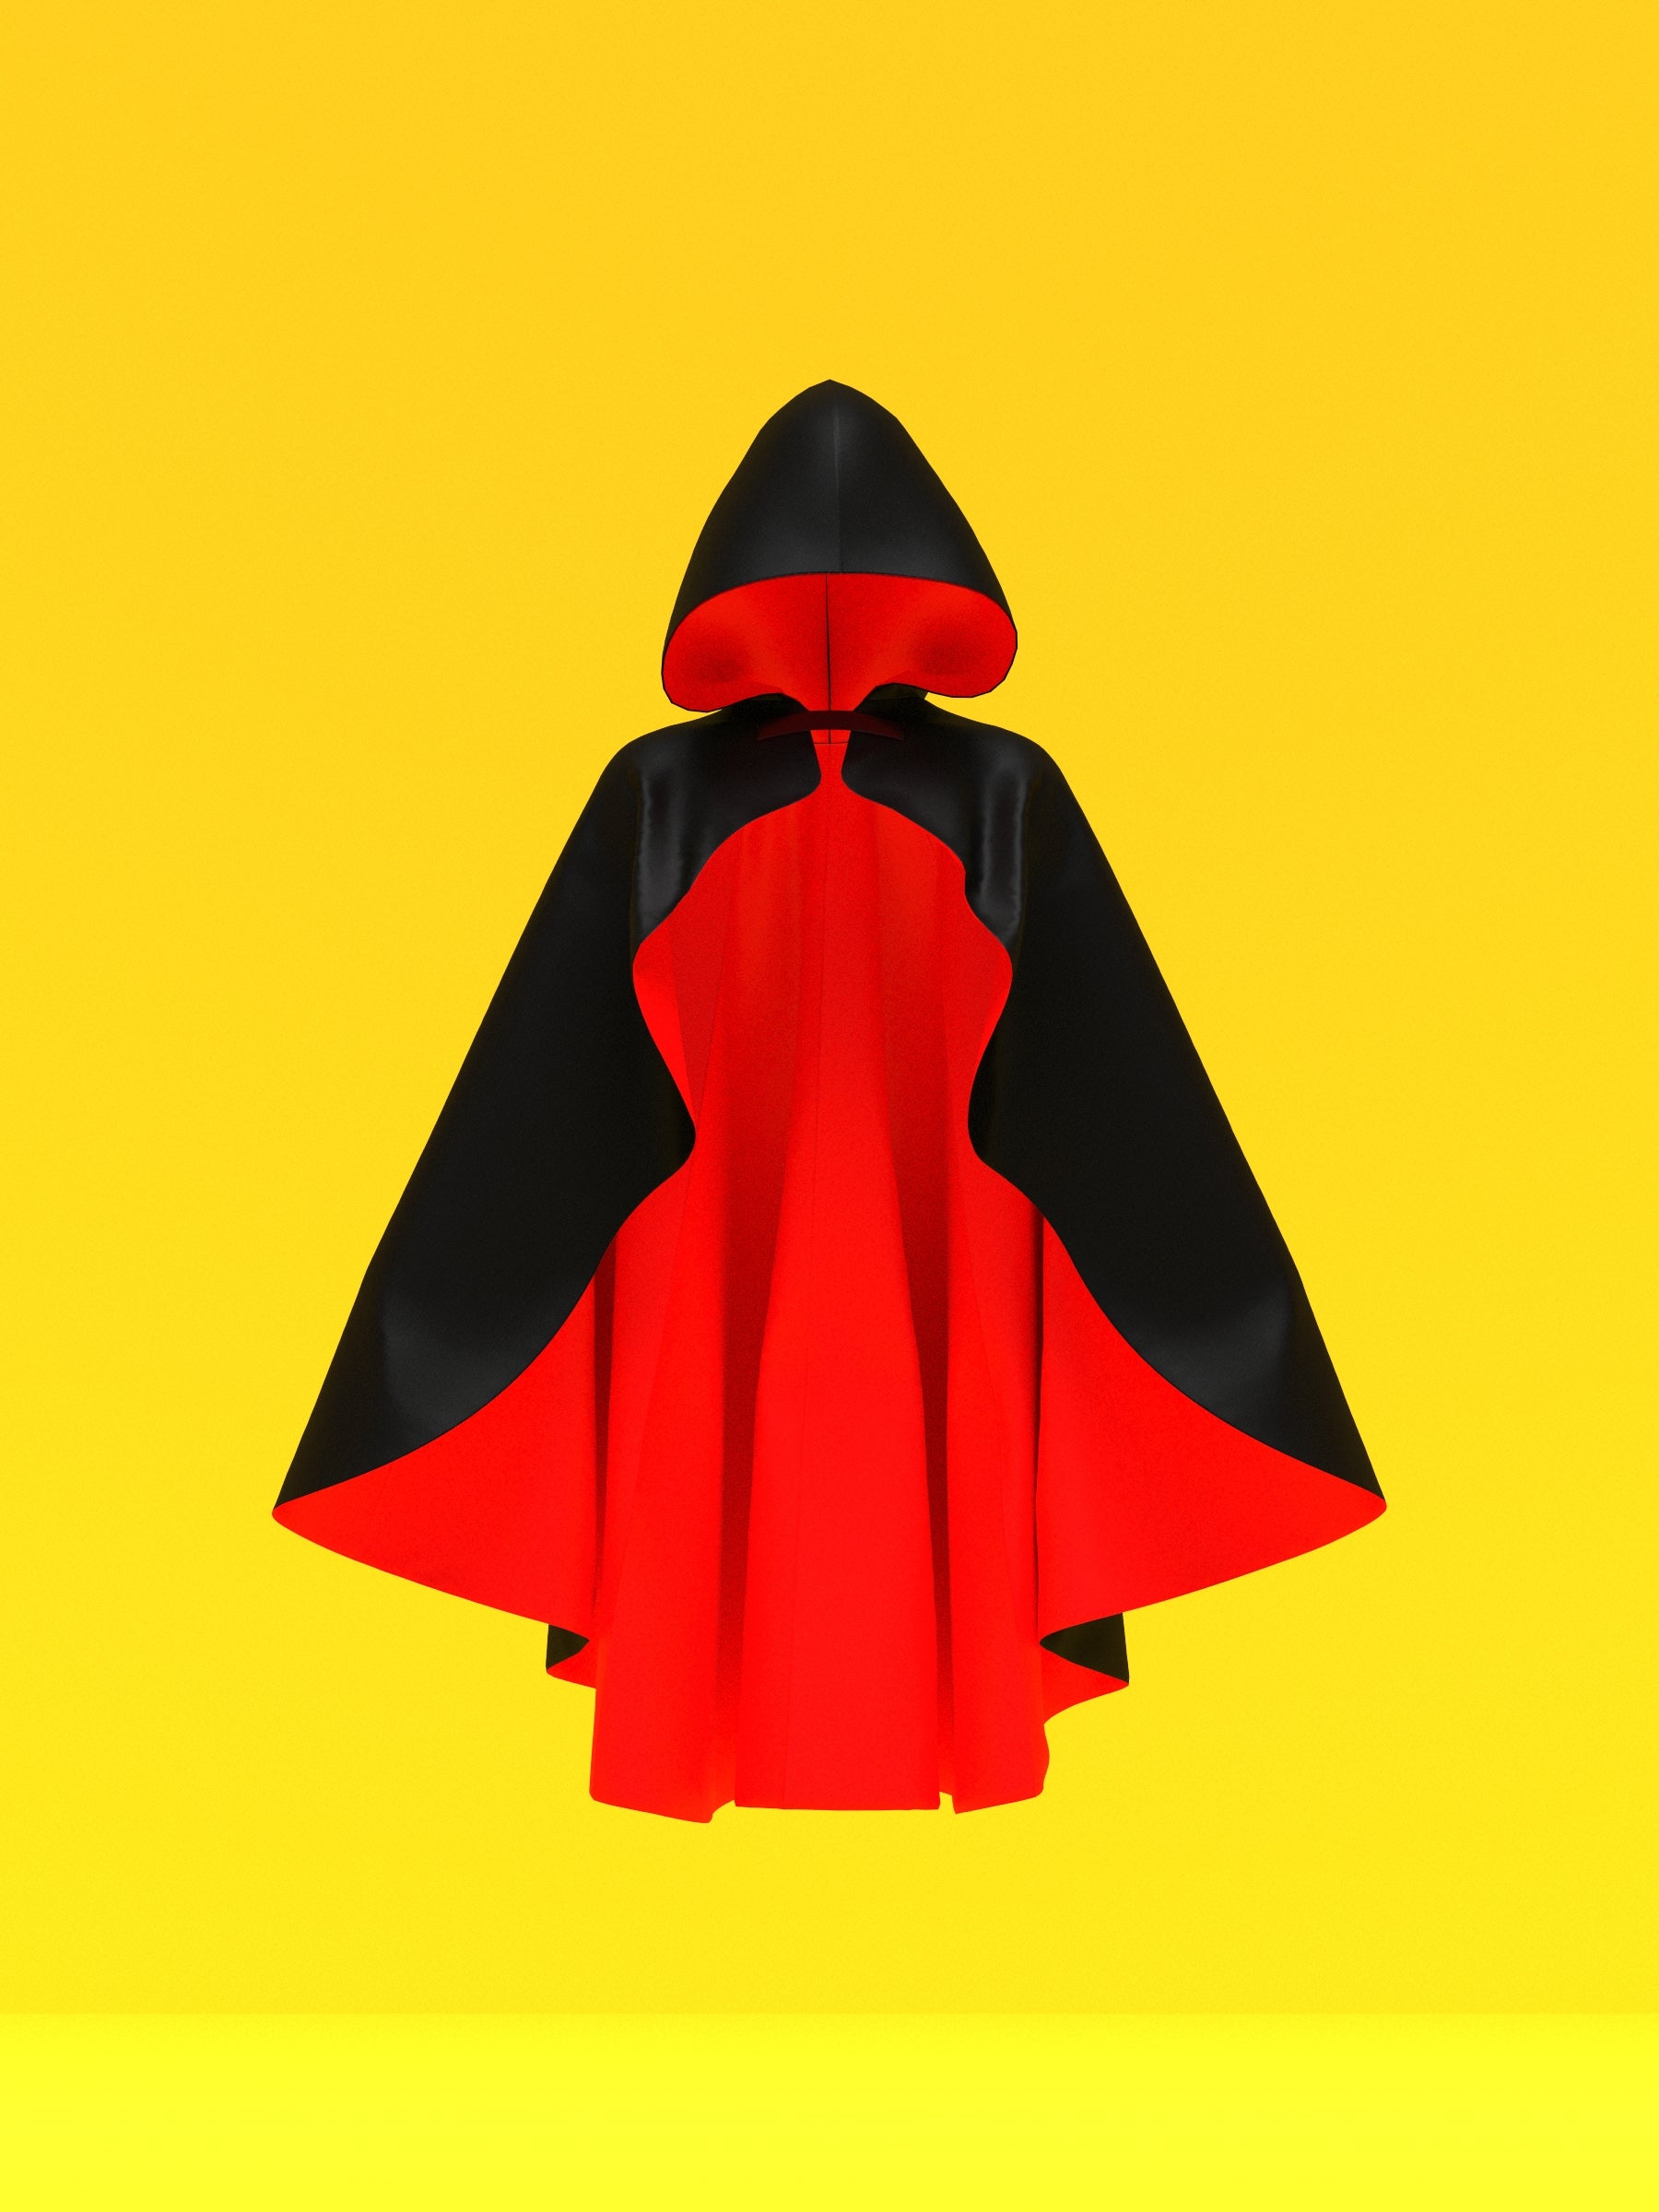
Step 6: Lining
Your shell cloak with the attached hood should now be complete. Repeat the same steps to create the lining.
Once both the shell and lining are assembled, stack them together with right sides facing each other.
Sew around the entire cloak and hood, but leave a small unsewn gap along the edge — either on the side or at the bottom. This opening will allow you to flip the cloak right side out.
After sewing, turn the cloak right side out through the gap.

Step 7: Finishing
Reposition the shell and lining fabric so they lay flat together. Press the seams if needed to help them align smoothly.
Sew a topstitch around the hood, about 1 inch from the edge, to secure the shell and lining together.
At the unsewn gap below, press the raw edges inward between the shell and lining. Topstitch this area closed.
Then, topstitch or edge stitch all around the cloak so the edges of the shell and lining lay flat and neatly finished.

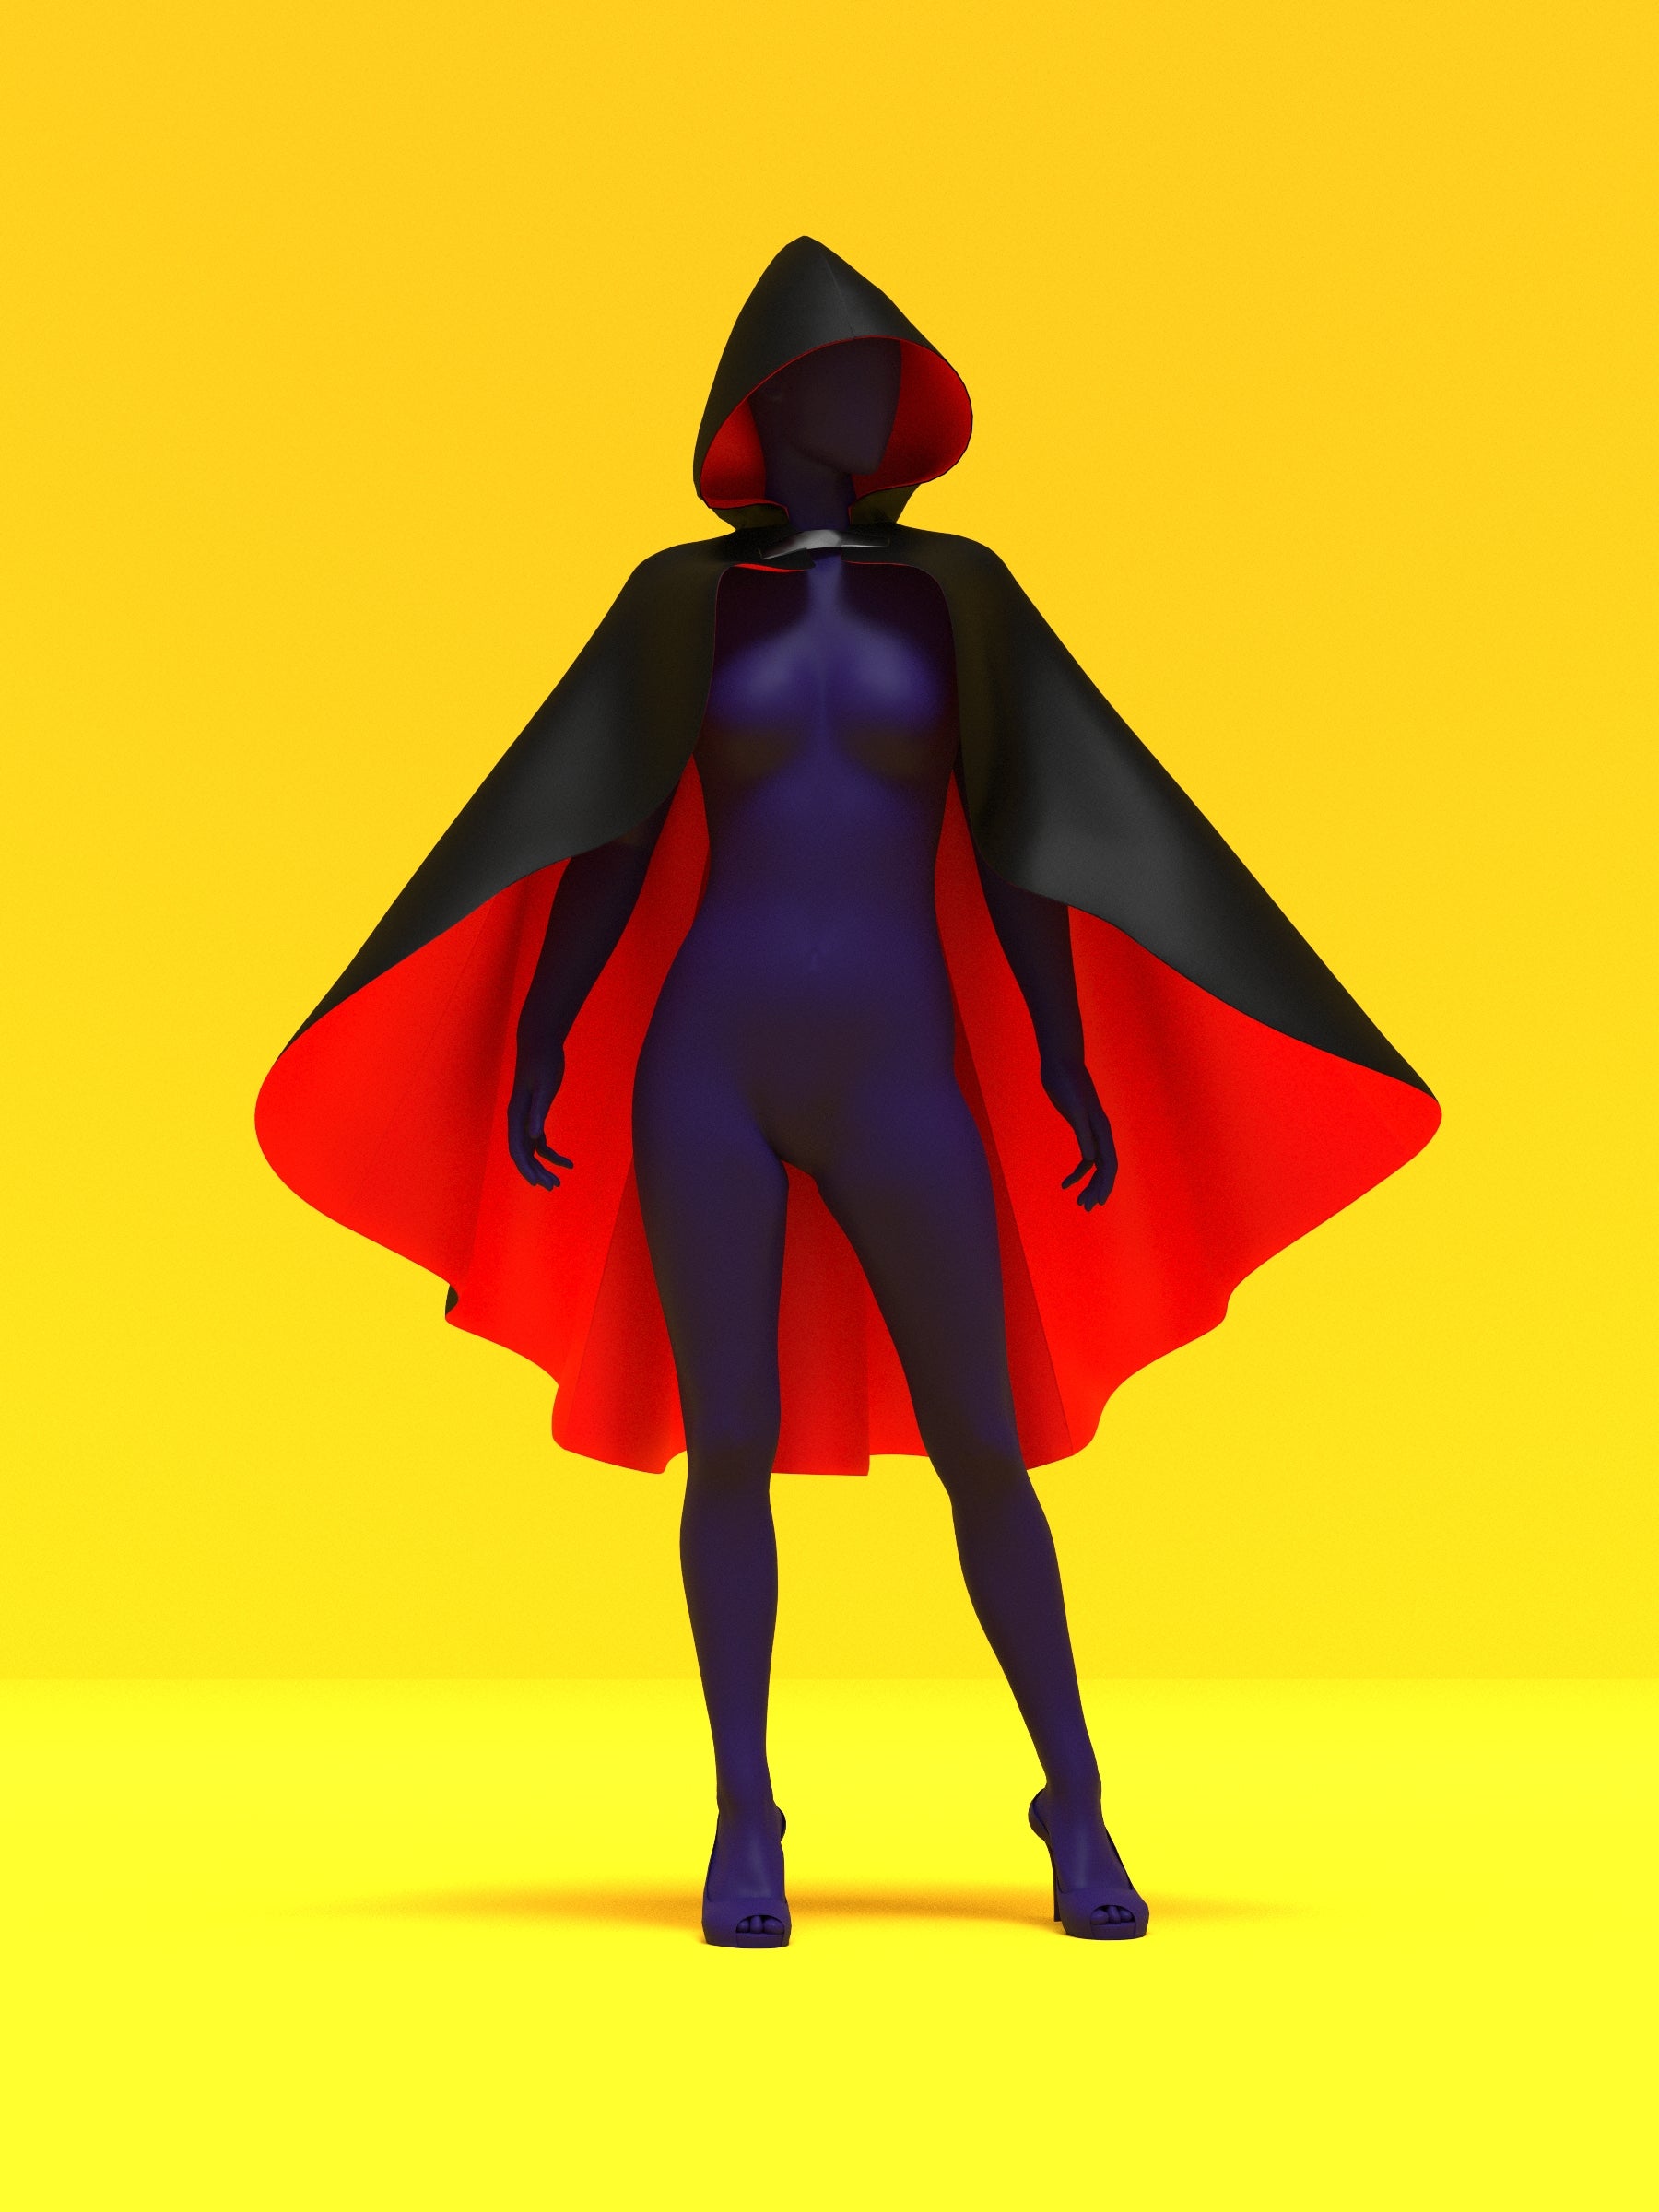
Step 8: Closure
Install the cloak closure or hardware of your choice. You can use any sewable hardware that suits your design.
Undo the hardware and topstitch the ends directly onto the Square and X guides, or create your own placement for the closure.
Once the closure is installed, your cloak is complete.

Get the Pattern