Cómo coser un bustier a rayas con cremallera sobre el busto
Saltar a instruccionesDescripción general
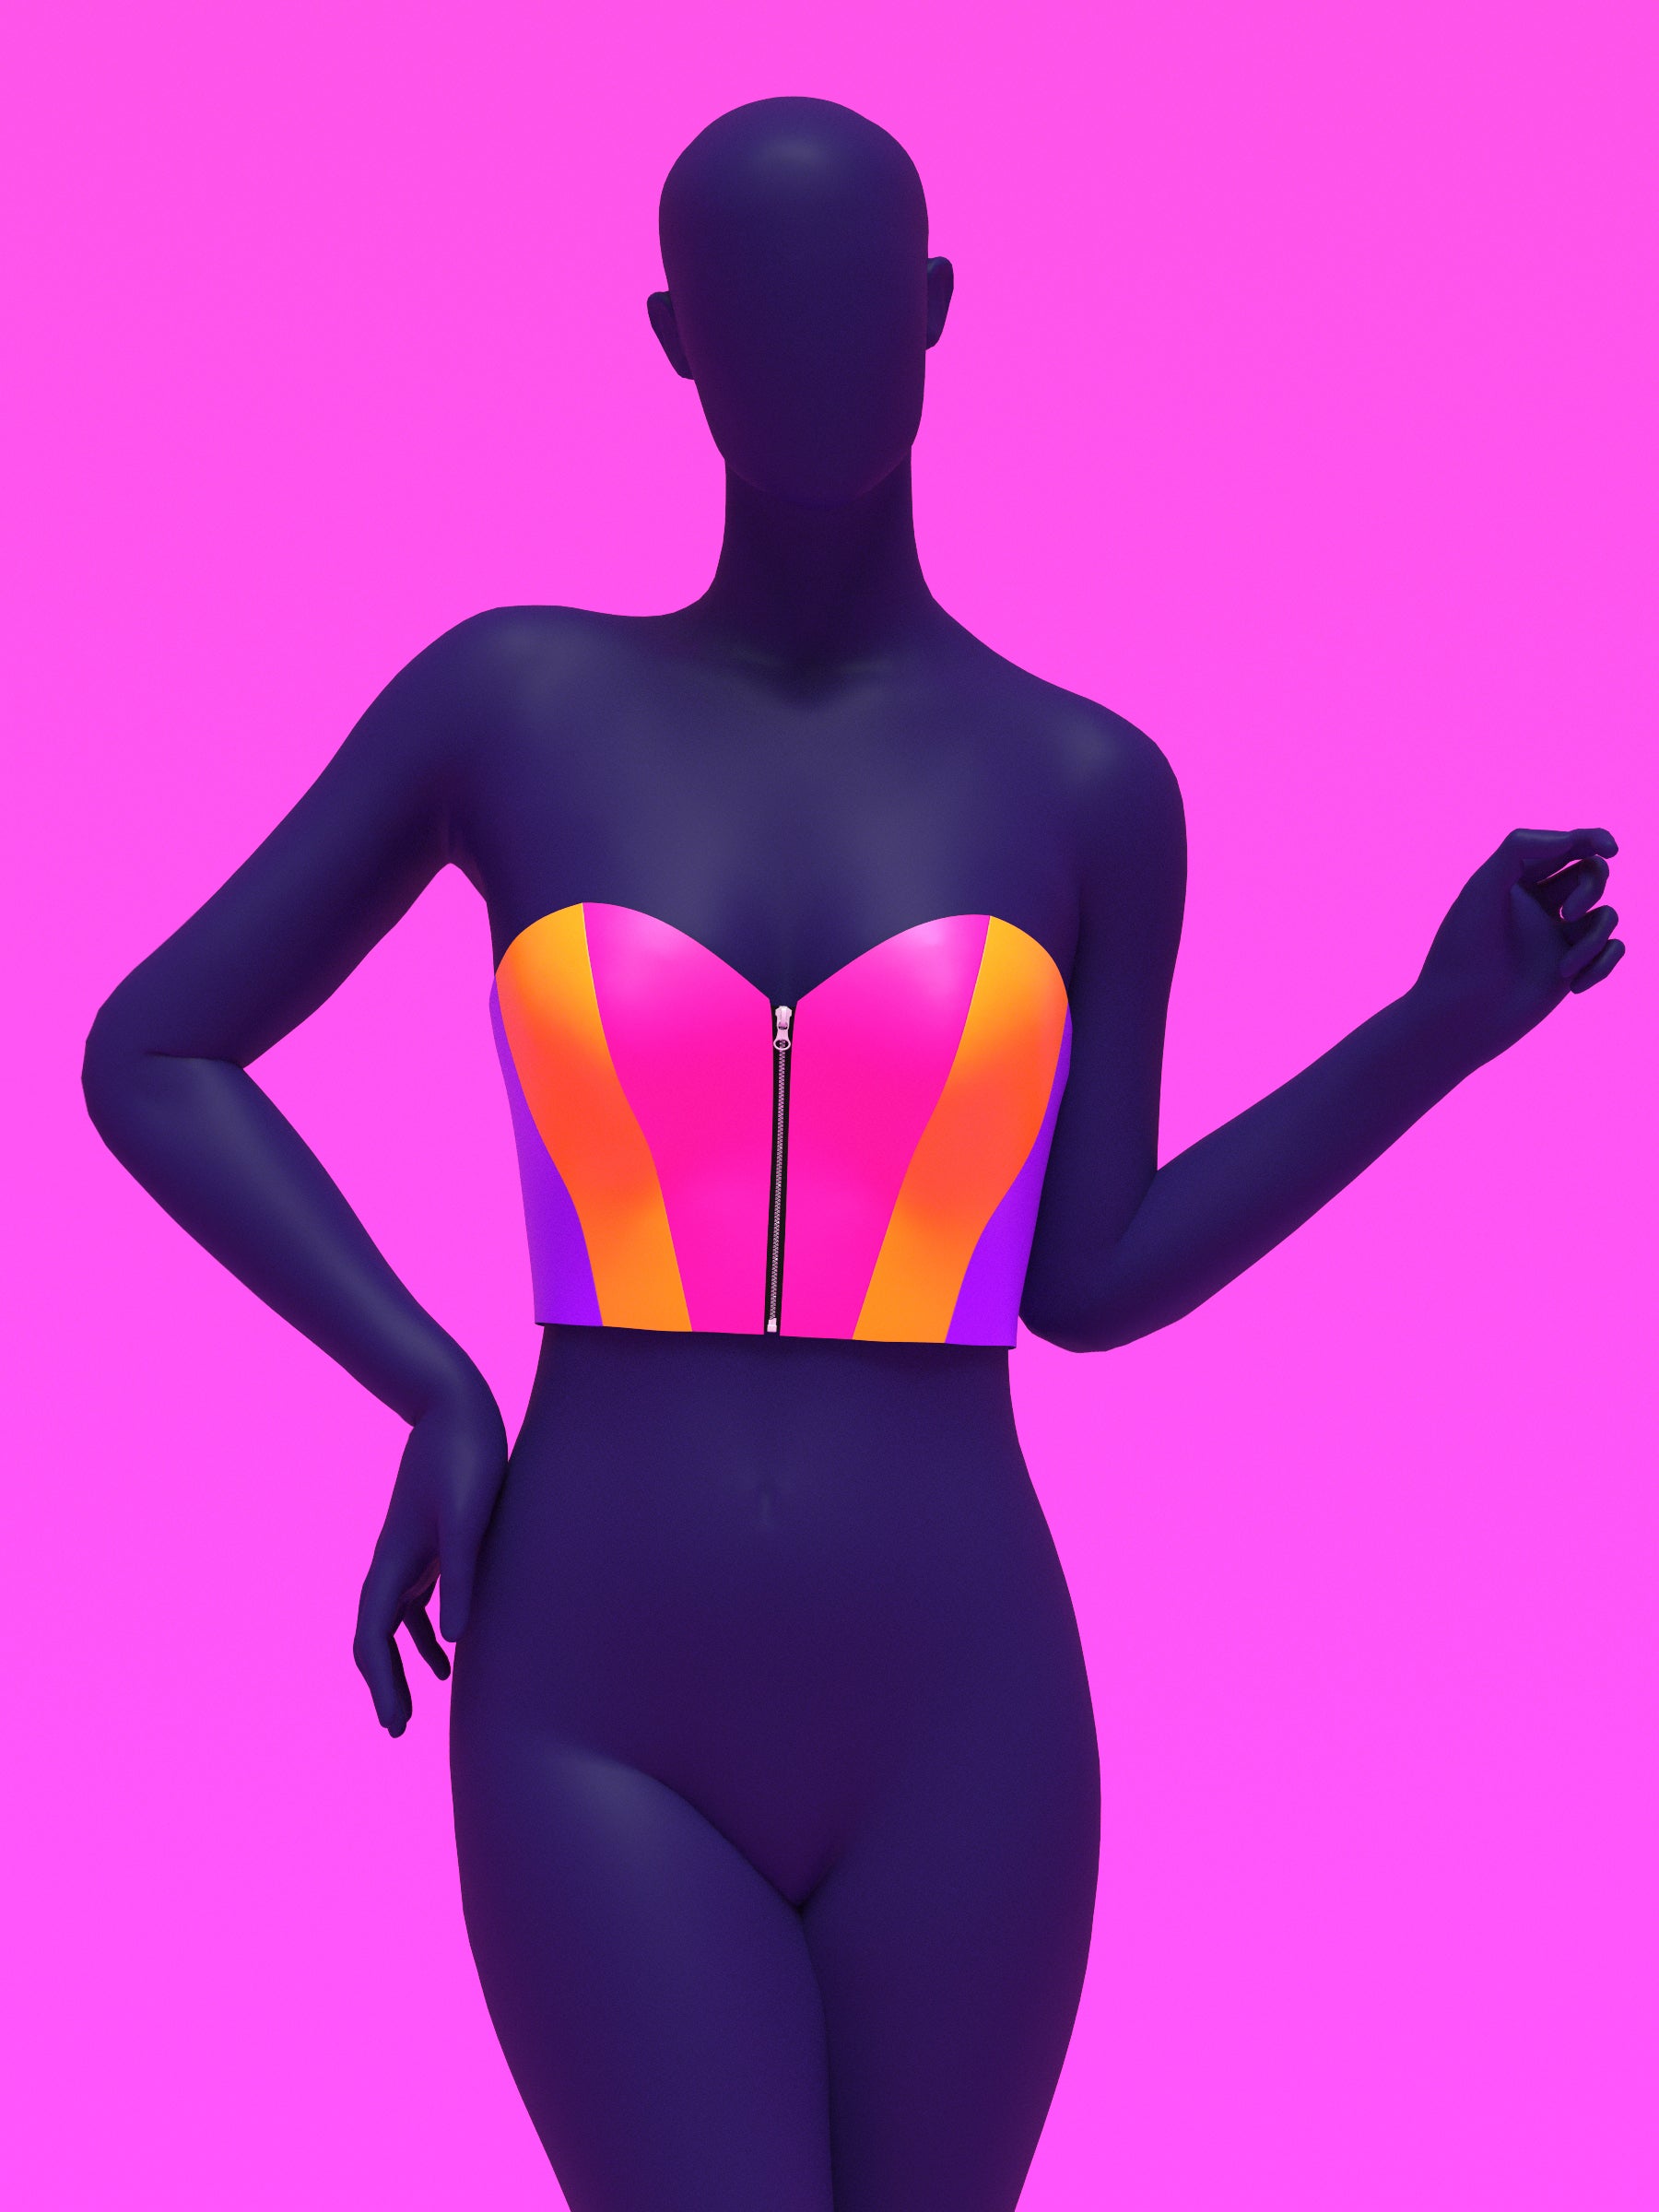
Aprende a coser un bustier con cremallera frontal paso a paso, desde cortar las piezas del patrón hasta terminarlo con un pespunte limpio. Este tutorial te guiará en el ensamblaje de la estructura y el forro, la instalación de una cremallera (o cierres alternativos) y el volteo y acabado de la prenda para lograr un aspecto profesional. Perfecto para artistas drag, diseñadores de vestuario y aficionados a la costura que buscan crear un bustier estructurado y elegante.
Yardas de tela
This top is intended for non-stretch fabrics, typically 54" wide. Use the yardage chart below to determine how much fabric you’ll need for your size. You can either mix three fabric types (A, B, and C) or use just one fabric throughout.

| Fabric A | Fabric B | Fabric C | One Fabric | |||||
|---|---|---|---|---|---|---|---|---|
| Size | Yards | Meters | Yards | Meters | Yards | Meters | Yards | Meters |
| XS | 0.5 | 0.5 | 0.5 | 0.5 | 0.5 | 0.5 | 0.5 | 0.5 |
| S | 0.5 | 0.5 | 0.5 | 0.5 | 0.5 | 0.5 | 0.5 | 0.5 |
| M | 0.5 | 0.5 | 0.5 | 0.5 | 0.5 | 0.5 | 0.5 | 0.5 |
| L | 0.5 | 0.5 | 0.5 | 0.5 | 0.5 | 0.5 | 0.5 | 0.5 |
| XL | 0.5 | 0.5 | 0.5 | 0.5 | 0.5 | 0.5 | 0.5 | 0.5 |
| 2XL | 0.5 | 0.5 | 0.5 | 0.5 | 0.5 | 0.5 | 0.5 | 0.5 |
| 3XL | 0.5 | 0.5 | 0.5 | 0.5 | 0.5 | 0.5 | 1 | 1 |
| 4XL | 0.5 | 0.5 | 0.5 | 0.5 | 0.5 | 0.5 | 1 | 1 |
Telas y artículos de mercería
Tejido: Para Shell (sin elasticidad, estructurado):
- Sarga de algodón
- Dril
- Lienzo
- Tela de tapicería
- Cuero de imitación
- Vinilo
- Cuero sintético
Para el revestimiento:
- Algodón ligero
- Voile de algodón
- Césped de algodón
- Tejido de forro de poliéster
- Satín
- No se necesita forro si se usa vinilo grueso o cuero sintético (en su lugar, termine los bordes sin rematar)
Nociones
- Una cremallera separadora resistente de 6 a 7 pulgadas.
- Opcional:
- Entretela (fusible para tejidos exteriores más ligeros)
- Broches, ojales o ojales (como alternativas a las cremalleras)
- Cinta al bies (para rematar los bordes sin rematar si no tiene forro)
Detalles de tallas
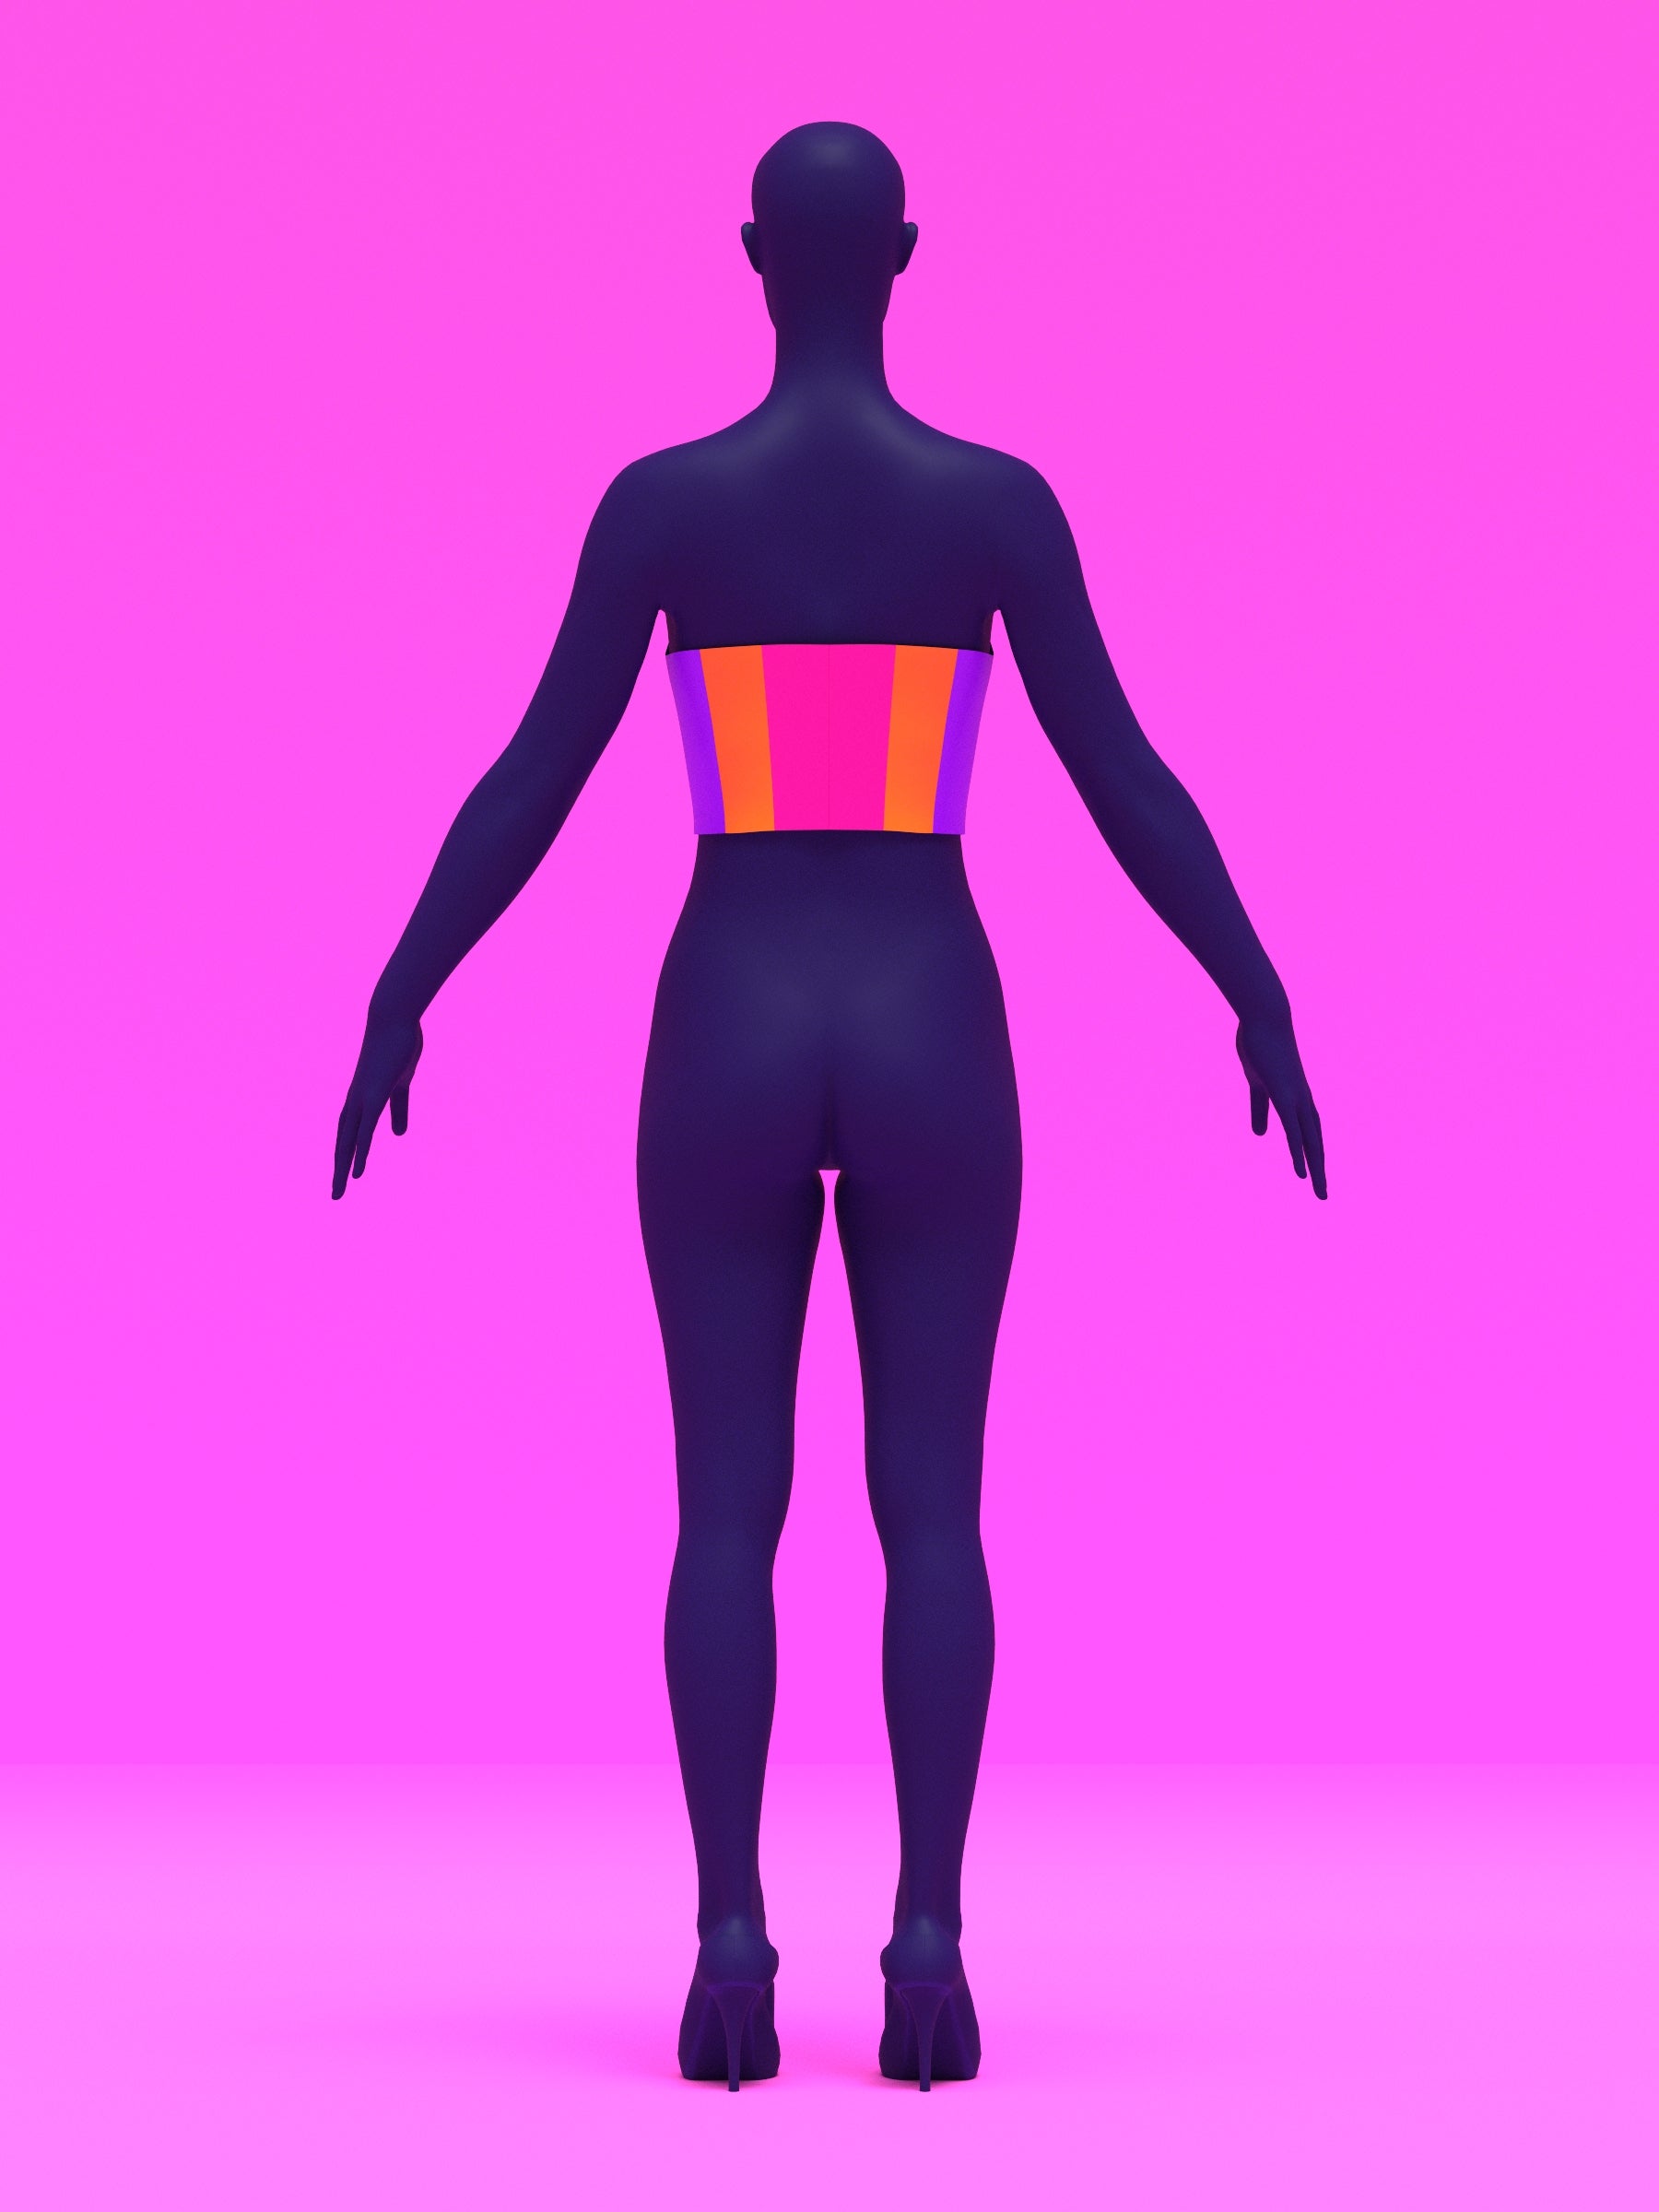
La parte superior está disponible en nuestros exclusivos tamaños drag queen XS-4X.
Tallas de Drag Queen
| Tallas | XS | S | METRO | Yo | SG | 2X | 3X | 4X | |||
|---|---|---|---|---|---|---|---|---|---|---|---|
| Pulgadas | |||||||||||
| Busto | 35”-37” | 38”-40” | 40”-42” | 44”-46” | 47”-49” | 50”-52” | 53”-55” | 56”-58” | |||
| Cintura | 26”-28” | 29”-31” | 32”-34” | 35”-37” | 38”-40” | 41”-43” | 44”-46” | 47”-49” | |||
| Caderas | 37”-39” | 40”-42” | 43”-45” | 46”-48” | 49”-51” | 52”-54” | 54”-56” | 58”-60” | |||
| Altura | 70" | 70" | 70" | 70" | 70" | 70" | 70" | 70" | |||
| centímetros | |||||||||||
| Busto | 89-94 | 96-102 | 102-107 | 112-117 | 119-124 | 127-132 | 135-140 | 142-147 | |||
| Cintura | 66-71 | 74-79 | 81-86 | 89-94 | 96-102 | 104-109 | 112-117 | 119-124 | |||
| Caderas | 94-99 | 102-107 | 109-114 | 117-122 | 124-130 | 132-137 | 137-142 | 147-152 | |||
| Altura | 178 | 178 | 178 | 178 | 178 | 178 | 178 | 178 | |||
Nuestras exclusivas tallas de drag se basan en las tallas estándar de EE. UU. para hombre y mujer, diseñadas para hombres con relleno y una altura promedio de 180 cm. Presentan torsos más largos, hombros, brazos y piernas más anchos, y una entrepierna más corta en comparación con las tallas estándar de mujer, lo que las hace aptas para cualquier persona que cumpla con las medidas proporcionadas.
Instrucciones de costura
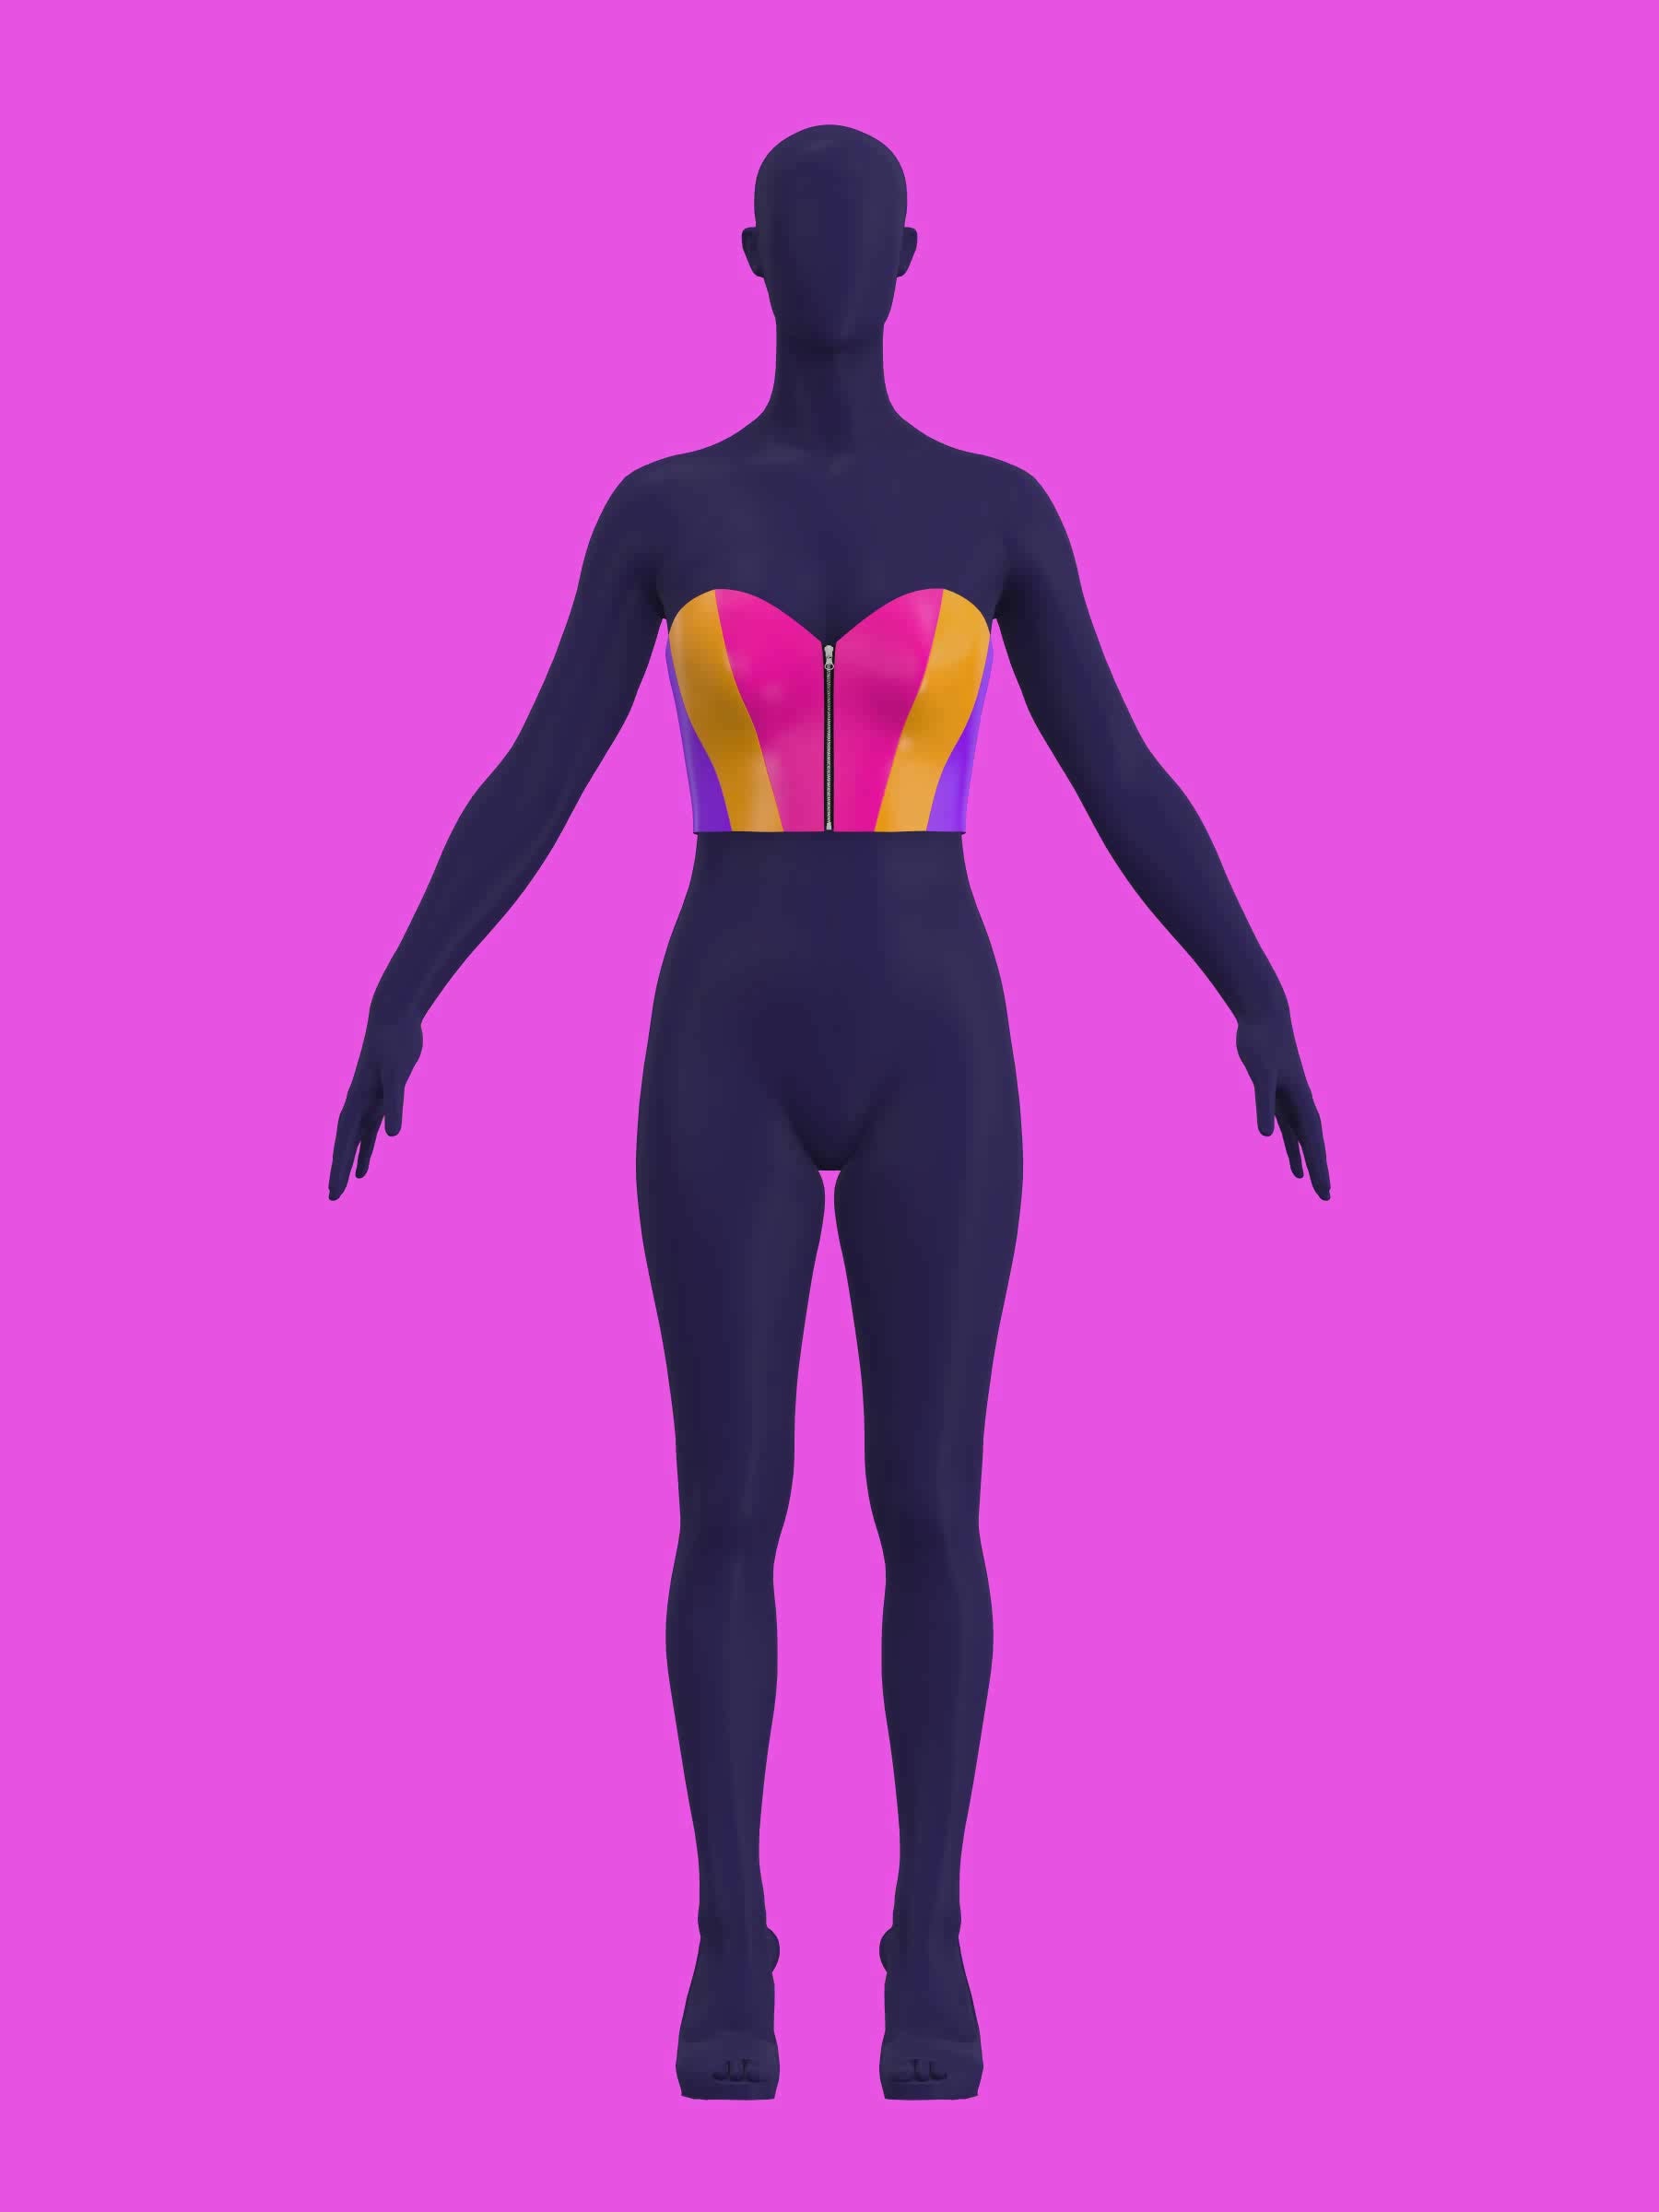
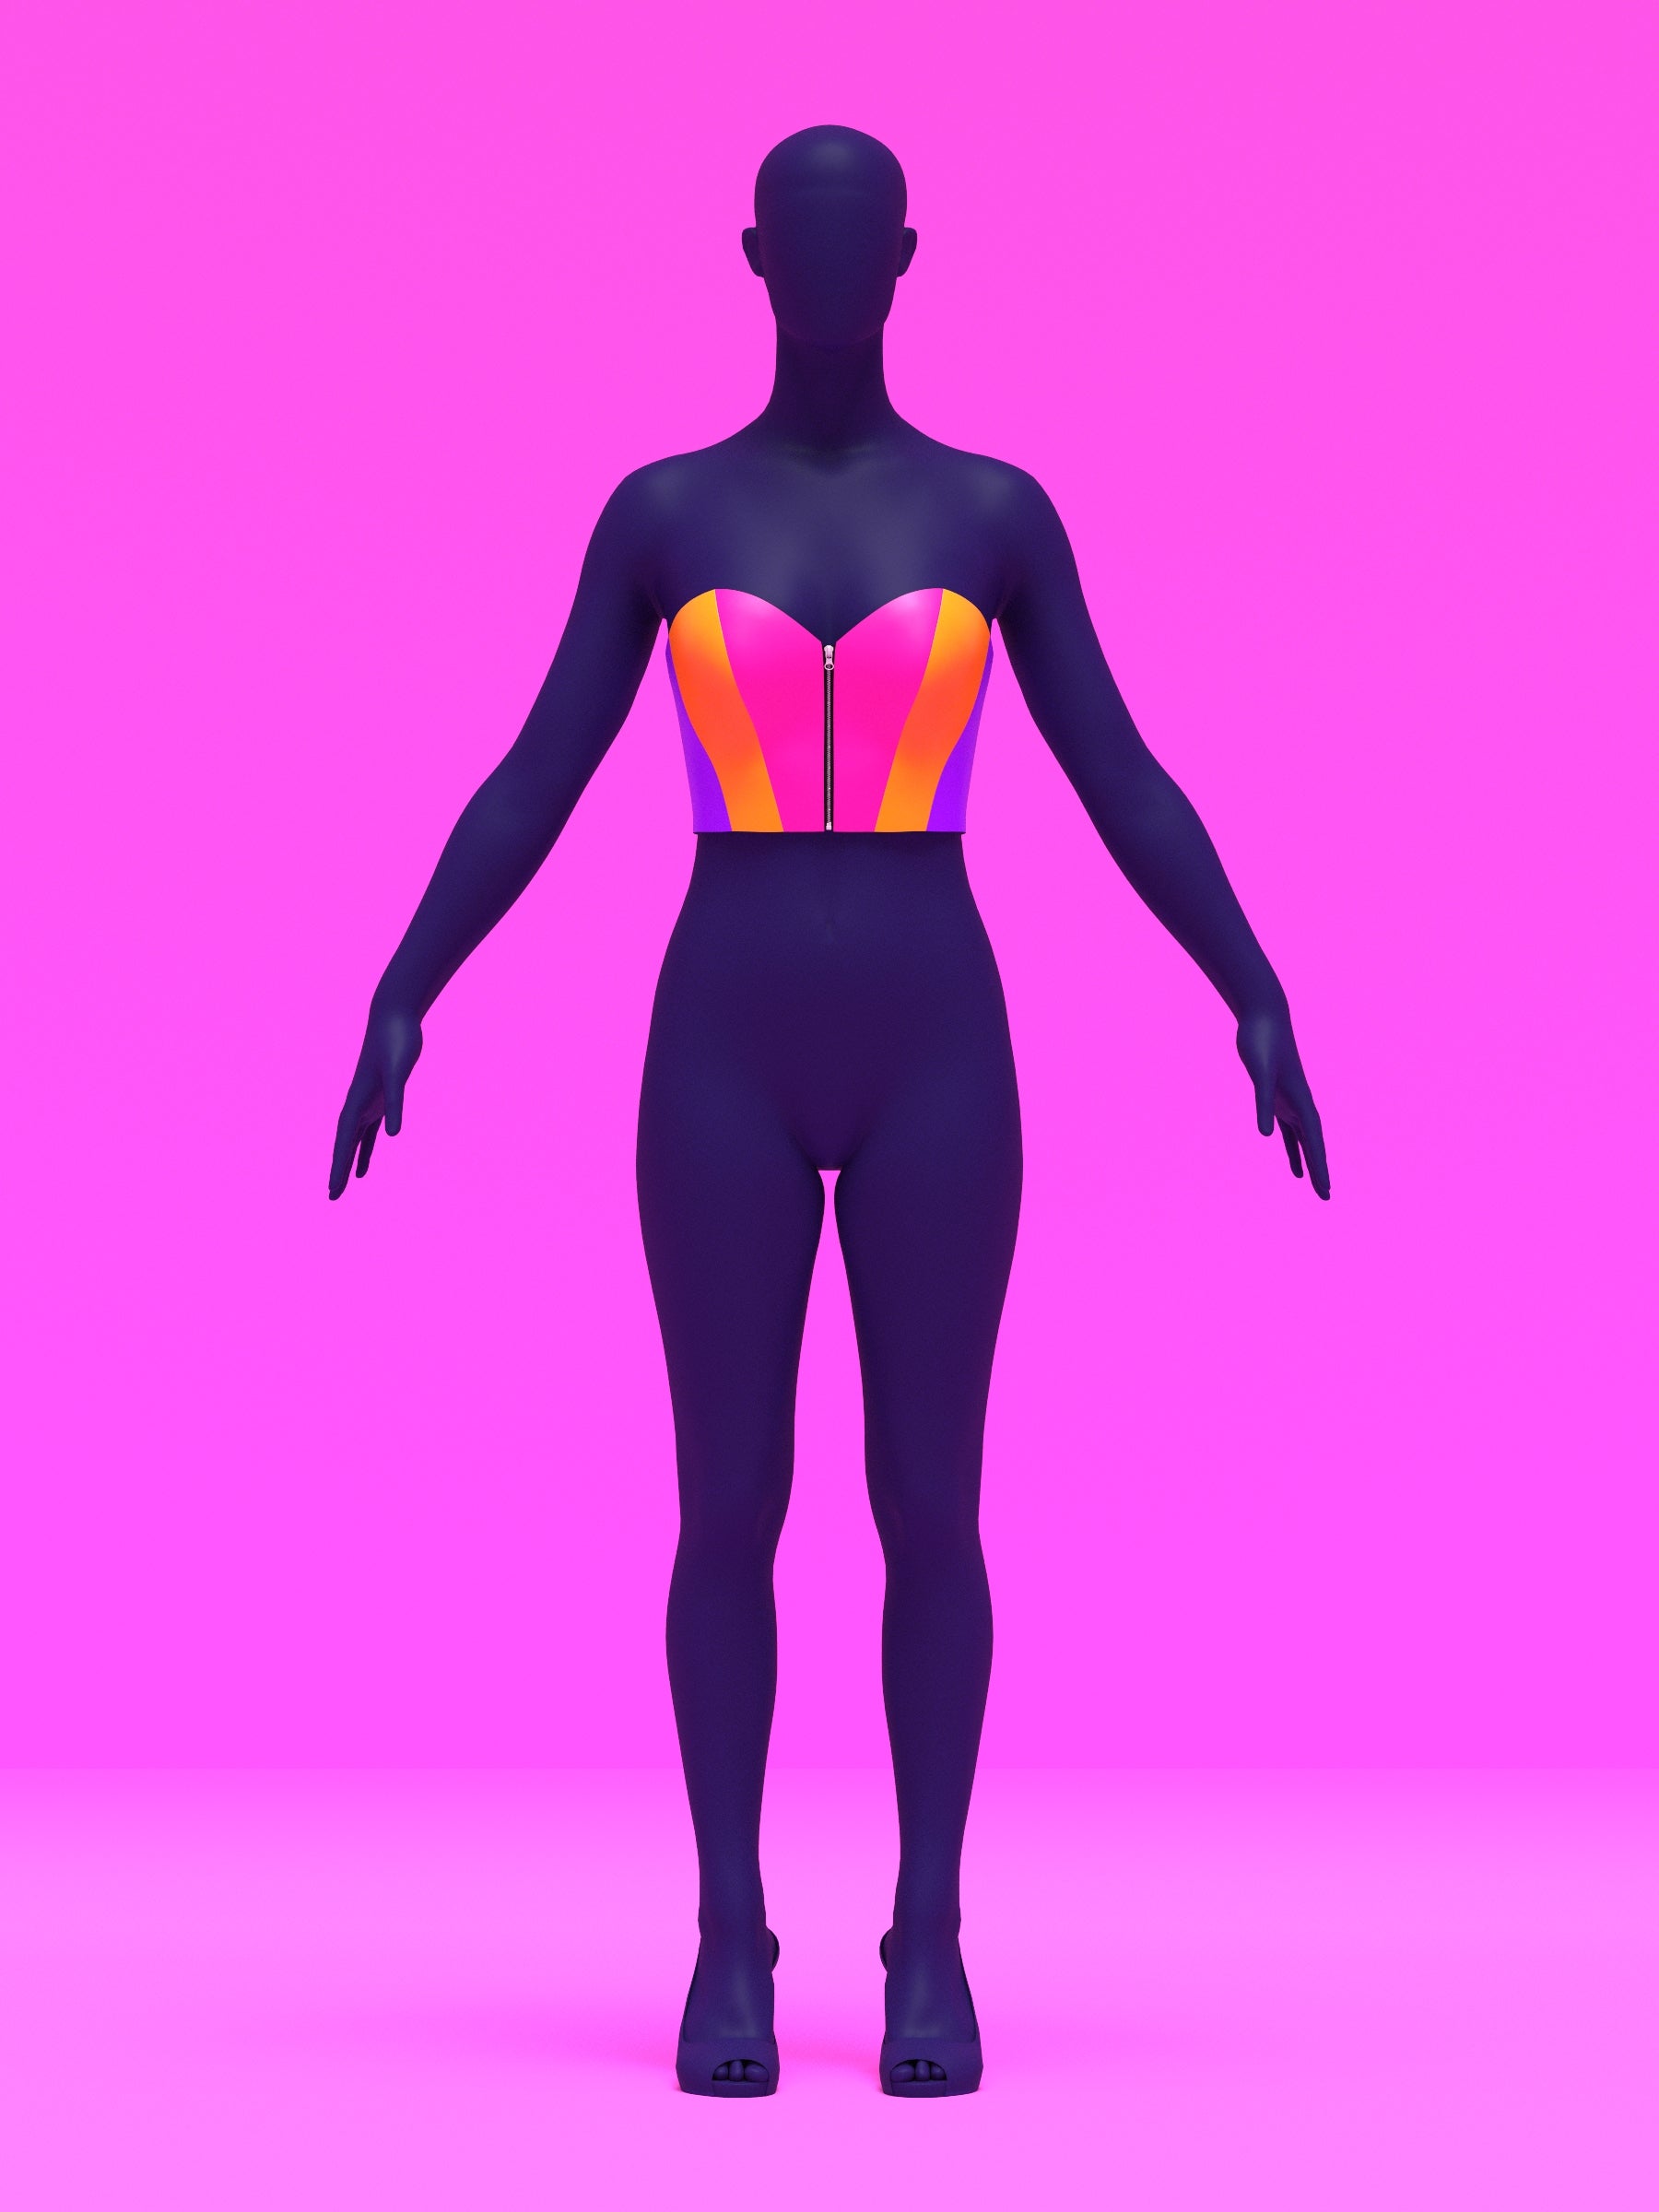
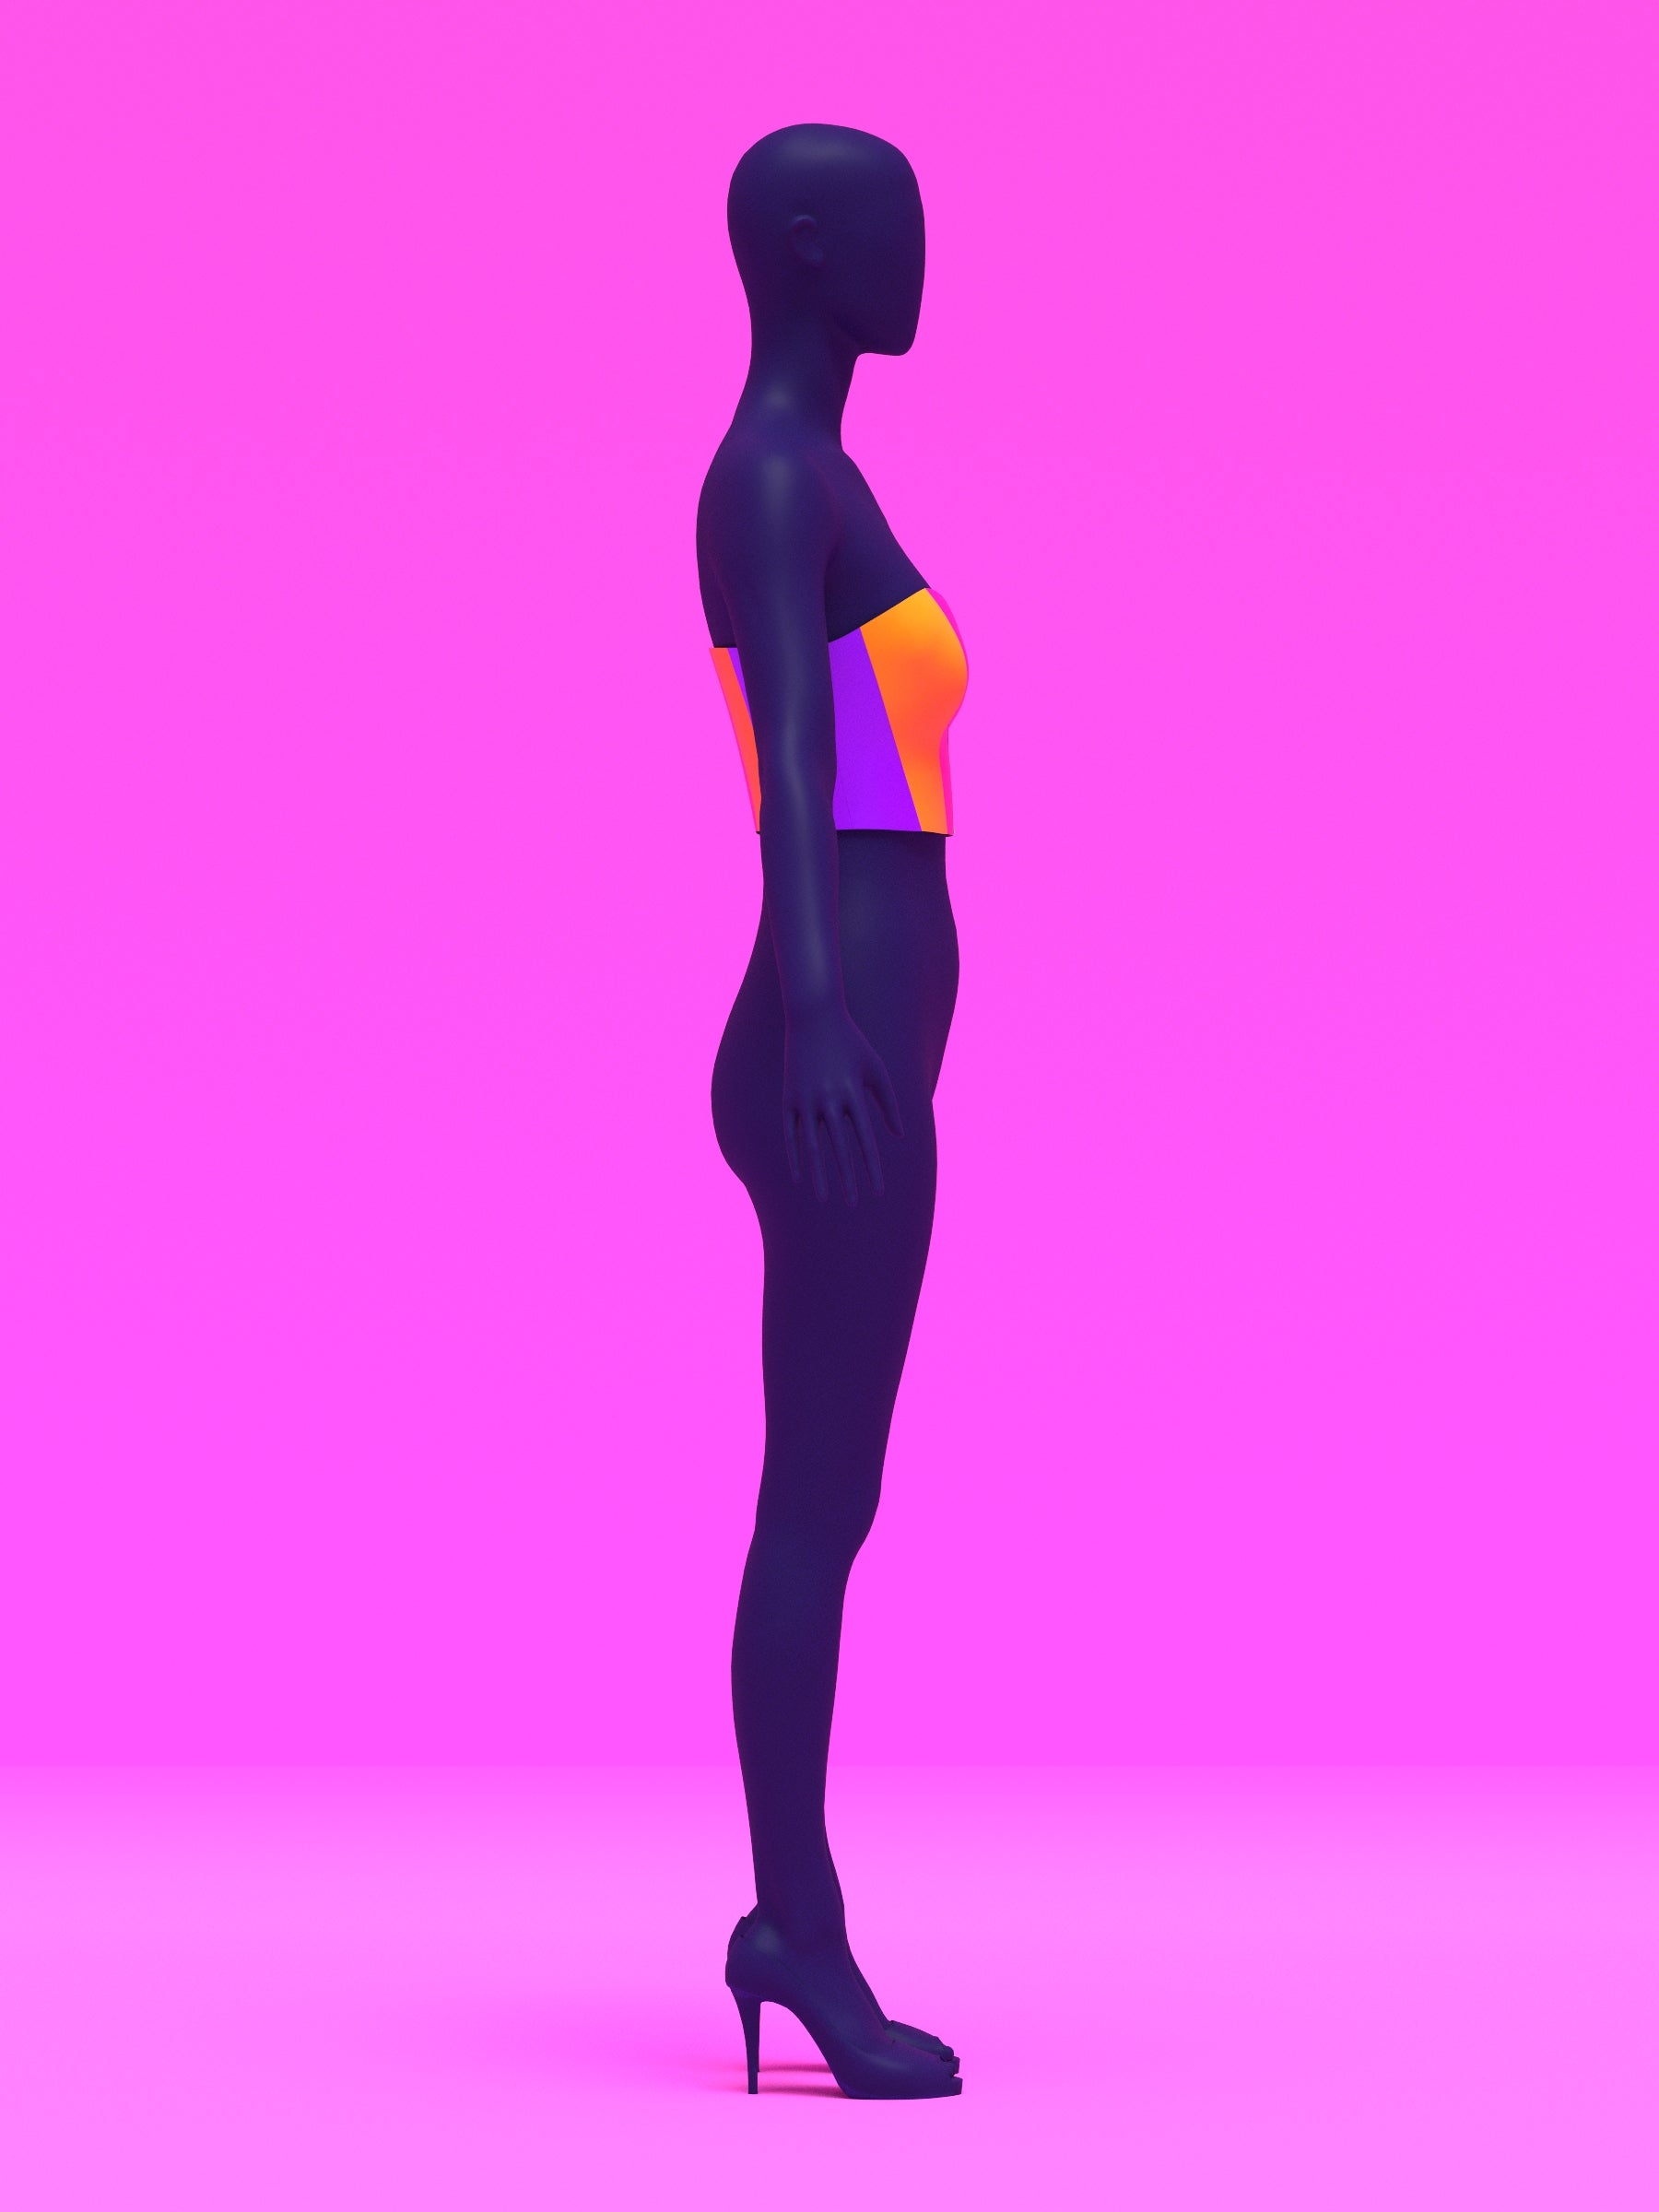
Color Guide

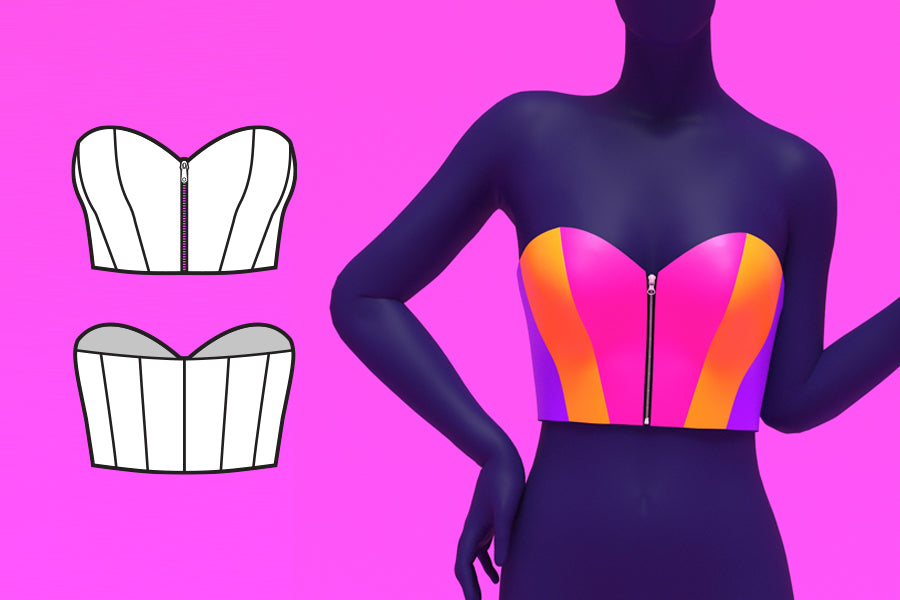
Pattern Pieces
After cutting your fabric, you should have the following pieces:
- 4 of Number 1, center front pieces mirrored — 2 for shell, 2 for lining
- 4 of Number 2 mirrored pieces — 2 for shell, 2 for lining
- 4 of Number 3 mirrored pieces — 2 for shell, 2 for lining
- 4 of Number 4 mirrored pieces — 2 for shell, 2 for lining
- 4 of Number 5 mirrored pieces — 2 for shell, 2 for lining
- 4 of Number 6, center back pieces mirrored — 2 for shell, 2 for lining
Note: Depending on your fabric type, you may not need to add lining. If you're using faux leather or a thicker fabric, it's harder to add a lining. In that case, you can use only the shell fabric and either serge or apply a rolled hem to finish exposed edges.

First Pieces
Gather one side of the number 1 and number 2 pieces. Stack them together, right sides facing each other, and sew them together using a straight stitch along the bust curve edge.
Then repeat for sewing the number 2 to 3, 3 to 4, 4 to 5, and 5 to 6 pieces.

Repeat for the opposite side and the lining pieces, creating 4 side panels.

Sewing the Shell
Gather both sides of the shell fabric pieces. Stack them right sides together and sew them along the center back, piece number 6 edge.
You should then have one entire bustier piece with an open front.

Then repeat for the lining sides, sewing along the center back 6 edge.

Sewing the Zipper
Gather your separating zipper, unzip the pieces, and flip them over to the wrong side.
Gather your shell bustier, and along the center front edge, align one side of the separating zipper to that edge. Then sew the zipper down using a straight stitch.
After that, you can layer over the lining, right sides facing the shell, and sew over that same edge. You can also stack all layers with the zipper in between and just sew once.
Then repeat for the opposite front side zipper.

Note: You do not need to install a zipper — you can try eyelets and grommets instead for a lace-up effect, or even snaps. However, for snaps, you may need to add excess fabric to allow for overlap in this area.
Sewing the Shell and Lining
Next, sew the shell and lining together along the top edge of the bustier.
Then sew along the bottom edge, except you must leave an unsewn gap at the bottom to allow you to flip the garment right side out. You can leave this gap wherever you wish — along the center back or even the side panels — but it must be large enough to flip everything through.
Once sewn, before flipping, you can trim off excess seam fabric along the corners to allow for sharp corners.

Finish the Garment
Flip the garment right side out and fold inward the unsewn gap, then topstitch it closed.
You will also want to topstitch the front zipper sides.

Obtén el patrón