Cómo coser un leotardo corsé con lazo y hombros descubiertos
Saltar a instruccionesDescripción general
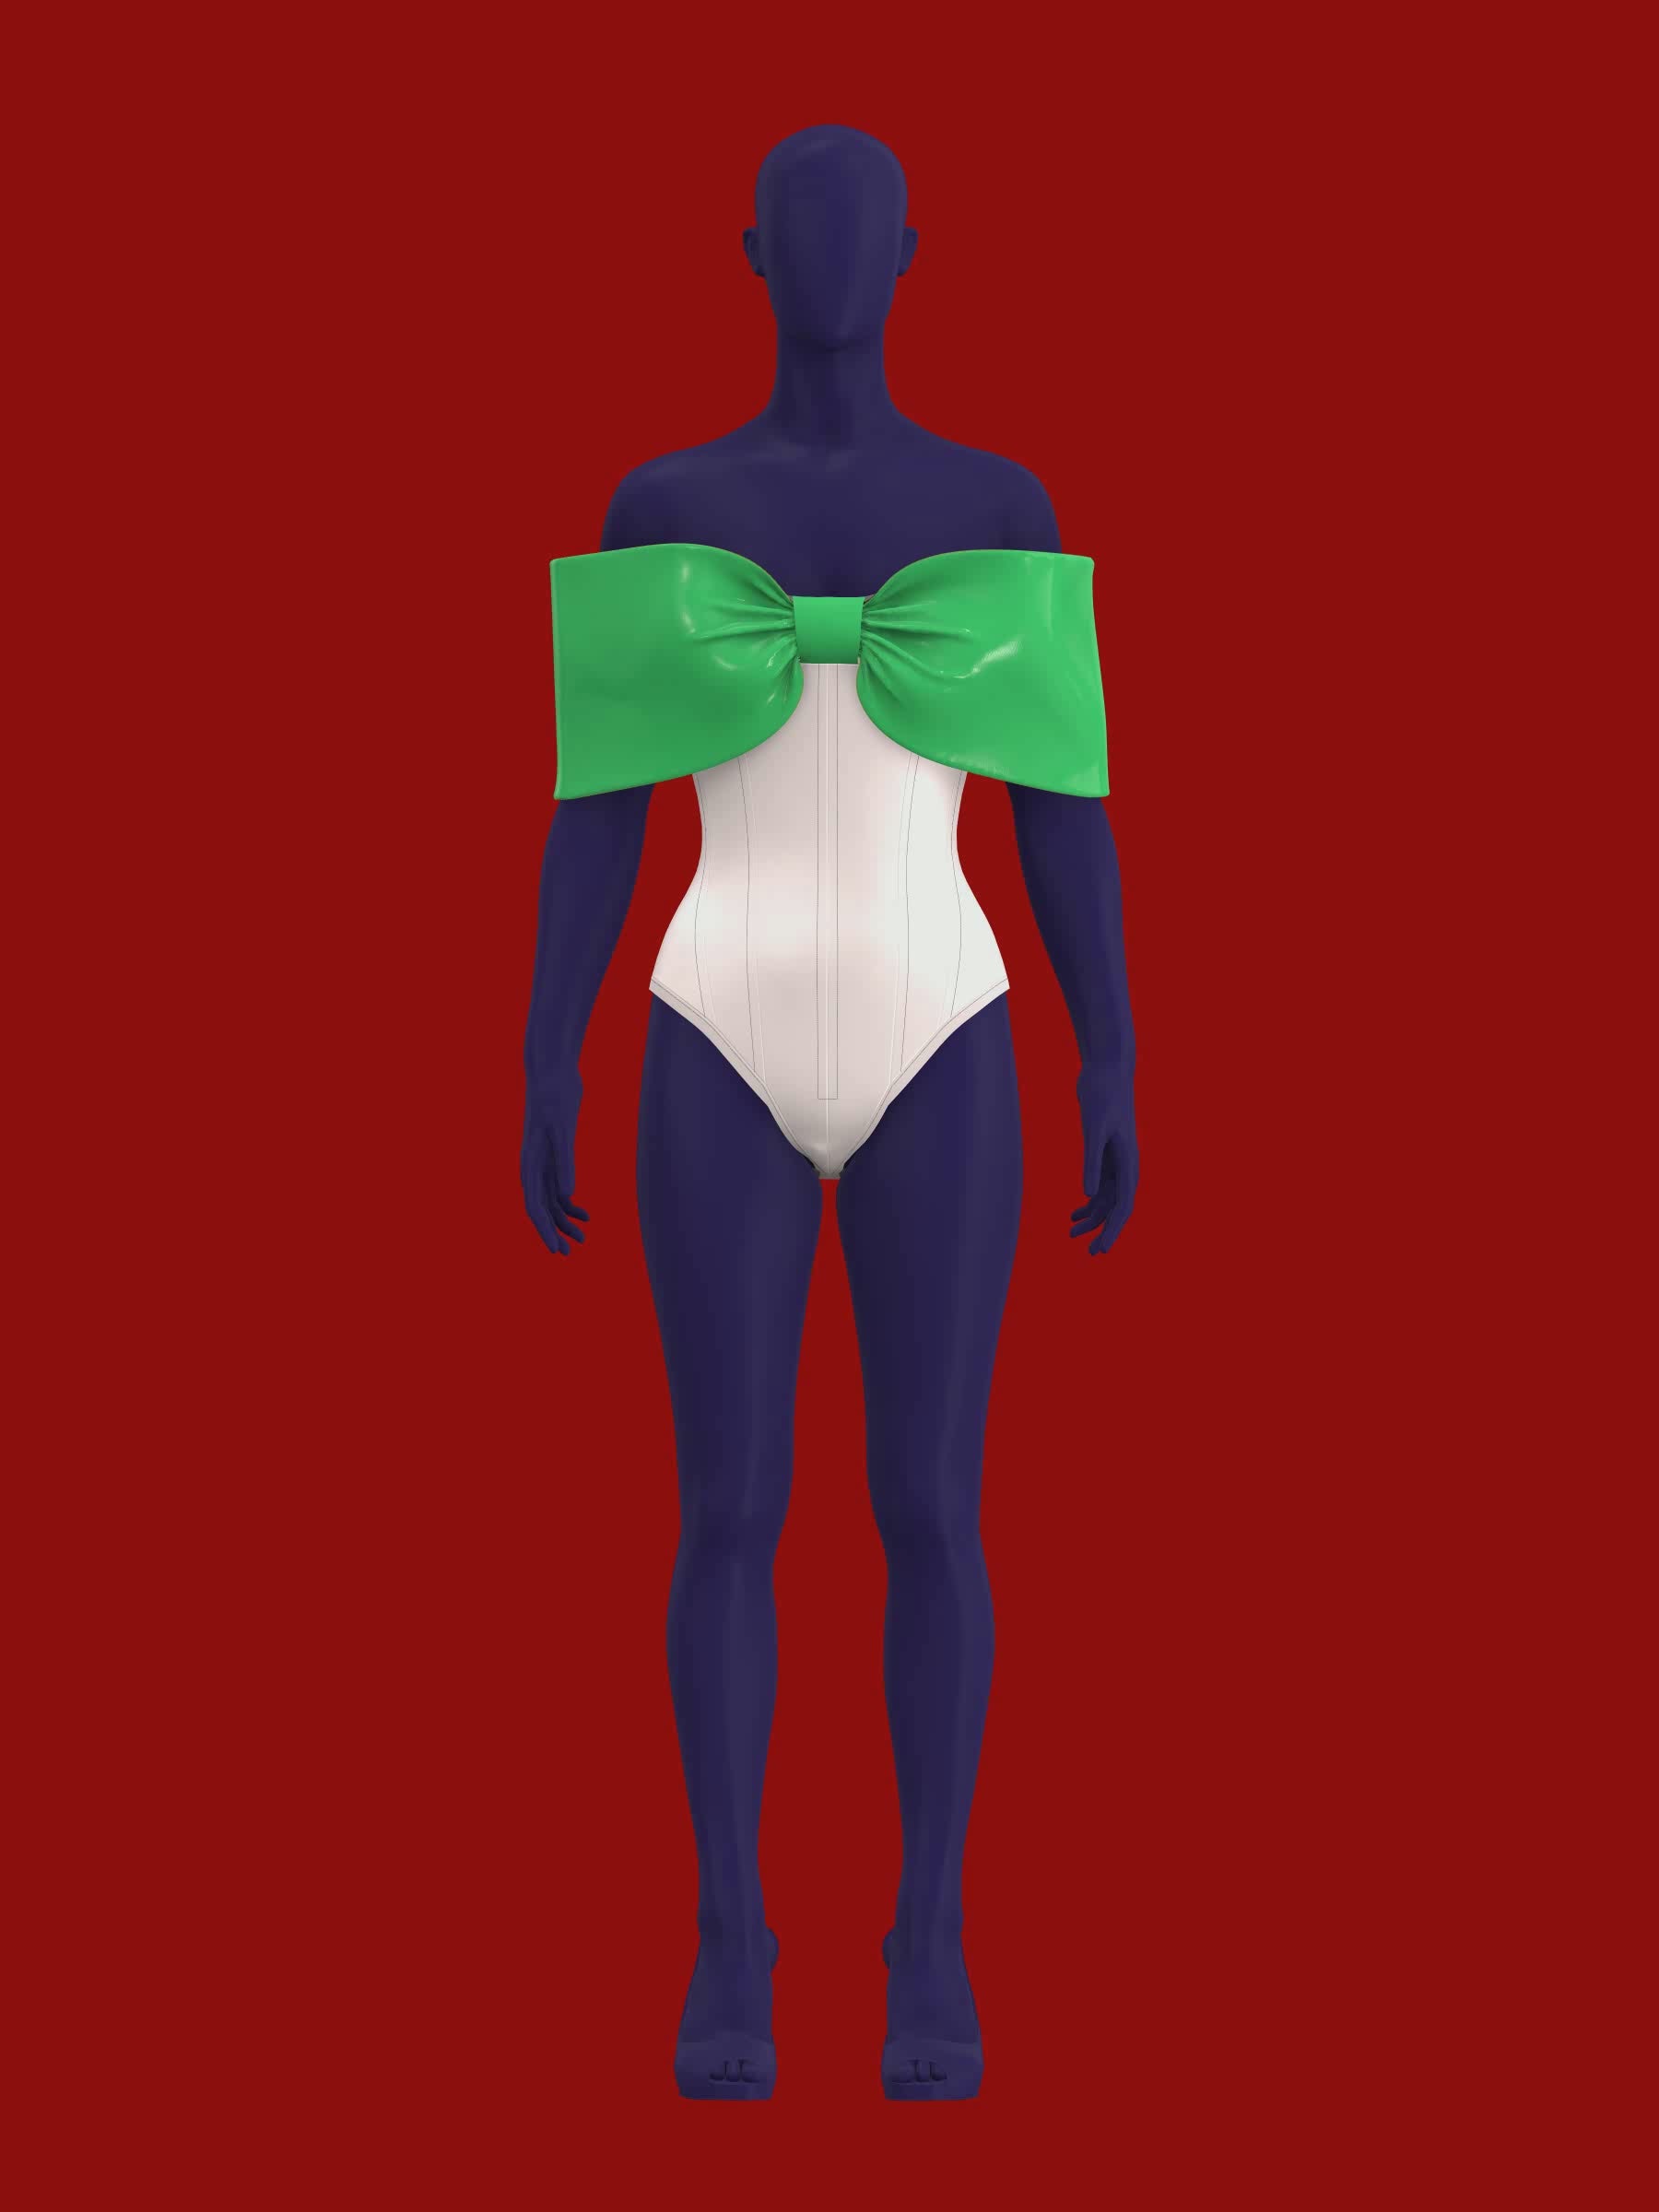
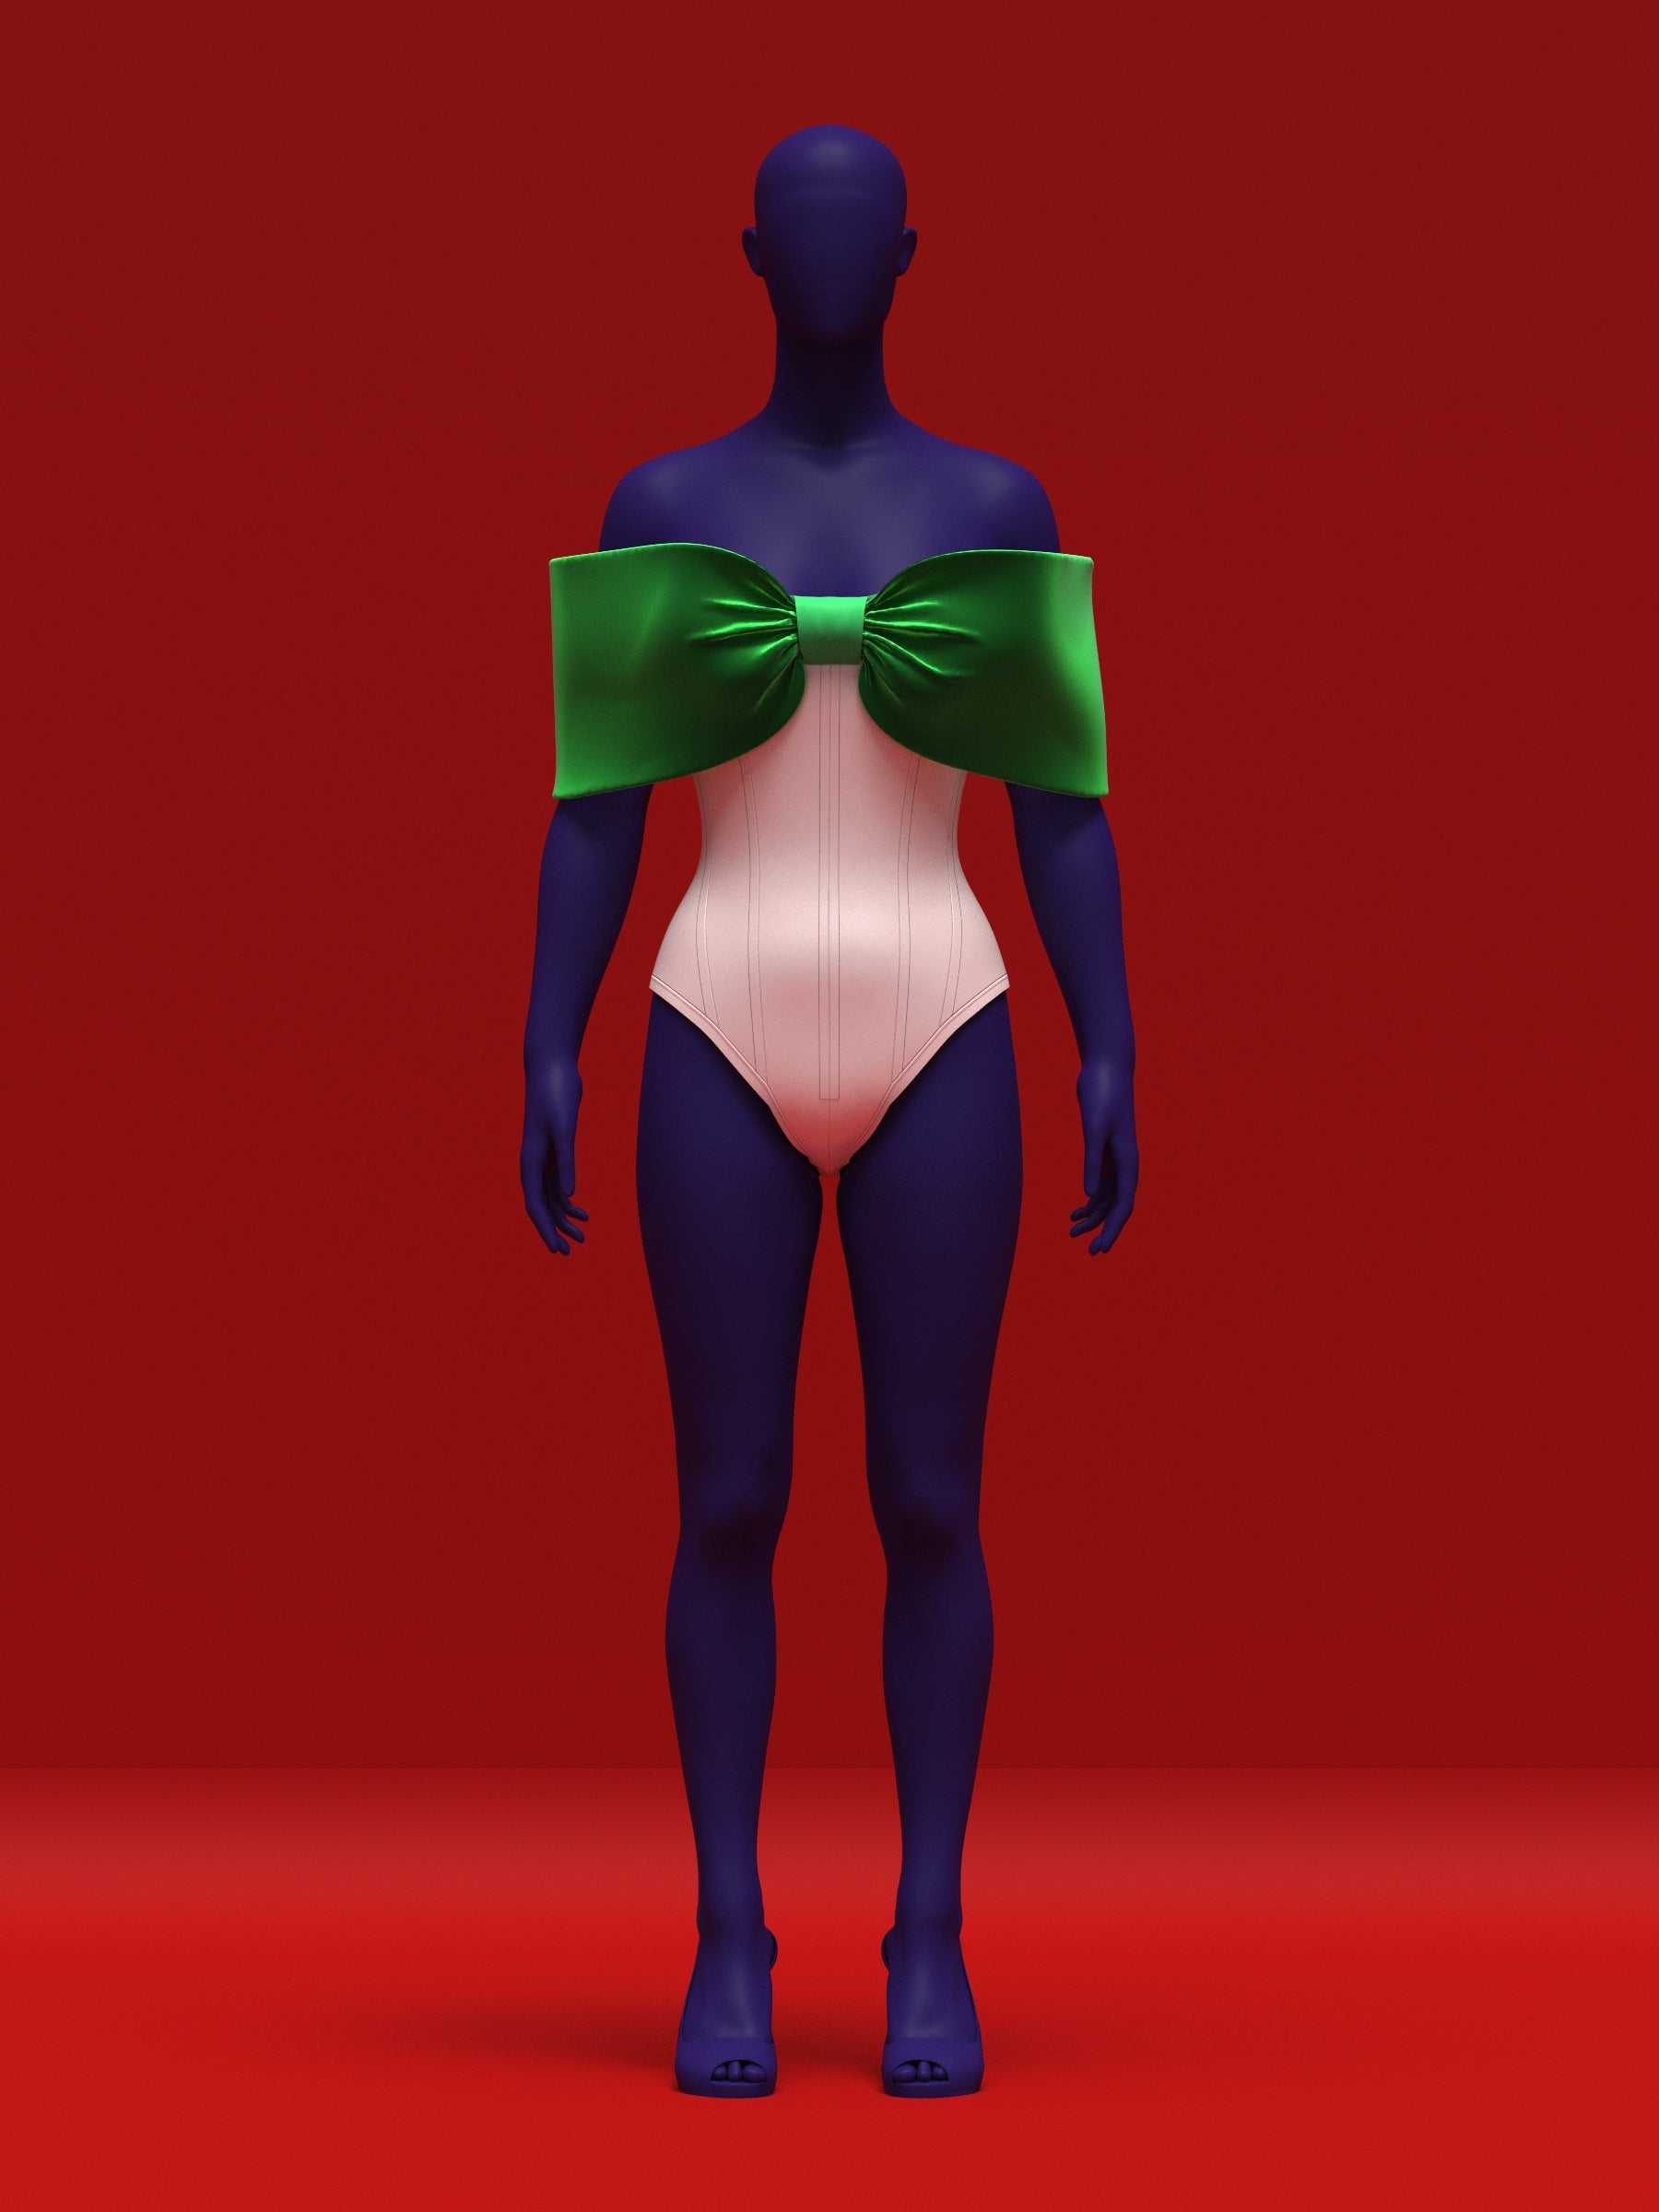
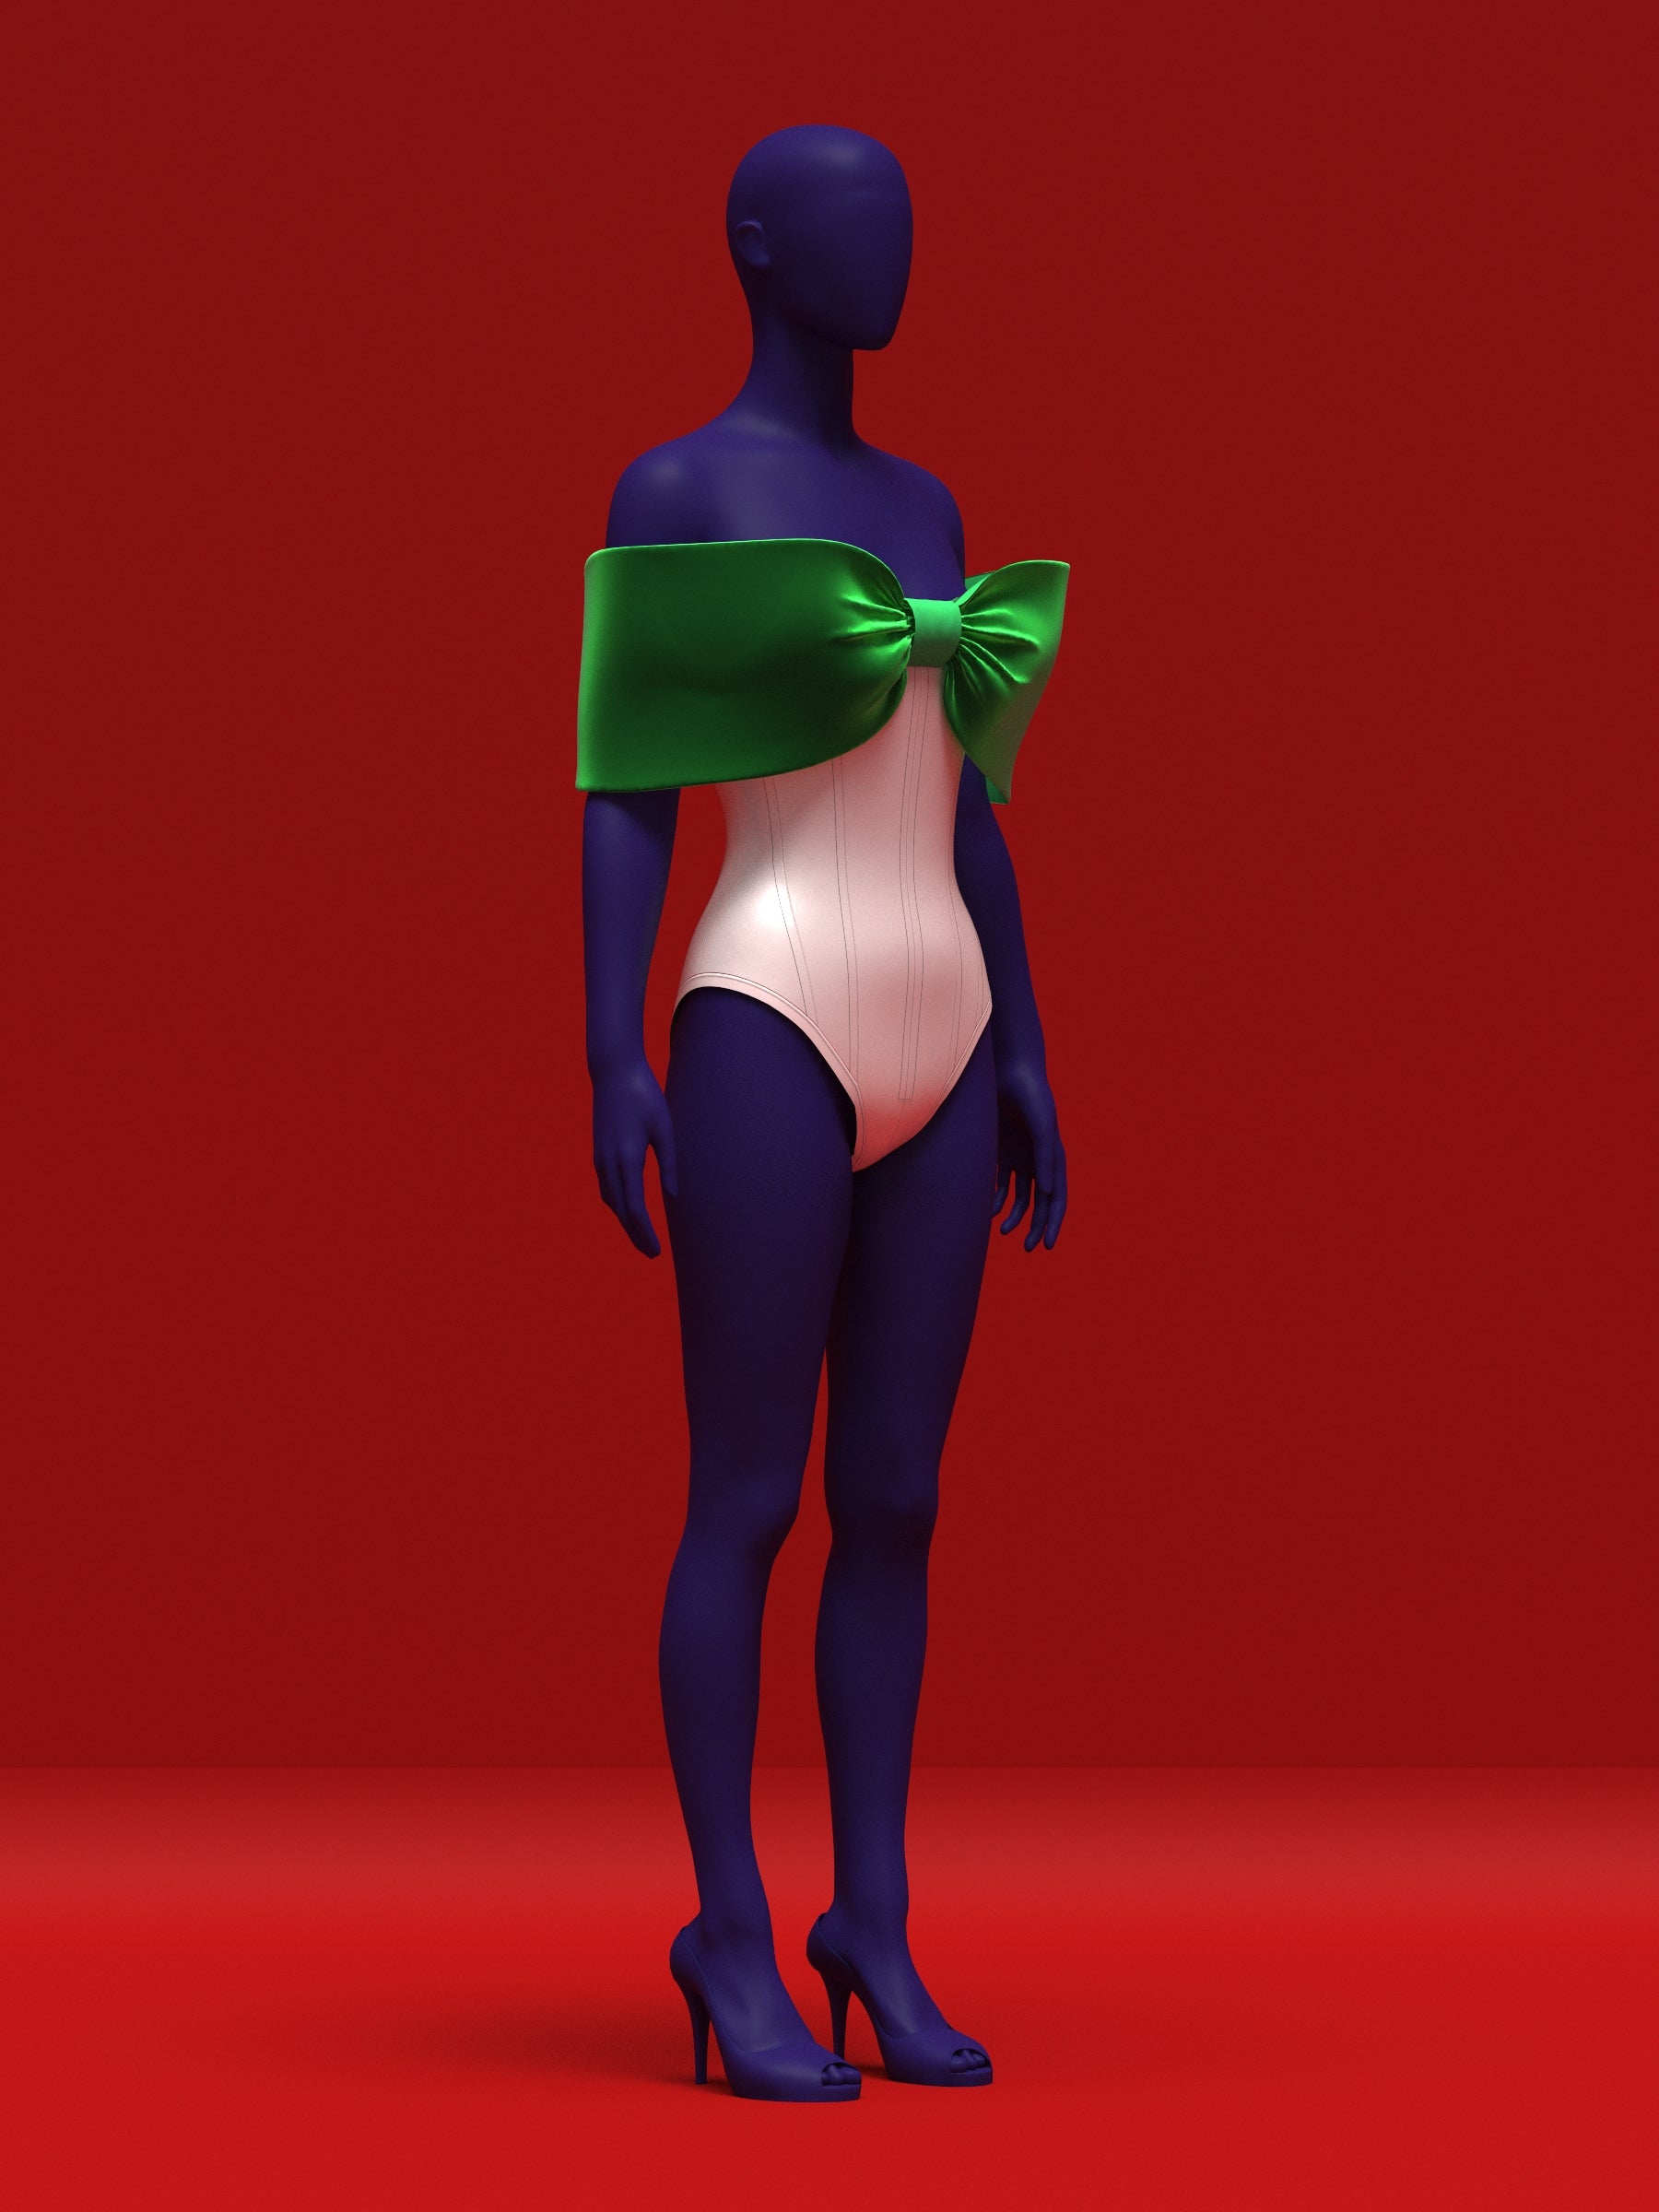
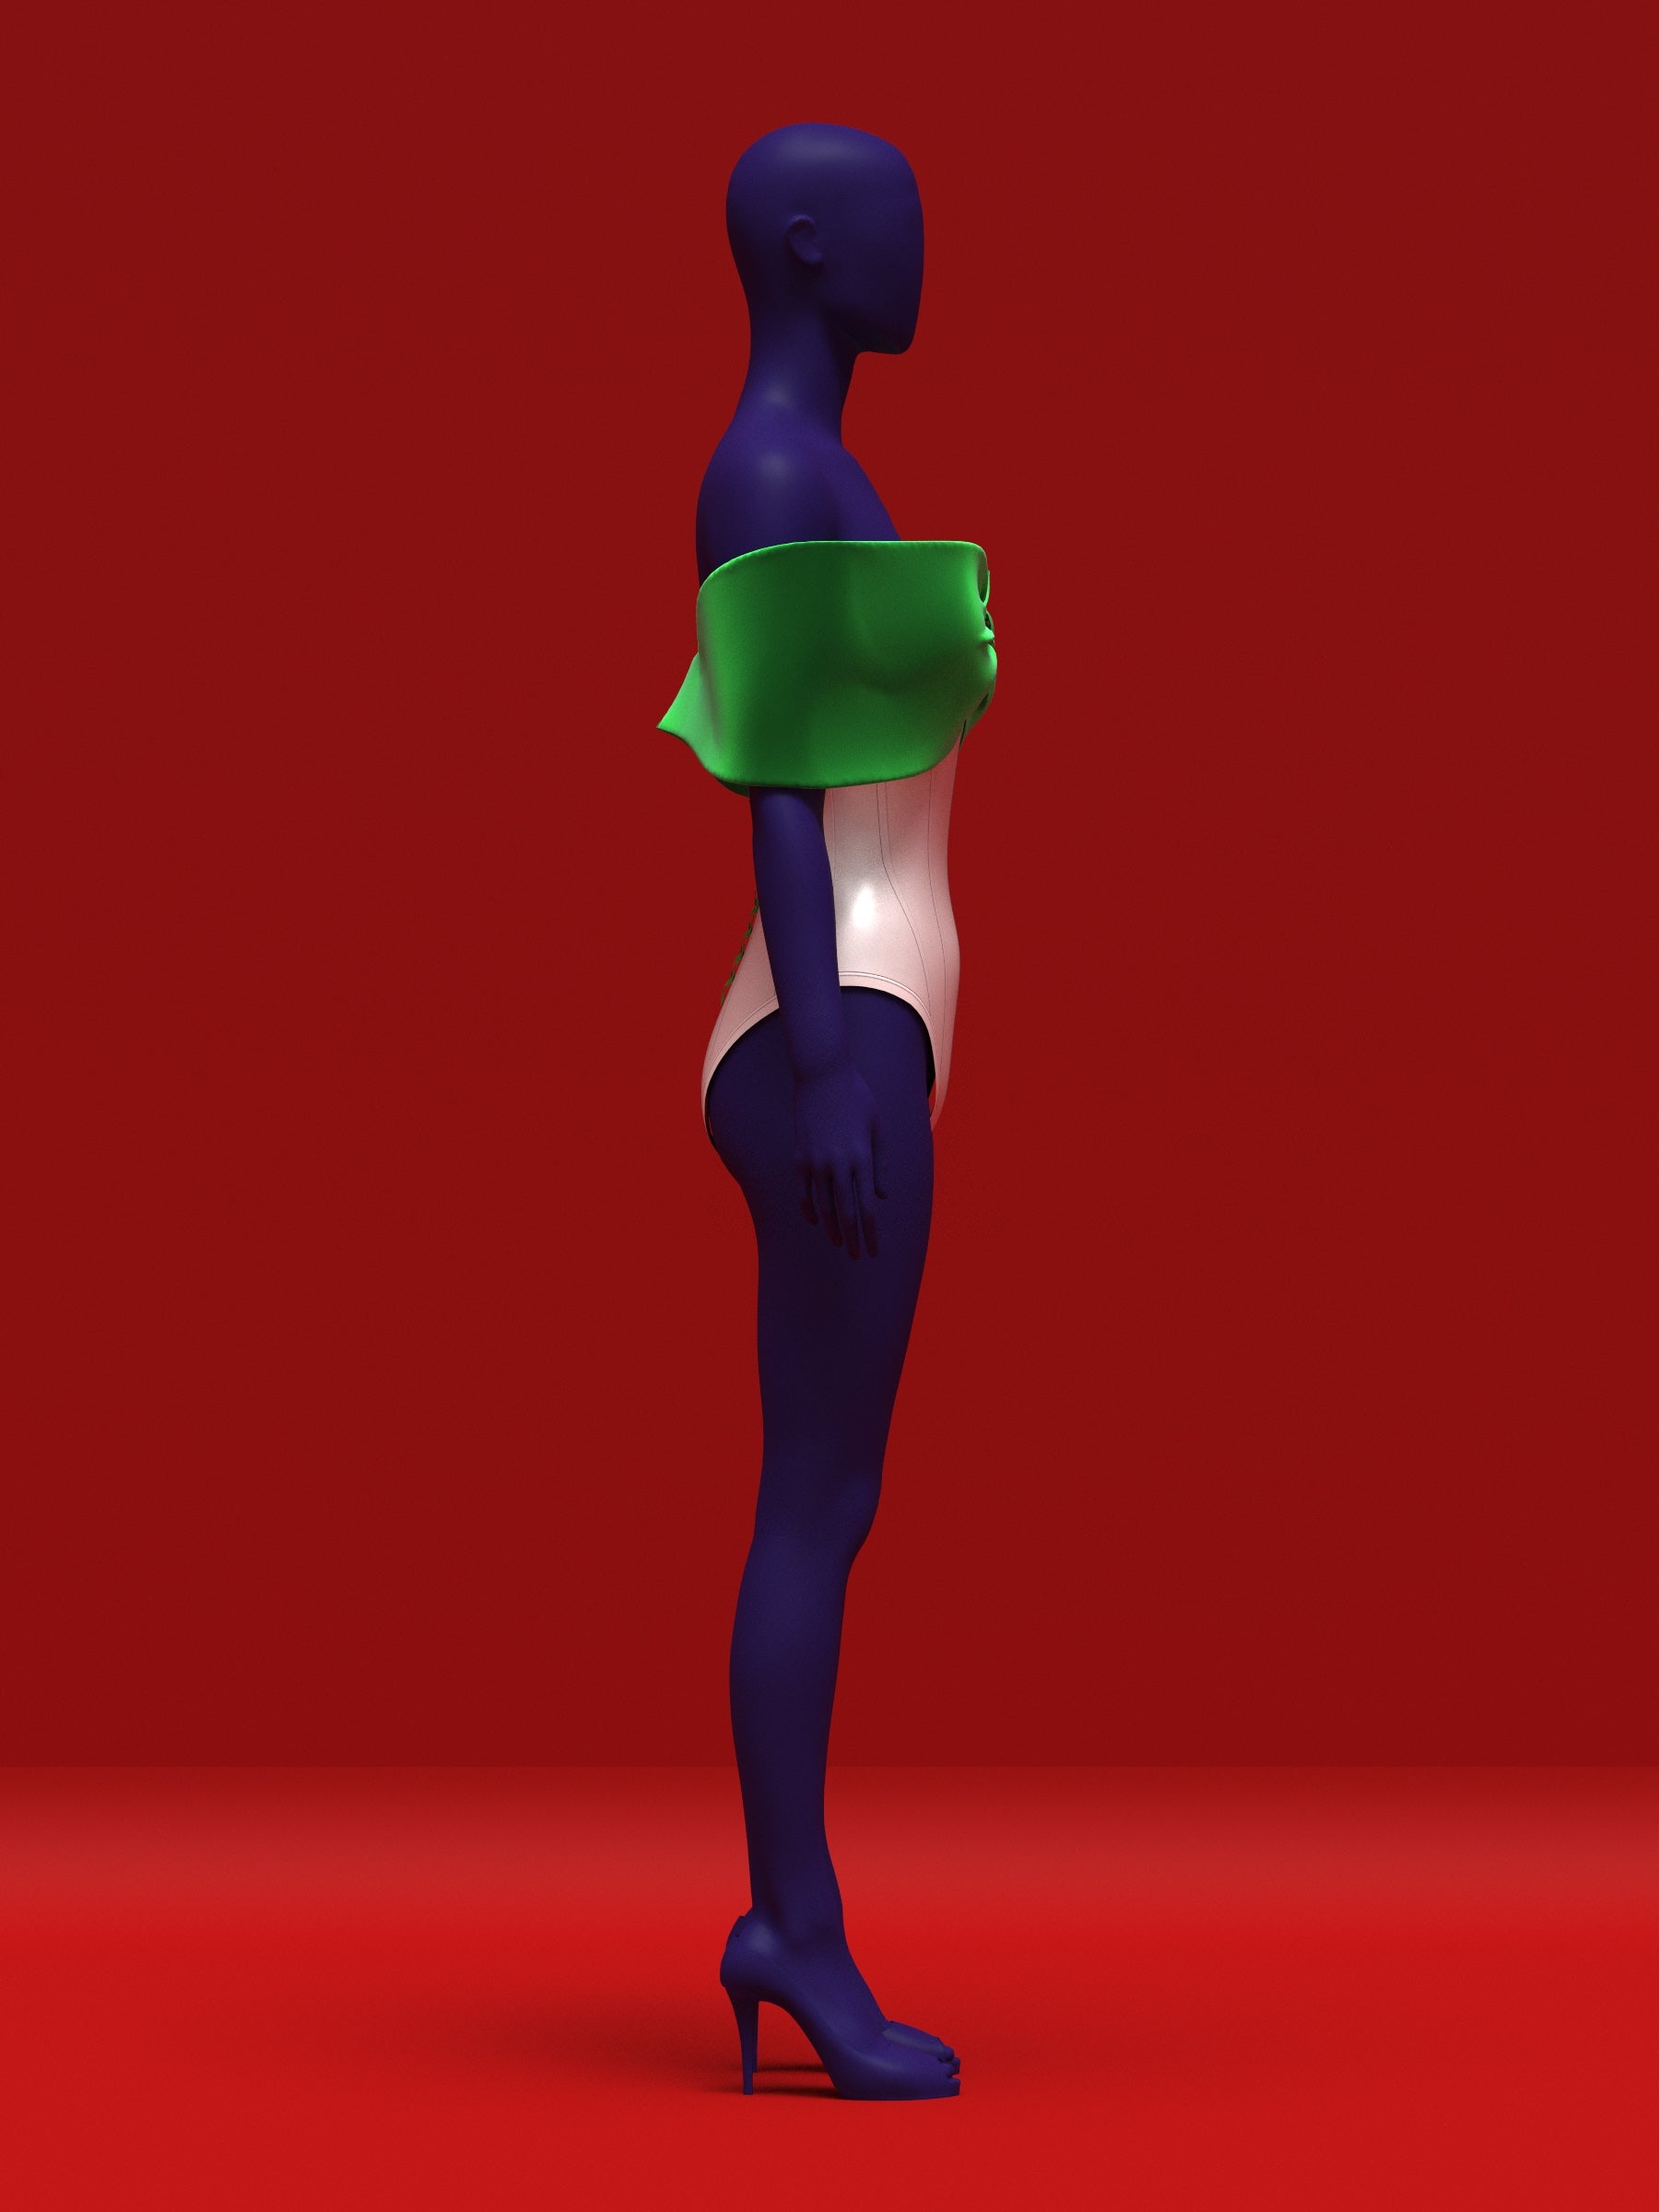
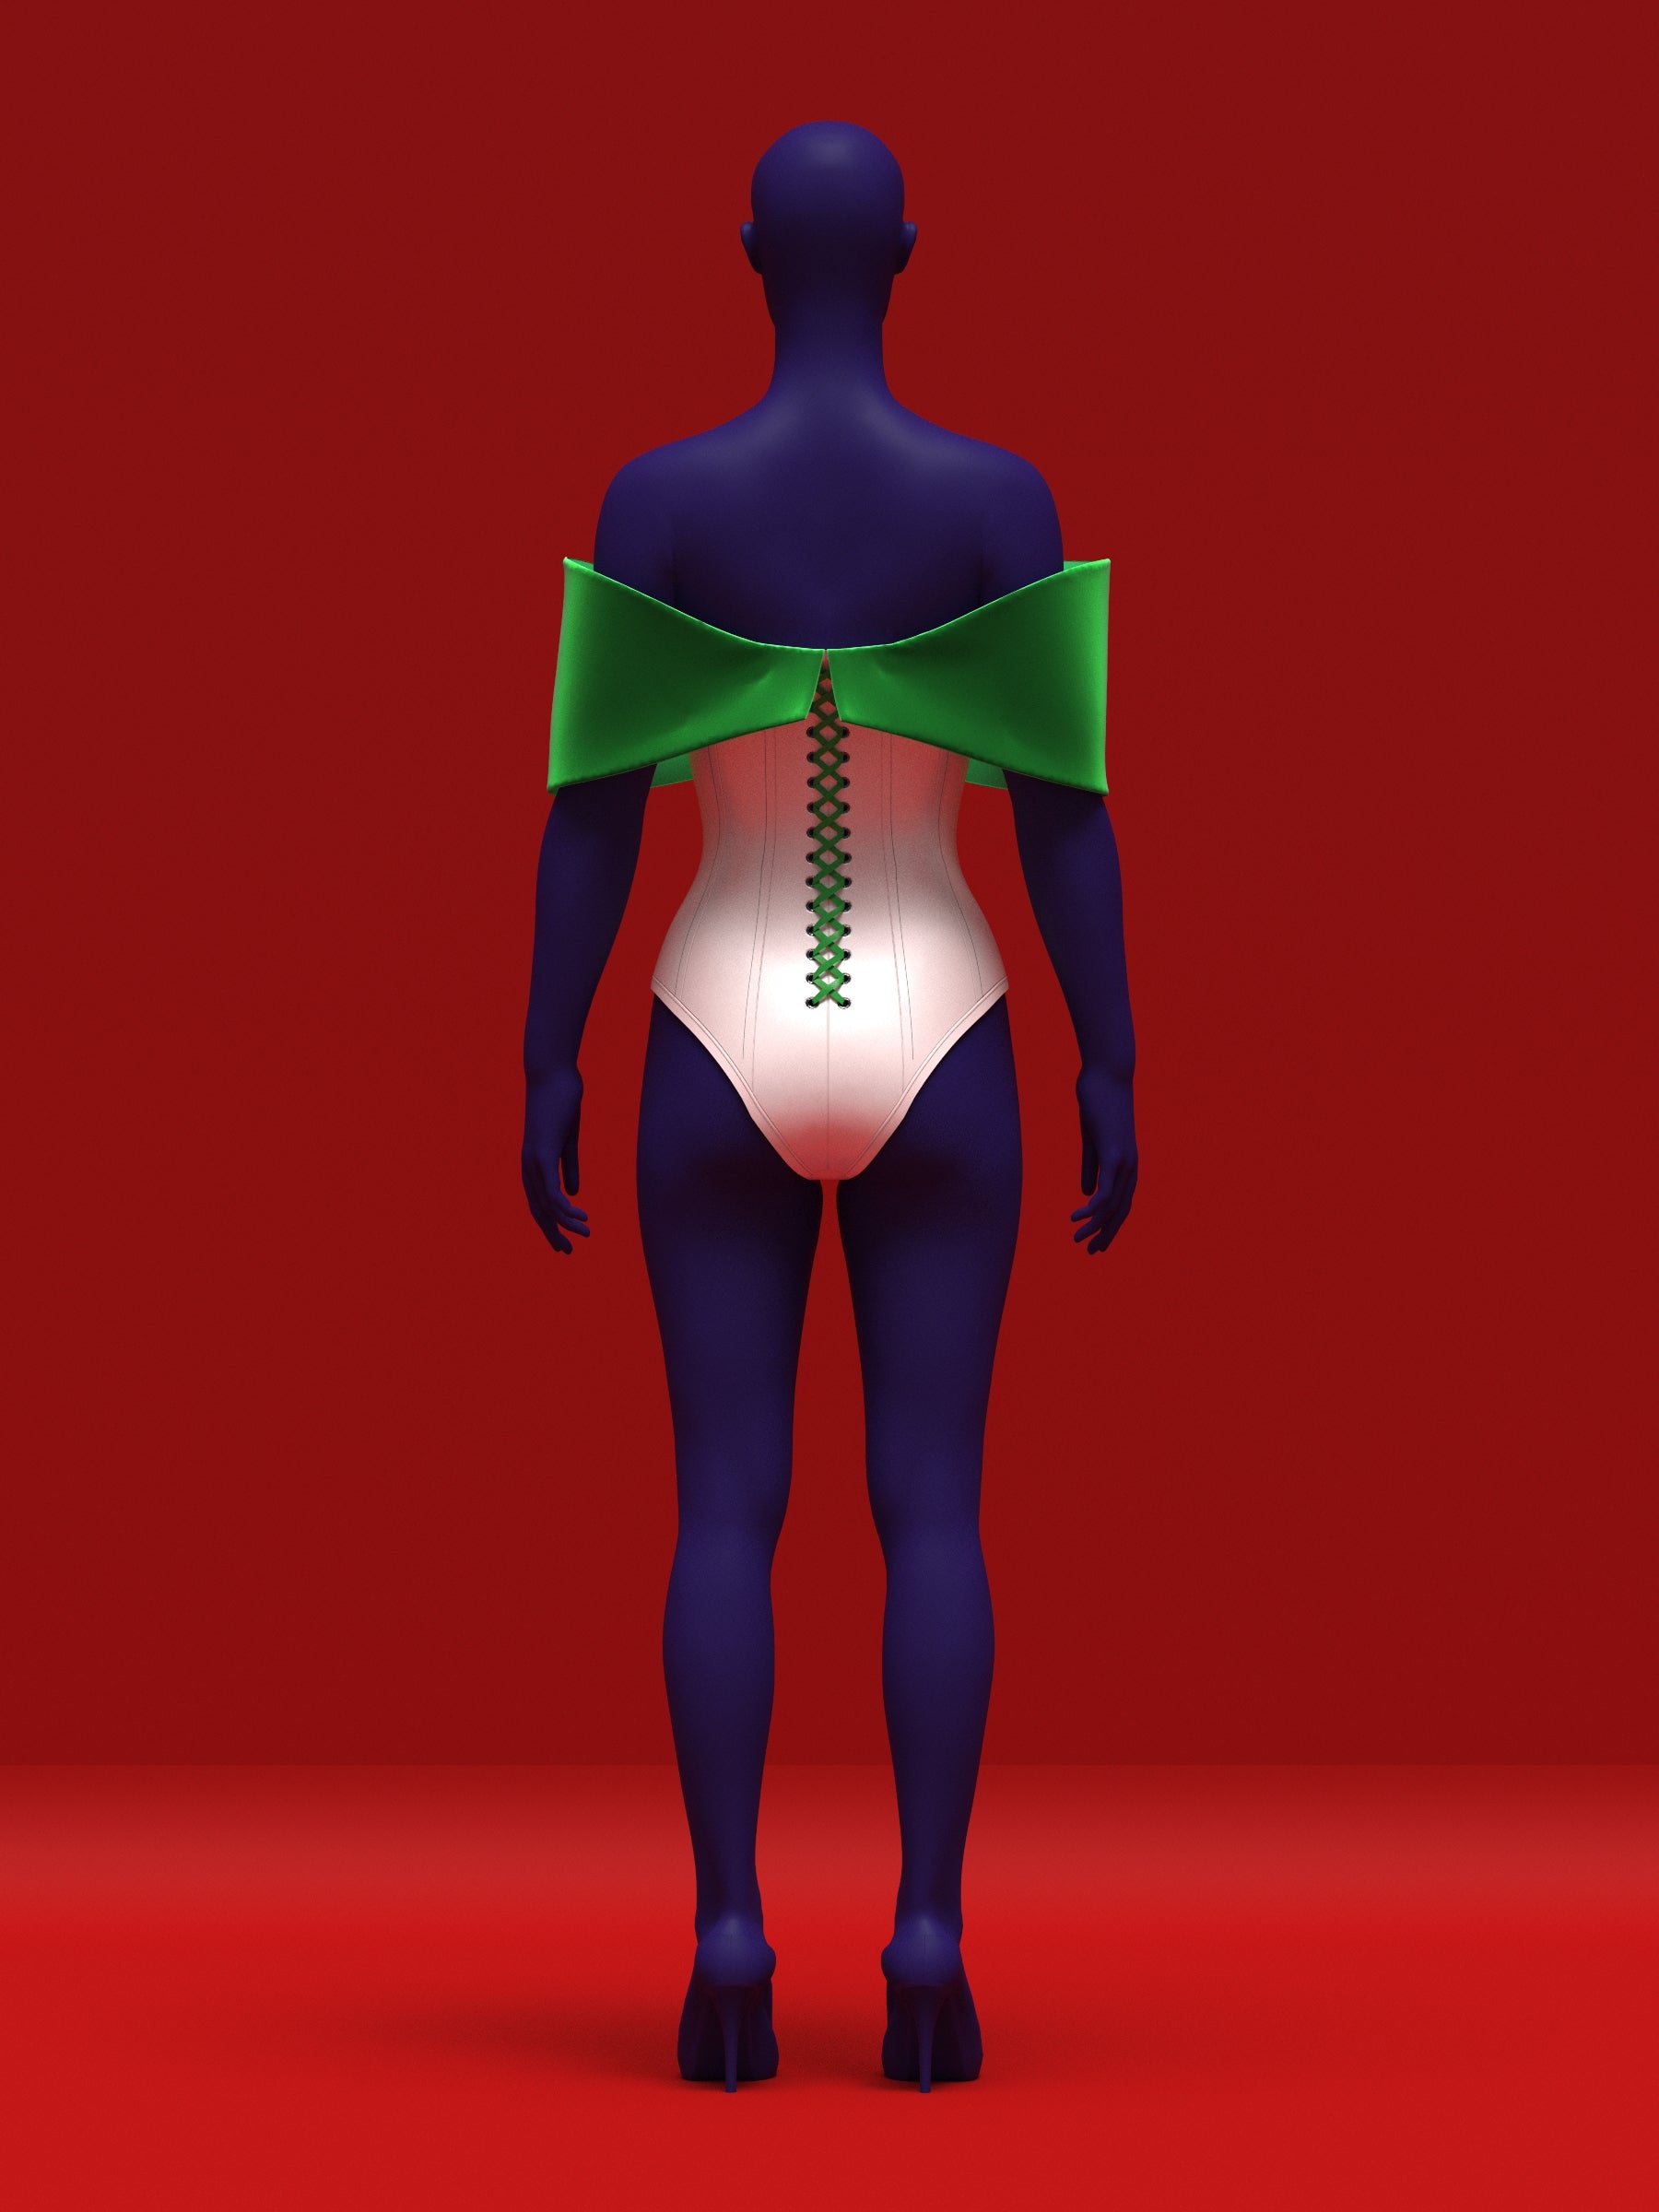
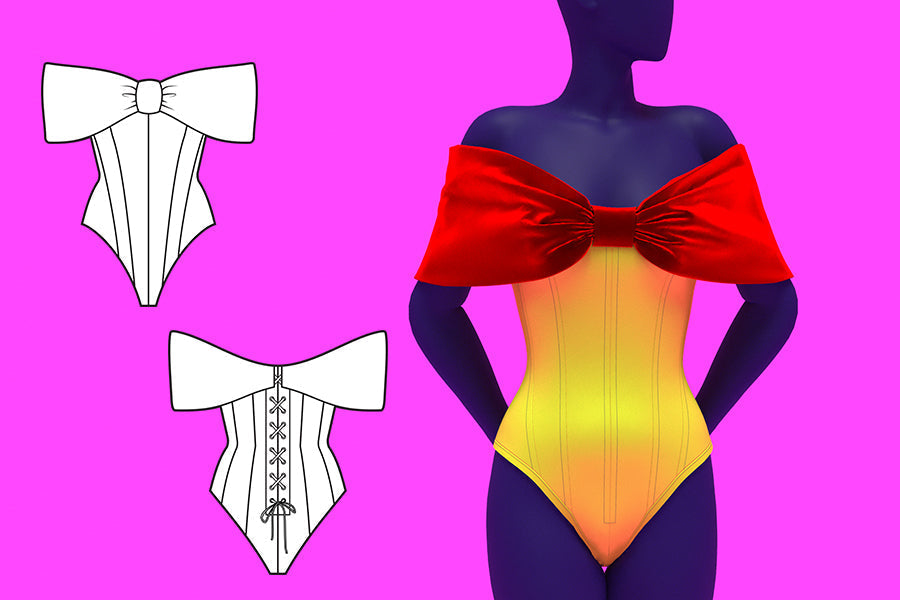
Aprende a coser nuestro patrón de leotardo corsé con lazo extragrande y hombros descubiertos, una versión atrevida del clásico leotardo corsé, diseñado para drag queens que buscan fusionar glamour y extravagancia. Con una base de corsé con costura princesa y espalda con cordones, este patrón de costura en PDF realza la cintura y ofrece una elegancia perfecta para el escenario.
Yardas de tela
Para rollos de tela de 54" o más de ancho.
| Tamaño | Tejido A - Maillot | Tela B - Lazo | Recubrimiento | Interfaz | Recorte al bies | |||||
|---|---|---|---|---|---|---|---|---|---|---|
| patios | Medidores | patios | Medidores | patios | Medidores | patios | Medidores | patios | Medidores | |
| XS | 1 | 1 | 1.5 | 1.5 | 1 | 1 | 1 | 1.5 | 1.5 | 1.5 |
| S | 1 | 1 | 2 | 1.5 | 1 | 1 | 1 | 1.5 | 2 | 2 |
| METRO | 1 | 1 | 2 | 1.5 | 1 | 1 | 1 | 1.5 | 2 | 2 |
| L | 1 | 1 | 2 | 2 | 1 | 1 | 1 | 2 | 2 | 2 |
| SG | 1 | 1 | 2 | 2 | 1 | 1 | 1 | 2 | 2.5 | 2 |
| 2X | 1 | 1 | 2 | 2 | 1 | 1 | 1 | 2 | 2.5 | 2 |
| 3X | 1 | 1 | 2 | 2 | 1 | 1 | 1 | 2 | 2.5 | 2.5 |
| 4X | 1.5 | 1 | 2 | 2 | 2 | 1.5 | 1 | 2 | 2.5 | 2.5 |
Detalles de tallas
Este diseño de corsé reduce instantáneamente 7,6 cm de cintura, así que tenlo en cuenta al elegir tu talla. Las medidas de cintura en nuestra tabla reflejan tu cintura natural, no la cintura reducida con el corsé. El leotardo con corsé y lazo está disponible en nuestras tallas exclusivas para drag queens, desde la XS hasta la 4X, diseñadas para adaptarse a cuerpos con relleno y hombros, brazos y piernas más anchos. Si bien este patrón está pensado para artistas drag, puede ser usado por cualquier persona, de cualquier género, cuyas medidas coincidan con las proporcionadas.
| Tamaños | XS | S | METRO | L | SG | 2X | 3X | 4X | |||
|---|---|---|---|---|---|---|---|---|---|---|---|
| Pulgadas | |||||||||||
| Busto | 35”-37” | 38”-40” | 40”-42” | 44”-46” | 47”-49” | 50”-52” | 53”-55” | 56”-58” | |||
| Cintura | 26”-28” | 29”-31” | 32”-34” | 35”-37” | 38”-40” | 41”-43” | 44”-46” | 47”-49” | |||
| Caderas | 37”-39” | 40”-42” | 43”-45” | 46”-48” | 49”-51” | 52”-54” | 54”-56” | 58”-60” | |||
| Altura | 70" | 70" | 70" | 70" | 70" | 70" | 70" | 70" | |||
| centímetros | |||||||||||
| Busto | 89-94 | 96-102 | 102-107 | 112-117 | 119-124 | 127-132 | 135-140 | 142-147 | |||
| Cintura | 66-71 | 74-79 | 81-86 | 89-94 | 96-102 | 104-109 | 112-117 | 119-124 | |||
| Caderas | 94-99 | 102-107 | 109-114 | 117-122 | 124-130 | 132-137 | 137-142 | 147-152 | |||
| Altura | 178 | 178 | 178 | 178 | 178 | 178 | 178 | 178 | |||
Nuestros exclusivos tamaños de trajes de arrastre se basan en las tallas estándar estadounidenses para hombre y mujer de tallas grandes, diseñados para adaptarse a cuerpos masculinos con relleno y una altura promedio de 178 cm (70 pulgadas). Presentan torsos más largos, hombros, brazos y piernas más anchos, y una entrepierna más corta en comparación con las tallas estándar para mujer, lo que los hace inclusivos para cualquier persona que cumpla con las medidas proporcionadas.
Telas y artículos de mercería
Adecuado para tejidos no elásticos de peso ligero a medio:
- Satín
- Cuero (auténtico o sintético)
- Dril
- Lona de algodón
- Tela asargada
- Brocado
- Terciopelo
Nociones
- Varillas Rigilene de 6–8 mm
- Entretela termoadhesiva de peso medio o pesado, o entretela de espuma (depende de la rigidez que desee para su arco).
- Cordón de cinta/encaje
- Cinta/remate al bies doblemente doblado
- Ojales de corsé
Instrucciones de costura
Color Guide

Fabric Pieces
After cutting your fabric, you should have the following pieces:
Shell: 2 mirrored number 1 (Center Front), 2 mirrored number 2, 2 mirrored number 3, 2 mirrored number 4, 2 mirrored number 5, 2 mirrored number 6 (Center Back), 1 number 7 (Gusset), 2 number 8 (Bow, cut on fold), 1 number 9 (Bow Ribbon).
Lining: 2 mirrored number 1 (Center Front), 2 mirrored number 2, 2 mirrored number 3, 2 mirrored number 4, 2 mirrored number 5, 2 mirrored number 6 (Center Back), 1 number 7 (Gusset).

Interfacing
Gather the two “6” pieces (Center Back) and the two “6i” Placket Interfacing pieces. Iron interfacing onto the wrong side of the center back pieces to support the eyelets.
Interface both “8” Bow pieces and the “9” Bow Ribbon piece.

Sewing the Bow
Take the “9” Bow Ribbon piece. Fold it in half right sides together and sew the long edge. Flip right side out and press. Sew the short sides together and press open. You now have a loop.

Take the two “8” Bow pieces. Place right sides together and sew top edge from notch to notch, then down both vertical sides and the bottom edge, leaving the corners raw. Snip seam allowance at the notch, turn, and press.

Mark the center of the bow. Slide the bow through the ribbon loop, align it at center, arrange folds, and hand-stitch the loop to the bow with the loop seam to the back.

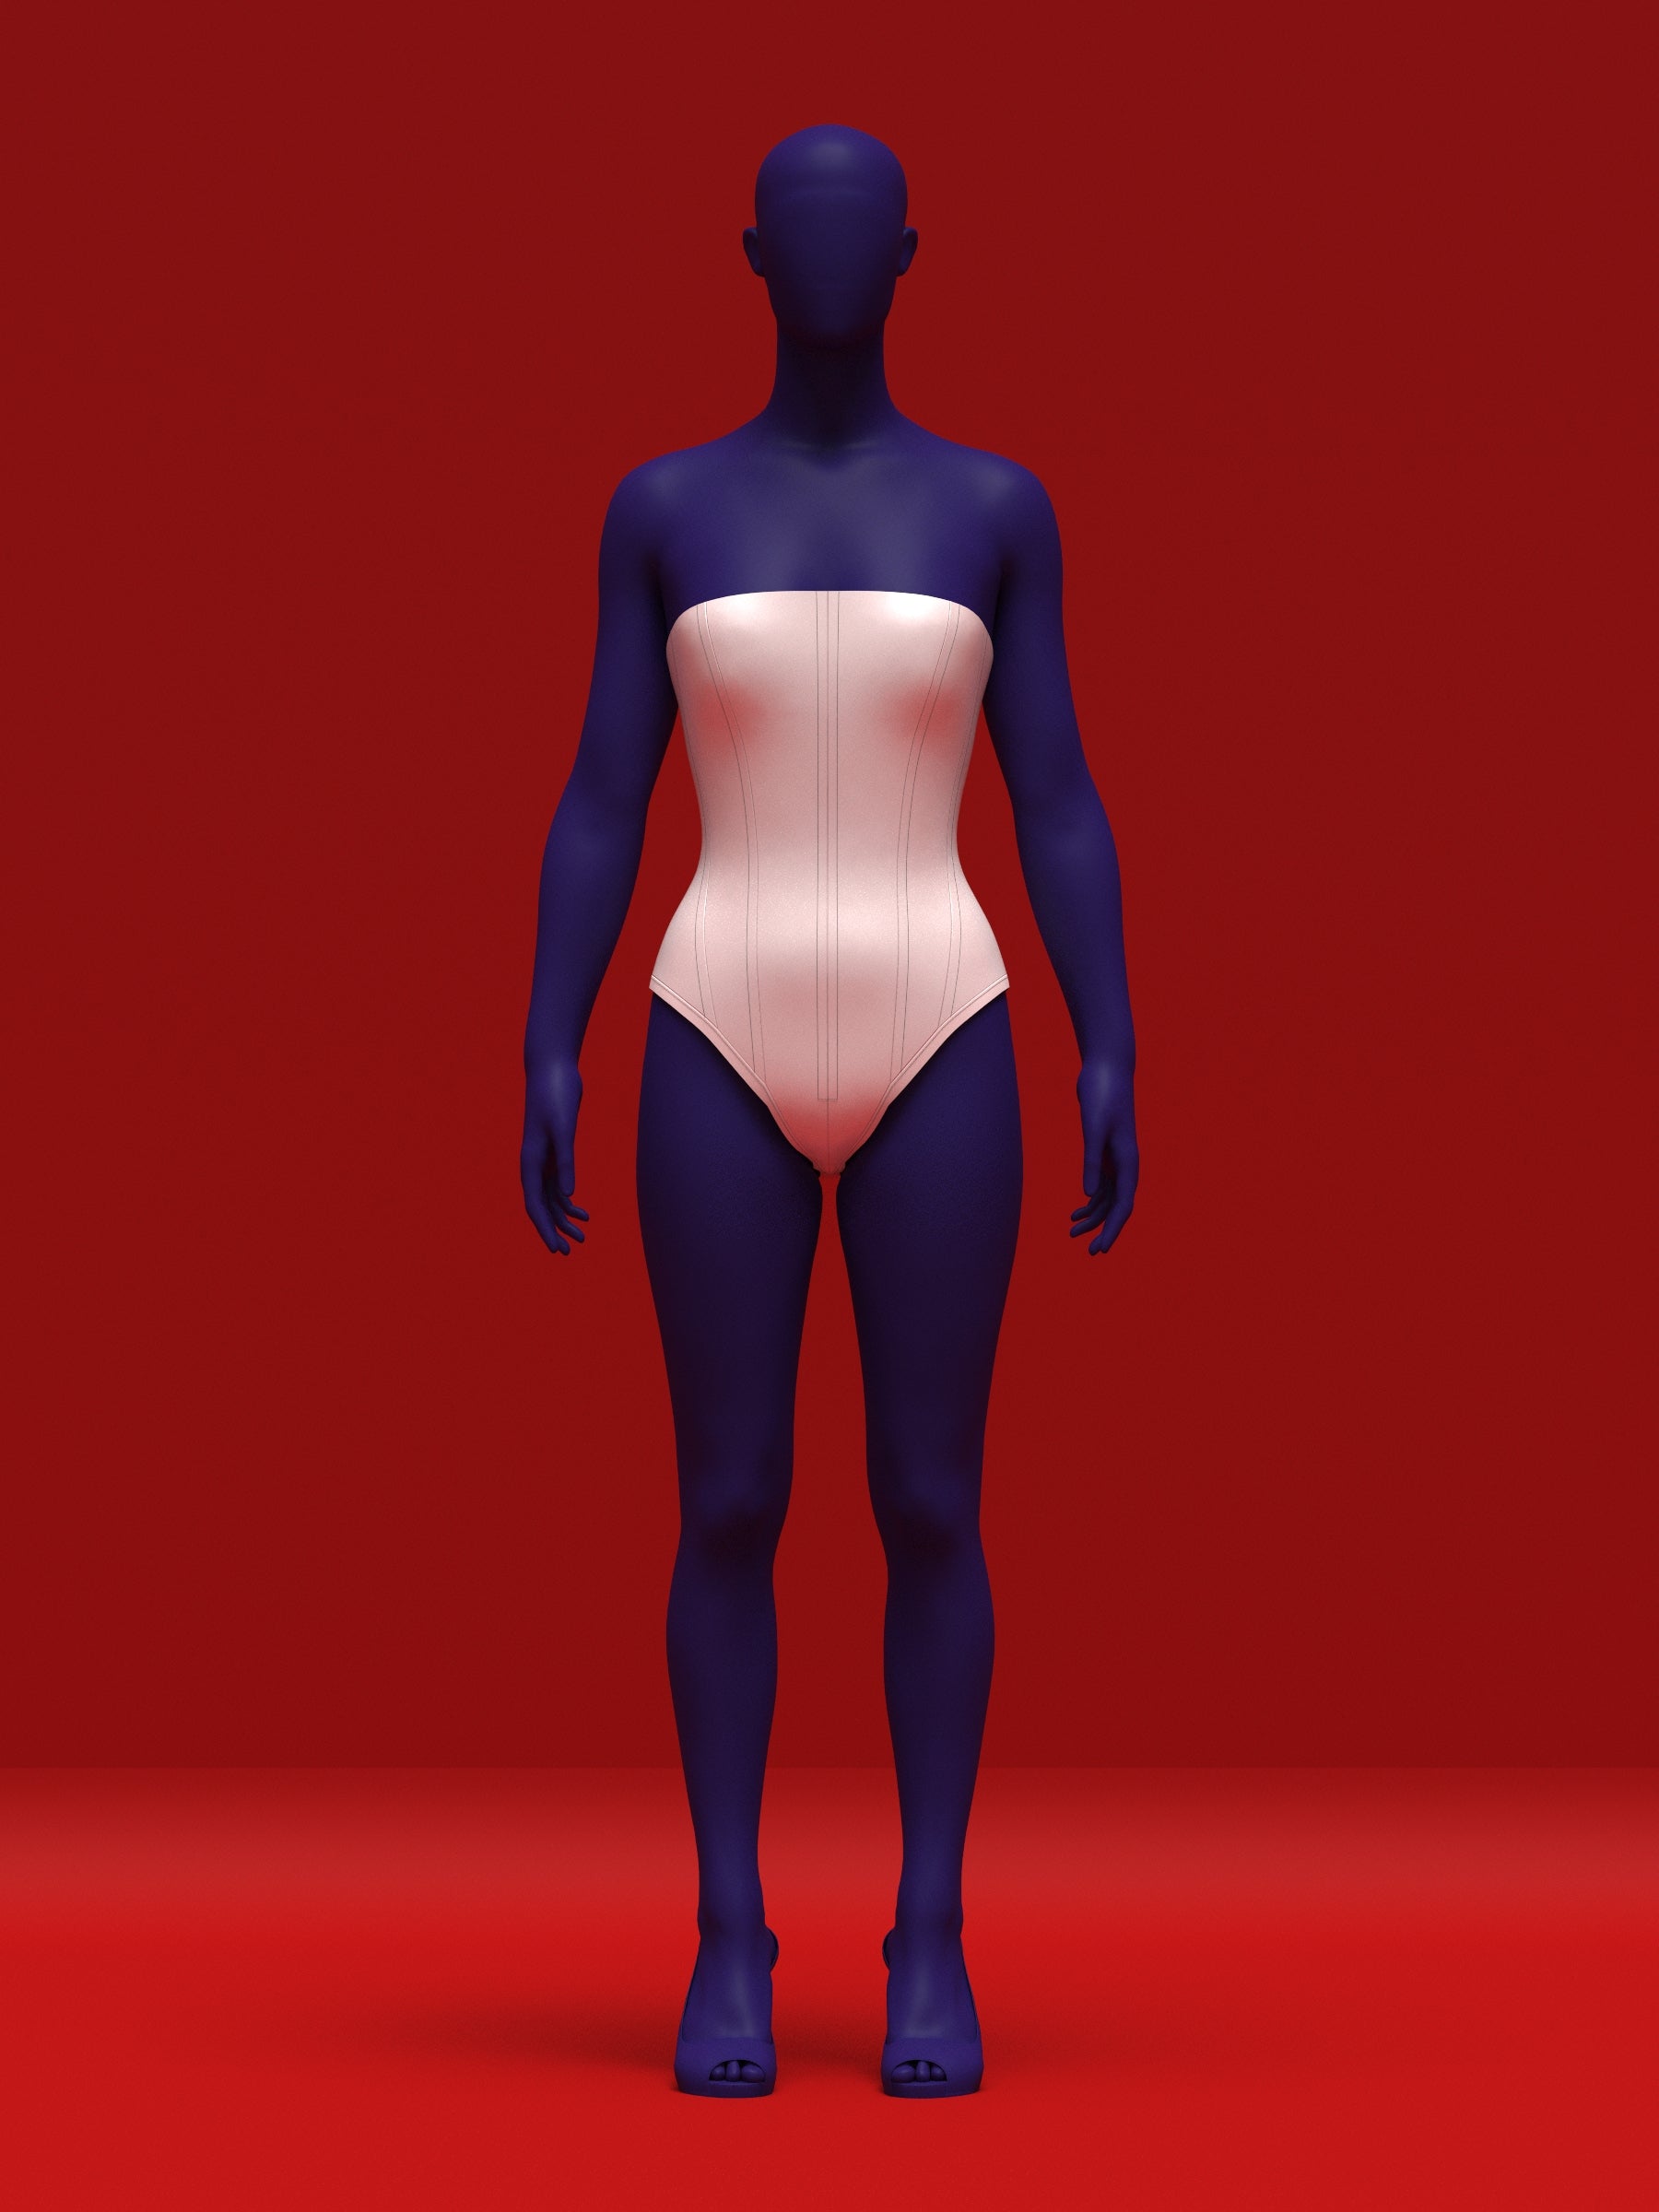
Sewing the Shell
Take the two “1” Center Front pieces and sew them together with right sides facing along the center front seam.

Press seam allowances open. Sew remaining pieces right sides together in this order: 6 (Center Back), 5, 4, 3, 2, 1 (Center Front). Pin at waistline before sewing.

Boning
Prepare Rigilene boning. Sew one bone at each seam except center front, which gets two. Cut bones 1 inch shorter than seam height and round ends to prevent ripping.

Flip each seam the opposite direction and sew the boning to the seam allowance only. Flip seam back so the bone is enclosed.

For help, see this video: How to sew boning.
Sew the two “6” Center Back pieces together from bottom to notch. Attach the “7” Gusset to center back and center front.


Sewing the Lining
Repeat the shell steps to assemble the lining. Do not add boning to the lining.

Attaching the Bow to the Leotard
Align the bow’s raw edge to piece 6 of the shell, ½ inch away from the center back seam allowance. Baste stitch the bow to the shell.

Assembling Shell with Lining
Stack the shell and lining with right sides together, enclosing the bow. Sew along top and center back edges. Do not catch bow ends in the seam. Flip right side out and trim seam allowance if needed.

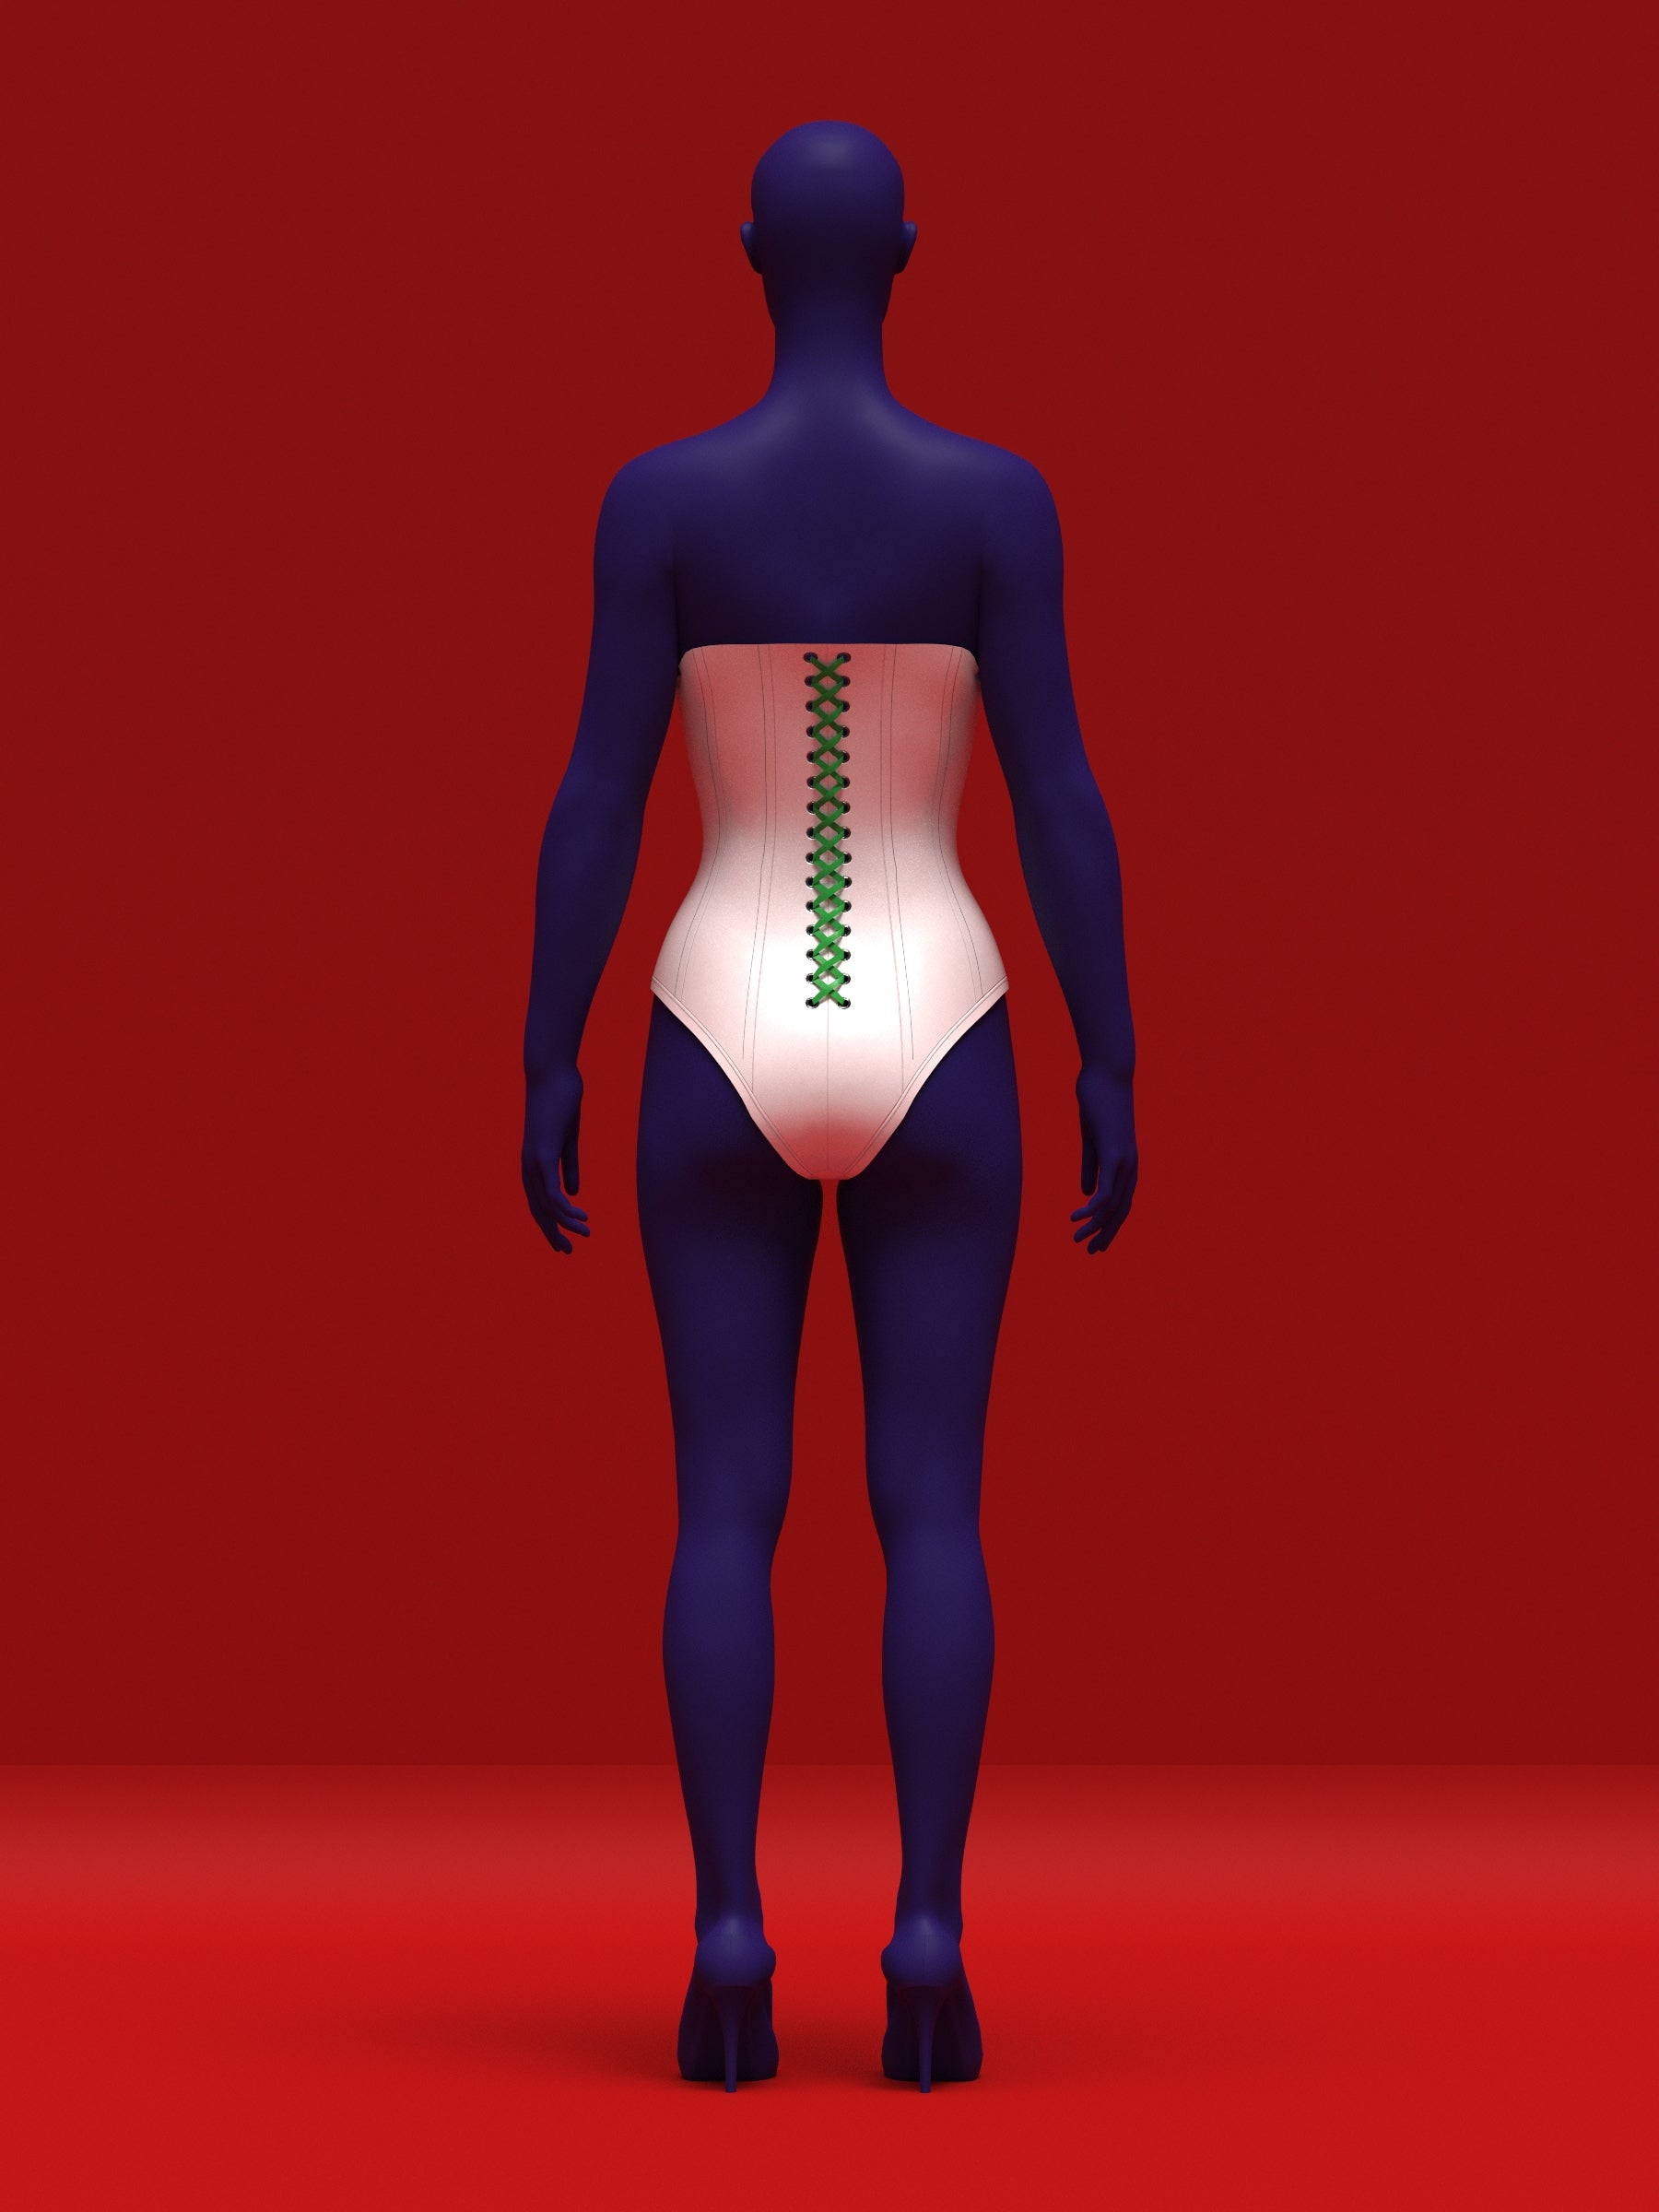
Center Back Boning and Lacing
Sew three vertical channels at center back about 0.5 inches apart. Insert two bones per side, leaving the middle channel empty for eyelets. Stitch across top and bottom to secure bones.

Add eyelets into the empty center column for lacing.

Finishing the Leotard
Finish leg openings with a double-folded bias trim.

Securing the Bow Ribbon
Stitch the back of the bow ribbon to the center front by hand to keep it in place. For extra stability, tack the back of the bow to the top of the second bone with a few stitches. Only sew through the back of the bow and ribbon so stitches remain hidden.

Videotutorial relacionado
Mire nuestro video tutorial relacionado: sigue un proceso de construcción similar y es una excelente referencia.