Cómo coser una blusa con cuello vuelto
Saltar a instruccionesDescripción general
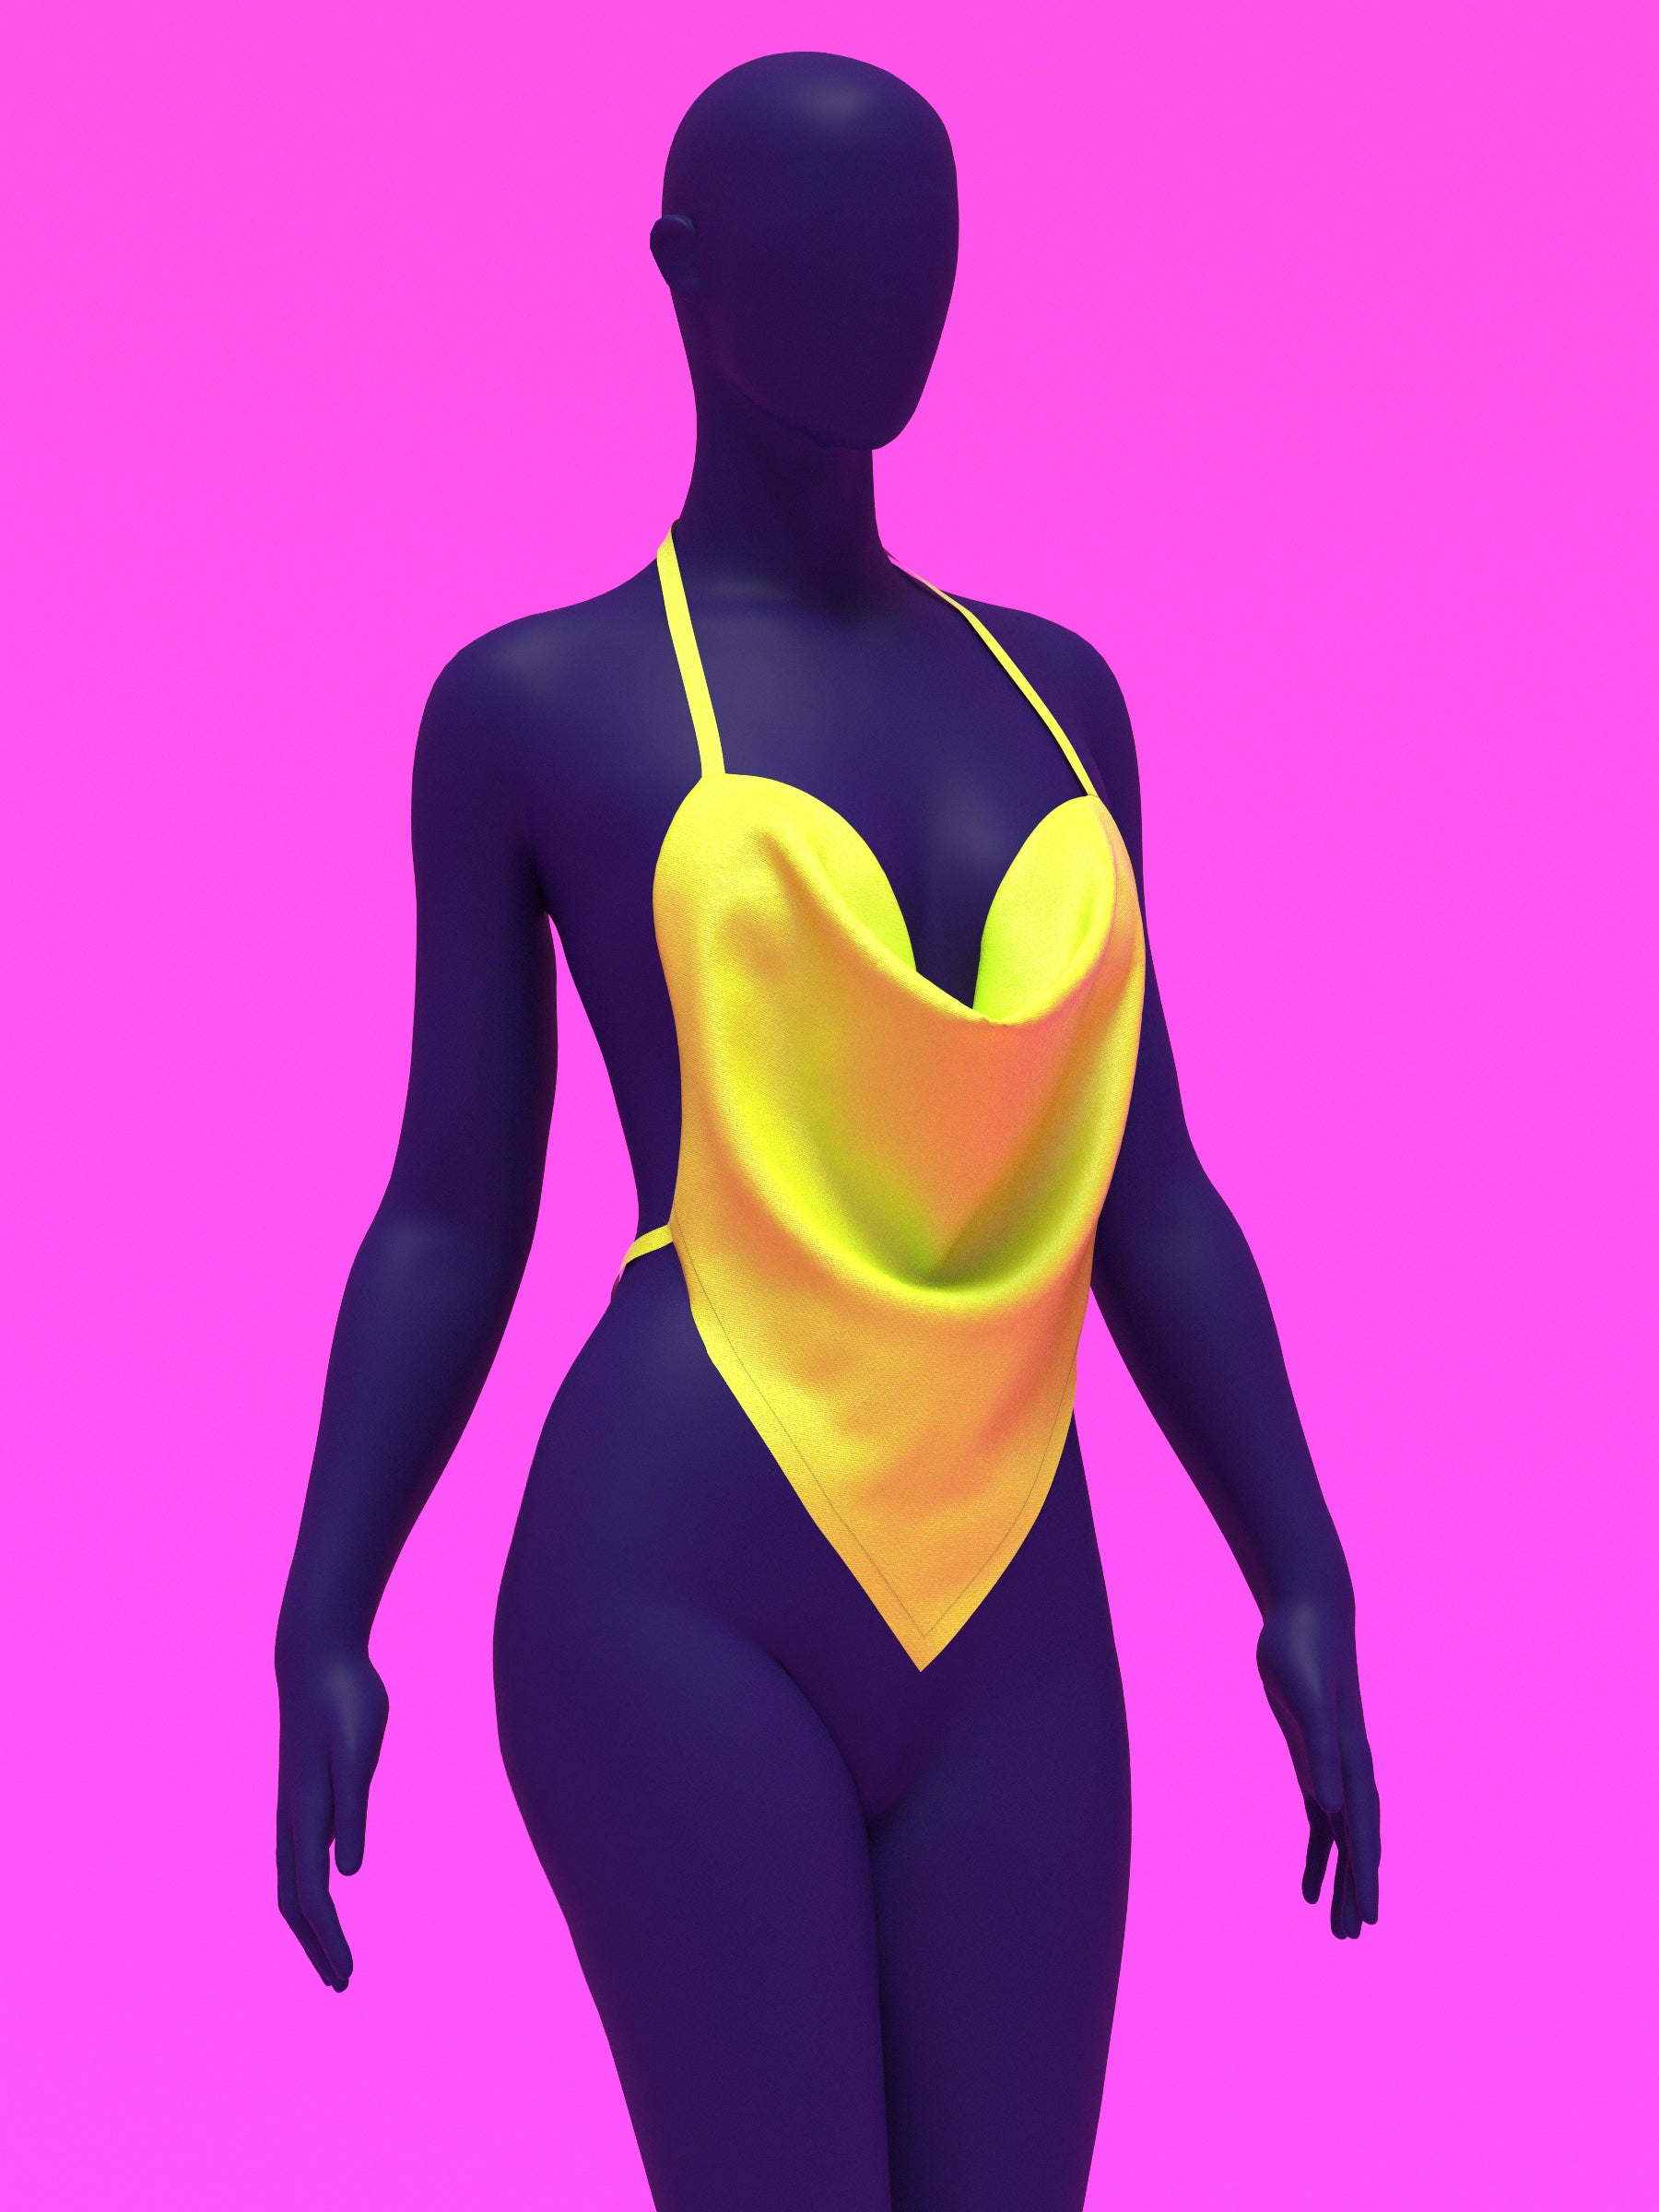
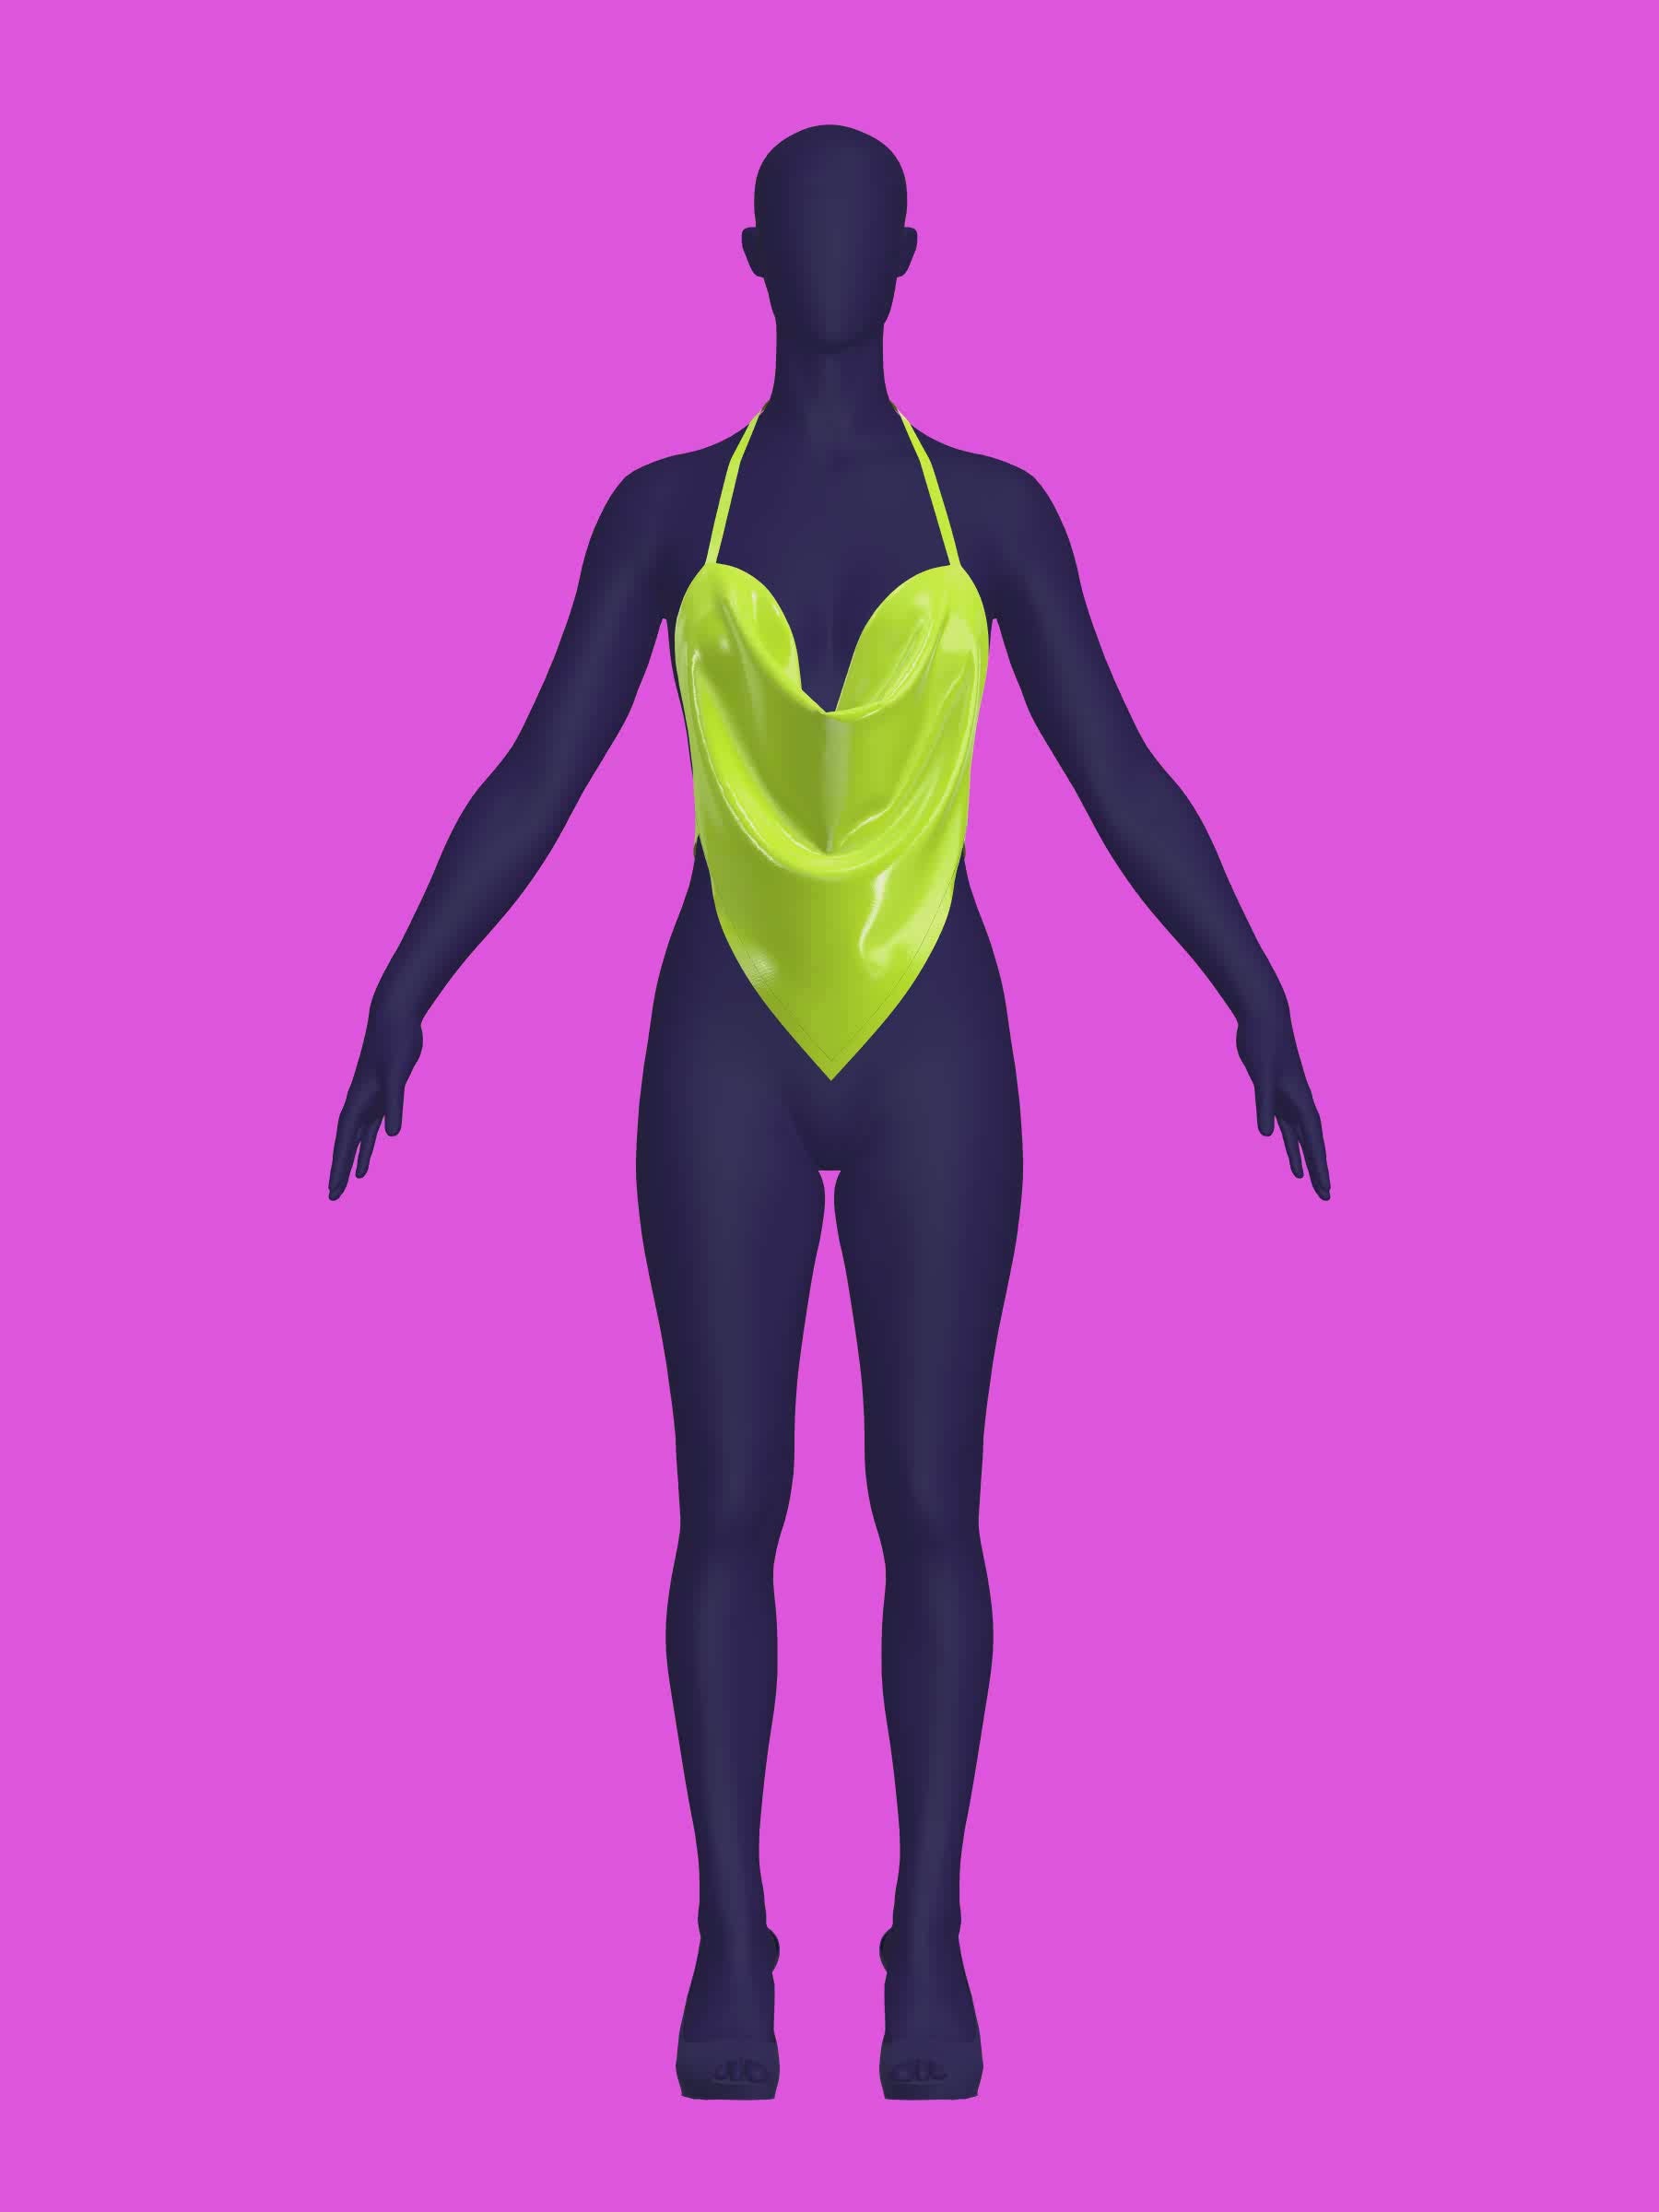
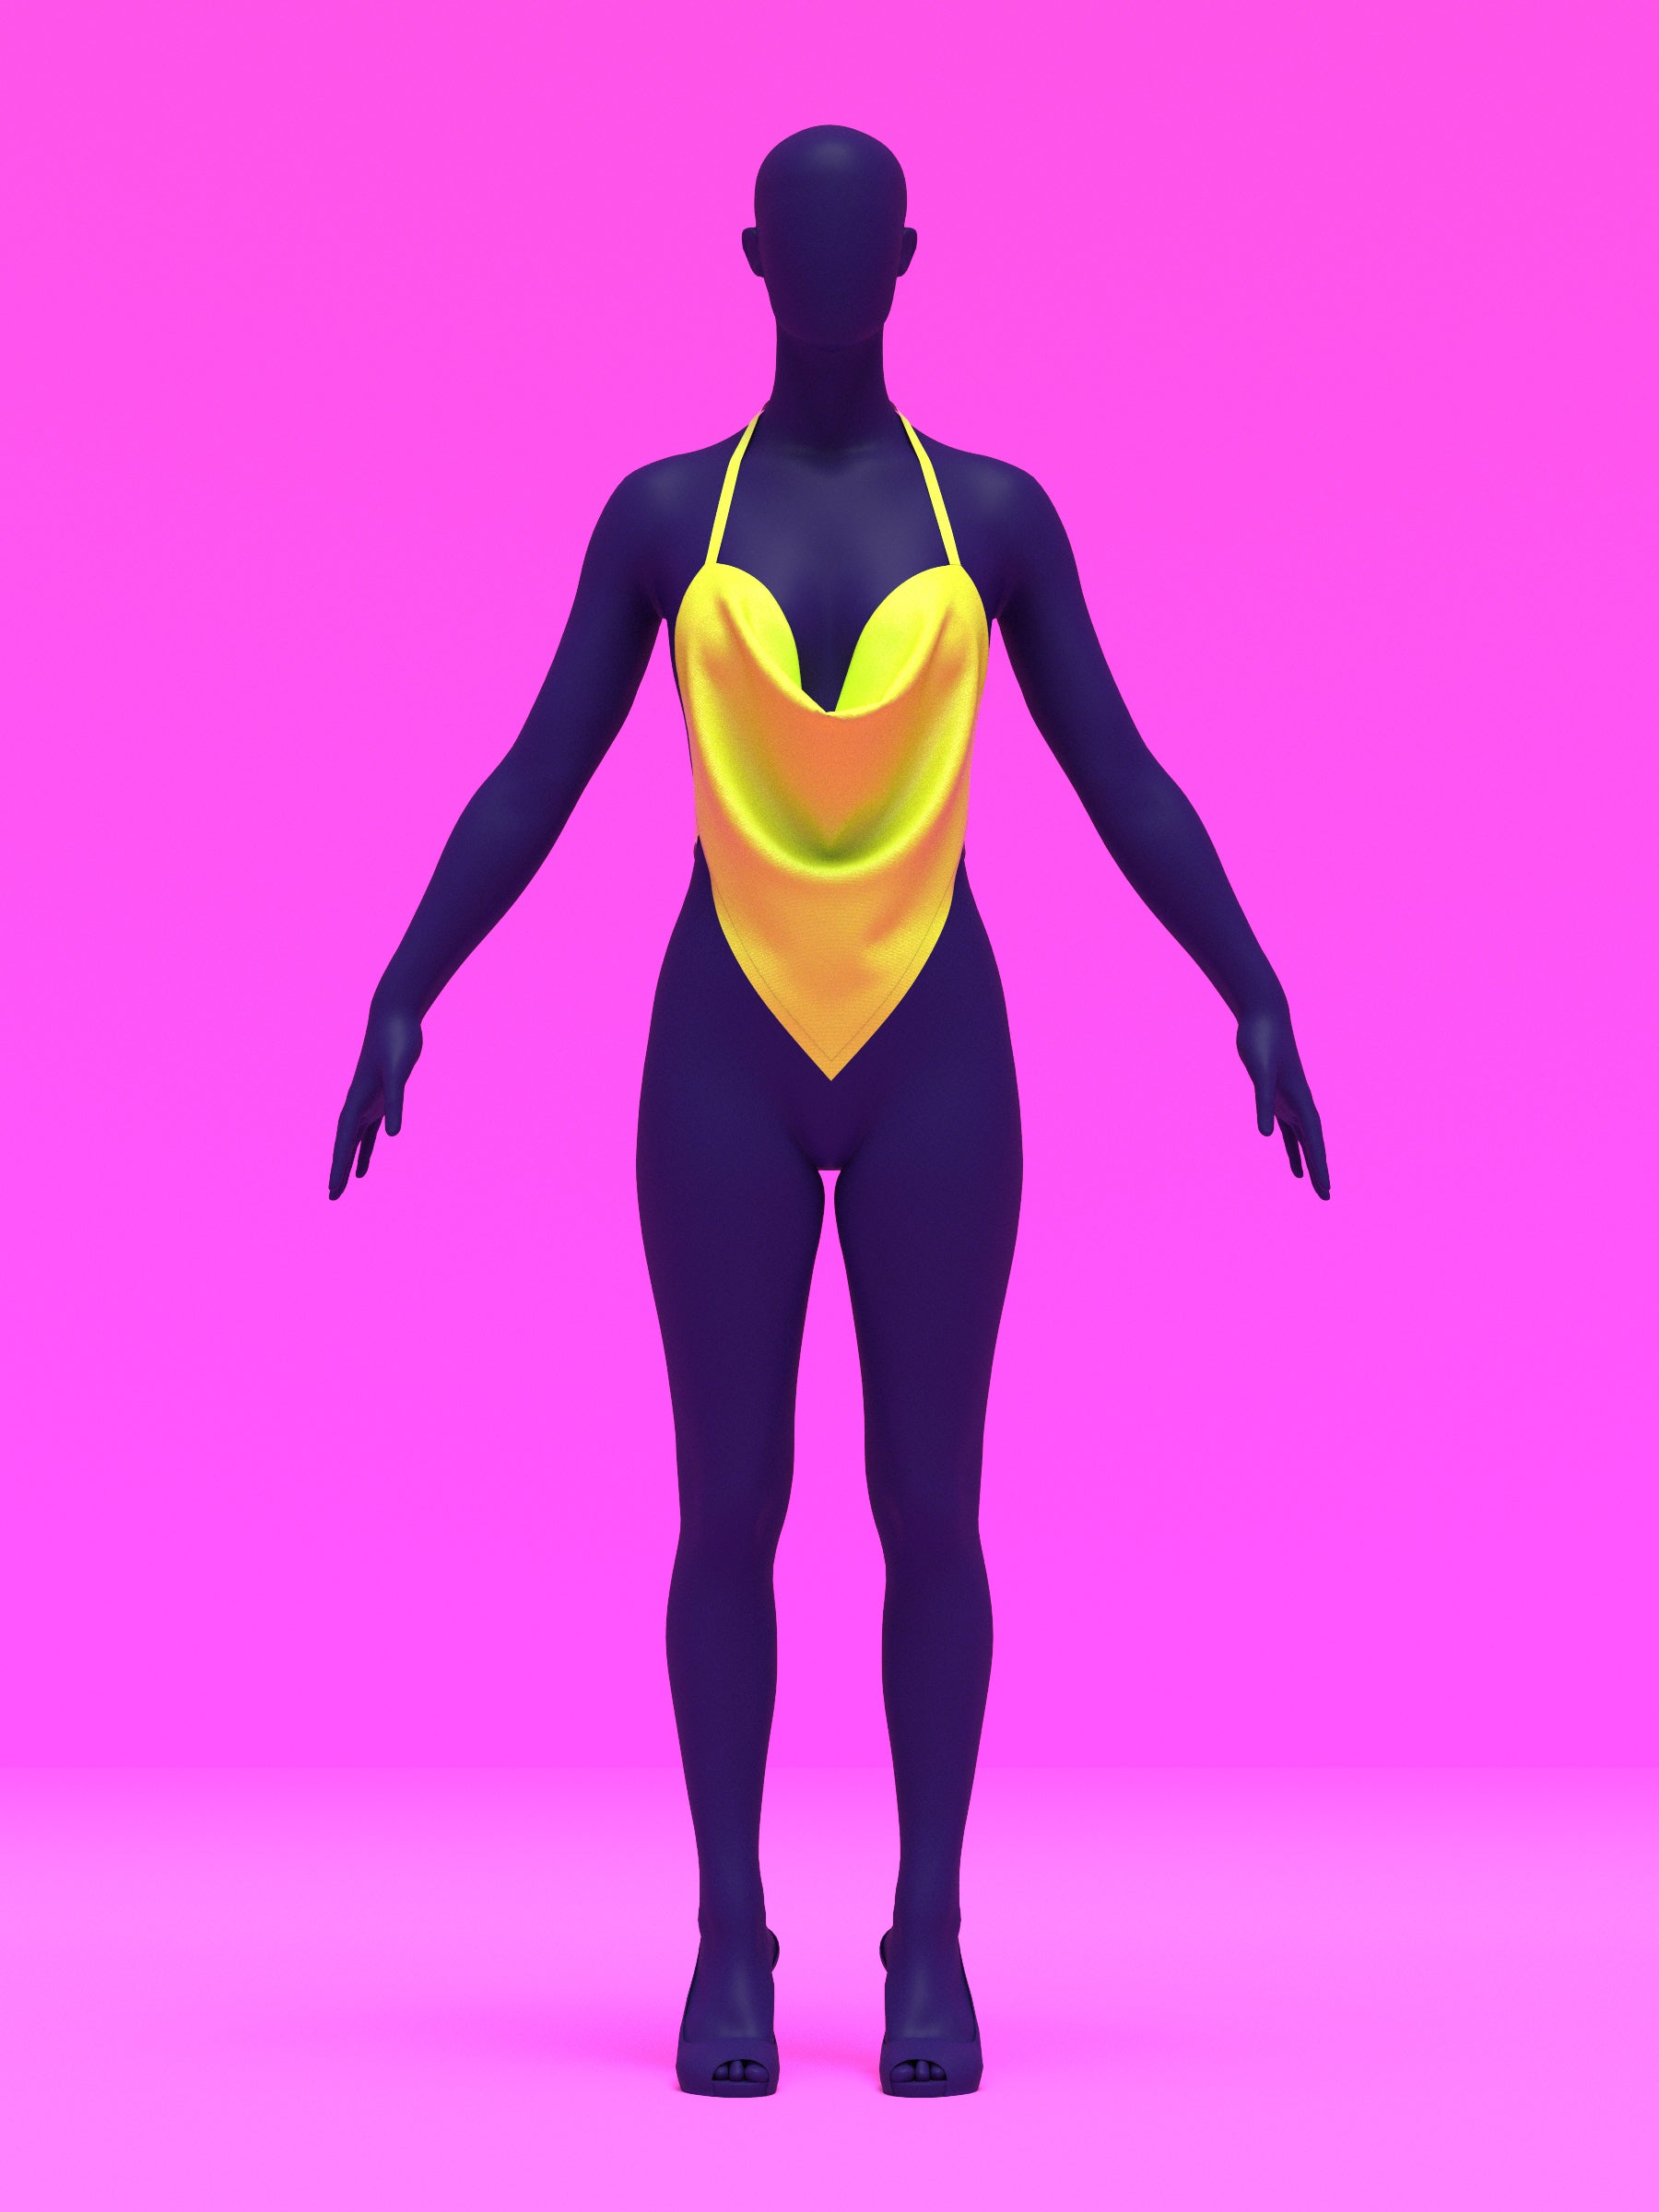
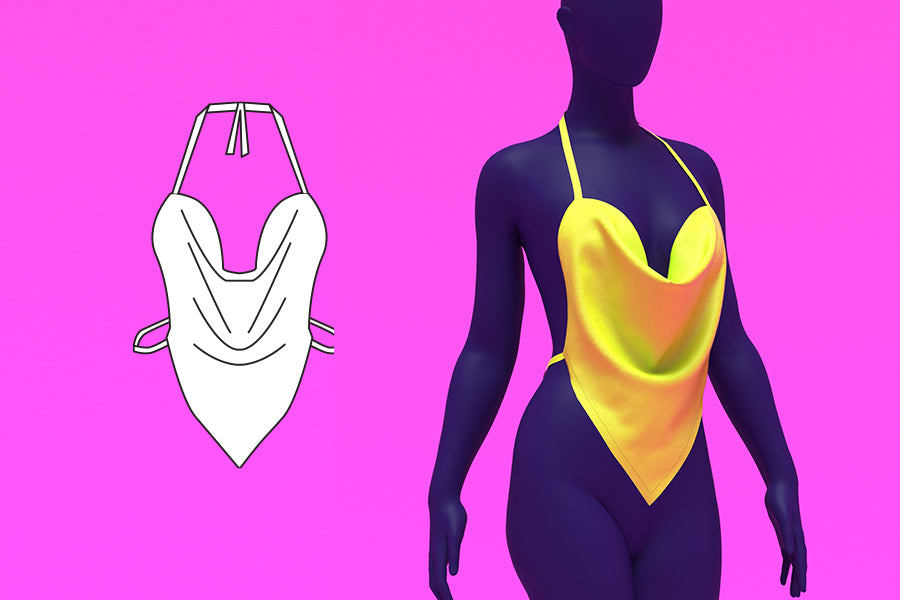
Aprende a coser nuestro patrón de top sexy con cuello vuelto. Este tutorial de costura DIY te guía paso a paso, desde cortar la tela hasta colocar los tirantes y las entretelas...
Yardas de tela
Este patrón funciona mejor con telas bielásticas para un ajuste ceñido y ceñido. También se puede confeccionar con telas no elásticas; solo elige una talla más. A continuación, encontrarás tablas de medidas para nuestras tallas Drag Queen y para mujer estándar, para ayudarte a determinar cuánta tela necesitarás.
Tallas de Drag Queens
| Tamaño | Patios de telas |
|---|---|
| XS | 0,75 |
| S | 0,75 |
| METRO | 0,75 |
| Yo | 0,75 |
| SG | 0,75 |
| 2X | 0,75 |
| 3X | 0,75 |
| 4X | 1 |
Tallas de mujer
| Tamaño | Patios de telas |
|---|---|
| 0–2 | 0,75 |
| 4–6 | 0,75 |
| 8–10 | 0,75 |
| 12–14 | 0,75 |
| 16–18 | 0,75 |
Detalles de tallas
Disponible en nuestros exclusivos tamaños de drag queen XS a 4X y tamaños estándar de mujer 2 a 18, lo que garantiza un ajuste sorprendente para varios tipos de cuerpo.
Tallas de Drag Queen
| Tallas | XS | S | METRO | Yo | SG | 2X | 3X | 4X | |||
|---|---|---|---|---|---|---|---|---|---|---|---|
| Pulgadas | |||||||||||
| Busto | 35”-37” | 38”-40” | 40”-42” | 44”-46” | 47”-49” | 50”-52” | 53”-55” | 56”-58” | |||
| Cintura | 26”-28” | 29”-31” | 32”-34” | 35”-37” | 38”-40” | 41”-43” | 44”-46” | 47”-49” | |||
| Caderas | 37”-39” | 40”-42” | 43”-45” | 46”-48” | 49”-51” | 52”-54” | 54”-56” | 58”-60” | |||
| Altura | 70" | 70" | 70" | 70" | 70" | 70" | 70" | 70" | |||
| Centímetros | |||||||||||
| Busto | 89-94 | 96-102 | 102-107 | 112-117 | 119-124 | 127-132 | 135-140 | 142-147 | |||
| Cintura | 66-71 | 74-79 | 81-86 | 89-94 | 96-102 | 104-109 | 112-117 | 119-124 | |||
| Caderas | 94-99 | 102-107 | 109-114 | 117-122 | 124-130 | 132-137 | 137-142 | 147-152 | |||
| Altura | 178 | 178 | 178 | 178 | 178 | 178 | 178 | 178 | |||
Nuestras exclusivas tallas de drag se basan en las tallas estándar de EE. UU. para hombre y mujer, diseñadas para hombres con relleno y una altura promedio de 180 cm. Presentan torsos más largos, hombros, brazos y piernas más anchos, y una entrepierna más corta en comparación con las tallas estándar de mujer, lo que las hace aptas para cualquier persona que cumpla con las medidas proporcionadas.
Tallas estándar de mujer
| Tallas | 0-2 | 4-6 | 8-10 | 12-14 | 16-18 | ||||
|---|---|---|---|---|---|---|---|---|---|
| Pulgadas | |||||||||
| Busto | 32"-33" | 34"-35" | 36"-37" | 39"-40" | 42"-44" | ||||
| Cintura | 24"-25" | 26"-27" | 28"-29" | 31"-32,5" | 34,5"-37" | ||||
| Caderas | 33"-35" | 37"-38" | 39"-40" | 42"-43" | 45"-47" | ||||
| Altura | 65" | 65" | 65" | 65" | 65" | ||||
| Centímetros | |||||||||
| Busto | 83.8 | 86.4-88.9 | 91,4-94,0 | 99,1-101,6 | 106,7-111,8 | ||||
| Cintura | 63.5 | 66.0-68.6 | 71.1-73.7 | 78,7-82,6 | 87,6-94,0 | ||||
| Caderas | 88.9 | 94.0-96.5 | 99,1-101,6 | 106.7-109.2 | 114.3-119.4 | ||||
| Altura | 165 | 165 | 165 | 165 | 165 | ||||
Telas y artículos de mercería
Instrucciones de costura


Fabric Pieces
After cutting your fabric, you should have the following pieces:
- 1 seamless front piece (cut on a fold)
- 1 seamless front facing (cut on a fold)
- 4 strap peices

STEP 1
Gather one strap piece, fold it vertically in half with the right sides of the fabric facing each other.

STEP 2
Serge the folded ends together and trim off at the half inch seam allowance. If you don't have a serger you can use a stretch stitch or zig zag stitch.
Then flip the strap right side out, using a loop turner or saftey pin.

STEP 3
Serge the bottom edge of the front facing piece.

STEP 4
Gather the front piece, 2 strap pieces and the front facing piece. Layer them right sides facing each other, with the straps in the middle pinning at the strap notch.

STEP 5
Sew the three layers together using a straight stitch or stretch stitch along the top edge and sides, using a half inch seam allowance.

STEP 6
Flip the straps and facing right side out. Then understitch the seams only to the facing edge, then gently press the edges using an iron.

STEP 7
Hem the bottom edges of the top using a rolled hem, folding over twice at a half inch each.

STEP 8
Pin the other 2 straps to the bottom notch under the rolled hem and sew them in place. Sew a couple of lines to secure the straps.
Videotutorial relacionado
Mire nuestro video tutorial relacionado: sigue un proceso de construcción similar y es una excelente referencia.