Cómo coser un corsé de murciélago con vuelo en la cadera
Saltar a instruccionesDescripción general
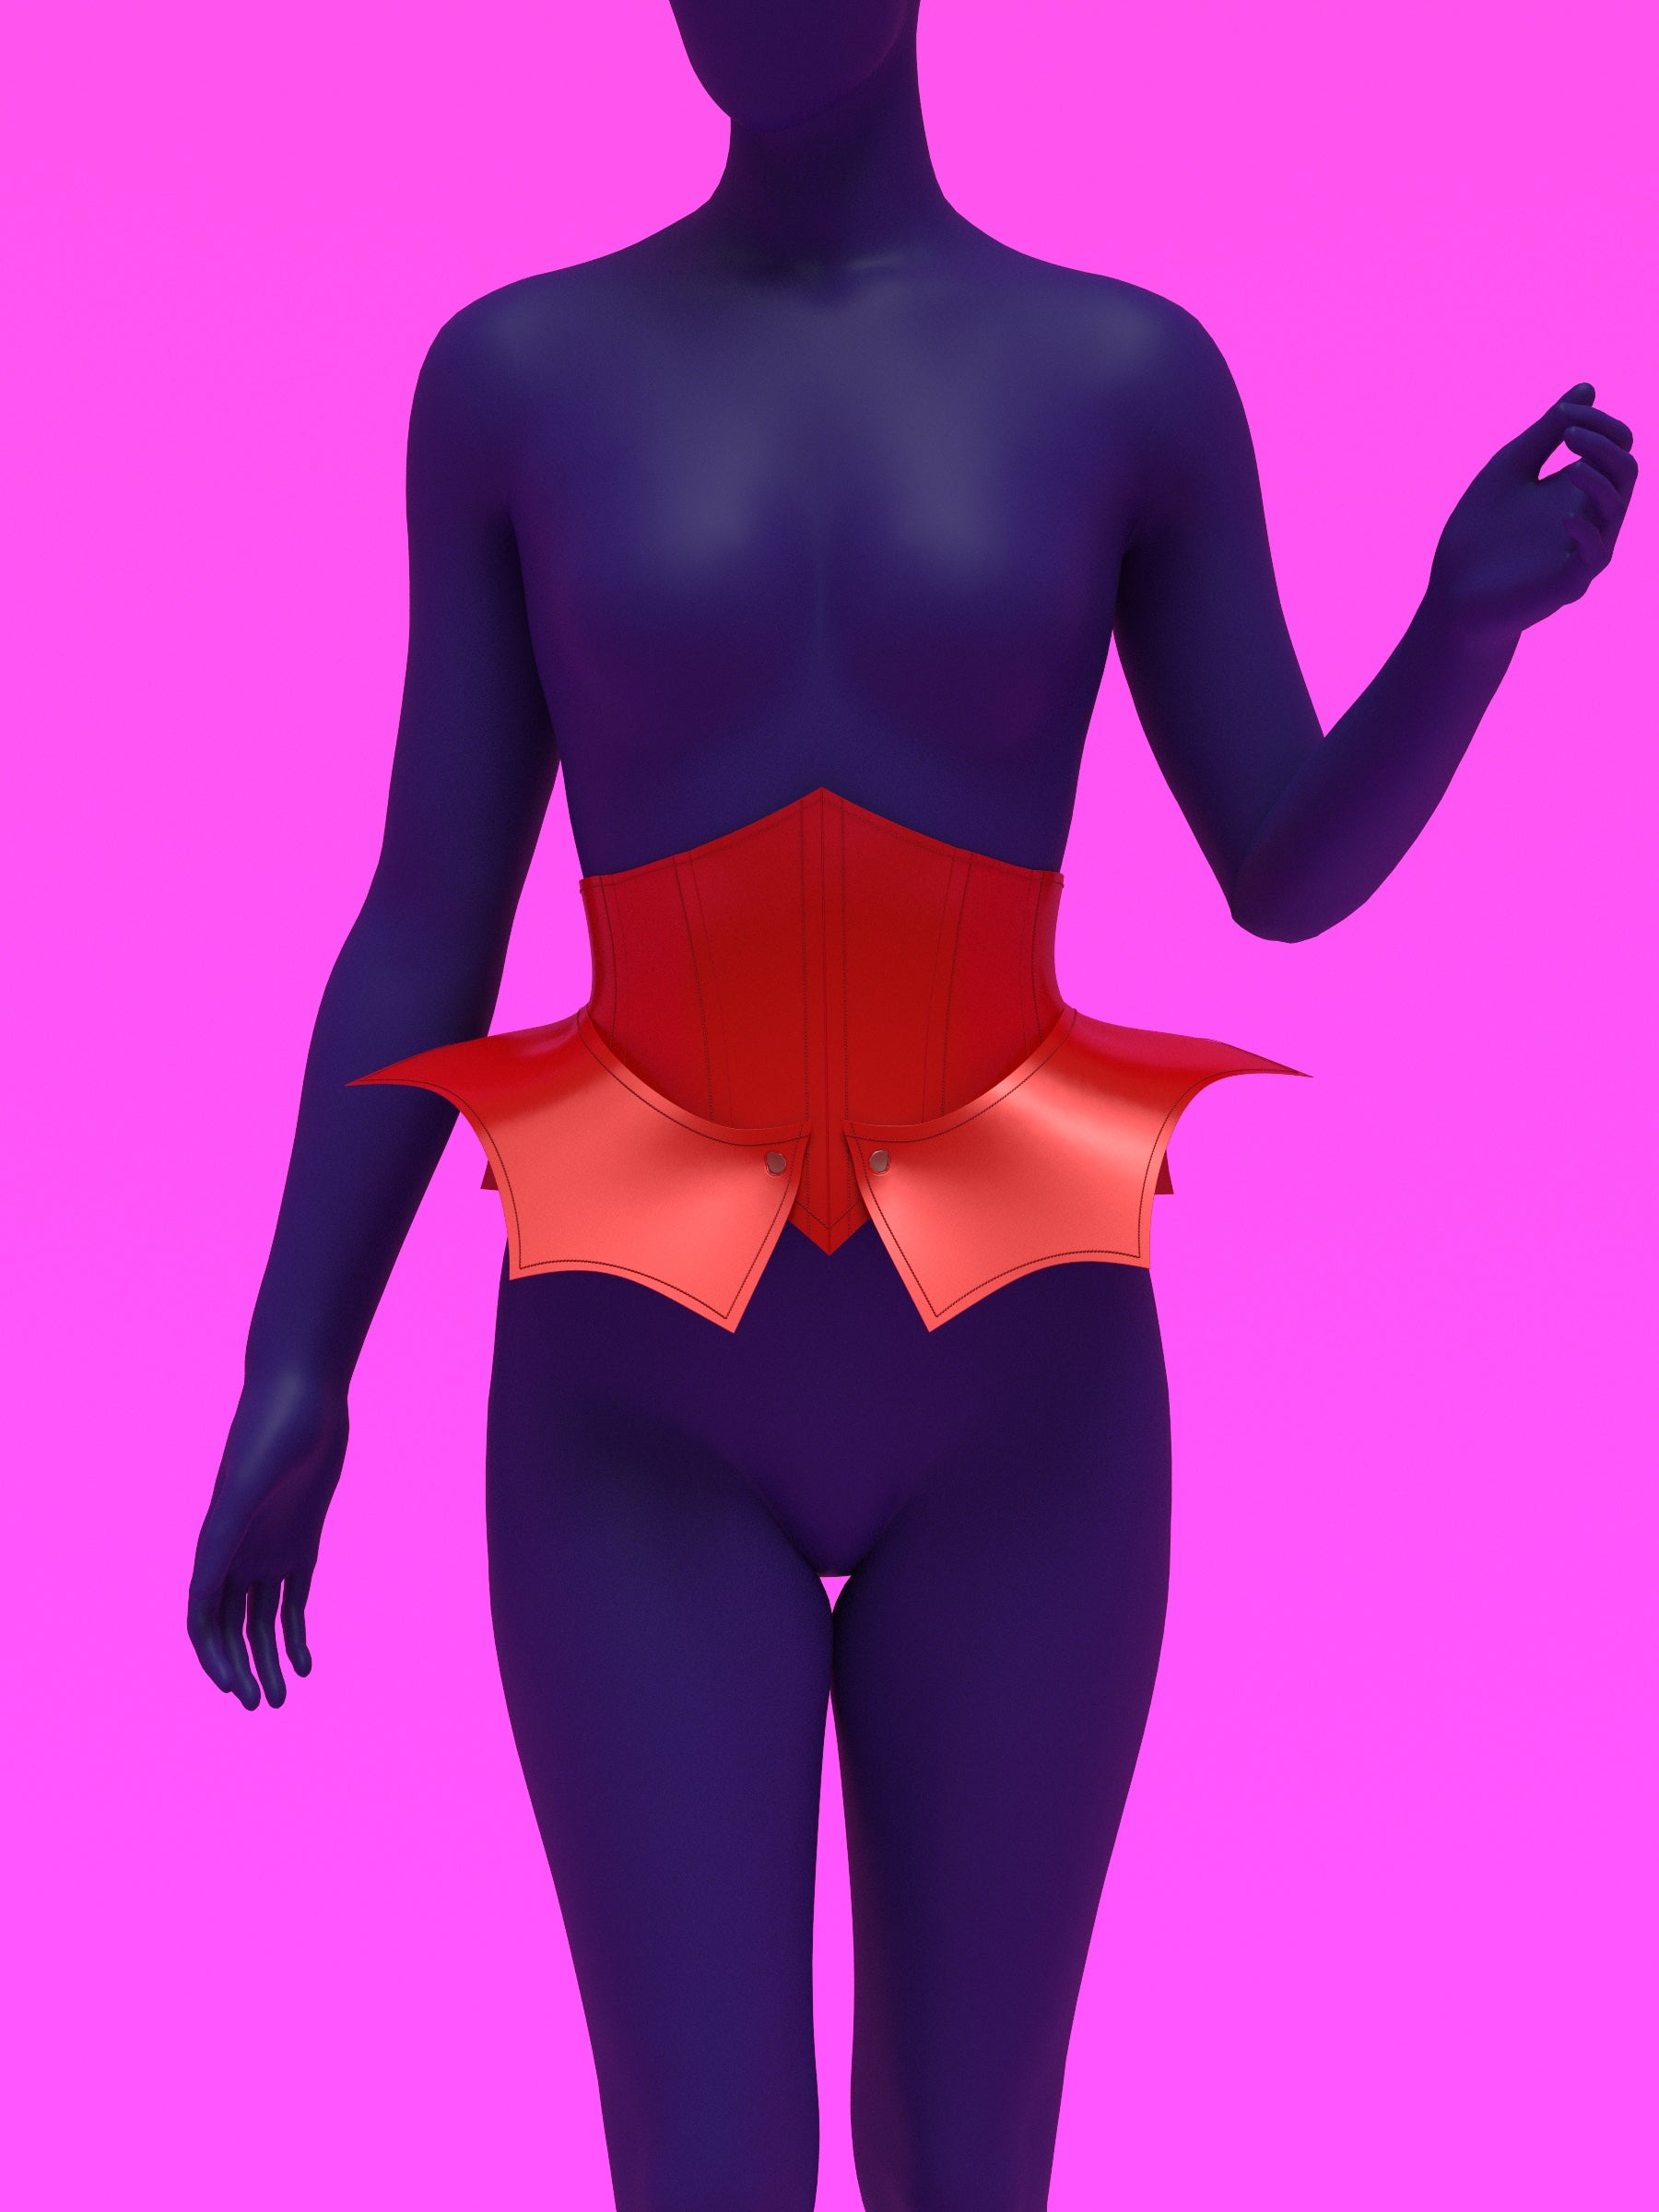
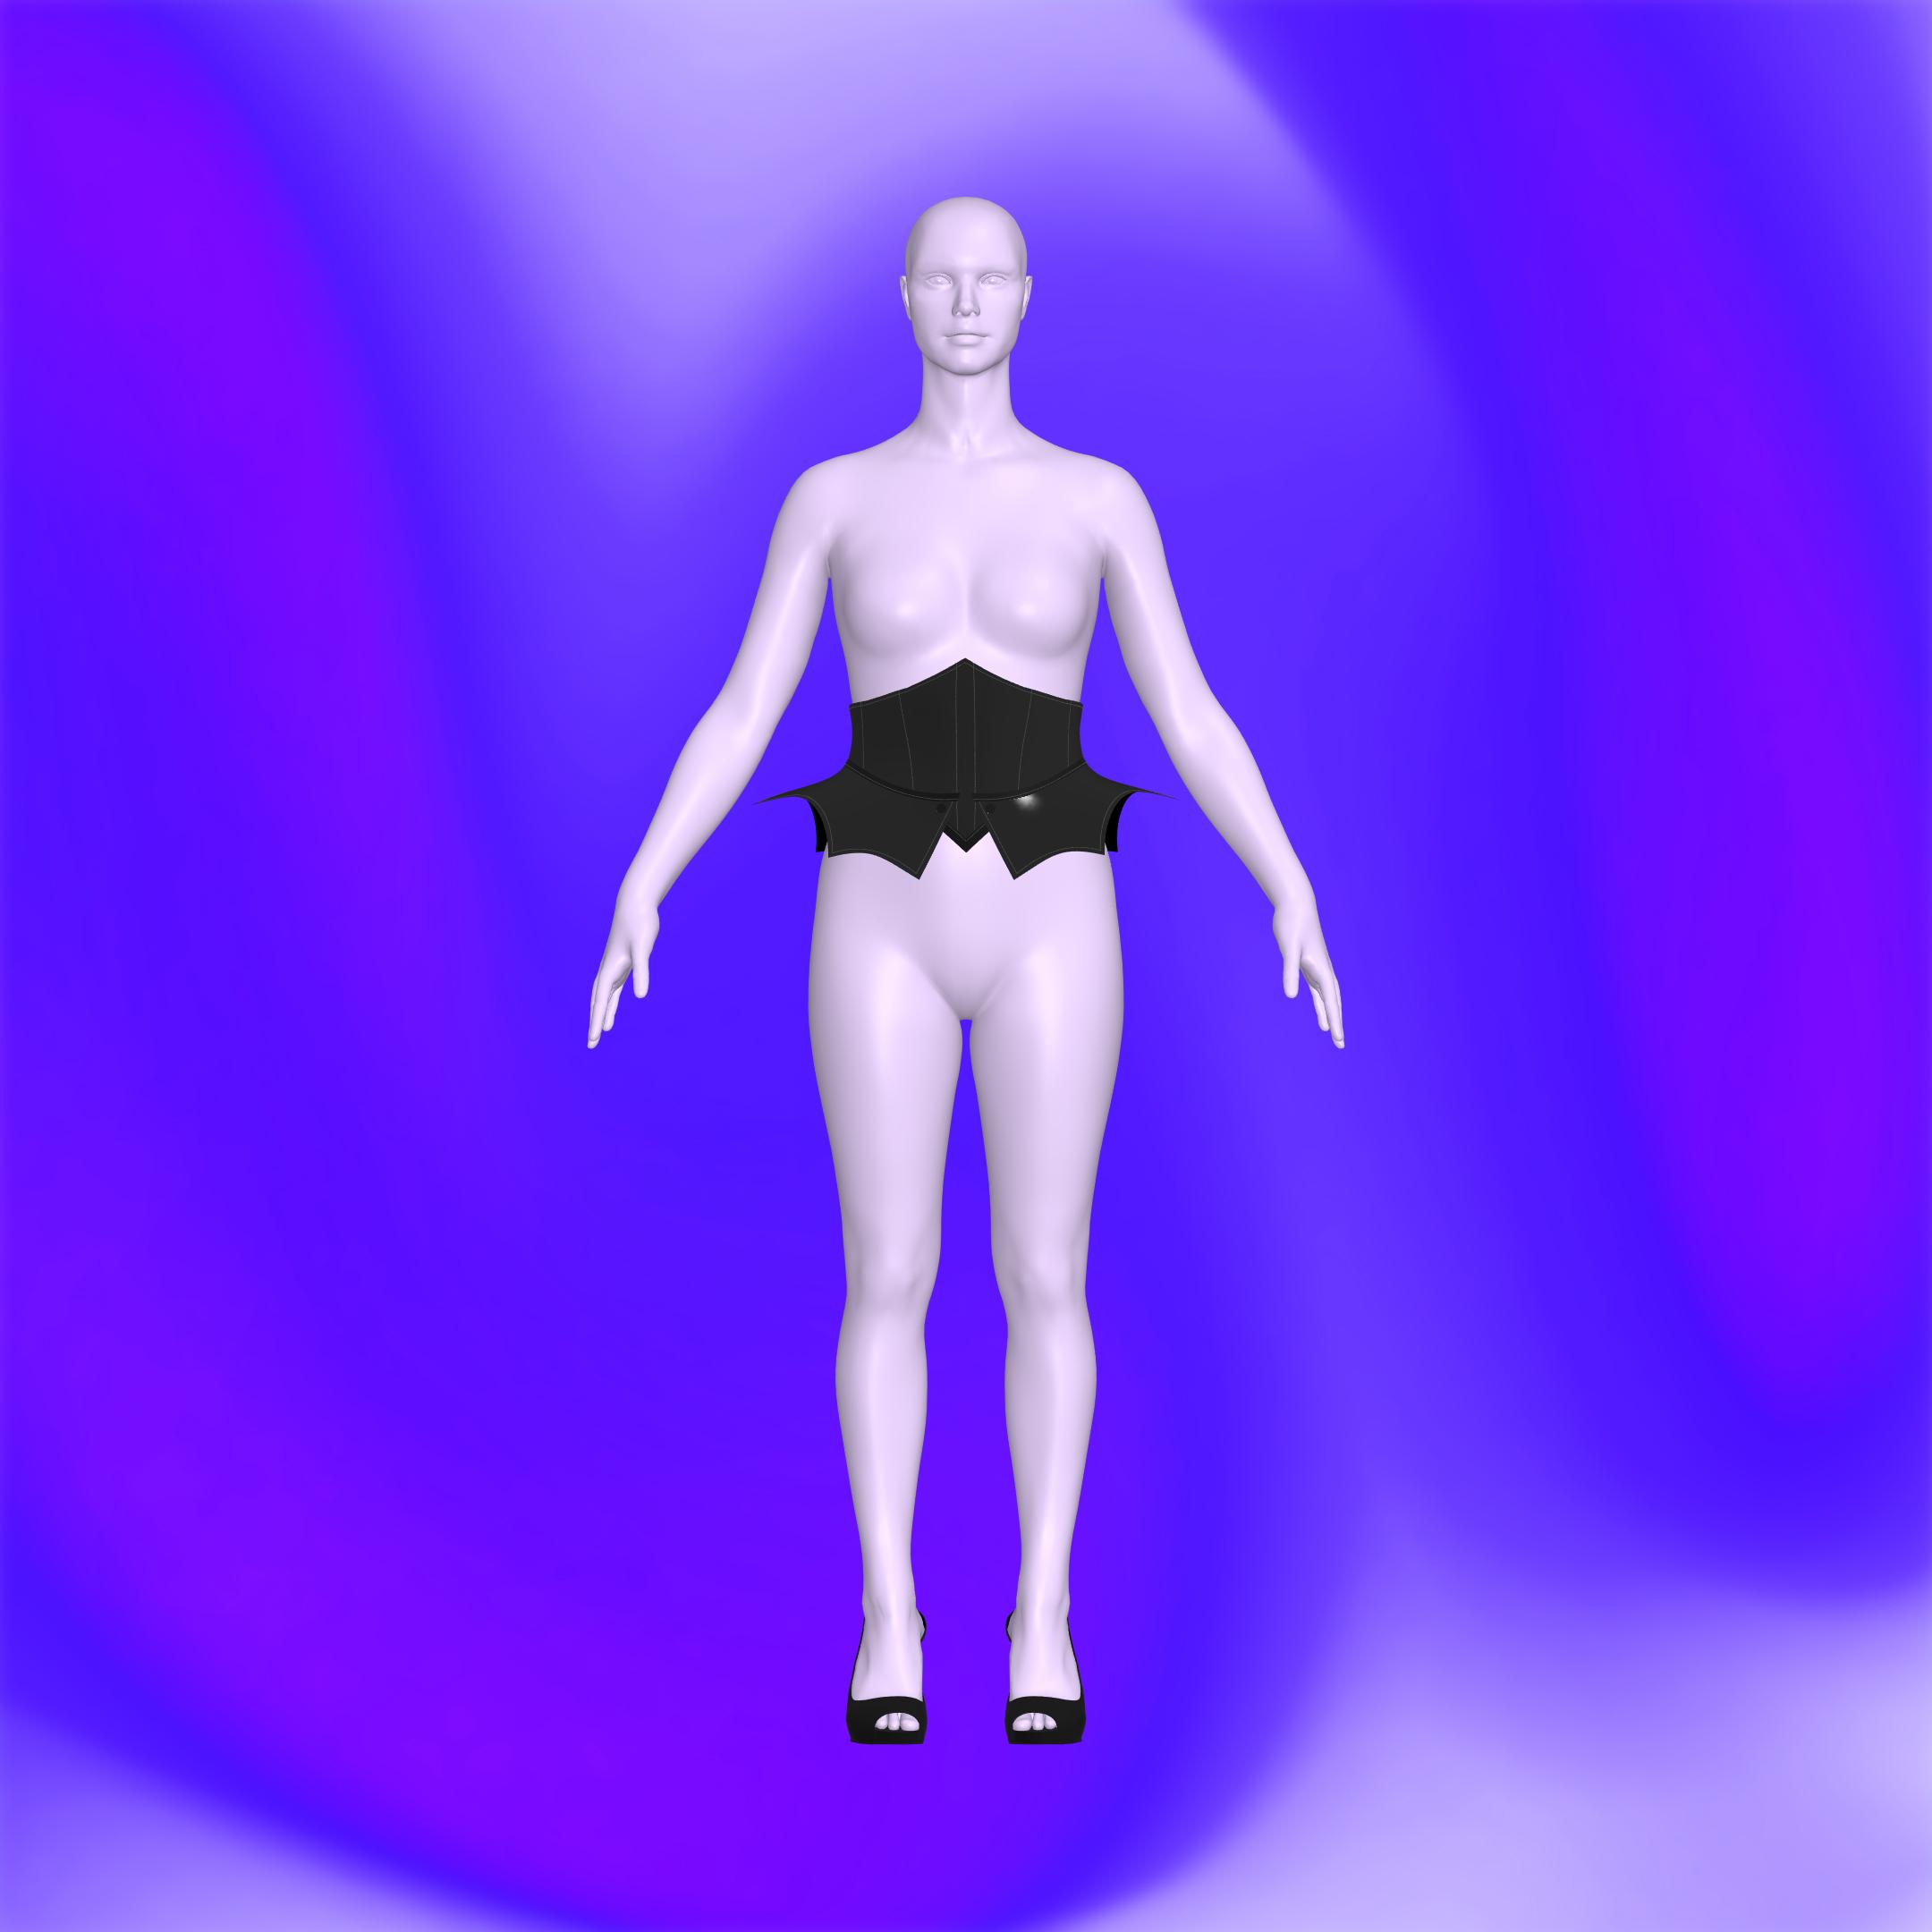
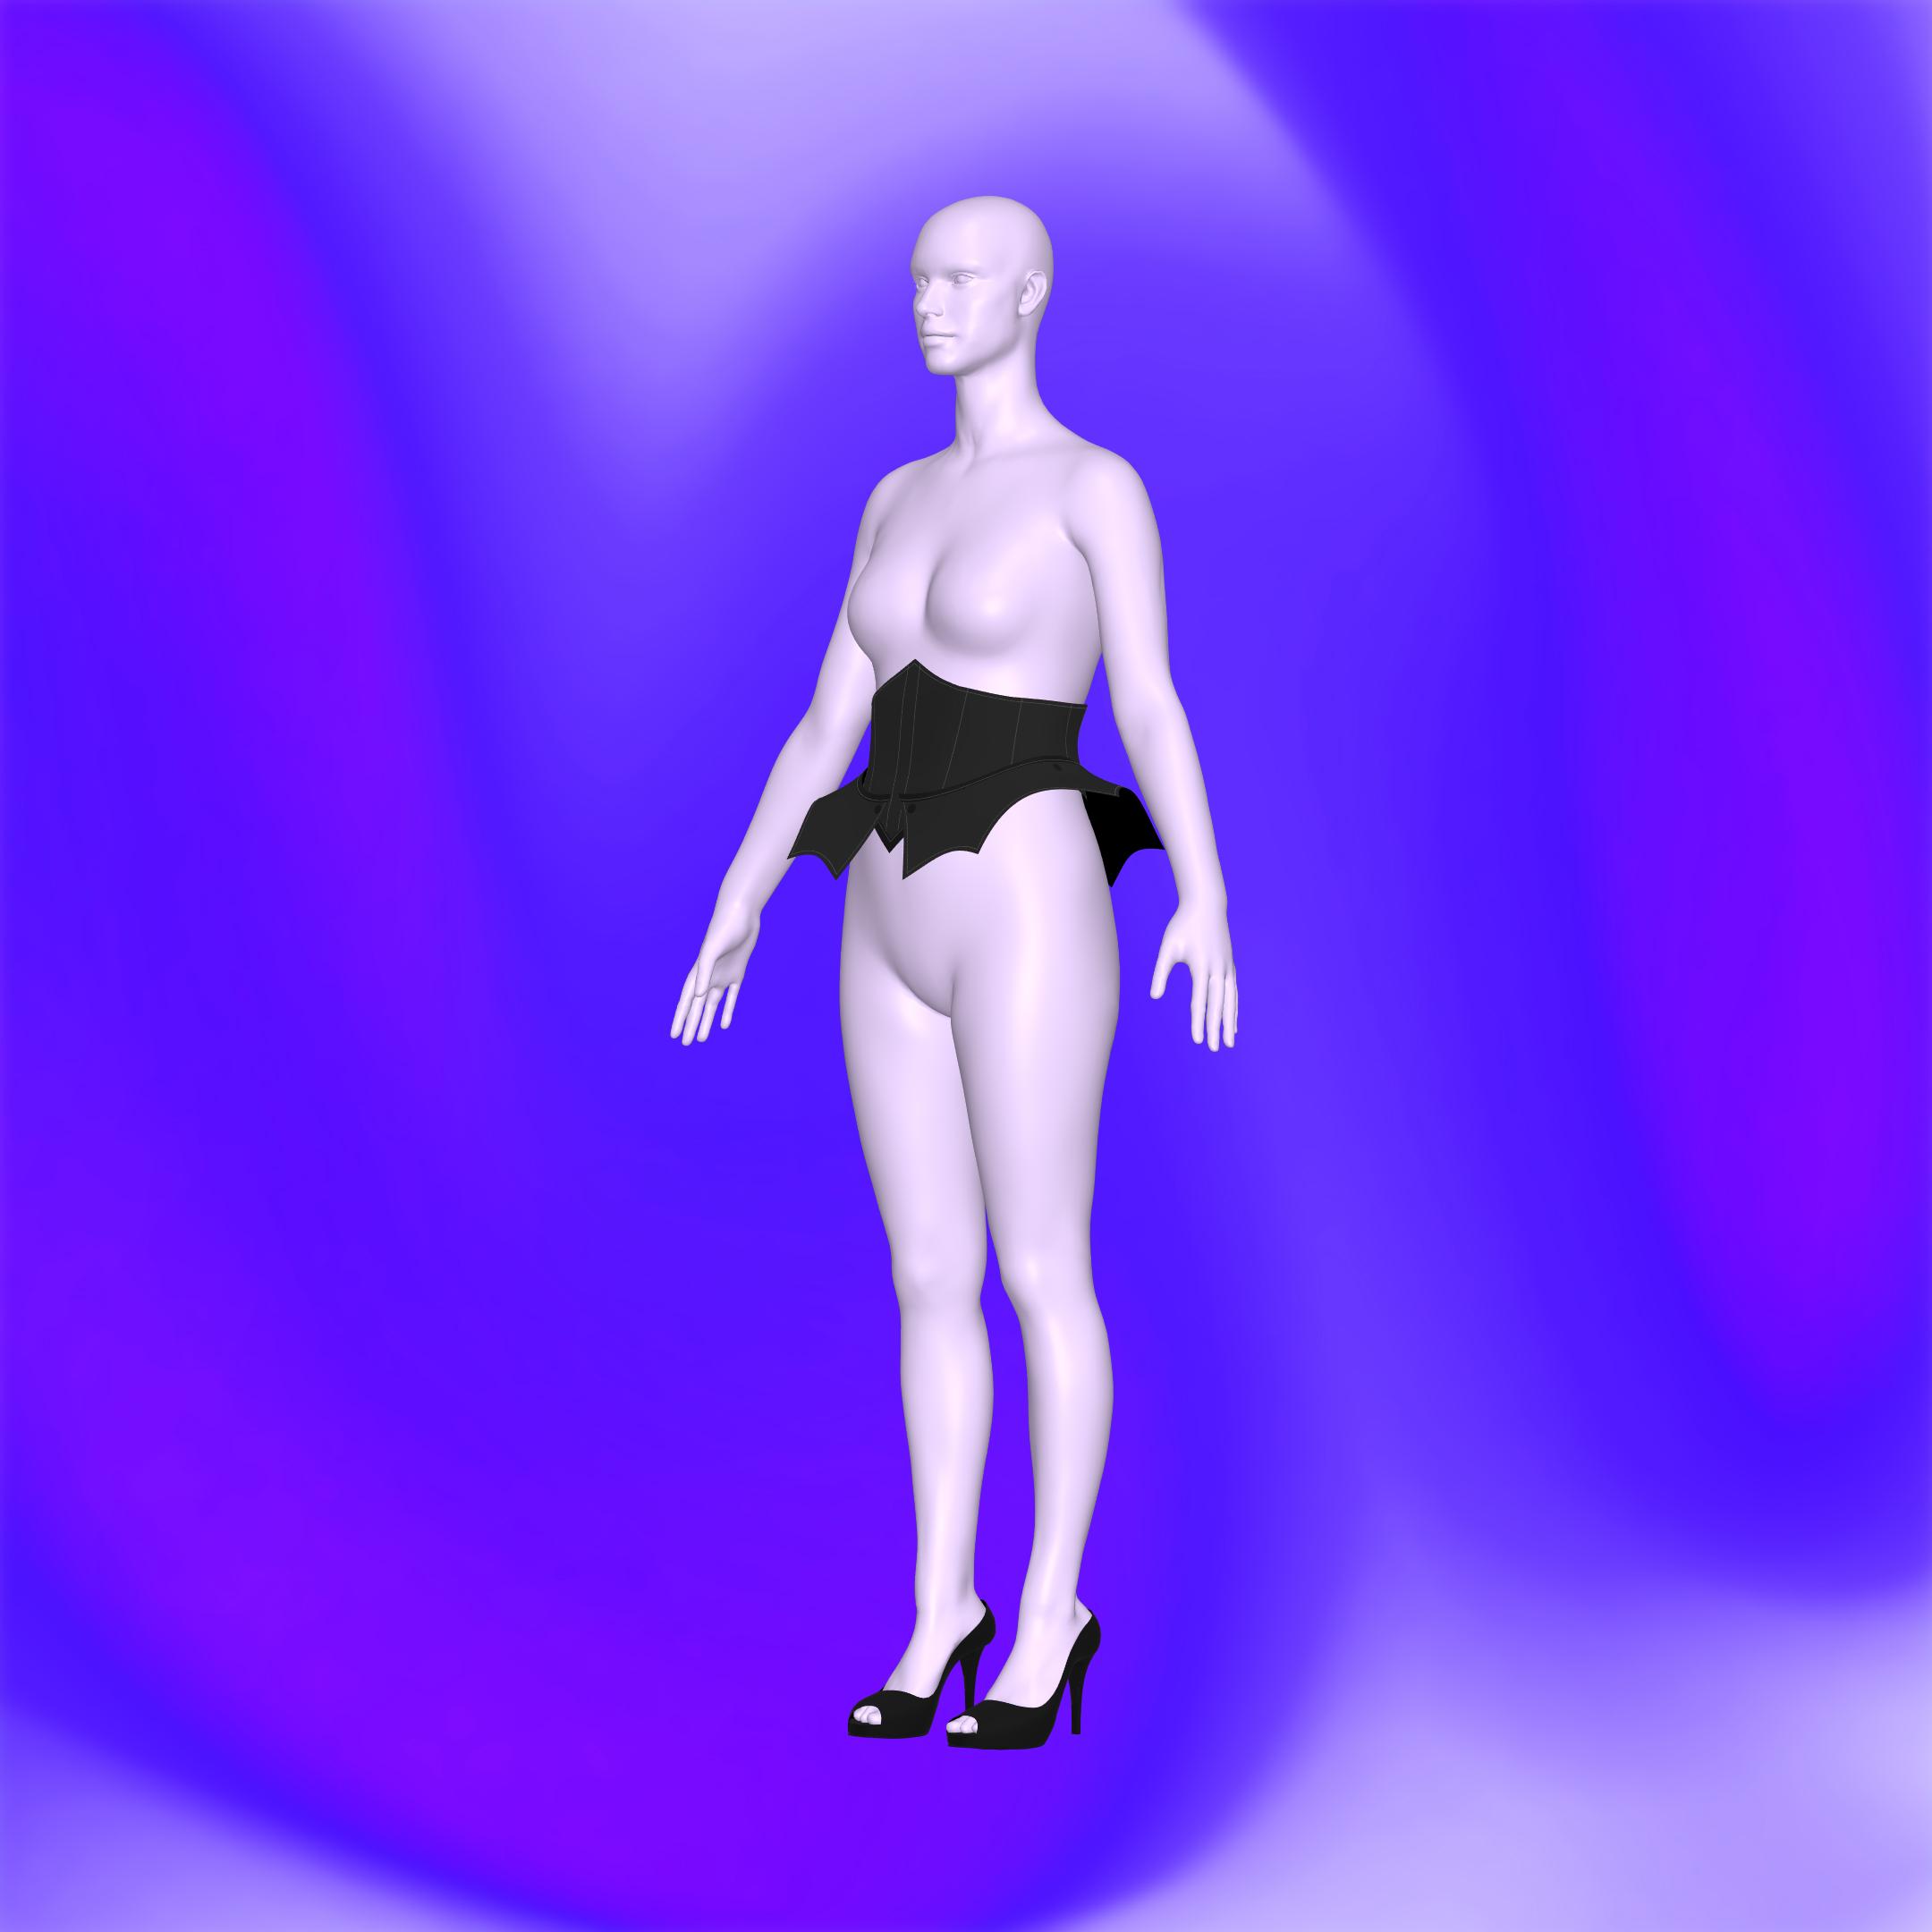
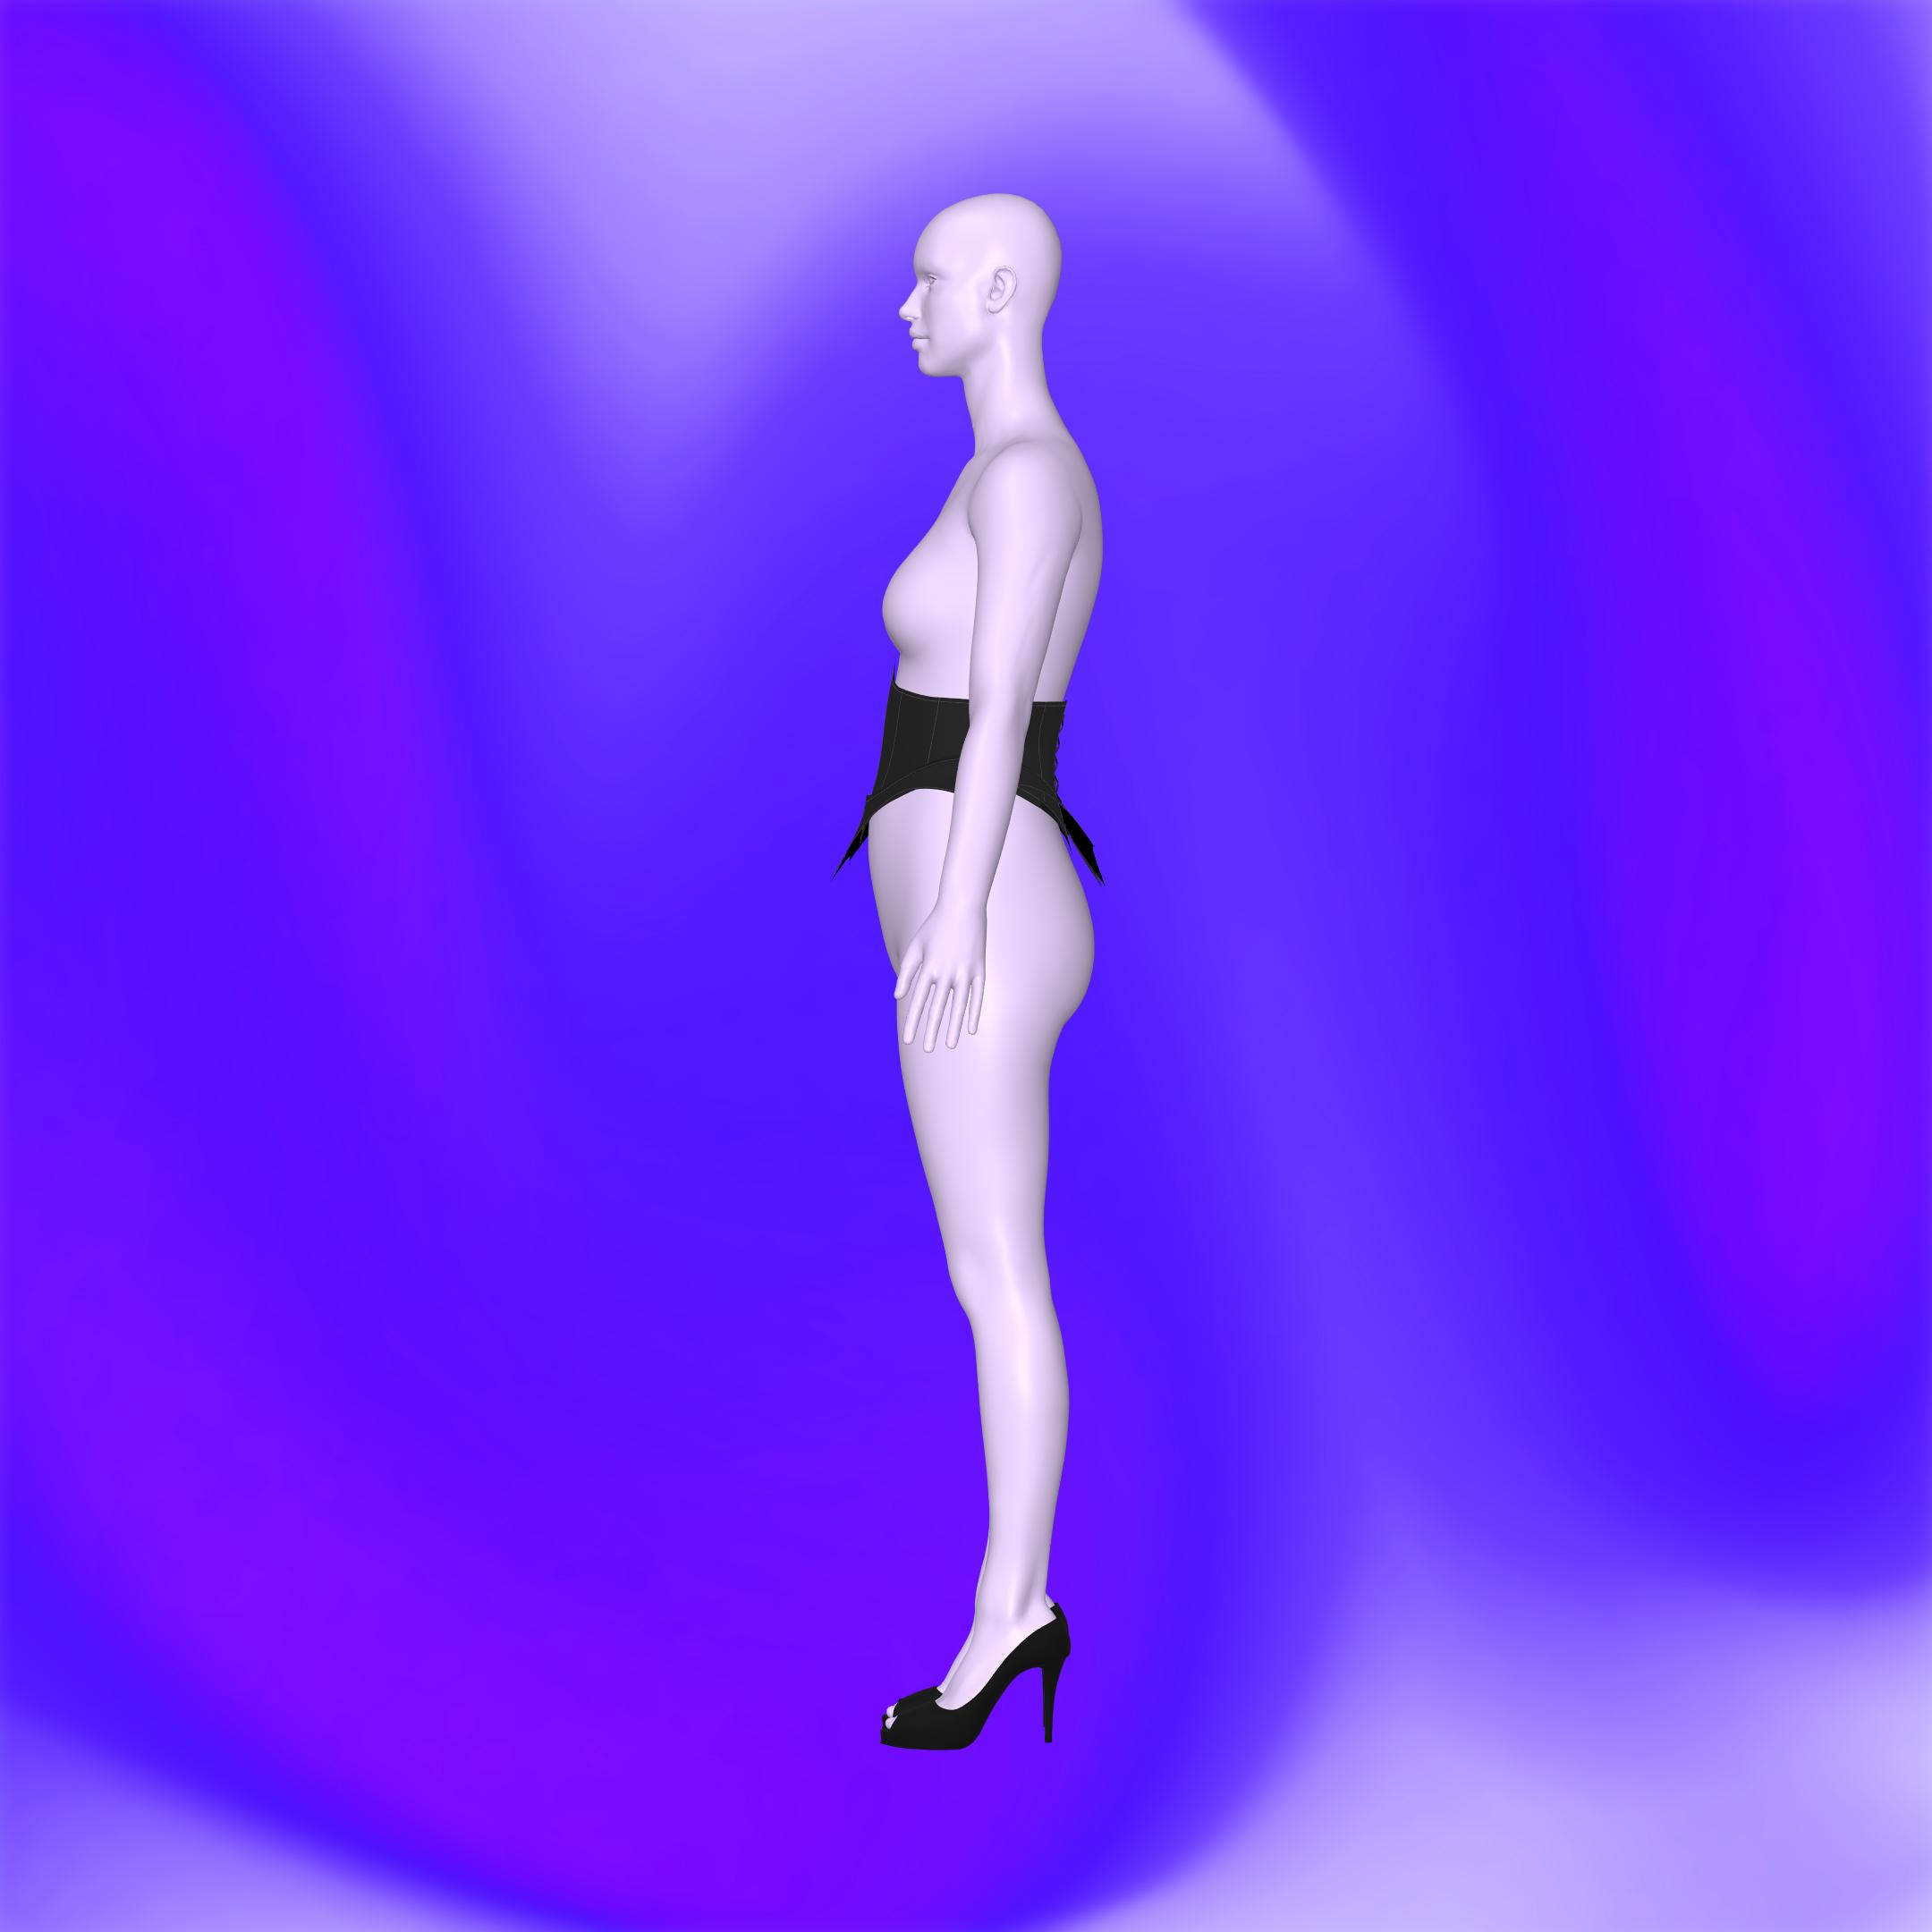
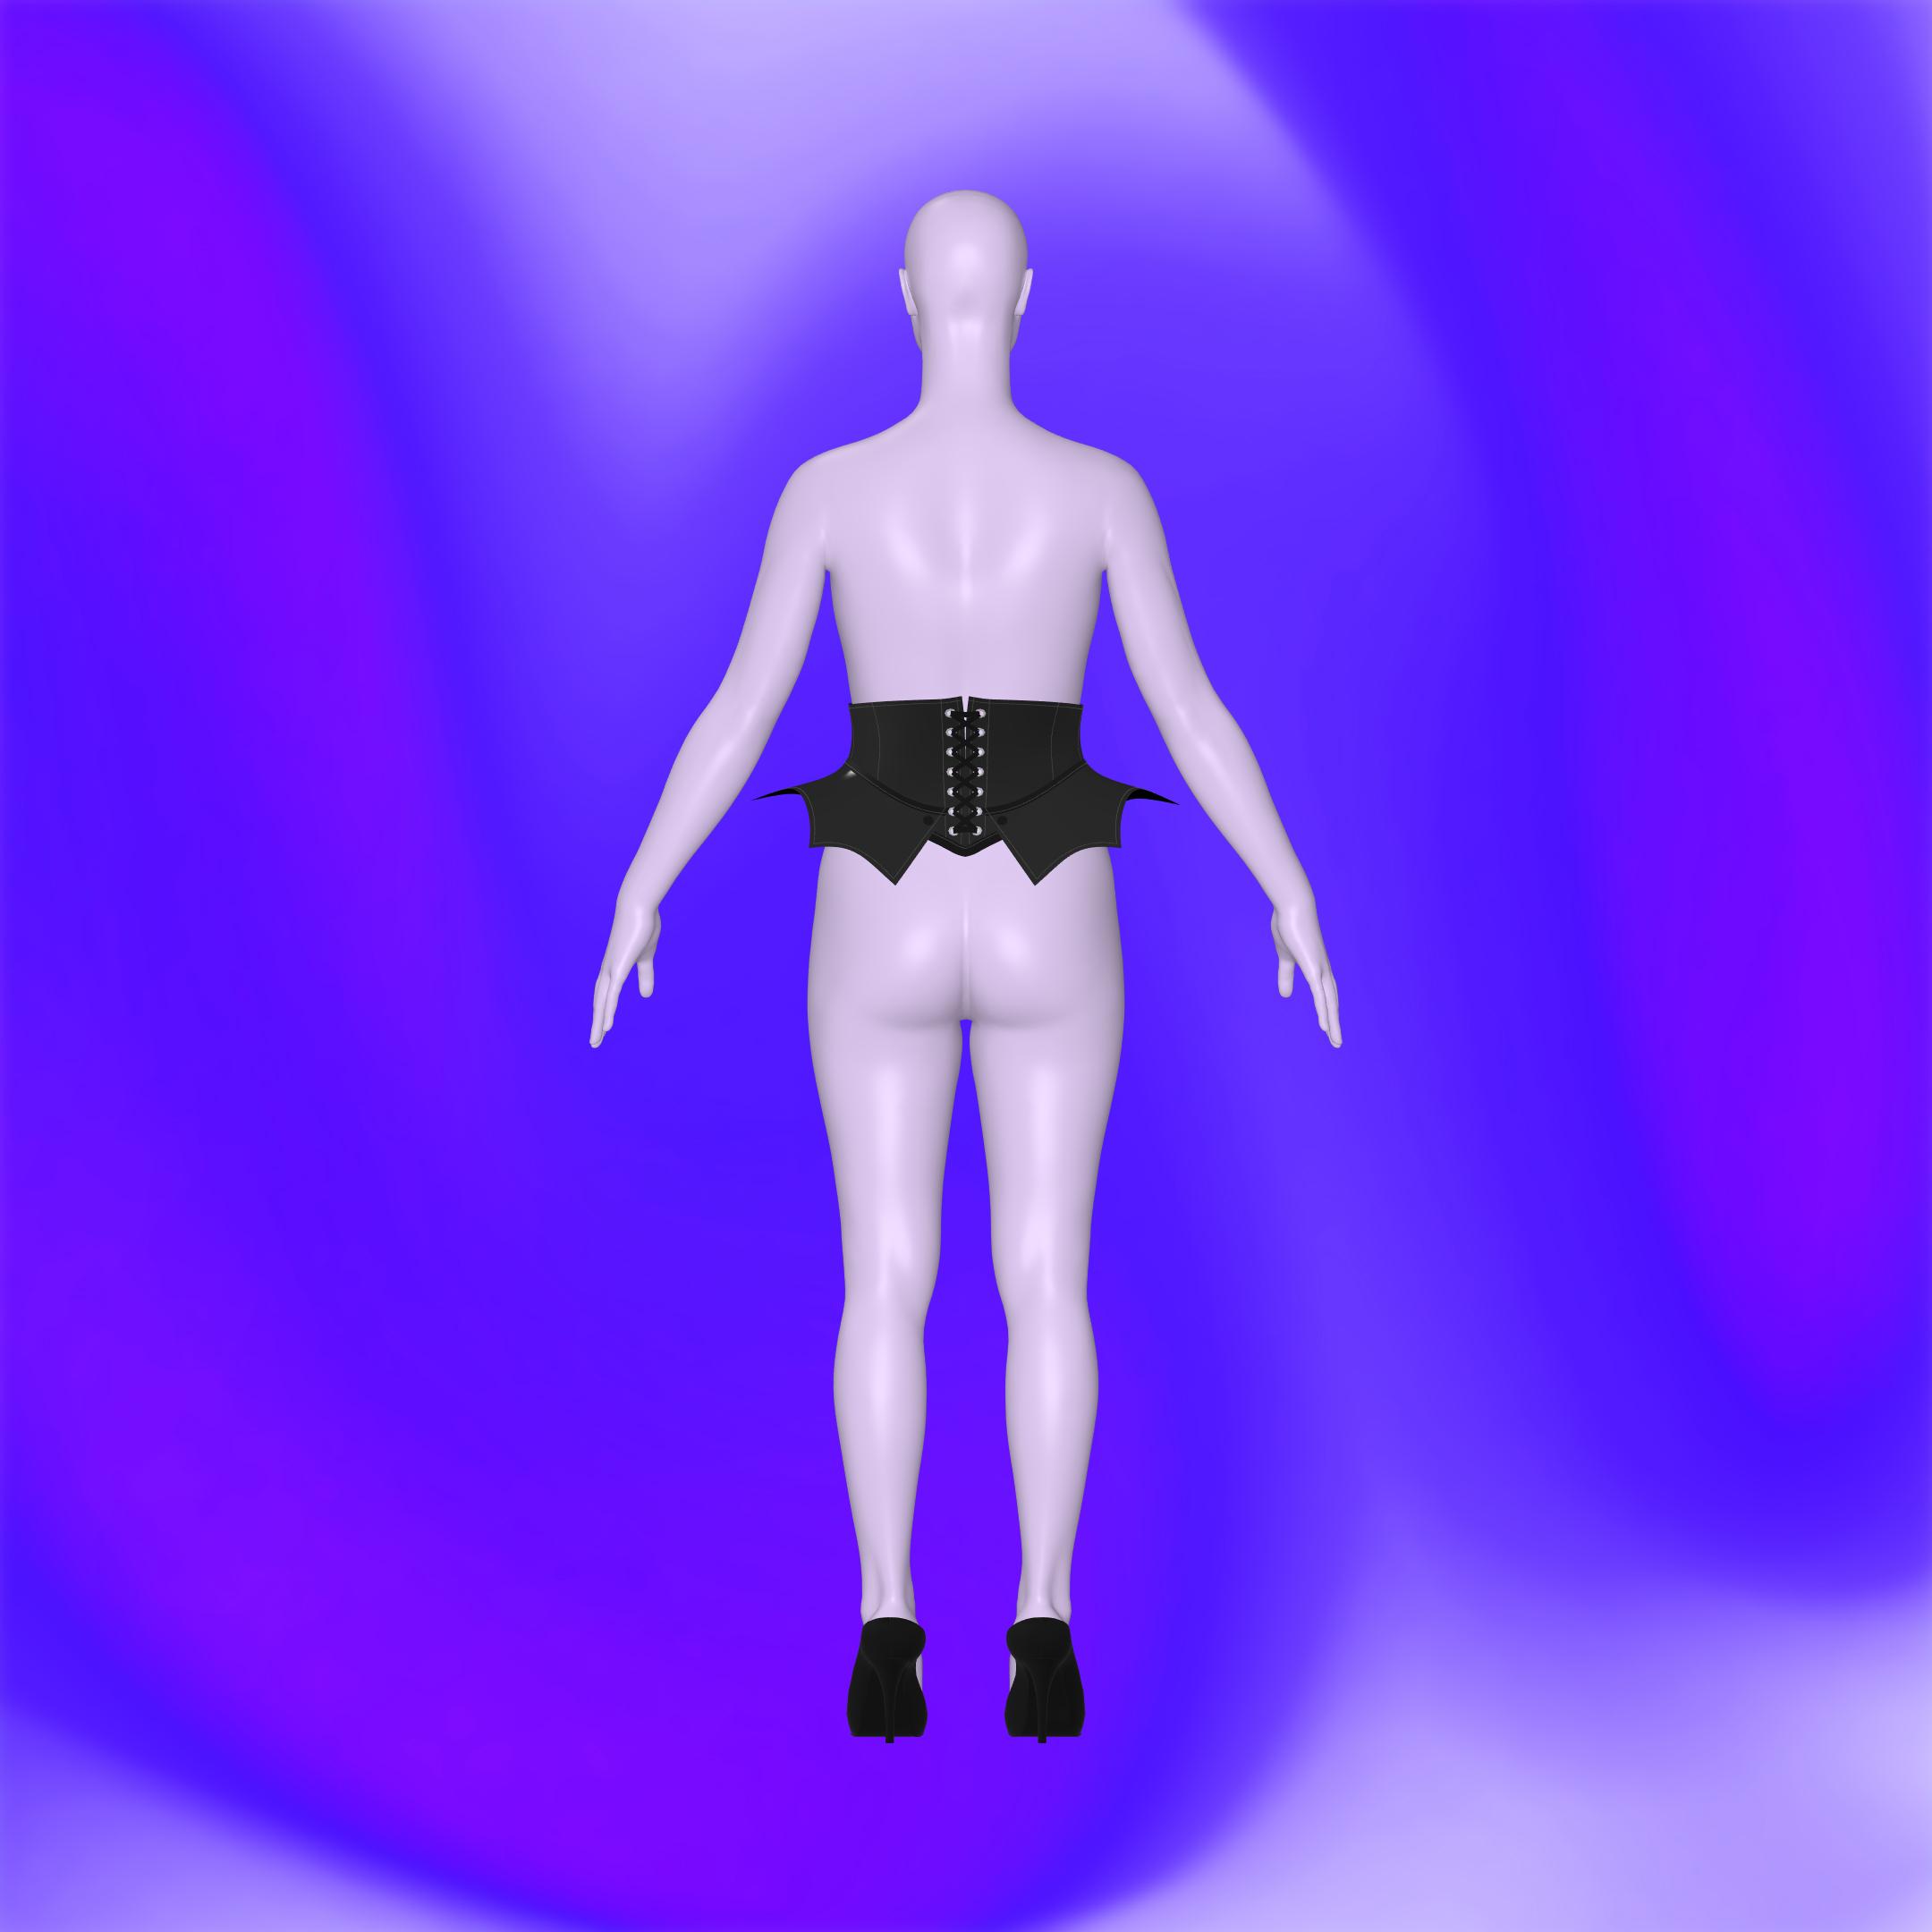
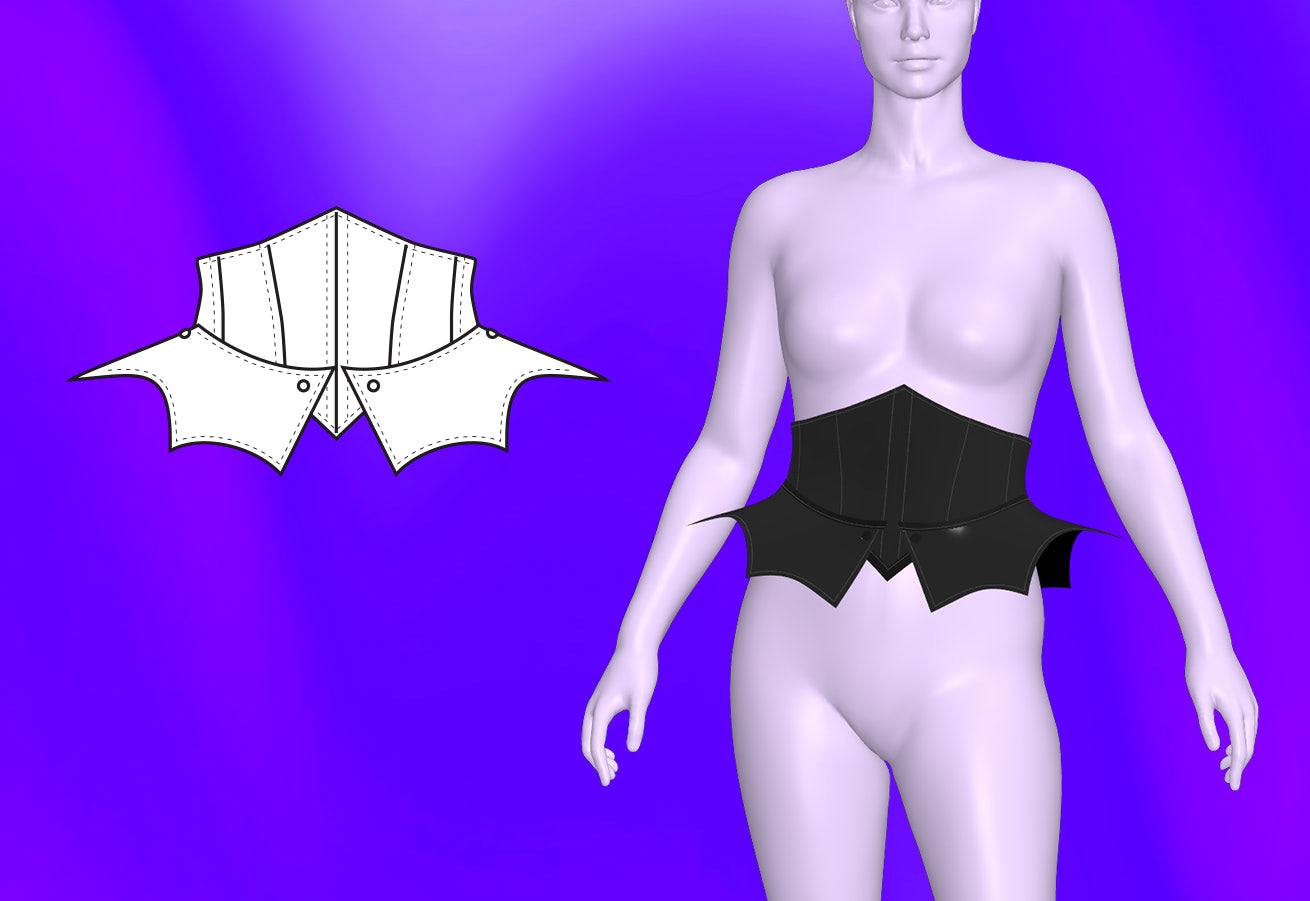
Presentamos nuestro patrón de costura de corsé gótico bajo el busto con cintura desmontable inspirado en murciélagos, hecho para Drag Queens. Este accesorio único y llamativo es imprescindible para cualquier drag queen que busque realzar su silueta y hacer una declaración de moda dramática. Inspirado en la mística de los murciélagos y la estética gótica, este corsé presenta detalles intrincados y la opción de colocar o quitar fácilmente los pantalones acampanados de cadera para un estilo adicional. Confeccionado a la perfección, es adecuado para telas no elásticas, lo que garantiza un ajuste ceñido y favorecedor. Abraza tu oscuridad interior y transforma tu apariencia con este patrón de corsé versátil y vanguardista. ¡Prepárate para desplegar tus alas y dar rienda suelta a tu estilo gótico feroz!
Dificultad del patrón: Intermedio
Yardas de tela
Este patrón requiere el uso de tela no elástica. A continuación, se indican las yardas necesarias para cada talla.
| Ancho de la tela (44”) | Tallas XS a S | M-L | Talla XL-2X |
|---|---|---|---|
| Caparazón | 0,5 yardas | 0,75 yardas | 0,75 yardas |
| Recubrimiento | 0,5 yardas | 0,75 yardas | 0,75 yardas |
| Interfaz | 0,5 yardas | 0,75 yardas | 0,75 yardas |
Para obtener información sobre la conversión de pulgadas a metros, consulte nuestra guía de conversión.
Telas y artículos de mercería
Adecuado para tejidos no elásticos:
- Cuero o polipiel
- Vinilo
- Algodón
- Dril
- Interfaz fusible
- Ojales para ojales de 1/4"
- Broches de presión
- Cuerda o cinta
- Deshuesado de rigileno
- Cinta de ribete al bies opcional
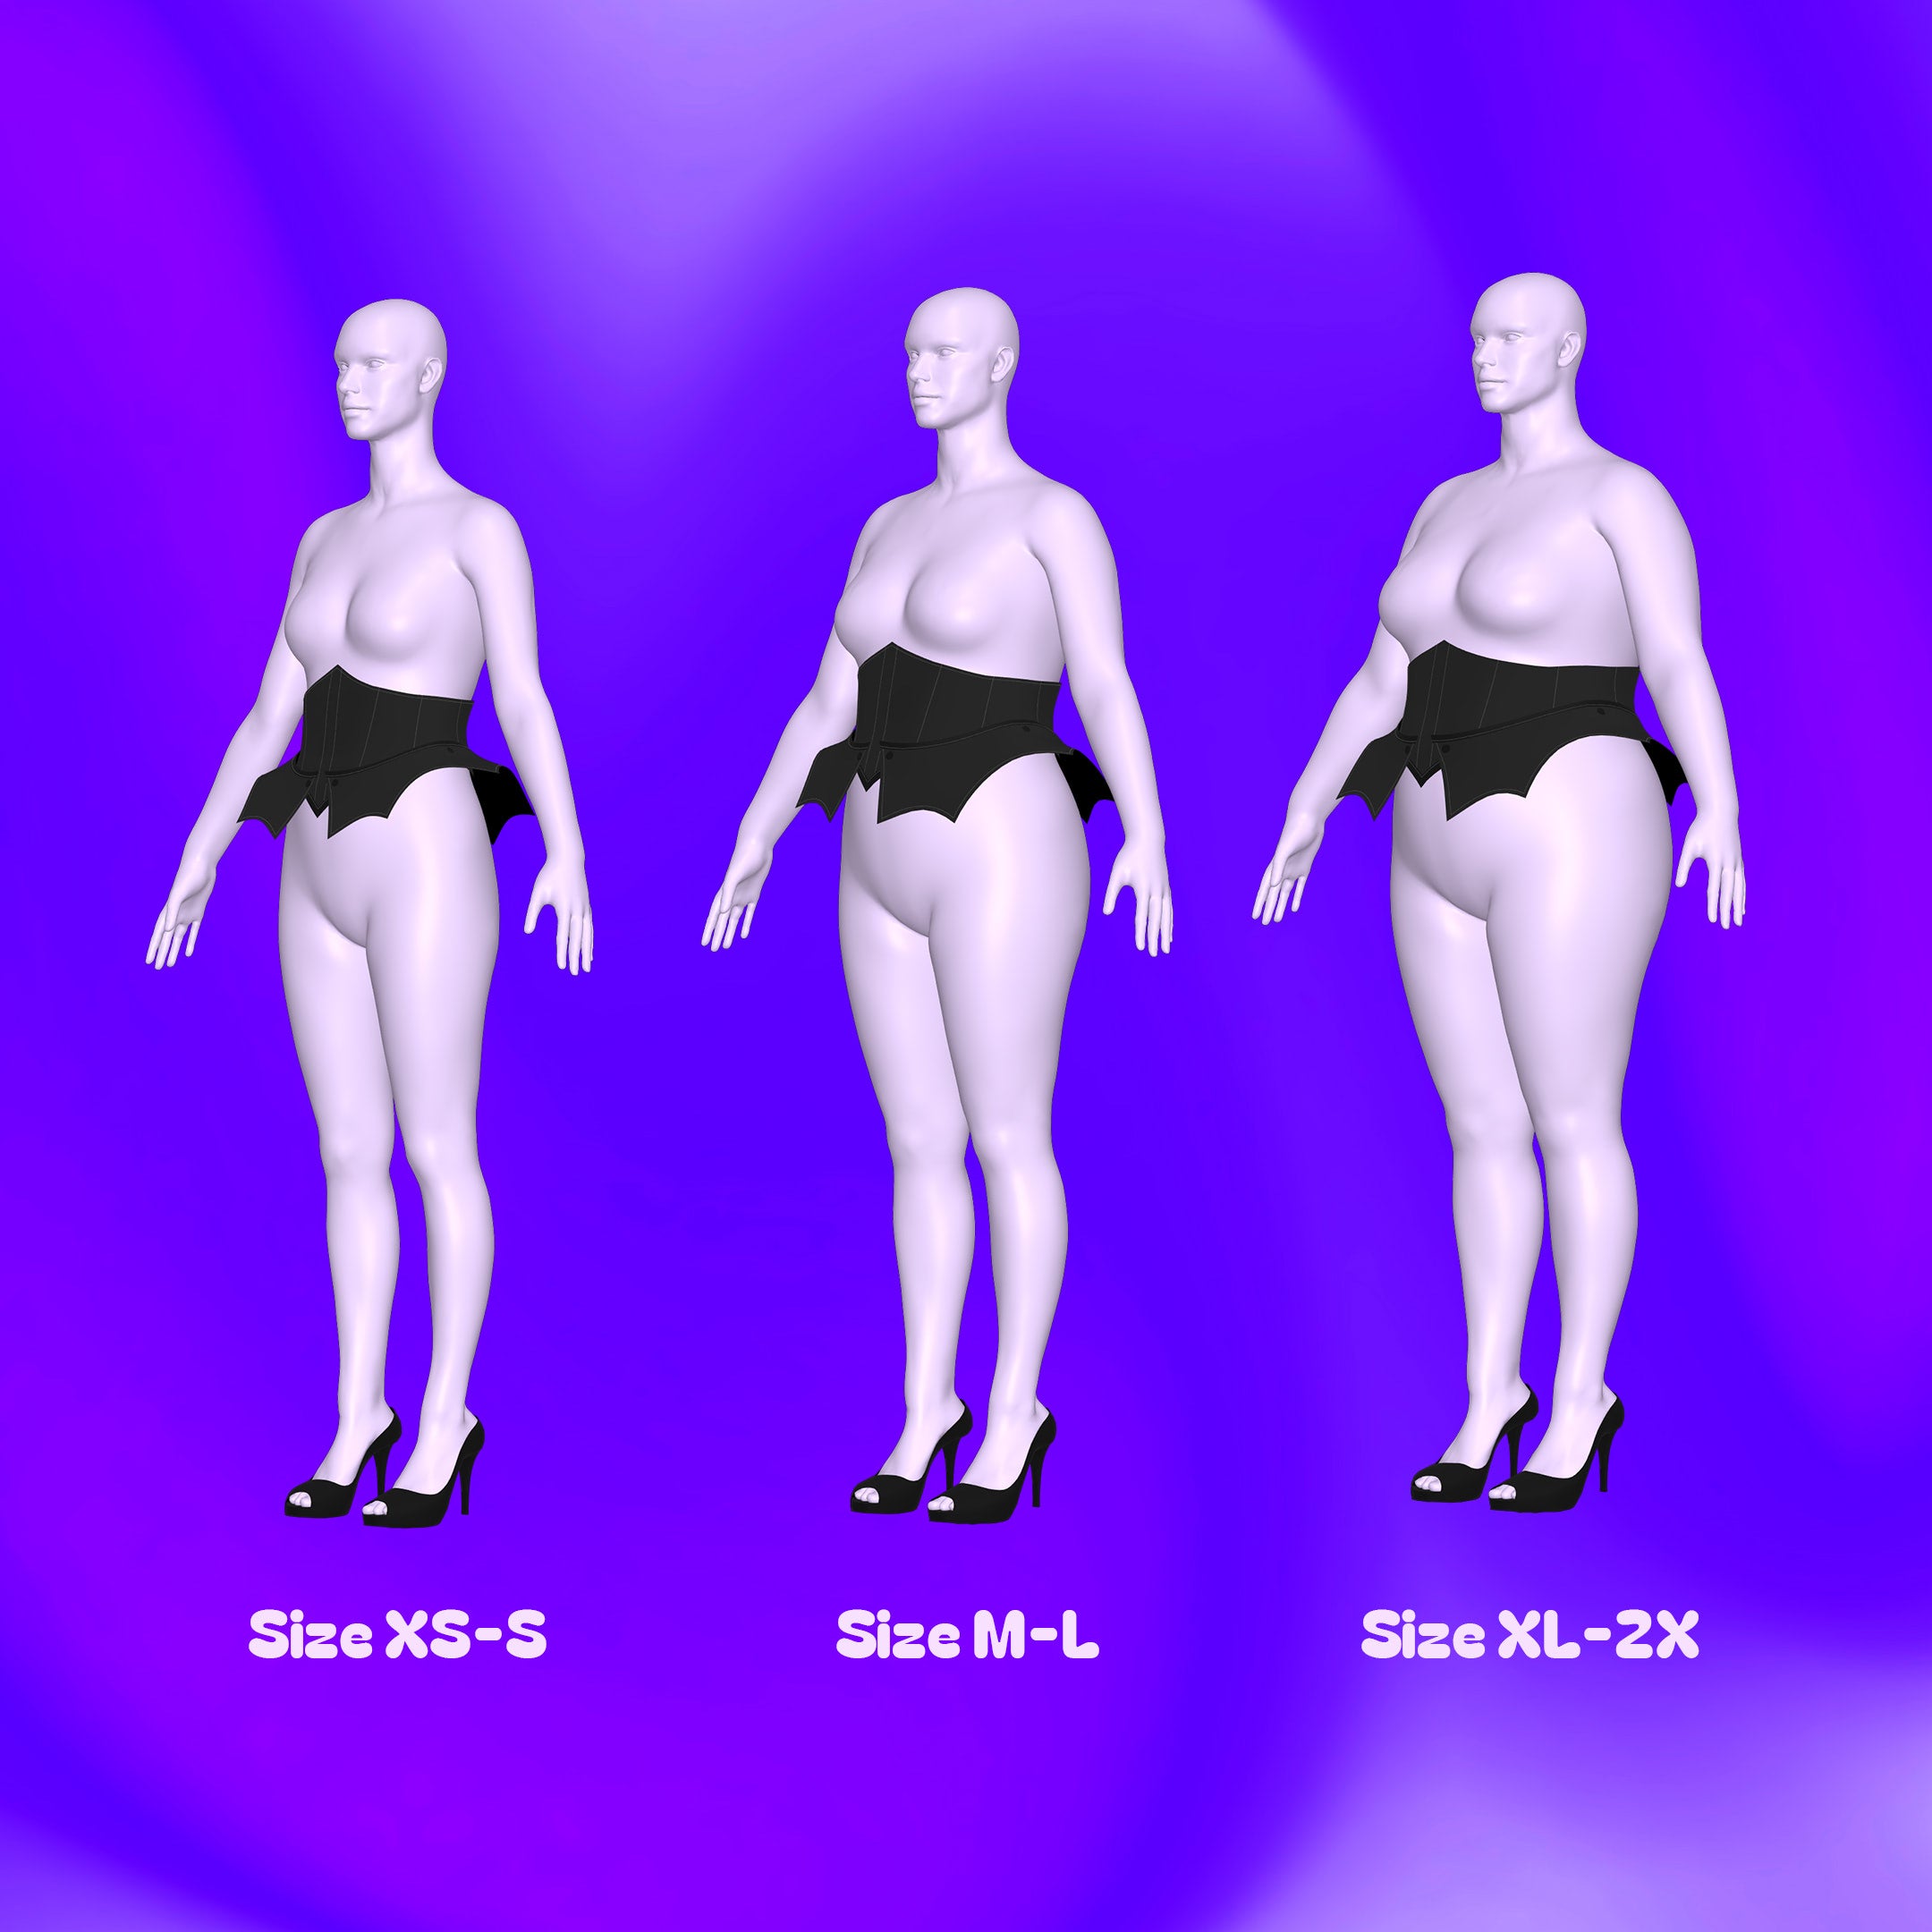
Detalles de tallas
Este patrón está disponible en nuestros exclusivos talles de drag queen, 3 talles (XS-S, ML, XL-2X). Consulta nuestra guía de talles para obtener más información sobre nuestras medidas de talles.
Instrucciones de costura


Fabric Pieces
After cutting your fabric, you should have two center front pieces, two side front pieces, two side pieces, two side back pieces, two center back pieces, and two seamless hip flare pieces.
For lightweight, non-stretch fabrics, you may need to cut additional fabric for lining and interfacing using the same pattern, but for thicker materials like leather or vinyl, lining and interfacing may not be necessary.

Interfacing
For lightweight, non-stretch fabrics, start by applying fusible interfacing to the wrong side of either the shell or lining fabrics, and repeat the process for the hip flare pieces.

STEP 1
Once the interfacing is fused, stack the two center front pieces together with right sides of the fabric facing each other, and sew them together using a straight stitch along the straight edge side. This creates the center front seam of the corset.

STEP 2
After sewing, open up the center front pieces and press down the excess seam fabric on the wrong side of the garment.

STEP 3
Repeat the same steps for attaching all other panels (side front, side, side back, and center back) pieces. When pressing the seams, make sure the seam fabric is facing towards the center back of the corset for all seams, except the center front.

STEP 4
Sew sew-on rigilene boning underneath the pressed seams of the fabric, ensuring that the boning is 1 inch shorter than the length of each seam. You only need one piece of boning for each seam except for the center front seam, which will have two bones, one on each side.
No boning is needed for the fabric without interfacing, which could be either the shell or lining.

STEP 5
Once the boning is sewn onto the wrong side of the seams, flip the garment over, ensuring the seams are pressed and flipped. Then top-stitch the seams with the bones down, using a zipper foot to get as close to the bones as possible on the right side of the garment.

STEP 6
Repeat these steps for both the shell and lining, adding boning to only one of them. Once created, gather the shell and lining, stacking them right sides facing each other.

STEP 7
With the shell and lining stacked, sew them together along the side and top edges.

STEP 8
Flip the corset (shell and lining) right side out and press the edges. You can trim some of the excess seam fabric for neater edges.

STEP 9
Insert a bone between the shell and lining, pressing it tightly against the center back edge, and top-stitch it in place. Then sew another line approximately 1/2 inch or more away from that seam, spanning the total width of your eyelets, leaving space to install eyelets between the two stitch lines. This will secure the eyelets and prevent them from ripping the fabric.

STEP 10
Choose your preferred method for hemming the open fabric at the bottom of the corset, whether it's using bias tape trim or folding the seam allowance inward and sewing it closed. After hemming, top-stitch all around the corset.

STEP 11
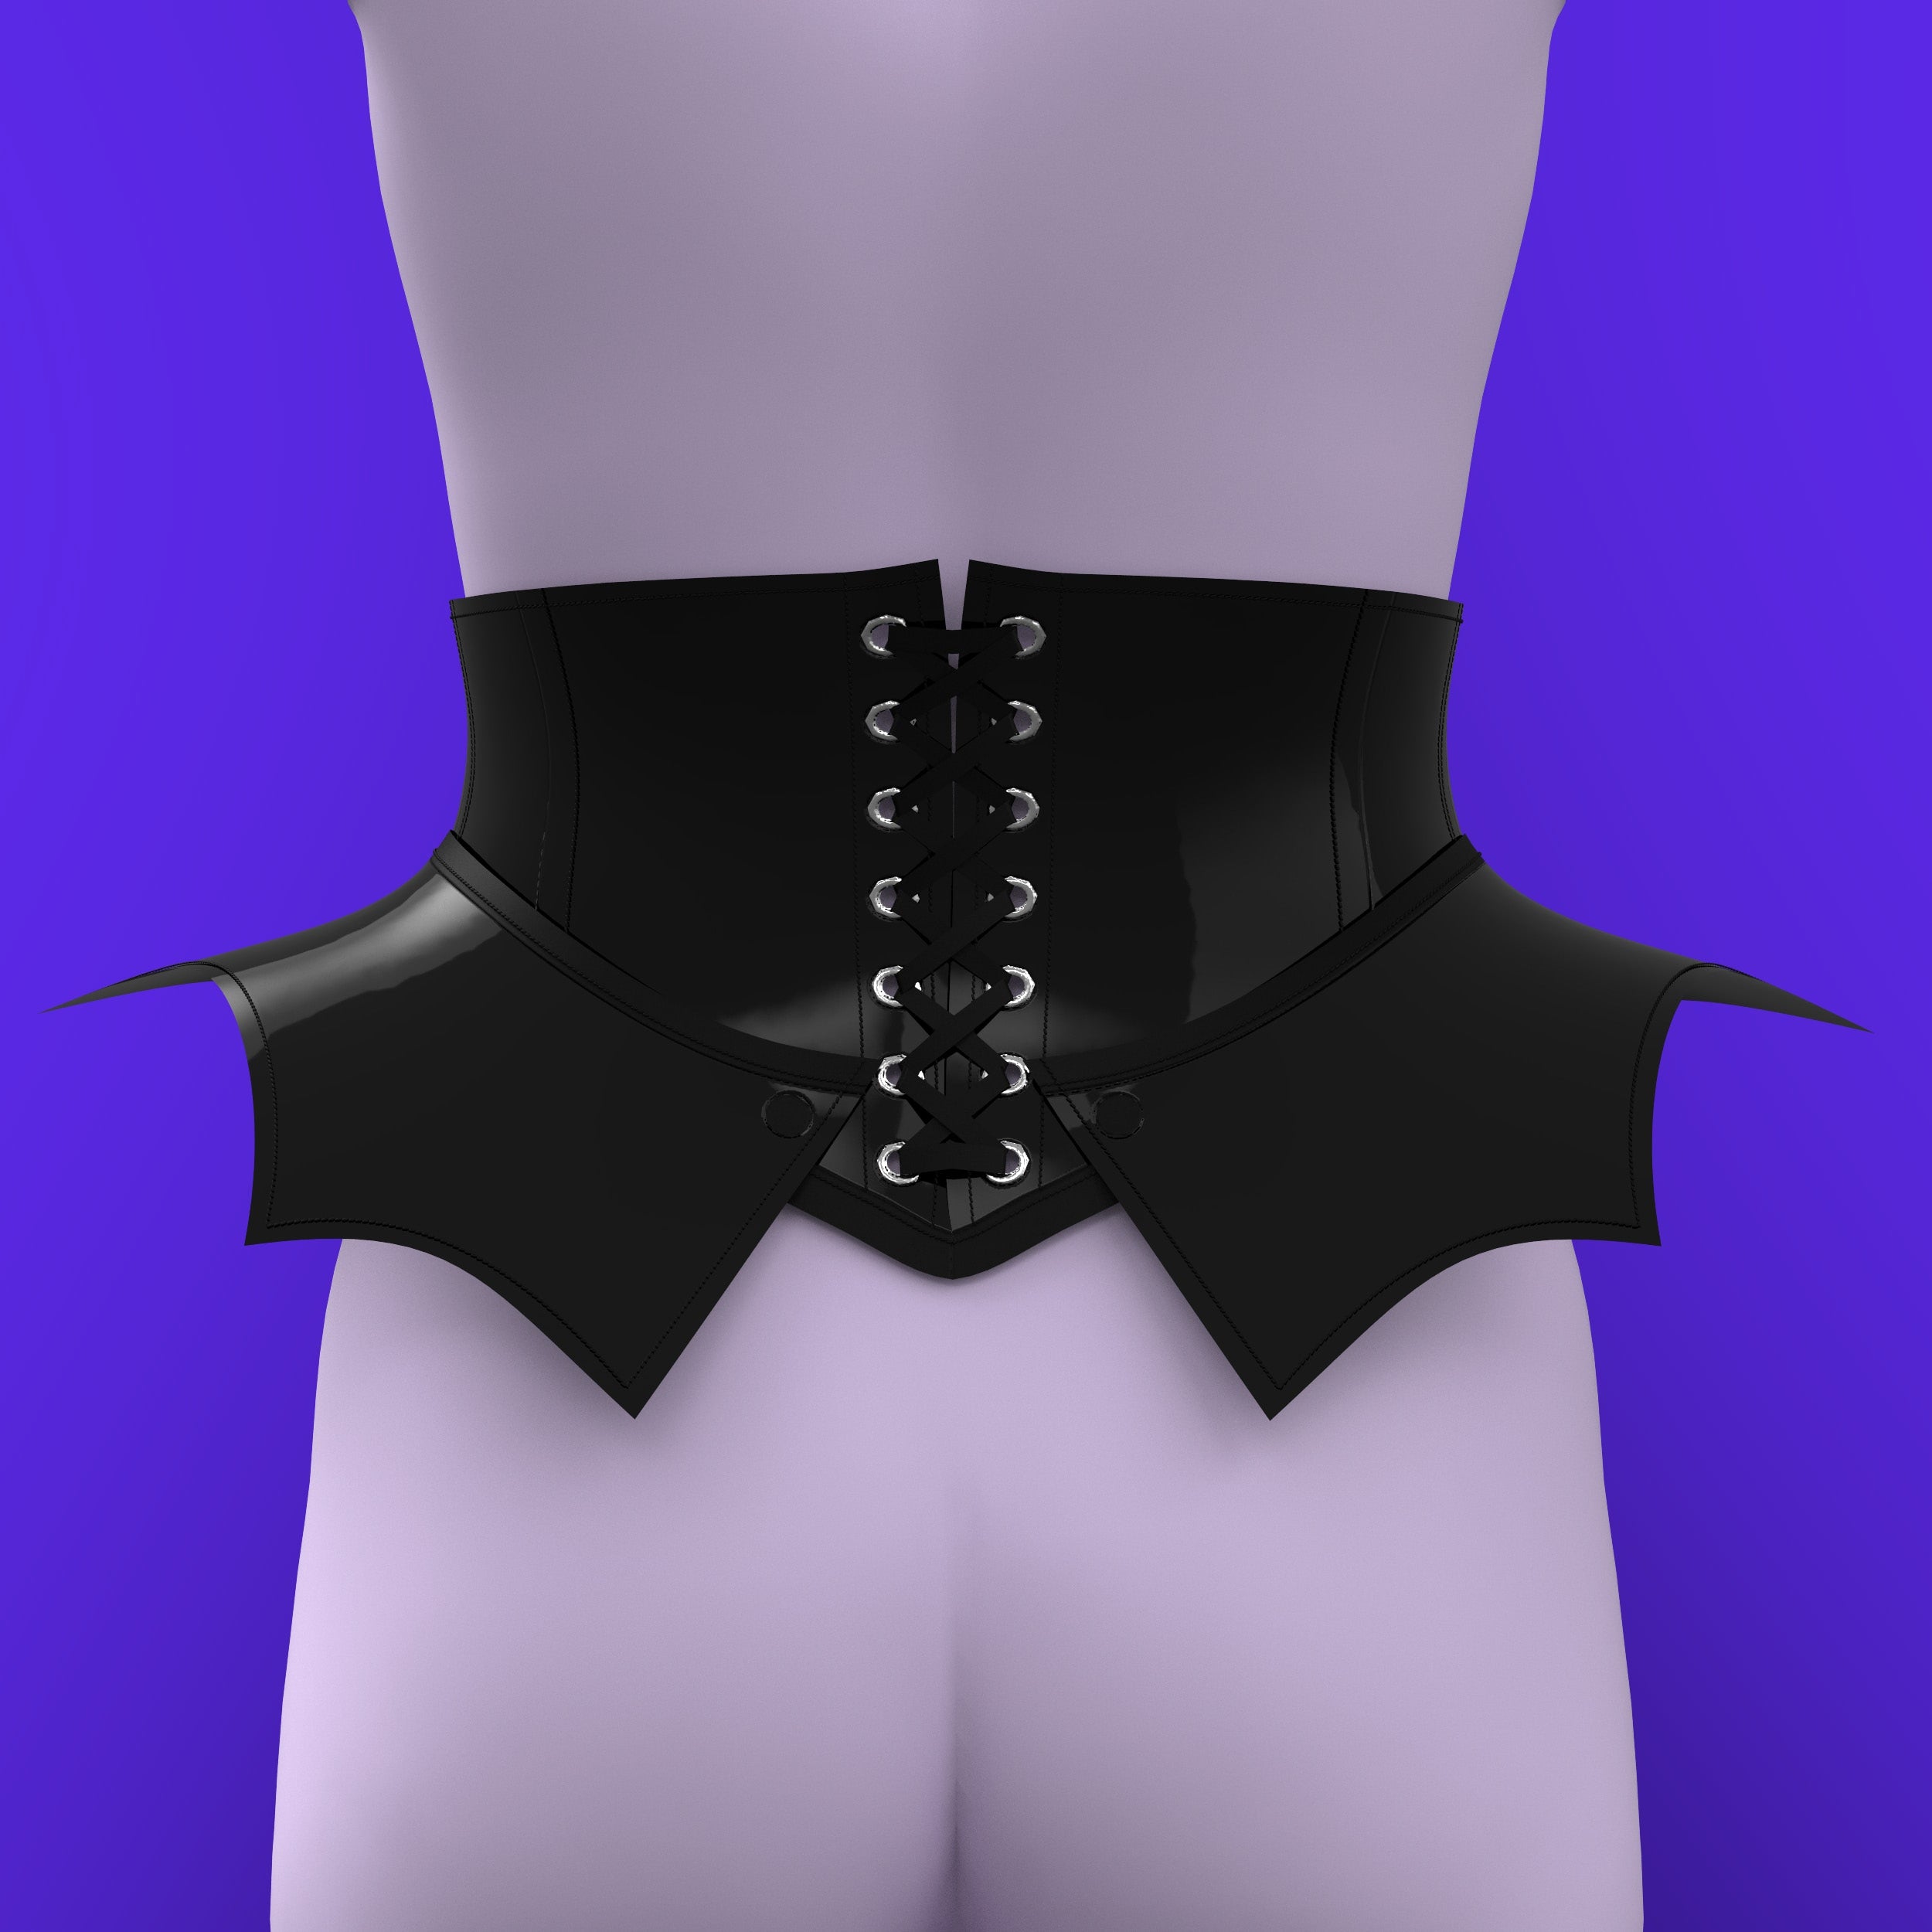
Install eyelets along the back edges of the corset. Alternatively, you can get creative and use zippers, snaps, Velcro, or buckles.

STEP 12
Gather the hip flare shell and lining, stacking them right sides facing each other, and sew them together along the bottom curved edges.

STEP 13
Flip the hip flare piece right side out and press down the edges. Trim the seam allowance for neater edges if desired.

STEP 14
Repeat your chosen hemming method to close the open gap, then top-stitch all around the hip flare. Repeat these steps for the opposite hip flare.
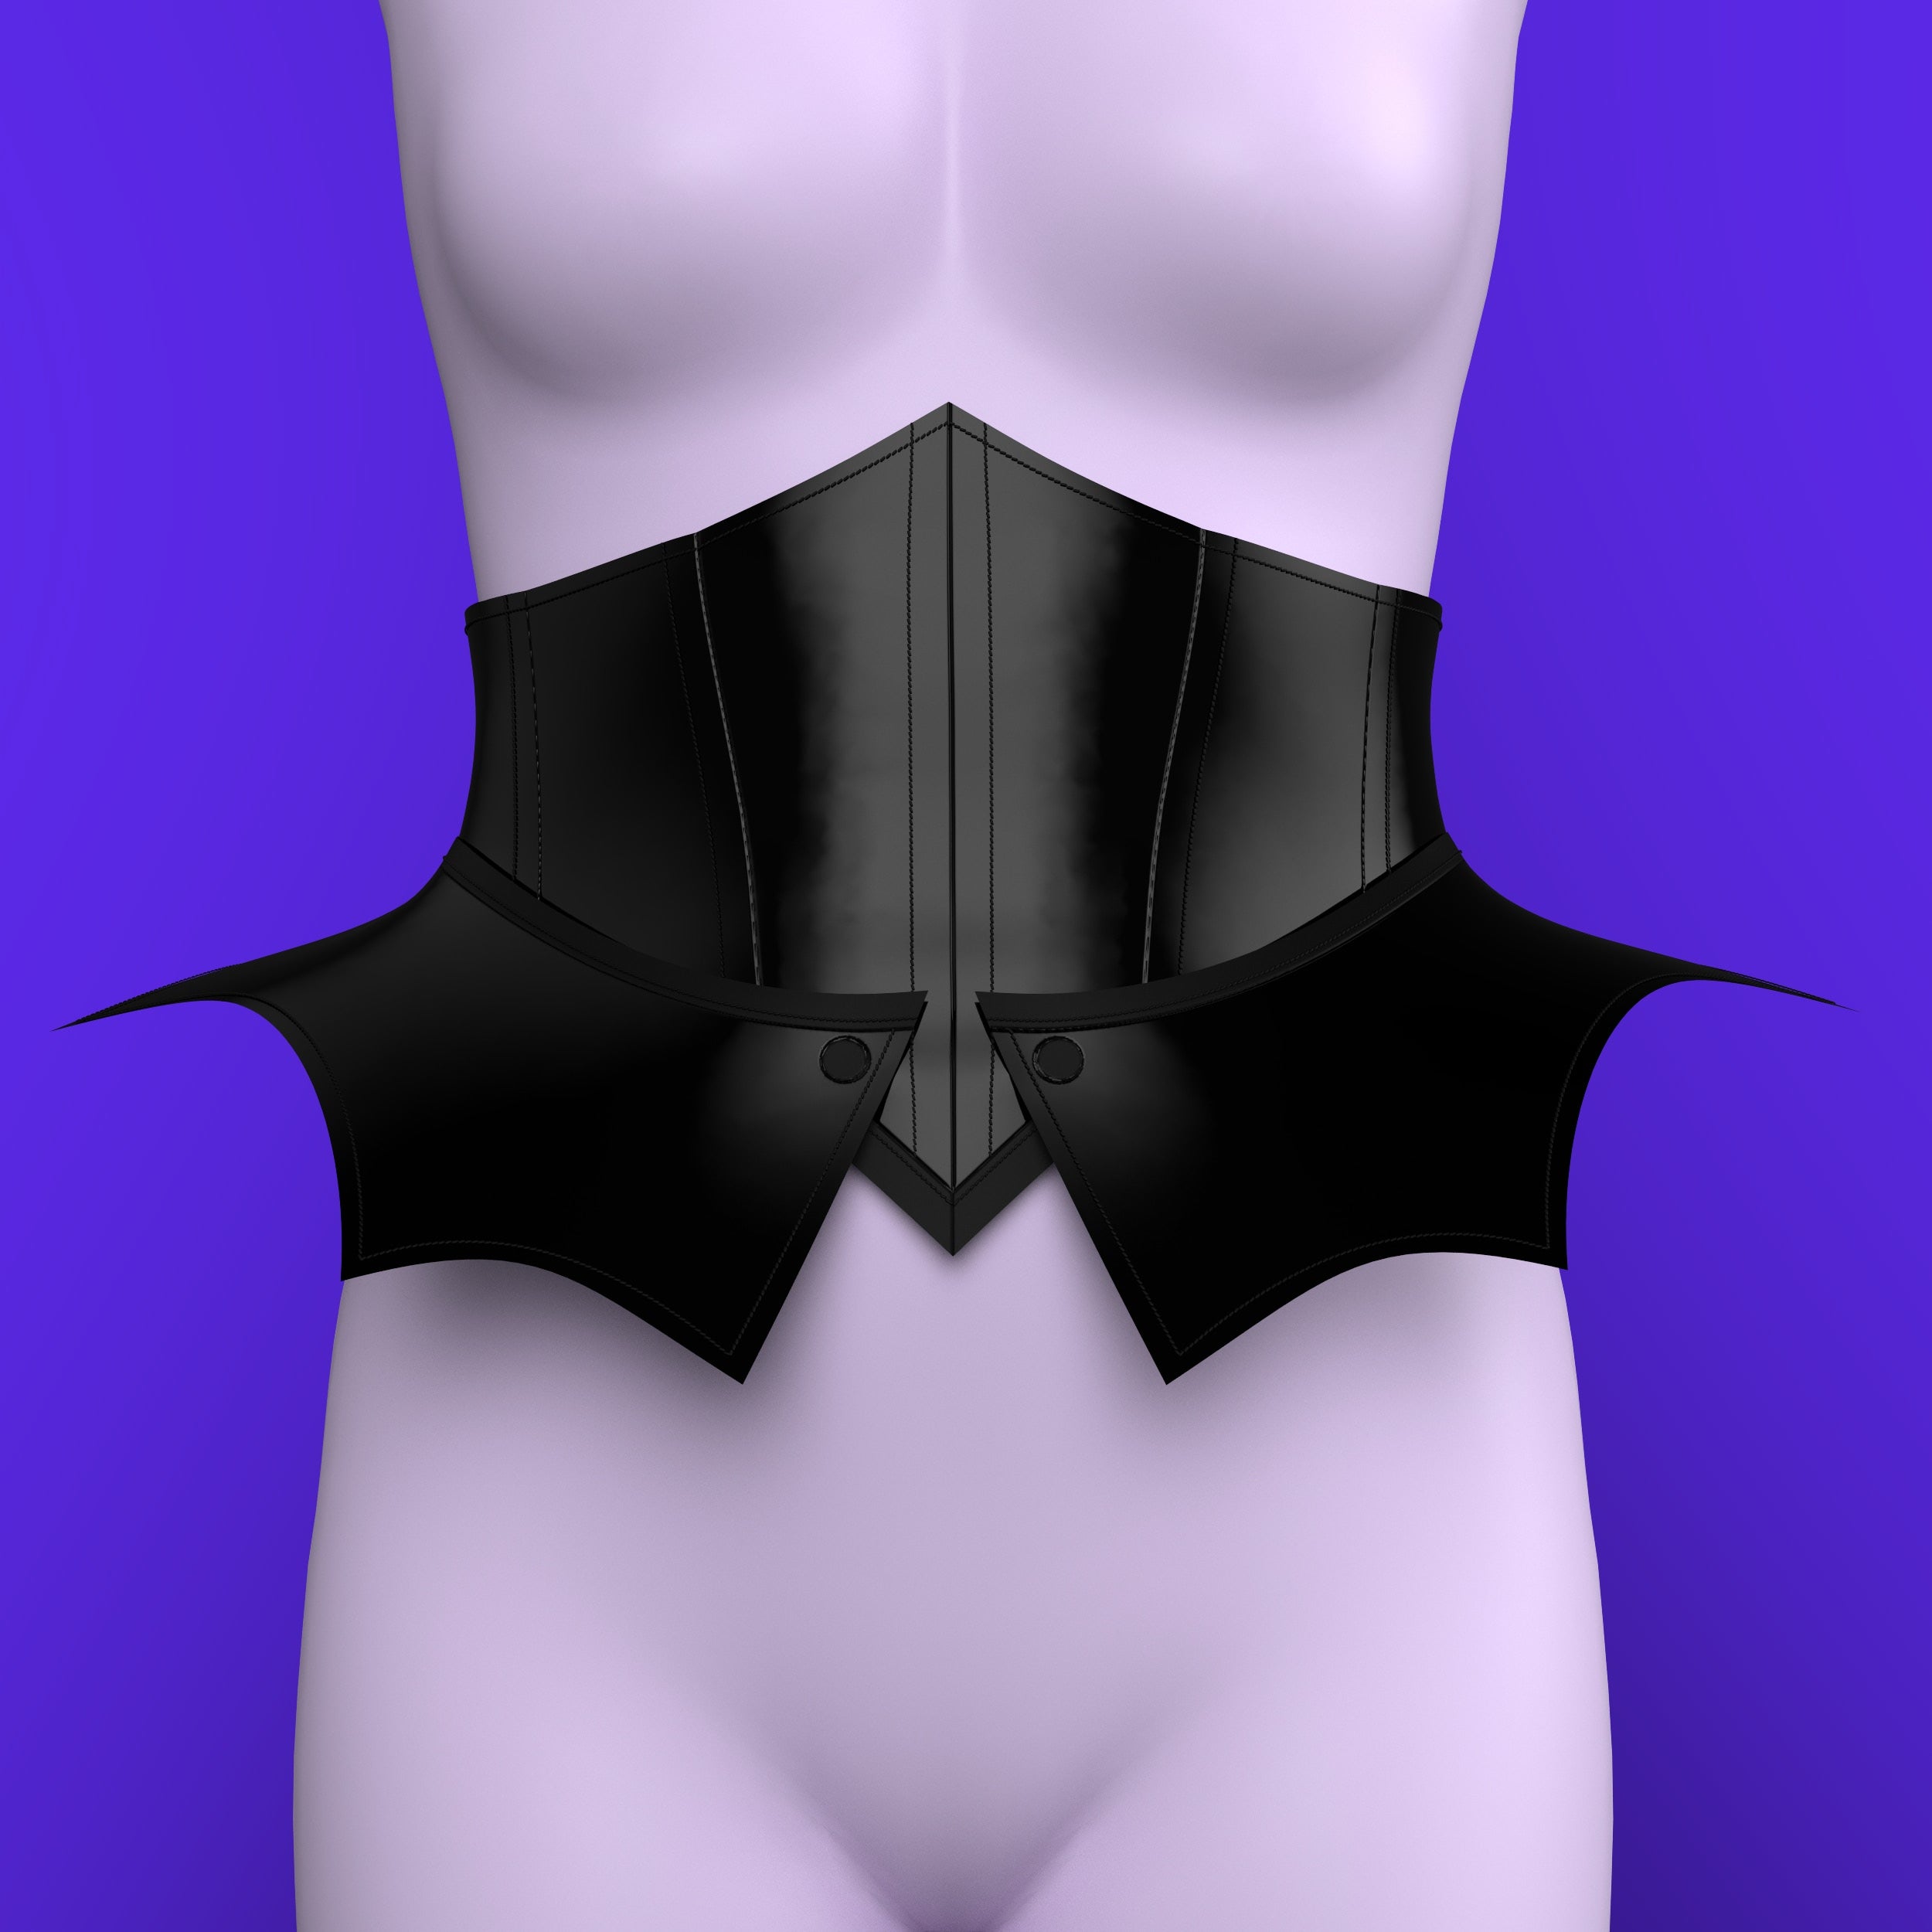
Following the snap guides, install male and female snaps to the bottom edges of the corset and the top edges of the hip flares. Once complete, you can snap on your hip flare panels and lace up your newly sewn corset!
Obtén el patrón