How to Sew a Striped Overbust Zipper Bustier
Jump to InstructionsOverview
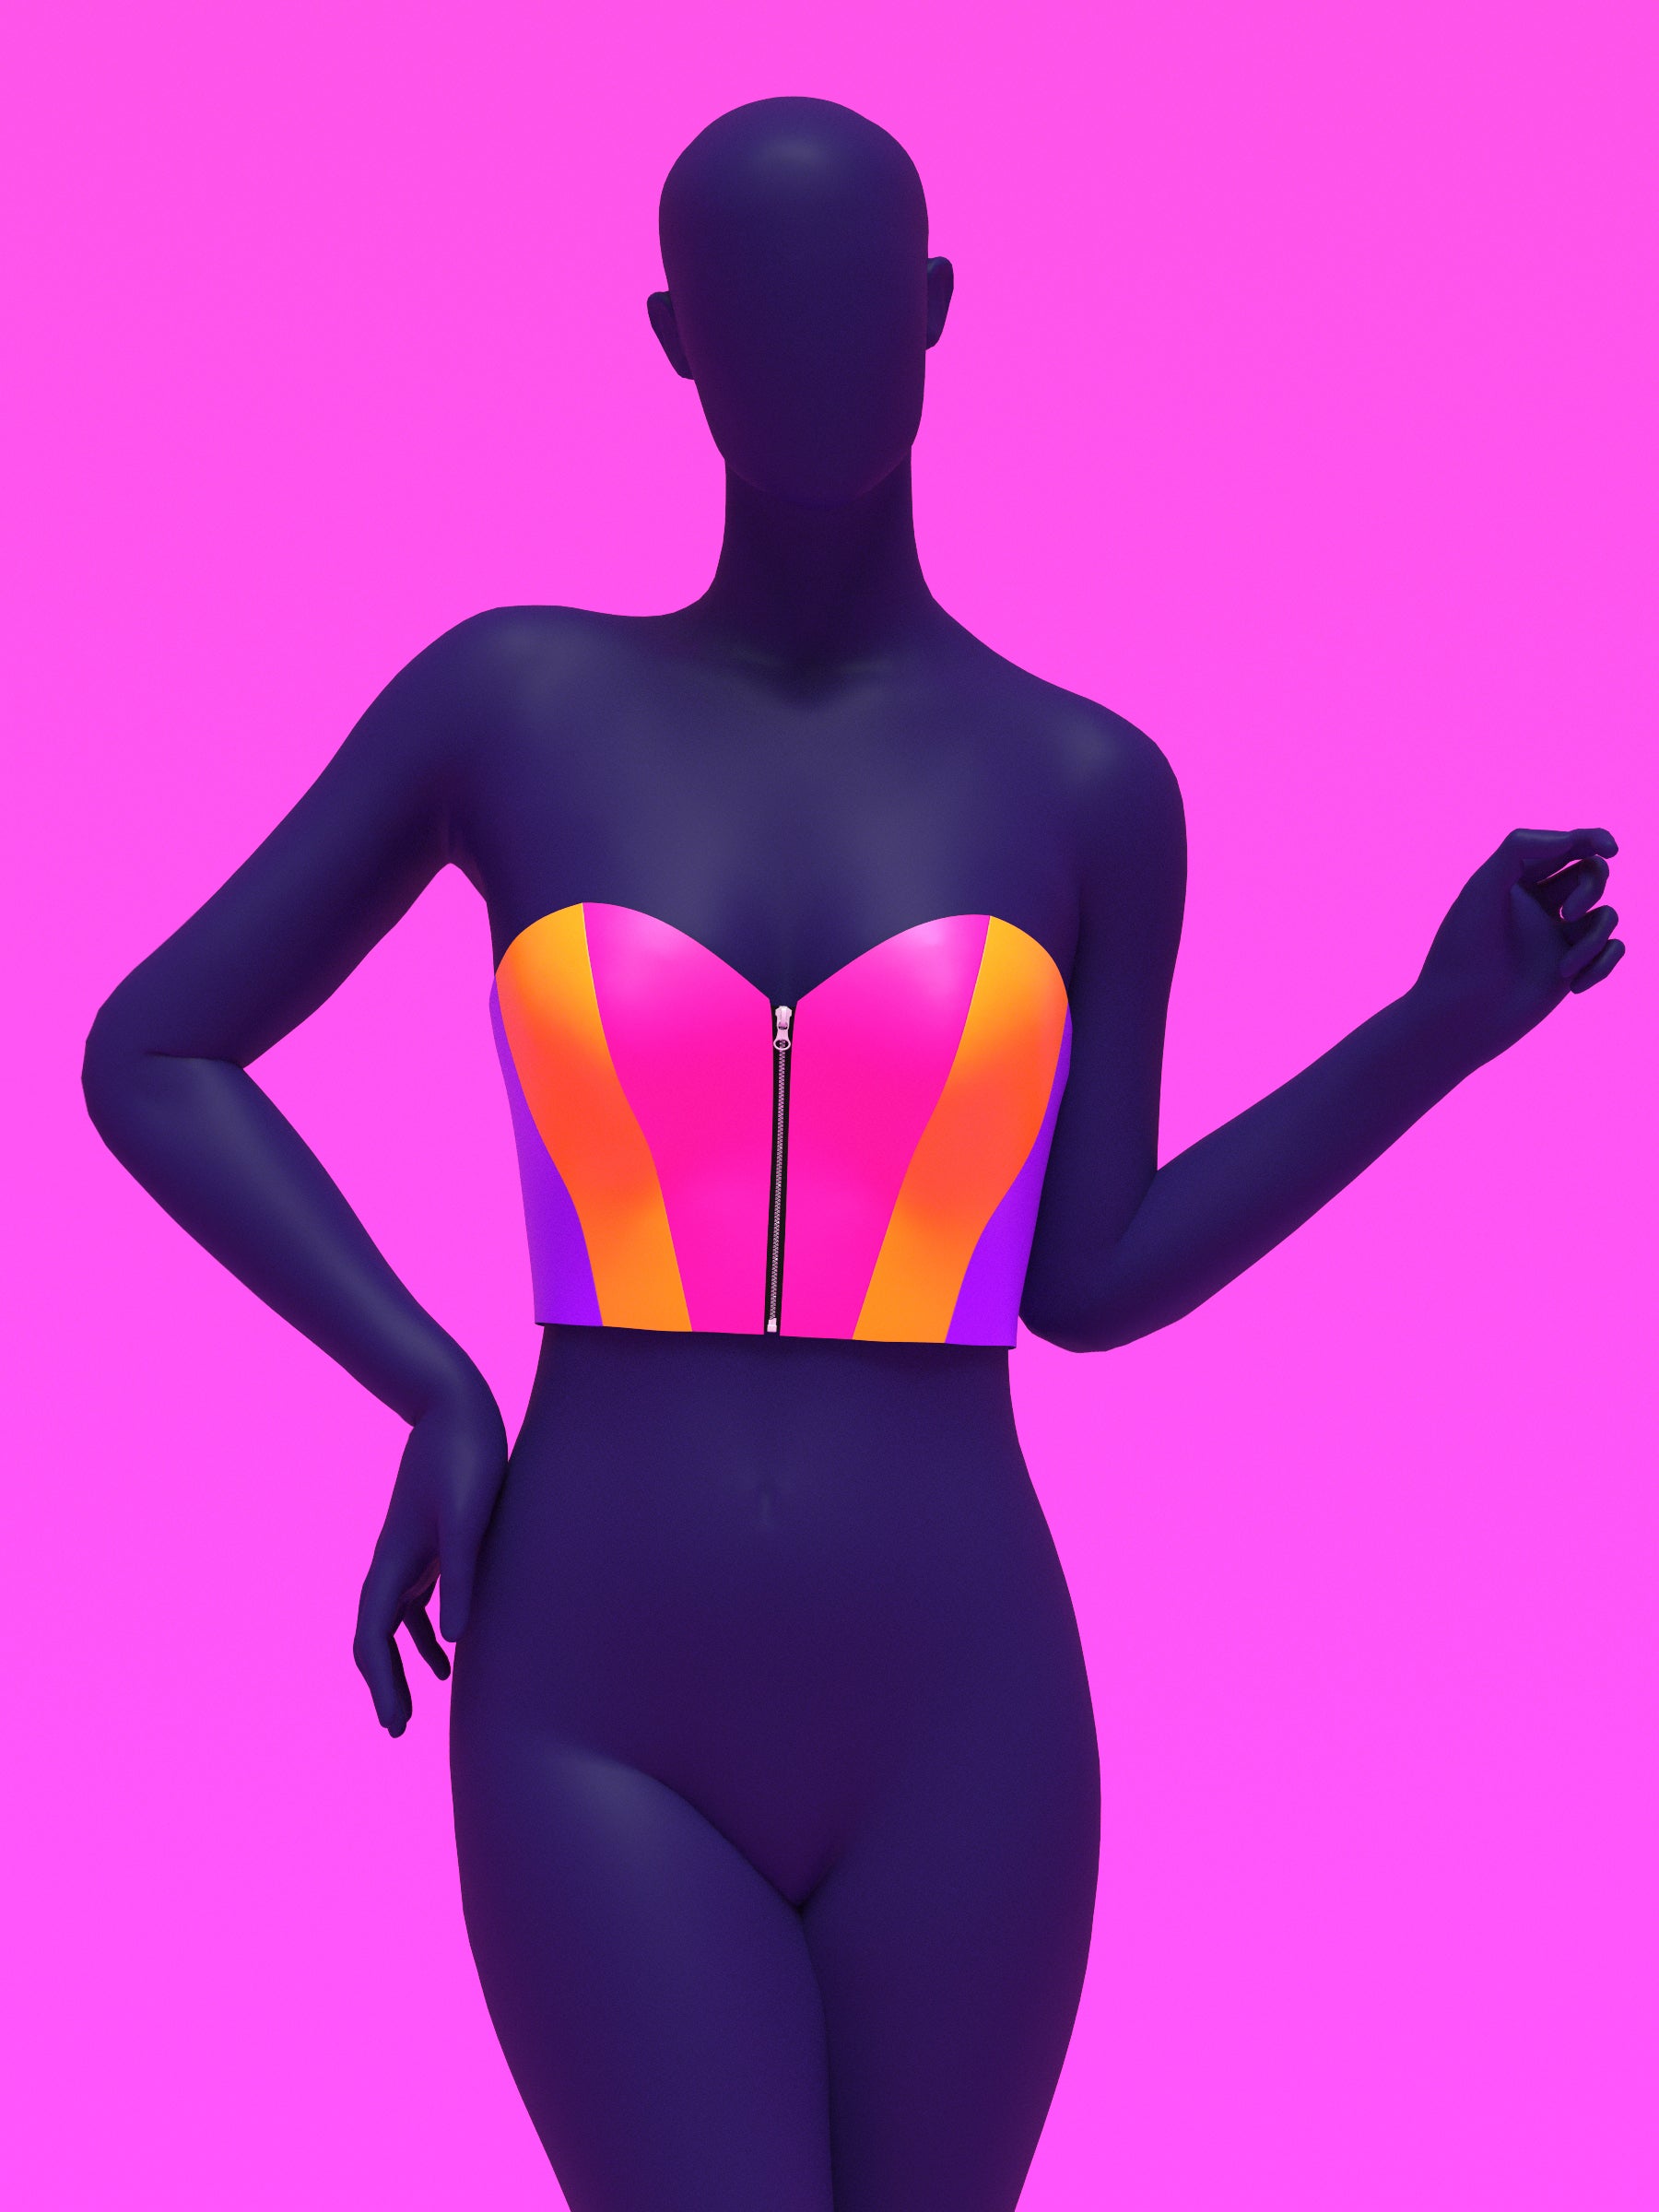
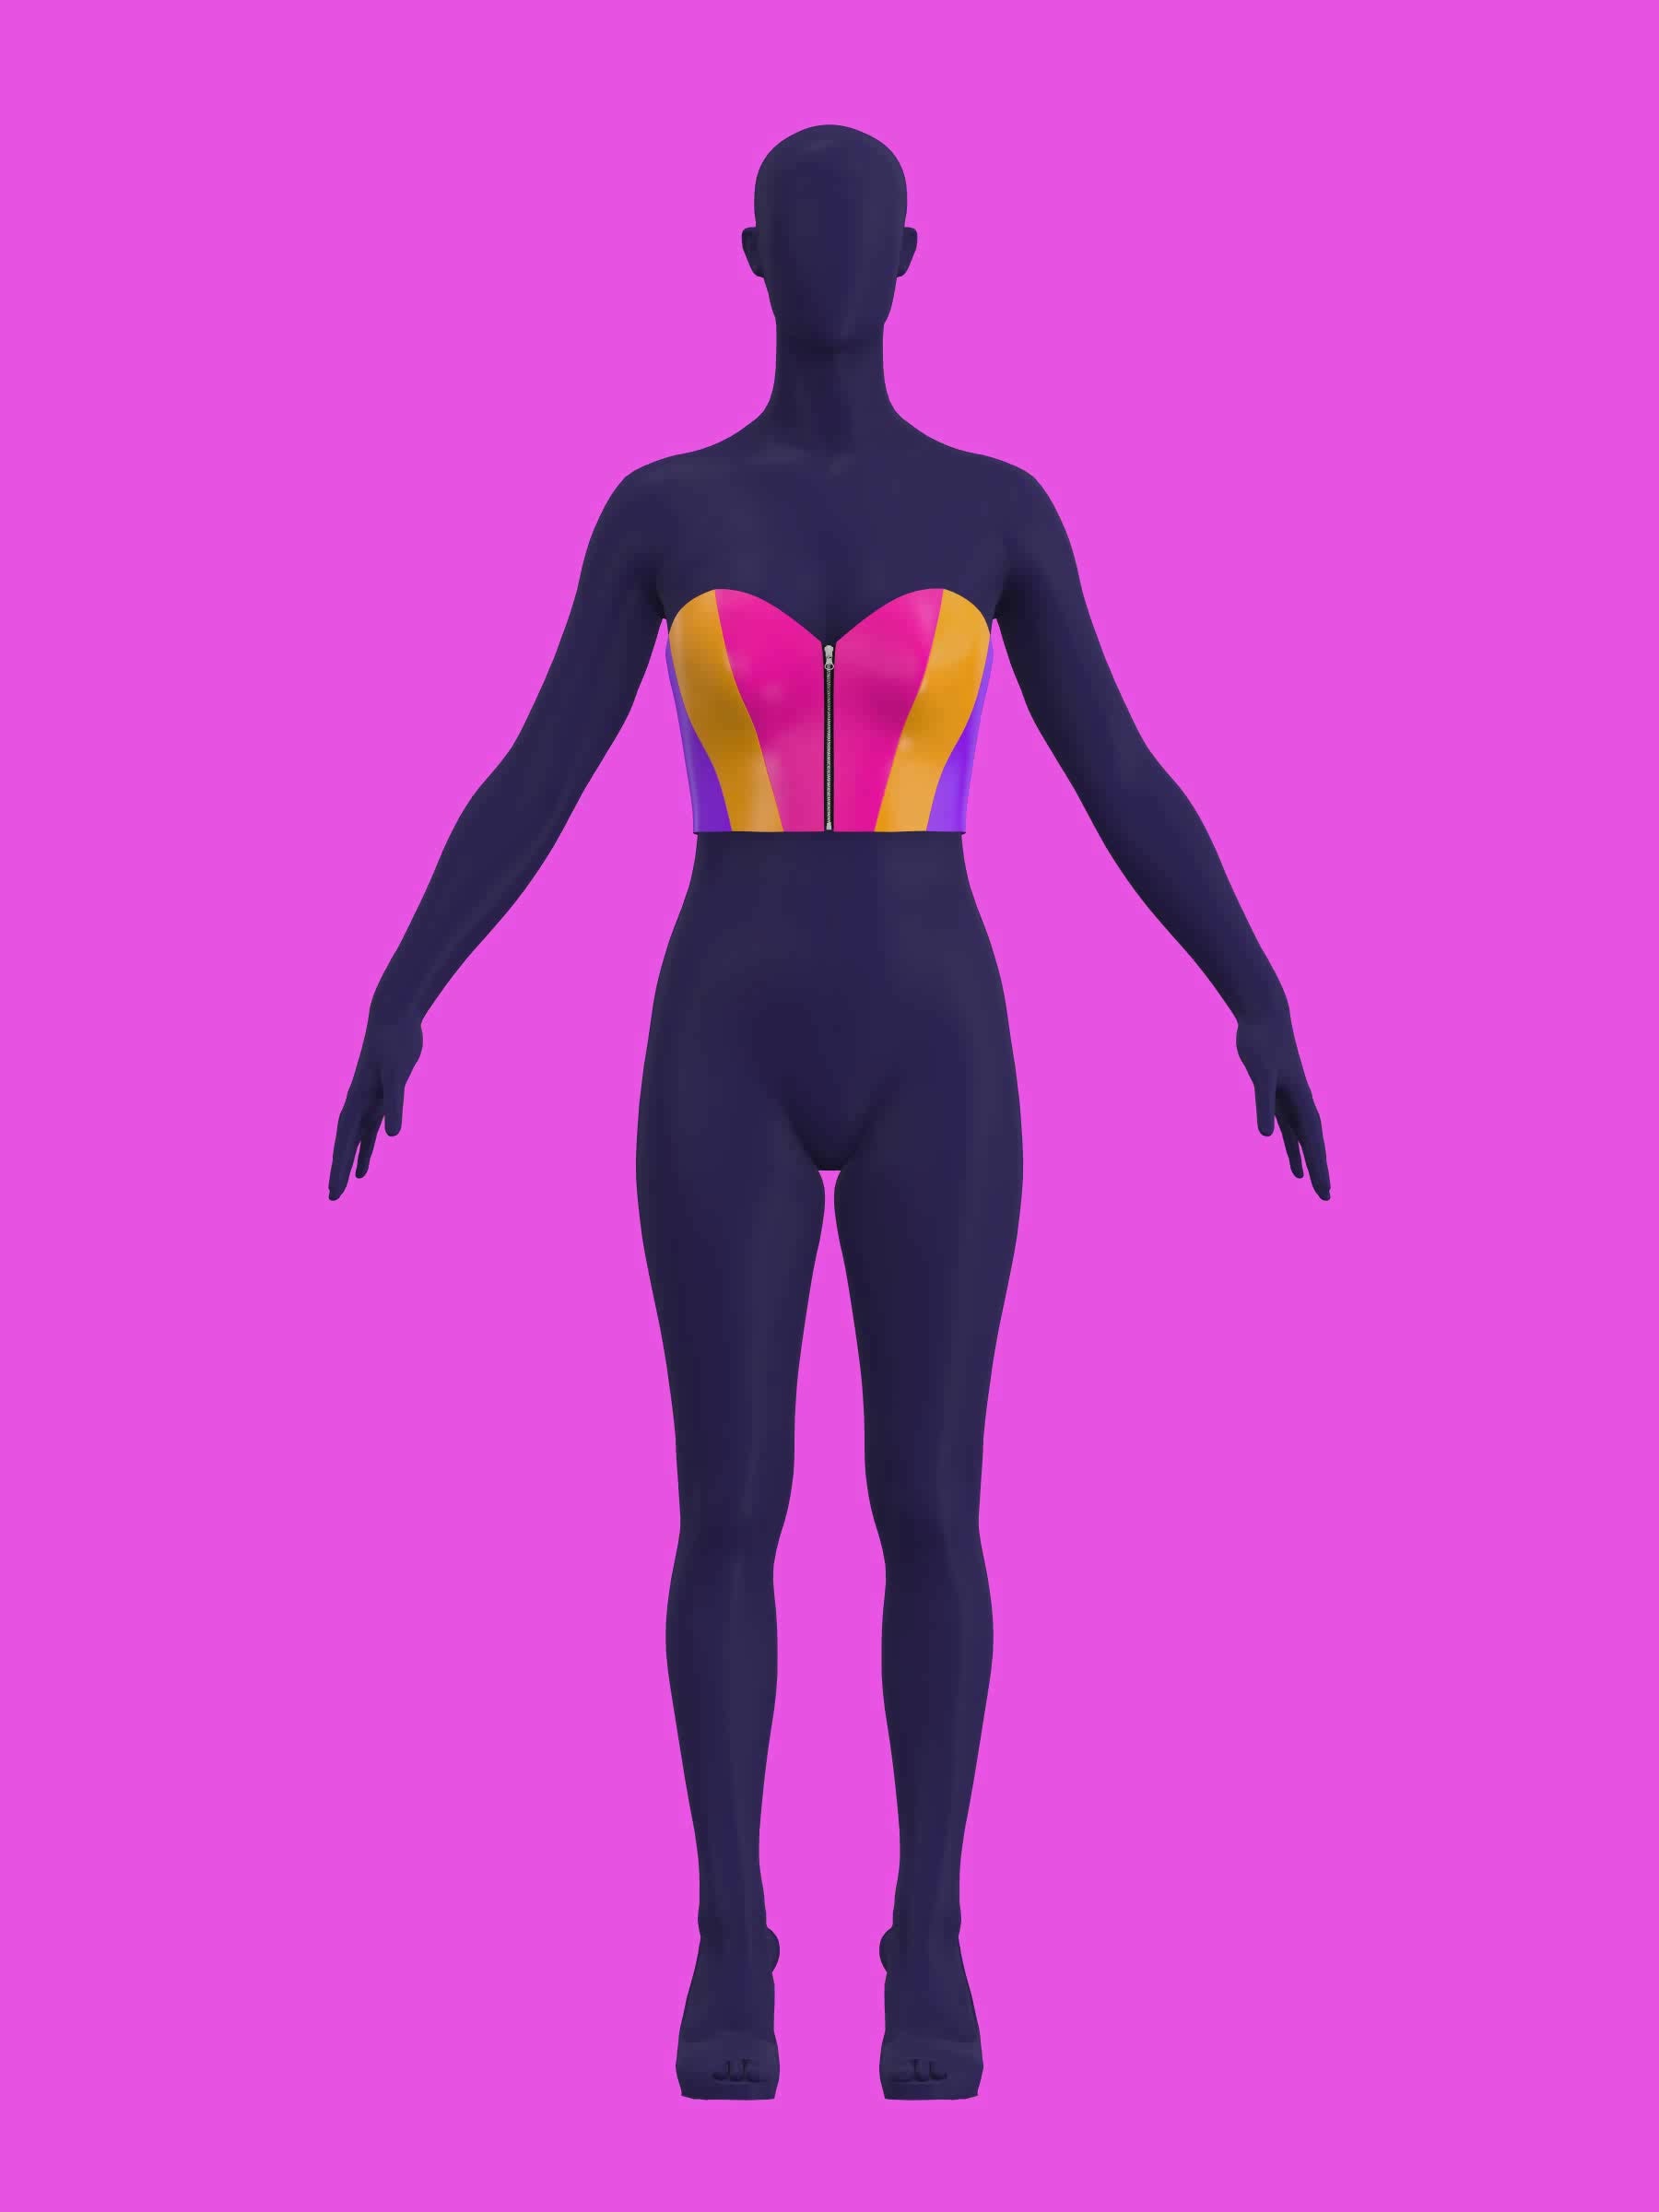
Learn how to sew the front zipper bustier step by step, from cutting your pattern pieces to finishing with clean topstitching. This tutorial walks you through assembling the shell and lining, installing a zipper (or alternative closures), and flipping and finishing the garment for a professional look. Perfect for drag performers, costumers, and DIY sewing enthusiasts looking to create a structured and stylish bustier.
Fabric Yardage
This top is intended for non-stretch fabrics, typically 54" wide. Use the yardage chart below to determine how much fabric you’ll need for your size. You can either mix three fabric types (A, B, and C) or use just one fabric throughout.

| Fabric A | Fabric B | Fabric C | One Fabric | |||||
|---|---|---|---|---|---|---|---|---|
| Size | Yards | Meters | Yards | Meters | Yards | Meters | Yards | Meters |
| XS | 0.5 | 0.5 | 0.5 | 0.5 | 0.5 | 0.5 | 0.5 | 0.5 |
| S | 0.5 | 0.5 | 0.5 | 0.5 | 0.5 | 0.5 | 0.5 | 0.5 |
| M | 0.5 | 0.5 | 0.5 | 0.5 | 0.5 | 0.5 | 0.5 | 0.5 |
| L | 0.5 | 0.5 | 0.5 | 0.5 | 0.5 | 0.5 | 0.5 | 0.5 |
| XL | 0.5 | 0.5 | 0.5 | 0.5 | 0.5 | 0.5 | 0.5 | 0.5 |
| 2XL | 0.5 | 0.5 | 0.5 | 0.5 | 0.5 | 0.5 | 0.5 | 0.5 |
| 3XL | 0.5 | 0.5 | 0.5 | 0.5 | 0.5 | 0.5 | 1 | 1 |
| 4XL | 0.5 | 0.5 | 0.5 | 0.5 | 0.5 | 0.5 | 1 | 1 |
Fabric & Notions
Fabric: For Shell (non-stretch, structured):
- Cotton twill
- Denim
- Canvas
- Upholstery fabric
- Faux leather
- Vinyl
- Pleather
For Lining:
- Lightweight cotton
- Cotton voile
- Cotton lawn
- Poly lining fabric
- Satin
- No lining needed if using thick vinyl or faux leather (finish raw edges instead)
Notions
- One 6–7 inch heavy-duty separating zipper.
- Optional:
- Interfacing (fusible for lighter shell fabrics)
- Snaps, grommets, or eyelets (as zipper alternatives)
- Bias tape (for finishing raw edges if unlined)
Sizing Details
The top is available in our exclusive drag queen sizes XS–4X.
Drag Queen Sizes
| Sizes | XS | S | M | L | XL | 2X | 3X | 4X | |||
|---|---|---|---|---|---|---|---|---|---|---|---|
| Inches | |||||||||||
| Bust | 35”-37” | 38”-40” | 40”-42” | 44”-46” | 47”-49” | 50”-52” | 53”-55” | 56”-58” | |||
| Waist | 26”-28” | 29”-31” | 32”-34” | 35”-37” | 38”-40” | 41”-43” | 44”-46” | 47”-49” | |||
| Hips | 37”-39” | 40”-42” | 43”-45” | 46”-48” | 49”-51” | 52”-54” | 54”-56” | 58”-60” | |||
| Height | 70" | 70" | 70" | 70" | 70" | 70" | 70" | 70" | |||
| Centimeters | |||||||||||
| Bust | 89-94 | 96-102 | 102-107 | 112-117 | 119-124 | 127-132 | 135-140 | 142-147 | |||
| Waist | 66-71 | 74-79 | 81-86 | 89-94 | 96-102 | 104-109 | 112-117 | 119-124 | |||
| Hips | 94-99 | 102-107 | 109-114 | 117-122 | 124-130 | 132-137 | 137-142 | 147-152 | |||
| Height | 178 | 178 | 178 | 178 | 178 | 178 | 178 | 178 | |||
Our unique drag sizes are based on U.S. Standard Men’s and Women’s Plus sizes, designed to fit male bodies with padding with an average height of 70 inches. They feature longer torsos, wider shoulders, arms, and legs, and a shorter crotch inseam compared to standard women’s sizing, making them inclusive for anyone matching the provided measurements.
Sewing Instructions
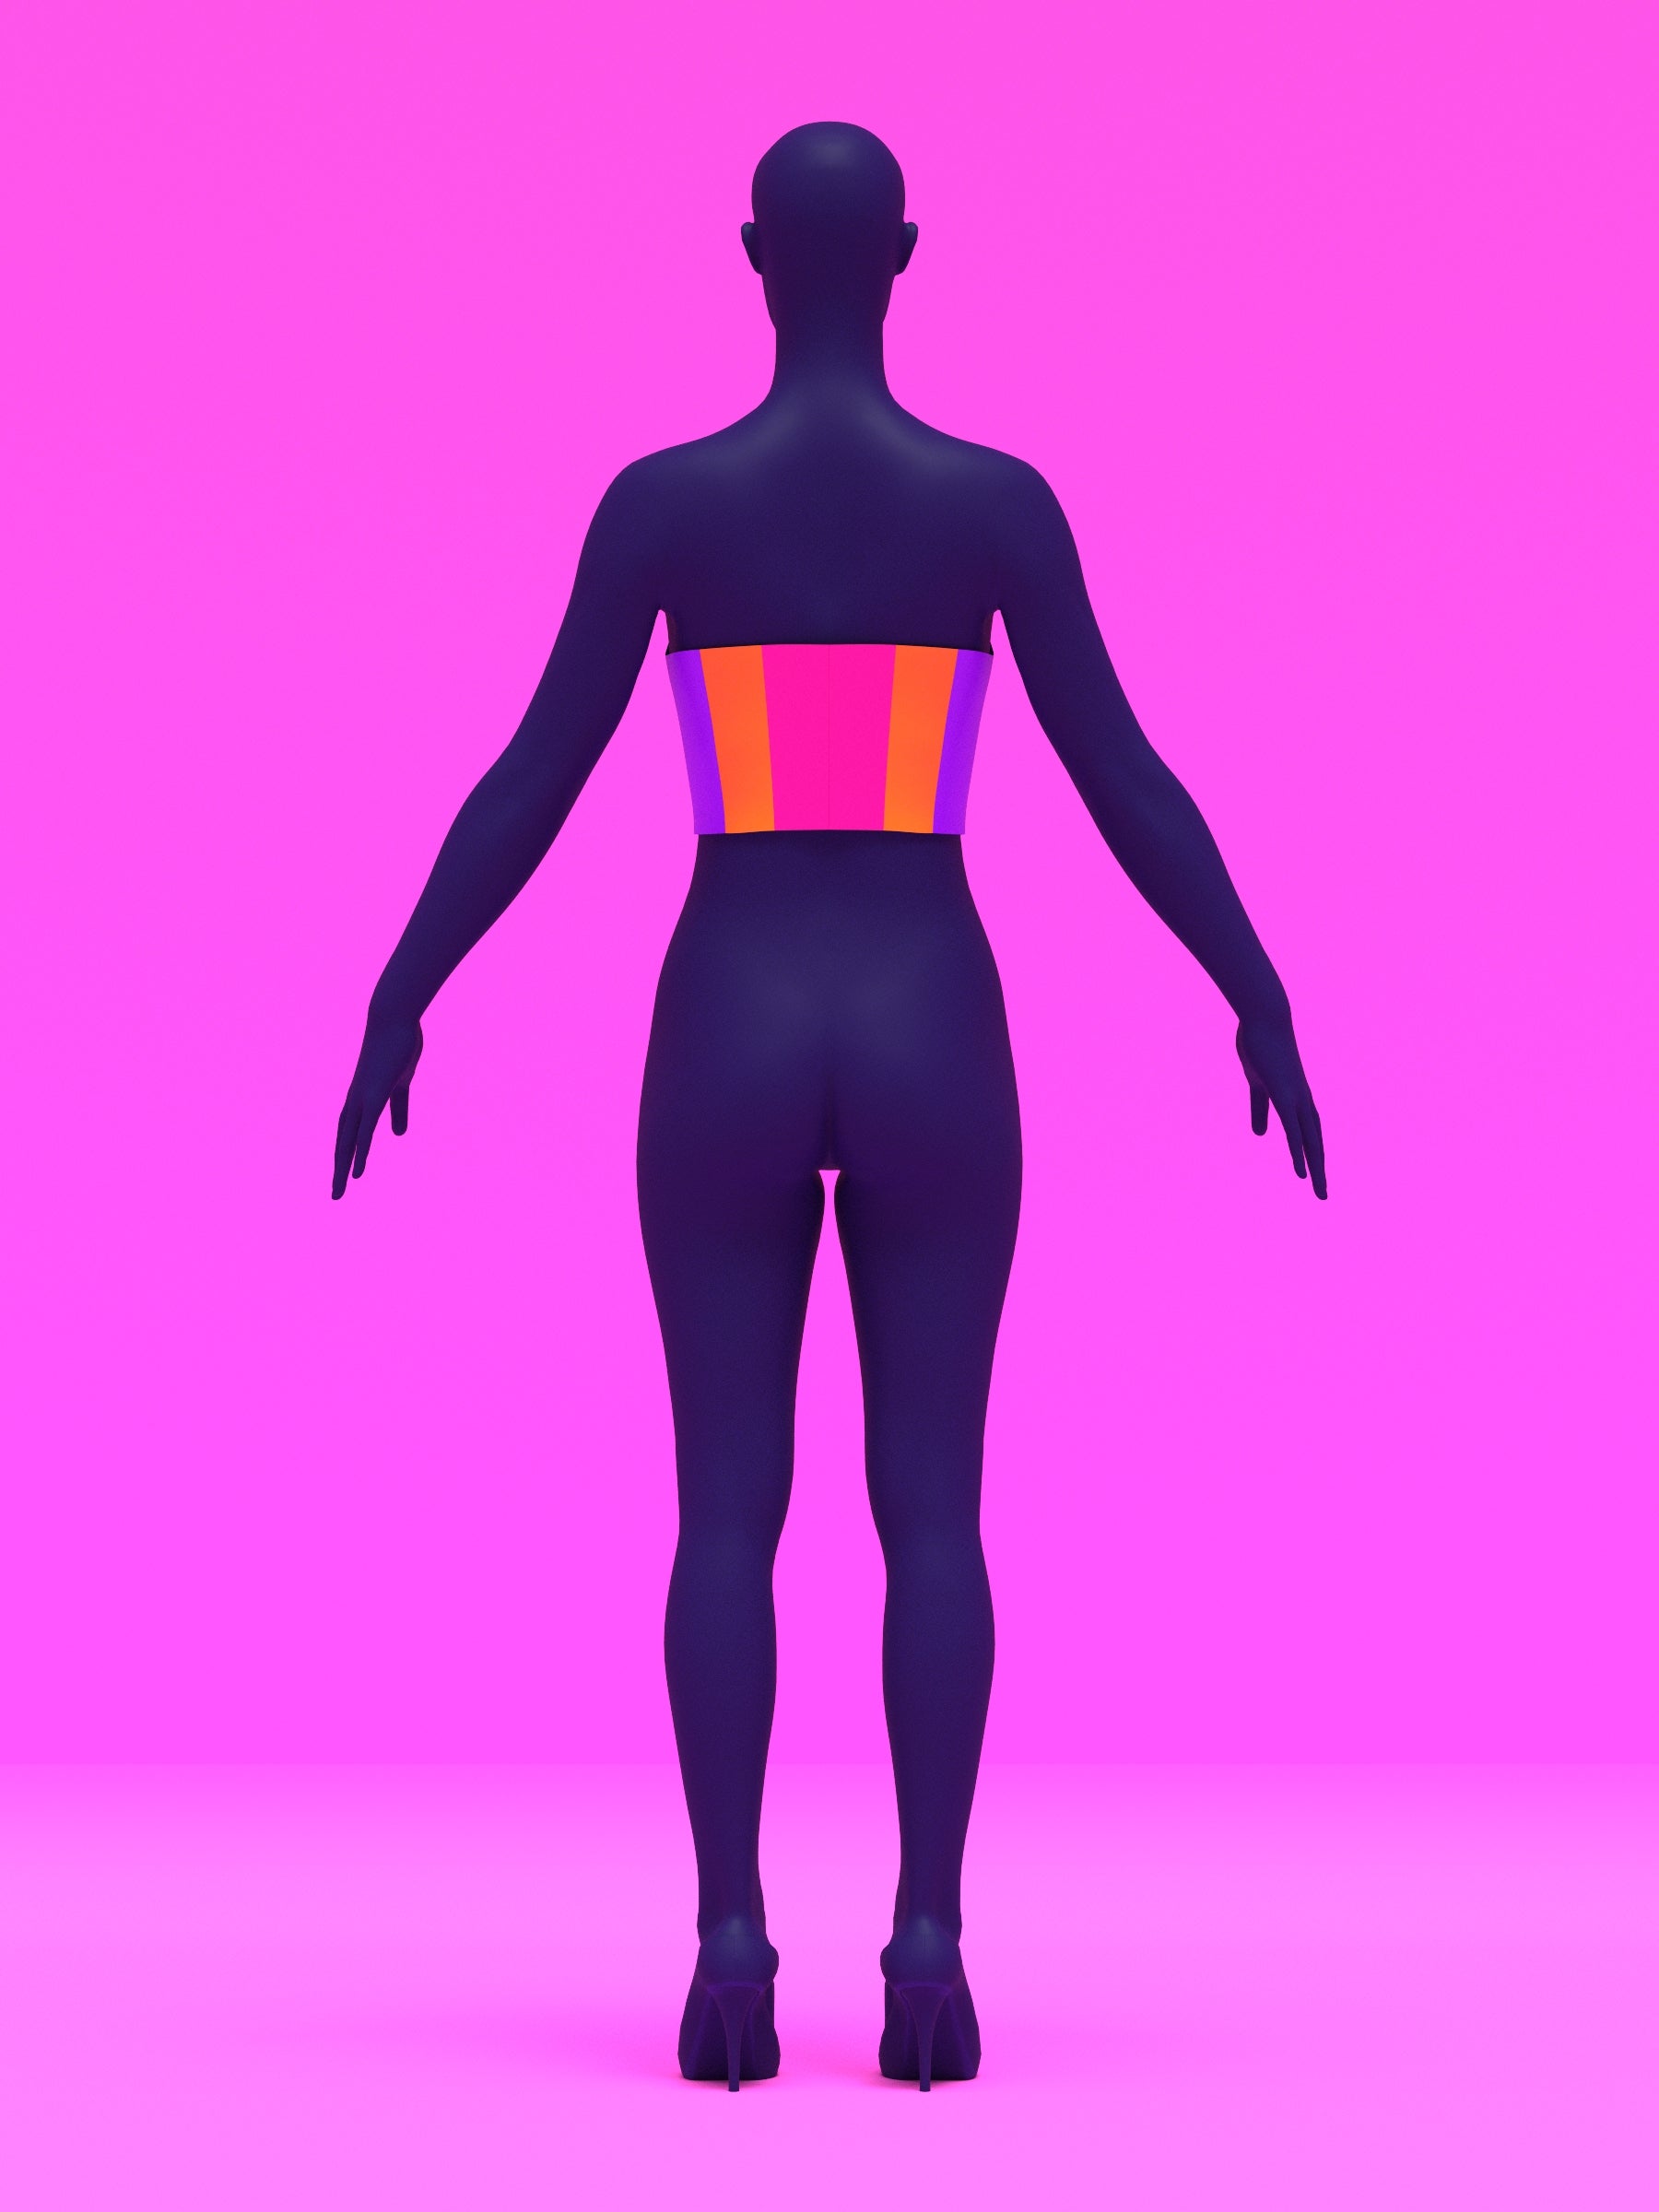
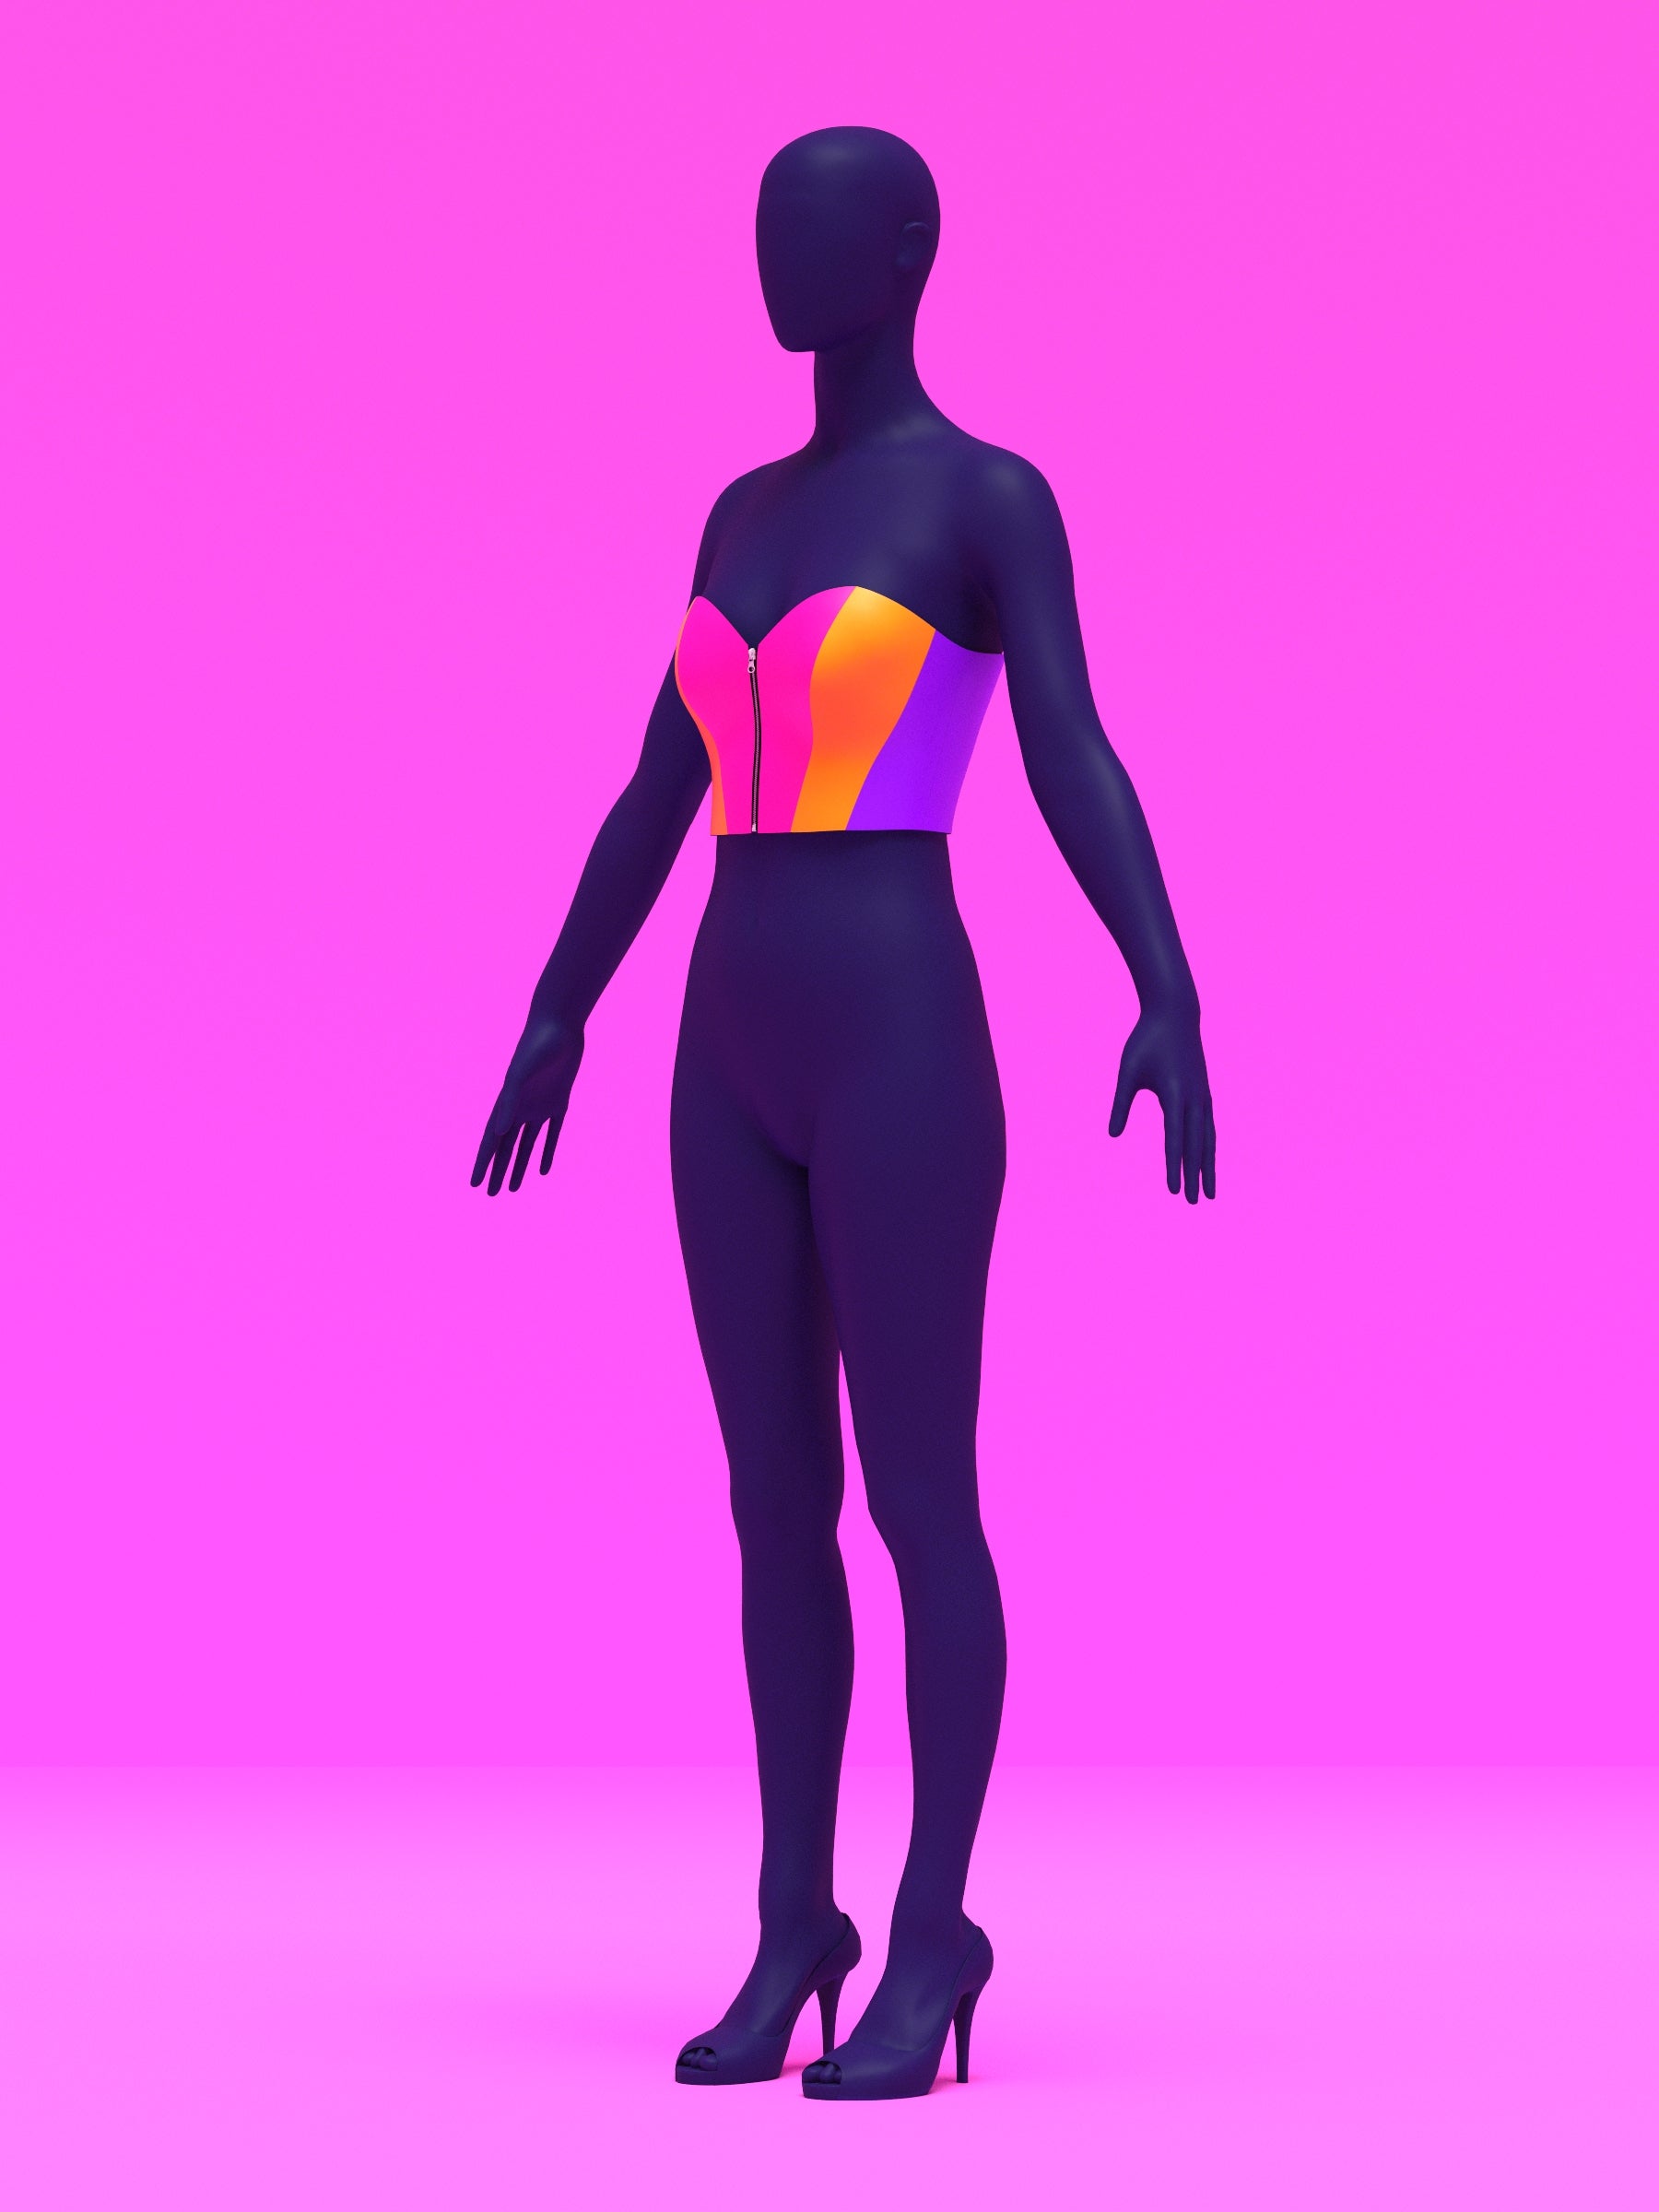
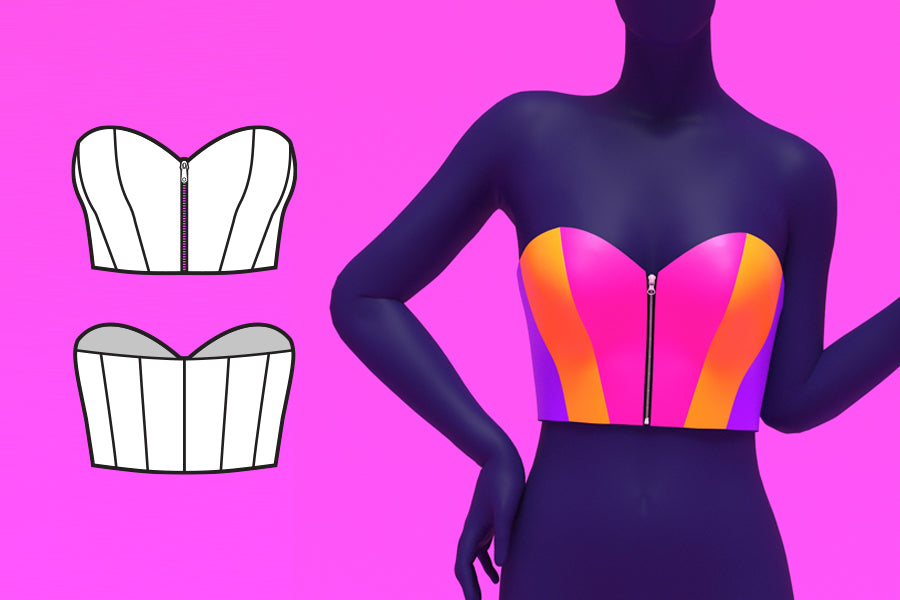
Color Guide

Pattern Pieces
After cutting your fabric, you should have the following pieces:
- 4 of Number 1, center front pieces mirrored — 2 for shell, 2 for lining
- 4 of Number 2 mirrored pieces — 2 for shell, 2 for lining
- 4 of Number 3 mirrored pieces — 2 for shell, 2 for lining
- 4 of Number 4 mirrored pieces — 2 for shell, 2 for lining
- 4 of Number 5 mirrored pieces — 2 for shell, 2 for lining
- 4 of Number 6, center back pieces mirrored — 2 for shell, 2 for lining
Note: Depending on your fabric type, you may not need to add lining. If you're using faux leather or a thicker fabric, it's harder to add a lining. In that case, you can use only the shell fabric and either serge or apply a rolled hem to finish exposed edges.

First Pieces
Gather one side of the number 1 and number 2 pieces. Stack them together, right sides facing each other, and sew them together using a straight stitch along the bust curve edge.
Then repeat for sewing the number 2 to 3, 3 to 4, 4 to 5, and 5 to 6 pieces.

Repeat for the opposite side and the lining pieces, creating 4 side panels.

Sewing the Shell
Gather both sides of the shell fabric pieces. Stack them right sides together and sew them along the center back, piece number 6 edge.
You should then have one entire bustier piece with an open front.

Then repeat for the lining sides, sewing along the center back 6 edge.

Sewing the Zipper
Gather your separating zipper, unzip the pieces, and flip them over to the wrong side.
Gather your shell bustier, and along the center front edge, align one side of the separating zipper to that edge. Then sew the zipper down using a straight stitch.
After that, you can layer over the lining, right sides facing the shell, and sew over that same edge. You can also stack all layers with the zipper in between and just sew once.
Then repeat for the opposite front side zipper.

Note: You do not need to install a zipper — you can try eyelets and grommets instead for a lace-up effect, or even snaps. However, for snaps, you may need to add excess fabric to allow for overlap in this area.
Sewing the Shell and Lining
Next, sew the shell and lining together along the top edge of the bustier.
Then sew along the bottom edge, except you must leave an unsewn gap at the bottom to allow you to flip the garment right side out. You can leave this gap wherever you wish — along the center back or even the side panels — but it must be large enough to flip everything through.
Once sewn, before flipping, you can trim off excess seam fabric along the corners to allow for sharp corners.

Finish the Garment
Flip the garment right side out and fold inward the unsewn gap, then topstitch it closed.
You will also want to topstitch the front zipper sides.

Get the Pattern