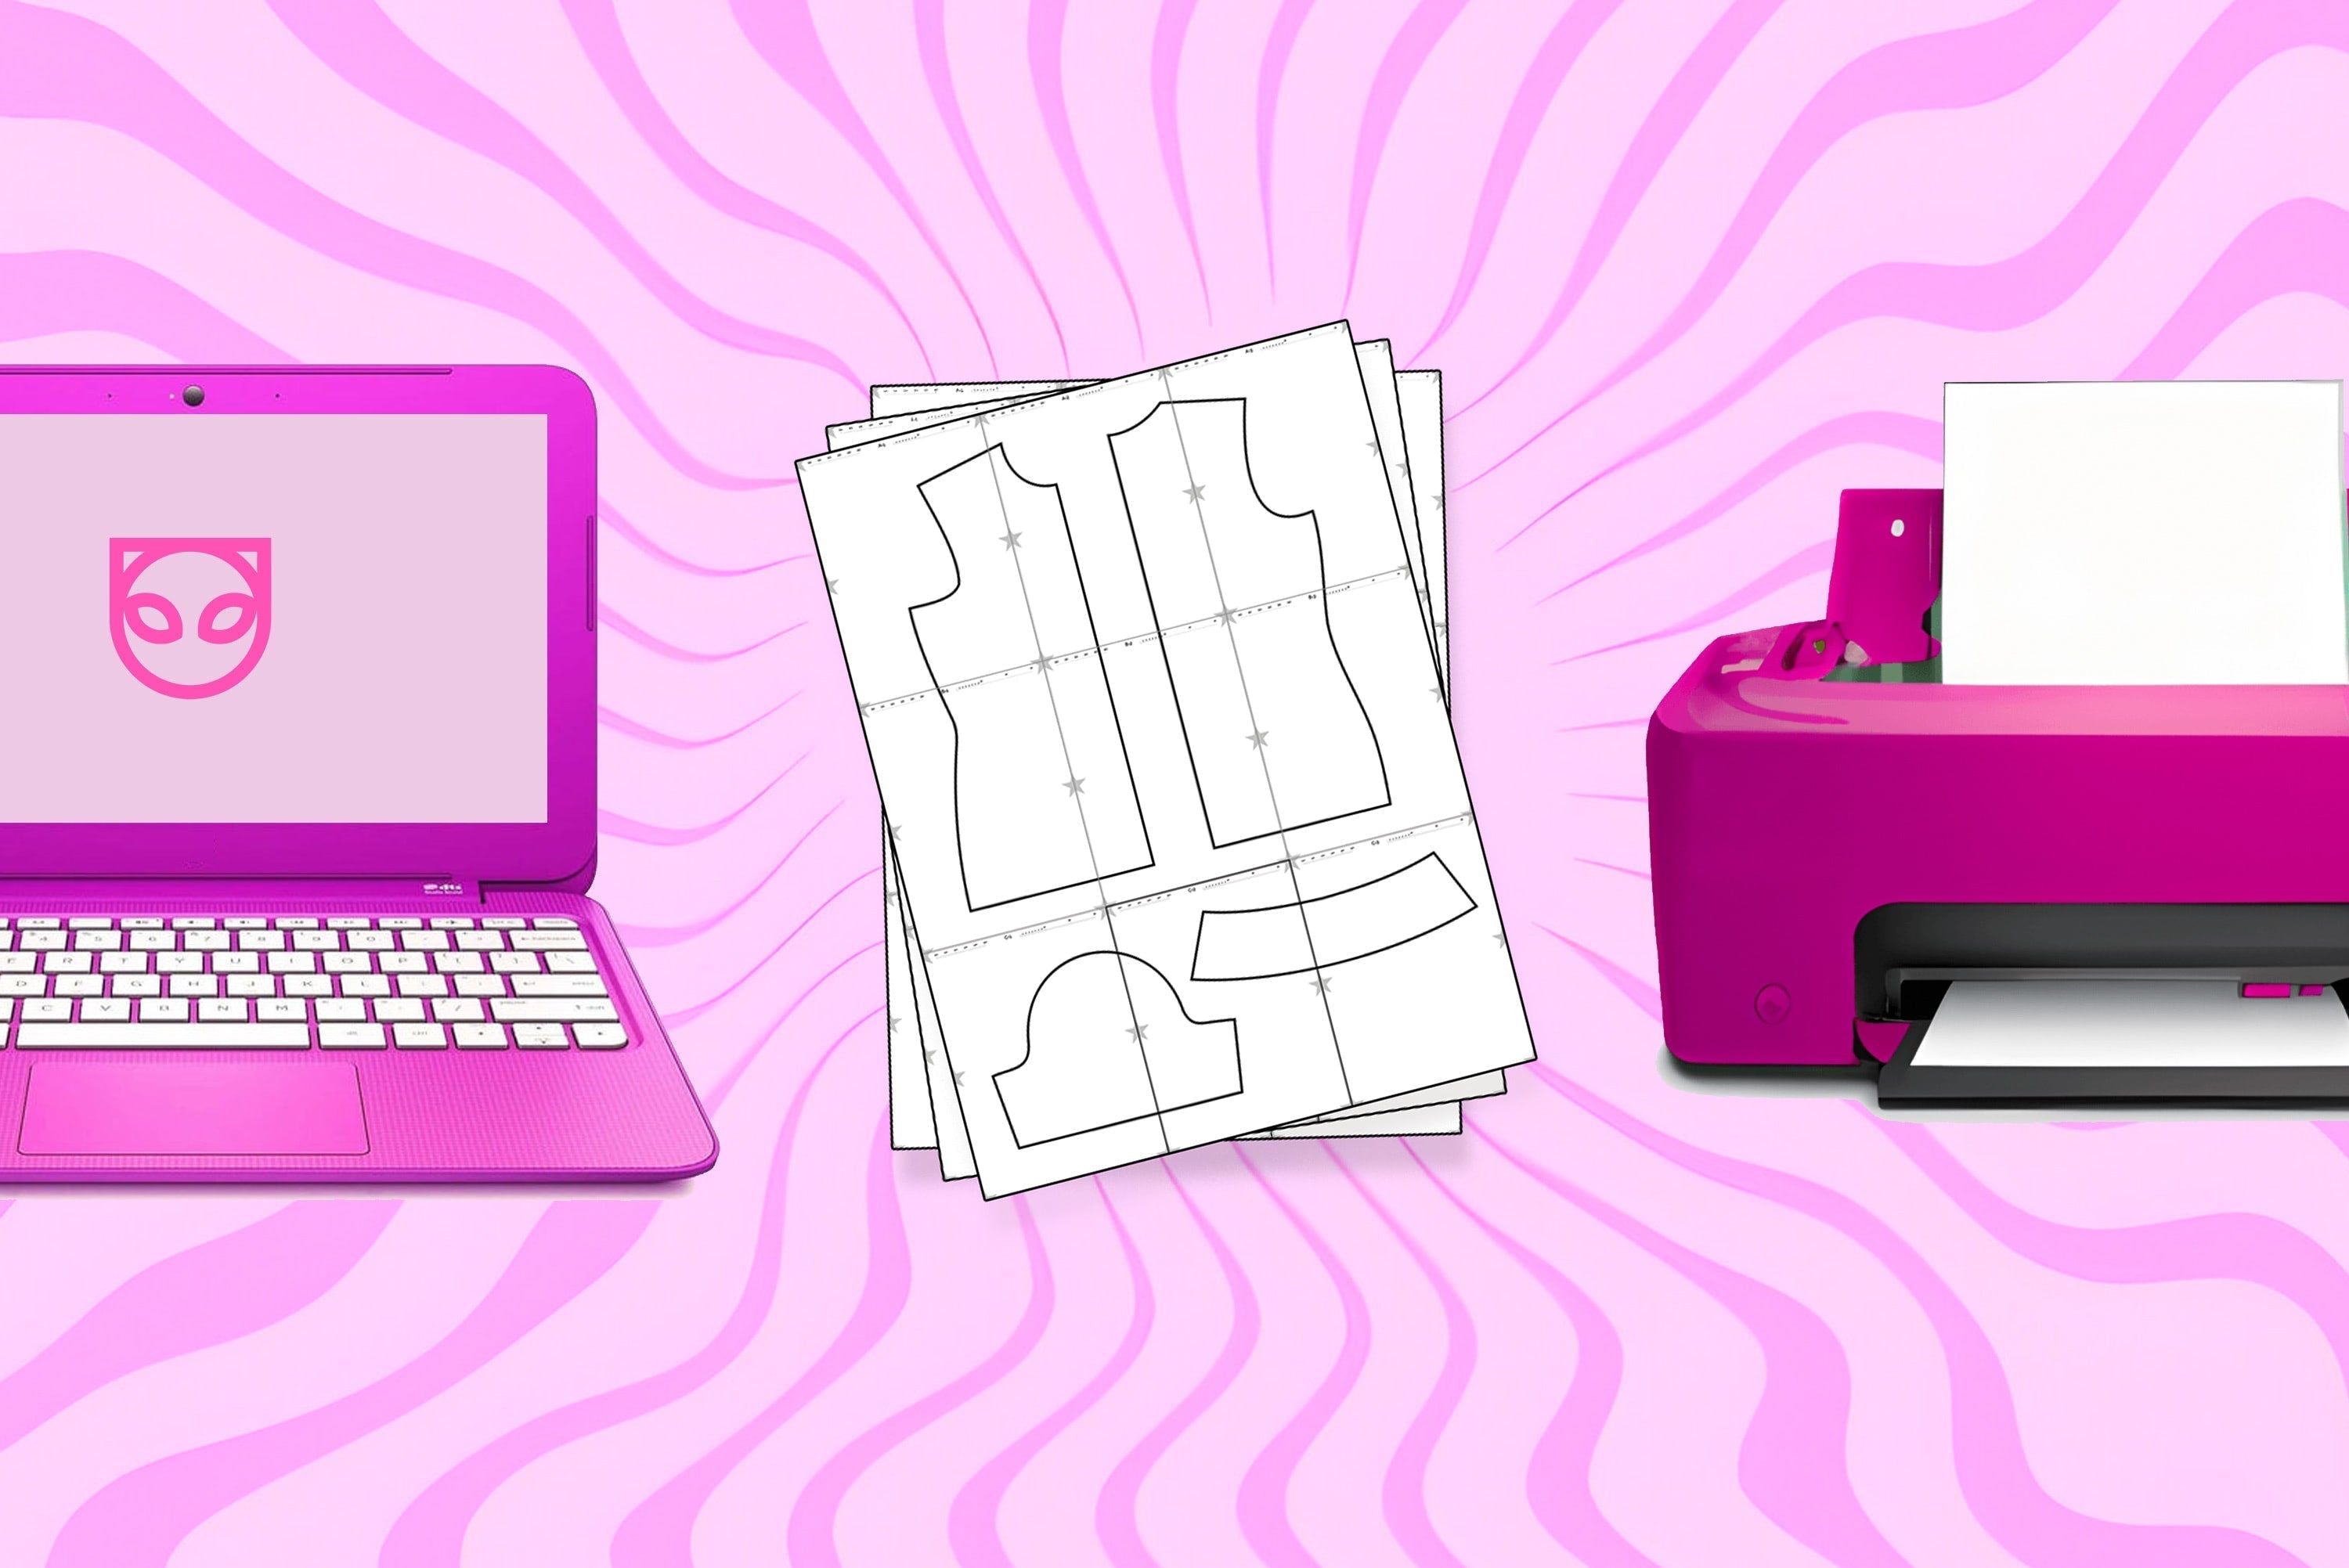
Embarking on a new sewing project is always exciting, but it all starts with having the right pattern ready. If you've opted for a digital PDF pattern, you might be wondering about the assembly process after downloading. While the digital approach provides instant access and is environmentally friendly, it does come with the initial task of piecing the pattern together. Don't worry! We've simplified the process for you. In this guide, we'll walk you through every step to ensure you have your pattern ready accurately and efficiently.
For a more visual guide, we recommend watching our detailed video on how to assemble your PDF sewing pattern. Follow along for expert tips and tricks.
Step 1: Choose Your PDF Type
Select the appropriate PDF type based on your printer. Options include:
- US Letter (common for USA printers)
- A4 (common for European printers)
- A0 (used for poster printers)
Step 2: Printing Instructions
When printing, follow these guidelines to ensure accuracy:
- Make sure pages are scaled to 100%.
- Do not select any "scale to fit" or "fit to page" options.
Step 3: Assembly
Once your pattern is printed:
- Trim the margins at the indicated areas. You can fold them at half stars or use a paper trimmer tool for precision.
- Align and tape the pages together. Ensure the alignment markers (like stars) match up.
- Layout your pages so the letters are vertical, and numbers are horizontal.
If you encounter any challenges or have questions regarding the PDF pattern assembly, please don't hesitate to reach out. Contact us directly at katkow.help@gmail.com.


Share:
Fabric Yardage Conversion Guide: Inches to Meters
What do drag queens wear?